Hello Al--Nice to hear from you. I hope your troubles soon resolve themselves. I'm not sure how many people are going to actually have the resolve to build this engine. In the initial flurry and excitement there were about 5 people stepping up, but I'm not seeing too many posts from them. I haven't encountered anything particularly difficult so far, but there is a lot of work in the water jacket if people choose to go that route. I kind of like the look of the air cooled version, and hope someone builds it as well----I think Luc, the French Canadian chap was moving in that direction. Of course, when I build something, I kind of fly at it like a maniac, to the exclusion of almost everything else going on in my life, and I can't really expect others to approach things the same way.---Brian
You are using an out of date browser. It may not display this or other websites correctly.
You should upgrade or use an alternative browser.
You should upgrade or use an alternative browser.
Rupnow i.c. Engine with governor
- Thread starter Brian Rupnow
- Start date

Help Support Home Model Engine Machinist Forum:
This site may earn a commission from merchant affiliate
links, including eBay, Amazon, and others.
canadianhorsepower
Well-Known Member
- Joined
- Oct 22, 2011
- Messages
- 1,671
- Reaction score
- 324
Happy Birthday Brian Thm:
Is it possible all the drawings in PDF
it makes it easier for me to play around with them
Cheers
Is it possible all the drawings in PDF
it makes it easier for me to play around with them
Cheers
Thank you Luc--All the drawings are done in pdf as well as jpg formats.--Whoops--I contradict myself!! I see that the last 2 or 3 aren't in there as pdf files.--I will go right now and add the pdf files to each drawing posted.---Brian
canadianhorsepower
Well-Known Member
- Joined
- Oct 22, 2011
- Messages
- 1,671
- Reaction score
- 324
Hey Brian do you have the connecting rod in PDF also?
Luc--It is up as a pdf back at post #101. I'm curious--What can you do with a pdf that you can't do with a jpg.?
canadianhorsepower
Well-Known Member
- Joined
- Oct 22, 2011
- Messages
- 1,671
- Reaction score
- 324
Luc--It is up as a pdf back at post #101. I'm curious--What can you do with a pdf that you can't do with a jpg.?
Brian, oops I miss it,:fan:
the 2 main reason why I prefer PDF, I use a Dropbox to share all my folders from one computer to another, I can be anywhere in the world and access them. Like any of those program space matter look at the number below
a jpeg takes 347kb of space and
a pdf takes 110kb and have a paper size to print 17x11 ho I hit print and their is goes
with a JPG I have to find a good % of scale.
I also like keeping all my files together


Last edited:

$24.99
$34.99
Bowl Sander Tool Kit w/Dual Bearing Head & Hardwood Handle | 42PC Wood Sander Set | 2" Hook & Loop Sanding Disc Sandpaper Assortment | 1/4" Mandrel Bowl Sander for Woodturning | Wood Lathe Tools
Peachtree Woodworking Supply Inc
![DreamPlan Home Design and Landscaping Software Free for Windows [PC Download]](https://m.media-amazon.com/images/I/51kvZH2dVLL._SL500_.jpg)
$0.00
DreamPlan Home Design and Landscaping Software Free for Windows [PC Download]
Amazon.com Services LLC

$40.02
$49.99
Becker CAD 12 3D - professional CAD software for 2D + 3D design and modelling - for 3 PCs - 100% compatible with AutoCAD
momox Shop

$29.95
Competition Engine Building: Advanced Engine Design and Assembly Techniques (Pro Series)
Amazon.com Services LLC
Thanks Luc--I didn't realize that.
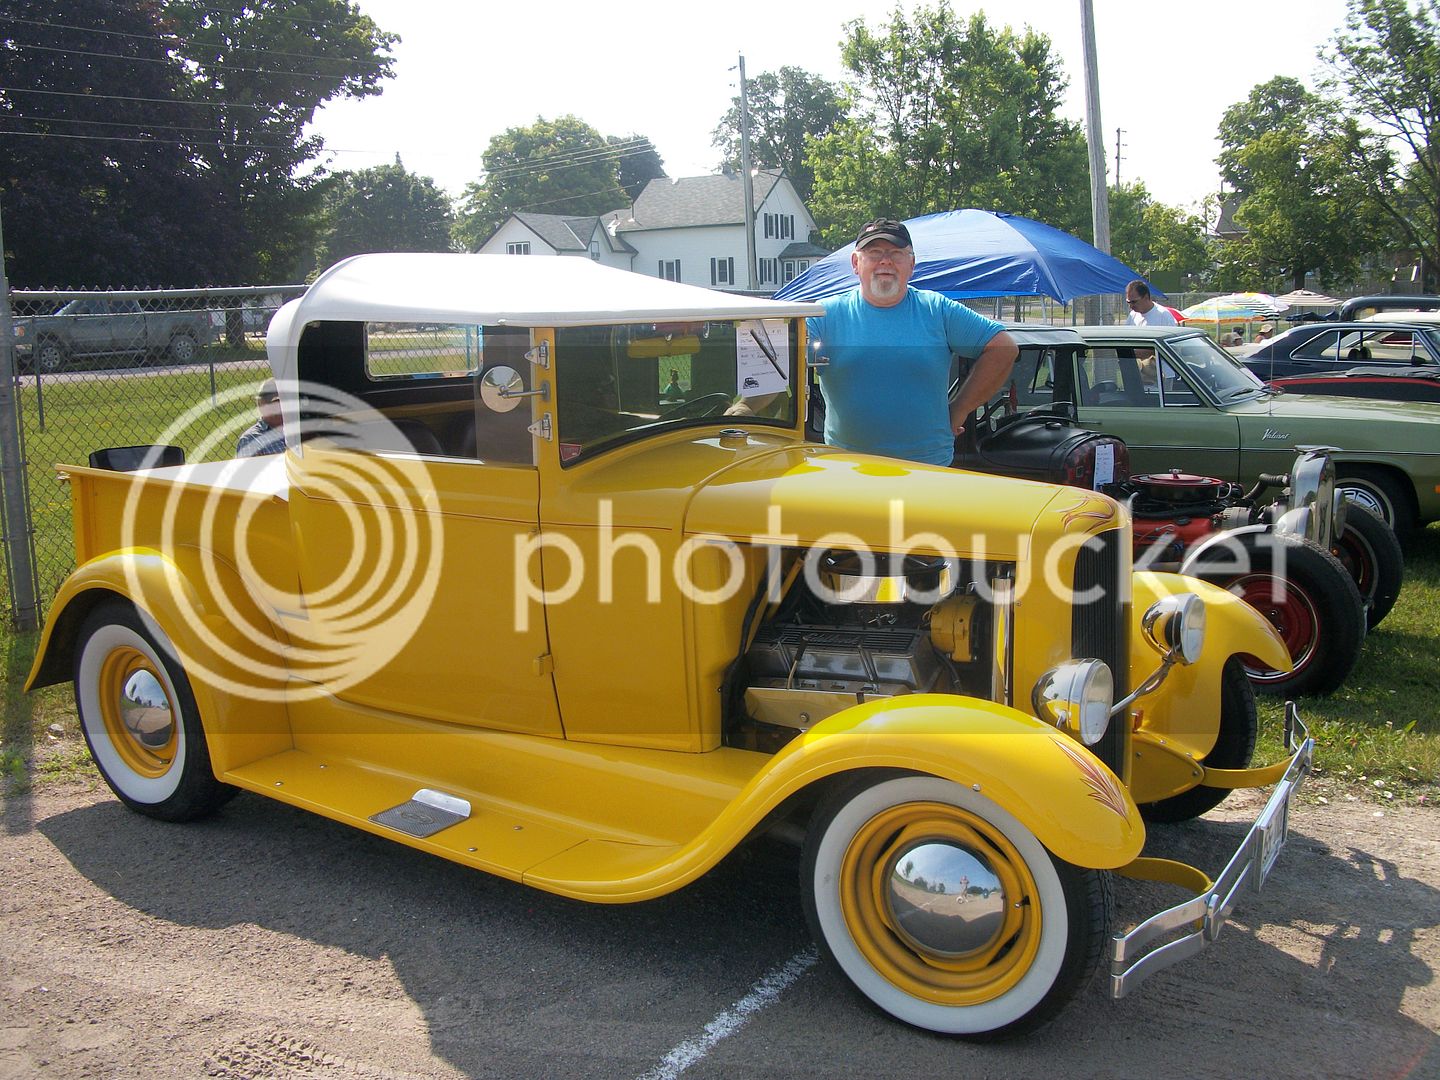
And here I am at the hotrod show yesterday!! It was a beautiful summers day (which we've had too few of this year) and a nice venue. Small town festival/carnival/carshow. ---And only about 60 miles from my place. The car is a 1931 model A Ford roadster pickup that I built about 10 years ago, with small block Chev power. I have driven that car down to the street rod nationals in Moncton, New Brunswick, across the new bridge to Prince Edward Island, and around the Cabot Trail in Cape Breton. Its been driven through many of the Northeastern states of USA and almost everywhere worth going in Ontario. Hotrods and drag racing were my lifes hobby up until about 5 years ago, when my arthritis got so bad that I had to switch to a hobby that can mostly be done while standing or sitting--i.e. machining small engines.

Last edited:
Many happy returns sir. I'm still with you on this build I've been getting materials together and have started to make some chips lol. But had to stop as I've had to do some emergency rpairs to my lathe (dammit haha). I'm goin for the Air coold version aswell.
By the way love the car.
By the way love the car.
- Joined
- May 14, 2011
- Messages
- 684
- Reaction score
- 187
Brain were do I download the plans from . Thanks Dale
You start at the beginning of this thread and every where I have posted a detail drawing, you will see a link to a pdf file in the bottom left hand corner of the post. It is in blue color, so you shouldn't be able to miss it.---BRIAN
Todays plan is to finish off the cast iron cylinder and hopefully machine a piston to fit it. Many people have asked how I go about this, and so thought I would post my answers. To accomplish the actual honing, which knocks down any high spots or scratches inside the cylinder, I use a spring loaded 3 stone brake cylinder honing tool which sells for about $20 at Canadian Tire and similar automotive stores. The 3 "arms" are spring loaded outward by the compression spring on the shank of the tool, and by turning the knurled collar, more or less force can be applied to the arms. This tool is held in a variable speed electric drill, and compressed to fit into the cylinder, along with some light oil, then worked from end to end in even strokes, taking care to not let it extend past the front or rear of the cylinder and spring open. I generally do this and count slowly to 50, which seems to be sufficient time to do this size of cylinder in the 3/4" to 1 1/14" diameter range. This particular hone was faulty, and one of the stones come loose while in use. This didn't hurt the cylinder in any way, as the stone stayed located properly in its holder during the honing operation. I will return it to the store today and pick up a new honing tool.


Last edited:
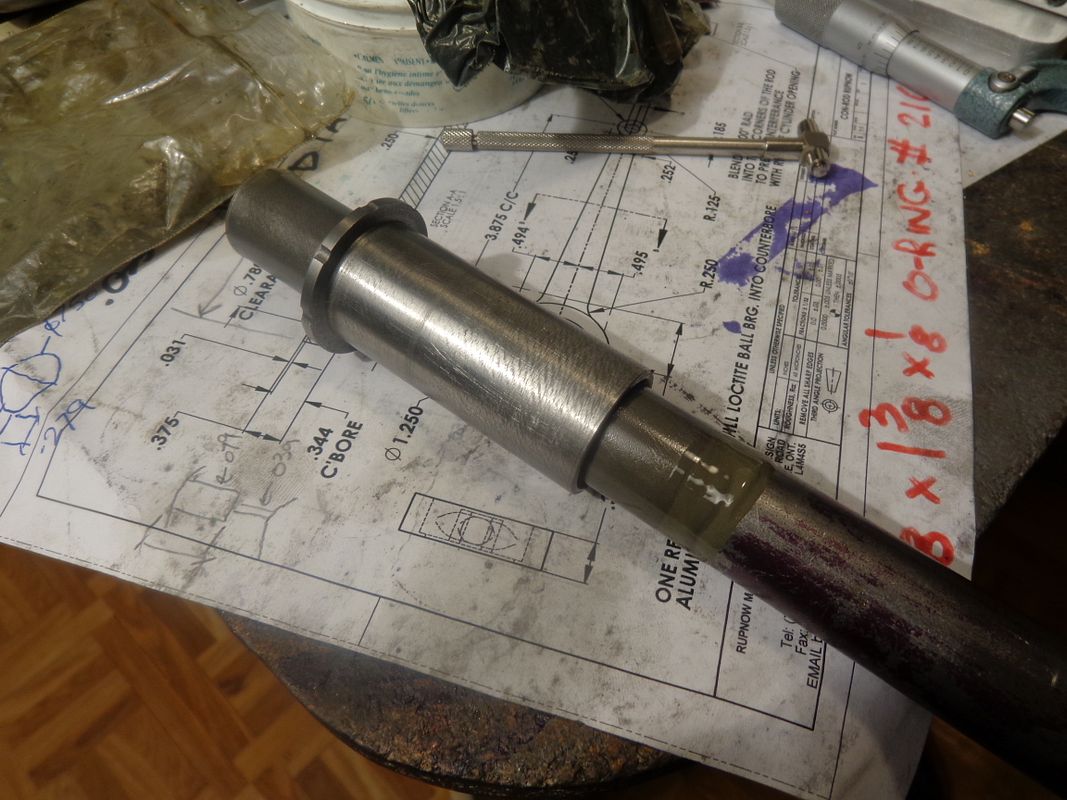
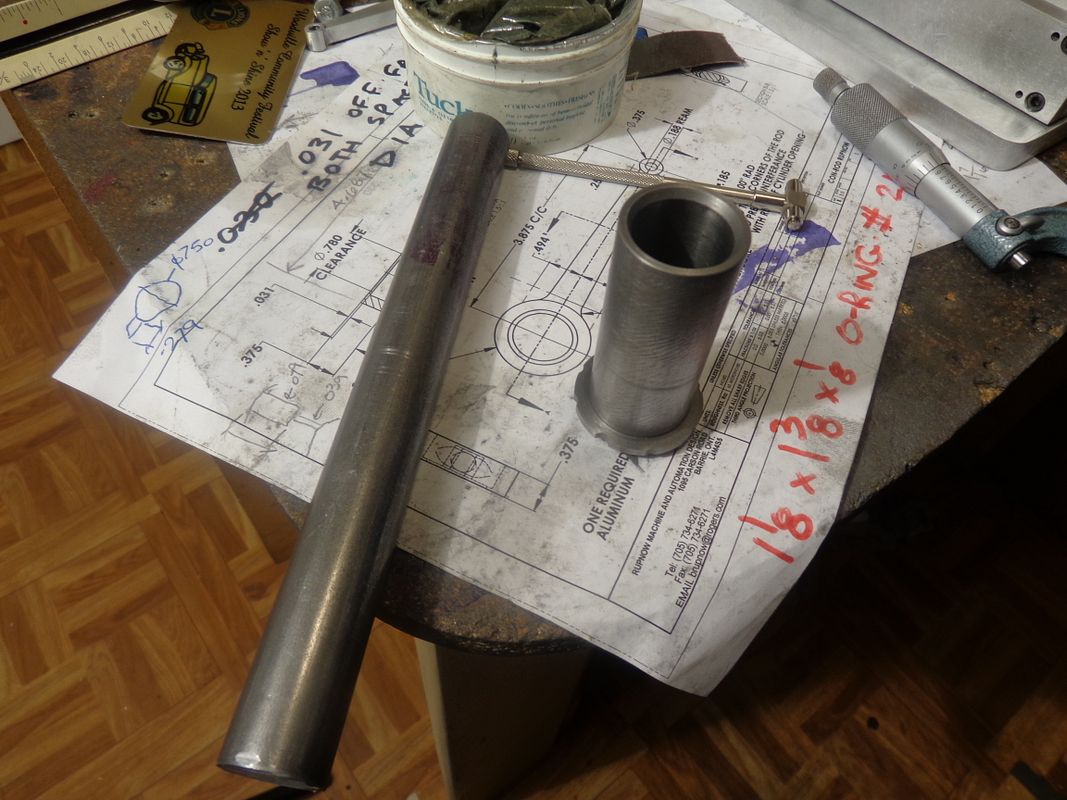
I find that when I use a reamer to make the finished bore in a cylinder, it generally comes out pretty well "dead nuts" on the spec of the reamer. The hole in this cylinder was at a diameter of 0.875" immediately after reaming. The honing operation opened it out about another half thou, to .8755" diameter. Since cold rolled steel shafting comes in at about .0005 undersize, this will act as a perfect size lap, about .001" less than the i.d. of the cylinder. I have a package of 600 grit carborundum base lapping compound which I spread onto the cold rolled, then carefully work it fully into the bore of the cylinder. after working the lap in and out by had with a twisting motion, and being certain that it turns freely enough and isn't going to "grab" I put the cold rolled in the 3 jaw chuck on my lathe, and with the lathe on its lowest speed, CAREFULLY hold onto the cylinder with one hand and work it back and forth about 1" linearly as the lathe rotates. If the cylinder tries to :grab" at any tme--LET IT GO!!! We don't want your arm wrapped up in the lathe in any way.

Last edited:
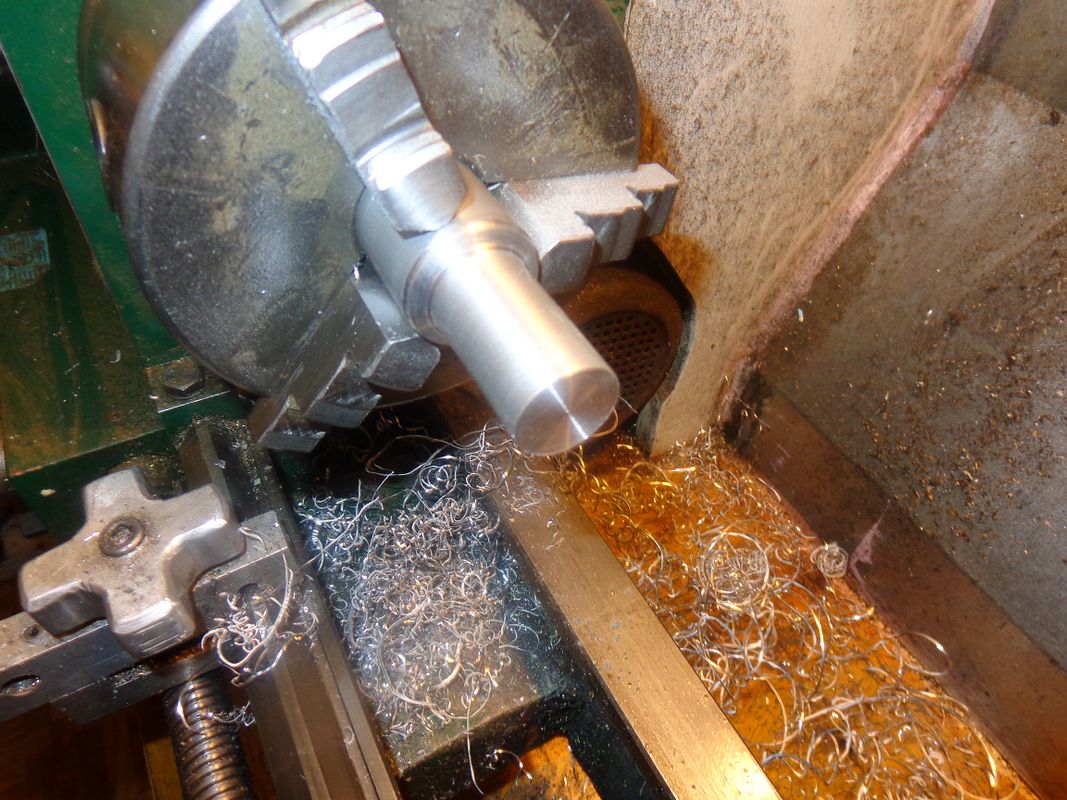
A plain old chunk of 6061 aluminum round stock set up in 3 jaw on my lathe, faced on exposed end, and turned to 0.878 with HSS tooling. Then using a piece of 220 grit emery cloth, brought down in diameter until it just fits a bit snugly into end of cylinder. I will work it back and forth in the cylinder bore with a bit more of that 600 grit carborundum paste when I get to the final stages.

- Joined
- Jun 4, 2008
- Messages
- 3,294
- Reaction score
- 636
When I honed the bore of my flame eater, I held it in the lathe and moved the hone by hand. Should be equivalent to the electric drill method. I would have thought that would be sufficiently smooth to not need the lapping paste.
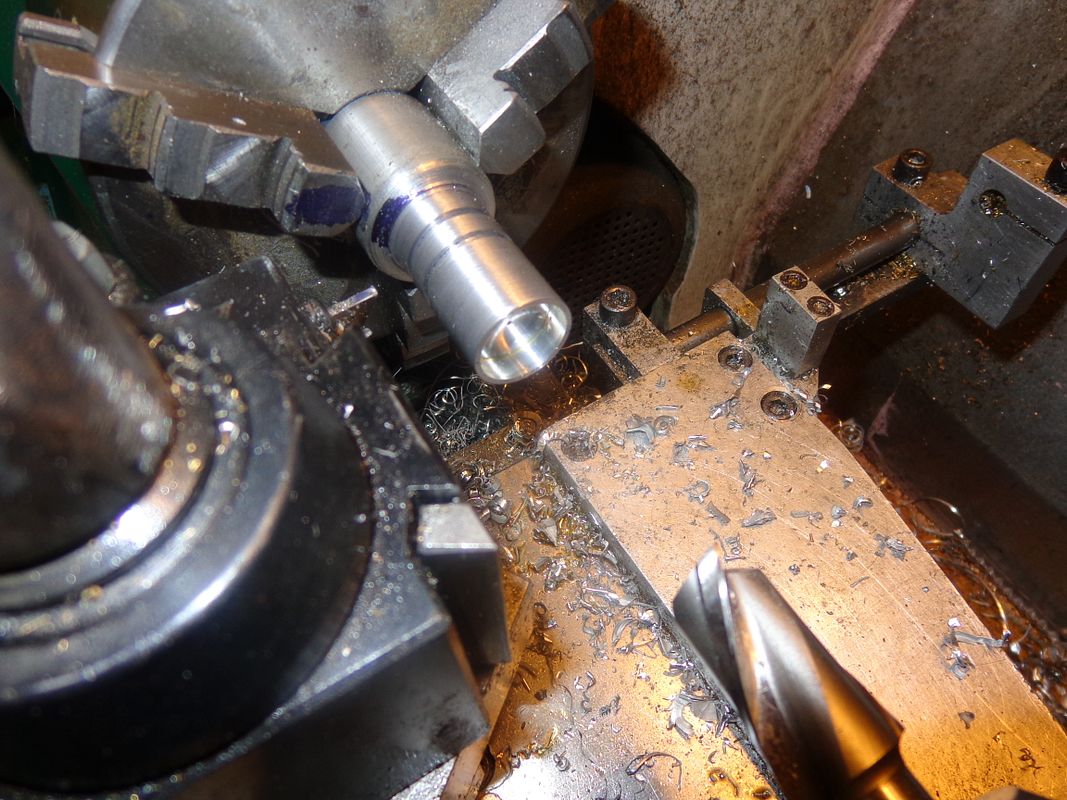
While still in the same set-up, use a 3/4" 2 flute endmill to cut the 3/4" diameter x 1/4" deep recess in the bottom of the piston, cut the ring groove, and part the piston off from its parent stock.--Just before it seperates, give it another light touch with the emery cloth, because both the parting off and the cutting of the ring groove will raise the material on each side of the cut to prevent the piston from going into the cylinder.

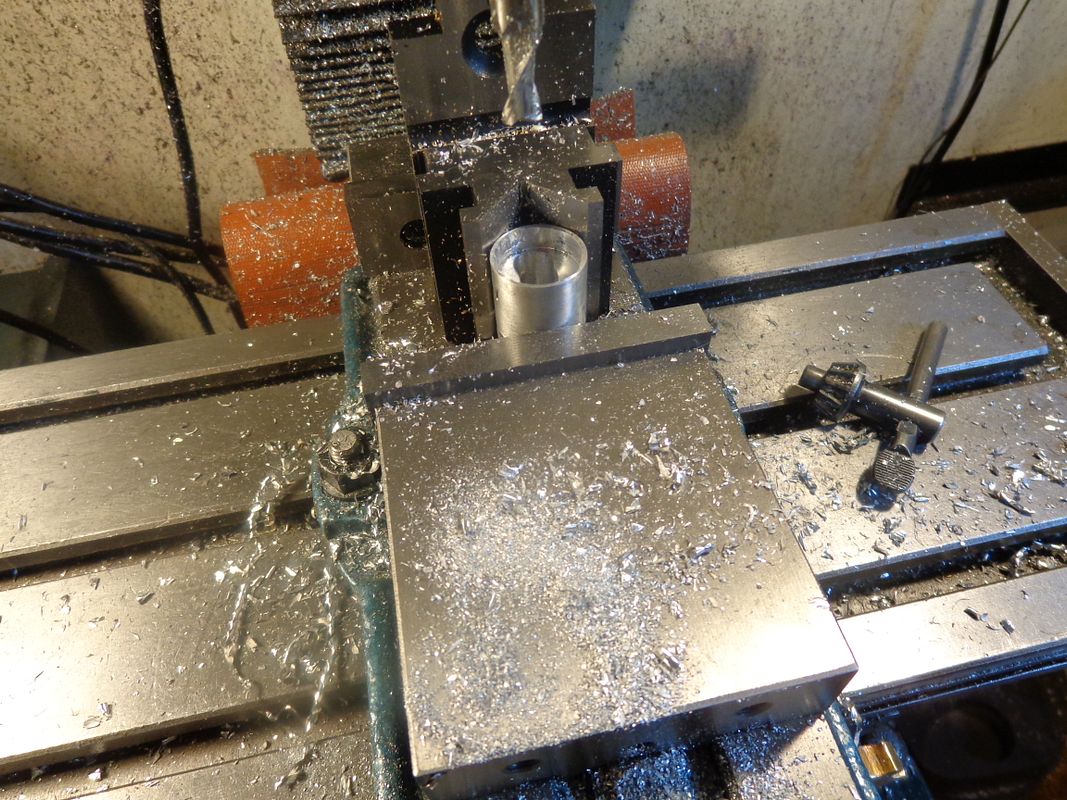
Well, we're almost there with the piston. We have parted it off and moved it over to the mill vice to plunge cut the slot that the end of the con rod sets in. This set-up wasn't as stable as I would have liked---I' still getting used to my new vice from LittleMachineShop. After plunge cutting the slot, the piston was turned 90 degrees and cross bored for the wrist pin. I always struggle with this operation, because not only does the piston have to set perfectly level in the vice, but the rotation of the center slot has to be exactly at 90 degrees to the centre axis of the wrist pin hole. I generally find a piece of material that is a tight fit in the slot and let it stick out far enough past the end of the piston that I can get a level on it.
Then after drilling and reaming the wrist pin hole, I flip the piston open end up to drill and tap the threads for the wrist pin retaining screw. The piston is finished now, but wait---there is one more critical step. Remember I had emeried the outer diameter of the piston until it would just barely fit into the cylinder. Well, that's not good enough for a running engine. This is the point where you attach the piston to the connecting rod, slather the cylinder bore with some more 600 grit compound, and try to put the piston thru the cylinder. It will stick and bind, and refuse to go all the way through. You have to rotate it, push it in and out slightly, wiggle it a bit, swear a little bit, keep working it back and forth, and eventually it will slide from one end of the cylinder to the other with that beautiful full contact smoothness that you need to feel. Then wash the cylinder, piston, and con rod in some hot soapy water and some varsol to make absolutely shure that all the carborundum paste is out of there, and you have a finished piston!!!
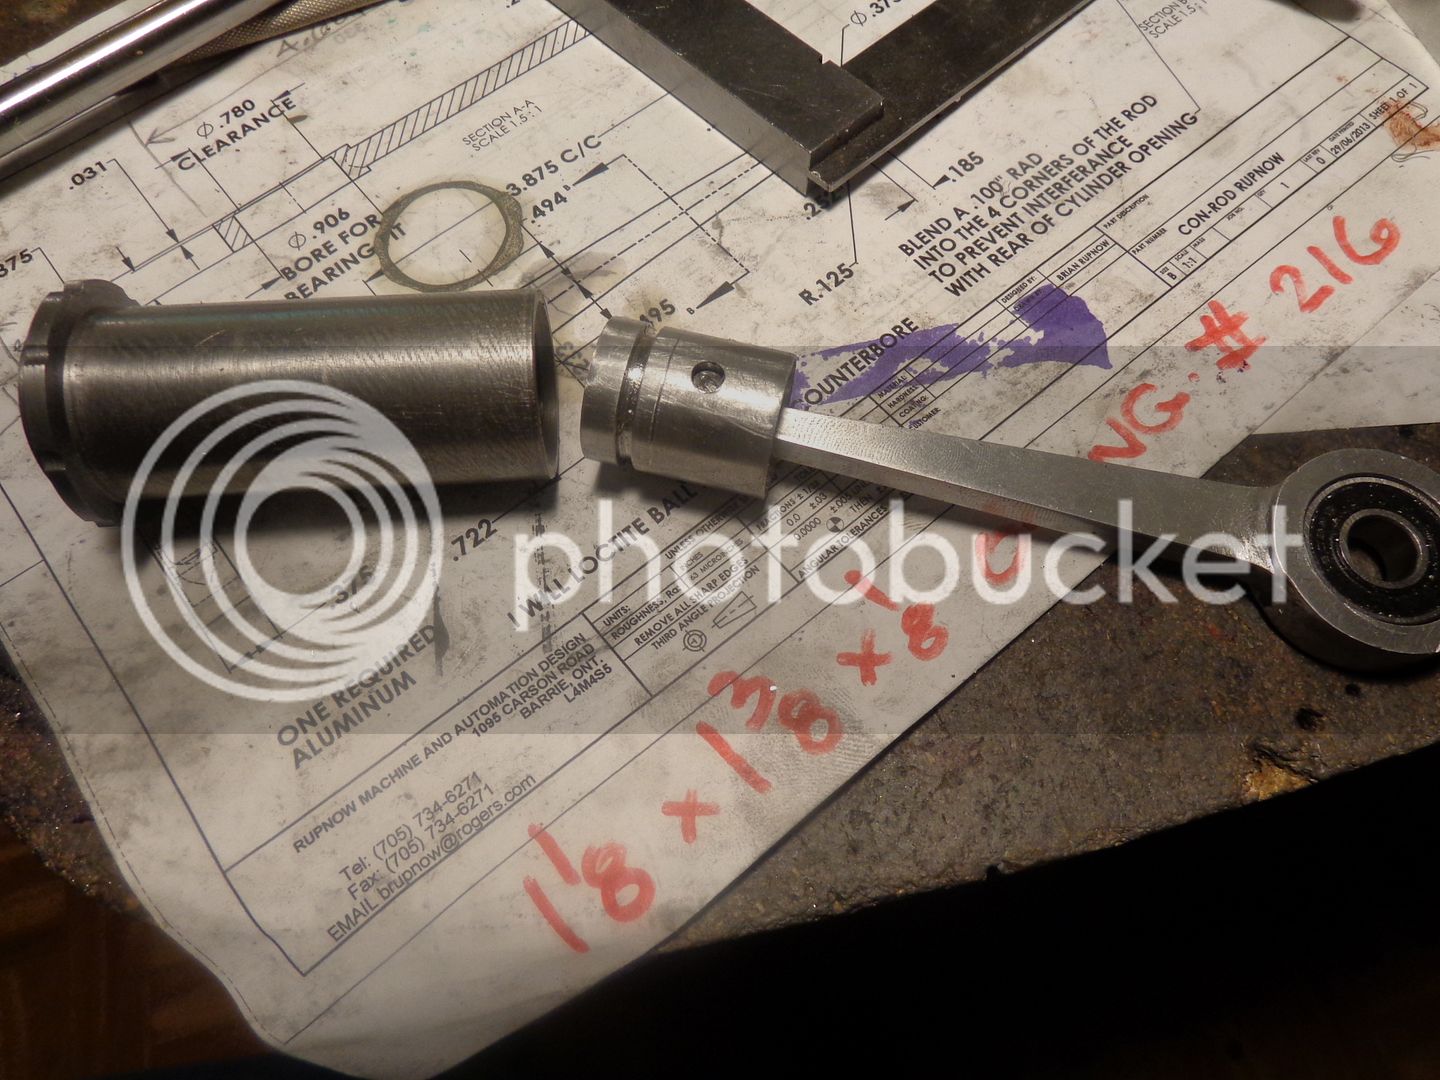
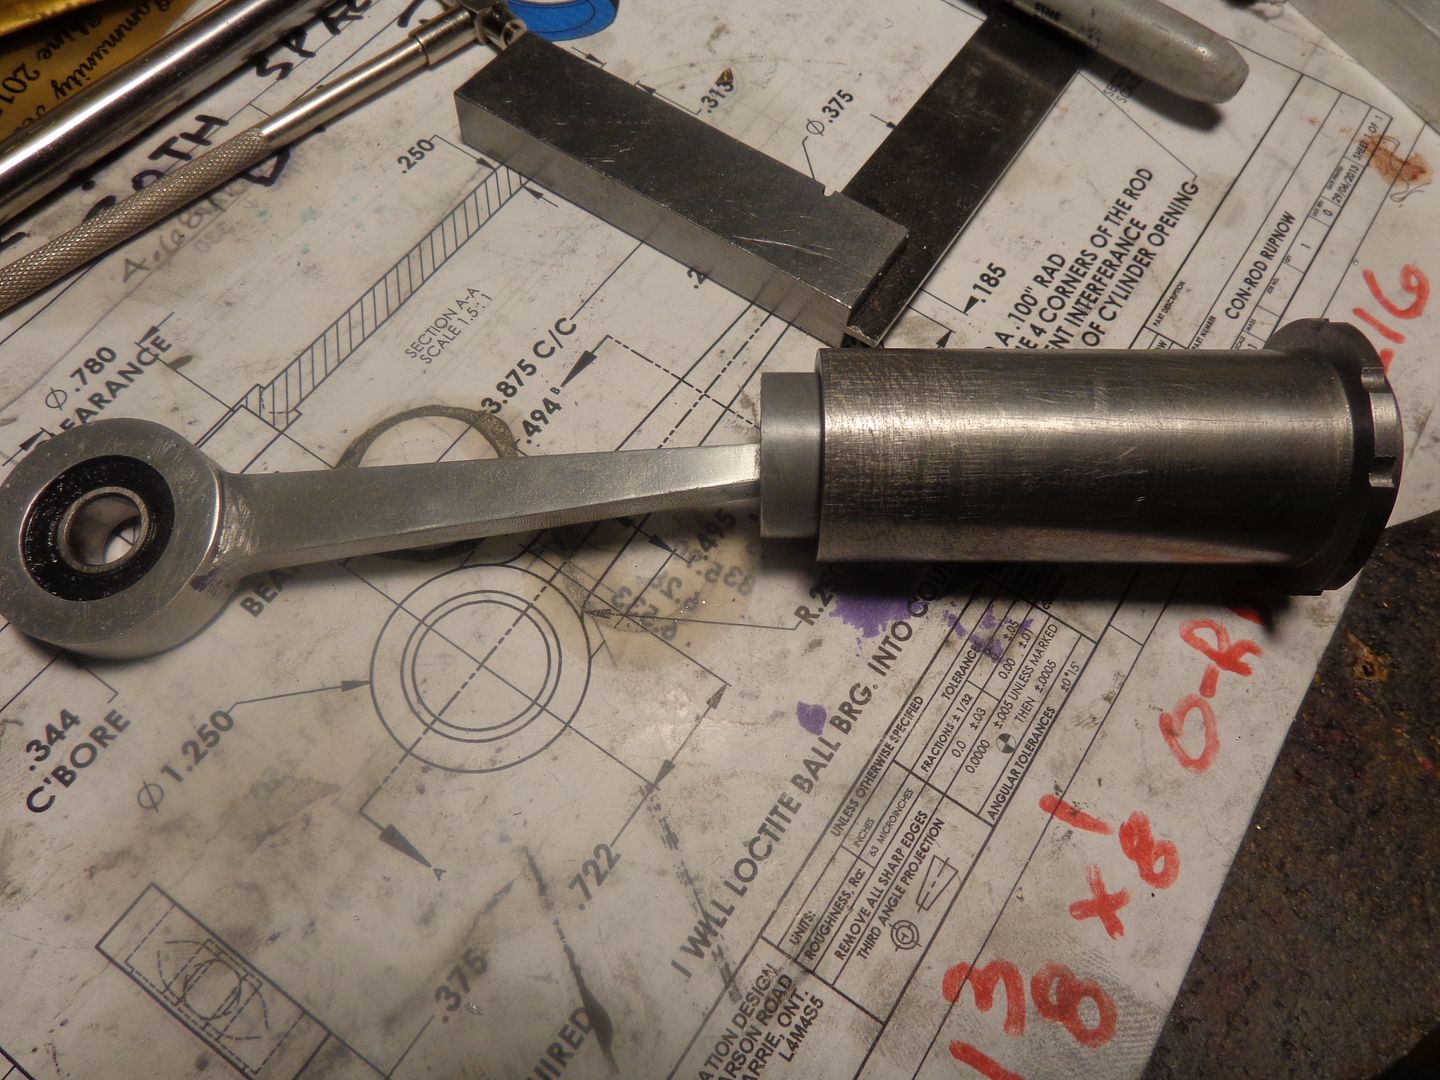
Then after drilling and reaming the wrist pin hole, I flip the piston open end up to drill and tap the threads for the wrist pin retaining screw. The piston is finished now, but wait---there is one more critical step. Remember I had emeried the outer diameter of the piston until it would just barely fit into the cylinder. Well, that's not good enough for a running engine. This is the point where you attach the piston to the connecting rod, slather the cylinder bore with some more 600 grit compound, and try to put the piston thru the cylinder. It will stick and bind, and refuse to go all the way through. You have to rotate it, push it in and out slightly, wiggle it a bit, swear a little bit, keep working it back and forth, and eventually it will slide from one end of the cylinder to the other with that beautiful full contact smoothness that you need to feel. Then wash the cylinder, piston, and con rod in some hot soapy water and some varsol to make absolutely shure that all the carborundum paste is out of there, and you have a finished piston!!!


Brian ...
Nice work,
 been following your progress and modeling it as you go. I'm using your SW models provided and well as the PDFs. Had a setback in my cold
  so I've only been doing paper work ... to machine I'll have to get feeling much better.
Have a question ...
Any chance that you may be ready to post the PDFs for the Cylinder and Waterjacket?
Had a few others but answered them myself!
Thanks,
Pat H.
Nice work,
Have a question ...
Any chance that you may be ready to post the PDFs for the Cylinder and Waterjacket?
Had a few others but answered them myself!
Thanks,
Pat H.
Similar threads
- Replies
- 95
- Views
- 12K
- Replies
- 28
- Views
- 7K


