Rupnow i.c. Engine with governor

Home Model Engine Machinist Forum

Help Support Home Model Engine Machinist Forum:

This site may earn a commission from merchant affiliate links, including eBay, Amazon, and others.
You guys might want to consider a built up flywheel like Randall Cox used on his Hoglet motor cycle engine. It has a steel core inserted into a brass tube section. You could also use a steep pipe section instead of brass.

55304d1342625960-my-first-engine-hoglet-topp1.jpg


It would sure be a lot cheaper than solid brass. Of course, there is always the option of machining them from solid steel. 12L14 would be nice to work with.

Chuck
 
You are absolutely right Chuck. I am still doing enough outside engineering work to pay for the extra cost of brass, but if I were on any kind of budget, I would have made the flywheels from steel.---Brian
 
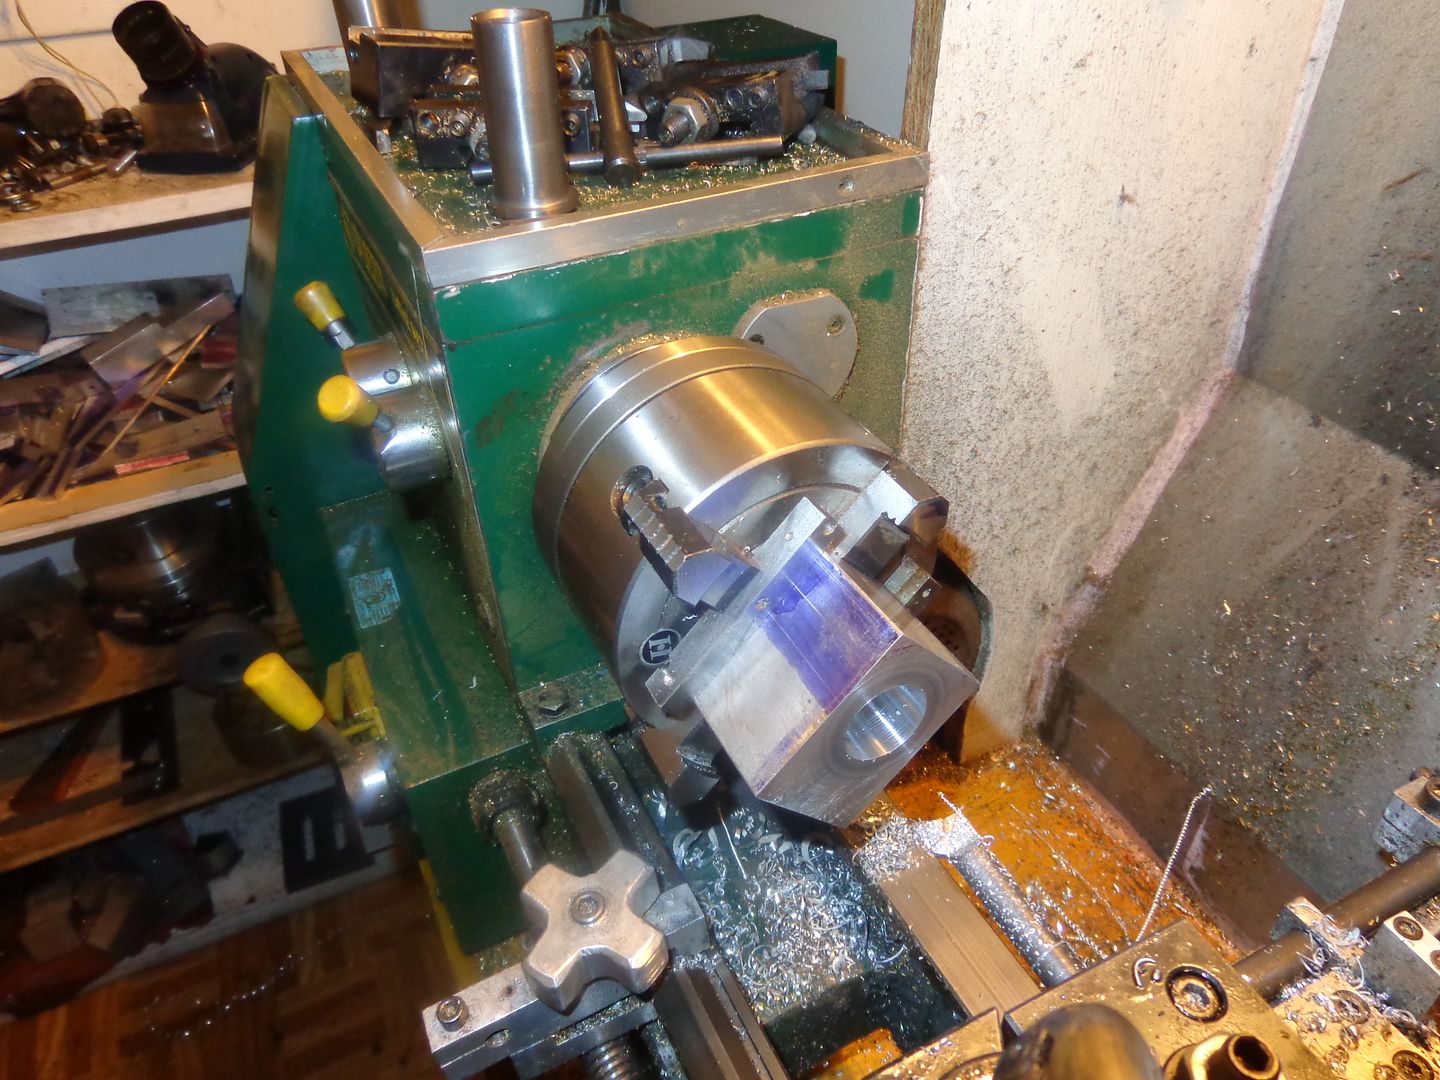
There is a lot of work in this water reservoir. The first stage was getting it squared up and milled to size. Then I set it up in the 4 jaw chuck and drilled through it using successively larger drills in 1/8" increments. When I got up to 1/2" diameter, I could feel the drill thump-thump-thumping on the inner ends of the jaws in the chuck. I held my breath and loosened off the two opposing jaws on the narrow sides of the reservoir, and inserted a 3/8" parallel under the jaw on each side, then VERY carefully close them again with a prayer to the machining gods that I didn't move my set-up. It didn't move, or if it did it didn't move enough to be apparent. I then drilled up to 15/16" with my silver and demmings drills, then switched over to my cheapo carbide tipped boring bars. When I was getting close to final size, I backed my cross slide out in .001 radial increments until the cylinder (which you can see setting up on top of the lathe) just fit. Remember, this isn't a press fit, but I didn't want it sloppy. Tomorrow or perhaps later today I will put in a different boring bar and bore the actual water jacket cavity and the counterbore in the exposed end.
 
Brian,
19 drawings so far, counting the one revision of the sideplate? I want to make sure I have all of them.

Chuck
 
Last edited:
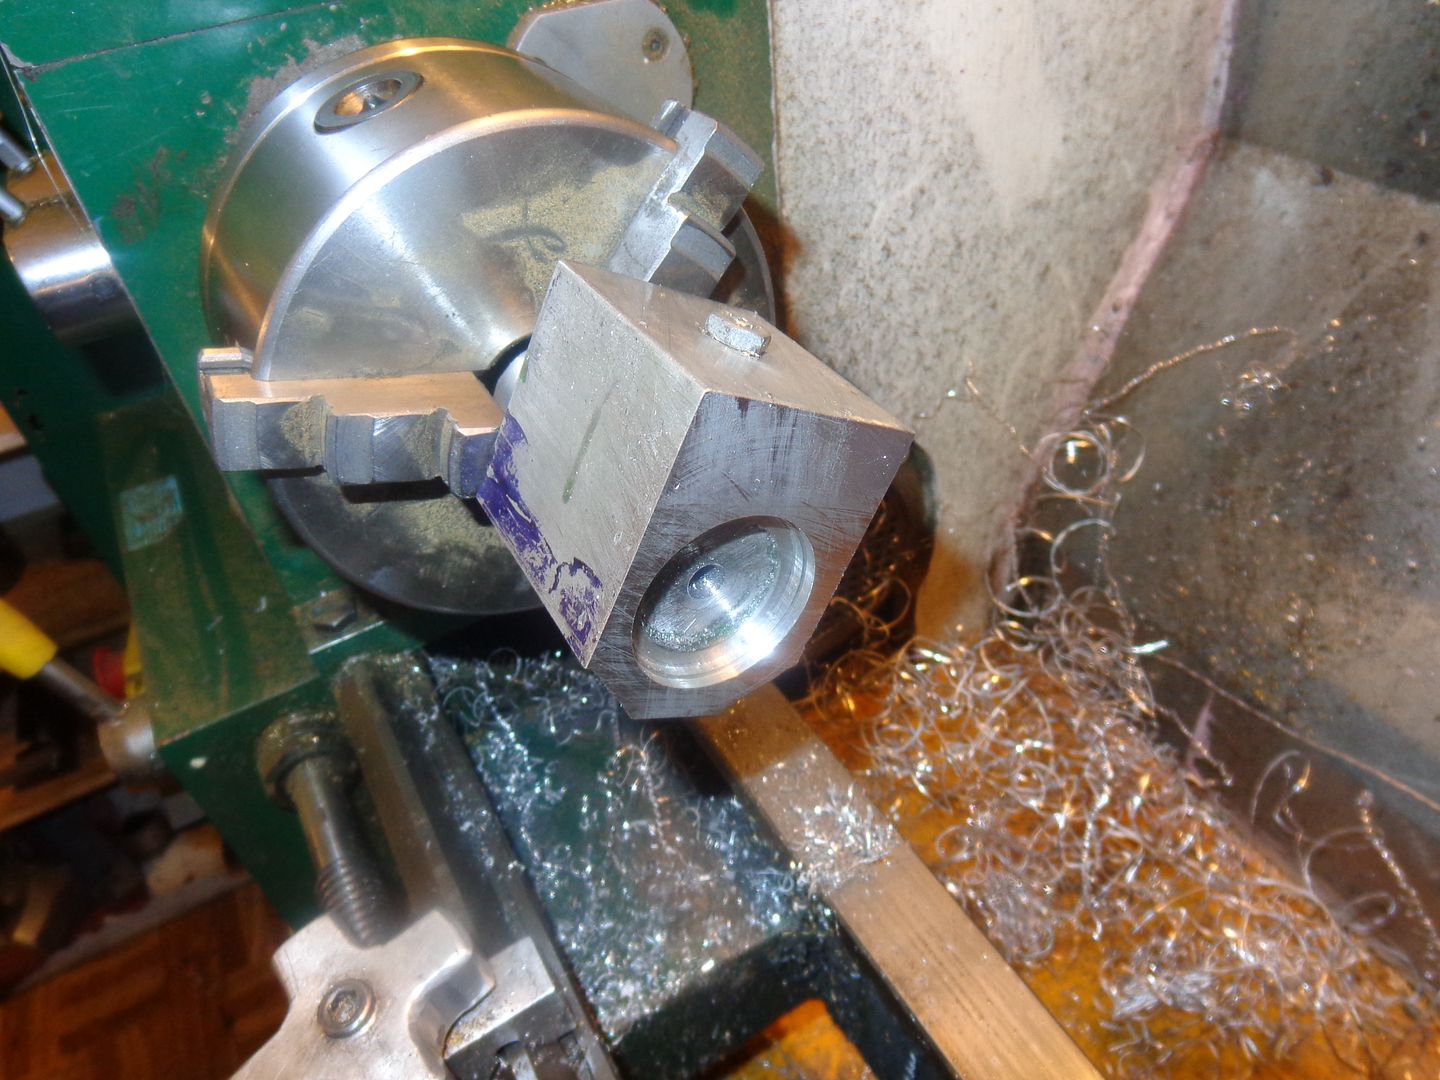
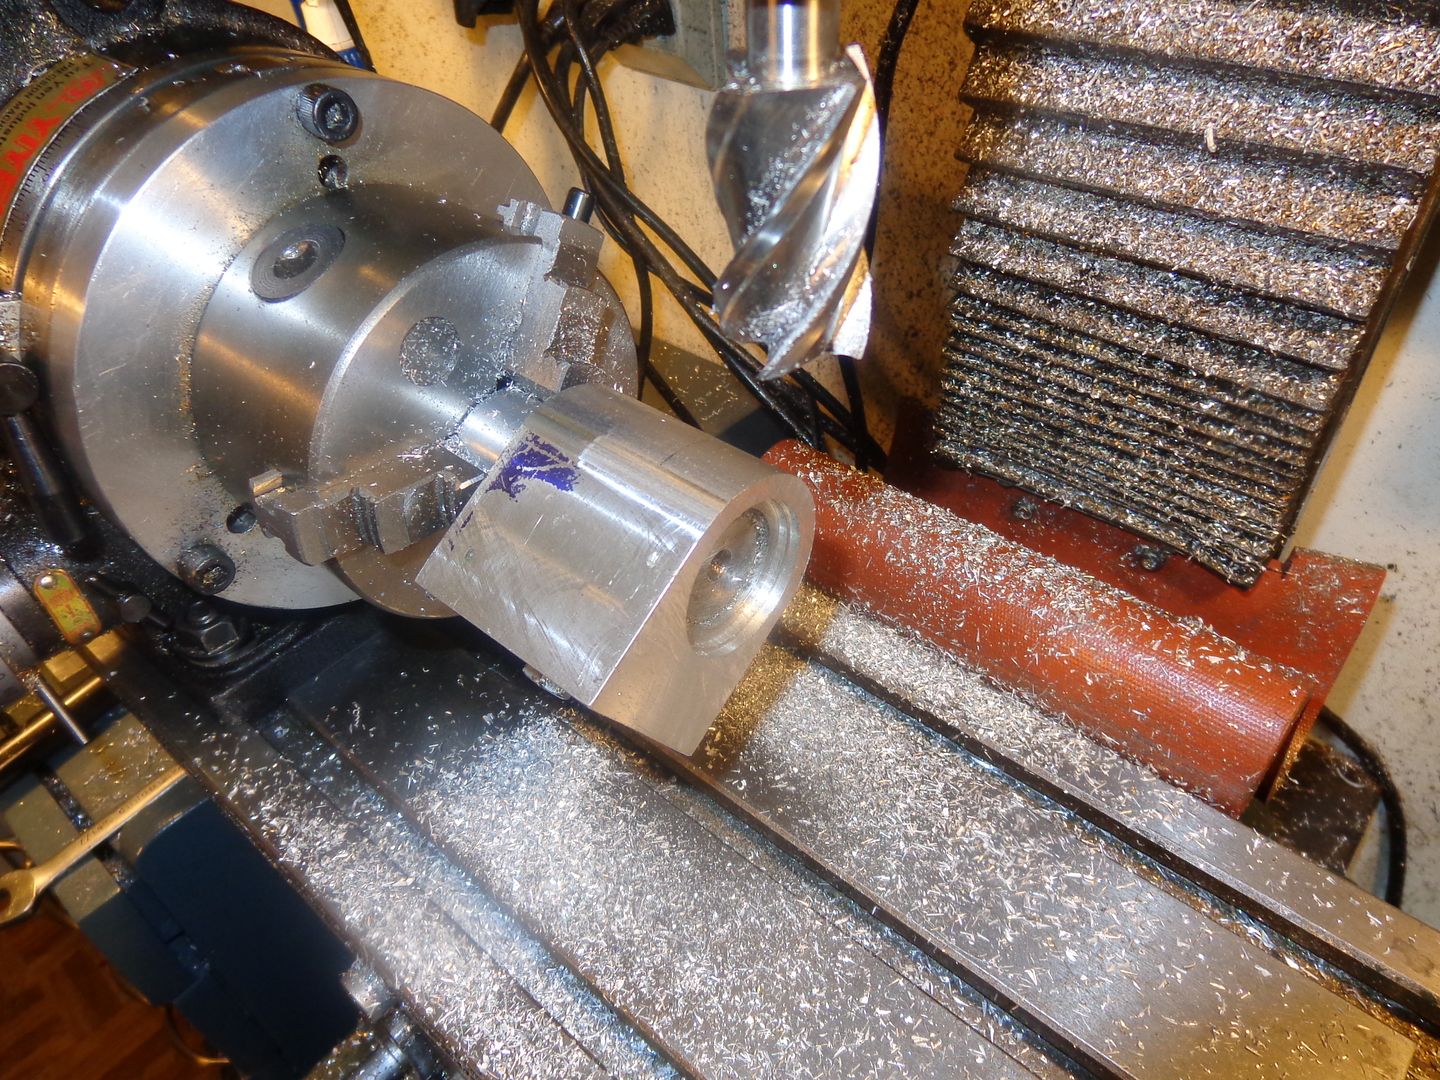
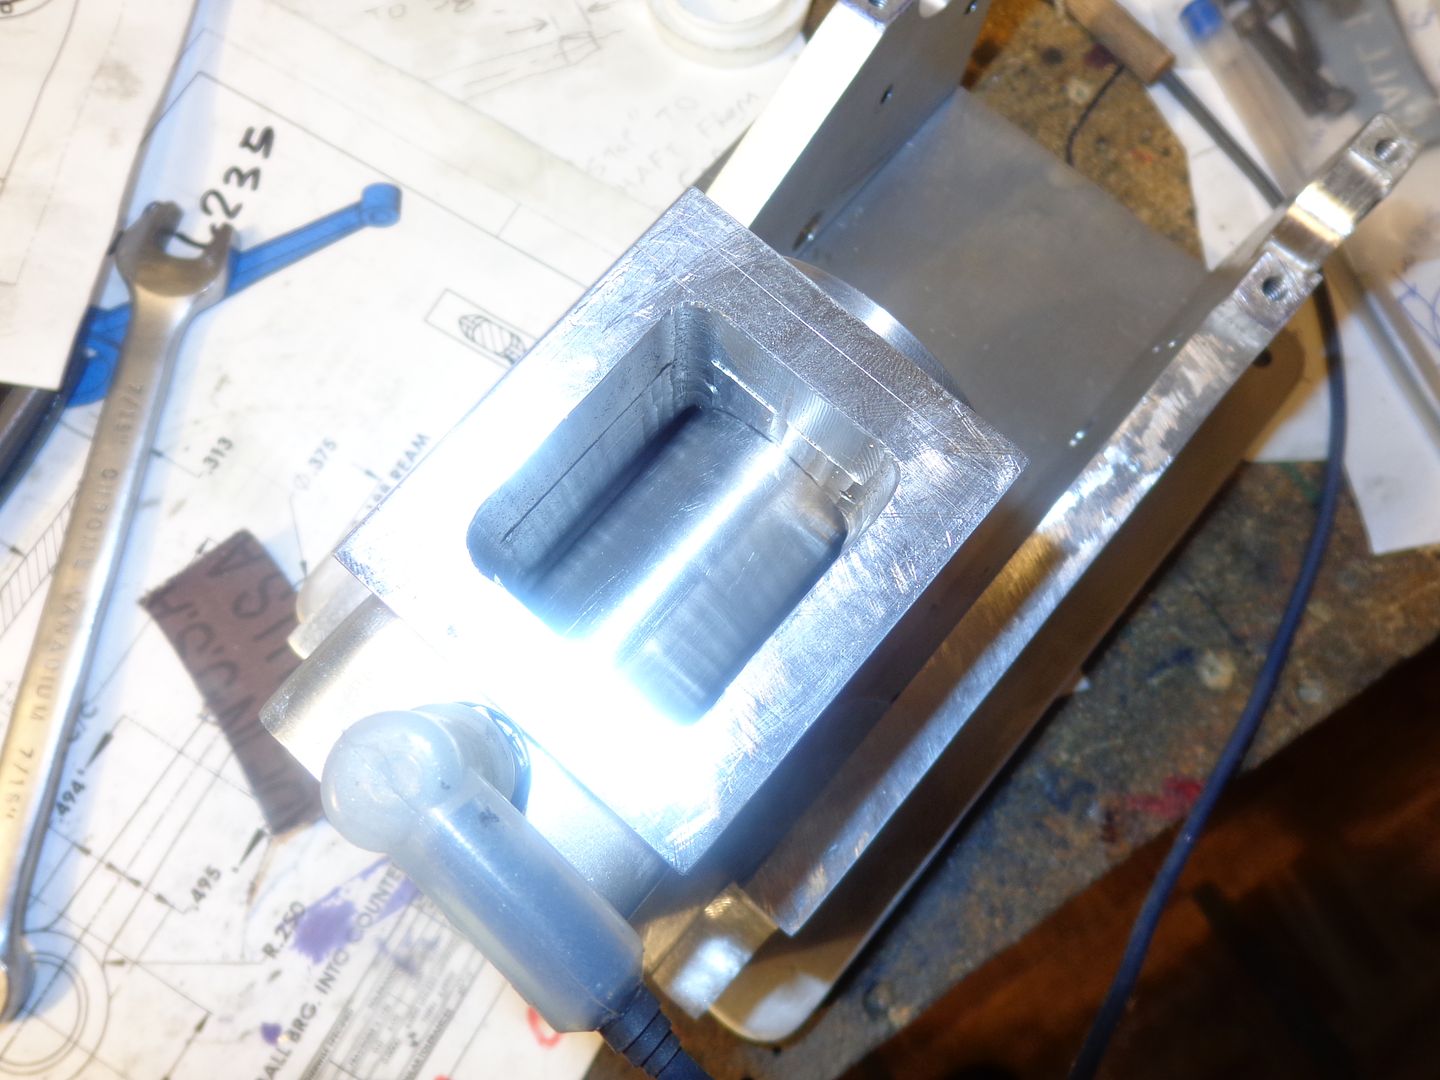
There comes a time in every job, where you have to stop and ask yourself "How the heck do I do that?" After I put the 1 1/8 bore all the way through the water reservoir, and hogged out the center cavity, I thought "How do I hold this thing to round it off in the rotary table, and at what point do I put the counterbores in each end for the O-rings." After a bit of head scratching, I turned a piece of 1 1/4" aluminum down to 1 1/8" diameter and inserted it through the reservoir, stopping just short of the deepest counterbore in the one end. I dabbed on a bit of green Loctite just to firm everything up, then drilled a clearance hole through the body of the reservoir that will later be machined out, and tapped a 1/4"-20 thread into the round aluminum stock for a 1/4" hex head bolt. This gave me a nice solid "handle" that was concentric to the bore in the reservoir. This in turn let me mount it on the lathe to cut the counterbore, and in the chuck on the rotary table to do the rounding off. I will also hold it in the rotary table chuck when I turn the rotary table 90 degrees to align the hole in the reservoir vertically to put the hole pattern in one end in the mill. Then I will remove the bolt, tap the round aluminum out of the reservoir, and flip the reservoir around the other way to cut the counterbore in the opposite end and to do the second bolt pattern in the opposite end.

 
Brian,
19 drawings so far, counting the one revision of the sideplate? I want to make sure I have all of them.

Chuck
Have no fear Chuck---When I get all of the drawings finished I will put them all into a downloadable file as pdf files and post a link to them. That way you won't have to worry about missing any of them.
 
Luc--You most certainly can. I am more comfortable with the old style points ignition, but that's just me. If you are comfortable with electronic ignition, then by all means go for it.---Brian

Brian I can send you a set up if you whant
 
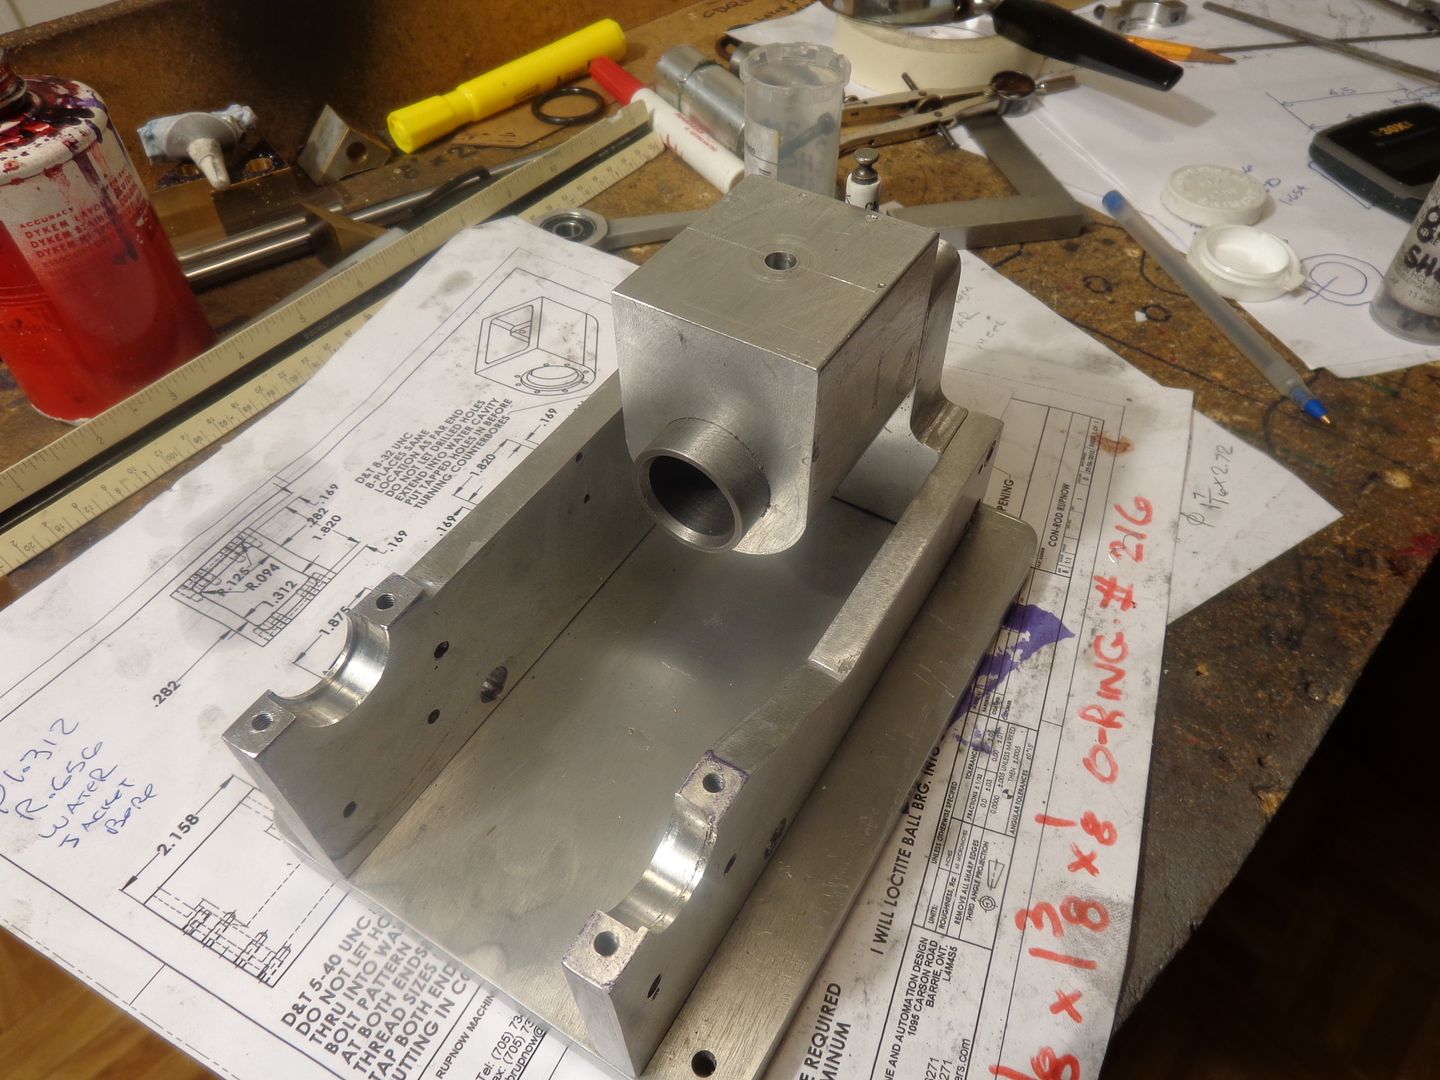
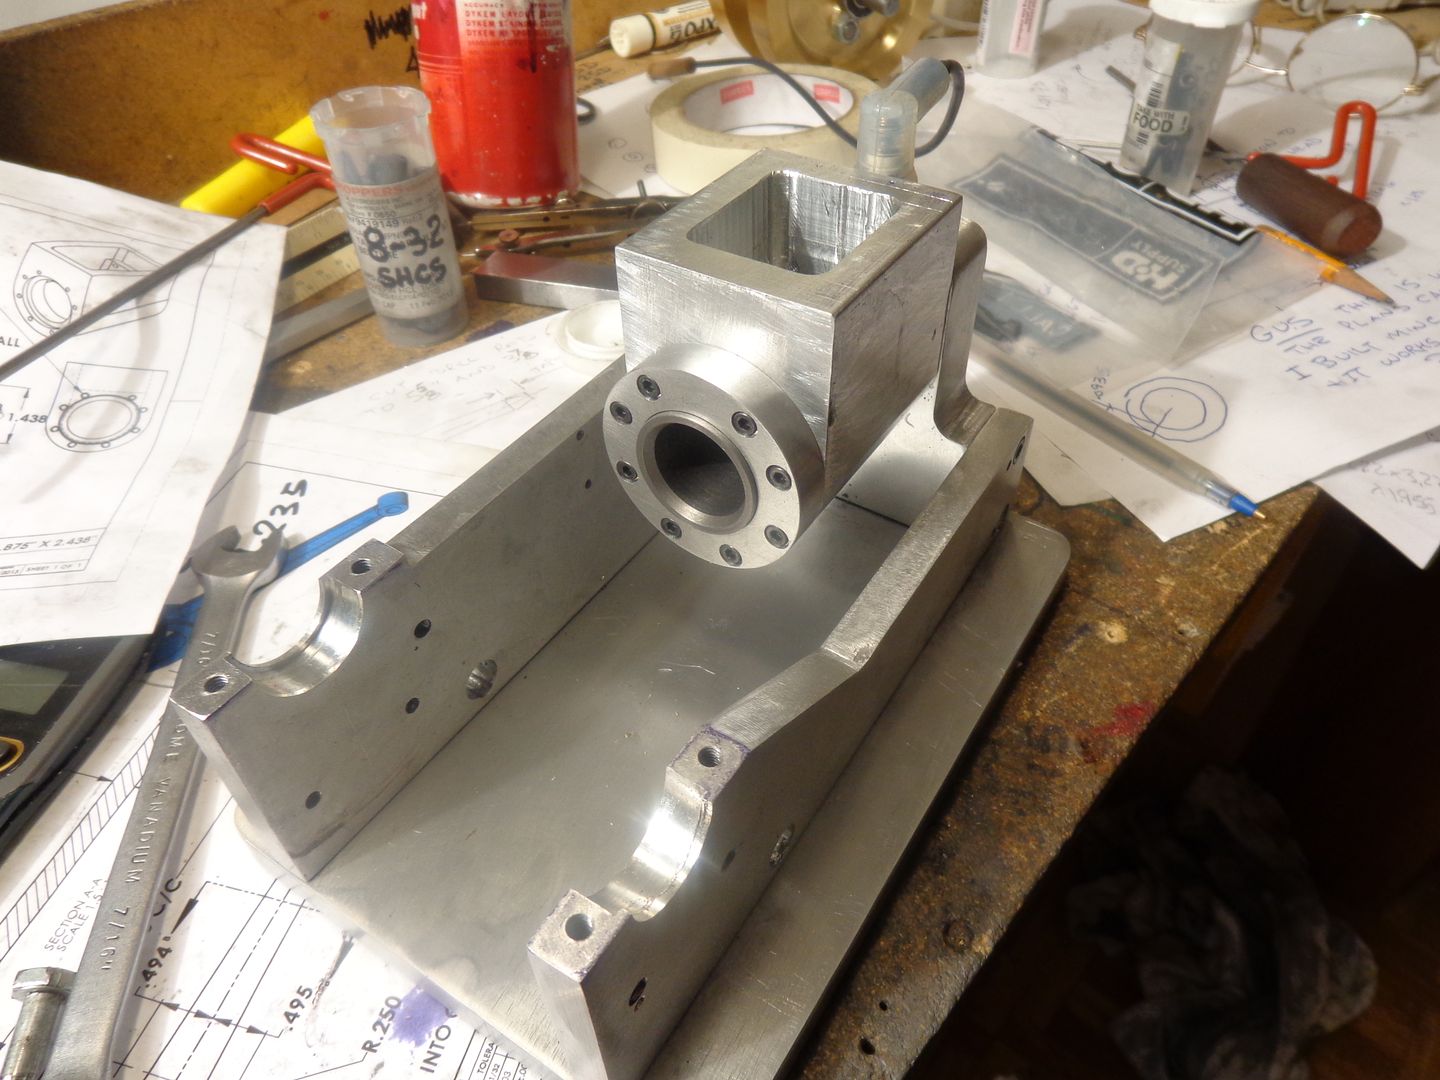
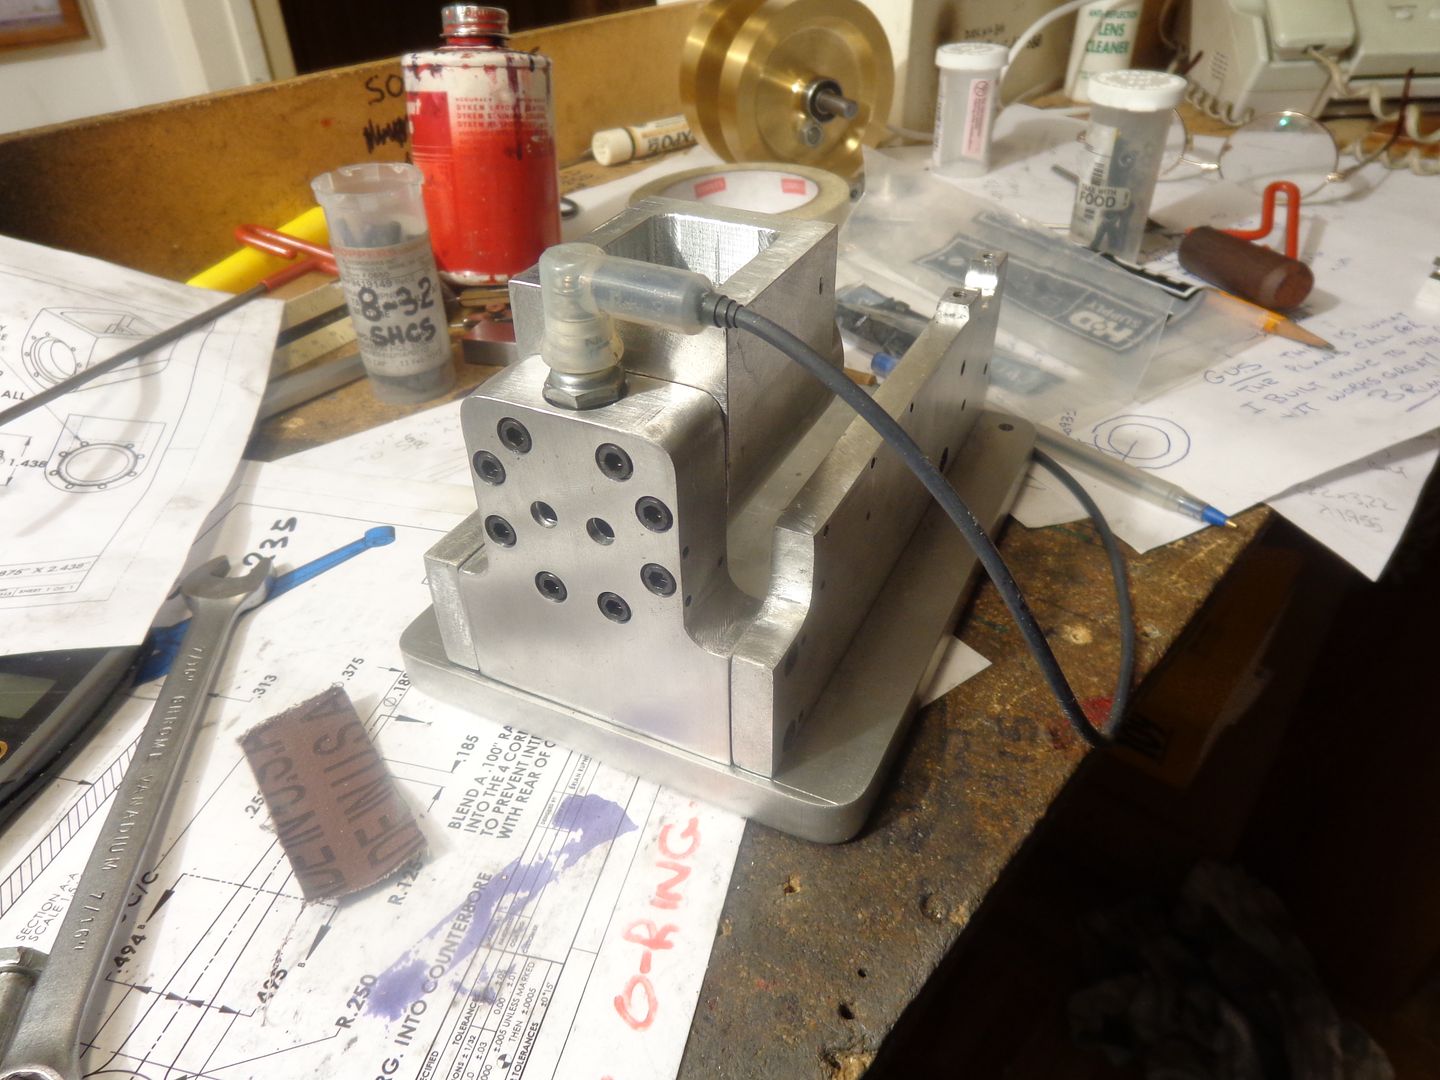
Trust me on this---the picture in no way reflects the amount of work involved in getting this far on the water reservoir!!!! The good news is, that everything fits tight and bolts up perfectly. This is no small feat, as the 8 counterbored holes in the cylinder head and the 8 threaded holes in the water reservoir were all drilled using ordinate dimensions on a mill that has no electronic scales. I'm a little cross eyed tonight from counting turns and partial turns of the dials on my X and Y axis. I still have to put a counterbore for the o-ring and a set of 8 more tapped holes in the end that you can see, and cut away the actual water reservoir down to the water jacket boring around the cylinder. So far---so good. If I don't mess anything up tomorrow the water reservoir will be finished and all that's left to make is the o-ring retainer that bolts onto the end of the reservoir that you can see.
 
Good Lord!!! If I had known how much work this water reservoir was going to be-----I'd of probably made it anyways. Bur right now my back and feet are killing me from standing at the mill most of the day. I'm going to take tomorrow off and go to a hotrod show. I still have to machine a fancy little cover for this one (probably with a round hole in the top) but that's work for another day.


I'm off to a hotrod show today. For once, its not raining this morning, and I'm a bit burned out from machining things. Little engines are great, but they have a tendency to eat up my life when I get involved with one.---Brian
 
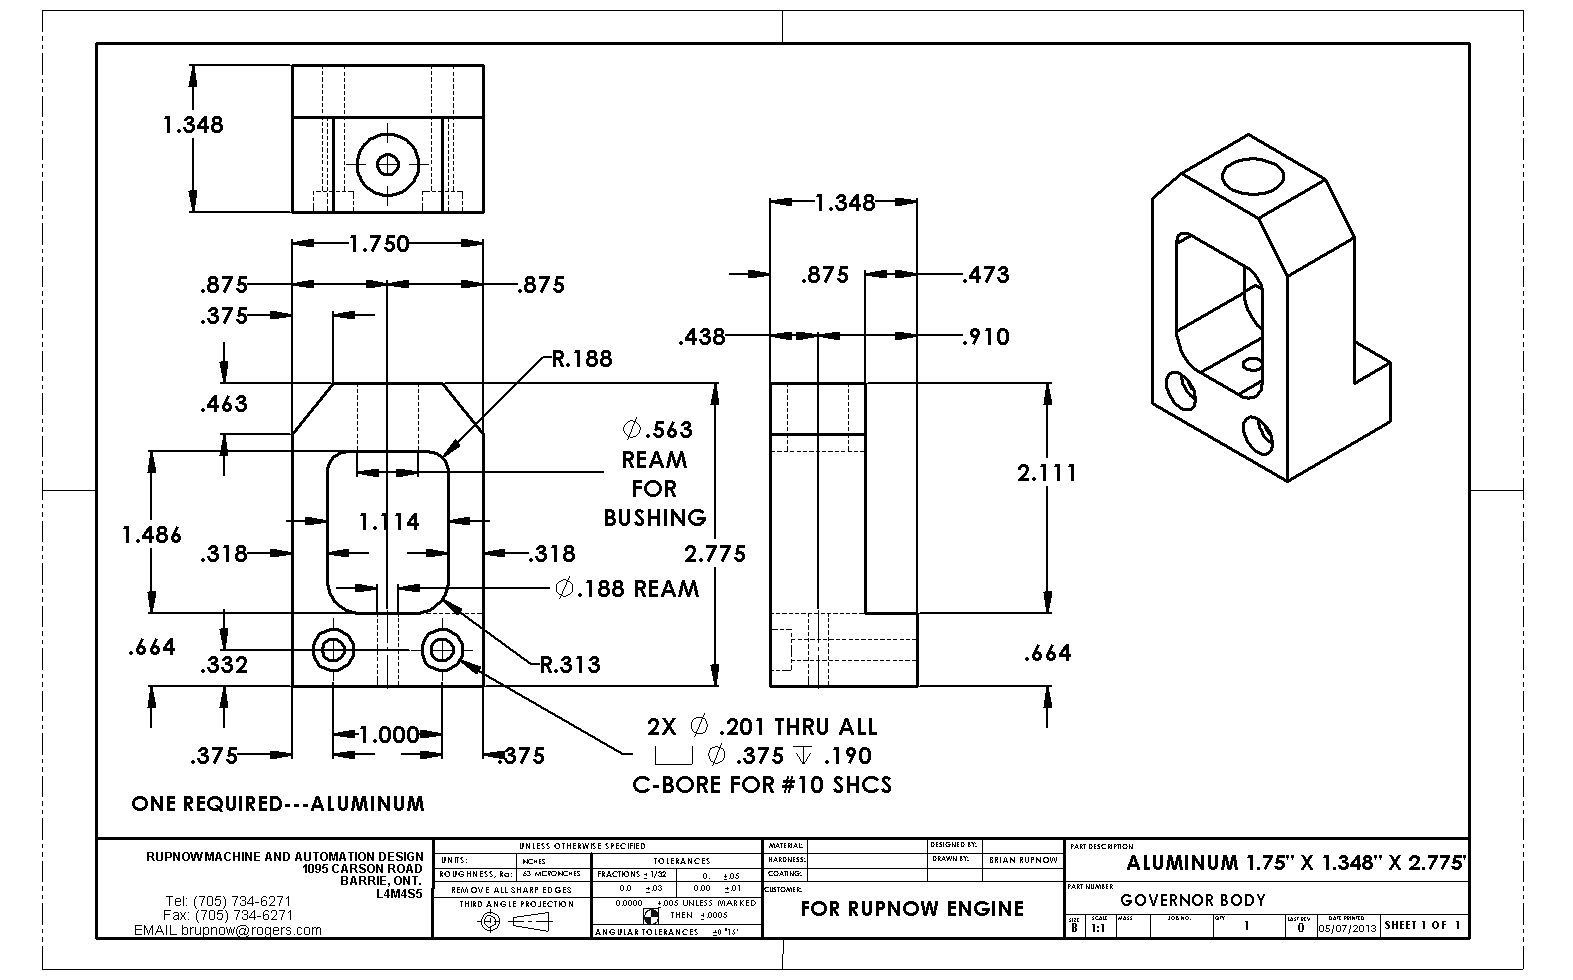
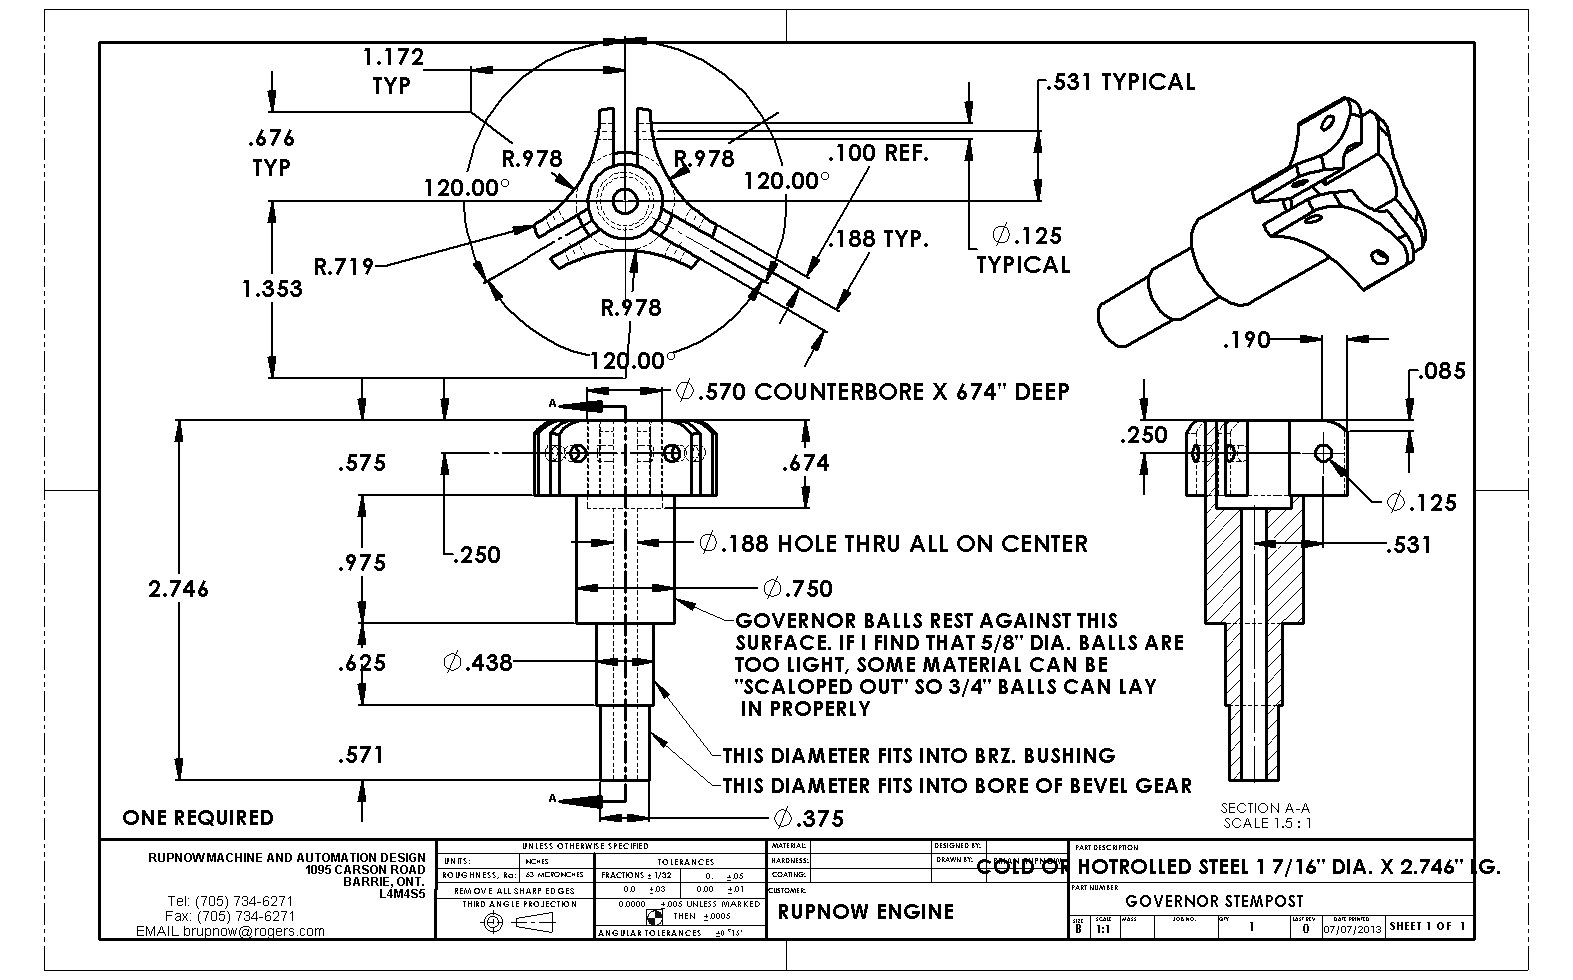
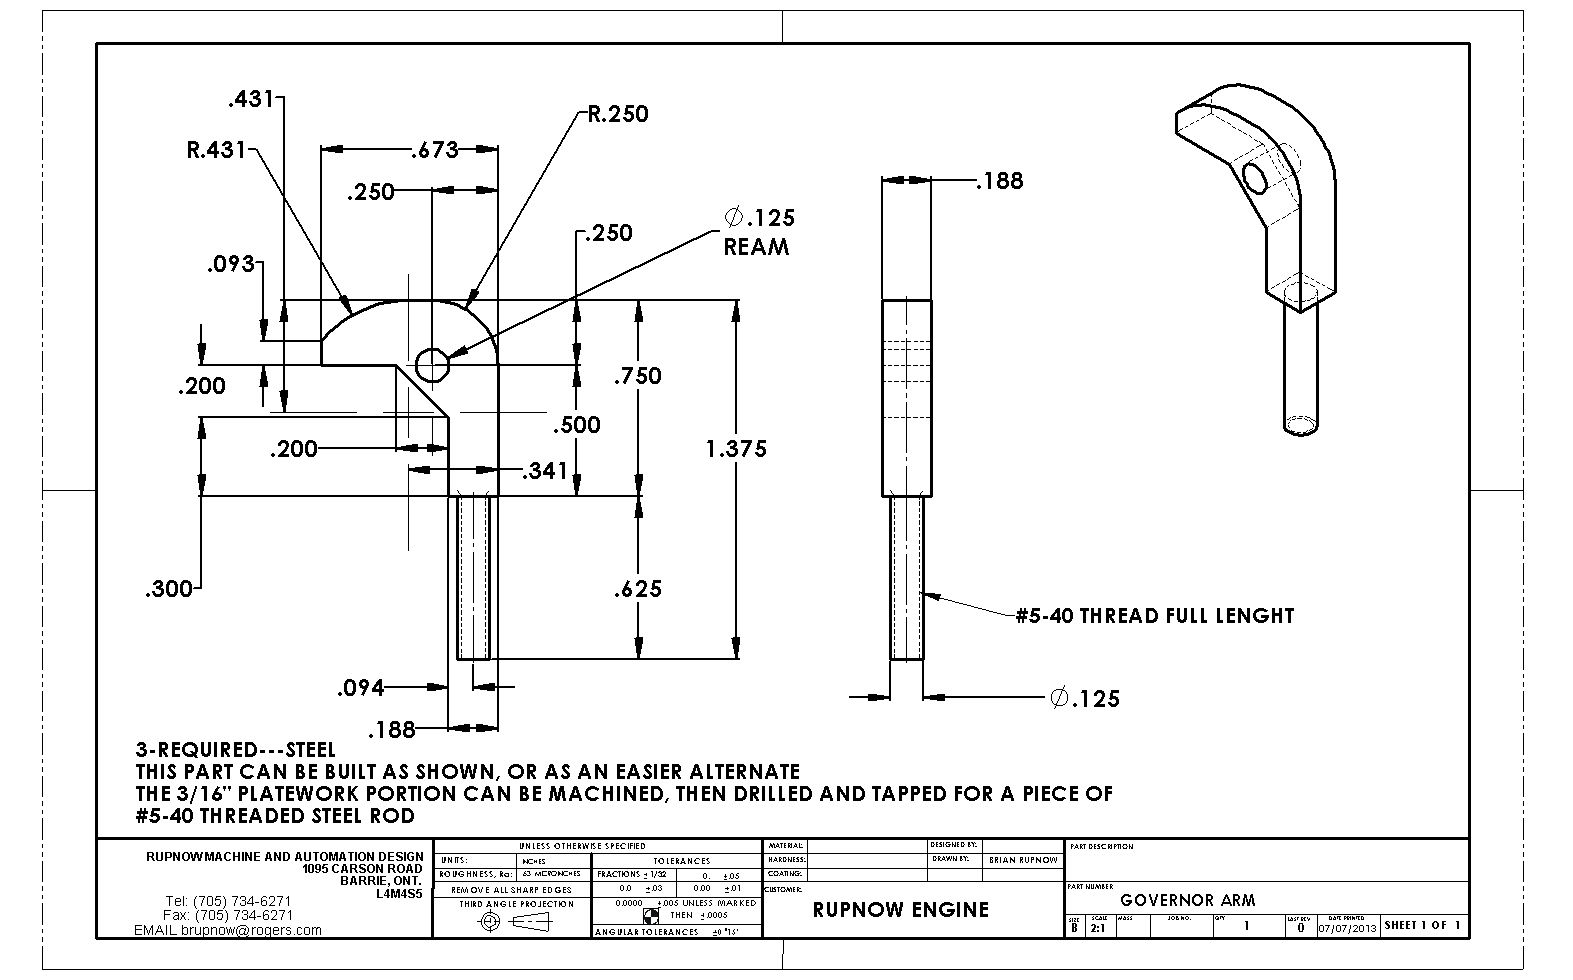
Be nice to me today boys, its my birthday!!! Hit the big 67 today.--Todays Ringo Star's birthday too, but he never calls me!!! I spent a lovely day at a "town festival/classic car show" yesterday, and it was great. I really needed a break from machining for a day. I'm up early this morning, so decided to do up the detail for the governor stempost and put it up. I will keep on detailing until goodwife gets up, and MIGHT get the governor arms done too. I have kids and grandkids coming today to celebrate "Poppa's birthday", so probably won't be making any parts today.----Brian


View attachment GOVERNOR STEMPOST.PDF
 
I think I have the "Lions share" of the large parts for this engine almost all built. I still have to hone and lap the cylinder, then build a piston to suit it. I am going to (hopefully) get this engine running as a simple 4 cycle engine before go on to add the governor.
 
Happy Birthday Brian! Hope it's a good one.

Just to let you know I am still here, but some personal and family dilemmas have put me far behind on your build. I did make it into the shed today, and I even managed my first chips on your engine, but many tribulations and no parts yet. Soon though, I promise!
 
Back
Top