Wallaby

Home Model Engine Machinist Forum

Help Support Home Model Engine Machinist Forum:

This site may earn a commission from merchant affiliate links, including eBay, Amazon, and others.
Hi Guys
Well It has been a bit of a eye opener that's for sure, as at first glance Castings look so easy :big:
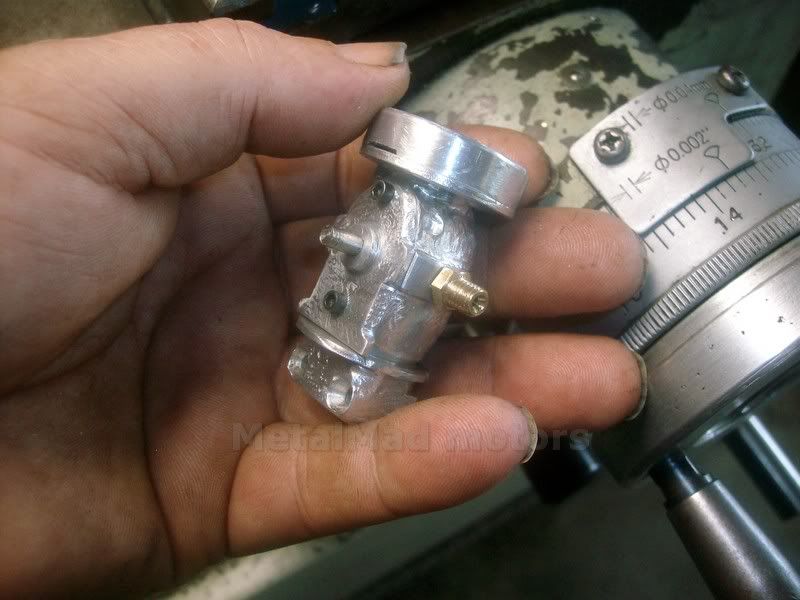
I must admit though that a nice Flywheel casting is a wonderful thing and makes life really easy :)
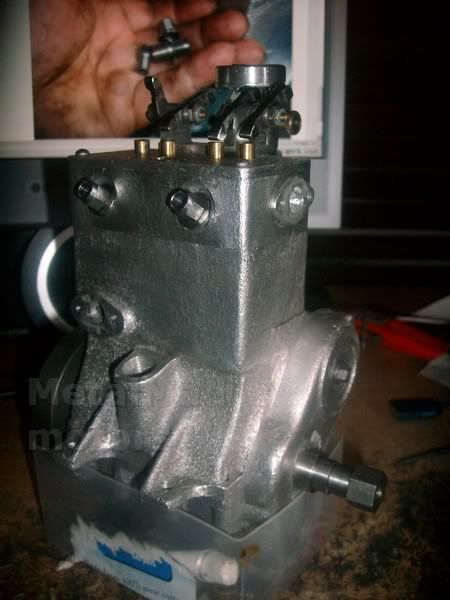
I had to do a fair bit of work to get a clear path for my new Rods but as of today we have the Crank and rods Rotating assembly even if it does still need cleaning up.
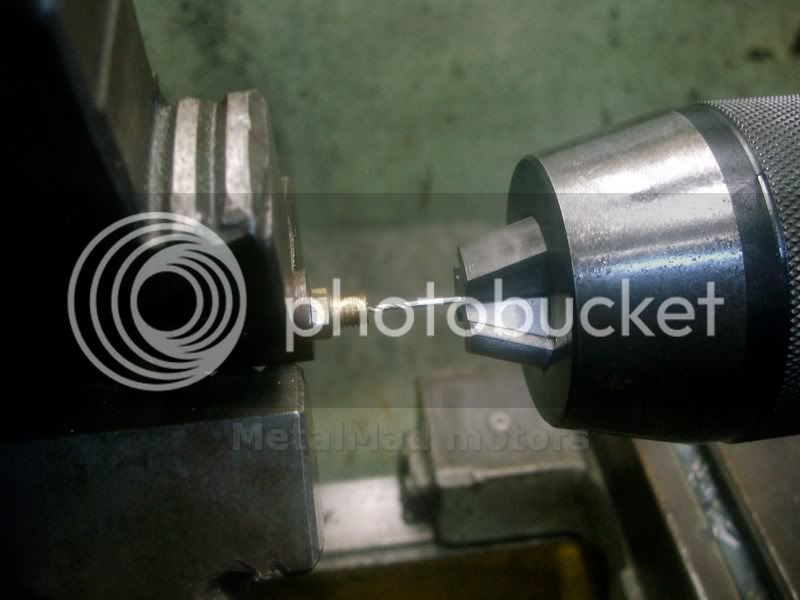
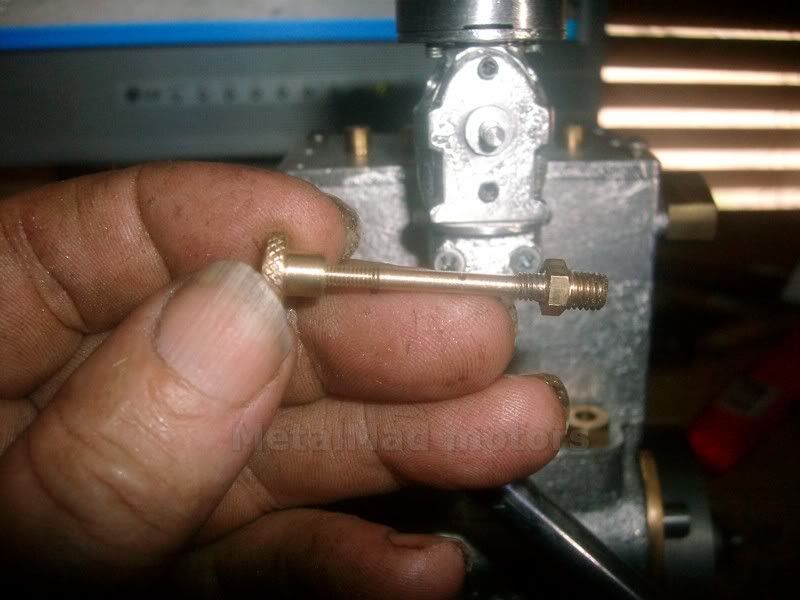
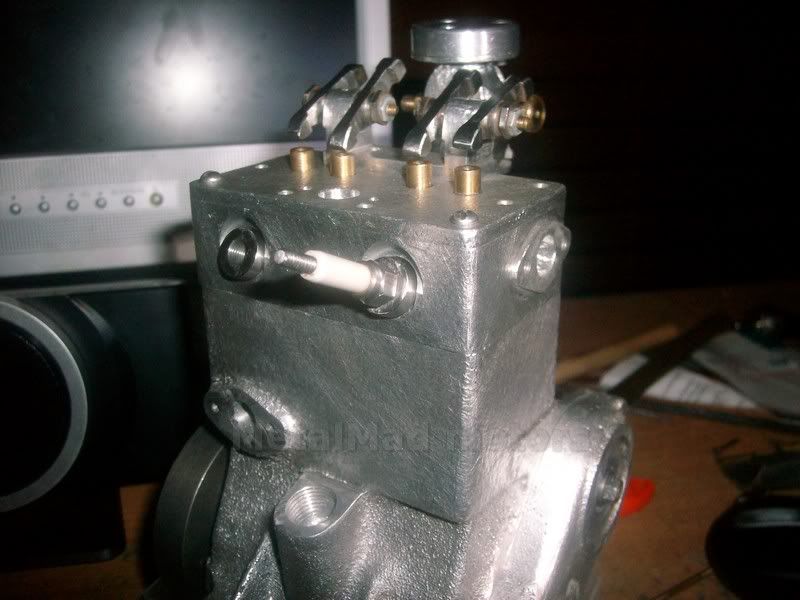
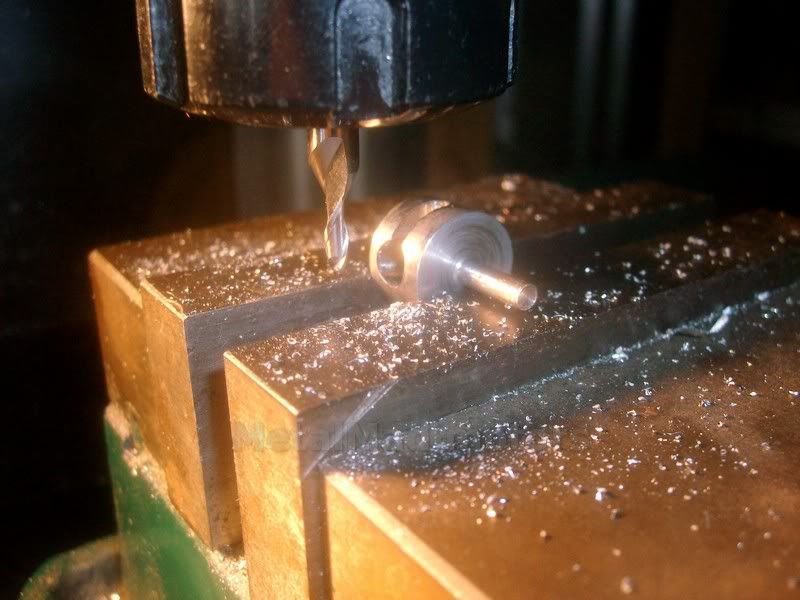
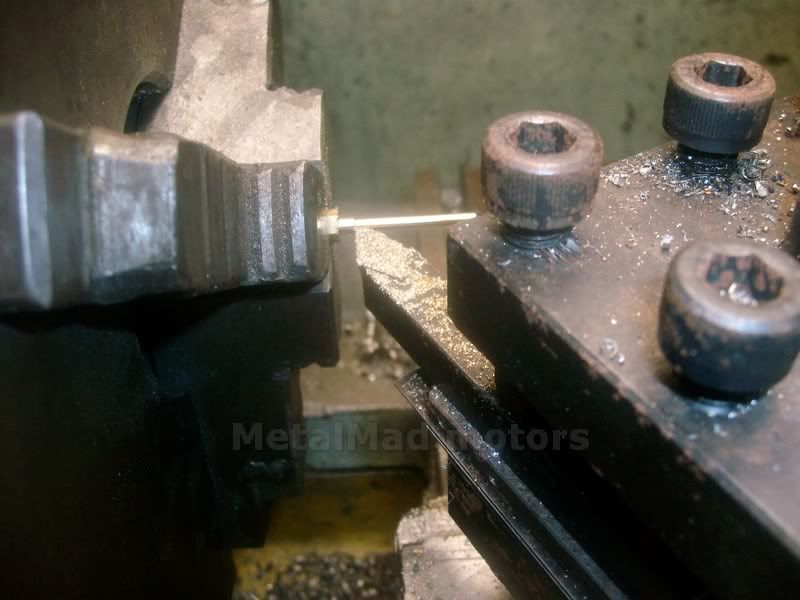
I then drilled the 7/64 cross hole for the Throttle assembly unfortunately the smallest mill bit I have, seems to be 1/8 so I may have to put finishing the part off for a while.
The part is slotted up to the cross hole from the venturi from opposing directions on either side if that makes any sense, to allow the throttle to open and close with the cross bar installed.
After drilling the cross hole I'm starting to wonder about my choice of Stainless for the throttle, I just hope it slots 7/64 OK
Pete
SANY0182.jpg
 
Hi Pete

Making good progress there.

metalmad said:
<snip>
I could not resist a trial fit up and sure enough the Caps hit the Block in 4 places so Tomorrow Ill relieve the Block a tad.
<Snip>

Pete

From what I can see

I think one of the reasons the conrod hits the block is the marking out start point, which needs to be in the middle of the gudgeon pin. If that is not quite right every thing else isn't either. if the gudgeon pin hole is below center the top of the big end will be too high and will hit the side of the block on the way up.

From the gudgeon center point you need to measure down 2250thou and scribe a line across the big end go another 5mm (sorry about the metric ETW) and scribe another line.
The 5mm is to allow for the all too common curved hacksaw blade and a clean up afterword.
When you mill down to the scribe lines on both cap and conrod the oval at the big end should become a circle when you bolt the cap on.

If you don't remove the full 5mm kerf, the conrod will be too long and probably hit the side of the sump on the way down.

I'm happy to take any suggestions on where to stick the chucking pieces on future conrods (providing suggested location has easy access to sunlight) ;D

Bez
 
;D Not much you can do about putting chucking pieces on con-rods Bez. But they do need some care with marking out.

Now, to avoid curved hacksaw blades - scribe your line right across the face of the big-end, then set it in the vice with the line exactly on the jaw height - now saw off in the horizontal position, with the blade lightly pressed down on top of the jaws.
 
I might try that tel . Though I'm favouring two cuts with a 1mm slitting saw and 4mm down on the quill (or how much is a 5mm SS be? :-\ ) 'caus I'm known to cut a straighter line with a scroll saw than I can with a hack saw

Bez
 
:) Slitting saws are cheap enough these days, but sometimes just aren't worth the bother of setting up.

'nother thing - I always drill, counter drill and tap for the cap bolts before cutting off.
 
The slotting of the throttle went well and so I started on another scary bit, the spraybar.
Its made out of 1/8 brass hex and has a 4BA thread near the hex and a 6 BA thread on the other end.
I was worried about this bit as it also has a 1/16 hole to a depth of 13/16. The Jet will be drilled from the other side.
The 4 BA thread is to screw into the carby body, but also is used to screw the spraybar into a threaded fixture in order to machine the other side.
Pete
SANY0183.jpg

SANY0184.jpg


I drilled out and threaded a bit of scrap for a fixture and machined the other side of the spraybar using 5 mm thread for the fuel inlet.
I hope i have not stuffed this up as I used a 1mm drill for the jet even though a number 70 was called for. I have a feeling a new chuck would be needed for the smaller drill and Ive used 1mm before but only with a fixed throttle.
At the moment the cross hole is 1 mm as well but this may change during tuning, as I think it should be a number 55, but I'm having trouble reading the speck in the article.
In any event my thoughts were with John and Mal today.
Pete
SANY0186.jpg

SANY0187.jpg
 
Hi Pete,
You say that working with castings opens up another whole can or worms, so to speak. I think the one thing that a lot of fellows fail to realize when they are making castings is to provide some way to chuck the part, a round boss, a square lug or something. It's easy to mill or turn it off when finished but it's a real pain when you don't have anything.
You're making great progress on the engine.
gbritnell
 
Thanks George
I'm not saying Castings are a bad thing, cos they are not. They give a whole new dimension to an Engine which I really like!
I am even considering casting up the Block for my next project myself, but if I do, it will not be in the same league as Bez's stuff.
A few weeks ago a customer gave me a couple of big drums of old brass sprinklers that he had lying around and I recon I can see a few blocks and flywheels there :big:
I did a little more on the spraybar today, but may well remake the mixture needle knob larger as my hands don't grip small things well.
Pete
SANY0188.jpg

SANY0189.jpg
 
Hi Pete

I bet those two huge rubber sprinklers in the bagground work really well (in the rain) :big:

Cheers

Bez
 
Hi Bez
The way the weather has been lately Ive wondered if I should buy a little boat to go to the shed and Back :big:
Today seems to be clearing up so maybe ill hold off for a while ;D
Did you have any luck with the pistons Mate or should I Barstock em?
I have plenty to go on with in the meantime though.
I'm thinking of having a go at the center hub of the big gear that drives the oil pump soon, Scary :eek:
Pete
 
Yeah that 1/8" square hole has me worried too! I was wondering if it could be done another way....like an Oldham coupling....

I suppose it doesn't need to fit too tight....as a matter of fact it shouldn't fit too tight.

Dave
 
Hi Dave
I have not machined the matching inner oil pump case yet either and will not drill the timing case mounting holes till the pump assembly is done.
I'm also wondering if that inner gear hub should be hardend and pressed into the gear.
PS Have u started yet?
Hope u post!
Pete
 
Hi Pete

The list of excuses I have would qualify for a thread of their own
So the brief version-
Earth leakage fault on wood lathe motor = can't make the pattern and core box
Idea! = steal motor off surplus drill press
Lathe pulley has 5/8" shaft and 8mm through hole = 1" bearing puller won't fit down 8mm hole.
10mm thread inside motor shaft = 8mm push rod jams in motor shaft before pulpy is loose.
Lots of late nights = got 8 mm rod out :wall:
Use 6 mm push rod = pulley finally removed.
Foot plate on replacement motor different size = drill & tap new mounting holes in mounting plate
Replacement motor overheats when mounted horizontal = new motor coming next week
Sorry about the delay - I've bin kinda busy ::)

Bez
 
Hey Pete!

NOPE not yet....trying hard to get the damn SB done......First job for her is the plan... ;D

Dave
 
Hi Bez sorry to hear about the woodlathe drama
but its gunna be awhile til i need pistons :)
I think I might make some Sparkplugs this arvo, that is if I can get myself out of this chair and into the shed :big:

Nice one Dave
I better get a move on then :big:
Pete
 
Made up a couple of adaptors today from the m10-1 to 1/4- 32 for a smaller set of home made plugs.
Here with the "Rattler" plug for effect. I have always thought the 3/8 plugs in the Wallaby are too large, The adaptors were made from the same bit of scrap stainless steel I made the throttle out of, I may put flats on them but I guess they dont really need em as once the plug is screwed in they will nip up ok.

Pete
SANY0190.jpg
 
Oh I like the smaller plugs......I'll need to note that!

Dave

 
I recon once everything is on the Engine the smaller plugs will look more in proportion, Dave but only time will tell.
Hi Bob Thanks for the drop in :)
have you been doing much?
It seemed like I wasted half the arvo today looking for the length of piano wire I make my spark plug electrodes with, looks like a trip to the Hobby shop tomorrow.
Pete
SANY0193.jpg
 

Latest posts

Back
Top