You are using an out of date browser. It may not display this or other websites correctly.
You should upgrade or use an alternative browser.
You should upgrade or use an alternative browser.
Tiny Inline 4 Cylinder IC
- Thread starter kcmillin
- Start date

Help Support Home Model Engine Machinist Forum:
This site may earn a commission from merchant affiliate
links, including eBay, Amazon, and others.
Kel, you'll find that the pushrods, tappets, and cam interface will wear (alarmingly) at first, and you'll be adjusting valve clearance for a while, but then suddenly everything seems to calm down, and you'll not have to mess with it so much.
I made my radial engine so that clearance was done by having adjustable pushrods rather than rocker arms, but the principle is the same. The engine breaks in, and then there is much less adjusting of these components.
The problem with IC engines is that every time you run them, you'll find something that needs tweaking. Worst is the phenomenon of a cylinder no longer firing, along for the ride, with the others powering the engine. VERY annoying, and you'll stop at nothing to fix it!
Enjoy!
- Joined
- Jan 19, 2010
- Messages
- 1,193
- Reaction score
- 41
Thanks for the tips Swede.
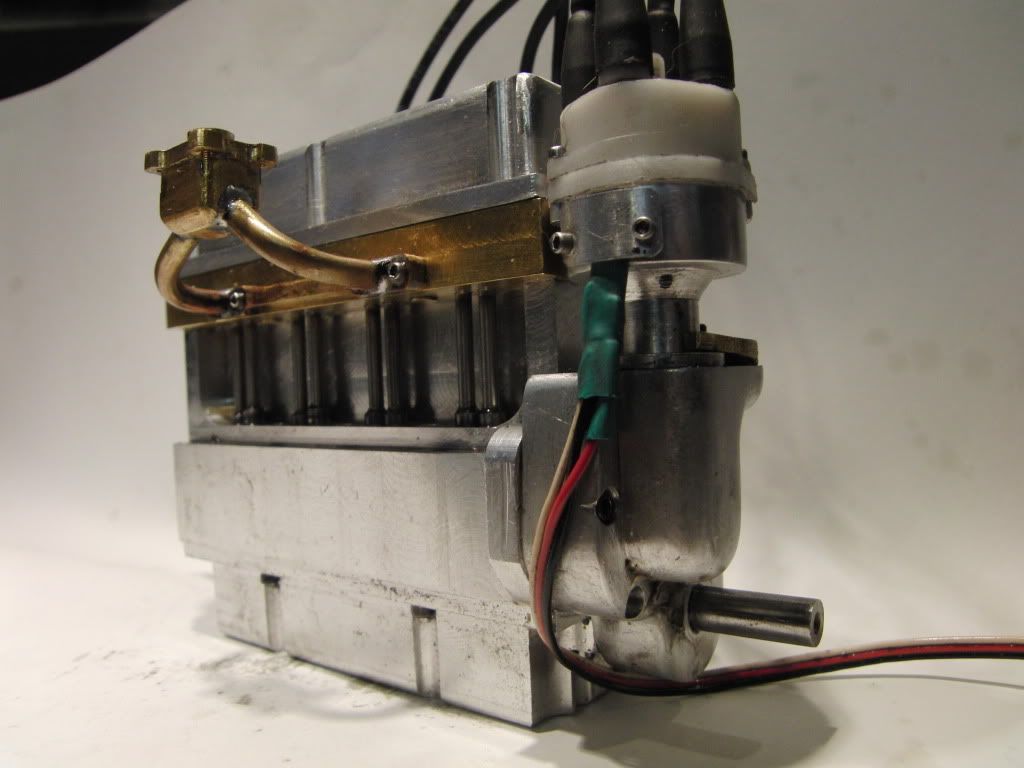
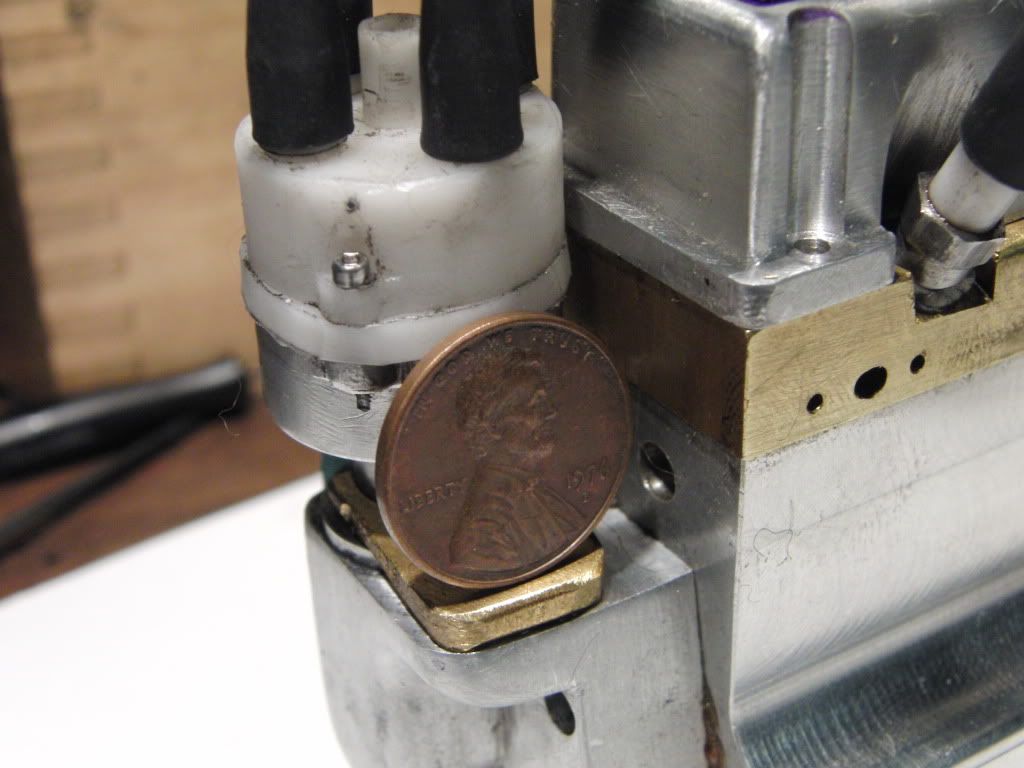
I currently am uploading a new video. I changed the distributor design. I was having trouble with stray sparks and hall sensors burning out. So I put an insulator between the cap and distributor body, and changed the rotor design to help isolate it. I have pictures that explain it but photobucket is down for the moment.
It is now running on all four cylinders, uncontrollably I might add, things get a little crazy no throttle. I always have a hand on the off switch for when she rev too high. I am waiting for some reamers for the carb, so a good one will have to wait till this weekend. I purchased plans for the Howell 2 jet throttle and am scaling it down 1/2.
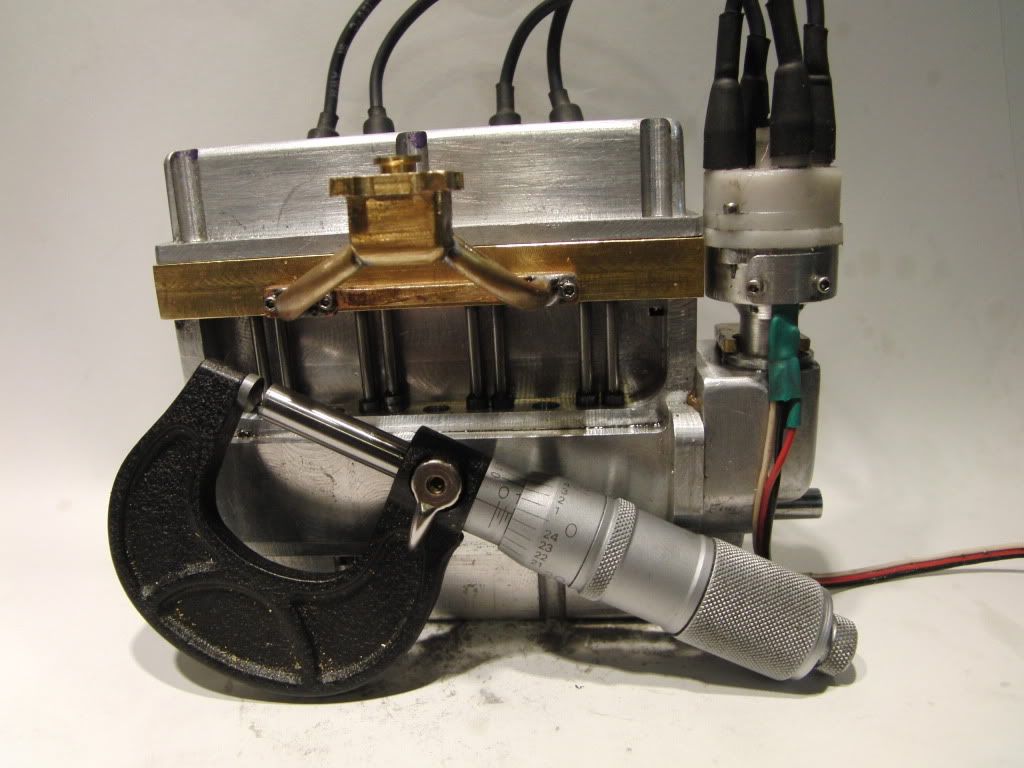
According to the formula of [carb venturi hole = 25% of the cylinder bore] I should be using a .094" venturi, but that is a bit small, so I will be using 1/8" instead. Any comments on this would be much appreciated.
BTW do you think I can get 5/32 OD O-rings at the hardware store?
Kel
Error on the side of smaller. You would be suprized how small will work well.
- Joined
- Jan 19, 2010
- Messages
- 1,193
- Reaction score
- 41
Thanks Steve, I have not yet completely designed the carb yet. I am currently using a .094" venturi, I know Gail went even smaller with his Tiny. So I will keep it at the small end.
At this scale the Howell carb might get difficult. Any Ideas on an easy idle circut? I have made a throttled carb this small, but no idle circut, and it did not work very well in the idle mode.
Here is the new vid.
"http://www.youtube.com/v/cloqXrp4ws8?fs=1&hl=en_US
I love this hobby!
Kel
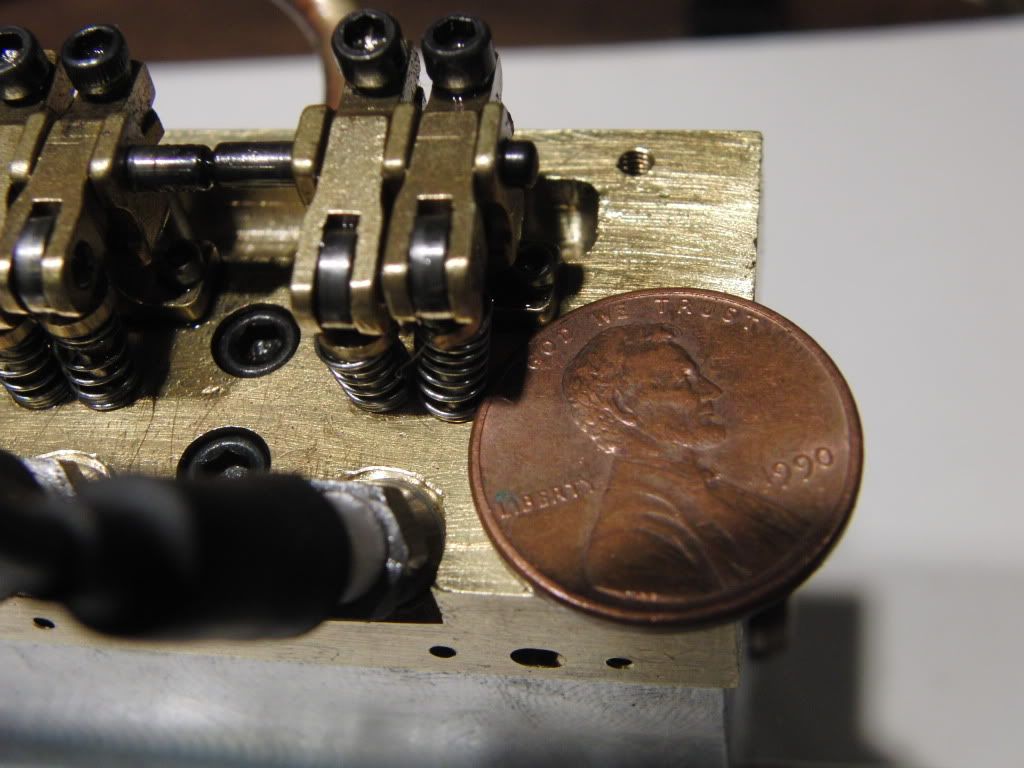
Edit: If you watch closely at the 47 second mark you can see one of the rocker arms popping off. The valve cover is designed in such a way that it holds the pivot pins in place, but as you can see, without it they fall off. Or at least that one does all the time.
If you are going with the drum style carb you could drill an air bleed hole for a leaner idle.

$89.99
Outdoor Wood Boiler Water Treatment Rust Inhibitor- AmTech 300 & Test Kit
Alternative Heating & Supplies

$599.00
$699.00
FoxAlien Masuter Pro CNC Router Machine, Upgraded 3-Axis Engraving All-Metal Milling Machine for Wood Acrylic MDF Nylon Carving Cutting
FoxAlien Official

$99.99
AHS Outdoor Wood Boiler Yearly Maintenance Kit with Water Treatment - ProTech 300 & Test Kit
Alternative Heating & Supplies

$39.99
$49.99
Sunnytech Low Temperature Stirling Engine Motor Steam Heat Education Model Toy Kit For mechanical skills (LT001)
stirlingtechonline

$17.29
$18.99
Product-Led SEO: The Why Behind Building Your Organic Growth Strategy
The Quality Books
![DreamPlan Home Design and Landscaping Software Free for Windows [PC Download]](https://m.media-amazon.com/images/I/51kvZH2dVLL._SL500_.jpg)
$0.00
DreamPlan Home Design and Landscaping Software Free for Windows [PC Download]
Amazon.com Services LLC

$37.38
$49.99
Becker CAD 12 3D - professional CAD software for 2D + 3D design and modelling - for 3 PCs - 100% compatible with AutoCAD
momox Shop
- Joined
- Jul 16, 2007
- Messages
- 3,055
- Reaction score
- 1,180
Hi Kel,
I have built the Howell 2 jet carb. It has some small drilling to do so if you scale it by 1/2 it might be quite hard to make. I'm not saying that it couldn't but it will be tricky.
Why not go with the more simple model airplane air bleed type carb. These can be made any size. If you have built one in the past the only thing you would need to add is the air bleed circuit as Steve mentioned. This consists of an air port that is drilled from the side of the carb at the centerline of the bore, not the barrel. It needs to be just slightly forward of the barrel centerline (toward the inlet). The flow of air through the bleed port is controlled by a screw that intersects it, nothing sophisticated just something to control how much air bleeds into the carb.
The purpose is to reduce the amount of vacuum, and therefore the amount of fuel, that that is drawn through the carb at idle. Without it the engine will go rich and die out or load up the plugs. I'm attaching the drawing of the carb for my 4 cylinder engine. For yours I would scale the bore down but you could probably get away with using the other dimensions.
George
View attachment 4 CYL OHV SHT J.pdf
Kel, your little 4 banger really looks nice and the valve cover really adds to the look.
I enjoyed following your build.
Regards,
Chuck
I enjoyed following your build.
Regards,
Chuck
Sparticusrye
Active Member
- Joined
- Mar 28, 2011
- Messages
- 43
- Reaction score
- 4
Excellent build, fine looking engine.
James
James
- Joined
- Jan 19, 2010
- Messages
- 1,193
- Reaction score
- 41
Thanks A lot for the compliments fellas. This really makes it all worth it.
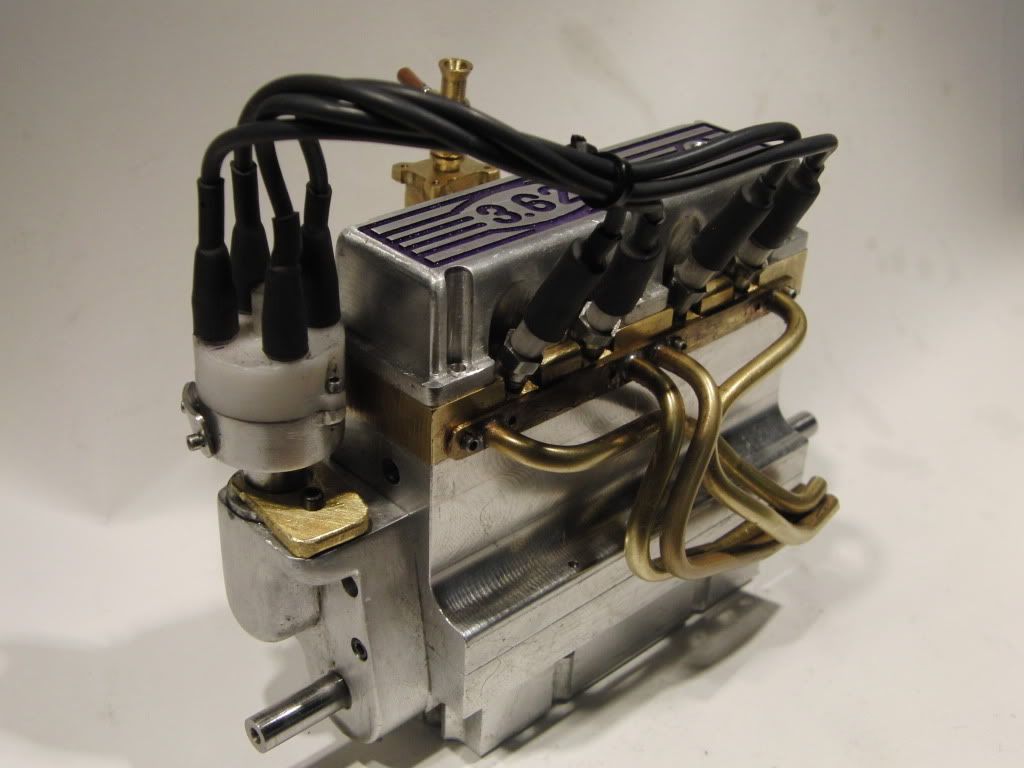
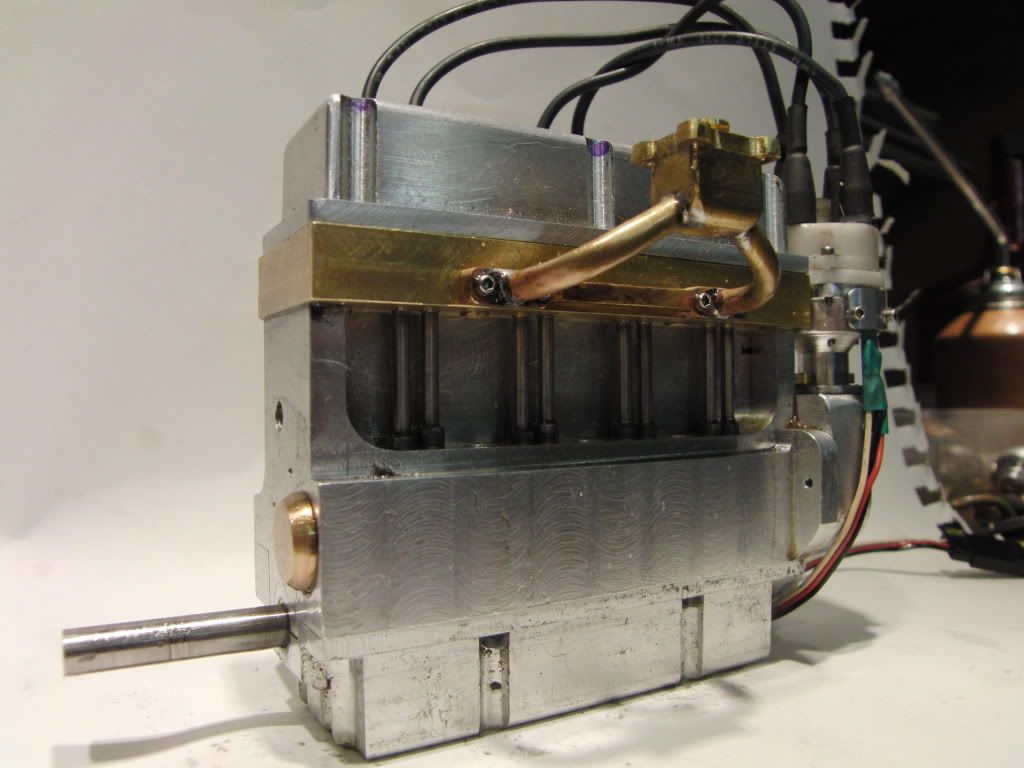
John, the header is K&S brass tube which is bent with an off the shelf tubing bender.(which is sold by the same company) I had to anneal the tubing before I bent it, but that was pretty easy to do with a torch. I am going to be making another one in the next few weeks and will post pics or even a video of bending the tubes.
Ray, I should be able to get more pics of the engine up tomorrow. Photobucket doesn't seem to like a few of my pictures, they upload fine and then it fails, but not with all the pics, so its kinda weird.
I do have quite a bit of work to do yet, but I could not help getting it running once I realized I made everything I needed to make it functional. :big:
Kel
- Joined
- Jan 19, 2010
- Messages
- 1,193
- Reaction score
- 41
I made a test carb this weekend, it seems to work alright, but the needle could use some work.
Here is the video of the new and improved Throttled and Revving Tiny 4
<object width="480" height="390"><param name="movie" value="http://www.youtube.com/v/AqBh0ORf4h8?fs=1&hl=en_US"></param><param name="allowFullScreen" value="true"></param><param name="allowscriptaccess" value="always"></param><embed src="http://www.youtube.com/v/AqBh0ORf4h8?fs=1&hl=en_US" type="application/x-shockwave-flash" allowscriptaccess="always" allowfullscreen="true" width="480" height="390"></embed></object>
Kel
- Joined
- Jul 16, 2007
- Messages
- 3,055
- Reaction score
- 1,180
Hi Kel,
It sounds pretty good to me. The proper way to adjust them is to run the engine at high speed first and adjust the needle until it runs as fast and clean as it can. Now back the needle out ever so slightly (rich). This will prevent it from being too lean at high speed. Now close the throttle down to the idle position and adjust the air bleed screw until it runs as well as it can. If the engine stalls with the air bleed open just start closing a little. If it gets too rich open the air bleed up a little. If you get no response then the air bleed needs to be enlarged a little.
gbritnell
Similar threads
- Replies
- 95
- Views
- 12K


![MeshMagic 3D Free 3D Modeling Software [Download]](https://m.media-amazon.com/images/I/B1U+p8ewjGS._SL500_.png)


