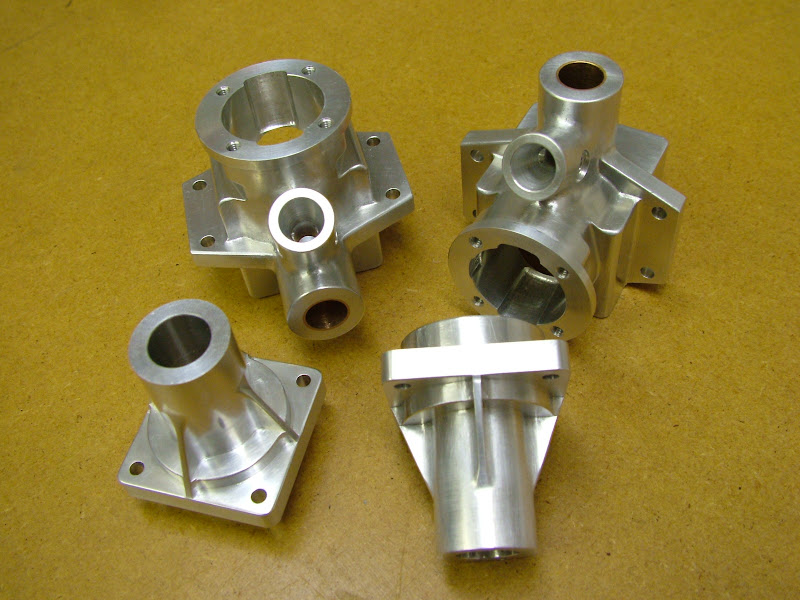
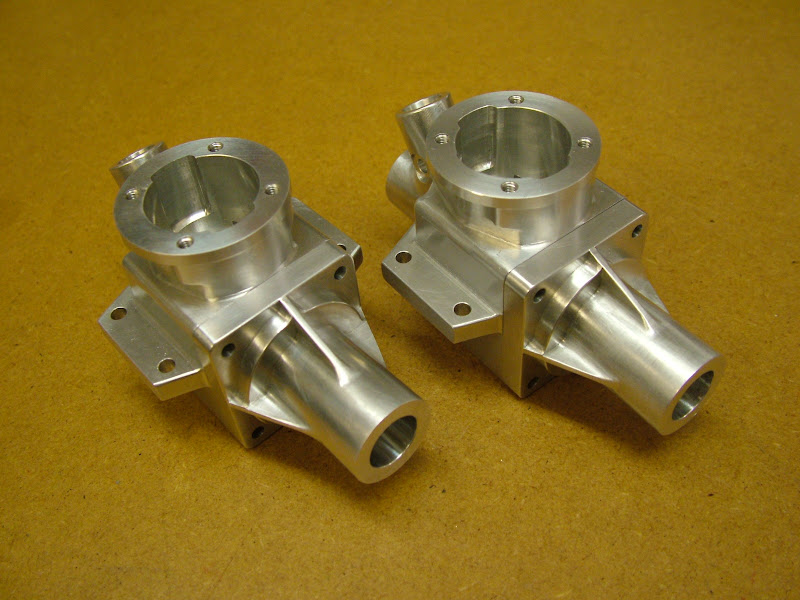
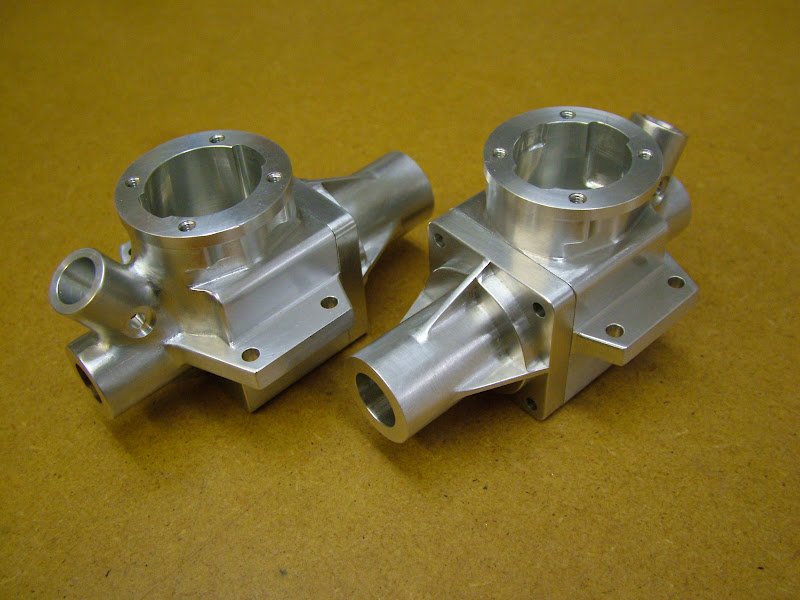
Hi Guys, just a little update and yep the cases are finished woohoo1
I confess they have come out much better than I anticipated - well I think so

- as it would have been so easy to mill away material that should have been left. It's certainly increased confidence to tackle something on similar lines. Breaking the machining down into small but progressive steps it's surprising how quickly the shape materialises.
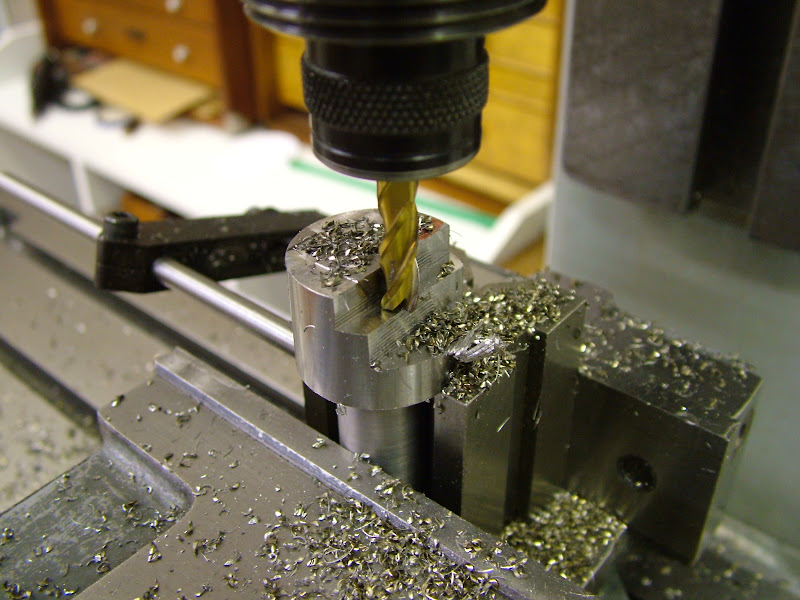
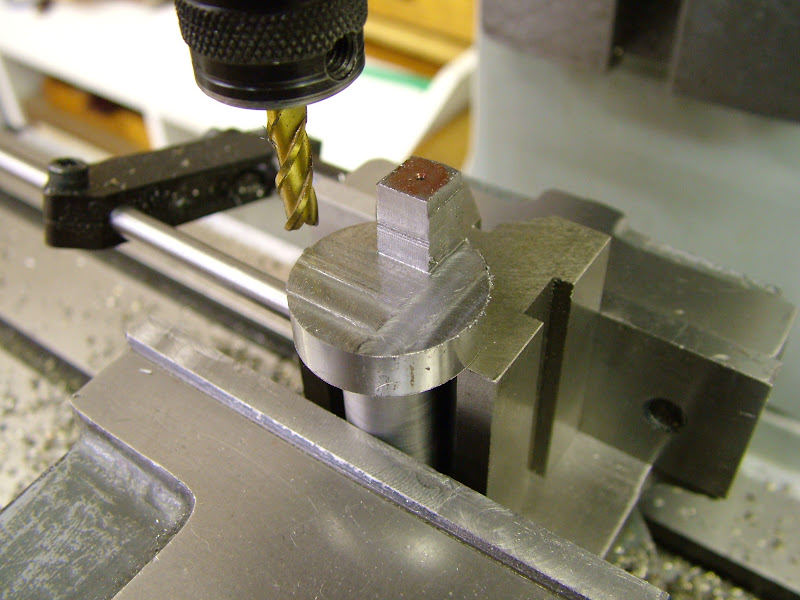
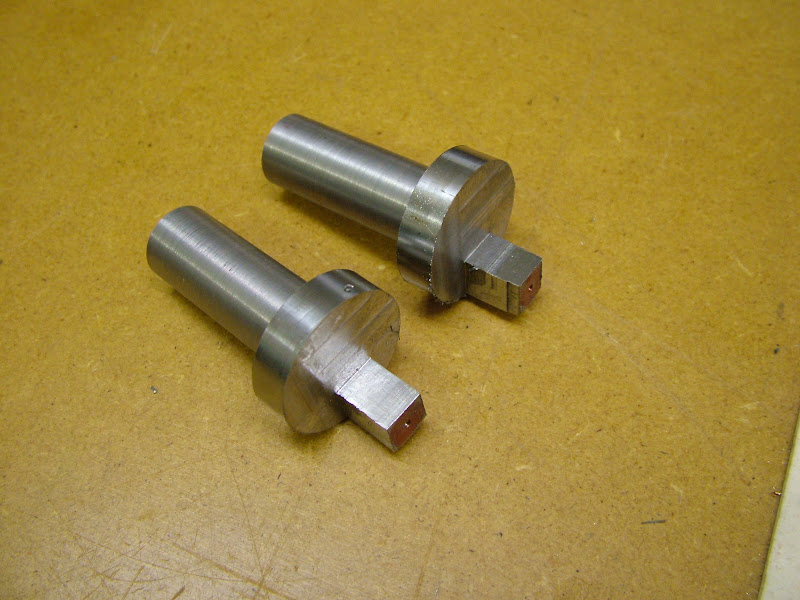
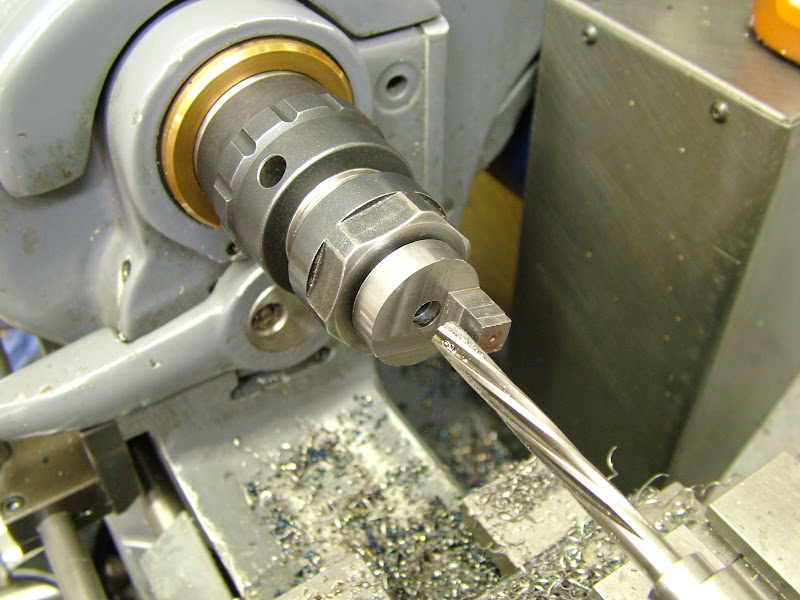
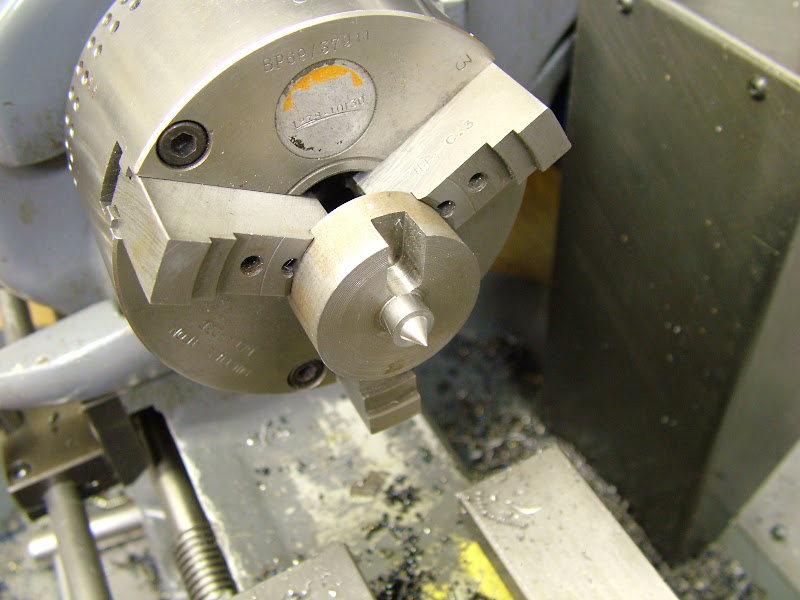
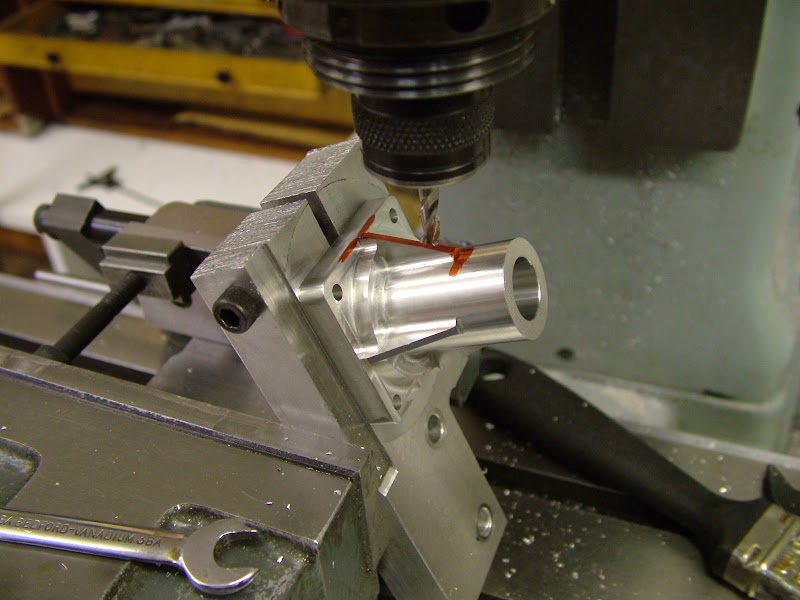
Last few days has seen the odd opportunity to finish those front ends.........
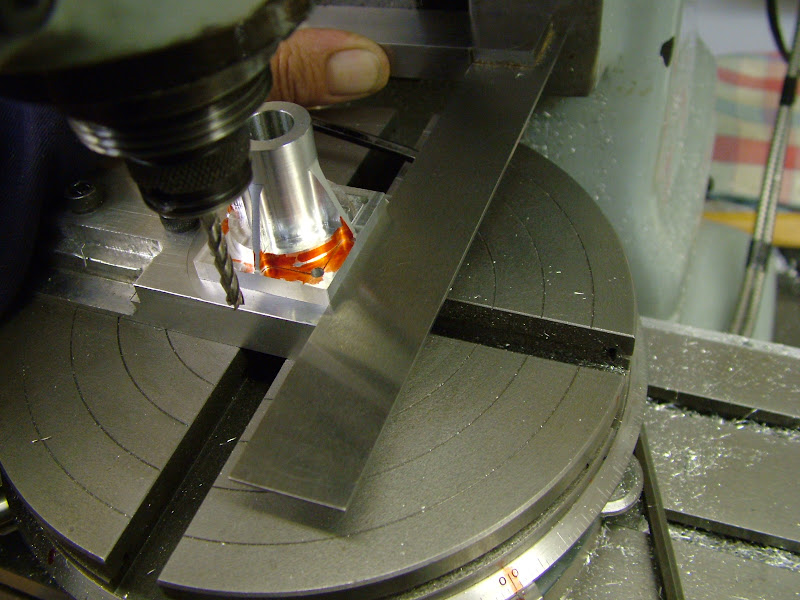
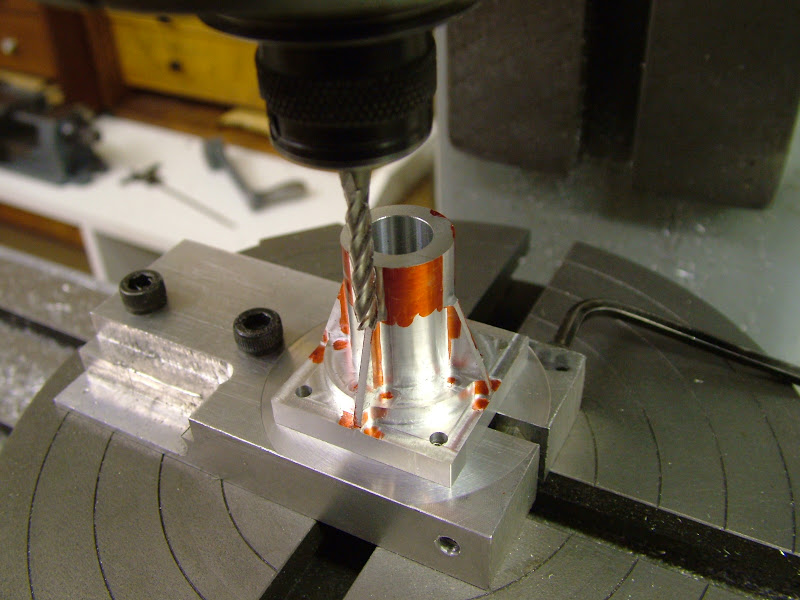
Setting the part square to the machine. R/T at '0'
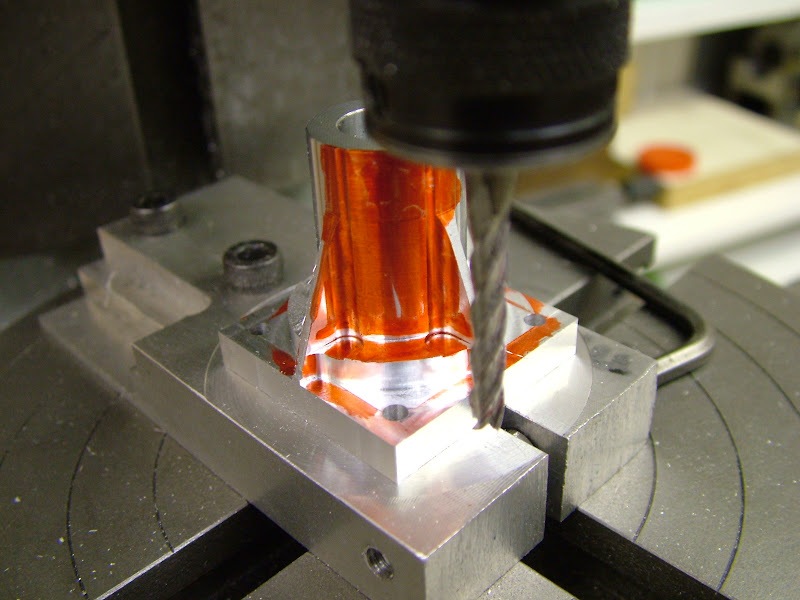
Inking up gives a good indicator as to where and how the cutter is performing
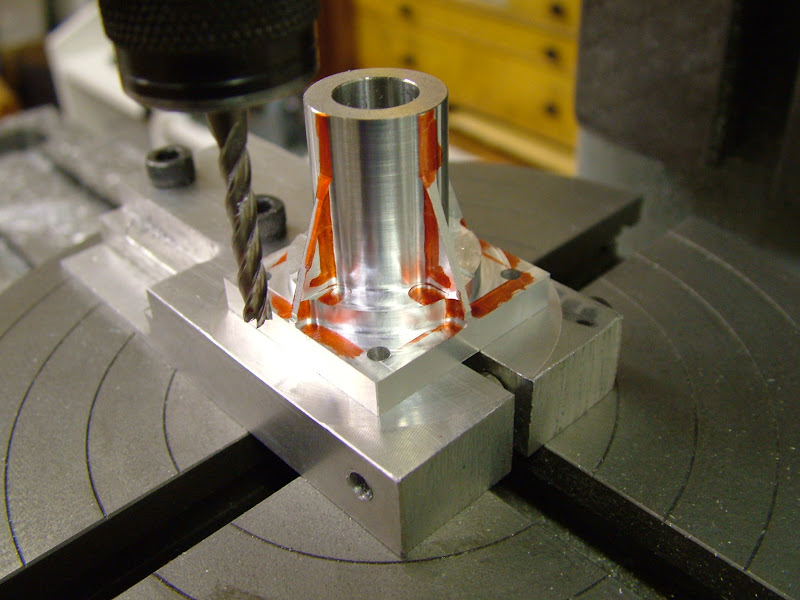
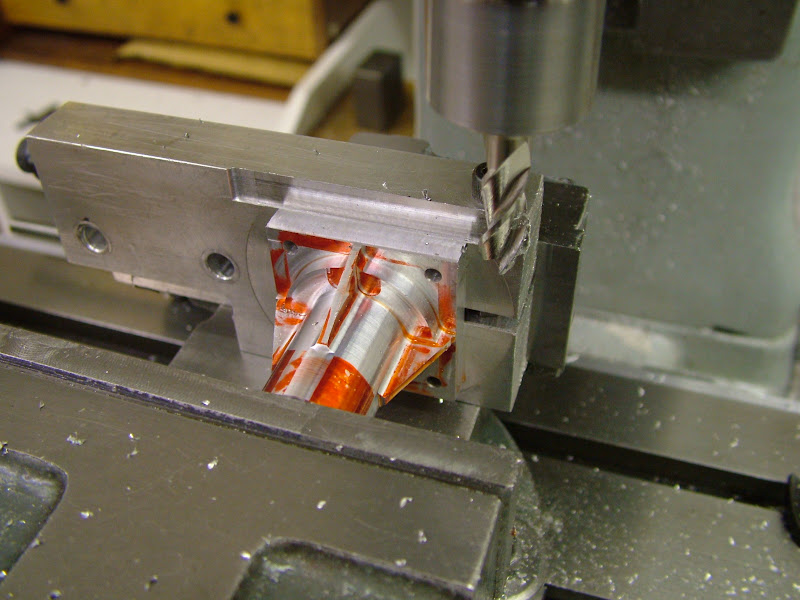
That plate fixture was pressed into use again to bring the edges square and true to the register
And once more to mill the webs to size
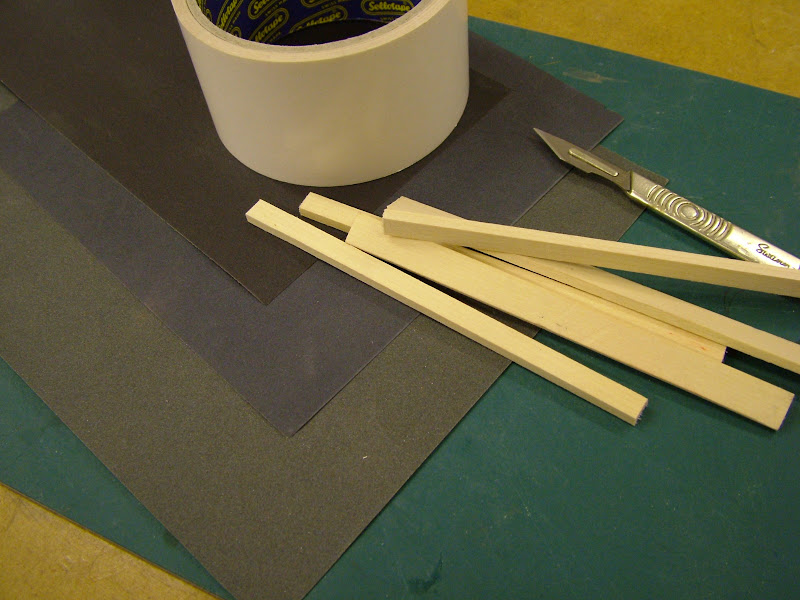
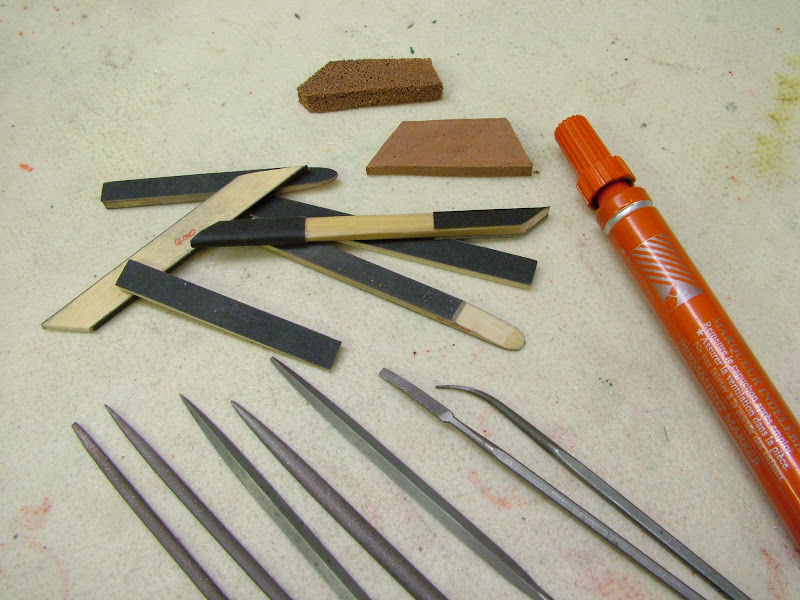
Using double sided sticky tape and some hardwood sticks some custom emery sticks were quickly made using various grades of wet and dry
The 'fettling' kit as used for all faces - a few files , emery sticks mainly 400 and 600 grit and pieces cut off Garryflex abrasive blocks.
And after a few pleasurable(?) 'finger stressing' hours there they were - finally finished. Hope you think it was worth it after all this time

As mentioned previously these parts will eventually be bead blasted to give the surface finish a more consistent appearance but that's a while down the road as yet.
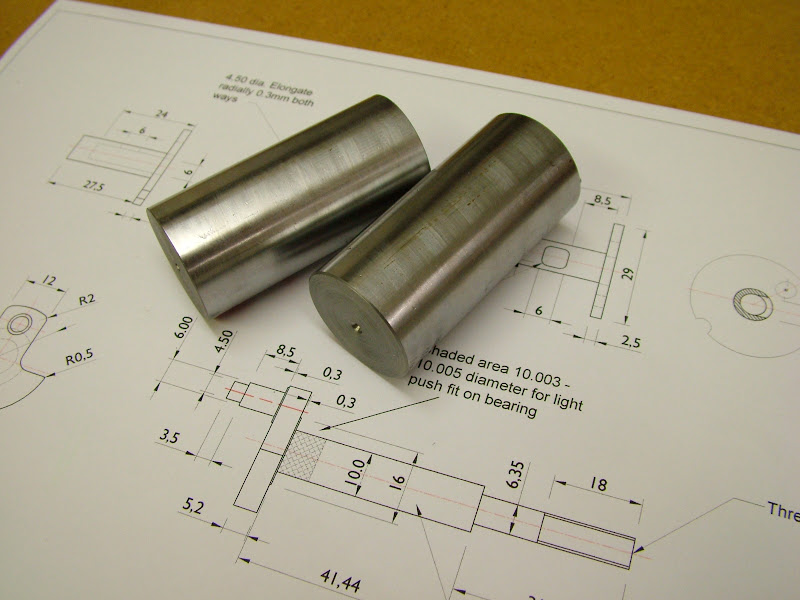
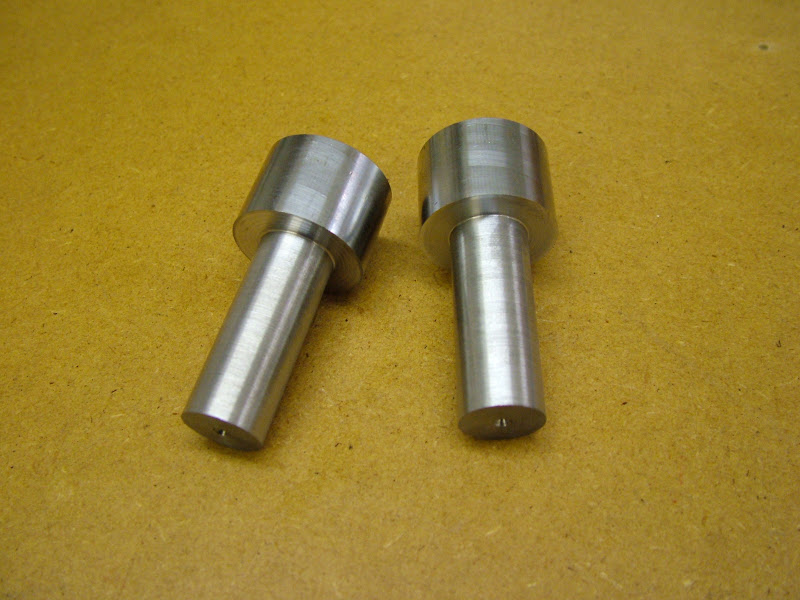
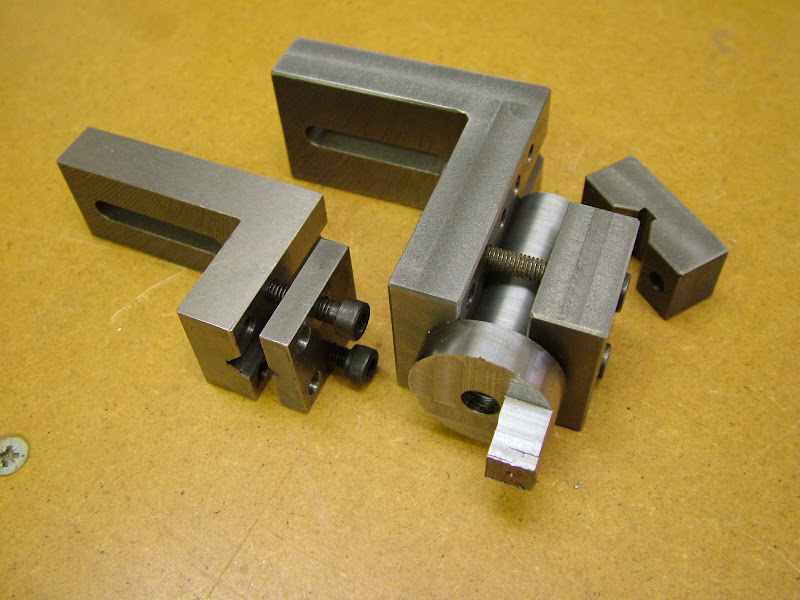
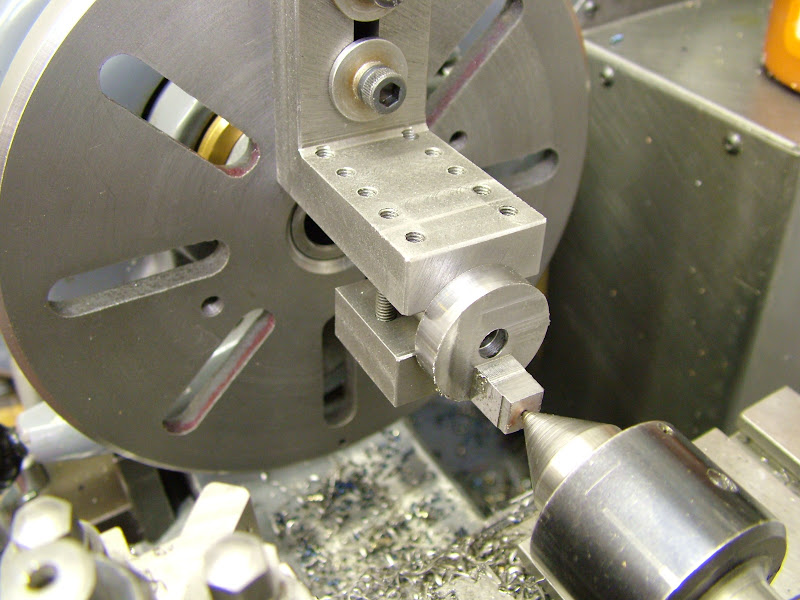
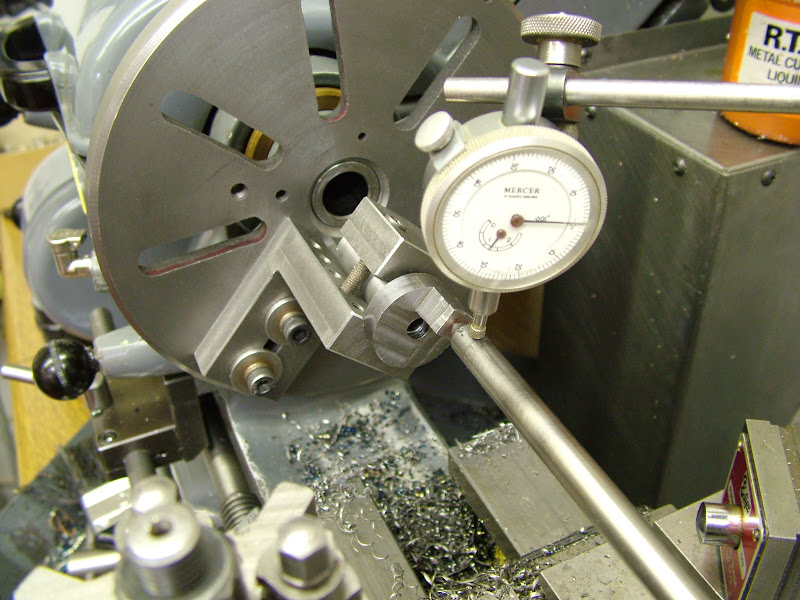
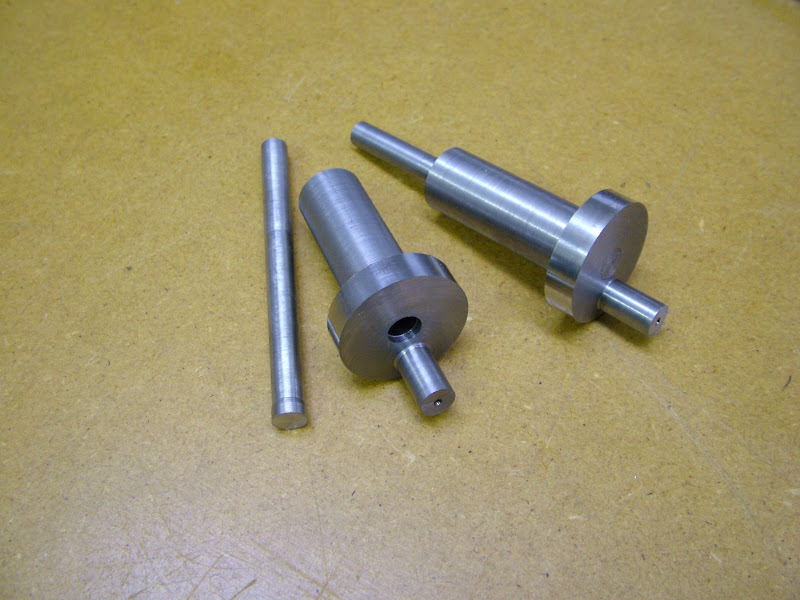
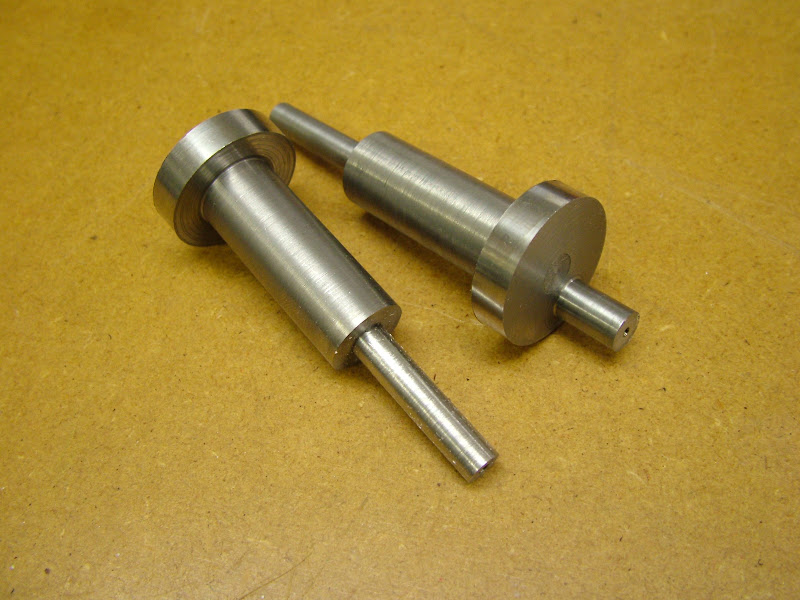
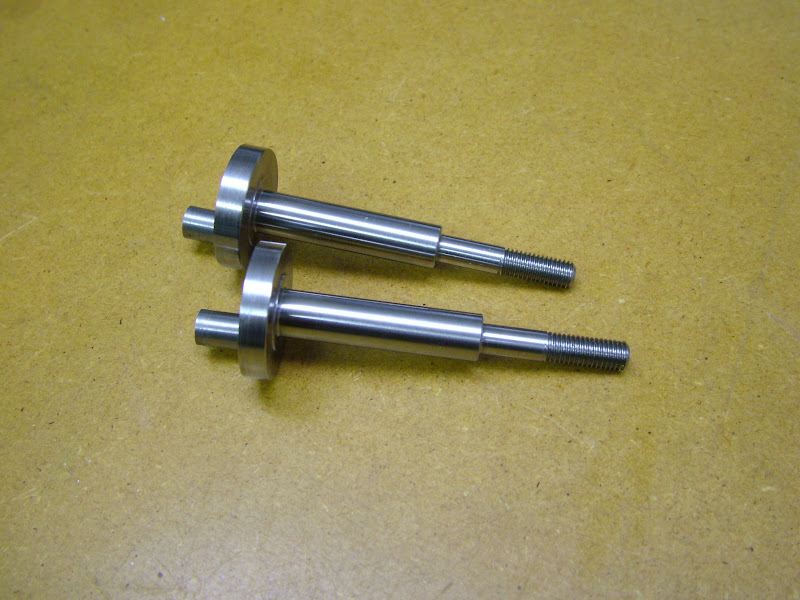
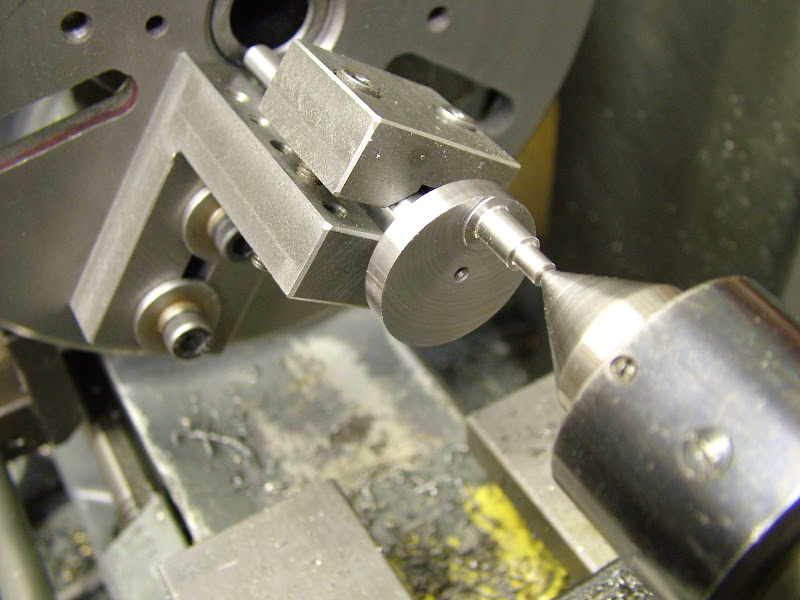
I have not machined or renovated an engine with a single bearing and an inserted sleeve before. It occurred, well after both housings had been removed from the chuck, that when boring the bearing housings that I should have had the sleeves finished on the OD ready to Loctite into the bore and
then bore the sleeve and bearing housing to ensure absolute concentricity. That situation is not important for the rear sleeve but it will be at the front. The sleeves will have to be turned inside and out in one hanging - I can hear the Phos bronze 'ringing' now :

- made a press fit and lapped to fit the shaft to stand the best chance now - fingers crossed.
It was worth the extra effort making two cases, the minor slip up when milling the transfer passages shows just how easy it is to make an error but having now ended up with two usable cases well ......

The drawings for the case and front housing have been updated as work has highlighted the need. Once finished I'll post them here - no downloads until it's finished and proven - lesson learnt there :-[
The major, time intensive, part is over. Next up after those sleeves will be the cranks and the drum valves then onto my 'favourite' parts the piston and liners
As always, I hope this has been of use or benefit to someone
Regards for now - Ramon

 ) but once into work always preferred turning - and still do. Although I have good and clear memories of major aspects of my life I find some of the minutiae hard to keep a grip of and that definitely is an age thing. I find retaining the way I go about things on a daily basis harder and harder to recall - the digital camera has been a great asset in that respect.




![DreamPlan Home Design and Landscaping Software Free for Windows [PC Download]](https://m.media-amazon.com/images/I/51kvZH2dVLL._SL500_.jpg)


