Rupnow i.c. Engine with governor

Home Model Engine Machinist Forum

Help Support Home Model Engine Machinist Forum:

This site may earn a commission from merchant affiliate links, including eBay, Amazon, and others.
Brian, fantastic journey, loved every bit of it, thank you for your hard work, I have downloaded the plans for future use (have to get started on some of these projects soon, looks like I have more than one retirement worth saved up:eek:)
Cheers
Terry
 
Thanks for the great thread and congratulations on the working engine.
 
As I accumulate more running hours on this engine, one of the nicer things I have observed is that it doesn't leak a drop of water. I didn't THINK it would, with the rubber O-rings at each end of the water reservoir, but of course, one is never really sure until the engine has ran for a while. I never did install the oil cup for the cylinder. I find that running a bit of 2 cycle oil in with the fuel keeps the cylinder/piston lubricated enough, and is far less messy. Since the main bearings and con rod big end are sealed ball bearings, they don't need any oil. The water in the reservoir does get hot. Not so hot that it would scald your finger but definitely hot enough to warm up your lunch (if it was a very small lunch) as they used to do with the full sized hit and miss engines.
 
There is a fellow over on the other forum I post on who has been playing with full sized hit and miss engines for years. According to him there was one fellow who attended county fairs and antique engine shows who always prepared a hot lunch by suspending it in a plastic bag in the water tank on his hit and miss engines.
 
Cogsy--It took me less than a day to build the small carburetor. The biggest trick is getting the fuel inlet tube and the needle valve tube lined up to solder them. I recommend making up a one time jig to hold everything in alignment to solder them.---Brian

Hi Brian,

Good tip. This was where I messed up the carb for Webbie. For all future carbs
will use your idea. Please post jig.
 
Hi Brian,
Thanks for the prints which went into my " Brian Rupnow" engine folder. Signed up for the Mac Version of WinZip and was struggling for an hour to get hold of it and d/l your Hit & Miss prints. Still awed by Webbie.Today will be last day with her. Spent too much time spinning her.
Time to print your engine drawings for serious viewing.Be honest.With my limited skills and machine tools, can Gus succeed in building and running this engine.
 
Bit of a surprise this morning. I got up early, and thought "I wonder now that everything is working so well, if I should try the larger carburetor again."--You see, that bore of carb works just fine on the Odds and Ends engine which has the same 7/8" cylinder bore. I removed the small carb and put the large carb back on,---and after opening up the needle valve a couple of turns, the engine started up and runs just as well as it did with the smaller carb I built. I don't have any really good explanation for this. I did discover that there was some crud in my fuel tank that was obstructing the fuel flow sometimes, and had cleaned out the tank at some point during the build. It is possible that what I seen as fuel starvation with the large bore carb was simply the fuel line being blocked by crud in the tank. Oh well, all's well that ends well. Now I have a spare carburetor.----Brian
 
You will have to make an engine to suit it now!!!! Great running engine BTW. I hope mine runs half as well!
 
You will have to make an engine to suit it now!!!! Great running engine BTW. I hope mine runs half as well!
One of the ironies of small engine building, is that although it is very easy to overcarburate an engine, it is almost impossible to undercarburate them. This is a simplification, and not taking real "work" into consideration, but to have an engine that starts well and runs consistently. It was only by sheerest accident that I found out about the blockage in my fuel line. I am using the "fuel ball" off an antique gas powered iron for my fuel tank. When I change carburetors, I pull the fuel line off the carb and plug the end of the neoprene line with a wooden pencil to stop gas in the tank from flowing out while I change the carb. While I was working I looked down and seen that the pencil had fallen out of the line which was laying on the workbench, but no fuel was flowing out. I thought "How can that be?? I know the tank is full of fuel!" I picked up the line and blew into the end of it, and after I felt something dislodge in the line, I could hear bubbles in the tank. I laid the line back on the tabletop, and fuel began to flow from it. Immediately I knew that there was something in the tank that was intermittently blocking the fuel line. I unbolted the tank from the tabletop, rinsed it out 2 or 3 times with fresh gas, which I then dumped out, and blew everything out with compressed air. After that, I found that both carbs, the large and the small work just fine on this engine.---Brian
 
Brian, that reminds me of our experience 4weeks ago. We flipped in a race, and had to replace the tail tank and bladder. The car ran well for 2 laps then went limp. After a few other changes, spark box etc, we gave up on that race night. took car home and found that the new bladder had dispersed crud thru the whole fuel injection system. It is amazing how a 'little crud" can ruin your whole day!
This is our car, a Roush Yates 360c.i. 700HP sprinter. It is driven by a 17 Y.O. who has been racing since he was 5. I just help maintain and race the car with his dad and him every sat night. He/we also race a 600Yamaha Mini Sprint on Friday nights.(I :eek:am in 1 of the pics)
The driver has won 8 main events this year alone, 2 Season C'ships, and is leading this year. Total feature wins are around 35 over the past 3 years on dirt.

RY 360.jpg


Friday june3.jpg
 
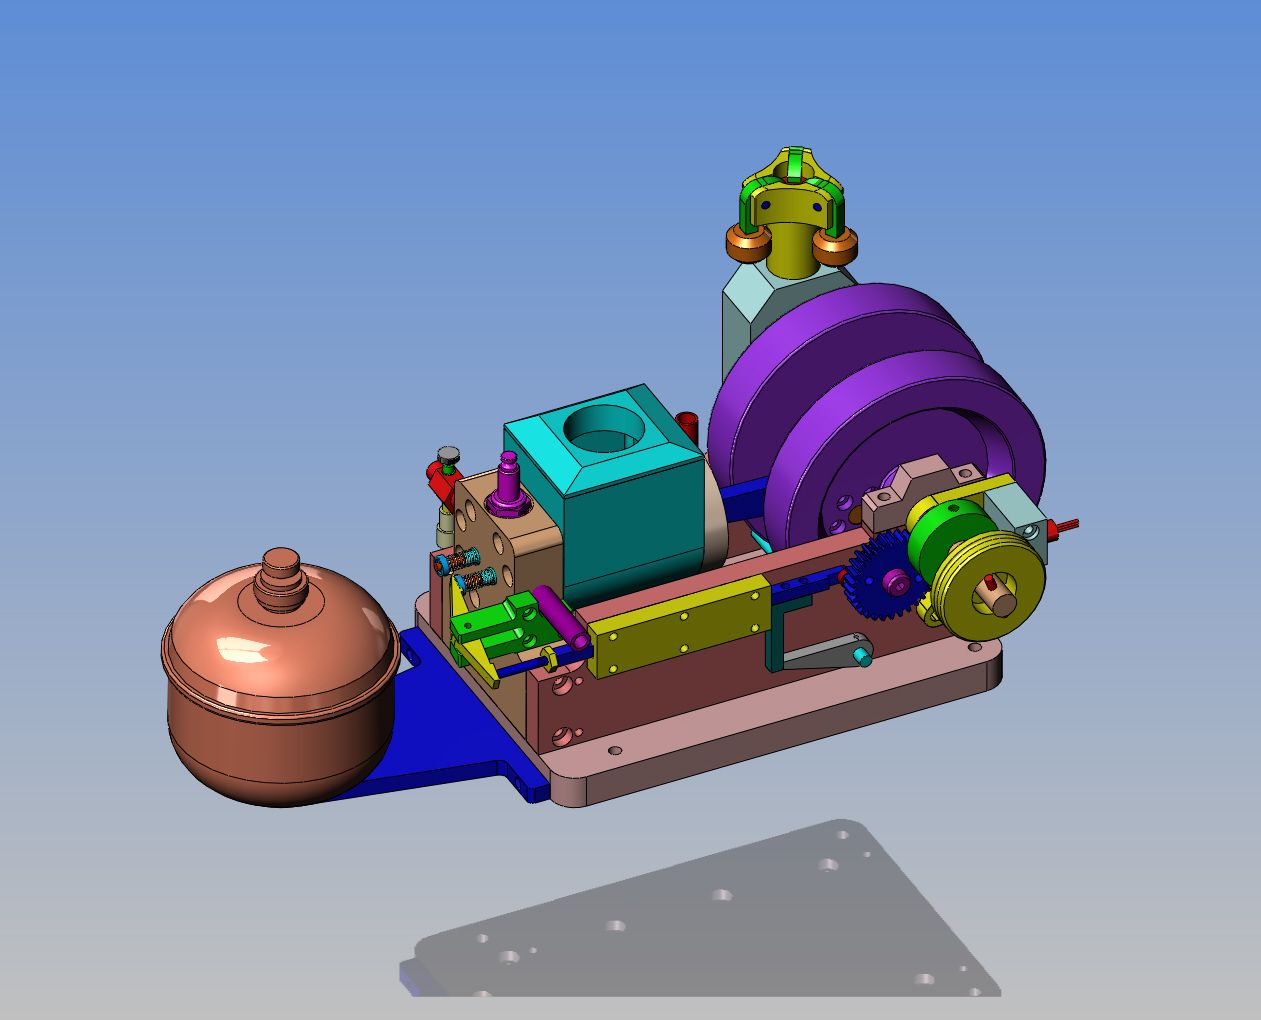
I originally bought the fuel tank off an old Coleman iron to act as the tank for my Odds and Ends engine, but I never really liked the look of it on there. Today I built a new mount bracket and put the tank on my Rupnow Engine. I like the looks of it better on this engine.
 
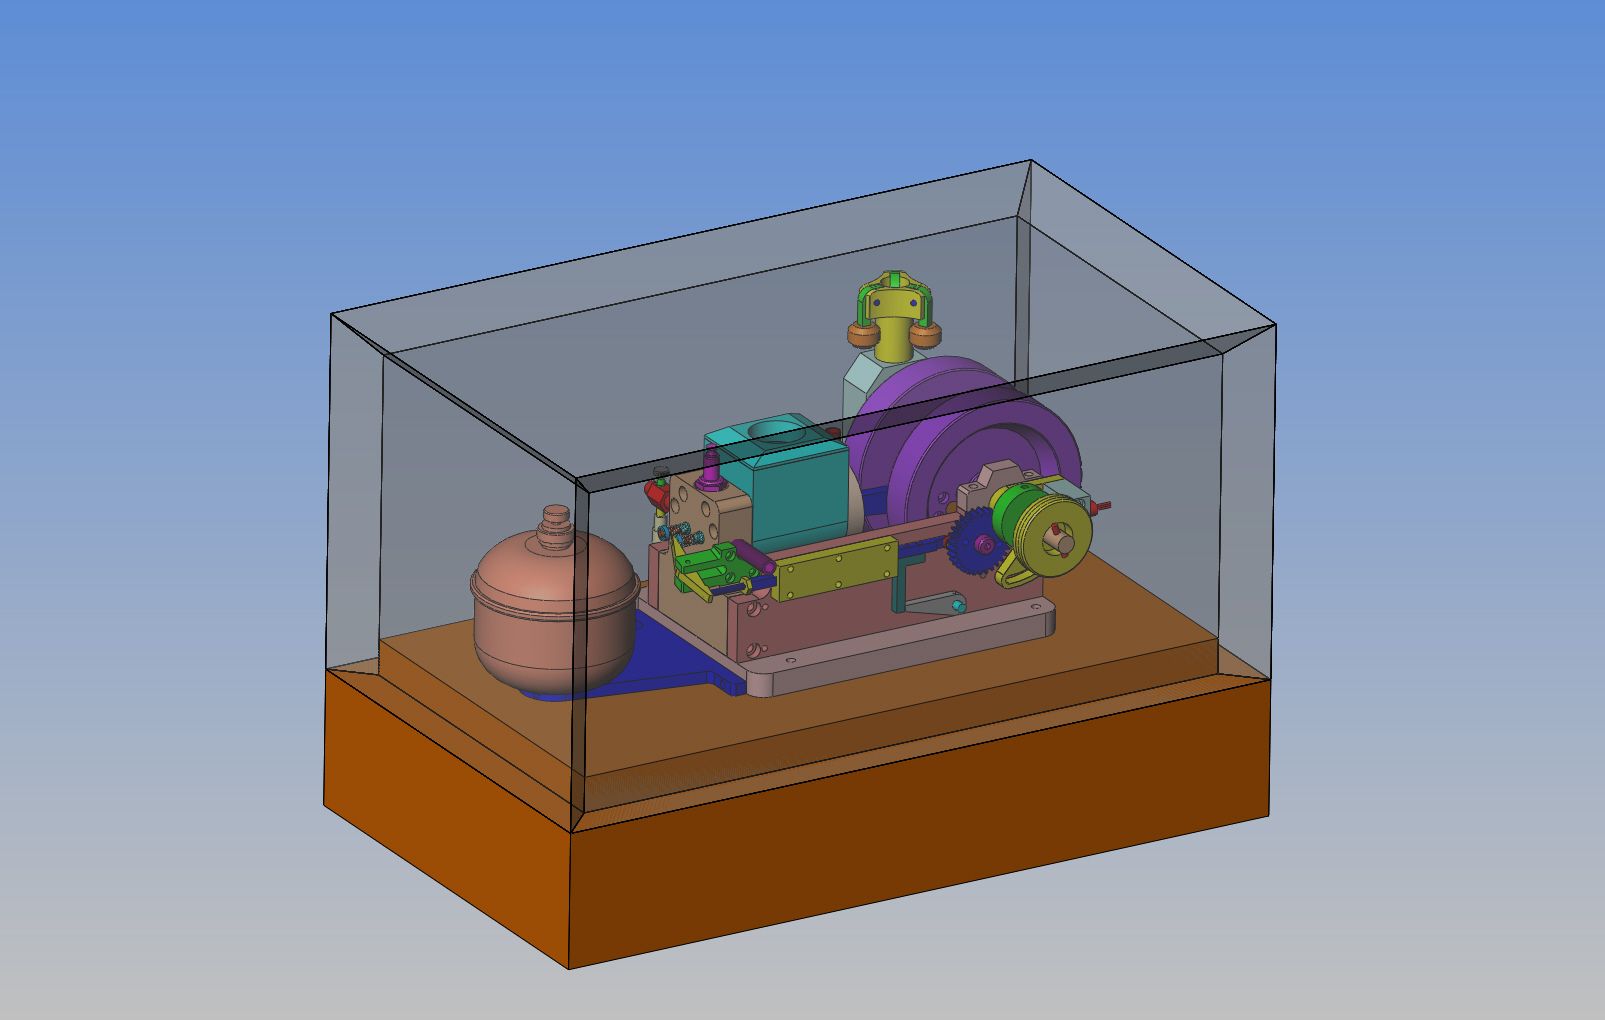
And for my next amazing stunt---A box to carry the engine around in. Unfortunately, transparent pine is rather hard to get around here, but you can see the general idea in this solid model. The base of the box will be hollow and hold the CDI module and the batteries, while the top of the box (which is shown as transparent) will lift off to display the engine. Since these engines are such dirty little piggies to run for half an hour, the engine will be bolted in place on the bottom section of the box and the whole thing will be wash down capable for clean up. I have started a separate thread for the build of this box. over at http://www.homemodelenginemachinist.com/f31/engine-transportation-display-box-21574/
 
Gus--There is nothing here more complex than the Webster. If you can make the flywheels, you can make the Rupnow Engine. I will start a separate post for the carburetor soldering jig.---Brian
http://www.homemodelenginemachinist.com/f25/carburetor-assembly-jig-21557/


Hi Brian,

Thanks. Looks like my new carb will have perfect needle and nozzle in perfect alignment.Getting my A------- into first gear to get started on Rupnow engine.
After making the Webster,I have gained new experience and confidence to build your engine.
 
I wonder why we haven't got anybody from USA building this engine? We have Tasmanians, Australians, Englishmen, Singaporeans??, Canadians, but no Americans. Come on Yanks---We need at least one builder from our big neighbour to the south.---Brian
 
  • Like
Reactions: gus
I'm still here ... been well enough to catch up all the things that didn't get done.
Well ... almost ... that jar just won't get empty, always some to do paper in it.:eek:

Actually I have started ... really ...:)

Base and side frames are rough cut to size.

Will be posting soon.

Pat H.
 
I am beginning to worry about the 3 aluminum balls I ordered off E-bay. They were shipped on the 13-Aug, supposedly, and now it is the 25-Aug. To give them the benefit of the doubt, snailmail is terribly slow coming here even from inside of Canada, so I will wait another week before I start to shake the trees and make nasty inquiring phone calls. EDIT EDIT--I was finally able to contact ebay, and they have until the 31 Aug to deliver within the timeframe they originally promised.
 
Last edited:
Back
Top