Briggs & Stratton 6S - A Beginnig

Home Model Engine Machinist Forum

Help Support Home Model Engine Machinist Forum:

This site may earn a commission from merchant affiliate links, including eBay, Amazon, and others.
Wow, a master of wood work as well! It looks spot on, but it's a good job - you can't have anything letting that engine down. The whole thing is fantastic it deserves to start and run perfectly first time! :bow:

Nick
 
Thanks Dave, I hope the information helps. Thank you too Nick, maybe in my wildest dreams that would happen but I am not holding my breath. If it cranks up in the first 50 tries I'll be happy!!!

Bill
 
I'm new to this forum and have been looking at the build on this engine. I've been a machinist and small engine mechanic for 25 yrs and all I can say is WOW! I cannot believe my eyes. Especially the tank and carb. Absolutely amazing. I'll will be following this thread like a hawk. I can't wait to see it completed. You have GOT to put out a book, DVD, or something about it! :bow:
Keith
 
Hi Keith and first of all welcome to the forum. I am sure with your experience you will be able to jump right in with your own projects and contribute in other ways too. That's the great thing about HMEM, when we get stuck on something, there is usually somebody to help out or offer useful advice. That has certainly been the case with this project.

There will at least be a set of plans based on what I have done once it is finished. Actually those have been done concurrently along with the build but there is still a ways to go.

Again, thanks for looking and welcome to HMEM. It would be helpful if you would add a brief bio of your interests and experiences in the welcome section so everyone can get to know you.

Bill
 

Everything you have made looks superb Bill!

Great progress. It will sure be a treat to see it all come together.

 
Thanks Kevin, we are still snowed in here again today so i should get a little more shop time in once i get it warmed up a bit. I need to get back on the crankshaft.

Bill
 
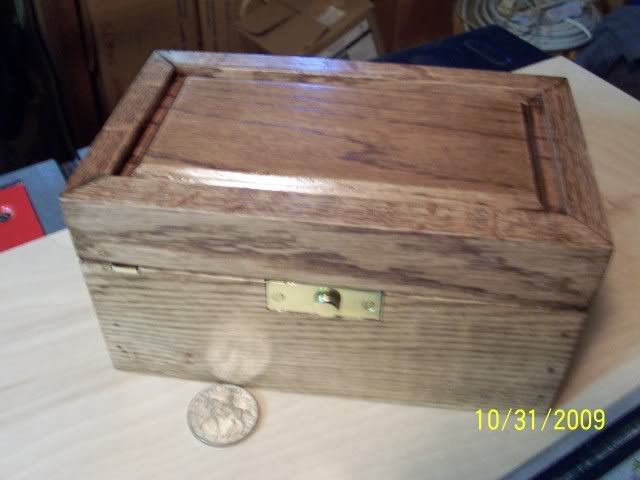
Well not to beat this to death but the base is now stained and i like the contrast it brought out in the grains. Applying the polyurethane finish will have to wait for warmer weather or I will have to do it at work. Doing it inside at home won't fly

IMG_0352.JPG


IMG_0354.JPG
 
Bill

Looking good, that brown stuff.... Have you tried the water-based varathane yet?
Dry to touch in an hour, re-coat after 4 hours, virtually odourless. I've been using it for a couple of
years now, and recommend it. Goes on looking like milk, but clears as it dries. Seems to take about the same amount of re-coating to get a smooth finish, with light fine sanding in-between.

Joe
 
Joe, no I haven't tried it yet but will check into it at the local home improvement center. Is it strictly a brush on product or is it available in a spray can too? My brushing skills leave something to be desired. If not I guess I could always use a paint sprayer or airbrush if its thin enough. Thanks for the tip, will definitely look for it.

Bill
 
Hi Bill

I've never seen it in a spray can, but on the other hand, I've never looked ;D

It's a really watery consistency, would think it would spray OK with an airbrush.
I use the throw-away foam brushes, one per coat, don't have any particular issues with
brush marks, runny enough stuff that it self-levels.

This is what it looks like on some oak:
100_2263.jpg


Joe
 
Bill,
One minor point for those wanting to photo etch brass. Regular 360 brass, that is most frequently found, is not ideal for photo etching. It has a relatively high zinc content that does not produce the cleanest etch. Commercial photo etching companies use a brass known as "commercial brass", or 220 brass. It has a lower zinc content and is reddish in color. If you can find it in the size you need, I have found that it does produce a better result than 360 brass.

Warming up the ferric chloride solution to about 130F, and keeping it circulating speeds things up also, and reduces undercutting of small letters. Nice work!

Jeff
 
Thanks again Joe, Hopefully when all this "white" stuff gets off the roads I can get by Lowes and check it out. The only possible concern I might have would be its resistance to gas or oil.

Jeff, thanks for that information. The instructions did not mention heating up the ferric chloride and I suspect you are correct as to my using 360 brass. IIRC the .015" sheet stock I used came from micro-mark without any particular identification so it could well be 360. I though about trying it on some copper sheet since the process is largely intended for etching circuit boards. May still try that just to experiment some along with your heating and circulation suggestions.

Bill
 
Finally got to resume work on the center portion of the crankshaft. Had to remake the blank since the bore on the original one was slightly too big. This time I was happier with the results and the shafts sould be a press or slight shrink fit. Anyway, after this backtracking, I put the blank on the mill, centered it and put a small center drill mark the required offset distance for the crankpin. Then I centered the mark in the 4 jaw which was a stretch on the little Sherline but it worked (photo 1). Rather than turning it in the lathe I opted to use the RT set up vertically with the RT tailstock for added support and rough milled the width and depth until the crankpin was within about .040" of the .375 diameter required (photo 2). Then back to the lathe with RH and LH turning tools to get the OD closer (photo 3). Now its a matter of finishing the pin diameter and fitting it to the bore of the connecting. There is still more profiling to do after that but I think the hardest part is done.

IMG_0355.JPG


IMG_0356.JPG


IMG_0357.JPG
 
Pretty good sized job for your Sherlines, Bill. Not many guys can say they built a Briggs and Stratton on Sherline equipment. Things are coming along very well!

Dean
 
Thanks Dean. It pretty well maxed out the mill and lathe both for a standard type set-up. I have seen some way-out-there set-ups done on Sherline equipment but when a larger machine makes more sense then that is what I use. Even so, in the end I would guess that somewhere between 60-70% will have been done on the small machines.

Bill
 
Just a quick update on the logo nameplate shown a few posts back. It has now been cut down and filed down to the edge of the outer border. Turned out well I think, even better from a foot or so away. Not sure where or how or if I will use it yet. It may end up going on the wooden base instead. I am thinking about trying another avenue also based on the mylar decals I got for the restored full size engine. While those may have been screen printed, has anyone tried laser printing on adhesive backed Mylar (polyester) film and if so what stock did you use. The only thing I have found so far is the clear Avery labels for laser printing, but am afraid they may come out too translucent. They are however, polyester film based whereas all the while labels seem to be paper. The experimenting continues....


Nameplate.jpg
 
Try your local hobby shop, you'll want to get decal paper. You should be able to get either white or clear decal paper. They should also be able to tell you how to use the paper and seal your decal so it won't run or smear when you try to use it.

Long time lurker,
Don
 
Hi Don and thanks. I am familiar with the regular wet transfer decal paper and fixative sprays, but was hoping to find something more durable and slightly thicker. Then again back in the 40's and 50's before the vinyl/plastics/stick-on revolution, even B&S may have used wet transfer decals for their logo, where it wasn't subject to much heat. I appreciate the input in any case!!

Bill
 
Bill - Great job ;D

If you're using a laser printer for your transfers, make sure you set it to darken the output on the paper if you can; it'll add more toner making for an easier and better sticking transfer.
The ferric chloride works a treat - but in years gone by during PCB making, I found that you can actually mix it too strong and get severe undercutting very quickly. When etching, keep the solution moving; that I found pretty much essential back then for good results. 2 Namibian cents worth, so you get less than US$0.003 ;)

Kind regards, Arnold
 
Definitely worth the price Arnold and more too! I did keep it agitated but did not heat it as Jeff had suggested. Since the film is more like transparency sheets I did set the printer for transparencies, but not sure what that did to the toner thickness. Now with all these tips you guys are gonna make me start all over :big: Worst case I will file them away for future reference. Thanks to all for the suggestions, there may be others interested in trying this also and your input can only help.

Bill
 

Latest posts

Back
Top