
You are using an out of date browser. It may not display this or other websites correctly.
You should upgrade or use an alternative browser.
You should upgrade or use an alternative browser.
Wallaby
- Thread starter metalmad
- Start date


Help Support Home Model Engine Machinist Forum:
This site may earn a commission from merchant affiliate
links, including eBay, Amazon, and others.
- Joined
- Nov 12, 2009
- Messages
- 1,427
- Reaction score
- 221
Thanks Dave, I really do appreciate the offer, but would rather buy the pump gears than risk stepping on Tels toes :big:
He made the timing gears for the "Sows ear" and they are still going strong ;D
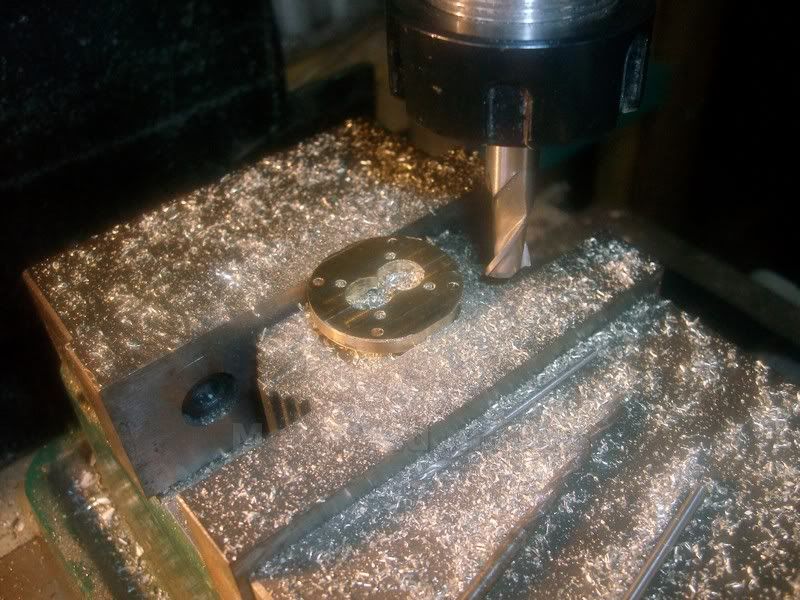
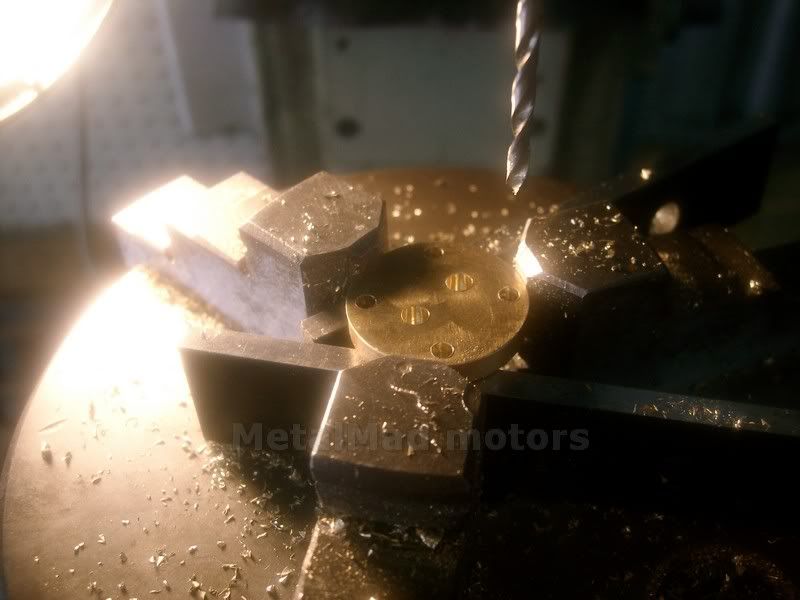
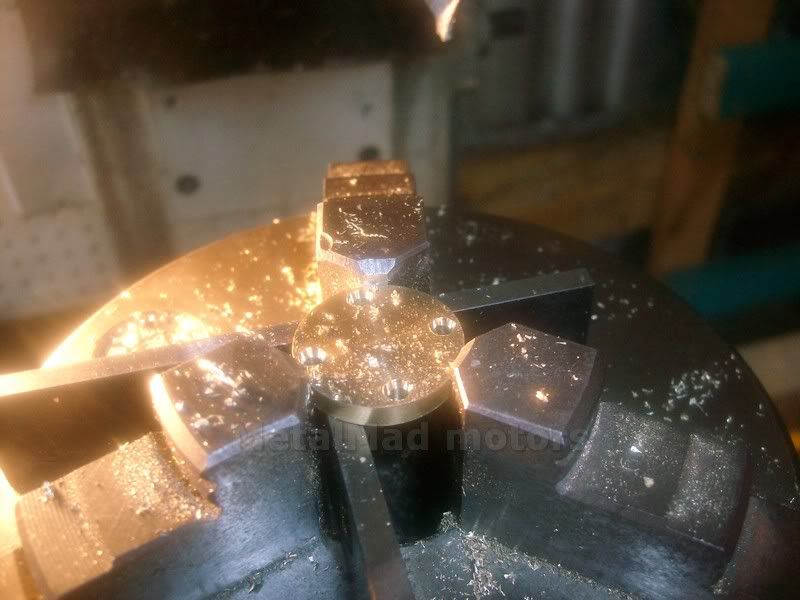
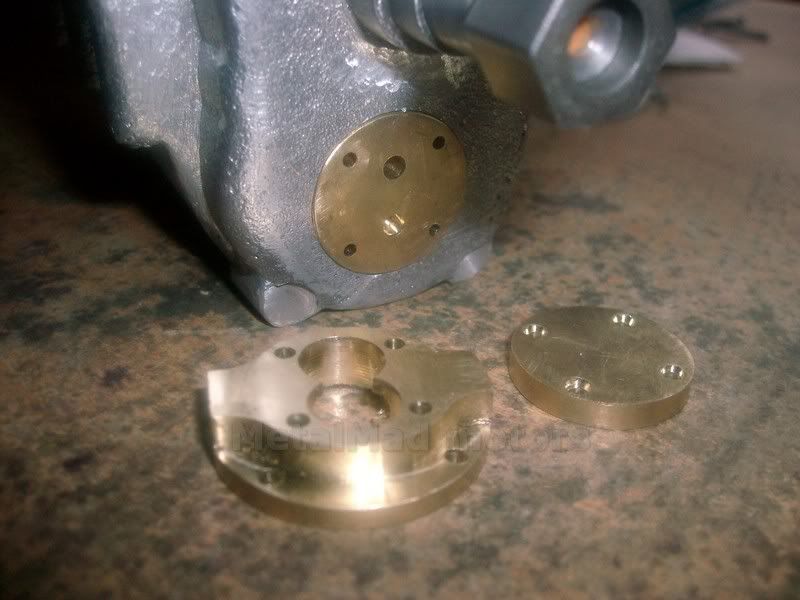
I got a little bit more done on the pump today, milling off the chucking piece on the main housing and boring both inner and outer end caps using a 1/8 two flute end mill.
After that I drilled the holes for the 8 BA screws.
He made the timing gears for the "Sows ear" and they are still going strong ;D
I got a little bit more done on the pump today, milling off the chucking piece on the main housing and boring both inner and outer end caps using a 1/8 two flute end mill.
After that I drilled the holes for the 8 BA screws.
- Joined
- Nov 12, 2009
- Messages
- 1,427
- Reaction score
- 221
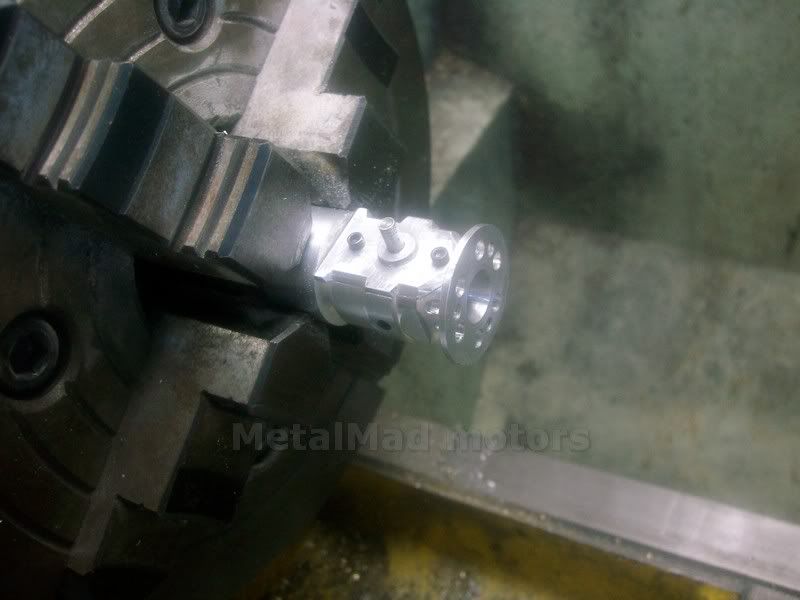
I put the Carby up in the 4 jaw and got a little bit carried away :big:
might be a little too artsy fartsy for the rest of the Wallaby.
But then again once the air cleaner, throttle and mixture needle/jet Assembly are all on, it may look OK.
Pete
might be a little too artsy fartsy for the rest of the Wallaby.
But then again once the air cleaner, throttle and mixture needle/jet Assembly are all on, it may look OK.
Pete
tel
Well-Known Member
- Joined
- Feb 8, 2008
- Messages
- 3,293
- Reaction score
- 44
Yep, already figured that the pump was driven from somewhere off the other cluster - no worries with the timing gears and big pump gear - they can all be 40dp and come out with the same dimensions (other than tooth size) as the called for 32's.
So, just to clarify, you need 2 x 50t & 2 x25t? I'm all over it like Oprah on a baked ham!
So, just to clarify, you need 2 x 50t & 2 x25t? I'm all over it like Oprah on a baked ham!


$94.99
$109.99
AHS Woodmaster 4400 Maintenance Kit for Outdoor Wood Boiler Treatment
Alternative Heating & Supplies

$403.09
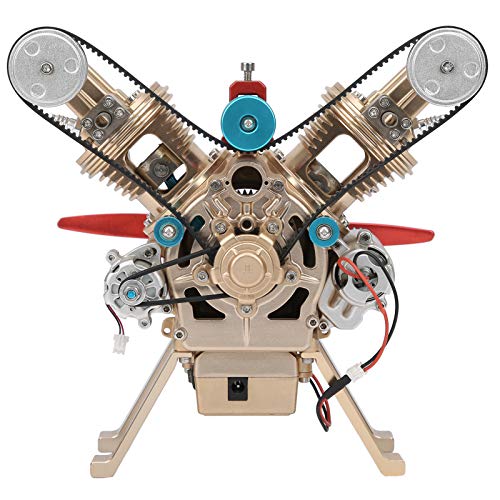
DM14 Engine Build Kit, Metal Engine Build Model Great Metal Material for Engineer for Factory
Easoger Official


$59.99
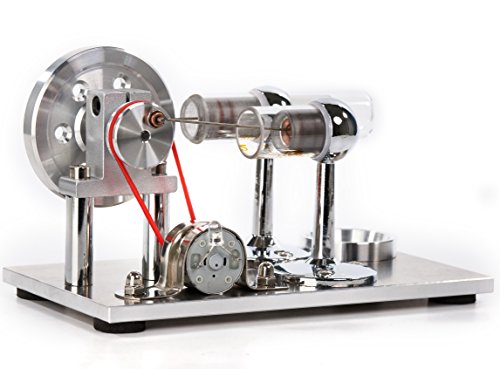
Sunnytech Hot Air Stirling Engine Motor Model Educational Toy Electricity Generator Colorful LED (SC001)
stirlingtechonline

$519.19
$699.00
FoxAlien Masuter Pro CNC Router Machine, Upgraded 3-Axis Engraving All-Metal Milling Machine for Wood Acrylic MDF Nylon Carving Cutting
FoxAlien Official


$156.90 ($1.40 / oz)
Replacement Combustion Chamber Kit, Burnham V8 and V8H, 1-6 Sec, 108136-01, 1129
Lynn Manufacturing


$188.98
TM NEXDYNAMI RE41157 Water Pump Compatible With/Replacement For/John Deere 6200 7400 6300 6600 6500 6400 7220 7600 7200 RE41157
VIVID MARKET CORPORATION


$99.99
$109.99
AmTech300 - Boiler Treatment Professional Strength (Rust Inhibitor For Outdoor Wood Boilers)
Alternative Heating & Supplies


$45.99
Sunnytech Mini Hot Air Stirling Engine Motor Model Educational Toy Kits Electricity HA001
stirlingtechonline


$39.99
$49.99
Sunnytech Low Temperature Stirling Engine Motor Steam Heat Education Model Toy Kit For mechanical skills (LT001)
stirlingtechonline


$190.00
$254.99
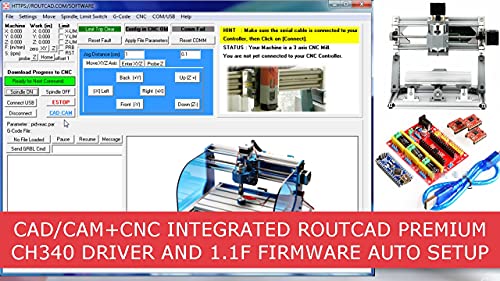
Genmitsu CNC 3018-PRO Router Kit GRBL Control 3 Axis Plastic Acrylic PCB PVC Wood Carving Milling Engraving Machine, XYZ Working Area 300x180x45mm
SainSmart Official


$99.99
AHS Outdoor Wood Boiler Yearly Maintenance Kit with Water Treatment - ProTech 300 & Test Kit
Alternative Heating & Supplies


Pete,
I don't think you need to worry about the carb too much. These early Westbury types of engine would run on a bit of pipe stuck in the side and a drip feed into the end of it.
They are very forgiving engines indeed, not like the higher compression ratio engines of later. My side valve, which I still have, will start quite merrily on almost any setting you want to give it, then it it a very easy matter to tune it for optimum running.
John
tel
Well-Known Member
- Joined
- Feb 8, 2008
- Messages
- 3,293
- Reaction score
- 44
Pete, no worries mate...and I wouldn't want to step on Tel's toes either....might find a drop bear on my porch or something.... Grin
A transgression like that would get a full wombat - never mind the drop b'ar.
These look something like 'em Pete? I've left the pinions on the stick - make it a bit easier for final machining - the stick is drilled and reamed to 5/16" for a depth of about 1 1/4 so you should be able to hack 'em off alright.


- Joined
- Nov 12, 2009
- Messages
- 1,427
- Reaction score
- 221
Hi Bogs
I'm really hoping for a nice runner and the way things are going I guess it wont be that long before we find out :big:
My next Engine "The Mastiff" is a side valve so that will be interesting!
Hi Tel
Those gears are fantastic Mate :bow:
I'm having problems getting the silly grin of my face ;D
This Build just took a huge step forward and by the look of those pinions, a bulletproof one :big:
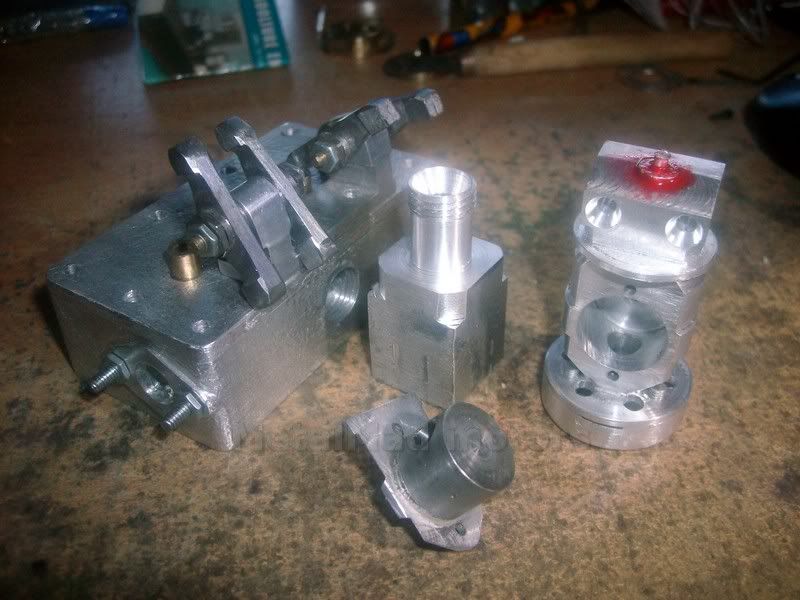
Knowing Tel was on the job with the gears, I got stuck in myself and machined up the chucking piece of the Carby into an adaptor to suit the intake.
I then made up a plug for the threw hole and locktighted it in.
After that I started in on the intake manifold, using a center drill to make a radius on the end to suit the curved ports.
I may not have left enough thread for a locking ring, but I'm wondering now if I really need it as the manifold locks up to a ledge on the inside.
Dave it really is not wise to underestimate the Australian Wombat!! :big:
Pete
I'm really hoping for a nice runner and the way things are going I guess it wont be that long before we find out :big:
My next Engine "The Mastiff" is a side valve so that will be interesting!
Hi Tel
Those gears are fantastic Mate :bow:
I'm having problems getting the silly grin of my face ;D
This Build just took a huge step forward and by the look of those pinions, a bulletproof one :big:
Knowing Tel was on the job with the gears, I got stuck in myself and machined up the chucking piece of the Carby into an adaptor to suit the intake.
I then made up a plug for the threw hole and locktighted it in.
After that I started in on the intake manifold, using a center drill to make a radius on the end to suit the curved ports.
I may not have left enough thread for a locking ring, but I'm wondering now if I really need it as the manifold locks up to a ledge on the inside.
Dave it really is not wise to underestimate the Australian Wombat!! :big:
Pete
- Joined
- Nov 12, 2009
- Messages
- 1,427
- Reaction score
- 221
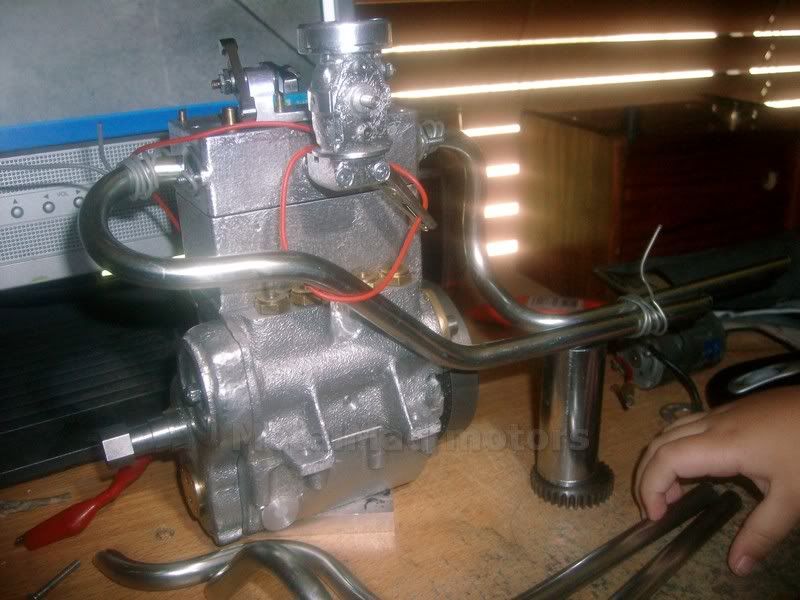
Did a little bit more on the intake manifold today and did a trial fit up but I will probably modify it once the engine is running.
The oil pump in the pic is just sitting there for show at the moment")
Pete

The oil pump in the pic is just sitting there for show at the moment
Pete
- Joined
- Nov 12, 2009
- Messages
- 1,427
- Reaction score
- 221
Thanks Brock
It still has lots to go but I think as I start to hang bits on it it should really start to take shape from now on.
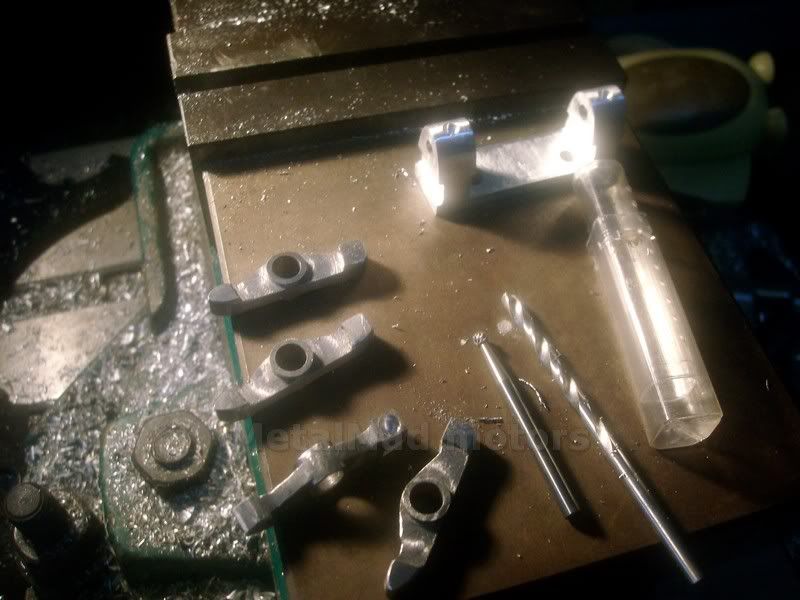
after playing with the manifold I did a bit more work on the rockers, drilling the pushrod holes and using my 1/8 burr to round it off.
The rockers only need the oil holes and a little wet and dry rub down and they are done.
Pete
It still has lots to go but I think as I start to hang bits on it it should really start to take shape from now on.
after playing with the manifold I did a bit more work on the rockers, drilling the pushrod holes and using my 1/8 burr to round it off.
The rockers only need the oil holes and a little wet and dry rub down and they are done.
Pete
- Joined
- Nov 12, 2009
- Messages
- 1,427
- Reaction score
- 221
Hi Vince
I hope I did not miss something here, My understanding of the text was a simple drill hole with a 1/8 drill to a depth of 1/8 and then using the 1/8 round burr to finish to a nice round shape.
The hole is just round!
What did you end up doing?
Pete
PS
I just reread the relevent section and no mention is made for the wallaby of drilling at an angle and the diagram shows a straight line.
The Kiwi may well be another matter.
vcutajar
Well-Known Member
- Joined
- Nov 6, 2011
- Messages
- 862
- Reaction score
- 168
Pete
No worries.
I was assuming that the Wallaby rockers and Kiwi rockers were similar. At least they look similar. Although in the Kiwi documentation there is no mention of a taper, in the diagrams there is a taper shown. Most probably because the pushrods come in at a slight angle. I did not do a taper but made the hole slighty wider.
From what I can see in the Wallaby, the pushrods come in straight, so most probably a taper is not required.
Vince
p.s. I just reread the Kiwi documentation and at one time it mentions giving the hole a slight taper, but as I said it must be due to the pushrods in the Kiwi coming in at an angle.
bezalel2000
Well-Known Member
- Joined
- May 8, 2011
- Messages
- 316
- Reaction score
- 7
Hi Pete
That's looking real Sweet
I think we are all keen to hear her runn'n
Bez
That's looking real Sweet
I think we are all keen to hear her runn'n
Bez
Bezalel said:Hi Pete
That's looking real Sweet
I think we are all keen to hear her runn'n
Bez
YUP!
Similar threads
- Replies
- 7
- Views
- 736