T head engine by Brian

Home Model Engine Machinist Forum

Help Support Home Model Engine Machinist Forum:

This site may earn a commission from merchant affiliate links, including eBay, Amazon, and others.
I just ordered a set of three plates for my rotary table. Is there a chart available which would give settings or some type of calculator or a formula? So far I have not found anything. I can find some for 40 turn tables but mine is 90 turn.
Brian great Job you are doing there yet again.
I hope you don't object too much to these replies to Gordon in the middle of your thread.

Gordon l used my "new to me" rotary table and dividing plates for the first time at the weekend.
It came with some instructions and has the 90:1 ratio. See the attached pictures.
Cheers, Dave.
 

Attachments

  • 20210721_202435.jpg
    20210721_202435.jpg
    153.2 KB
  • 20210721_202449.jpg
    20210721_202449.jpg
    204.3 KB
  • 20210721_202501.jpg
    20210721_202501.jpg
    229.5 KB
  • 20210721_202506.jpg
    20210721_202506.jpg
    278.8 KB
  • 20210721_202528.jpg
    20210721_202528.jpg
    281.6 KB
  • 20210721_202656.jpg
    20210721_202656.jpg
    152.9 KB
  • 20210721_202706.jpg
    20210721_202706.jpg
    147.5 KB
  • 20210721_202743.jpg
    20210721_202743.jpg
    136.6 KB
Things are going to slow down for a little while. One of my old customers has come foreword with a request for some new welding fixtures for one of the big three automotive companies. It's design only stuff. Fabrication will be done elsewhere. I'm not sure just how much work there will be, but probably not much.---It would be nice if there was a couple of weeks work---that would buy me a new metal cutting bandsaw. My current bandsaw is an old woodcutting saw that I modified to cut metal. It works, but it is painfully slow.
 
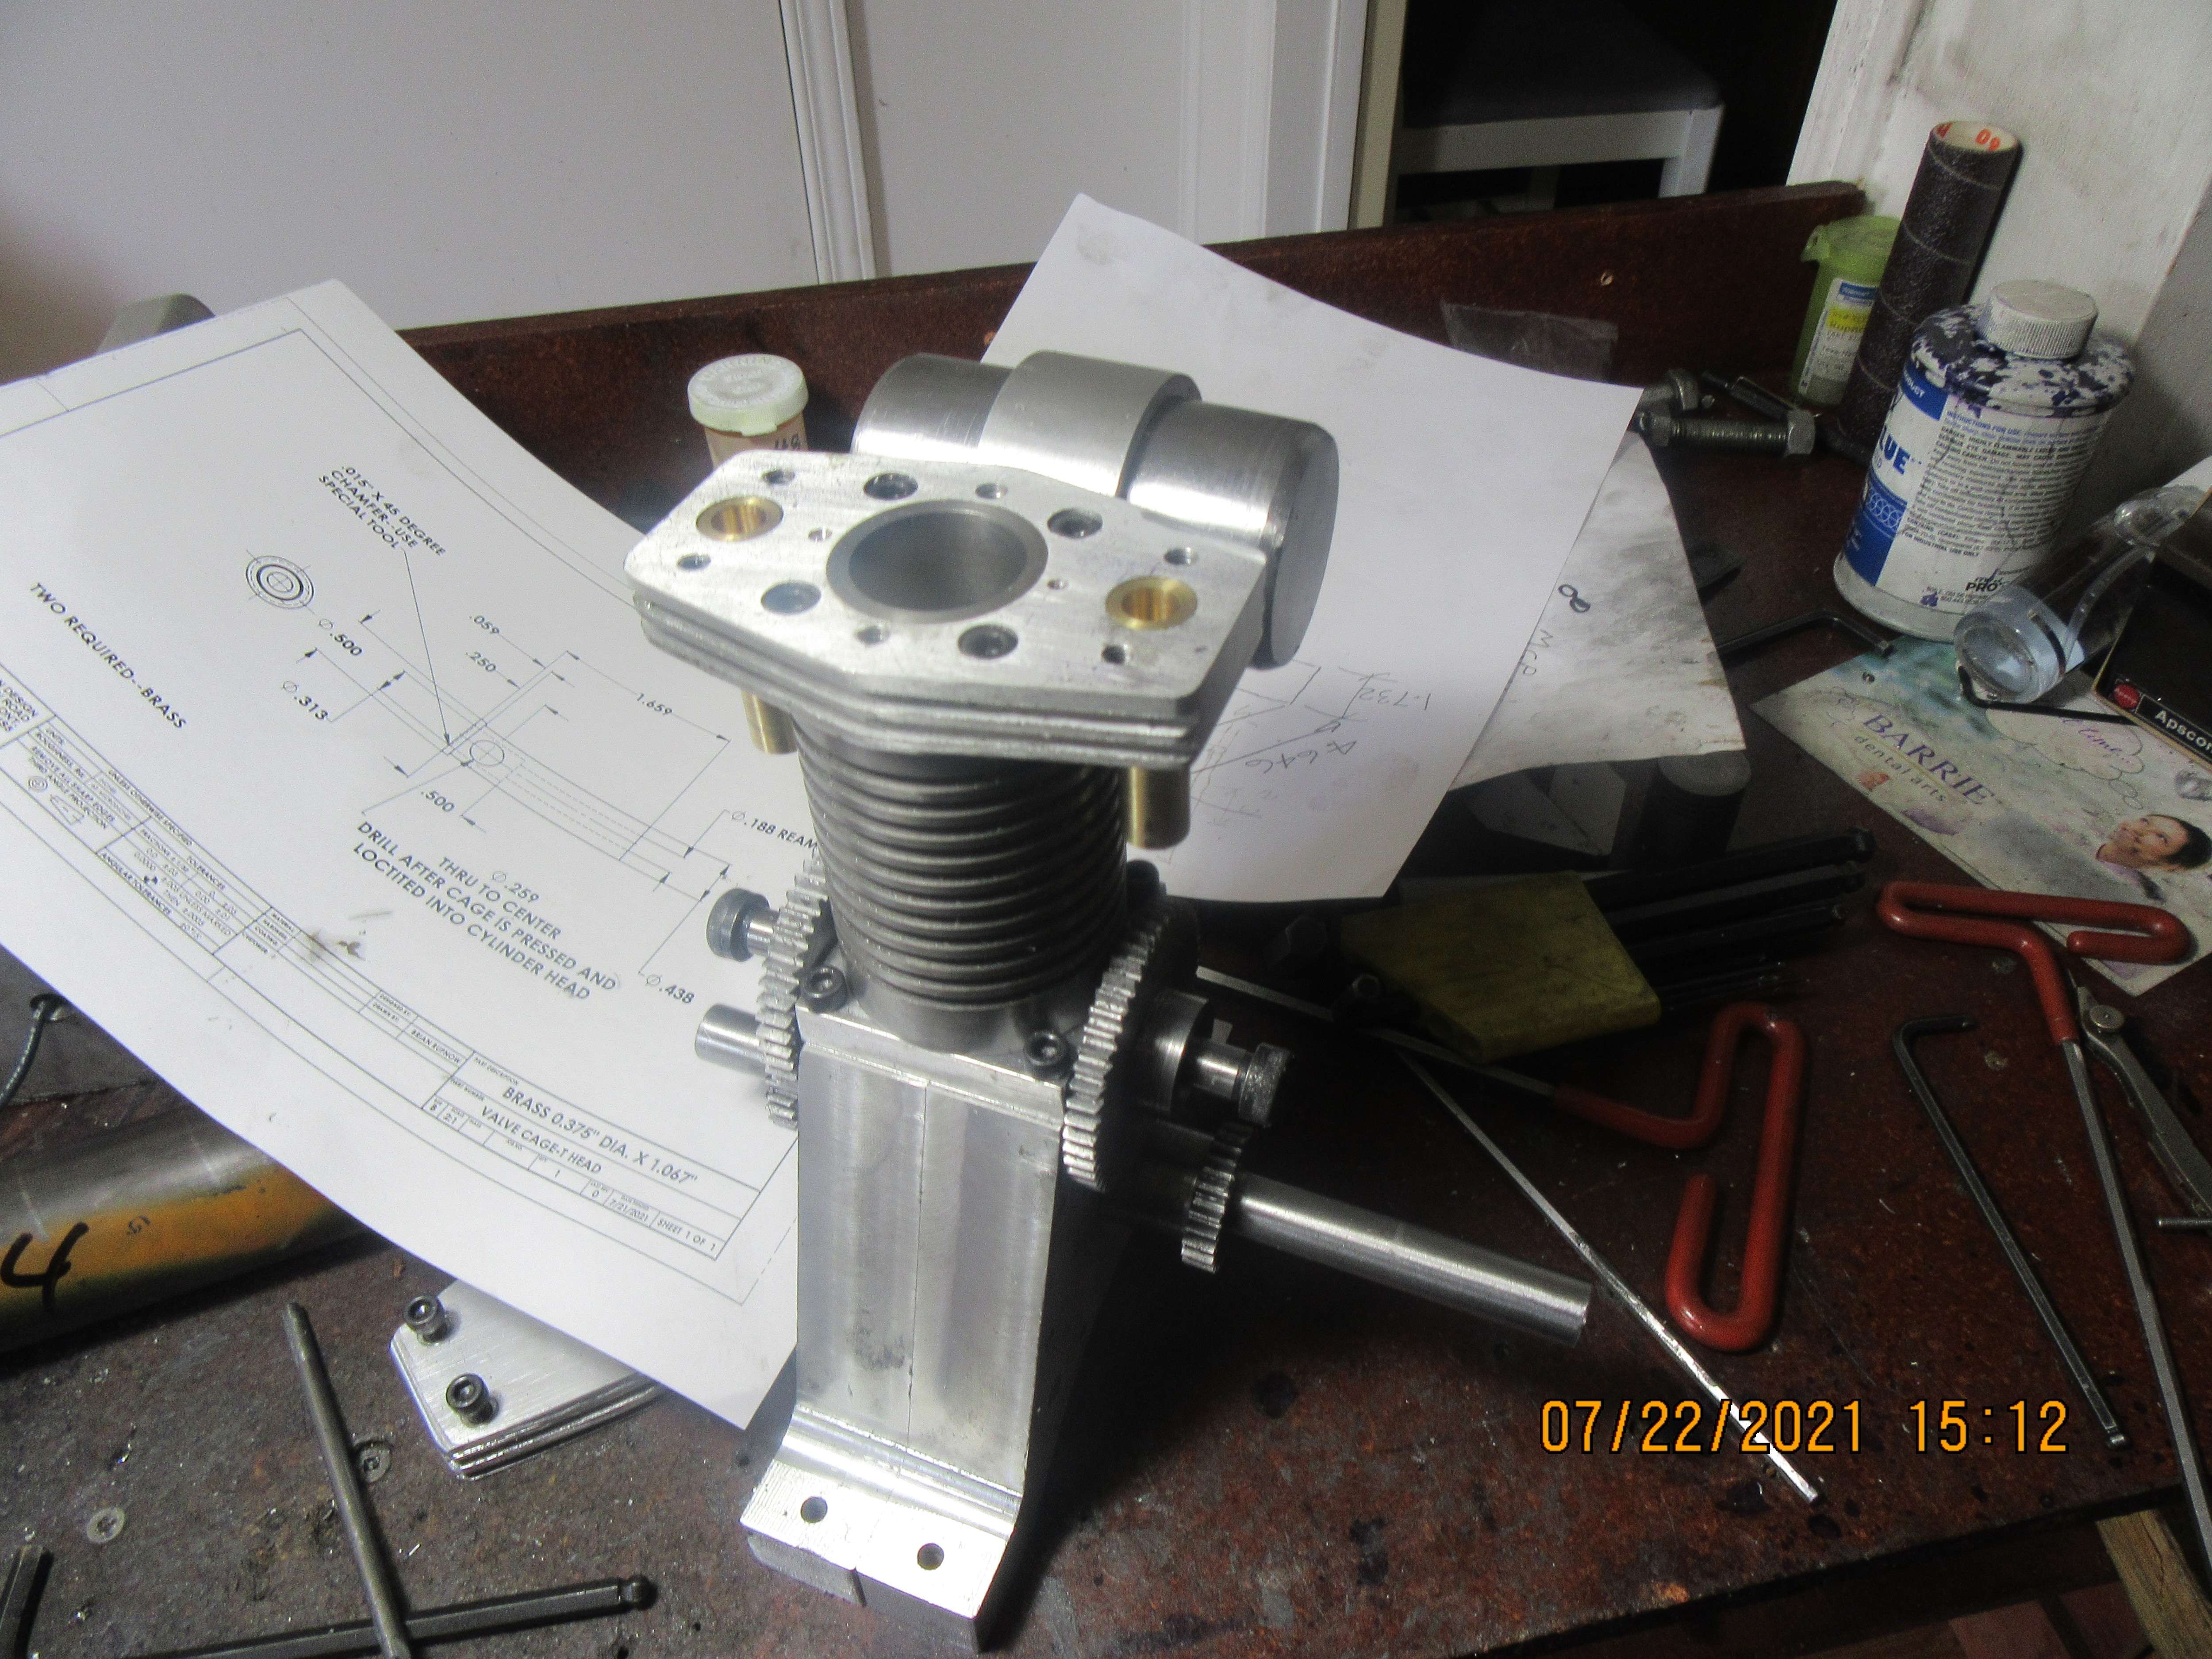
The welding fixture is completely designed and sent to my customer, who has to go to his customer for "design review". After that has happened I will complete it and make detail drawings.---Now--Back to my own stuff. I finished the welding fixture design about noon today, and spent the rest of the day machining valve cages. In a perfect world, they would be a press fit into the head. In the real world, you can't press them too hard because they are made of brass. So, they are coated with #638 Loctite and lightly pressed into place with my shop vice. After they set up for 24 hours or more I will drill the intake and exhaust port thru the cylinder head and the valve cages at the same time. I have not used my special valve guide cutting tool yet to prepare the seats to mate with the valves. That is just about the only thing left to do to the valve cages. I will make the valves later today or perhaps tomorrow. I did stop by my metal suppliers today and picked up a foot of 1 1/2" diameter "stress-proof steel to machine a one piece crankshaft from.
vTWr7R.jpg
 
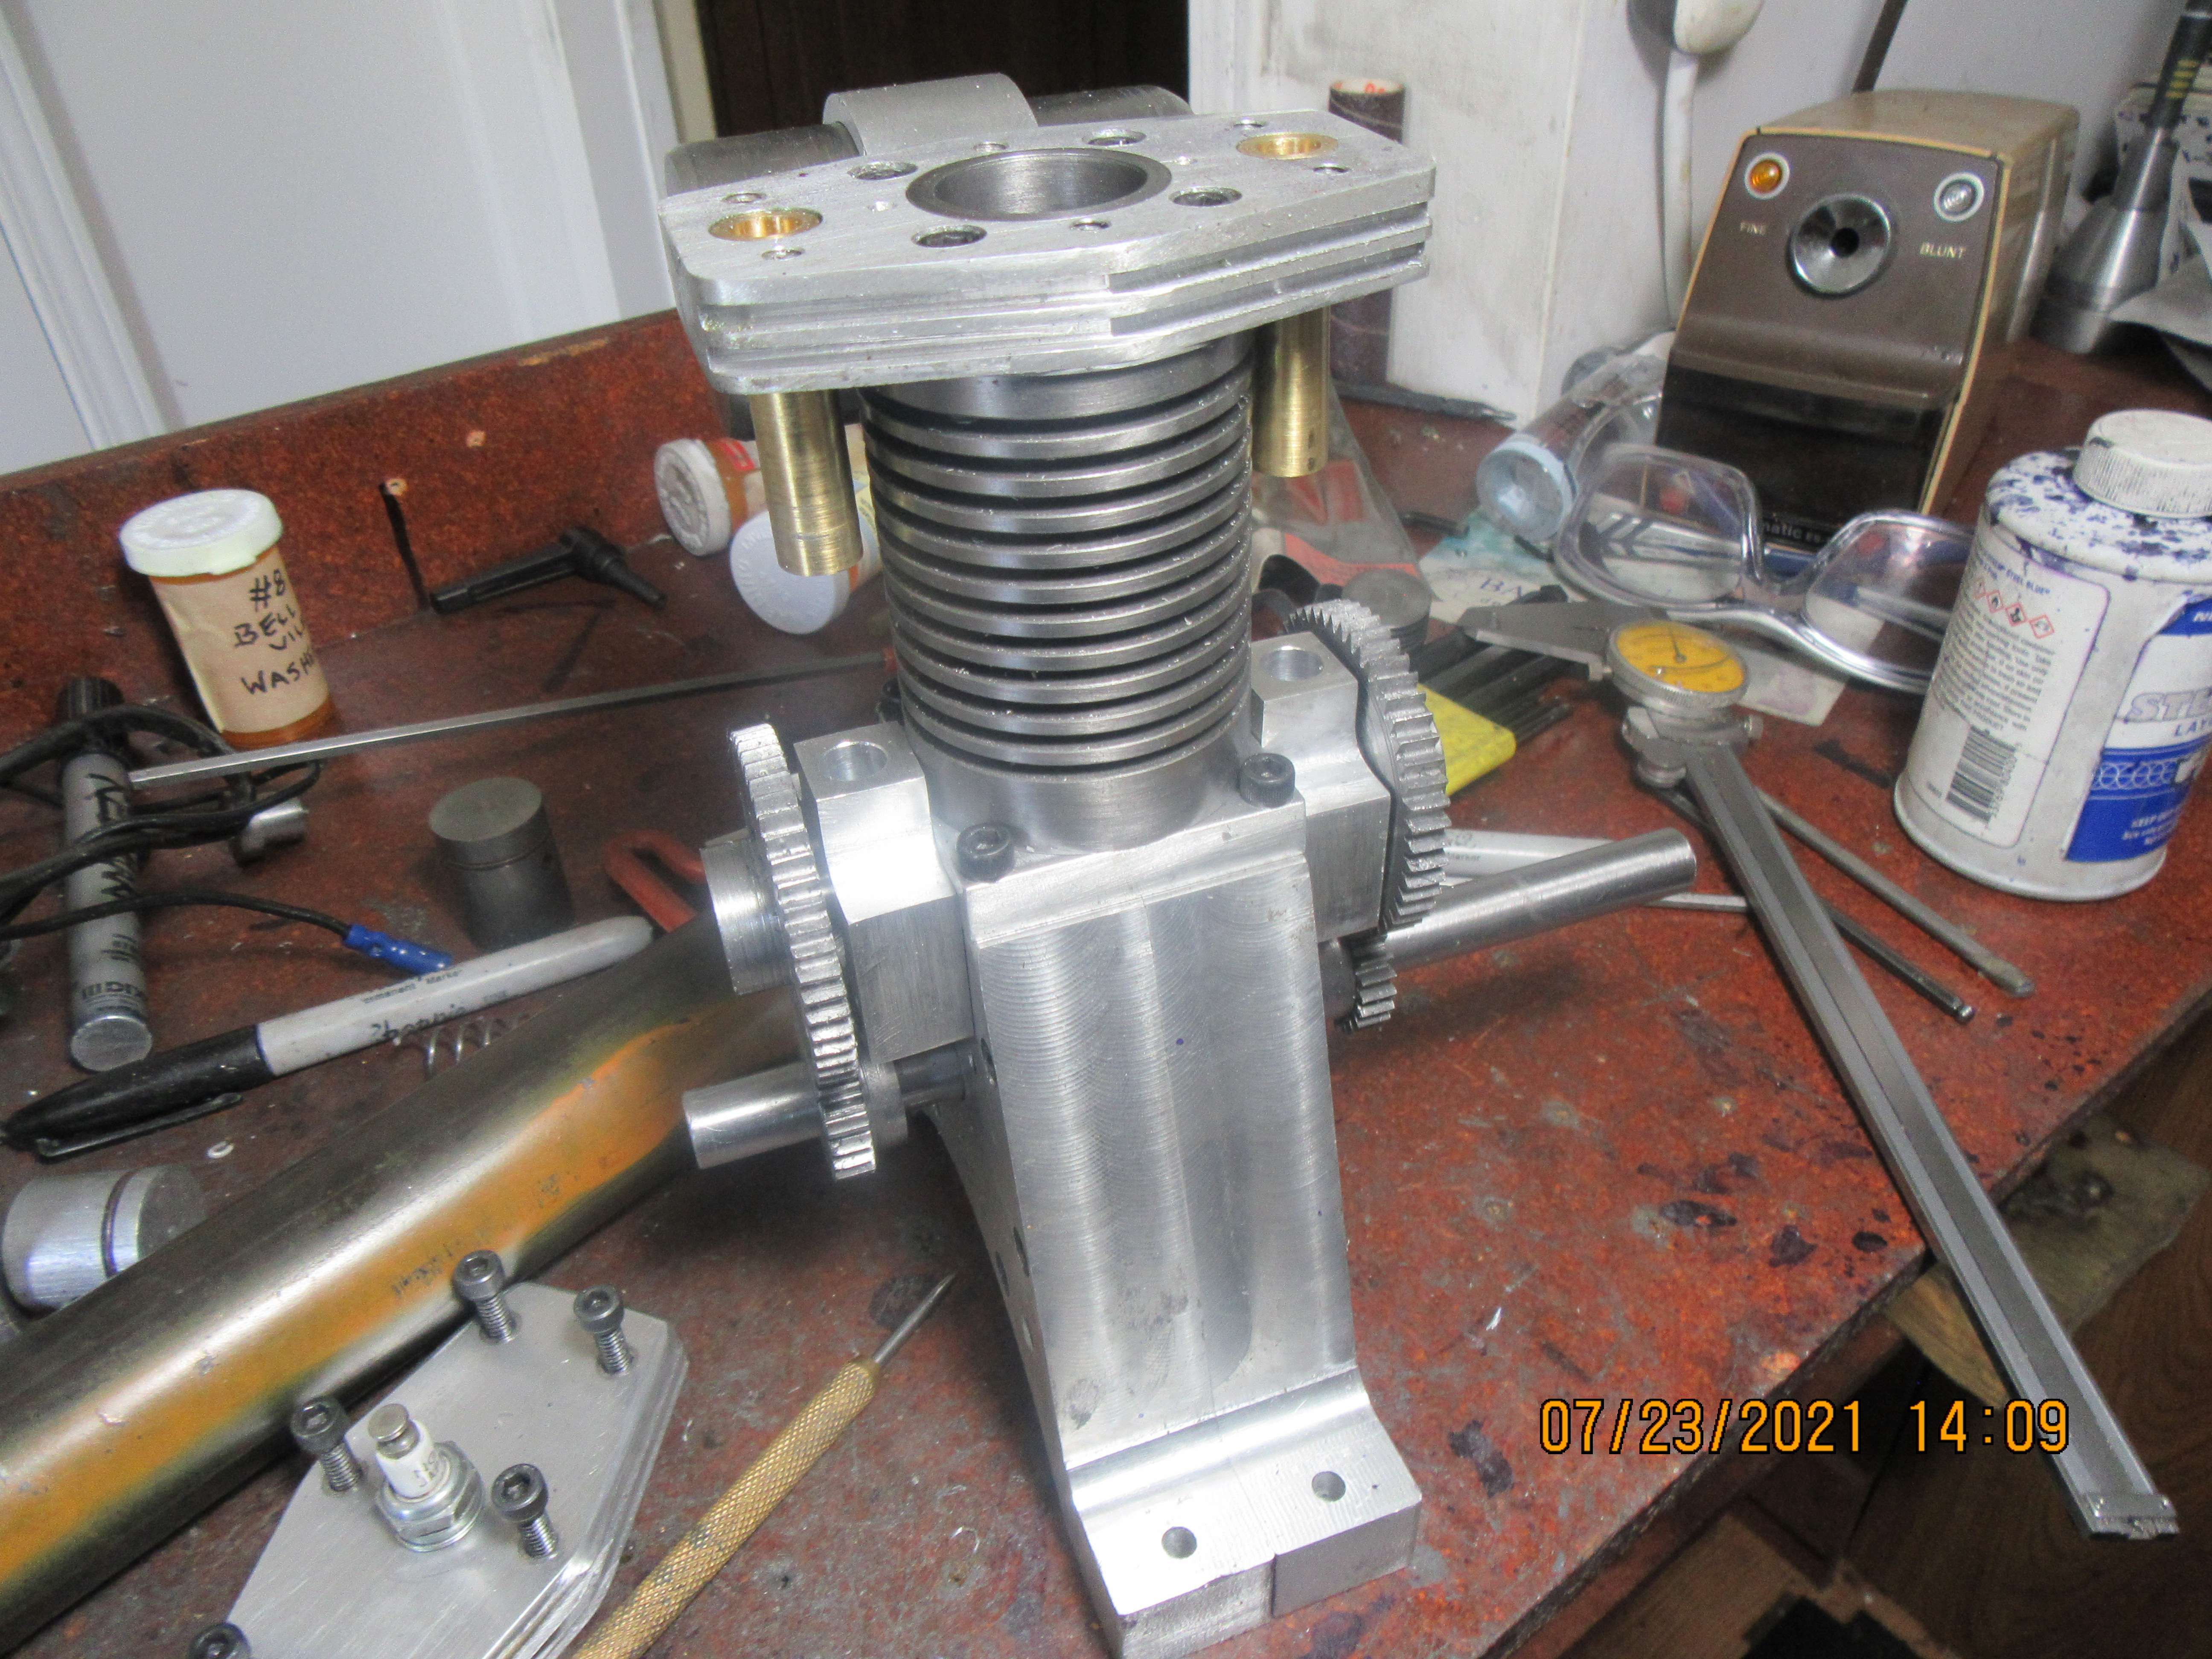
Todays nifty trick was to machine a pair of tappet guides. They set between the 50 tooth gears and the sides of the engine frame. They have a 7/8" clearance hole on center to clear the cams, and there will be a 5/16" i.d. sintered bronze bushing pressed into the hole in the top of them to guide the tappets which ride on the cam. The cam is attached to the side of the 50 tooth gear.
jLm41Q.jpg
 
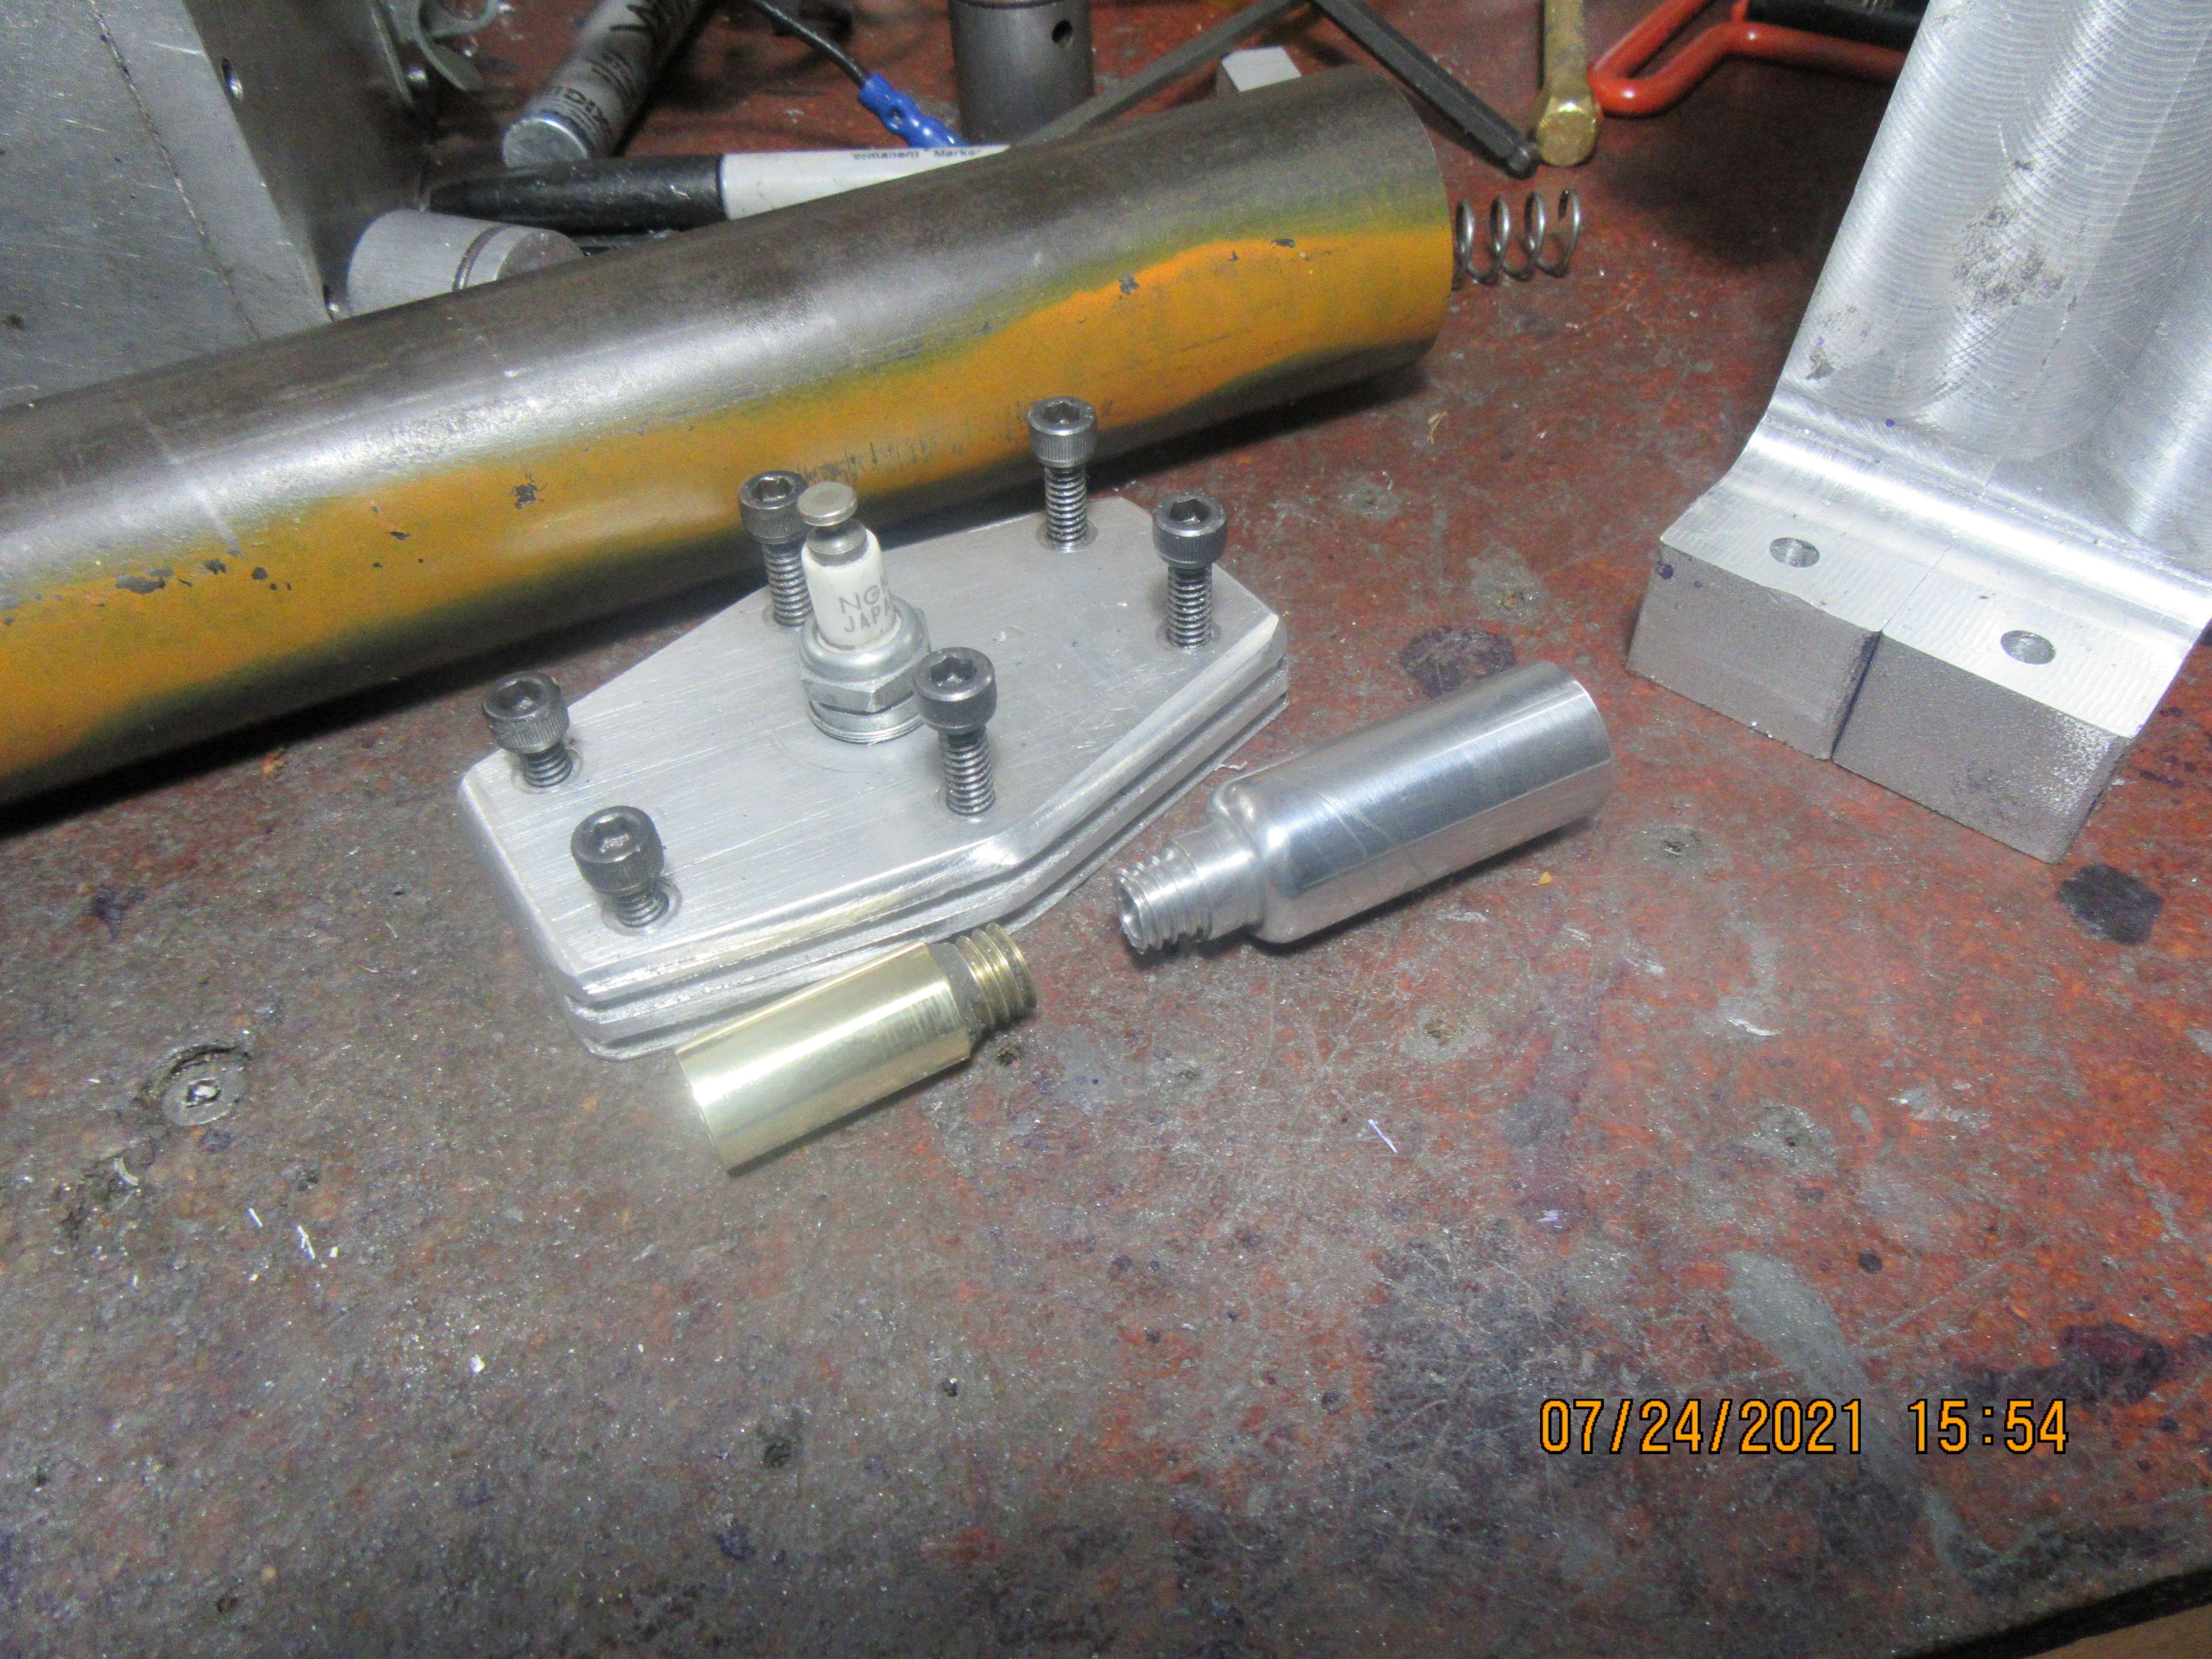
I had to take my chainsaw over to my oldest son's place and play "Johnny Lumberjack" this morning and take out a couple of big trees for him. This left me with a bad case of "lazyitis" this afternoon, so I made two parts for my engine that didn't require a lot of thought. The brass part is the adapter for the Traxxas carburetor, the aluminum piece is the exhaust.
VsKJXj.jpg
 
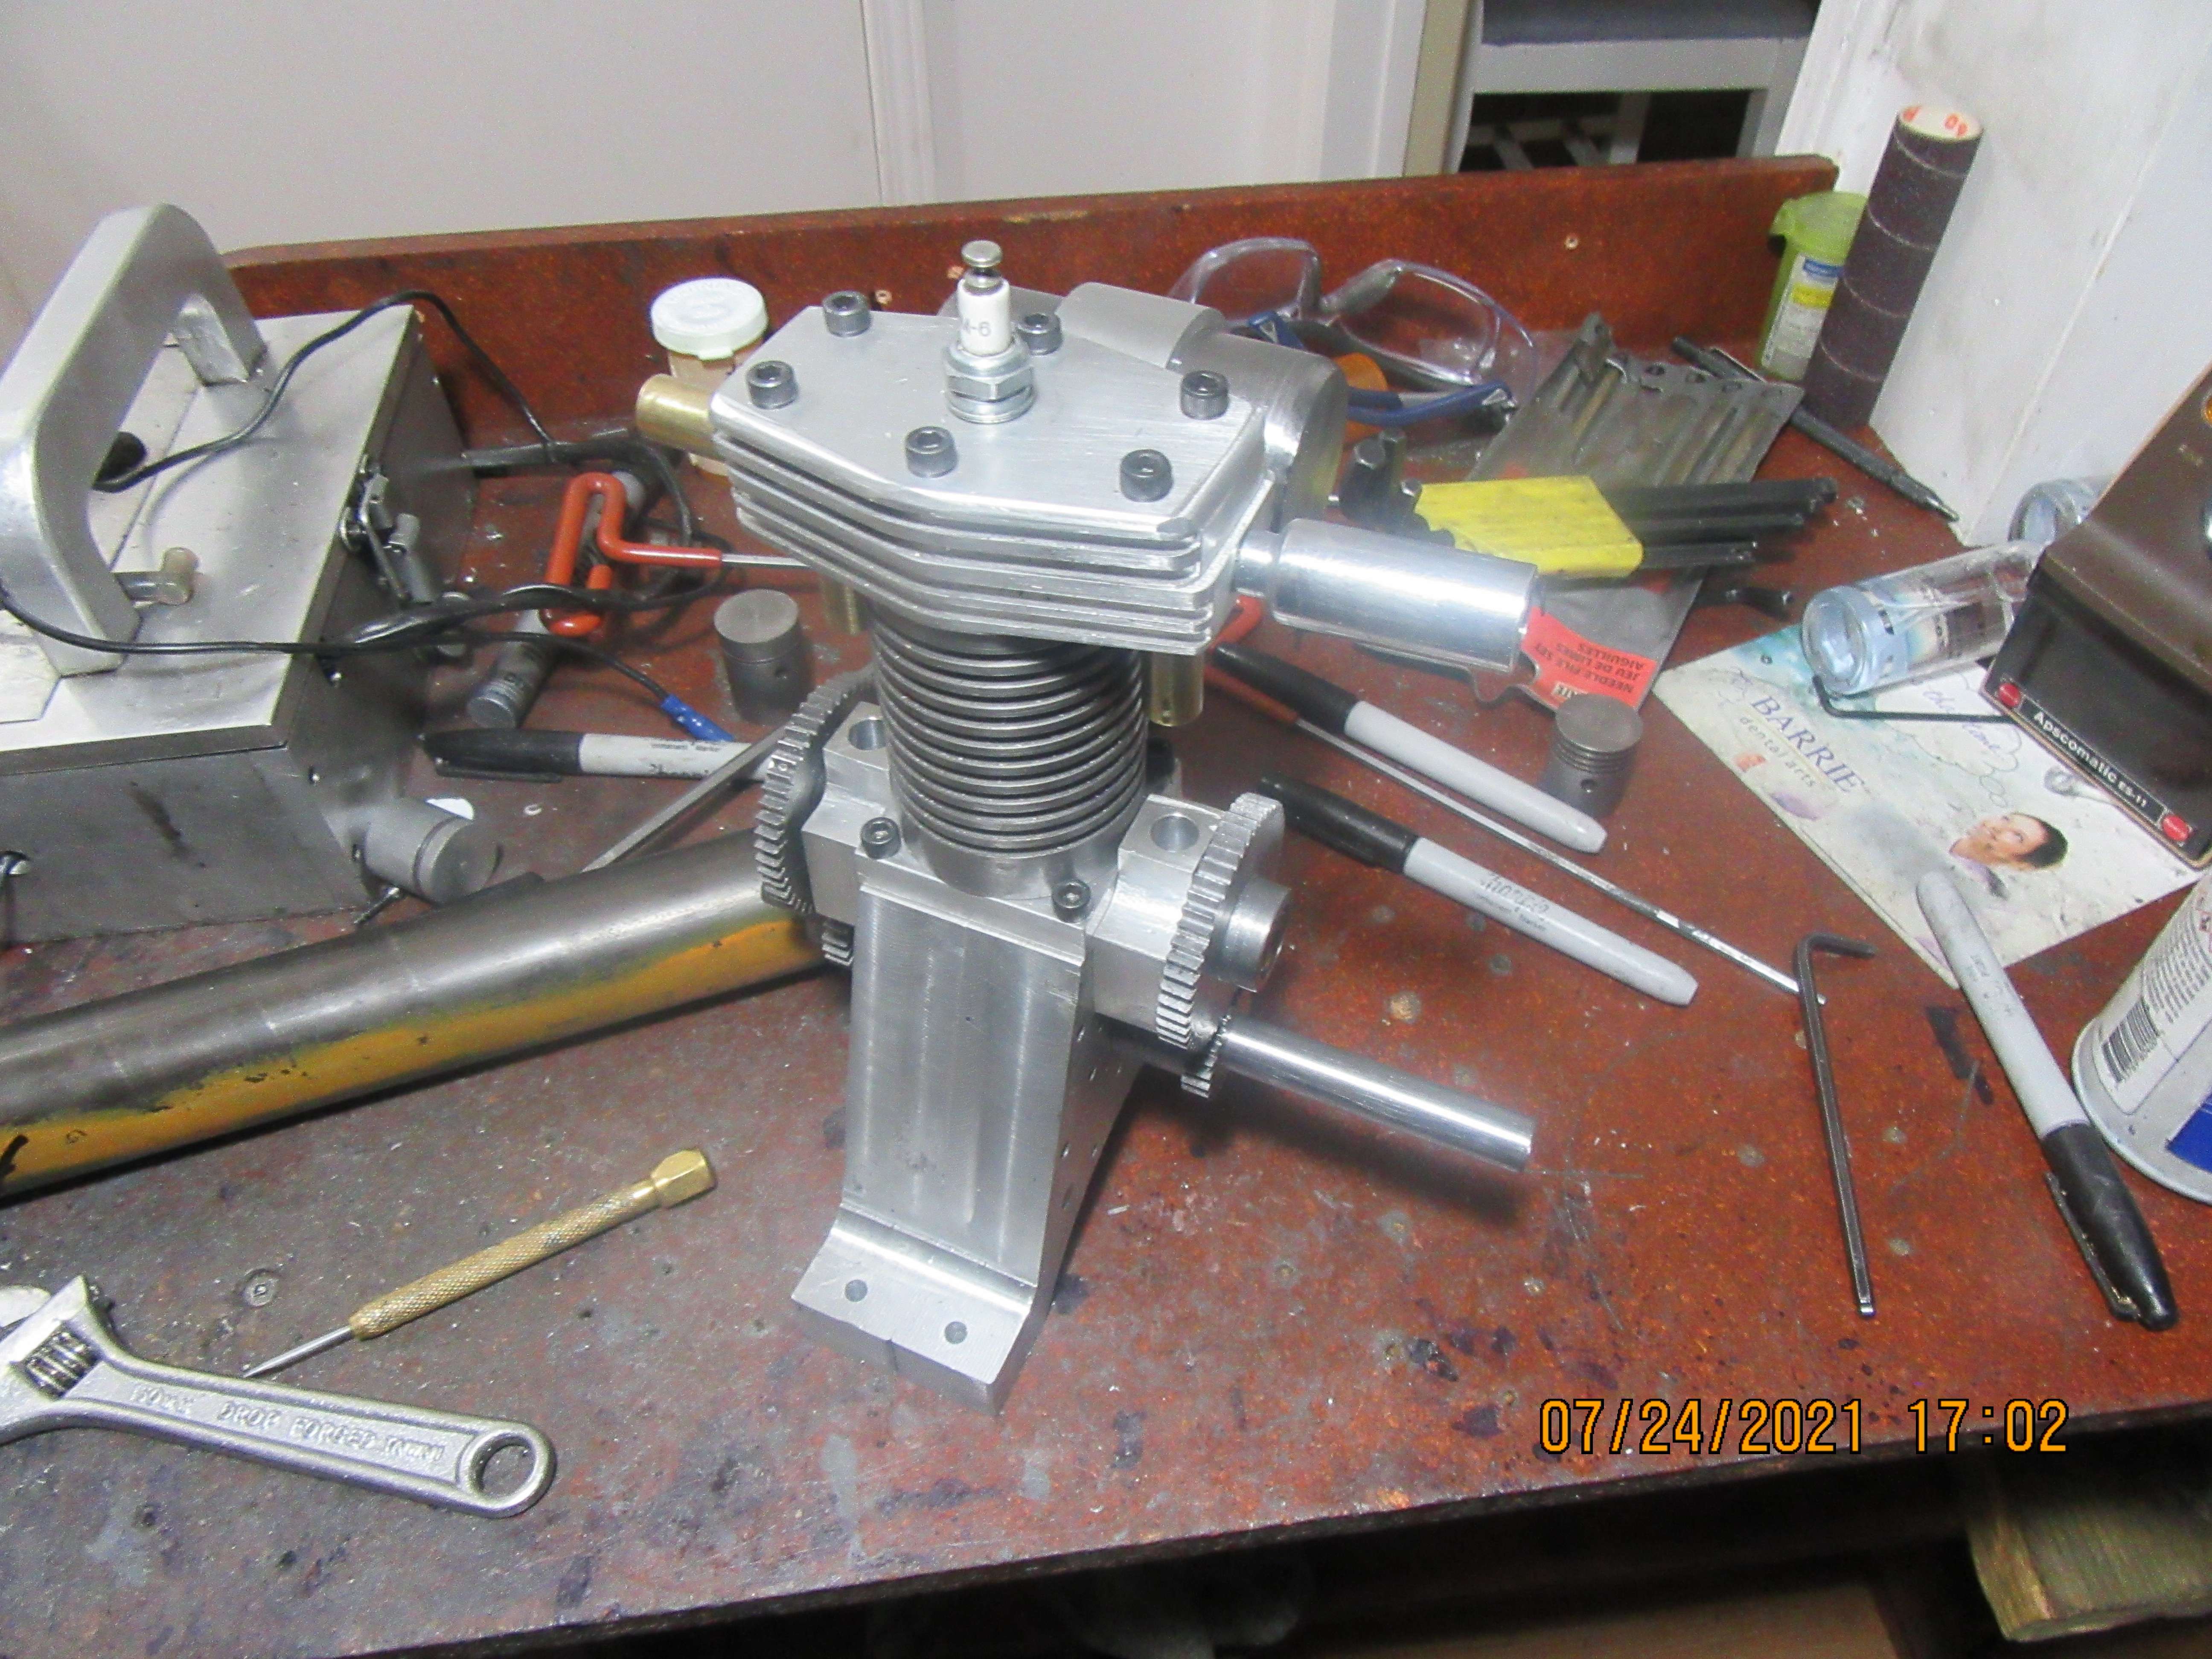
I ran into something a bit strange yesterday. When I threaded the ends of the exhaust and carb adapter for the engine yesterday, the parts were held in the lathe chuck and the die was held in a collet in the tailstock chuck. No problems were encountered, I even ran a standard 3/8"-16 nut up the thread to ensure that everything was Kosher. When the cylinder head was tapped 3/8"-16 it was held in the milling machine vice and threaded by hand with a tap and standard handle. After screwing things together yesterday afternoon, they were crooked!! It doesn't show in the picture I posted, but they were quite visually crooked. I didn't want the Loctite to set up, so I disassembled things. This morning I held the cylinder head in my mill vice and a tap in the milling machine spindle and turned the spindle by hand, and the tap was cutting metal. I ran the tap in until it bottomed out, removed it, and cleaned up the ends of the cylinder head. I then held the inlet (carb adapter) in the chuck of the milling machine, applied a bit more Loctite and turned the spindle until the shoulders on both pieces were touching each other. I must have had the tap turned at an angle when I first threaded these parts. I would stand and deny that I would make such a dumb mistake, but I can't figure out what else it could have been.
 
Thanks for the confession. I personally learn more from reading about mistakes than just marveling at well-machined parts.

Do you think something like one of those tap guides that's basically a clearance hole in piece of thick stock to keep the tap perpendicular would help? Those seem to depend on the work having nice flat surfaces to sit it on. You mentioned the cylinder head being on the mill the first time you tapped it; would something held in the spindle to indicate being perpendicular help?
 
It hasn't been a horrible morning, but it sure as heck hasn't been productive. I have one valve to show for it. Beside the valve sets a piece with a 0.1875" hole reamed thru it to check the valve stem for when it is exactly the right size. I can't even begin to tell you why it took so long, but suffice it to say, I've never sanded on anything in my life as much as that valve stem to bring it down to size. I did use a live center in the tailstock to keep the outboard end from flexing while the valve was machined. Maybe tomorrow I'll get lucky and make another valve.
JuSsZt.jpg
 
Bob--Most times, if the tapped hole is deep enough, the tap will pull itself straight as it goes in. These holes were very shallow, and consequently they stayed a bit crooked. I never use tap guides, and I seldom put a tap in the mill quill. Sometimes that comes back and bites me.
 
After breaking off too many taps I started trying to tap on the mill, usually with the drill chuck holding a 1/8" dowel pin. That size because it fits in the tap wrench when its holding smaller taps and it will touch the top of the tap. Most of those have a square section with a point in the middle. I've used that to make sure it stays perpendicular for the first couple of turns. It sounds like this might keep me safe.
 
I ran into something a bit strange yesterday. When I threaded the ends of the exhaust and carb adapter for the engine yesterday, the parts were held in the lathe chuck and the die was held in a collet in the tailstock chuck. No problems were encountered, I even ran a standard 3/8"-16 nut up the thread to ensure that everything was Kosher. When the cylinder head was tapped 3/8"-16 it was held in the milling machine vice and threaded by hand with a tap and standard handle. After screwing things together yesterday afternoon, they were crooked!! It doesn't show in the picture I posted, but they were quite visually crooked. I didn't want the Loctite to set up, so I disassembled things. This morning I held the cylinder head in my mill vice and a tap in the milling machine spindle and turned the spindle by hand, and the tap was cutting metal. I ran the tap in until it bottomed out, removed it, and cleaned up the ends of the cylinder head. I then held the inlet (carb adapter) in the chuck of the milling machine, applied a bit more Loctite and turned the spindle until the shoulders on both pieces were touching each other. I must have had the tap turned at an angle when I first threaded these parts. I would stand and deny that I would make such a dumb mistake, but I can't figure out what else it could have been.
Many years ago (probably before you were born) I happened to have bought a thread gage from Sears. The 3/8ths - 24 was the single gage I used the most. I kept getting the wrong reading and was wondering what was wrong to the point of I started kicking things. This went on for months. When I used someone else's gage, there didn't seem to be a problem but I didn't really realize what was happening. I thot it was my own mis use or misteaks or wat ever. Well, one day I happened to have another thread gage and I compared the two 3/8-24 gages. The Sears one was WRONG! I was so shockt that I recheckt it on other gages. The other gages all agreed with each other but not the Sears one. so I tood the set back to Sears and the fellow there did not believe me, so I demonstrated it with his other, in store gages. He, like myself, could not believe it. Sears had somehow gotten a gage that was stamped with "24" on it which was incorrect. After he realized that I was correct, he handed me a new one and took the old one probably to send to quality assurance.

My point is that "sh*t happens" and some times it's simply inexplicable. You already know this, of course, but some times it's misery loves company. LOL
 
I ran into something a bit strange yesterday. When I threaded the ends of the exhaust and carb adapter for the engine yesterday, the parts were held in the lathe chuck and the die was held in a collet in the tailstock chuck. No problems were encountered, I even ran a standard 3/8"-16 nut up the thread to ensure that everything was Kosher. When the cylinder head was tapped 3/8"-16 it was held in the milling machine vice and threaded by hand with a tap and standard handle. After screwing things together yesterday afternoon, they were crooked!! It doesn't show in the picture I posted, but they were quite visually crooked. I didn't want the Loctite to set up, so I disassembled things. This morning I held the cylinder head in my mill vice and a tap in the milling machine spindle and turned the spindle by hand, and the tap was cutting metal. I ran the tap in until it bottomed out, removed it, and cleaned up the ends of the cylinder head. I then held the inlet (carb adapter) in the chuck of the milling machine, applied a bit more Loctite and turned the spindle until the shoulders on both pieces were touching each other. I must have had the tap turned at an angle when I first threaded these parts. I would stand and deny that I would make such a dumb mistake, but I can't figure out what else it could have been.
Brian, I always use a spring loaded tap guide when tapping anything on the mill. It keeps things lined up straight. I haven't had a broken tap since. Good luck.
 
Loren--I very seldom break a tap. If the hole is a reasonable depth, the hole seems to pull the tap straight as the tap goes in. I am very careful when tapping to back the tap out half a turn after every full turn and break the chip before tapping deeper. I seldom have a problem with a hole being tapped crooked unless it is a shallow hole. This case it was a shallow hole and yes, I must have held the tap crooked when I tapped it. I have since set everything up in the milling machine vice and held the tap in the mill chuck to re-tap the threads straight. Very little metal was removed. I then loctited the threaded part, held it in the spindle chuck and used the mill spindle to turn the screw in part, then left it 24 hours for the loctite to set up. All is well now.---Brian
 
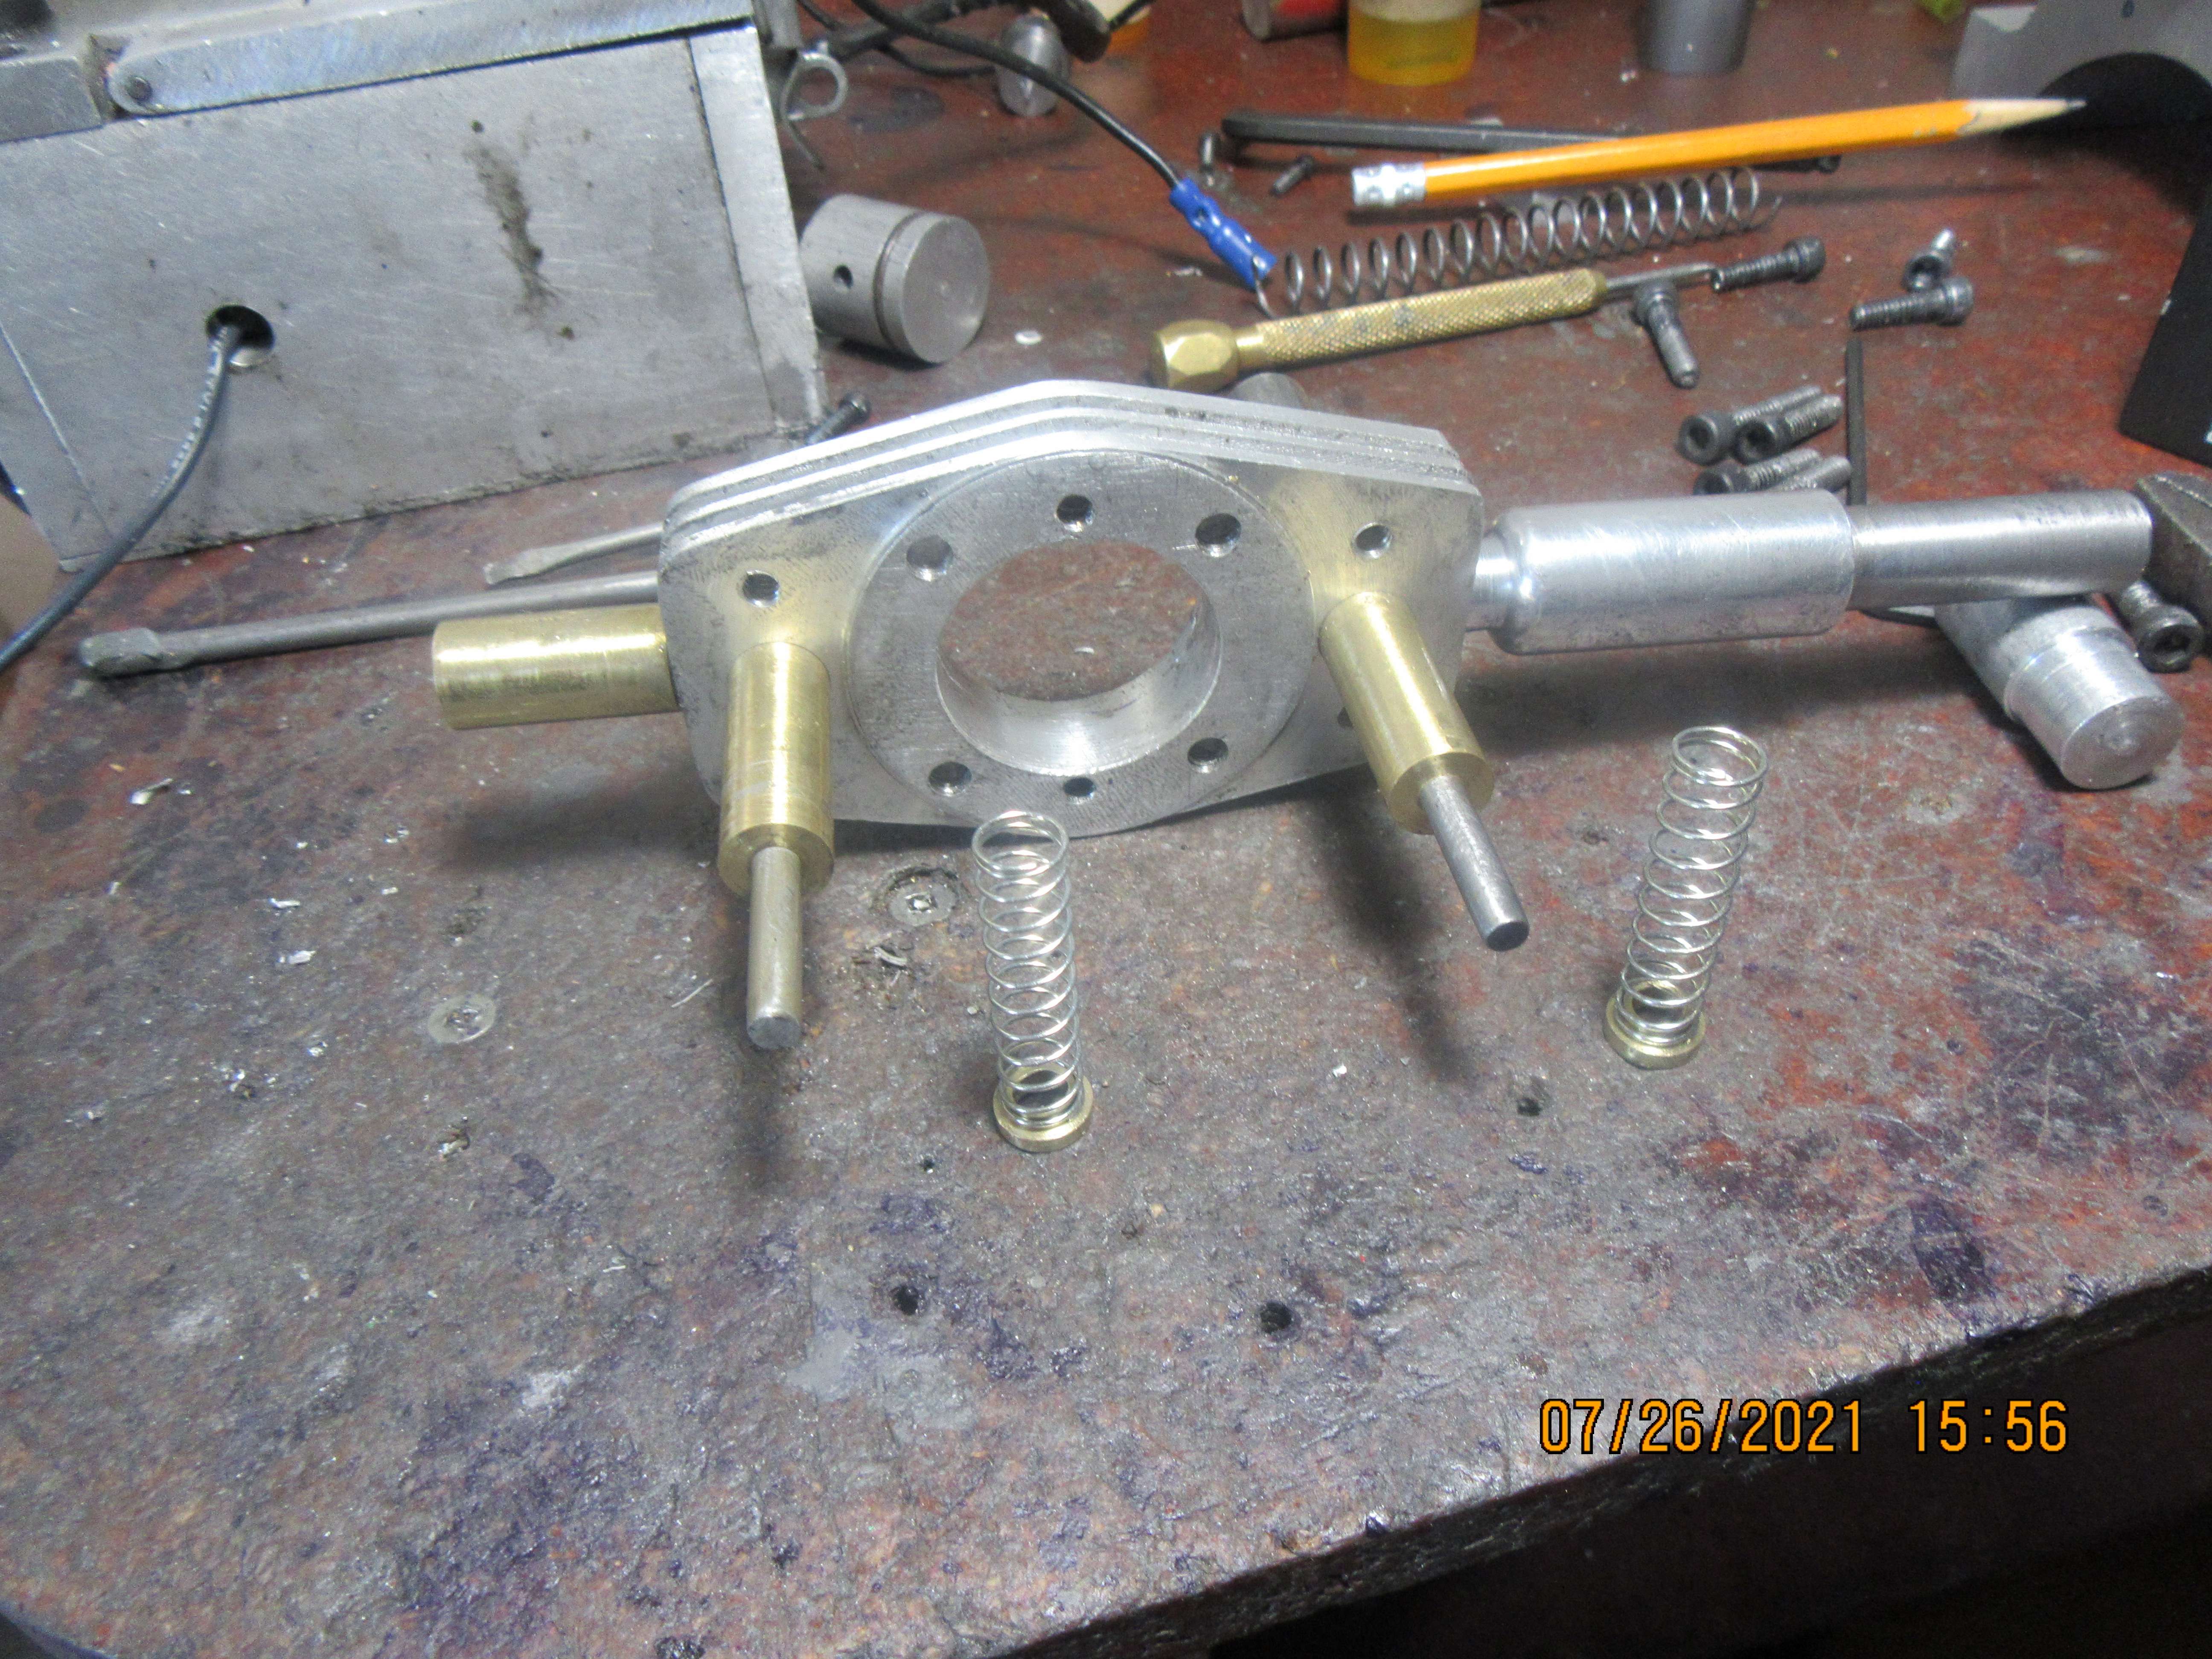
Today, the crooked carb adapter and exhaust have been straightened. I hunted around in my box of assorted springs, and come up with two likely candidates for valve springs. I made two brass stepped bushings which fit over the end of the valves (which are shown in place with "handles" still in place) and retain the valve springs when they are compressed. I still have to cross-drill the ends of the valves for 1 mm pins that hold the spring retainers in place. Not a whole lot to show for a days work, but then I didn't work on the engine most of the day. It was a beautiful 88 degree sunny day here today, and I didn't feel like doing much!!
DVlkpE.jpg
 
Brian, i was thinking about the valves/tappets and wanted to ask, there isnt any lash or adjustment for them is there? maybe just file/sand the tip if they are to tight but thats all right? if i remember right thats the way an old briggs and stratton push mower engine would be like?
 
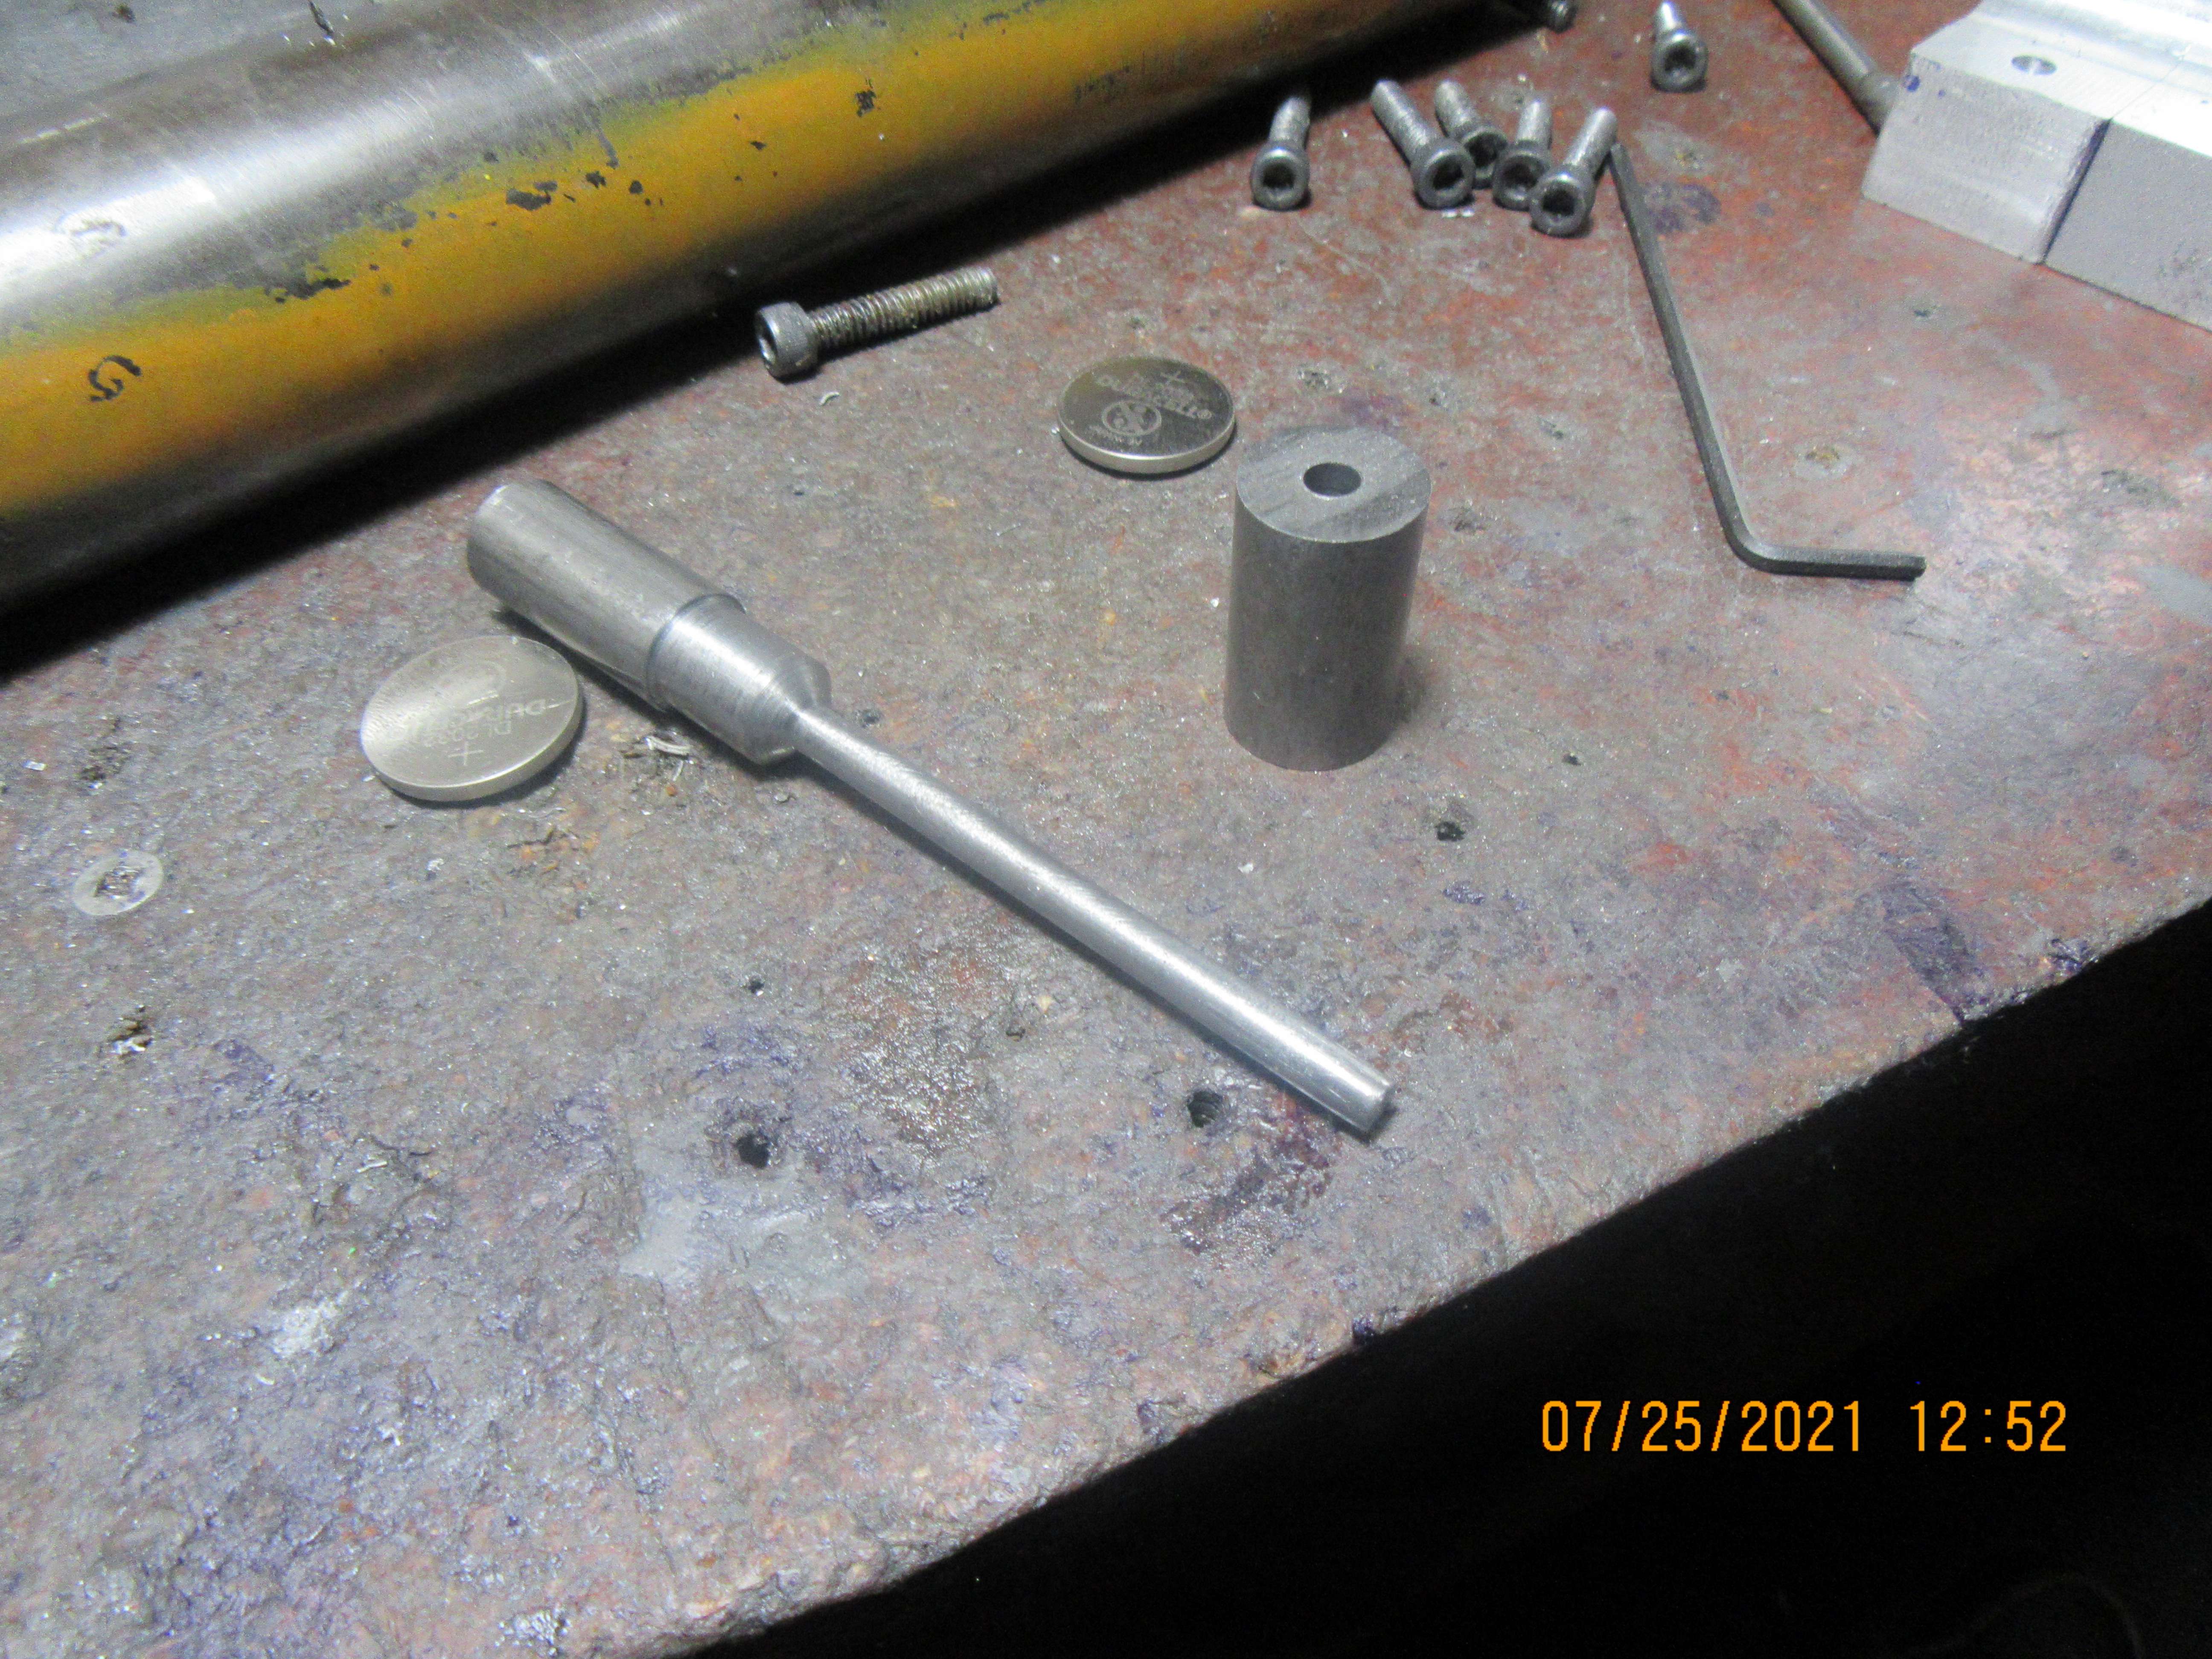
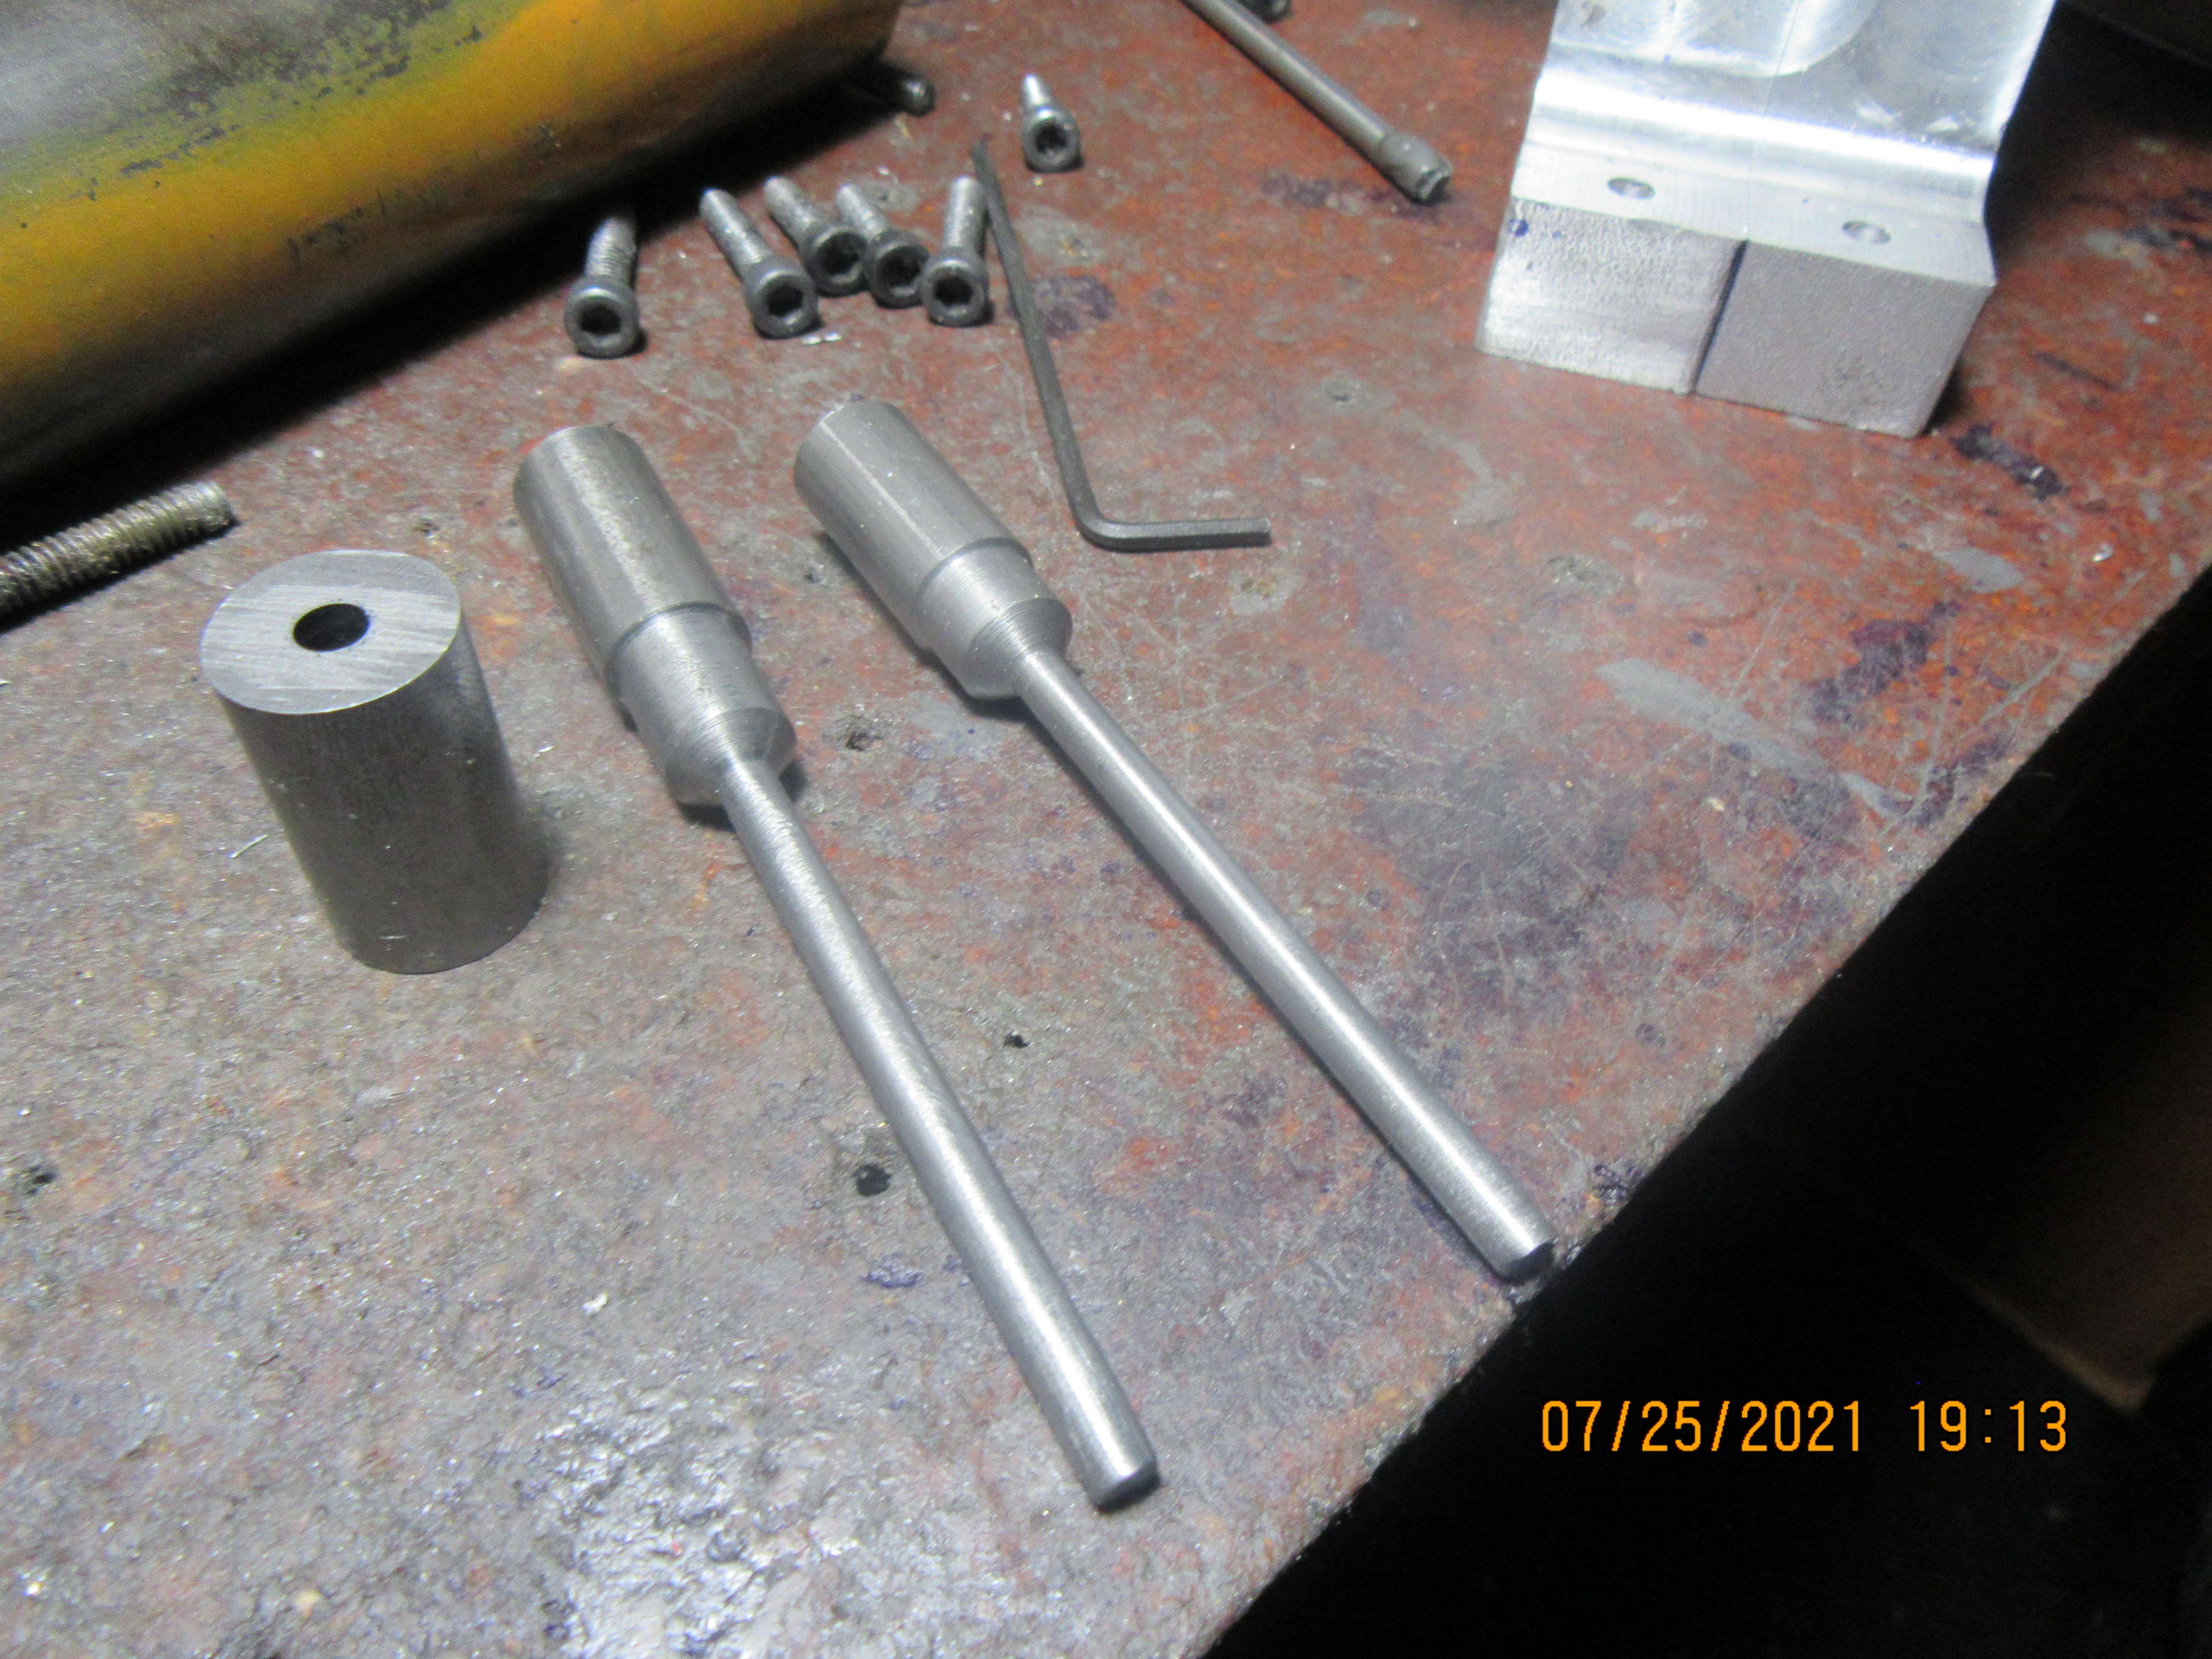
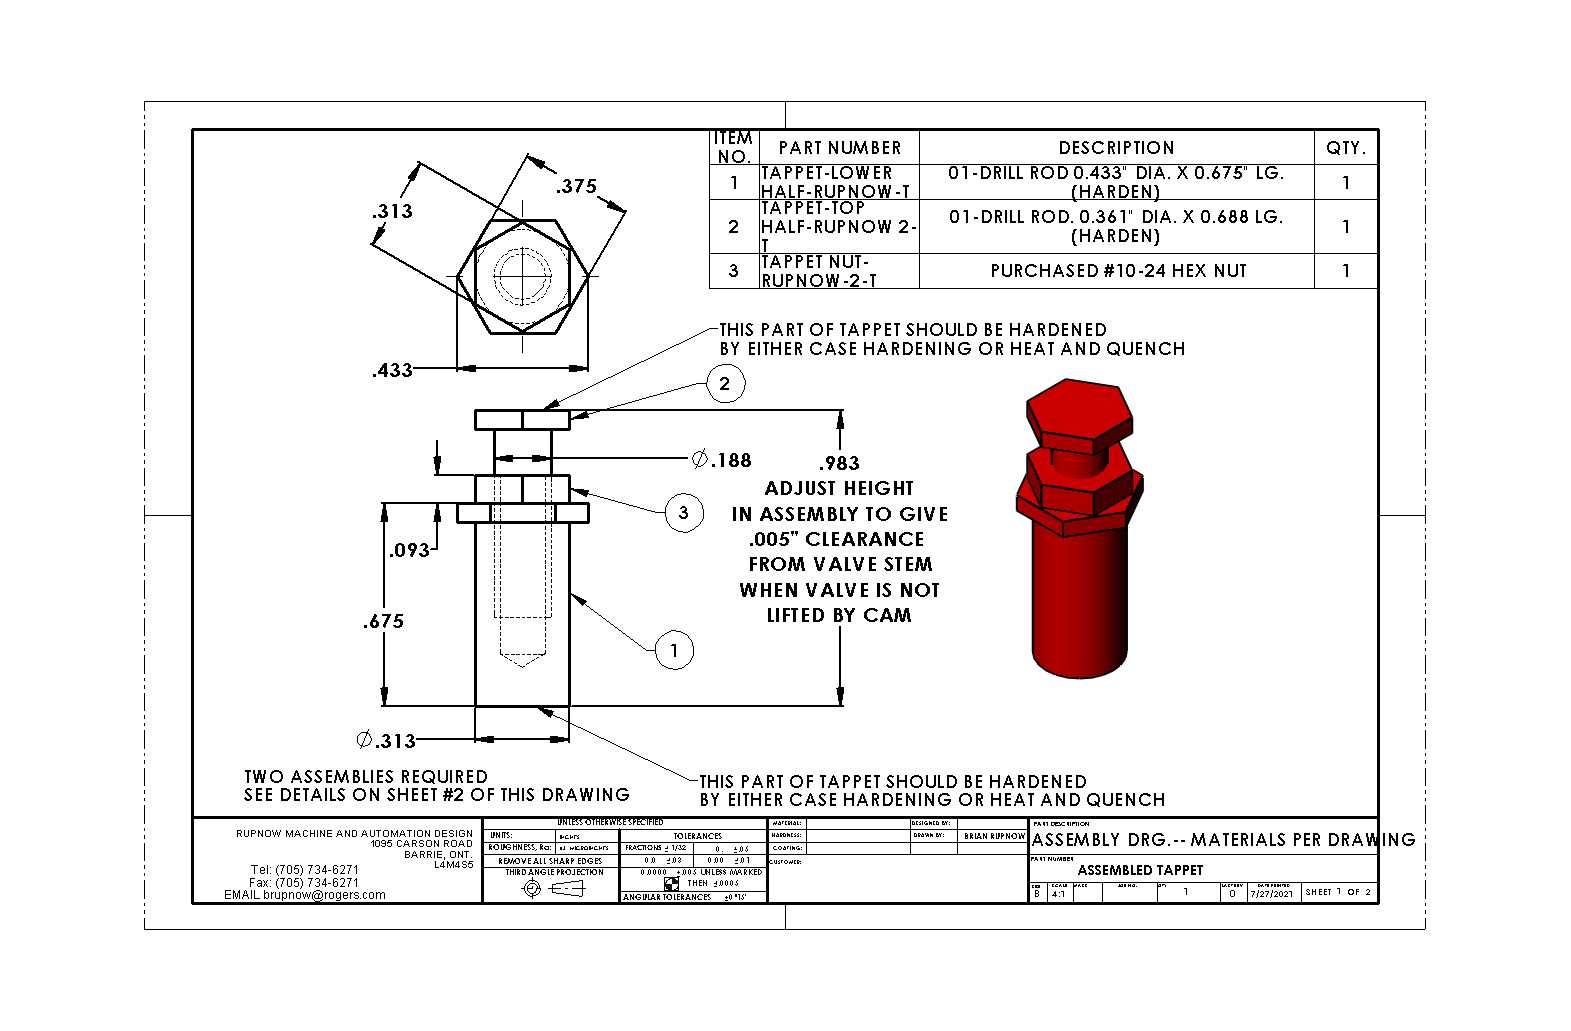
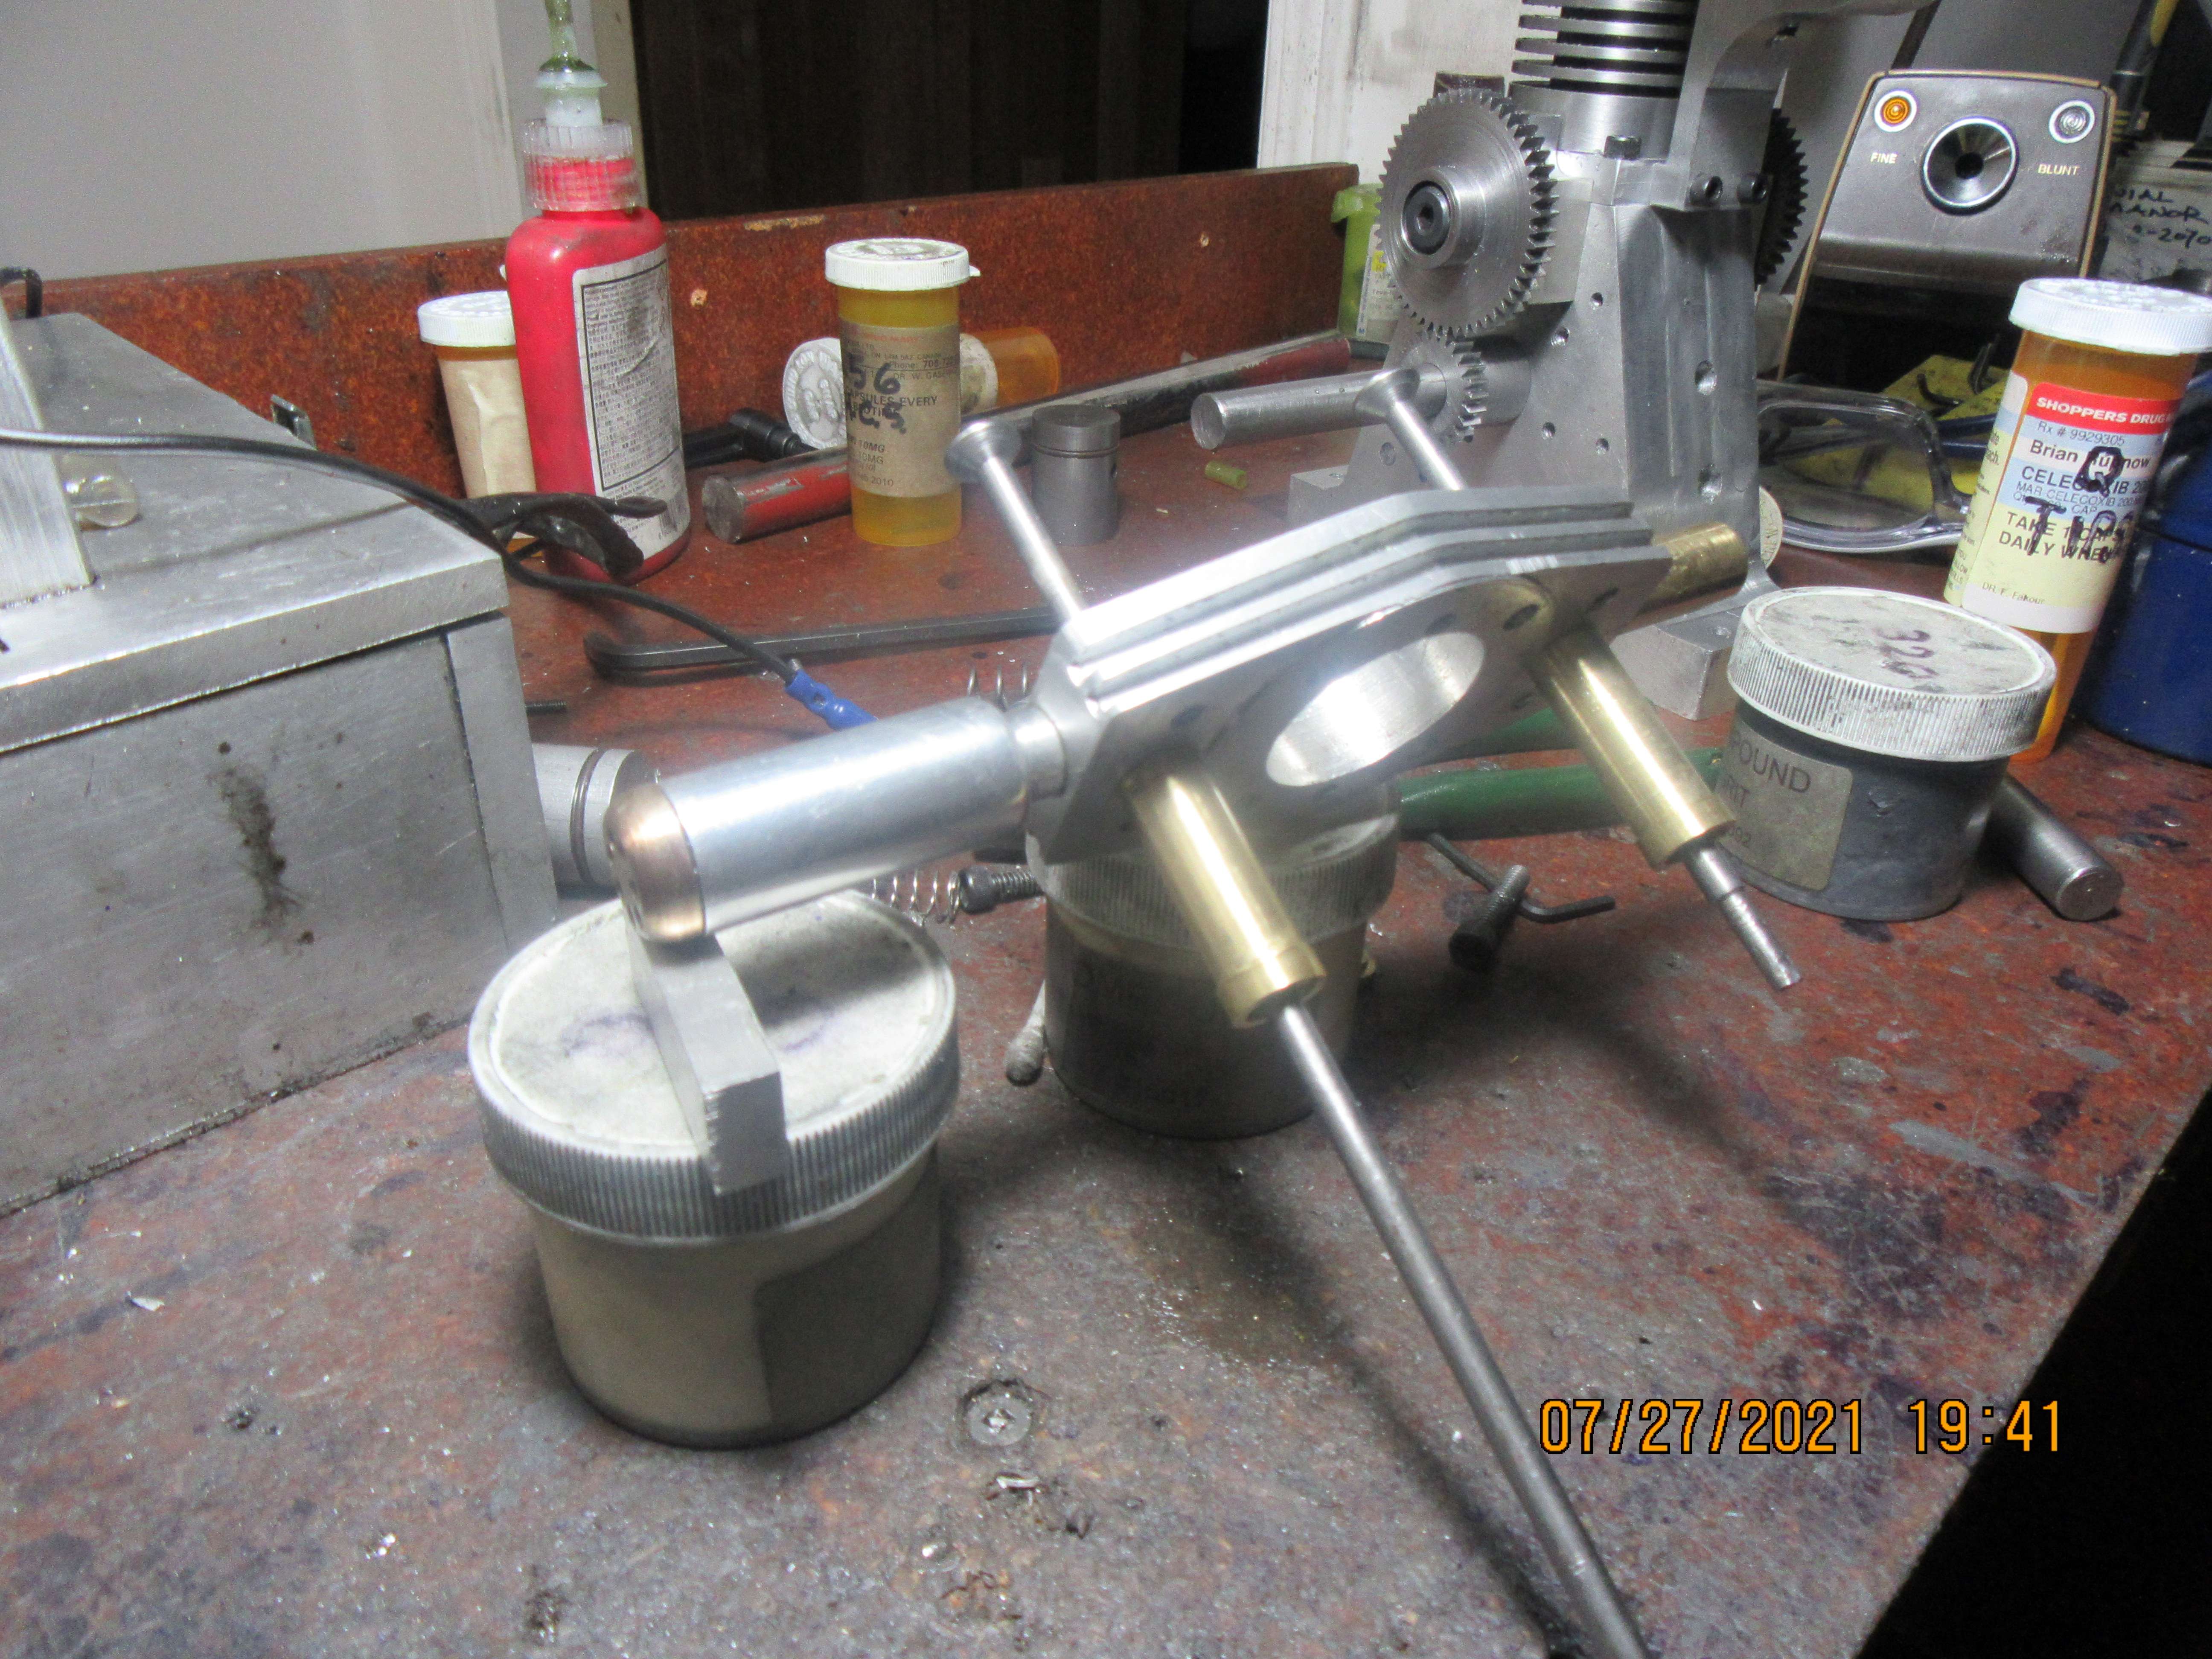
Today was a semi quiet day, finishing up little things. The valve seats were cut with my special George Britnel tool. (Actually a larger version of my original tool for valves with 1/8" stems). The valves were lapped into the seats using first 320 grit paste, then 400 grit paste, and finally with 600 grit paste. Then the "handles" were cut off the valves because they were no longer needed. A bronze endcap for the exhaust system was turned, drilled and loctited in place. I found that I had screwed up the design of the valve cages, by not leaving a "tit" of material on the end of the cages to register the springs on. I fixed the design drawing, but rather than remaking the valve cages I turned a couple of "add on" bushings to the end of them with a cavity on one end to fit the o.d. of the valve cages and a cavity on the other end that the o.d. of the valve spring would fit into. The rods hanging out the end of the valve cages are temporary, just in there overnight to ensure correct positioning of the bushings until the loctite sets up. If you don't have this spring locating feature, the spring will ride against the side of the valve stem and cause problems. Tomorrow I will probably make the tappets. I picked up a piece of 01 steel yesterday, long enough to make the tappets and the cams from. ----Both tappets and cams will be flame heated and quenched in oil to harden them.
NIFToZ.jpg
 
Looking brilliant Brian. Great to see something a little different being made. Are you going to make the plans available once the donk is finished?
 
Back
Top