Brian Builds the Kerzel Hit and Miss I.C.

Home Model Engine Machinist Forum

Help Support Home Model Engine Machinist Forum:

This site may earn a commission from merchant affiliate links, including eBay, Amazon, and others.

Brian, I have these plans also and want to build it but I want to get more experience.I have read that I/C engines are a lot tougher to build than the air/steam ones so I want to build some more air/steam engines first to build up my confidence and experience first. So yes I would very much appreciate any corrected drawings you might do of these drawings.

Thank you for the offer.


Ron

 
I see that in the original plans, the flywheels are attached to the crankshaft with a set screw. I wonder how succesfull that was. When these little engines do fire, they give a very powerfull kick. In the Webster build, the designer drilled a 3/32" hole thru the flywheel hub and thru the crankshaft. This ensures no slippage, but weakens the crankshaft in a rather critical area. I'm going to have to think a bit on this one---
 
ozzie46 said:
Brian, I have these plans also and want to build it but I want to get more experience.I have read that I/C engines are a lot tougher to build than the air/steam ones so I want to build some more air/steam engines first to build up my confidence and experience first. So yes I would very much appreciate any corrected drawings you might do of these drawings.

Thank you for the offer.


Ron

Ozzie---Somebodies been pulling your chain a bit. I don't think that they are any more difficult than an air/steam type engine. And yes---I will be posting the corrected drawings.---Brian
 
You could use a keyway to stop the flywheels slipping.

May also be worth thinking about extending the crank on the non governor side to take a pully as these engines seldom ran a belt of the flywheel. Some did mount the pully to the pully to the flywheel spokes though.

Jason
 
Hi Brian, what error did you run across on that CSB part? I must have missed it as I didn't have any problems with it when I was in the process of building The Geneva www.homemodelenginemachinist.com/index.php?topic=8824.0 (still am). I admit that there are places on DK's drawings that have some missing dimensions such as you found on the con rod but to me a bit of seat-of-the-pants common reckoning and a bit of armchair engineering is all that was required to calculate the dimensions to complete the piece. I'll be watching as your project unfolds as I still have a long way to go yet. I'd be interested in seeing your revisions and additions to the original drawings. It is interesting to see the model done in CAD and assembled as such. I'm still in the stone age I guess, but I sure do envy the guys that have access to and can put that technology to use.

BC1
Jim
 
Brian Rupnow said:
I see that in the original plans, the flywheels are attached to the crankshaft with a set screw. I wonder how succesfull that was. When these little engines do fire, they give a very powerfull kick. In the Webster build, the designer drilled a 3/32" hole thru the flywheel hub and thru the crankshaft. This ensures no slippage, but weakens the crankshaft in a rather critical area. I'm going to have to think a bit on this one---

Brian, I used set screws for the flywheels on my 1" bore hit n miss. I had to mill a shallow flat on the crank for the set screw to seat on and I really had to cinch the setscrews down hard. You might also consider two setscrews per flywheel.

A more elegent, albeit complicated, solution is to use tapered collet type clamp. Here are photos from my plumbing parts engine.

IMGP1302.jpg


IMGP1301.jpg


IMGP1299.jpg


IMGP1297.jpg


A broached keyway and slot in the crankshaft would also work, I like the method that Chuck outlined using that collet arrangement.

BC1
Jim
 
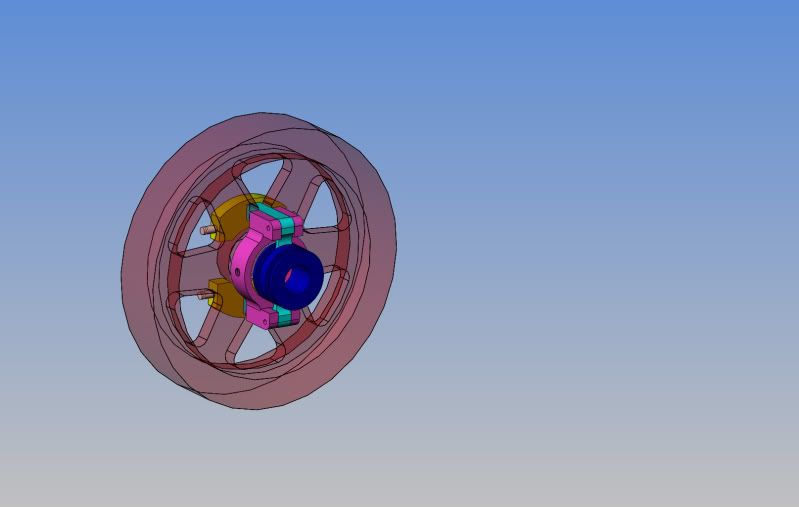
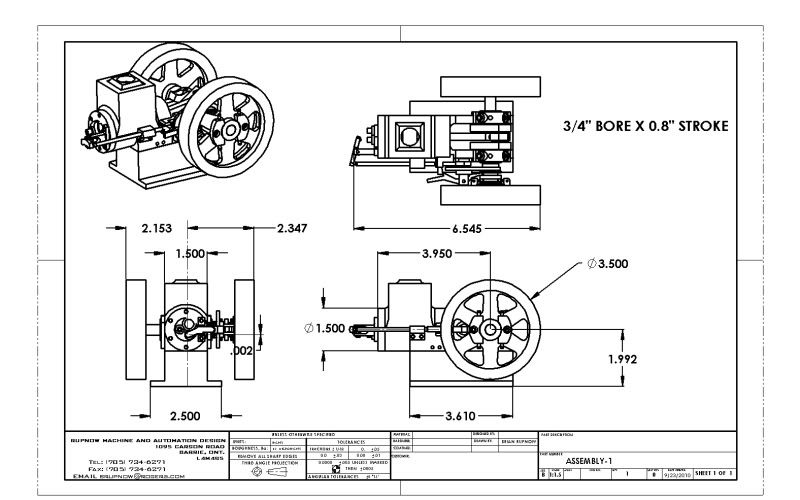
I'm cyurious about the end view (lower left of your drawing). Are the flywheels offset to allow clearance for the valve train?
 
To say this bit with the governor is a "Tricky Bugger" would not be an understatement---Particularly as the drawings in this area are a bit unclear. However, I am barging on through, and if I find anything that absolutely isn't right, I will change it---
SUBASSEMBLYGOVERNORANDFLYWHEEL.jpg
 
rleete said:
I'm cyurious about the end view (lower left of your drawing). Are the flywheels offset to allow clearance for the valve train?

Yes, they are offset a bit, but probably not as much as I have shown. When I made that drawing, I hadn't yet located the governor side flywheel. Its just setting there in space, concentric to the crankshaft, but with no locating dimension from the engine centerline to locate it yet.
 
Either Kerzel made a mistake when he designed the offset rocker arm, or else I did when I modelled it. Anyways, I'm going to quit for a while because my back is killing me. There's not quite as much work involved in modelling something like this as there is in building it ;D ;D ;D, but still, there is enough. time for a snack and a nap and then maybe more later today.---Brian
ASSEMBLY-7.jpg
 
Can you elaborate on the errors you mentioned Brian, I'd be very interested in knowing about them before I get too far into something only to find out it isn't right and could have been corrected for ahead of time. I do like the idea of making the base into a plinth arrangement in order to elevate the engine just a bit, it makes foe a possible good location to stash a fuel tank. ;D

BC1
Jim
 
Keep 'er going Brian - this might well become my first foray into IC engines.
 
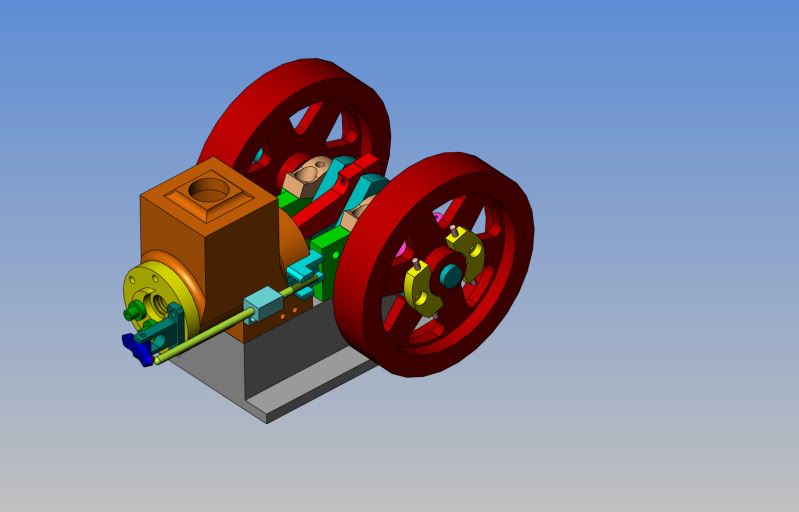
Well, I've got this puppy just about whipped!!! All thats left to model is the valves and the ignition points. Kerzel does have a few mistakes on his drawings, but I will post the corrected drawings tomorrow. Its nothing majorly serious, but it would keep the engine from working/ going together. I just asked my magic software about the "Assembly Statistics" and it informed me that so far I have a total of 48 parts, with 34 of them being "unique" parts.--And thats not counting fasteners. It seems to be a fairly well conceived engine, but then again, I've only built one other I.C. engine, so I'm not certain how good a judge I am. But Hey!!!---Damn, its free. One of the biggest problems I have found is trying to figure out how a lot of the peices go together. His General Arrangement drawing leaves a lot to the imagination. At any rate, Thank you, Mr. Kerzel--It was very good of you to post the drawings as public domain.--If a man could be hanged for a couple of drawing mistakes on an entire engine, my neck would have been stretched years ago!!!---Brian
ASSEMBLY-1-2.jpg
 
That's a good, solid runner. There's some inspiration for you, Brian!!

Chuck
 
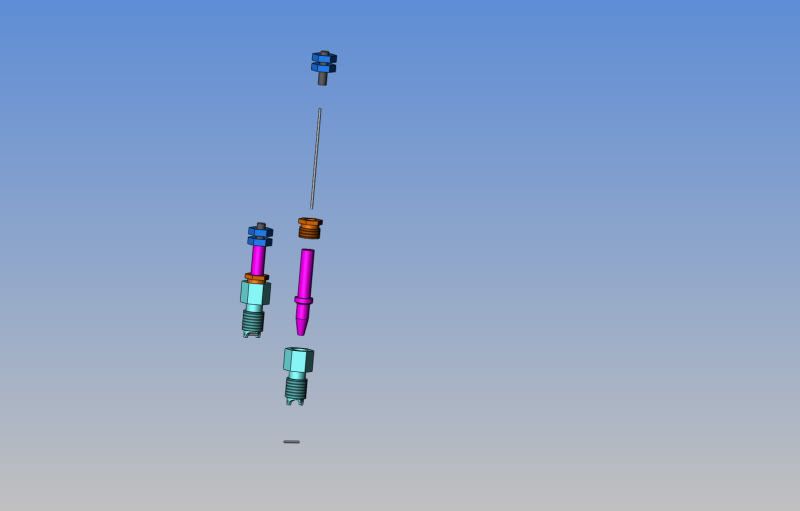
How many of you guys have seen a home made sparkplug? There really isn't much to them. The main body (the purple/magenta coloured part) is made from Corian, which is a machineable insulating material. Looks like I will be making one for this engine. I have the sparkplug and the valves modelled, now I will finish up the ignition points.
EXPLODEDSPARKPLUG.jpg
 
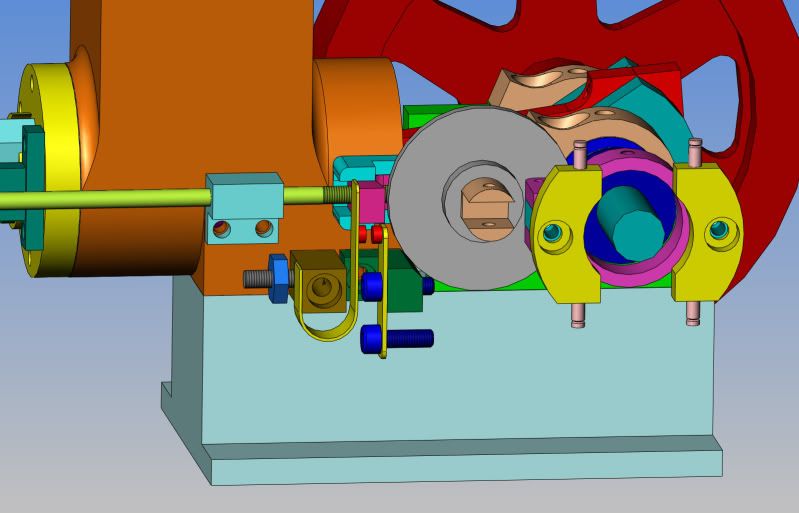
Finally got the ignition points sorted out. My God, what a nasty mess that was!!! Kerzel is calling for 1/8" diameter tungsten buttons to be soldered to .031" x 1/4" brass and beryillium strips to make up the point set. I assume that you must be able to purchase that stuff somewhere, but its way out of the ordinary compared to stuff I usually buy.---Same as Corian for the sparkplug.---Oh well, I build these engines to learn things, so it looks like I will learn my share on this engine. I am finished with the modelling now except for the oilers and the carburetor, and there are about 10 drawings that are going to change. Some because Kerzel had them wrong, some that I just arbitrarily changed to suit my choice of fasteners.
ASSEMBLY-8.jpg
 
Brian Rupnow said:
Finally got the ignition points sorted out. My God, what a nasty mess that was!!! Kerzel is calling for 1/8" diameter tungsten buttons to be soldered to .031" x 1/4" brass and beryillium strips to make up the point set. I assume that you must be able to purchase that stuff somewhere, but its way out of the ordinary compared to stuff I usually buy.---Same as Corian for the sparkplug.--
That would be a TIG tungston and spring brass. Corian, is a countertop material, usually available in sink sized cutouts from a local home remodeller for free.
 
I am not sure of the thickness or size of the Corian that you need, but Home Depot has samples in their kitchen design area here in the states. That is their acrylic counter top that they sell. If you have a big orange box store in your area you might stop in and see.
 

Latest posts

Back
Top