Small V8

Home Model Engine Machinist Forum

Help Support Home Model Engine Machinist Forum:

This site may earn a commission from merchant affiliate links, including eBay, Amazon, and others.
stevehuckss396 said:
They will be available when It fires up and I know for sure it works.

Carb only $10
Engine, carb, display base, gas tank, radiator, etc! $50
Blower, drawings for the complete conversion $30

Does this sound fair? I don't want to gouge anybody but i do have a ton of work into them. I don't know!! I really don't know.

I for sure would be very interested for that price, running or not running, it wouldn't matter. Definately put me down for a set.
Loving this thread
Mick
 
Sounds very fair to me!


stevehuckss396 said:
They will be available when It fires up and I know for sure it works.

Carb only $10
Engine, carb, display base, gas tank, radiator, etc! $50
Blower, drawings for the complete conversion $30

Does this sound fair? I don't want to gouge anybody but i do have a ton of work into them. I don't know!! I really don't know.
 
Sounds fair

I have just started making the V4 by Jerry Howell and I think a blower sitting on it would look awesome.
So when the blower plans are ready for sale let us know.

Will take so pics of the V4 construction and post them for all to see

Cheers
Paul
 
Fair in deed! I'll take a set too (probably without blower at this stage).

Awesome job, Steve, and I can't wait to hear her run.
 
Steve,
Maybe you might consider another package (with an extra charge of course) that would include G-codes for the parts you used CNC on. I know everyone doesn't use the same post, but I'm sure it could be tweekable. Something to consider. Thanks for the awesome coverage of your build.

Jim E
 
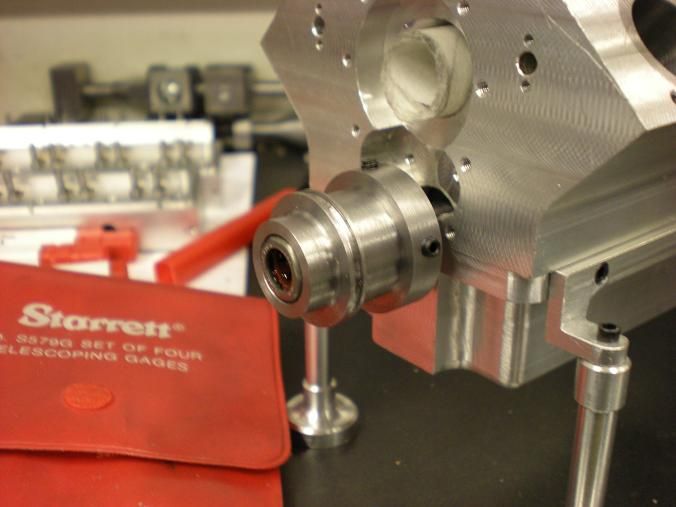
I made some more stuff today. I made the balancer/fan belt pulley. I would have liked to make it look more real but I had to fit the clutch bearing in the piece.

DSCN1366s.jpg


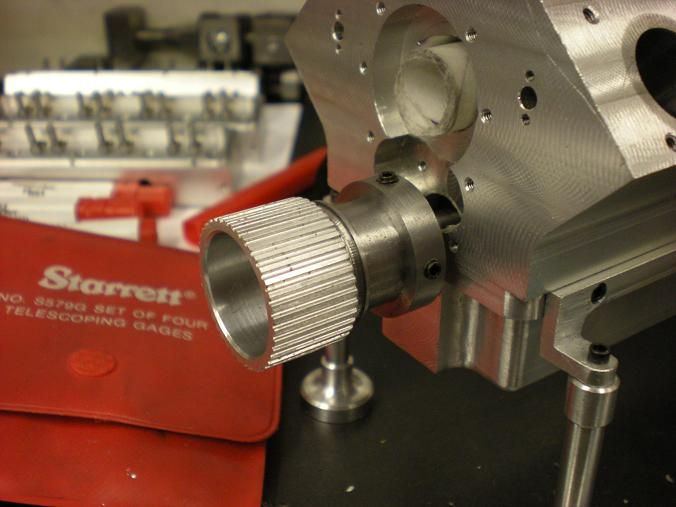
Then I made a special one. The only difference is the nose is turned down to a much smaller diameter and the hole pattern is drilled into the piece to hold the crank pulley on.

DSCN1368s.jpg


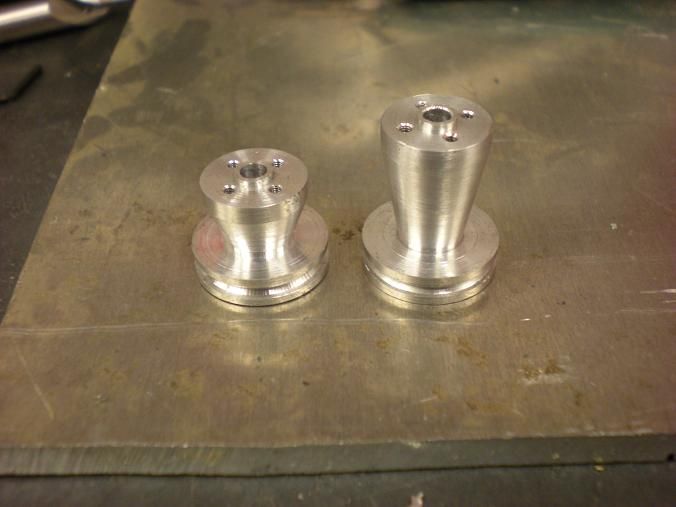
Then I made the fan belt pulleys. They also recieve the fan and I will make the fancy cover like all the hot rod guy's have. The long one gets the fan out in front of the blower belt.

DSCN1372s.jpg
 
Jim E said:
Steve,
Maybe you might consider another package (with an extra charge of course) that would include G-codes for the parts you used CNC on. I know everyone doesn't use the same post, but I'm sure it could be tweekable. Something to consider. Thanks for the awesome coverage of your build.

Jim E


Sounds like more work. I need to focus on getting these drawings up to a high standard.
 
DeereGuy said:
Darn Steve...everytime I check you just keep making my mouth drop. Very nice work!

no kiddibg what he does in a day/week would take me a month. beautiful work I must say.
 
MAJOR set back today. I increased the size of the rod journals to make the crankshaft stronger. Then I made the big end of the rod a little wider to fit the bigger bearing. I made a bearing and inserted the rod to see how things fit and CRASH!!! Bolts in the rod hit the block and the cylinder liner.

CRAP!!!!!!!!!!!!!!!!!!!!!!!!!!!!!!!!

The drawings are fixed. I think i'm going to try to put button head screws in the rods but i'm not sure i can get them tight enough. I changed a few dimensions for the block, oil pan, and cylinder liner so this problem won't happen to anybody else.

This is why I don't wan't release drawings until i'm done.

Cheers!!
 
Thats a bummer Steve.

I just had the same thing happen today. I finally got the rotating assembly done on my inline 4, put it all together and the rod cap screws hit the oil pan. Luckily It was a tiny amount and a quick cut on the mill solved the problem. Strange we both had the same problem on the same day.

Kel

 
I draw in Solidworks where I can check for interferences, but it still worries me when I build something. Don't let it slow you down.
 
stevehuckss396 said:
I think i'm going to try to put button head screws in the rods but i'm not sure i can get them tight enough.
Loctite is your friend. :) I have adulterated all manners of SHCS to make them fit, you can even turn them into conventional cap screws if needed. I am sure you will figure this out. :bow:
 
Doh! But only ONCE ::)

stevehuckss396 said:
*** Bolts in the rod hit the block and the cylinder liner.

CRAP!!!!!!!!!!!!!!!!!!!!!!!!!!!!!!!! ***
 
dieselpilot said:
I draw in Solidworks where I can check for interferences, but it still worries me when I build something. Don't let it slow you down.


I do the same thing but once one thing gets changed, everything snowballs. Funny thing is when I went back and looked, It was hitting a little bit I just missed it.

It will be fixed tomorrow.
 
I'm traveling, otherwise I'd be in the shop. Sometimes things just don't fall into place. Monday I started a distributor base. Had it looking good then drilled it 4-40. Damn. Should have been for 2-56. So start again. Screwed up the second one too. Quit for the day.

 
Got all my rework done today. I opened up the pockets in the oil pan and the block. I also cut another .0625 off the bottom of the cylinder liners. All went well.

Then I decided it was time to drill the block and intake for the distributor hole. I mocked up the entire engine including gaskets for this one.

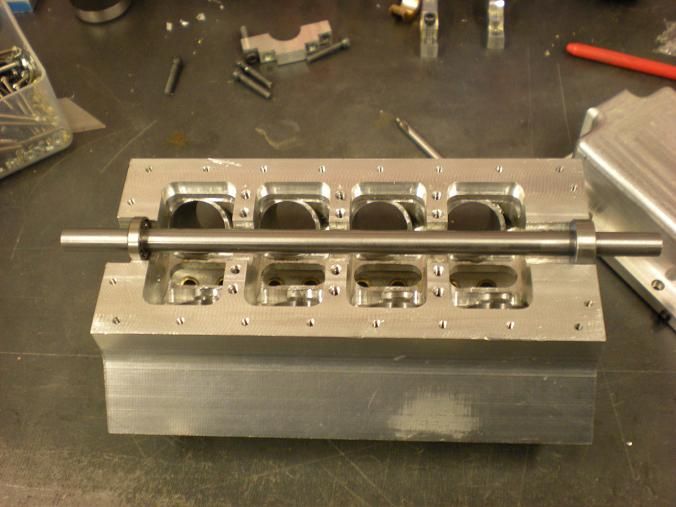
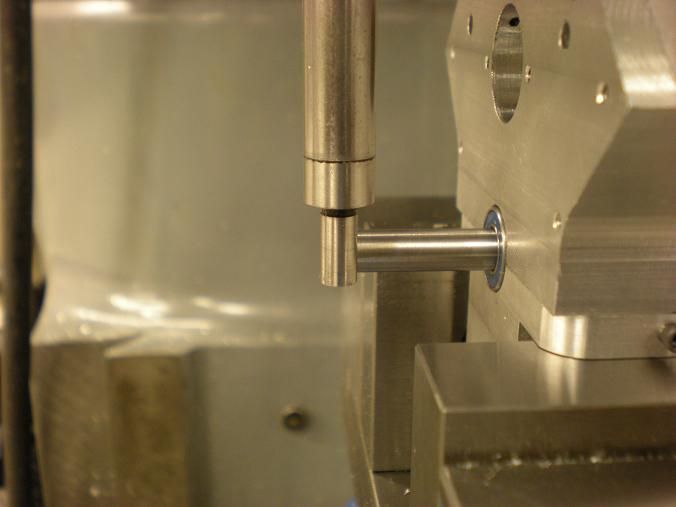
I made up a temporary crankshaft because I didn't have the bearings to make up a temporary camshaft. They were both bored in the same setup so I'm sure they are parallel.

DSCN1379s.jpg


Then I used the shaft to find the center of the bore

DSCN1381s.jpg


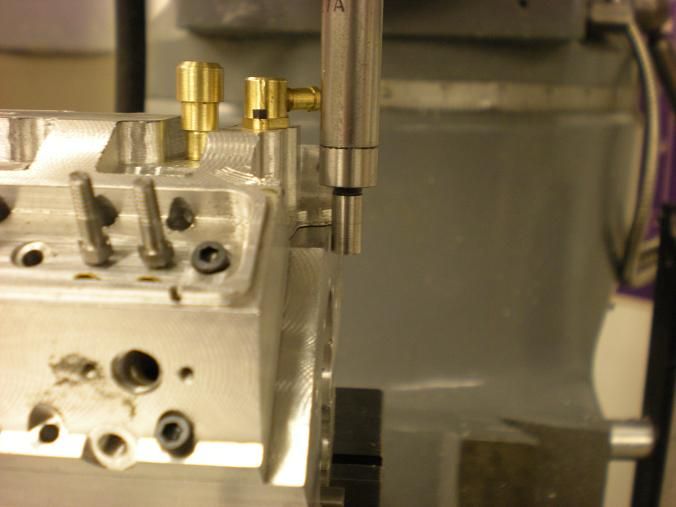
Then I found the front of the block.

DSCN1382s.jpg


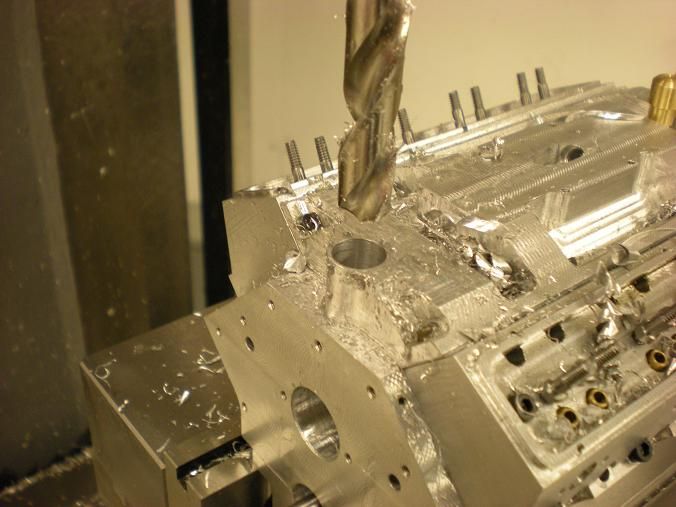
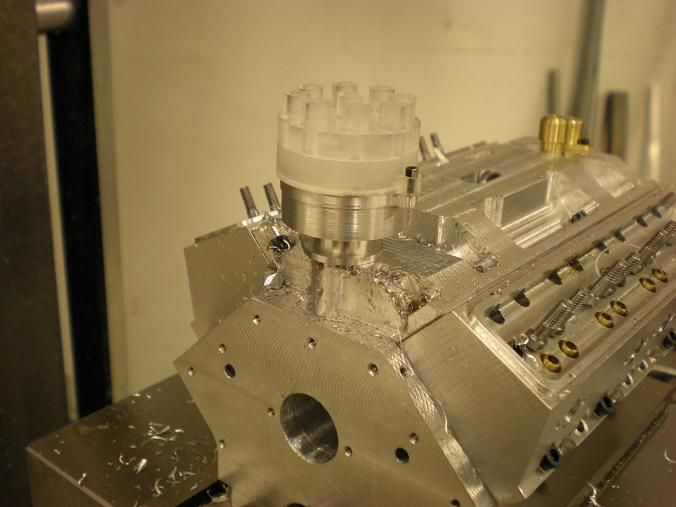
Then the hole was drilled thru the manifold and block.

DSCN1386s.jpg


DSCN1389s.jpg
 
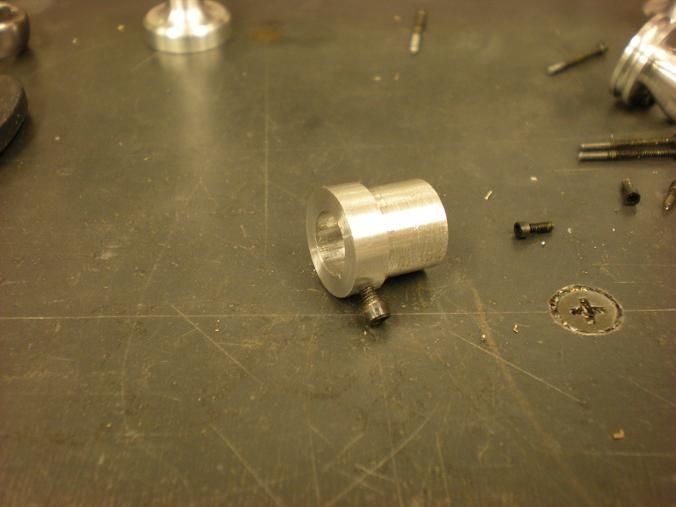
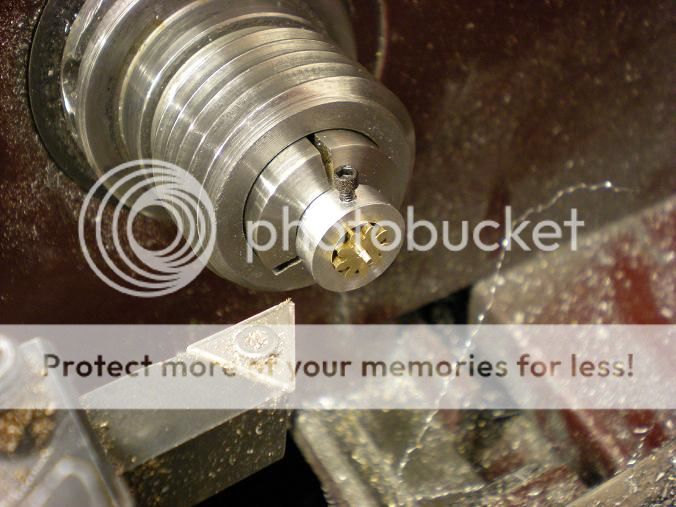
I figured I had time for some more today so I jumped on the water pump. I made a collet that fit the OD of the gear stock nice and snug.

DSCN1395s.jpg


I parted 5 blanks off the stock and inserted them into the collet for some facing, drilling and reaming.

DSCN1393s.jpg


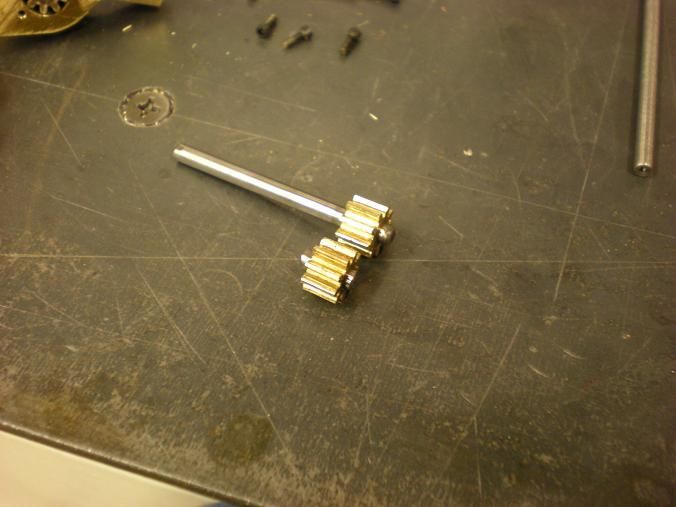
Then I pressed a piece of 1/8 thru the gear.

DSCN1398s.jpg


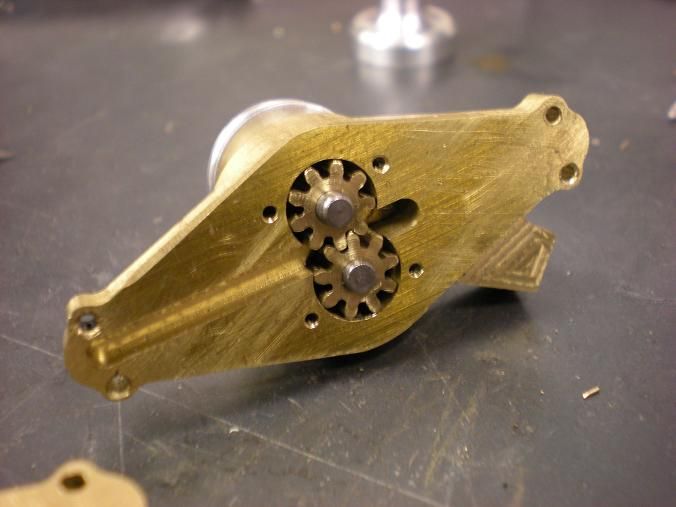
Water pump has a minor snug spot but i suspect it will wear itself in when put in service.

DSCN1401s.jpg


Latest posts

Back
Top