Small V8

Home Model Engine Machinist Forum

Help Support Home Model Engine Machinist Forum:

This site may earn a commission from merchant affiliate links, including eBay, Amazon, and others.
kcmillin said:
Hey Steve,

It has been a few hours since the blob, it flattened out after a bit and got about 1/16" thick. It feels and stretches like electrical tape and did not stick to the quarter I had it on. I also made a makeshift mold from a bar of acetal. I made a pocket 1/2" wide x 3/8" deep. I filled it to the top with this stuff. The top turned into a bit of a bowl and is dry on the surface. I checked the middle and it is still liquidy. I will check again in the morning to see if it sets up.

I also tried brushing it on like the picture, brushing it on. This indeed does work well. It is kinda hard to get a non lumpy surface with the brush, but a spat on finger works OK, implementing some kind of spatula might work too. There could be a better way. Brushing it on requires a few coats, so this might aid in the anti-lumping.

I think in thick sections it will get a bit squishy, and not hard rubber like found on spark plug boots.

Kel


It sounds worth a try to me. Im going to pick some up this weekend.
 
Try dipping the internal shape you want in then let it dry hanging. It will form a point on the bottom which can be cut off. It should be able to be dipped repeatedly to built up in thickness. It looks and sounds similar to a product we get in OZ. I used to use it to brush onto electrcai terminals in marine application but also used it to coat some lead lugs and just cut off the excess around the eye. Seemed to work okay. I was thinking about this issue before and was considering sikaflex and a split mould. Keep us informed.
Brock
 

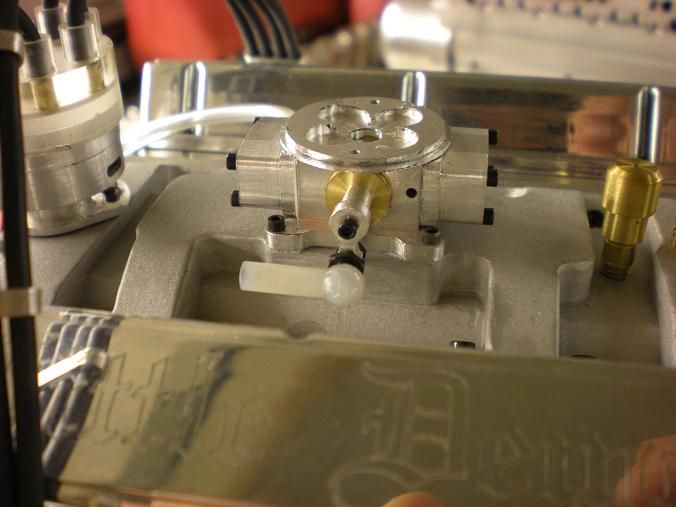
Just a mini update. The throttle lever is done and installed. I used a RC linkage kit for the ball and socket. Now the exhaust pipes are of the highest priority.

DSCN2063s.jpg
 
Steve,

I checked the blob today. It indeed shrunk quite a bit. The diameter stayed about 1/2", but it shrunk down in the mold from about 3/8" to 3/32". My brushed on try worked OK. The shrinking took out most of the lumpynes. It works very well as an insulator for the spark. I coated a brass tube and was able to touch it without shock during testing.

Kel
 
kcmillin said:
Steve,

I checked the blob today. It indeed shrunk quite a bit. The diameter stayed about 1/2", but it shrunk down in the mold from about 3/8" to 3/32". My brushed on try worked OK. The shrinking took out most of the lumpynes. It works very well as an insulator for the spark. I coated a brass tube and was able to touch it without shock during testing.

Kel

So painted on it's ok but it connot be used in a mold. I'm still going to get some and experiment with it.

Thanks Kel!!
 
I have started on the sparkplug boot project. I am going to attempt to make a mold of some sort and cast rubber into the mold. I haven't decided weather to cast the boots onto the wires or make a boot to slip on the wire. I like the thought of reuseable boots but assembly would be alot easier with the wires molded in.

I have never done anything like this, Never seen anybody do it, or have any idea of how to go about it. Other than that it should be easy!

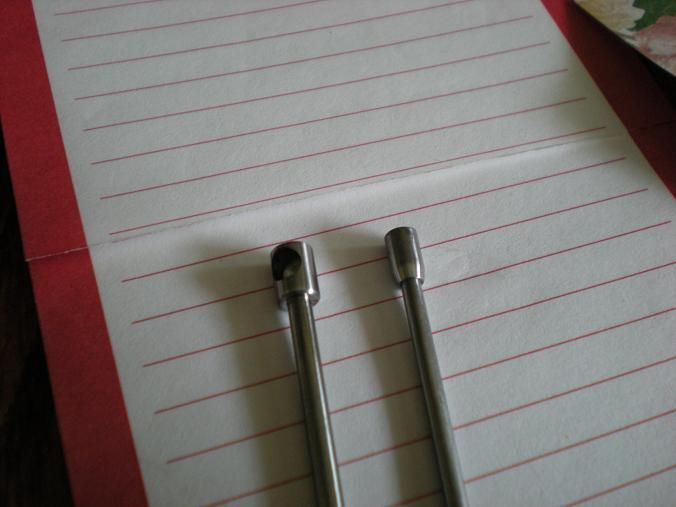
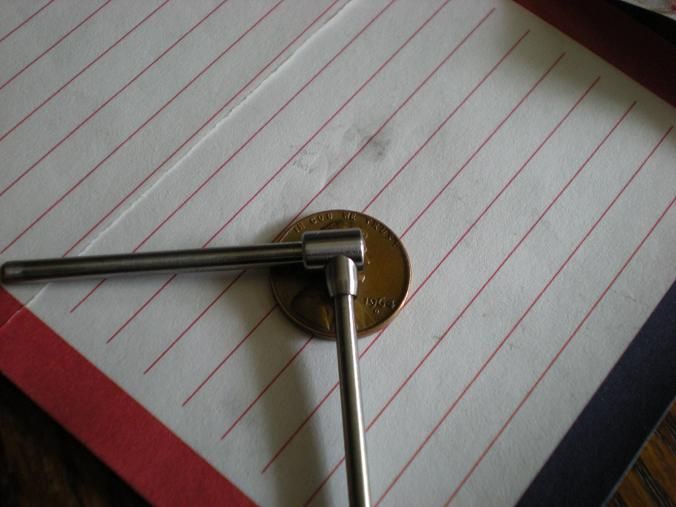
Here are a few pix of the master. From these the mold should be able to be made. I am not sure if I'm going to gate it side to side or front to back so I have not done anything with that yet.

DSCN2071s.jpg


DSCN2076s.jpg
 
There is a self vulcanizing rubber tape that electricians use. I has no glue and is activated by stretching and winding around the joint. When it reacts, its impossible to separate and the joints are waterproof. I suppose you could cut it into thin strips and build it up around a mould to create the boots.
 
Noitoen said:
There is a self vulcanizing rubber tape that electricians use. I has no glue and is activated by stretching and winding around the joint. When it reacts, its impossible to separate and the joints are waterproof. I suppose you could cut it into thin strips and build it up around a mould to create the boots.


That would be Scotch 130C. Problem would be when you pull the core out of the center the tape would collapse and you would'nt get it on the plugs. If I turn a metal core to wrap the tape on it would defeat the purpose of the boot by moving the spark further down the insulator.

I still want to play around with the paint on product that Kel found.
 
Hey Steve,

You mold master looks great.

FWIW I was doing some more experimenting with the liquid tape. I painted 5 sides of an aluminum cube with three coats. I did not do anything to the aluminum, I just grabbed it out of the scrap pile and used as is, without cleaning. Once it all set up I was able to remove it from the aluminum block in one piece.

Using the paint on method I think your mold master would work as a mold, but you would have to re-make it to the inside dimensions.

Kel
 
kcmillin said:
Using the paint on method I think your mold master would work as a mold, but you would have to re-make it to the inside dimensions.

That's no big deal because I need to make the core parts if I pour the rubber anyway. Almost made them today but it was too hot.

My friend Ron has made the bender and made some test bends on the stainless tubing. The tubing required being filled with cerro bend but the bends look good enough for me. There are some mods he wants to make and we will finish the headers.
 
Steve, have you considered using an automotive 'Make A Gasket' silicon for the spark plug boots. It usually hardens to a fairly firm rubber after a day or two. There would be little or no shrinkage with it. A little heat, probably less than 90F, would help during the curing process, although it probably wouldn't be necessary.

The stuff I'm thinking off usually starts to harden the moment you open the tube, so you would want to make hundreds at a time (you could flog 'em to ya mates to cover the cost of the tube then ;) ), otherwise the tube will harden completely in a month or two. Well that's what happens whenever I open a tube anyhow :big:

A large syringe would help to inject the stuff into the mold and cleanup is handled with petrol (gasoline to you :p ) while the stuff is still wet. After it has hardened the only way to remove it is with a blow torch :big:

A little wax and talcum powder (baby powder) could be used to as a mold release or perhaps a little motor oil.

Anyhow, just a thought. ;D
 
I have spoke with a few folks that say it won't setup in a mold. The stuff needs air to cure and oxy cant get to it when in a mold. Thats why the epoxy stuff is looking like what I will be using. Have you tried it?
 
If you don't mind limited colors, the local Michaels store has a liquid casting rubber I've used before. Unfortunately, they only have it in red, and I haven't found anything that will give a decent color change to it.

Or, would something like this stuff work?

http://www.michaels.com/EasyMold-Si...=products-generalcrafts-basicsupplies&start=1

Or this from Hobby Lobby:

http://shop.hobbylobby.com/products/mold-builder-liquid-latex-30452/

They also have color additives..

Love the project, unfortunately I need to get some cash flow happening before getting the plans...


Iain
 
If you keep your mould and former smooth sikaflex 221 should harden up okay. May need a release agent though.

Iain, head over to the welcome section and introduce yourself. Thanks for the silicone putty advice, just need to find a supplier in my corner of the globe.

Brock
 
You might want to check out these guys:

http://www.smooth-on.com/

If they have an outlet near you, you might want to stop in and talk to them. I found them very helpful and knowledgeable when I needed to cast some replacement plastic gears.
 

Hey Steve, your engine is looking great!

Check out Clarence's stuff. He is working on a scale shovel head and has cast a lot of plastic parts for his scale motorcycles, turn signals etc.

Very friendly, knowledgeable and helpful guy;

http://www.telusplanet.net/public/celias/

 
stevehuckss396 said:
I have spoke with a few folks that say it won't setup in a mold. The stuff needs air to cure and oxy cant get to it when in a mold. Thats why the epoxy stuff is looking like what I will be using. Have you tried it?

Steve, You do raise a good point. I haven't tried it, but I was planning to. When you mold it you would need a core or two. No reason the core/s couldn't be porous.

Oh well, back to the drawing board :big:
 

Latest posts

Back
Top