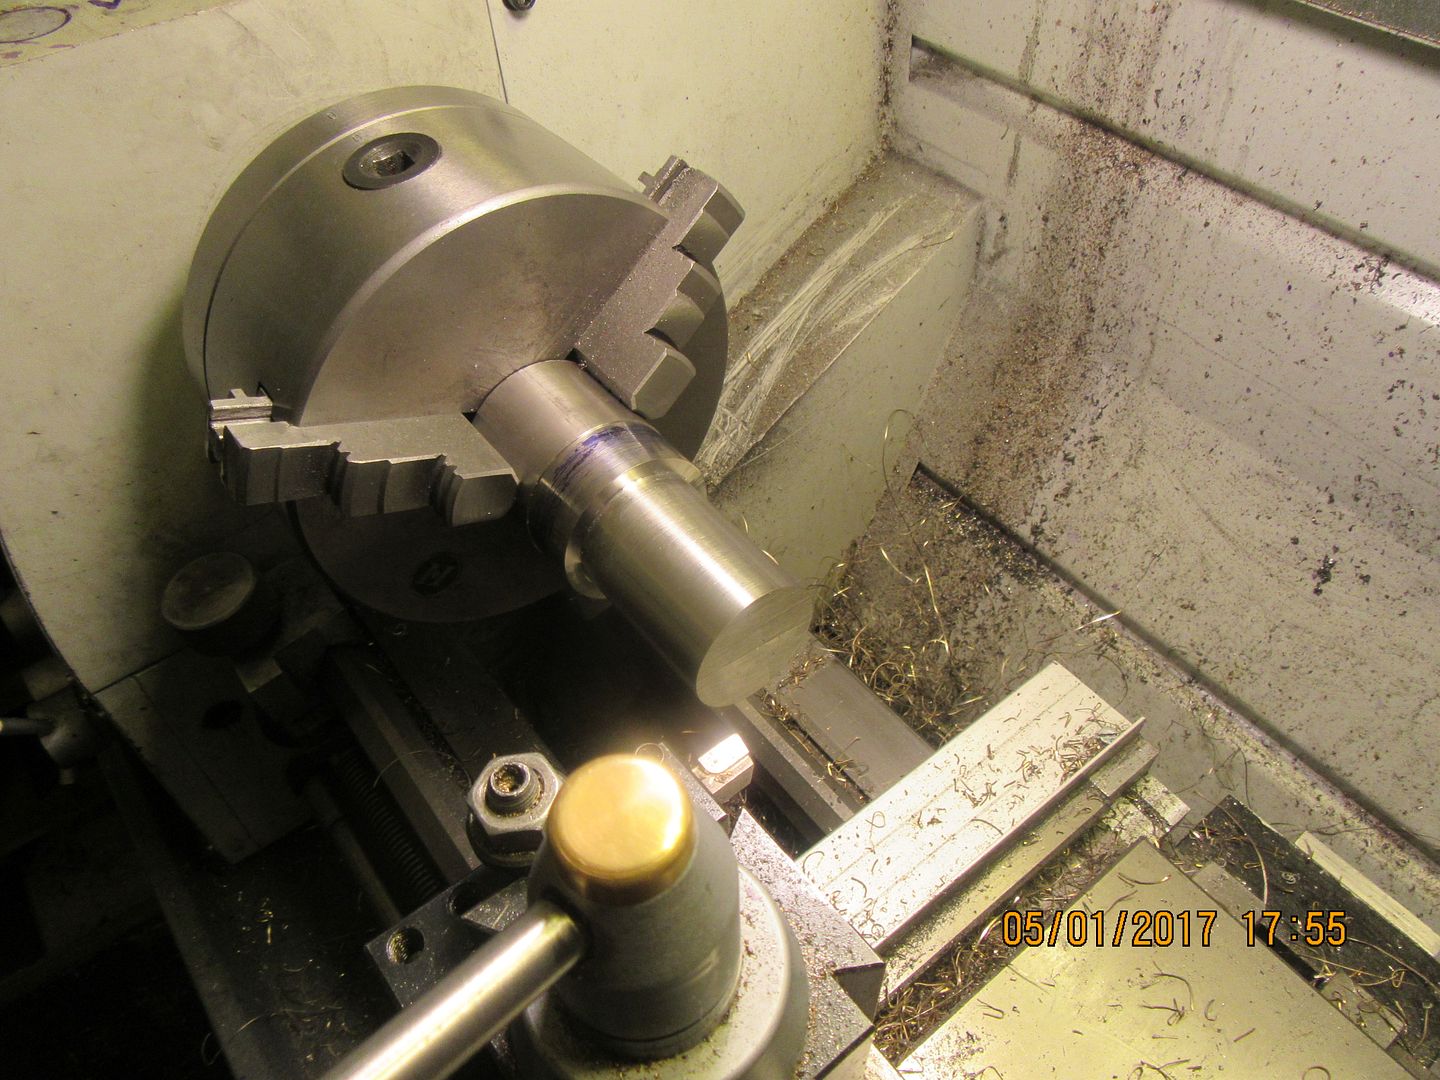
Rockerblock I.C.--Something a little different-

Home Model Engine Machinist Forum

Help Support Home Model Engine Machinist Forum:

This site may earn a commission from merchant affiliate links, including eBay, Amazon, and others.
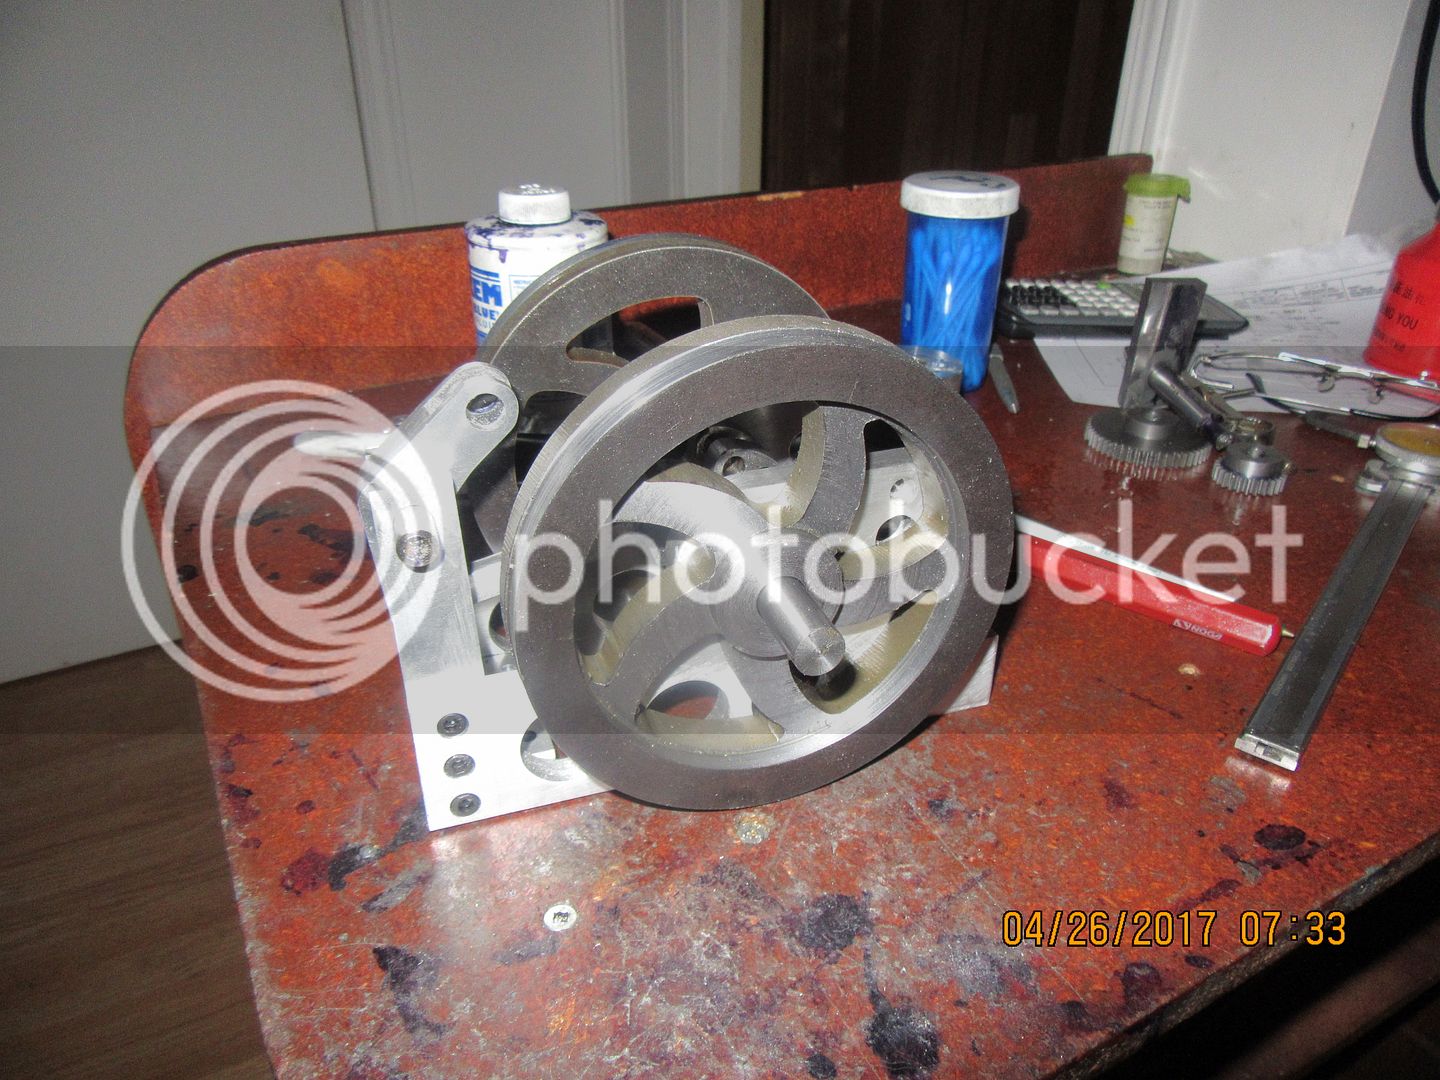
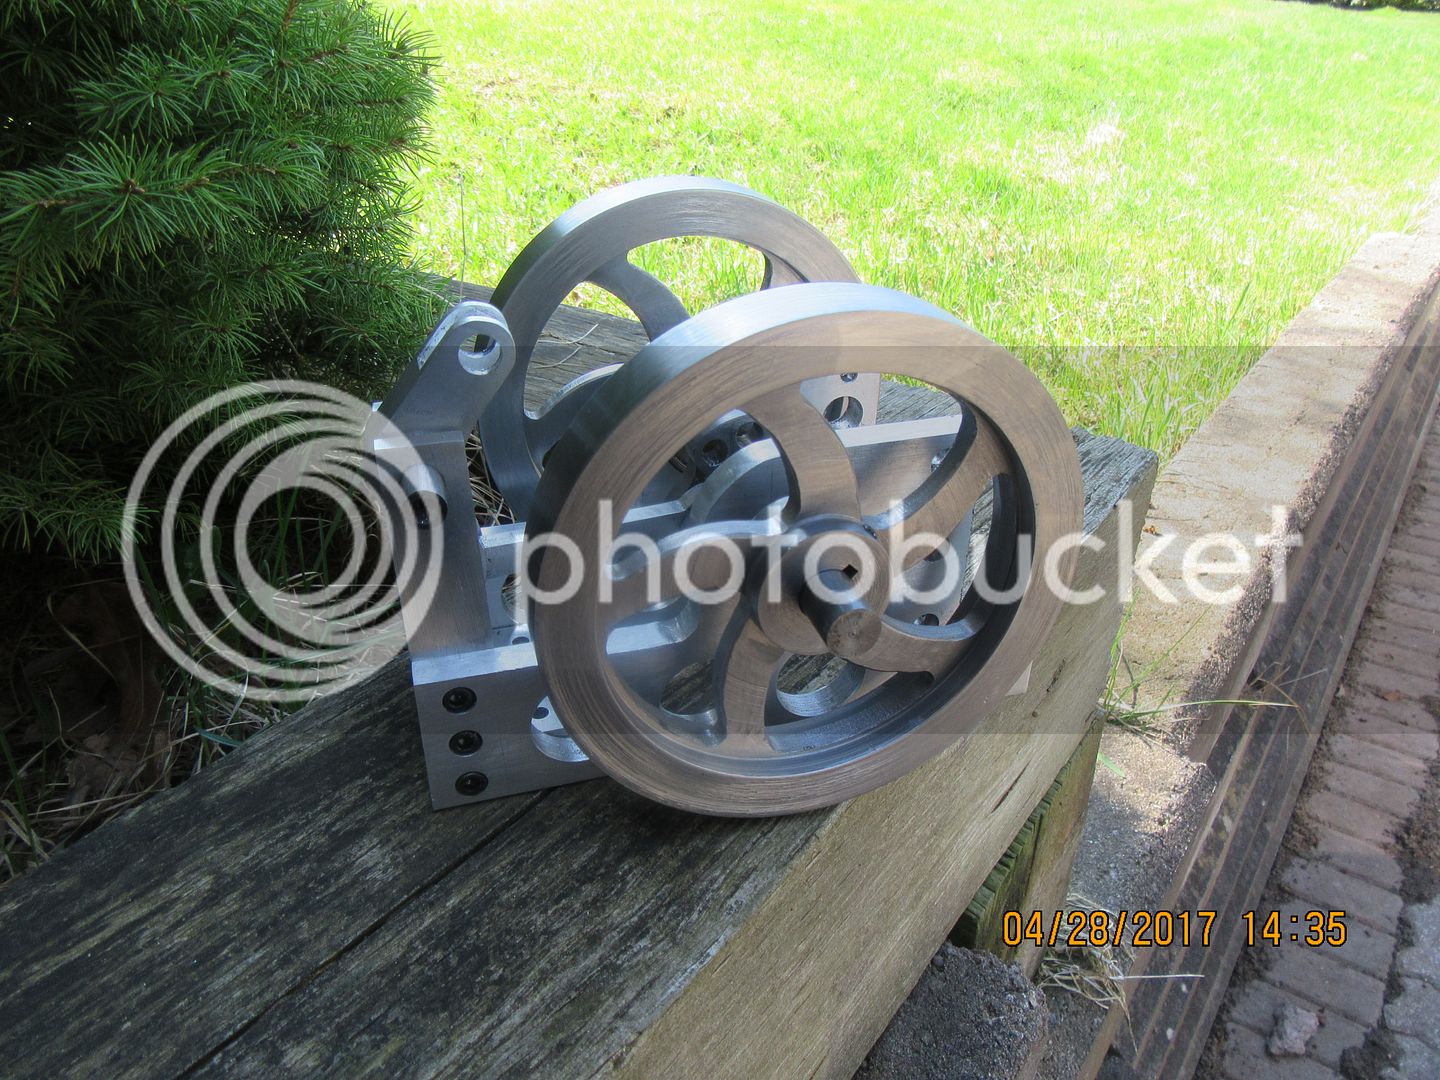
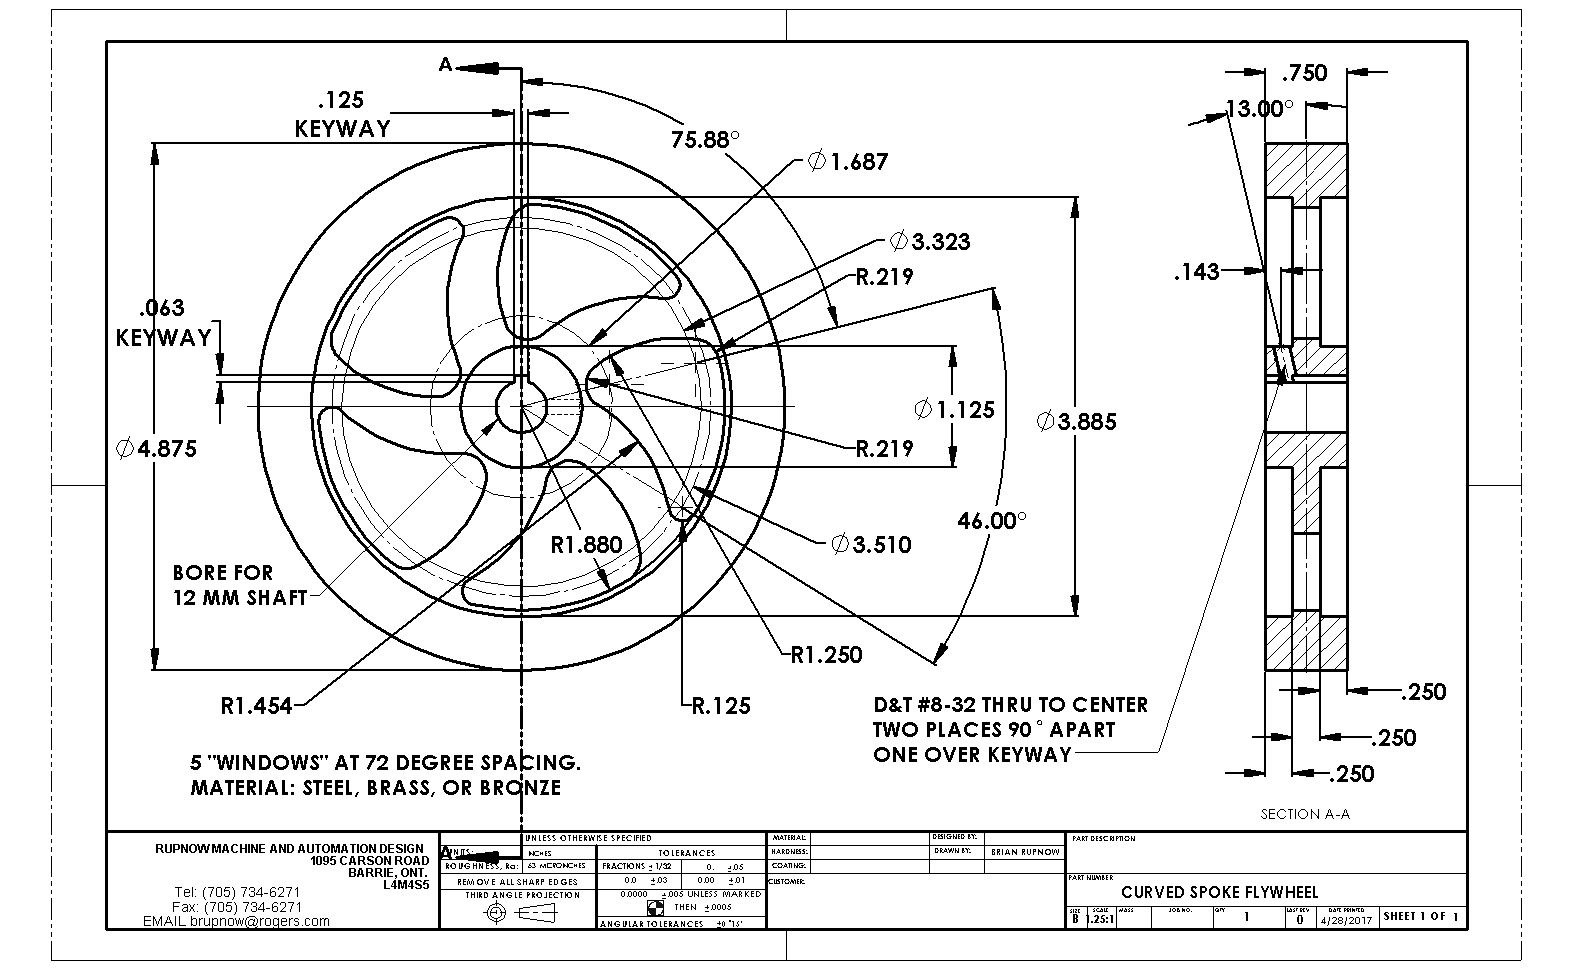
Those curved spoke flywheels are really, really nice.--But---Oh my God--What horrible little piggies to machine. The worst part is figuring out where to start. I opted to plunge at the major diameter of the recess in the side of the flywheel. Just because of the geometries involved, you can only plunge about 0.050" before the heel of the parting off tool starts to drag. Then you move in towards center the width of the parting off tool you are using to plunge with and plunge again. Moving back and forth between the two positions you keep plunging until you reach the depth you were aiming for. Then grind an HSS tool with the cutting face reversed to what you would normally see, and cut in towards the center in auto-feed mode, taking 0.010" depth of cut. This requires nerves of steel and eagle eyes on the digital readout. When you get about .050" from the minor diameter of the recess in the face, kick out the automatic feed and take the last .050" by hand feed. I have one side of one flywheel finished. I'm going upstairs now and have a strong drink now to calm my shattered nerves.
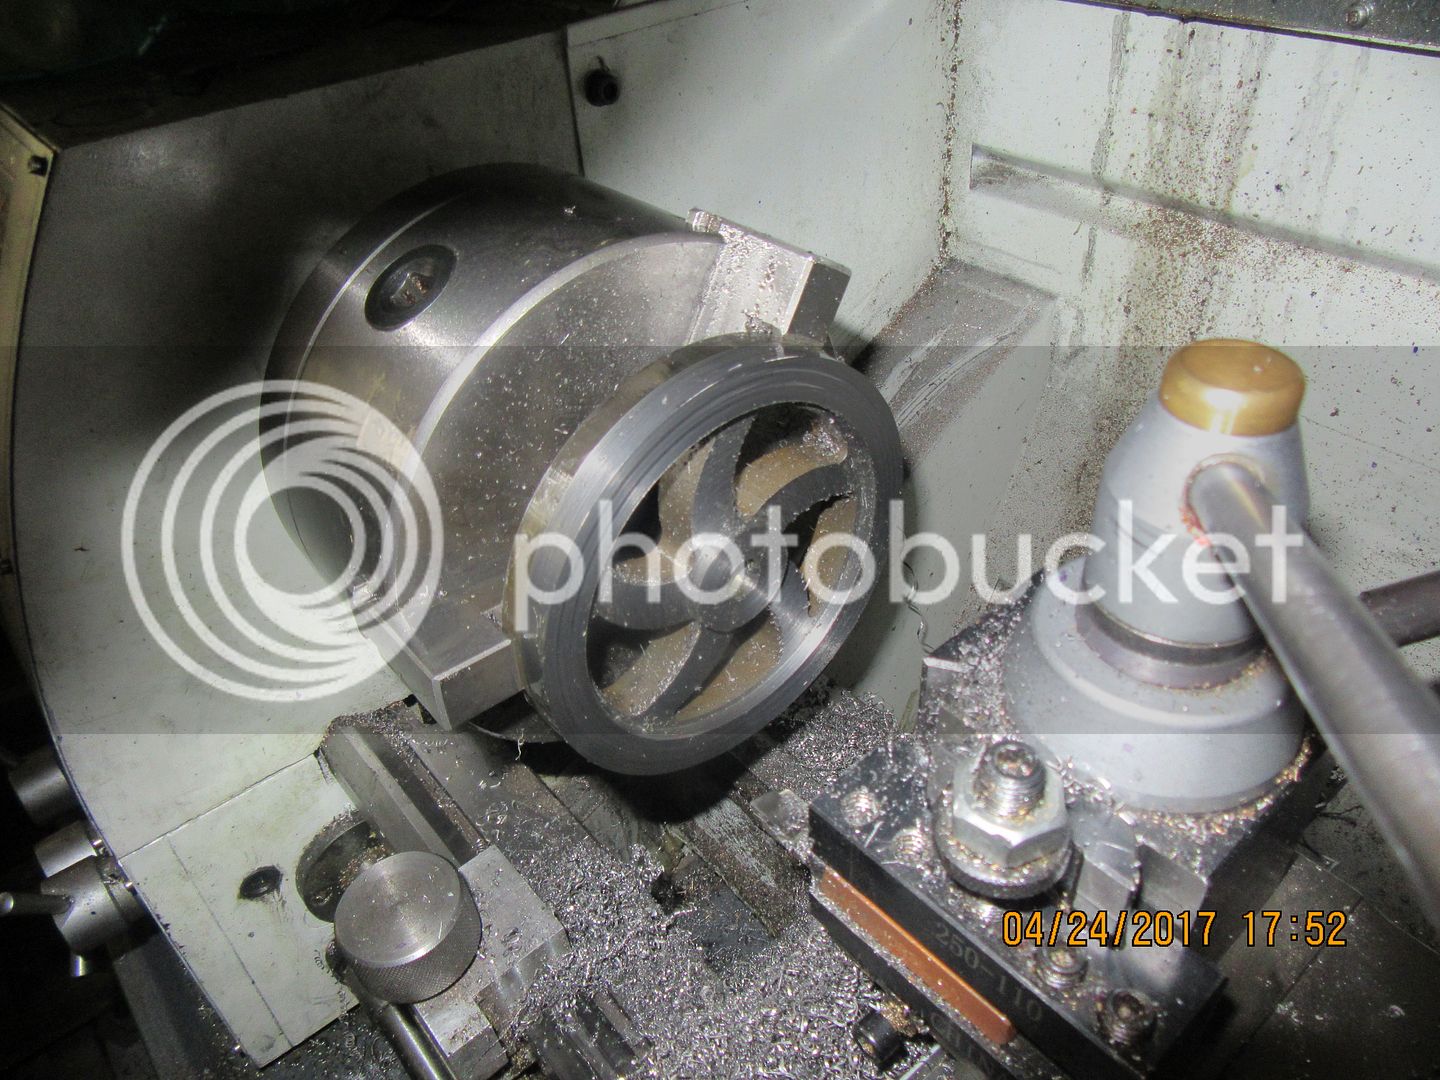
 
I'm at the half way point in machining the flywheels. I still have two sides to go. When I was a young apprentice draftsman, I used to walk out into the shop delivering blueprints to various departments. We had about 50 huge lathes and shapers, and I used to see all these old guys, just setting and watching the machines take a long cut in automatic feed mode. They couldn't read a book, they couldn't get up and leave their machine. All they could do was set there and watch. They couldn't even get up and go to the washroom without having someone else to watch their machine while they went. Leaving a running machine for any reason was a firing offence. After machining the insets in these flywheels, I have a great appreciation for how those old guys must have felt. Set it up, dial in depth of cut, set the automatic transverse feed, and then set there and watch the readout until it comes to within 0.050" of crashing, kick the lathe out of automatic feed, finish the last 0.050" by hand feed, back up the tool, and repeat--again and again and again.
 
Nice try, but no cigar!! I thought that for the second side of the flywheels I might be able to put the reverse jaws in the chuck on my rotary table and do a pass all the way around at the maximum recess diameter with a 3/8" endmill in my milling machine to give the lathe tool a nice "cut out" to start making passes from on the lathe. Alas, it may have been a good idea, but I just put the reverse jaws in my rotary table chuck, and it doesn't open large enough to accept the 4 7/8" diameter flywheel. The second side of both flywheels will get done on the lathe, same as the first two sides.
 
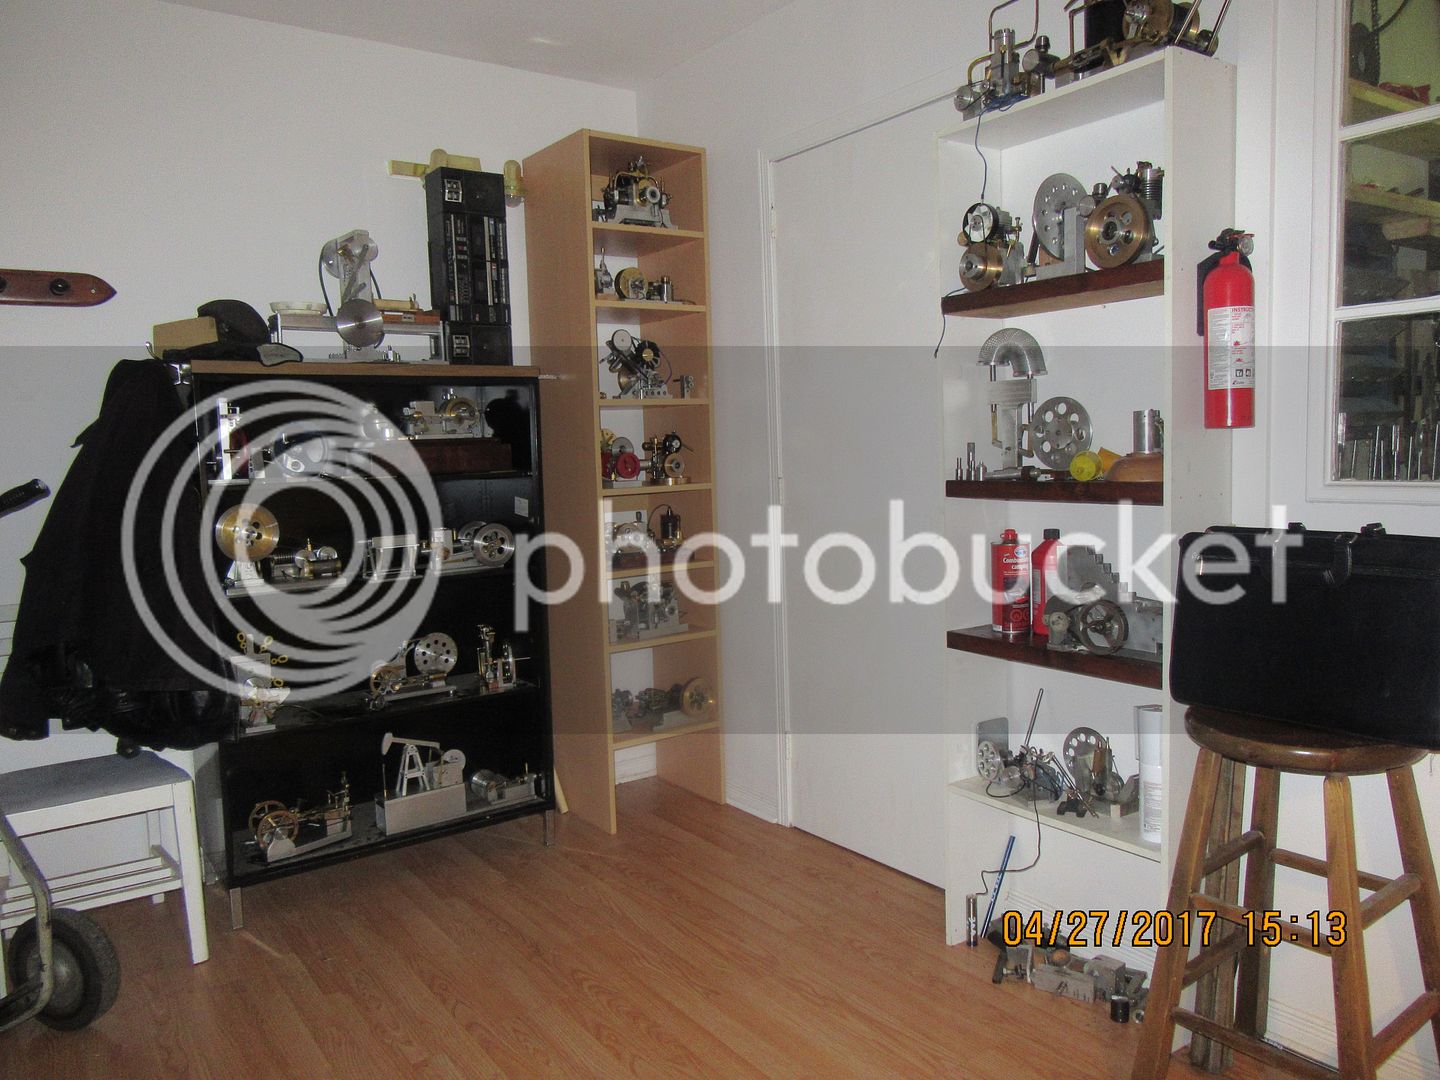
Owning a pick-up truck and being a natural born scrounger, I picked up this tall shelving unit that someone had put out to the roadside. It might not be fine enough to put in your living room, but it fits right into my office. This gives me a chance to put most of my engines up on display. I was starting to run out of places to put them, but this frees up a lot of space for future endeavours.
 
That looks fantastic.
 
Boys and girls, I'm here to tell ya----There is a world of work in those flywheels. They look pretty, and I'm sure they will do their job just fine, but man, what a marathon bunch of machining there is to get them to this stage. The first one that I carved the recess in was scary. I think I held my breath the whole time it was in the lathe. The second side was a bit easier, and I was able to breath a bit. By the time I got to carving the third recess I was thinking "Well, this isn't so bad at all", and the fourth recess was a piece of cake---Nothing to it. Still, I have a lot more machining time in these two than in any other flywheel I have made, and 99% of the cuts were "interrupted" cuts in the spoke area. I'm glad to be finished these rascals and ready to move on to something else!!!
 
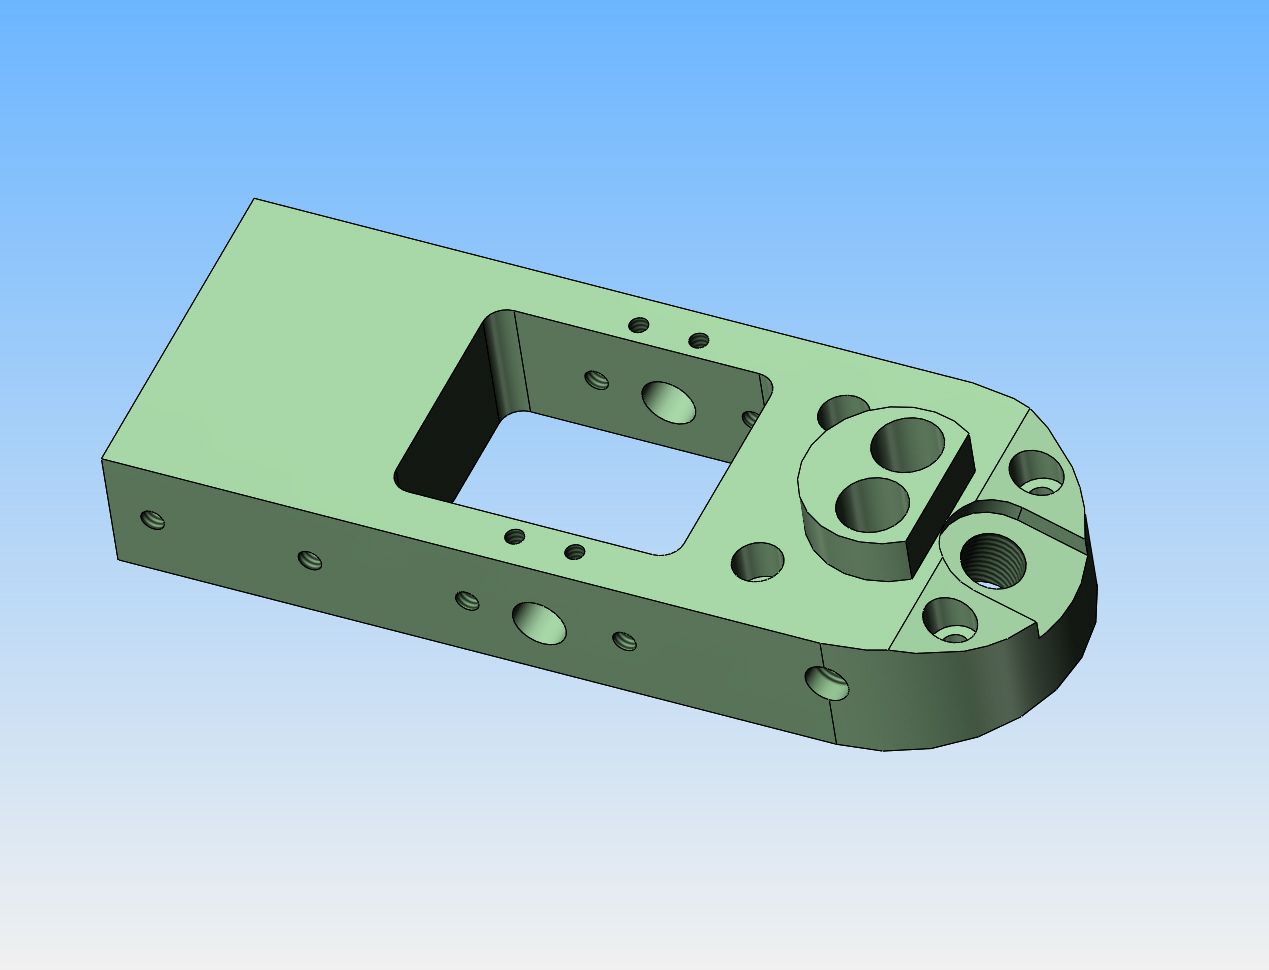
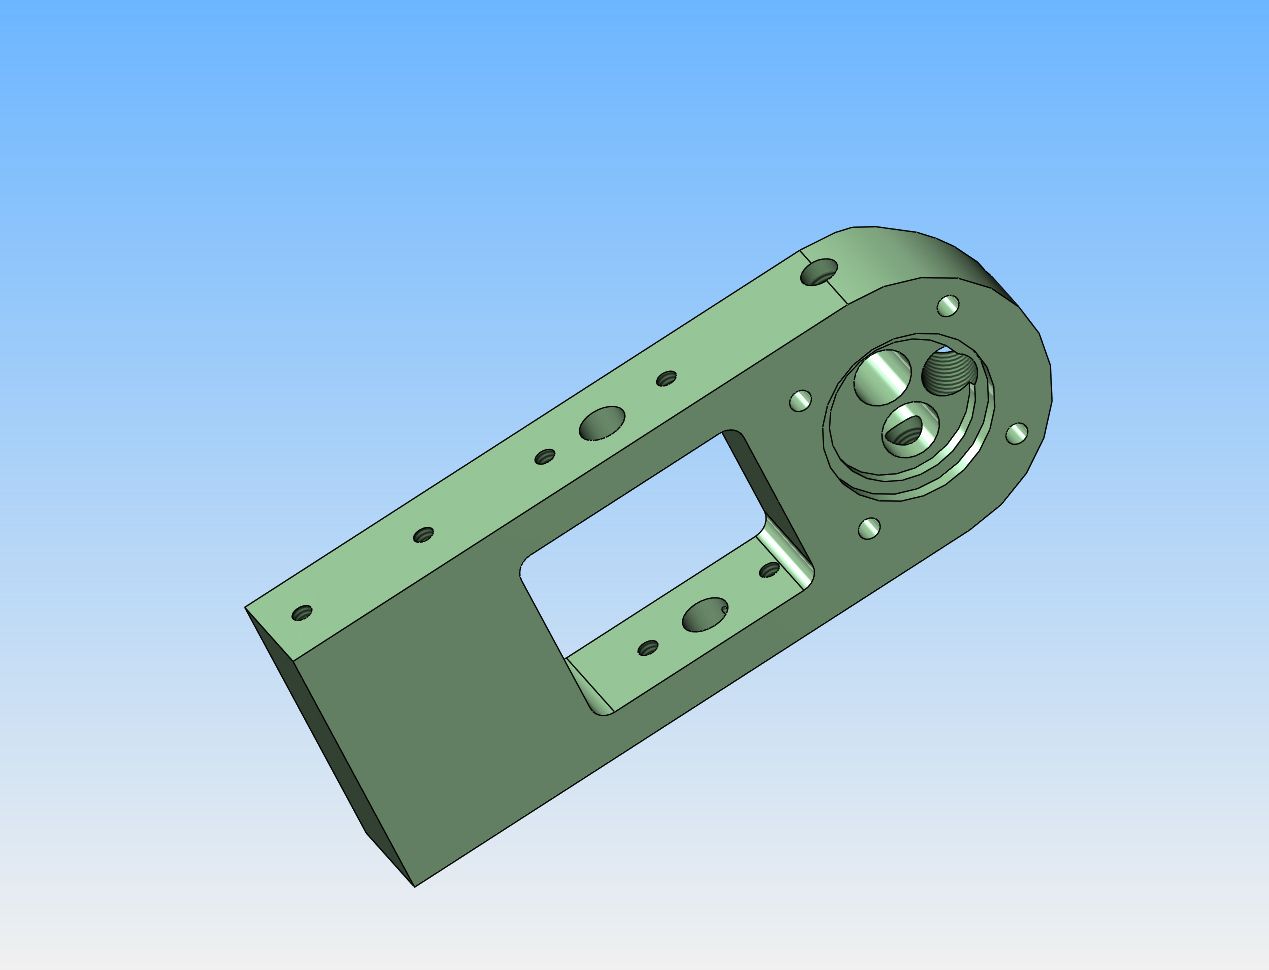
I can see some excitement with machining this cylinder head. It is too long to hold in my four jaw chuck, so I have determined that it will be a faceplate job. First set-up on the faceplate will be to machine the side which faces away from the cylinder, and has a raised boss on it. Then after that side is machined, I will machine an aluminum plug which is a "precision fit" into the center hole of the faceplate and has a hole in it for a "precision fit" of the raised boss. Then I will flip the part over, locate the raised boss in the hole in the aluminum plug, and machine the recess in the side which faces the cylinder.


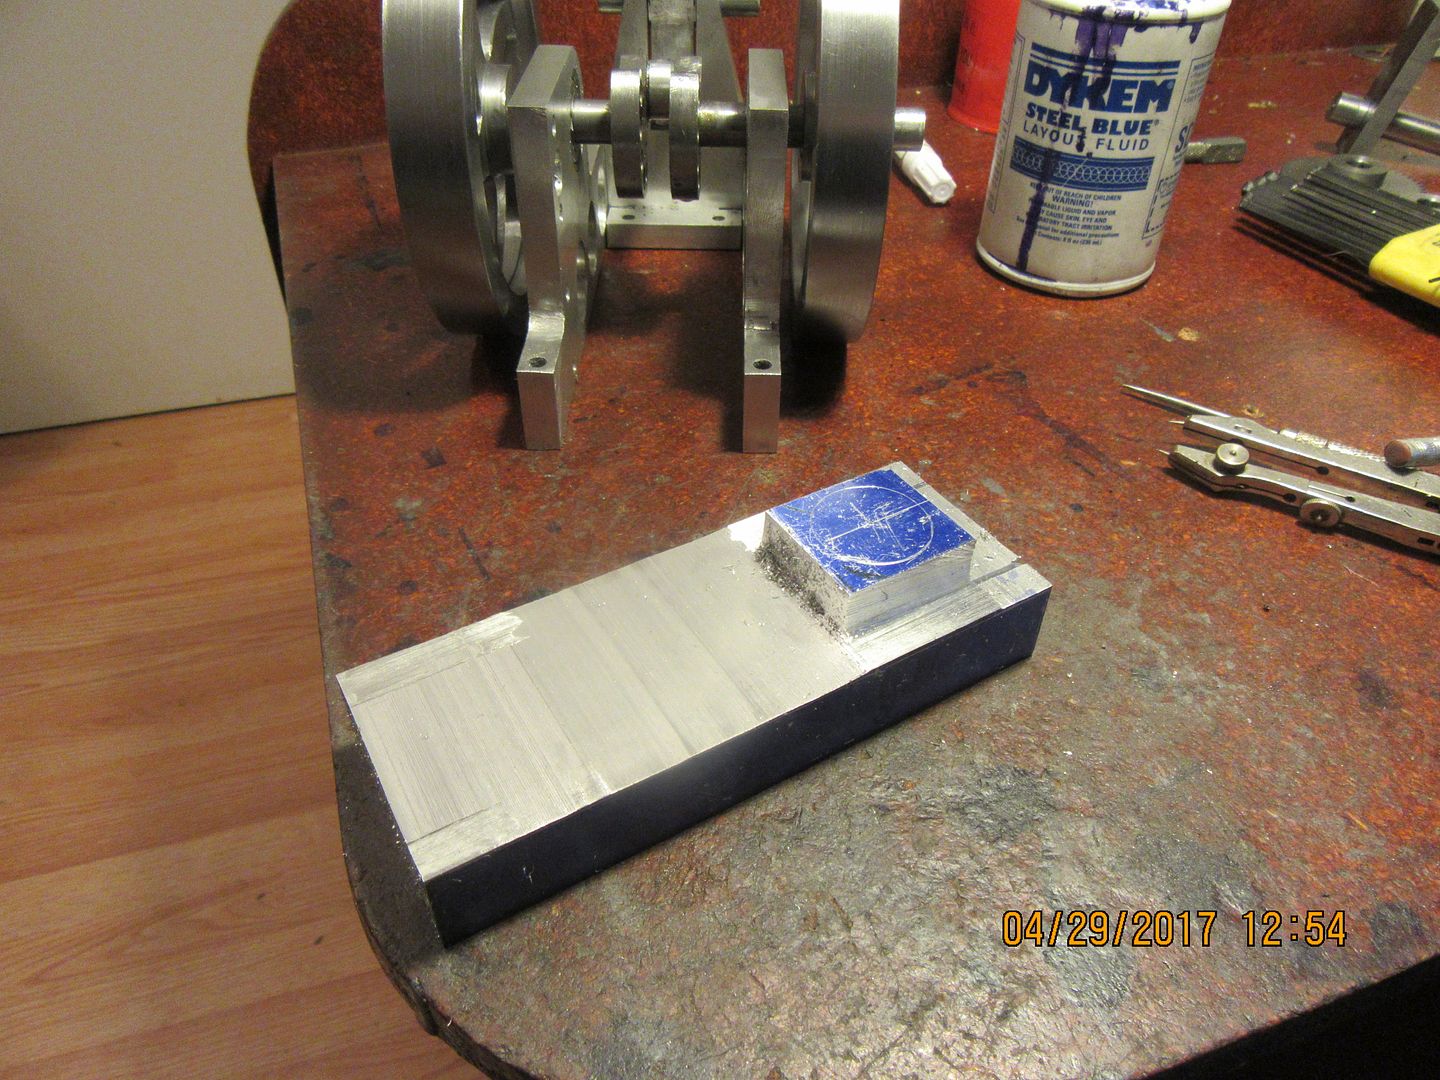
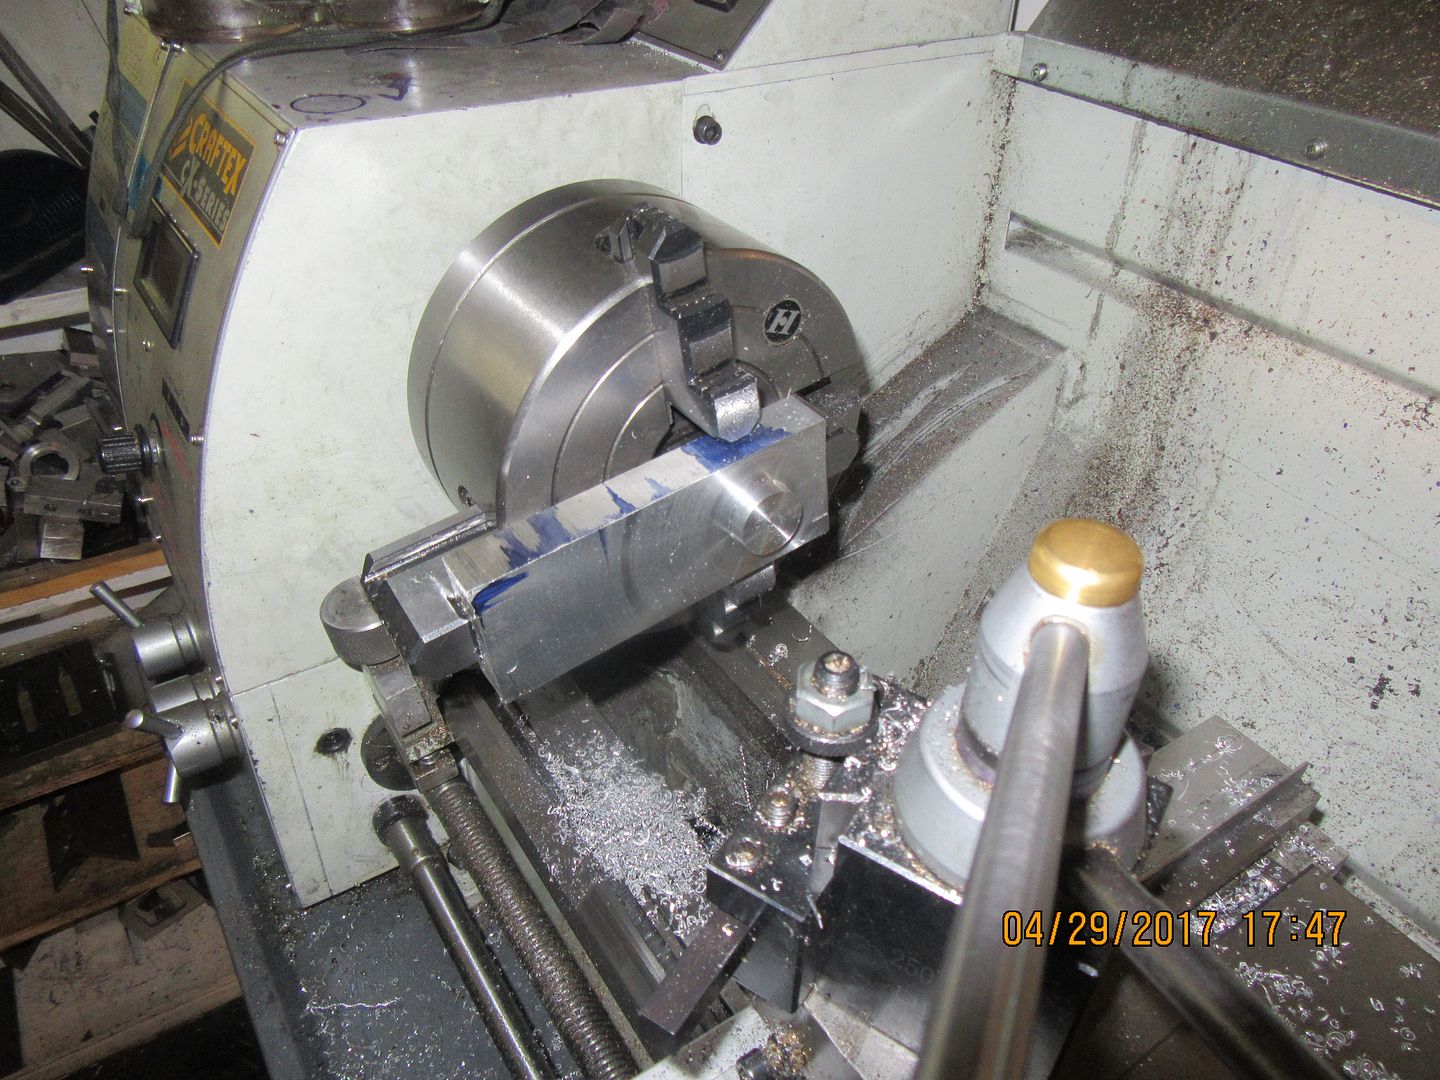
This is the "starting point" on the cylinder head. Most of the unwanted metal has been bandsawed away from a piece of 1 1/4" thick aluminum bar. the portion with the blue layout dye on it will become the raised boss.
 
I was mistooken!!!:eek::eek: Before I absolutely committed to a faceplate job, I had to try it in my four jaw. What do you know----it fit, barely. One jaw is out to the point where there are only two turns of the chuck key holding it, but it cleared the ways by about half an inch and tightened up just fine. After turning the spindle by hand, checking for clearances, I started the lathe on it's lowest speed (which is very slow indeed) and seeing that nothing was going to explode in my face, I ramped the speed up to 220 rpm and cut with an HSS tool. Everything seems to have went okay, and I'm finished with that set-up.
 
An occasionally useful ploy is to put the job at 45 deg. Set-up is not as easy and the method is not strictly kosher as it puts a side load on the jaws and their guides, but with a bit of common sense it is OK (and no more alarming than your arrangement).
 
An occasionally useful ploy is to put the job at 45 deg. Set-up is not as easy and the method is not strictly kosher as it puts a side load on the jaws and their guides, but with a bit of common sense it is OK (and no more alarming than your arrangement).

attachment.php
 
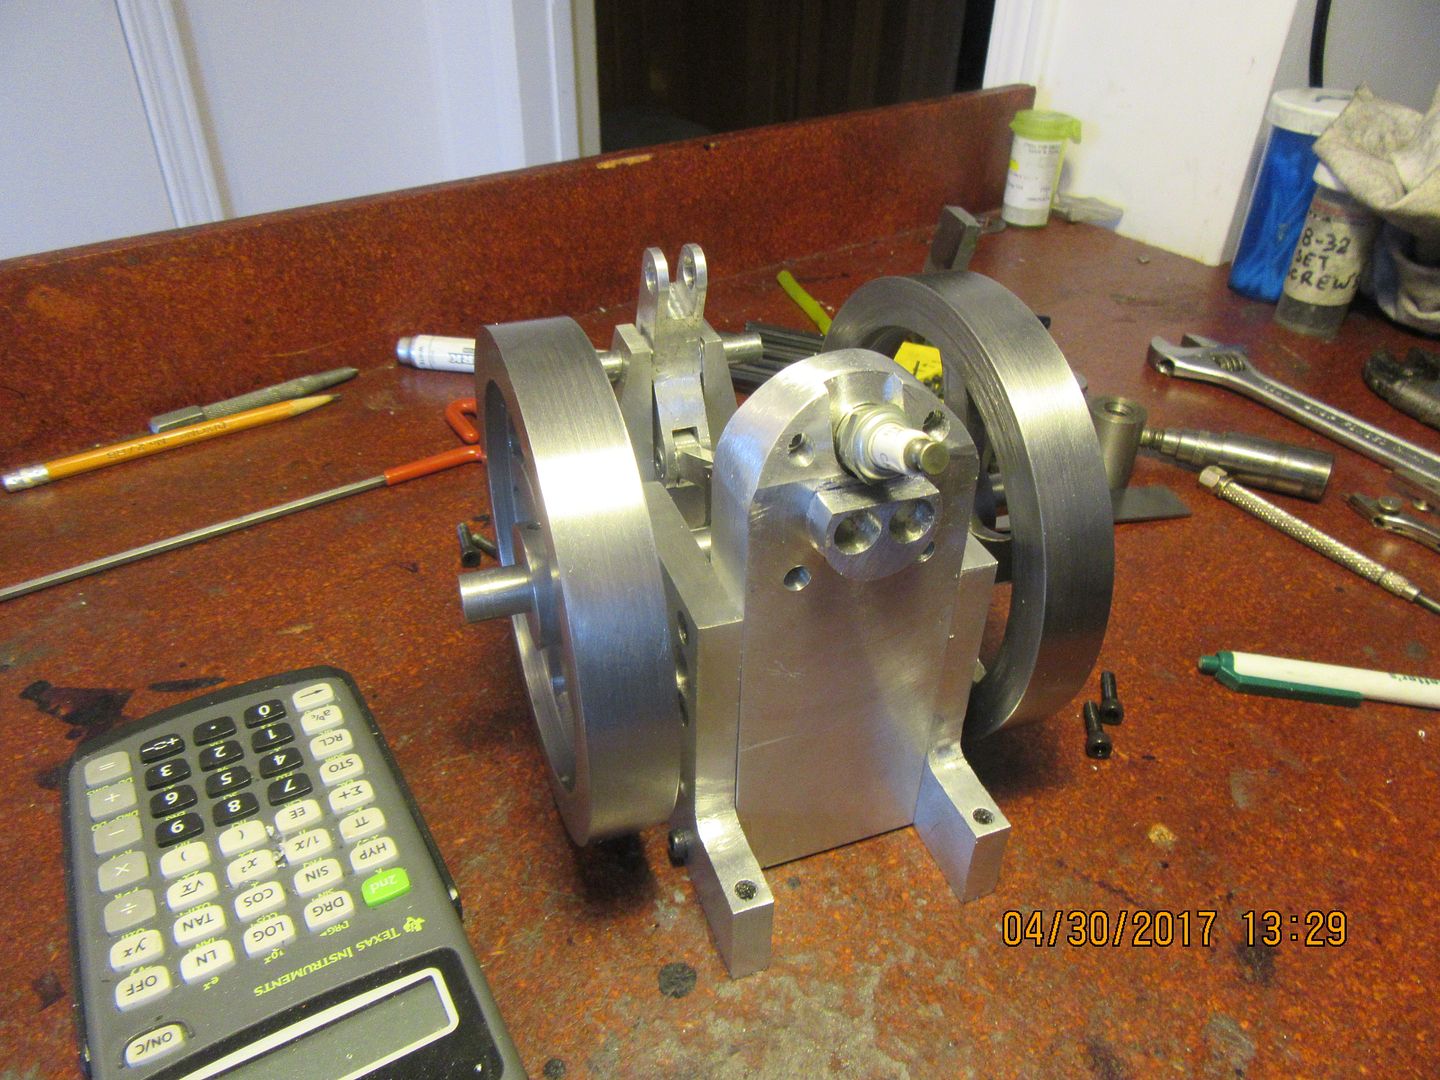
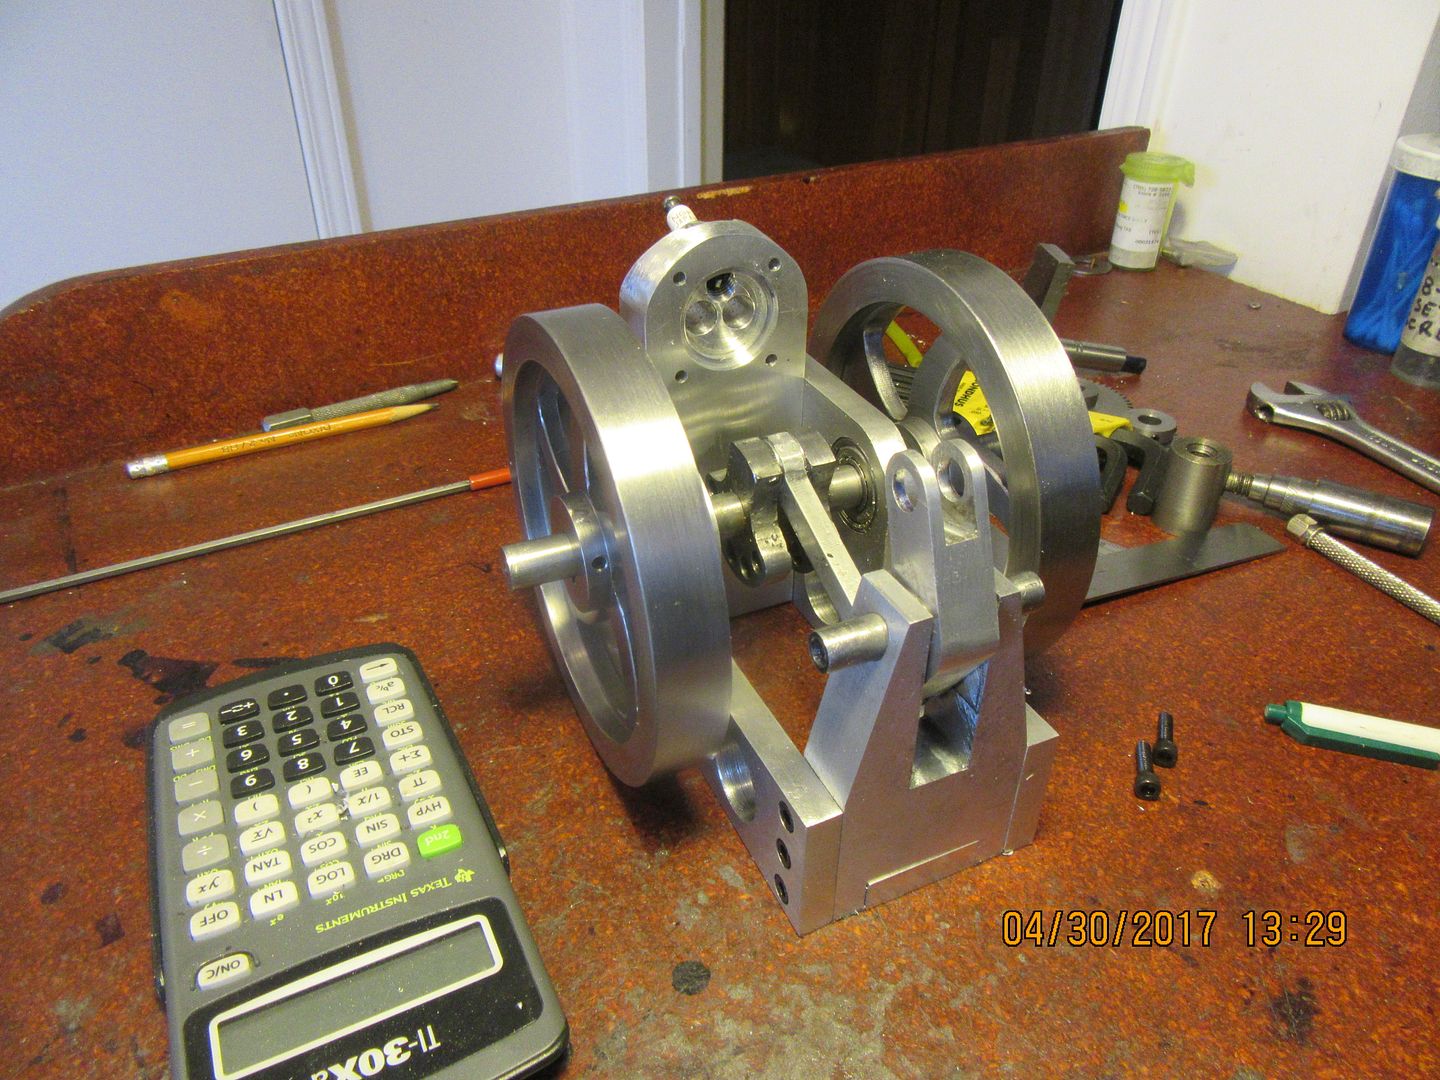
The cylinder head isn't completely finished, but it's about at 95%. Everything fits and follows the plan, so far. It is a cool, rainy, nasty day here, good time to be inside. Good wife is out in my garage rooting around thru a ton of stuff she has collected for a Parkinsons benefit yard-sale. I've machined enough today. Time to wash up and go read a good book.

 
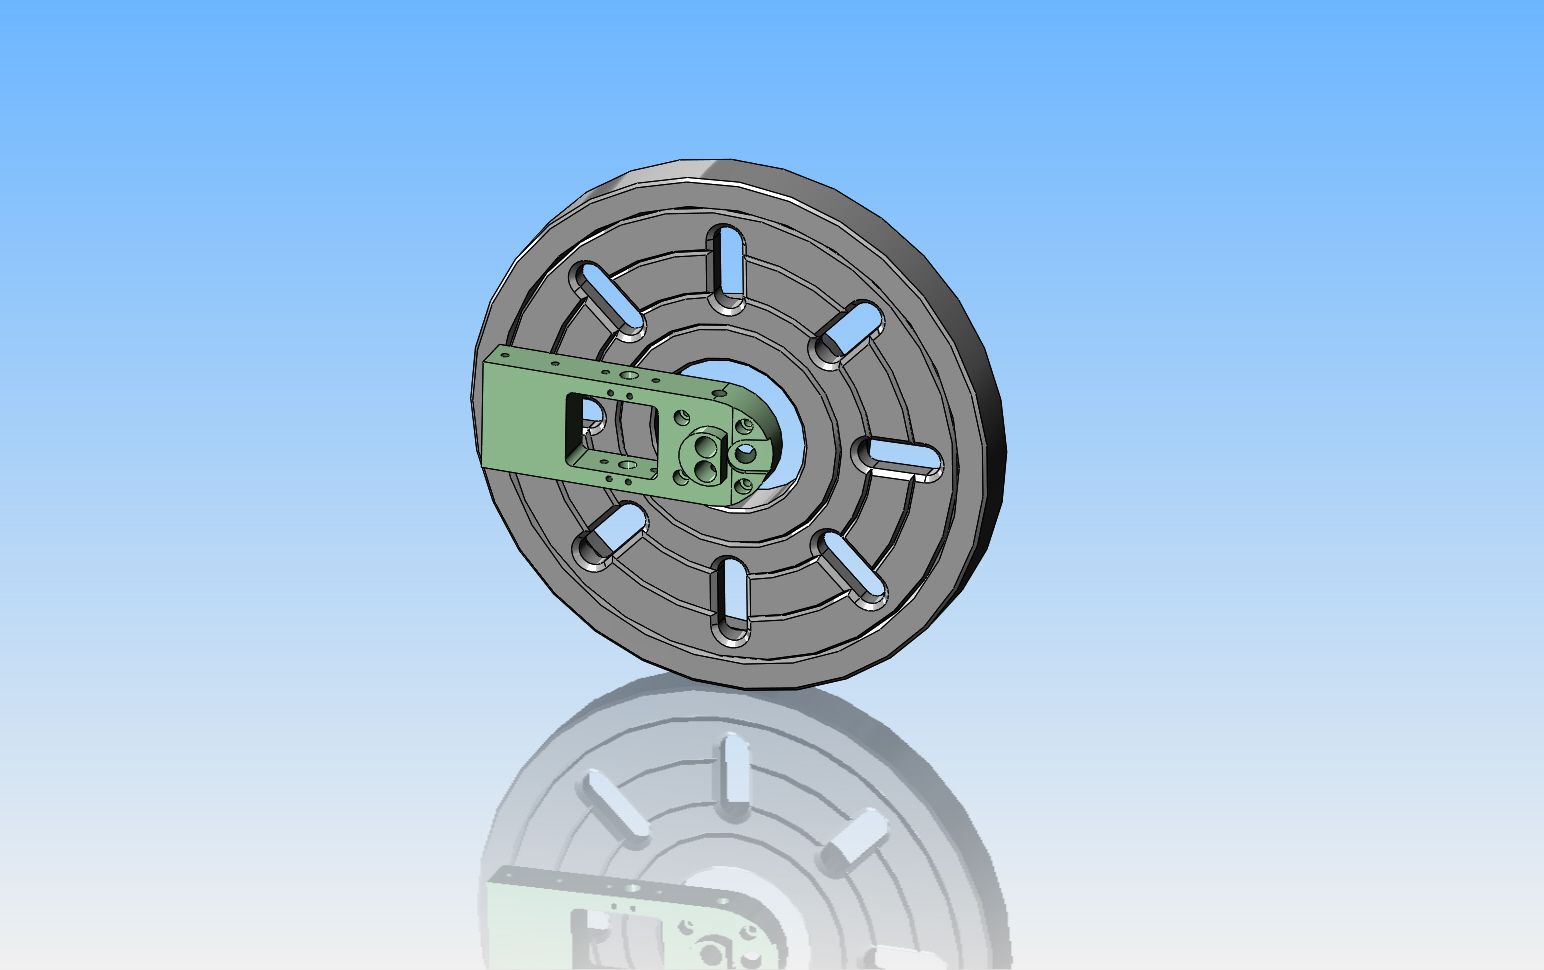
As you can see from the pictures, I haven't put the large hole in the cylinder head plate like I show in this solid model. My initial theory was that I needed a hole that big so I could reach thru to the set screws to set the cams in their proper location. I normally set the cams by turning the engine over to the correct point in the cycle with the cam gear locked to the shaft, then turn only the cam until I feel it contact the valve, then tighten the set screw. The only problem with this is that such a large hole will weaken the structural support necessary to keep the cylinder in the right location. The alternative to this is to set both cams in the correct rotational aspect to each other, leave the cam gear loose on the shaft, turn the shaft and cams to the correct position and then lock the gear to the shaft. I'm going to leave that one to "cook" for a while and in the meantime finish the cylinder, piston, and primary con-rod. By that time I will have decided what to do.
 
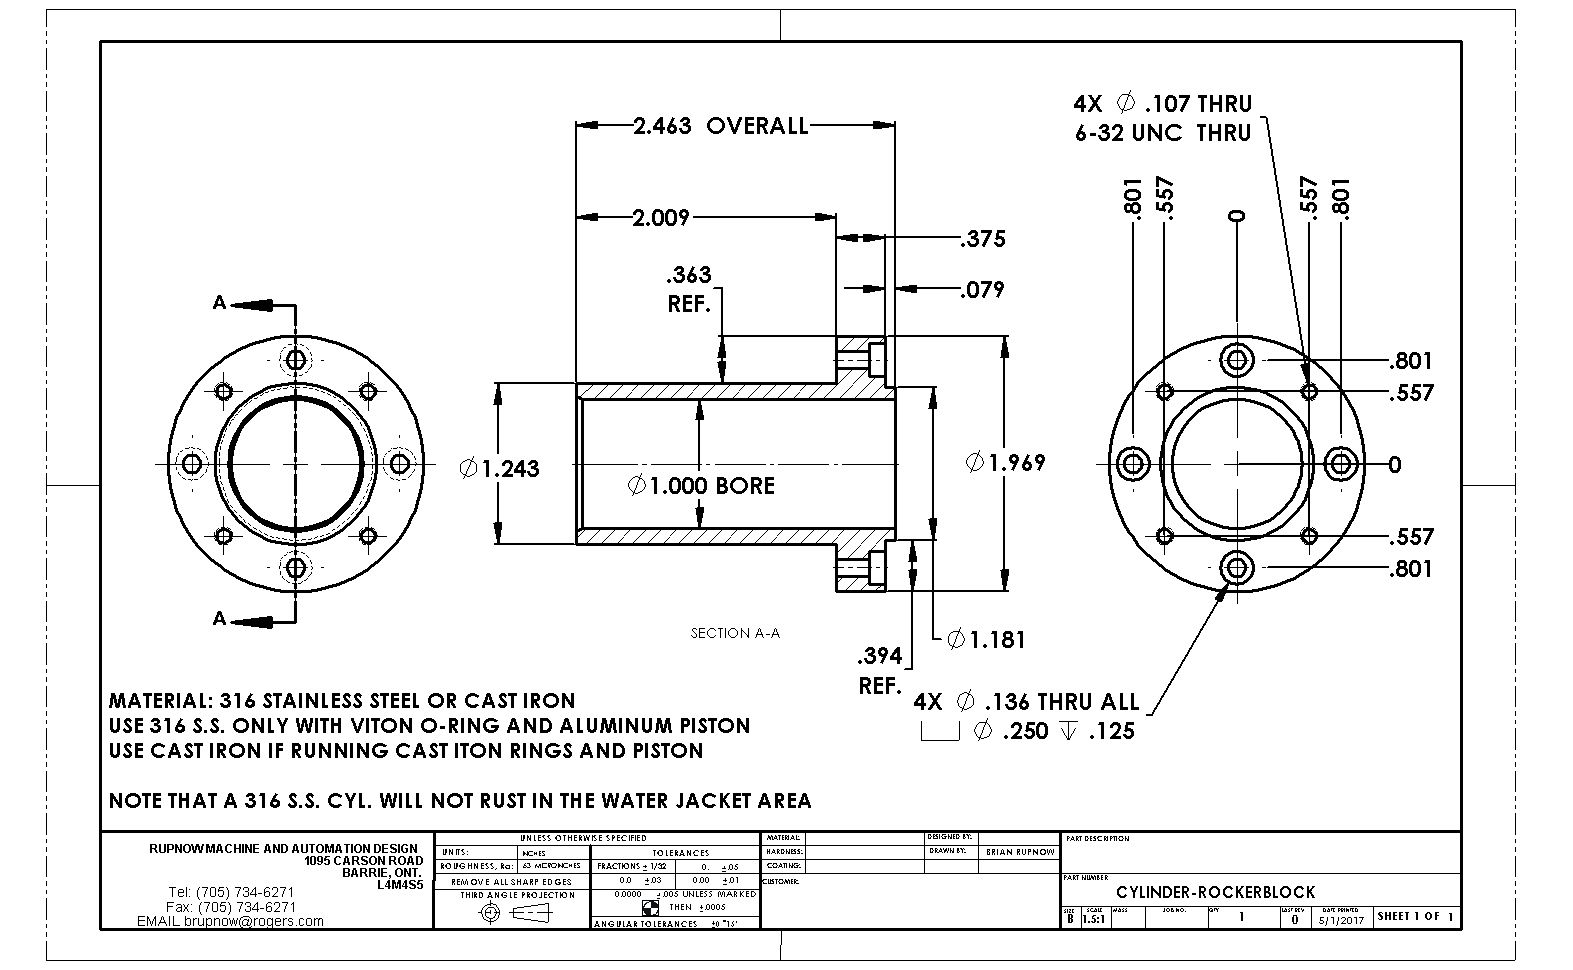
Todays project (If I don't get called away to work) is the cylinder. It's worth posting a drawing, simply because it looks so strange after all the finned cylinders I have built lately. I don't remember, but I think this stuff machines fairly good. I will let you know.---Brian
 
Okay--the 316 stainless machines very nice, nicer than 1018 or 1045 steel. I'm running at 400 rpm with a .015" doc. using a brazed carbide, no cutting oil. The only issue I'm seeing so far is the fact that my brazed carbide has no chip-breaker built into it, so I'm getting some incredible "birds nests" which I clear with a pair of pliers after each pass. I'm not going to turn anymore off the o.d. until I get the bore drilled and reamed to size, then I will finish up the o.d. to finished size. I hope my hss drills have as little trouble as my brazed carbide has seen.
 
Hello Brian,
I had a lot of rust problems in the water tank and adjacent areas on my Roseberry hit and miss engine. I overcame that problem with ready mixed anti freeze coolant. Benn in the motor now for over 3 years with no sign of rust. Hope this helps. Norm
 
Hello Brian,
I had a lot of rust problems in the water tank and adjacent areas on my Roseberry hit and miss engine. I overcame that problem with ready mixed anti freeze coolant. Benn in the motor now for over 3 years with no sign of rust. Hope this helps. Norm

But see my experience from a few years ago:
A sad story. This is a Scott vacuum engine and is stored in a sealed wooden travelling box when not out for running.

Believing that ordinary tap water would cause corrosion of the cast iron cylinder in the bronze cooling hopper, I decided to use car radiator antifreeze as a coolant. After all, most rads are copper and many cylinder blocks are cast iron. Bad idea as you see below.

scottpoorly.jpg
View attachment 88714

The fumes from the antifreeze not only corroded the submerged part of the cylinder but went on to give the rest of the bare metal a 'patina' - not one that I wish to see too often. Even the brass parts were attacked.

Note to self: In future use a rust INHIBITOR fluid. I have been told that Fernox is a brand name for such a fluid in the UK, used in central heating systems.

I have stripped down and cleaned up everything except the cylinder. Wondering how to dissolve the rust so that I can knock it out. Thinking about the Alum treatment - but briefly.

Dave
The Emerald Isle

Dave
The Emerald Isle
 
Waterless coolant is the solution.... http://www.evanscoolant.com/how-it-works/

"Water contains oxygen, which causes corrosion and also allows electrolytic activity which further damages engine metals. Evans waterless coolants eliminate corrosion and electrolytic activity, significantly increasing the life of the engine."
 

Latest posts

Back
Top