Philip Duclos "Odds N Ends" hit and miss engine

Home Model Engine Machinist Forum

Help Support Home Model Engine Machinist Forum:

This site may earn a commission from merchant affiliate links, including eBay, Amazon, and others.
Great job Brian.. Im glad you got it running like it should bud..Bill
 
Congrats Brian. I knew you'd get it. th_wavth_wav

So now that you know it was the points are you going to give the old piston and cast iron ring a try?

Ron


Brian, good to see it's running, congrats, alway good when they pop to life.

About the rings, IF IT AIN"T BROKE DON"T FIX IT.
I like the viton rings too and probably won't give much thought to trying iron again.

GUS
 
Starnovice--Thank you!!! 5 years ago I built my first wobbler. It affected my so profoundly that I know how Dr, Frankenstein must have felt. I HAD CREATED LIFE!!!! I have been a technology hack all my life, both in my professional capacity as mechanical design engineer and in my hobby, drag racing and building hotrods. Now I had a new outlet for my mechanical soul. Since I enjoy technical writing and the fellowship of like minded folks around the world, forums like this were made for me. I have learned a lot, and my machining abilities have come a long way in 5 years. Now, 18 or 20 engines and nifty things to run with them have came to life in my shop and my flame still burns hot. Thank you to you and everyone who reads and follows my posts.---Brian
 
A question for anyone who may have built this engine. Does the piston skirt REALLY stick out .109" beyond the cylinder when the piston is at bottom dead center? This doesn't seem right to me. Be aware that I have changed the left hand end of the sideplates to come out flush with the back side of the cylinder water jacket, but I haven't changed any of the mathematical relationships given in the drawings in Philip Duclos' book.---Brian
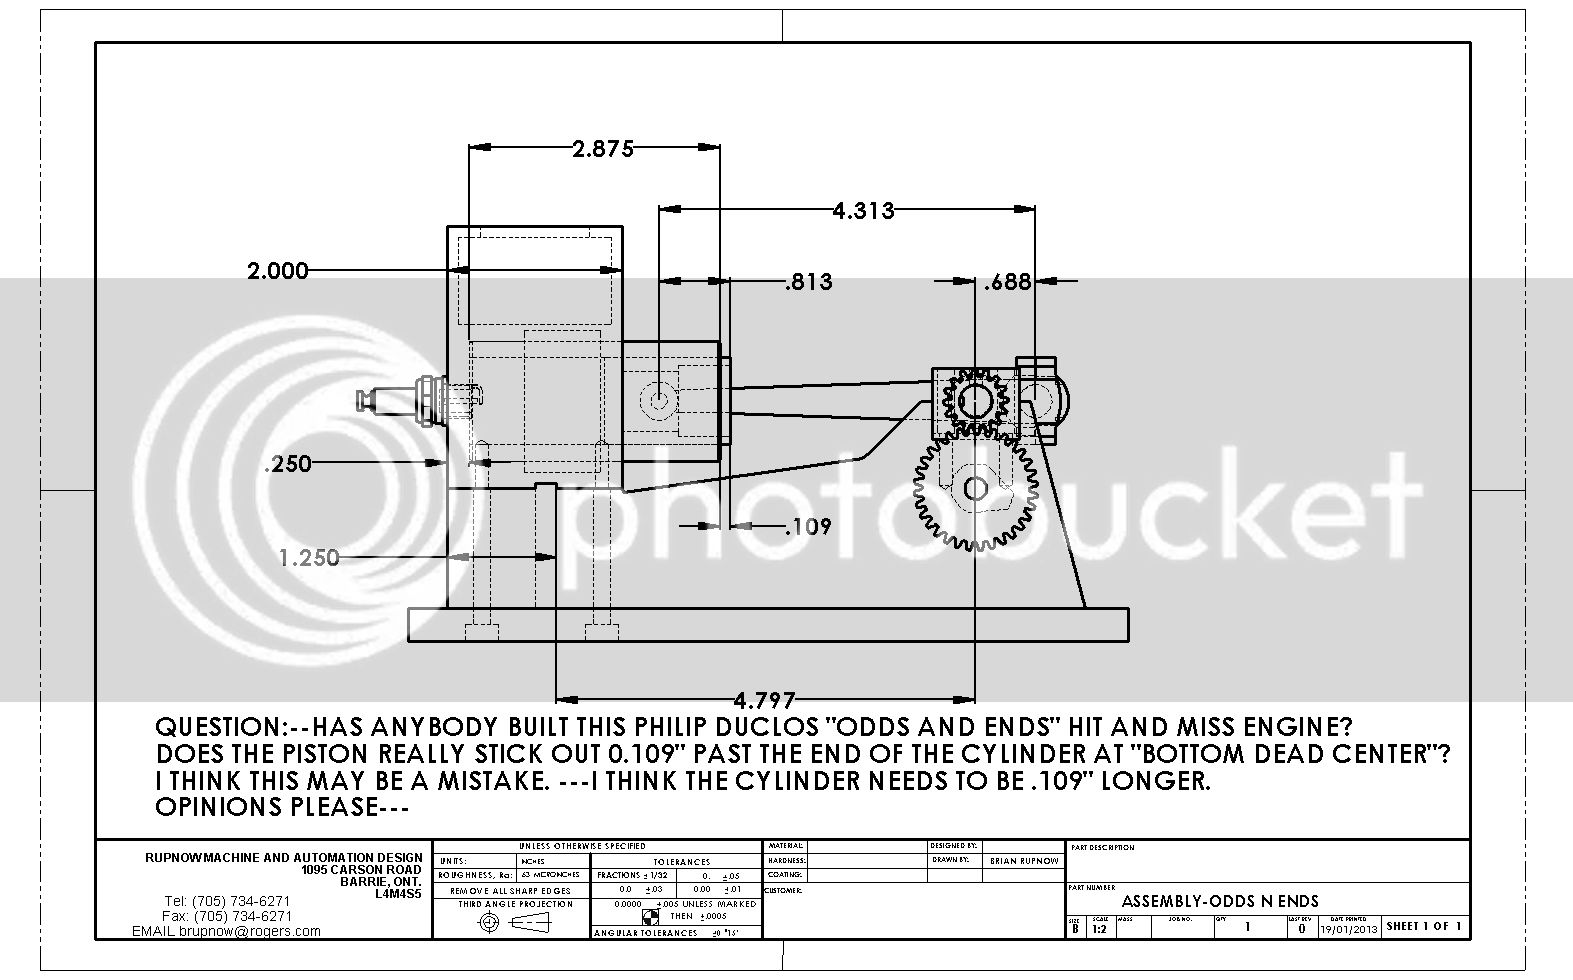
ASSEMBLY-ODDSNENDS-DRAWING_zps69d503f4.jpg
Pistons protruding below cylinder at BDC seemed to work fine on older car engines. It wasn't until the 1930's that car manufacturers found they could trim back on piston skirts for less weight and the engine would still run.
 
JerryC--No one has been able to answer this question to my satisfaction. I know that I built my engine so the end of the piston skirt just comes flush with the end of the end of the cylinder. HOWEVER---I have a theory.I don't know if you have ever rebuilt an automobile engine or not, but on an old engine with a lot of miles on it, the rings wear away enough of the cylinder wall over their many millions of trips up and down the cylinder that they actually will enlarge the portion of the cylinder which they travel in. This leaves a quite pronounced "ring ridge" at the top of the cylinder, large enough that the old pistons can not be taken out thru the top of the engine block. The rod has to be unbolted from the crankshaft and the piston removed thru the bottom of the hole. They never seem to kick up as large a ring ridge at the bottom of their travel at the bottom, farthest away from the combustion chamber. Perhaps that is because the cylinder doesn't wear as rapidly at the bottom because it is farther away from the heat of the combustion chamber. In fact, to remove this ring ridge at the top of the old worn cylinder, there is a special tool called, logically, a "Ring Ridge Remover" that locates in the cylinder bore and is rotated until the "ridge" is cut down to be flush with the bore of the cylinder. If you don't remove this ridge, A--You can't get the new piston and rings into the engine, and B-If you do happen to get them in, the new rings will be marginally thicker than the old worn ones, and will hit against the underside of this ring ridge and break the new rings.---Now, my theory is, that on an engine like mine where the piston and rings fit into a blind hole and that the pistons were long and made of cast iron, that the tail of the piston skirt would actually contact the cylinder wall a lot of the time, especially after the rings become worn a bit. If the rear of the piston didn't extend past the cylinder a bit on each stroke at bottom dead center, there is the possibility that the piston itself would eventually kick up a ridge at the tail end of the cylinder, thus making it impossible to ever remove the piston to replace the rings in future. This is only theory---No one else has ever confirmed it, but it is the only theory that makes any sense to me.
 
Last edited:
When I was a kid you could get these engines almost anywhere for free, just to cart them away. And every damned one of them had a cracked outer water jacket from fools forgetting the water was in them and letting them freeze and crack from the expanding water when it froze in the fall. And almost every one of them had a dead magneto. My uncle Jimmy (The one who taught me, at a tender age to drink whiskey and play the fiddle) had half a dozen of them. He would seal up the crack with brazing rod, and even if the crack weeped a little he would keep a constant flow of water to it thru a garden hose. He would hook up a 12 volt car battery and coil, (they must have had some kind of point set-up, even the ones with a mag) and use them to run buzz saws and grinders and all manner of things. He even had one hooked up with an old Star car transmission for a gear reduction and an eccentric to run the well pump. (No hydro when I was a kid).
 
You could be right, Brian. As a lad in highschool, I worked at an auto repair shop during the 50's. Actually, I was more of an apprentice, being good friends with the mechanic and kind of filling the empty gap left by his son who had joined the military. I tore apart many old engines and as you say, you had to remove the pistons from the bottom of the engine. I, too, am familiar with the ring ridge remover.

Congratulations on getting the Odds n Ends to run. When you get it running right, it should fire once and coast for up to 15 revolutions before firing again. It might still be a little tight and a new needle valve assembly will probably help as well. I think I have mine firing right about top dead center, but it still jumps a little when it fires.

Chuck
 
Ckuck--Did you ever make a video of the one you built? I would love to see it if you did. I went down to the nuts and bolts store today and rooted around in their spring collection looking for something suitable for governor springs. Of course their lightest spring was still too heavy. I am going to build the new needle valve you put me onto (I feel a bit foolish that I didn't see it in the Duclos book, which I have, untill you made me aware it was in there.). I will probably buy a .013 diameter guitar string and wind my own governor springs.---Brian
 
Brian, here is a video of my version of the Odds n Ends engine. As you can see, even though I started from Phil Duclos plans, I didn't follow his plans for the cylinder assembly. This was one of the first engines I ever built and after several failed attempts at his cylinder assembly, I completely redesigned my own version with a separate head, overhead valves, and round water jacket. Everything else, including the frame, is pretty much the same.

[ame]http://www.youtube.com/watch?v=wbqIfcjaIY8[/ame]

The bore on my mine wound up at around 1.0625". I had to redo the bore several times to get it smooth and straight.

Chuck
 
Starnovice--Thank you!!! 5 years ago I built my first wobbler. It affected my so profoundly that I know how Dr, Frankenstein must have felt. I HAD CREATED LIFE!!!! I have been a technology hack all my life, both in my professional capacity as mechanical design engineer and in my hobby, drag racing and building hotrods. Now I had a new outlet for my mechanical soul. Since I enjoy technical writing and the fellowship of like minded folks around the world, forums like this were made for me. I have learned a lot, and my machining abilities have come a long way in 5 years. Now, 18 or 20 engines and nifty things to run with them have came to life in my shop and my flame still burns hot. Thank you to you and everyone who reads and follows my posts.---Brian
Hmmmm, I think I am going to build a wobbler if this is what it does to you :)
I will say since I got my first little monster running, I have been a great mood and it has lasted for days! Maybe you have pinpointed the reason why! I keep getting distracted by improving my new tools and setting up new accessories which is just as rewarding.

Separately, my recollection of magnetos on the stationery engines we had were that they all had a set of points in them. In our climate, they never froze solid though so ran for years. The wildest , oldest and most kantankerous one was a Buzacott on the pump for our house water supply. Mum used to empty a 5,000 gallon overhead tank on her garden every day and part of the the daily starting ritual among priming the water pump, choking the engine with the palm of your hand and mutttering chants or curses to the engine Gods depending on their mood on the day was trying to judge how much fuel to put in it so we did not have to run 300 yards to turn the engine off when the tank overflowed! I saw a Buzacott on eBay the other day and was tempted to buy it, but I am sure my wife would never have understood why she had to have a huge lump of scrap metal defacing the back yard! Brian, I know you would though!
 
RodW---Thanks.--Nice story, and I understand your sentiments exactly. Chuck--WOW!!! You certainly did depart from Philips original plan. However, there is no arguing with success, and that certainly is a sweet running engine. I like the black tape on the sparkplug wire----Looks a lot like home!!:D:D
 
Thanks, Brian, did you notice the 5 neodymium magnets on the flywheel? Those balance the flywheel/crankshaft assembly and keeps the engine from dancing all over the place. There's 5 magnets on each flywheel. I've long intended to weigh the magnets and make a permanent, equally heavy counterweight for each flywheel, but the magnets work well and have no tendency to move, so I haven't bothered.

Chuck
 
Chuck--I never noticed the magnets. What wire diameter and how many coils did you use for the tension springs on the governor. Far as I can see, Philip Duclos kinda skipped over that part. He mentions that yes, there are springs there, and he shows a picture, but thats all.
 
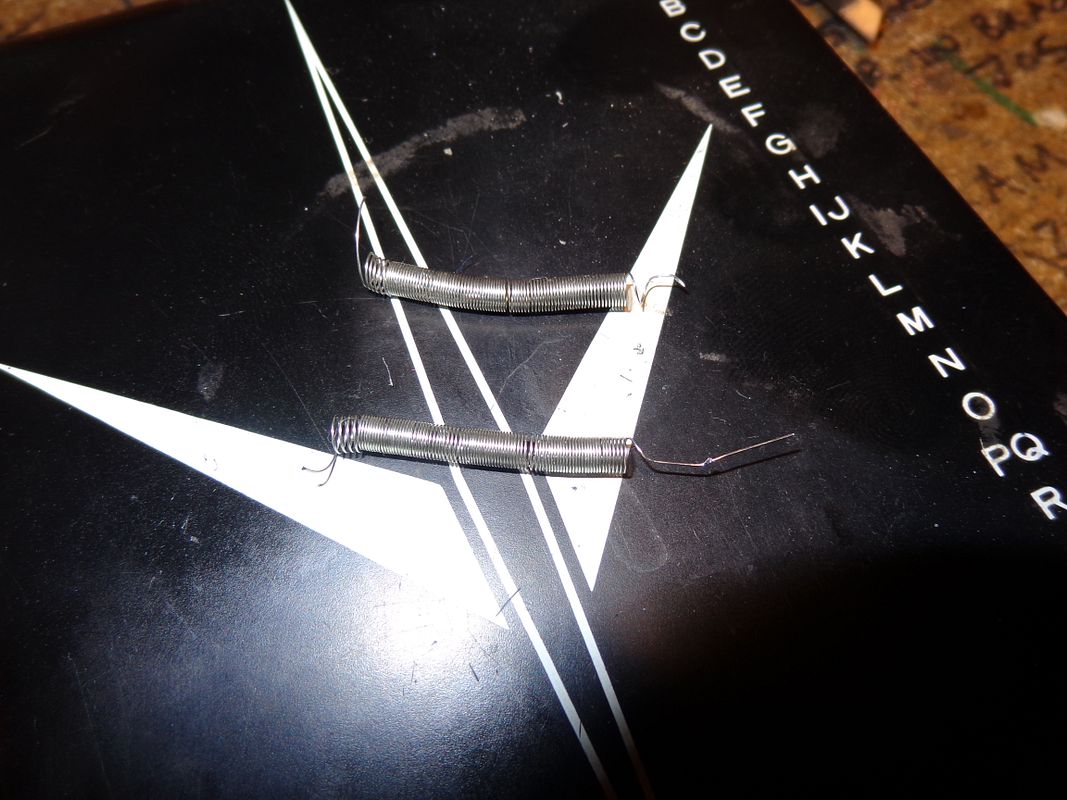
I just wound these two governor springs on my lathe, using a .093" diameter rod as a mandrel.The lathe is out of gear and not under power when I do this. The .093 dia mandrel, about 6" long is held in the 3 jaw chuck at one end, and held LOOSLY in the tailstock chuck, so it will still spin freely, but be given some support at the other end. I clamp one end of the wire under one of the jaws in the 3 jaw chuck, and hold the loose end of the wire in a pair of vice grips. Keeping a constant tension on the wire with the vice griops in my right hand, I manually revolve the 3 jaw chuck with me left hand, always keeping tension on the wire, and keeping a bias towards the headstock so the coils of wire slide tightly together and lay next to each other as they are formed. It takes a full 36" long guitar string to make one of these springs about 1 1/4" long!!! When the entire guitar string (.010" dia. music wire) is wound onto the mandrel, I keep hold of the vice grips and roll the chuck about 4 or 5 rotations in the opposite direction to take the strain off the wire.-Then turn my back and release the vice grips. It goes without saying that you must wear your safety glasses during this operation, as this wire can peirce an eyeball and lead to permanent blindness. The wire generally jumps a little bit when the vice grips are released, but not too much as you have already released most of the tension by turning the chuck backwards 4 or 5 times. Interesting fact---The mandrel was .093" diameter. The wire was tightly wound, and was .010" in diameter. If nothing moved, the outer diameter of the spring would be 0.113" dia. However, the coils all relax a bit when the tension is removed, and the outer diameter is actually 0.140". This will change again, and get a bit smaller after the springs are tempered so they hold their shape permanently.WARNING--THIS METHOD IS ONLY SAFE WITH MUSIC WIRE .025" DIAMETER AND LESS. LARGER WIRE REQUIRES A SPRING WINDING JIG.
GOVERNORSPRINS-1001_zps25d44273.jpg
 
Last edited:
I have wound several springs on my lathe. First I made a hand crank to put in the spindle bore on the far left end. This has an expanding collet that goes inside the spindle bore and tightens with a nut on a threaded rod. The end of this collet has a square that matches the hand crank of my mill so I can use it to turn the lathe spindle.

I lead the spring wire through the slot of an aloris style tool holder, with two wood strips in it- think of taking a lathe tool and splitting it longwise. The wire runs between the wood strips. I tighten the tool mounting screws to pinch the wood strips and adjust the pressure on the wire.

If I want a close wound spring I slowly advance the lathe carriage by hand, keeping the wire tight to the coils. Sometimes I set the lathe to a thread pitch to make open coil springs, like for valve springs.
 
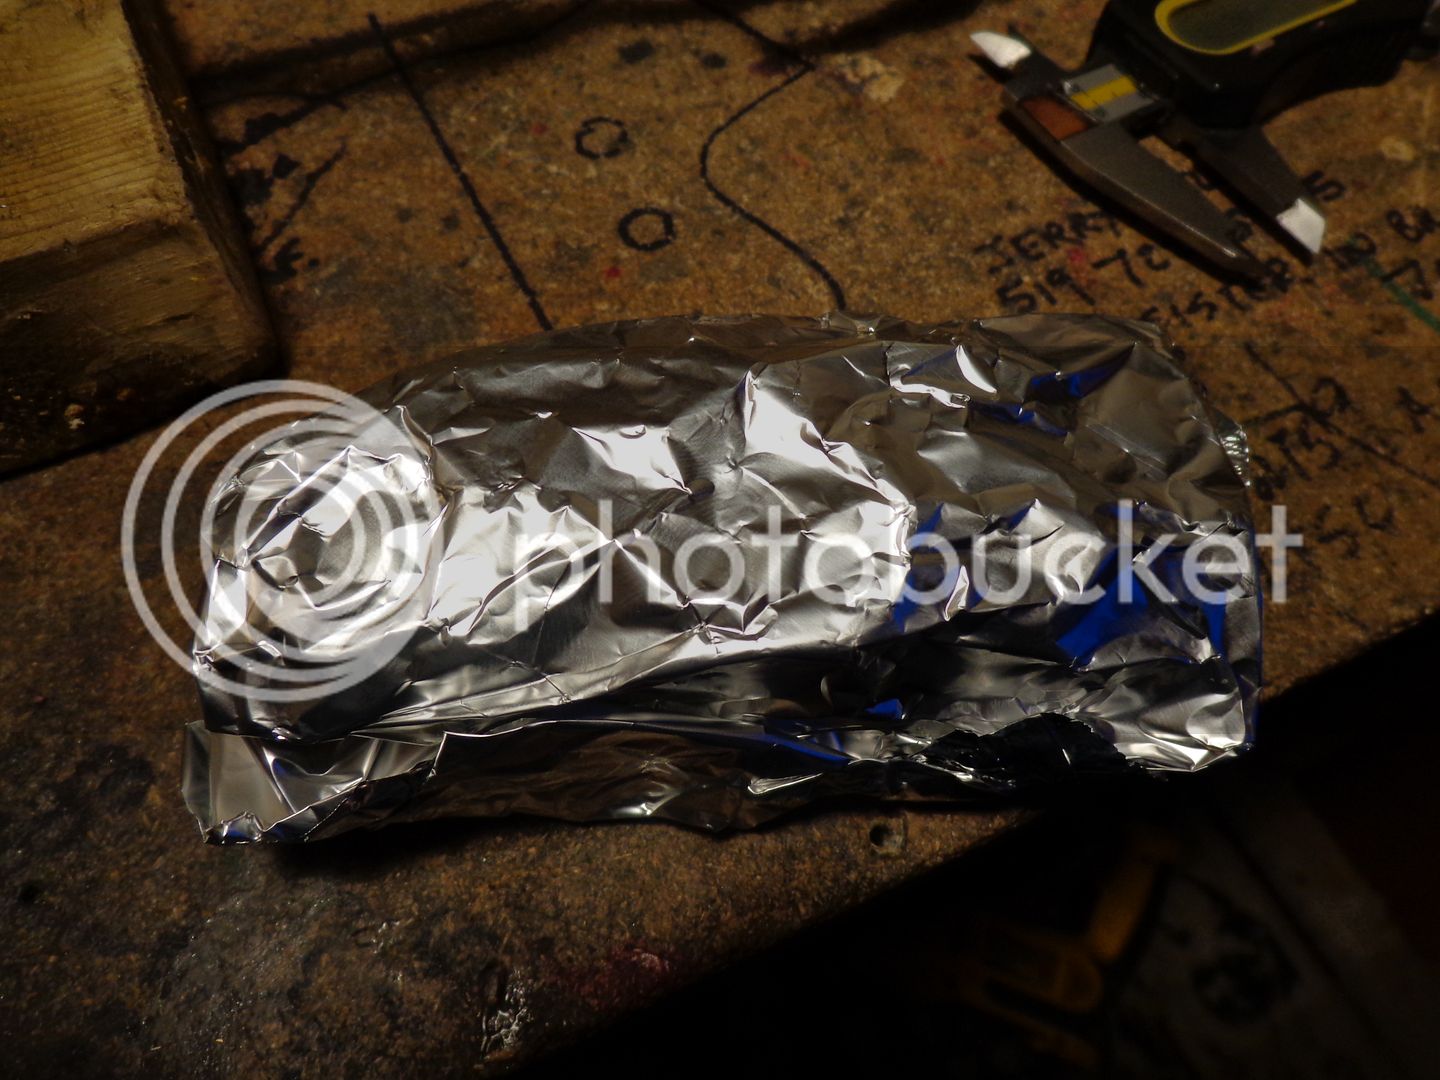
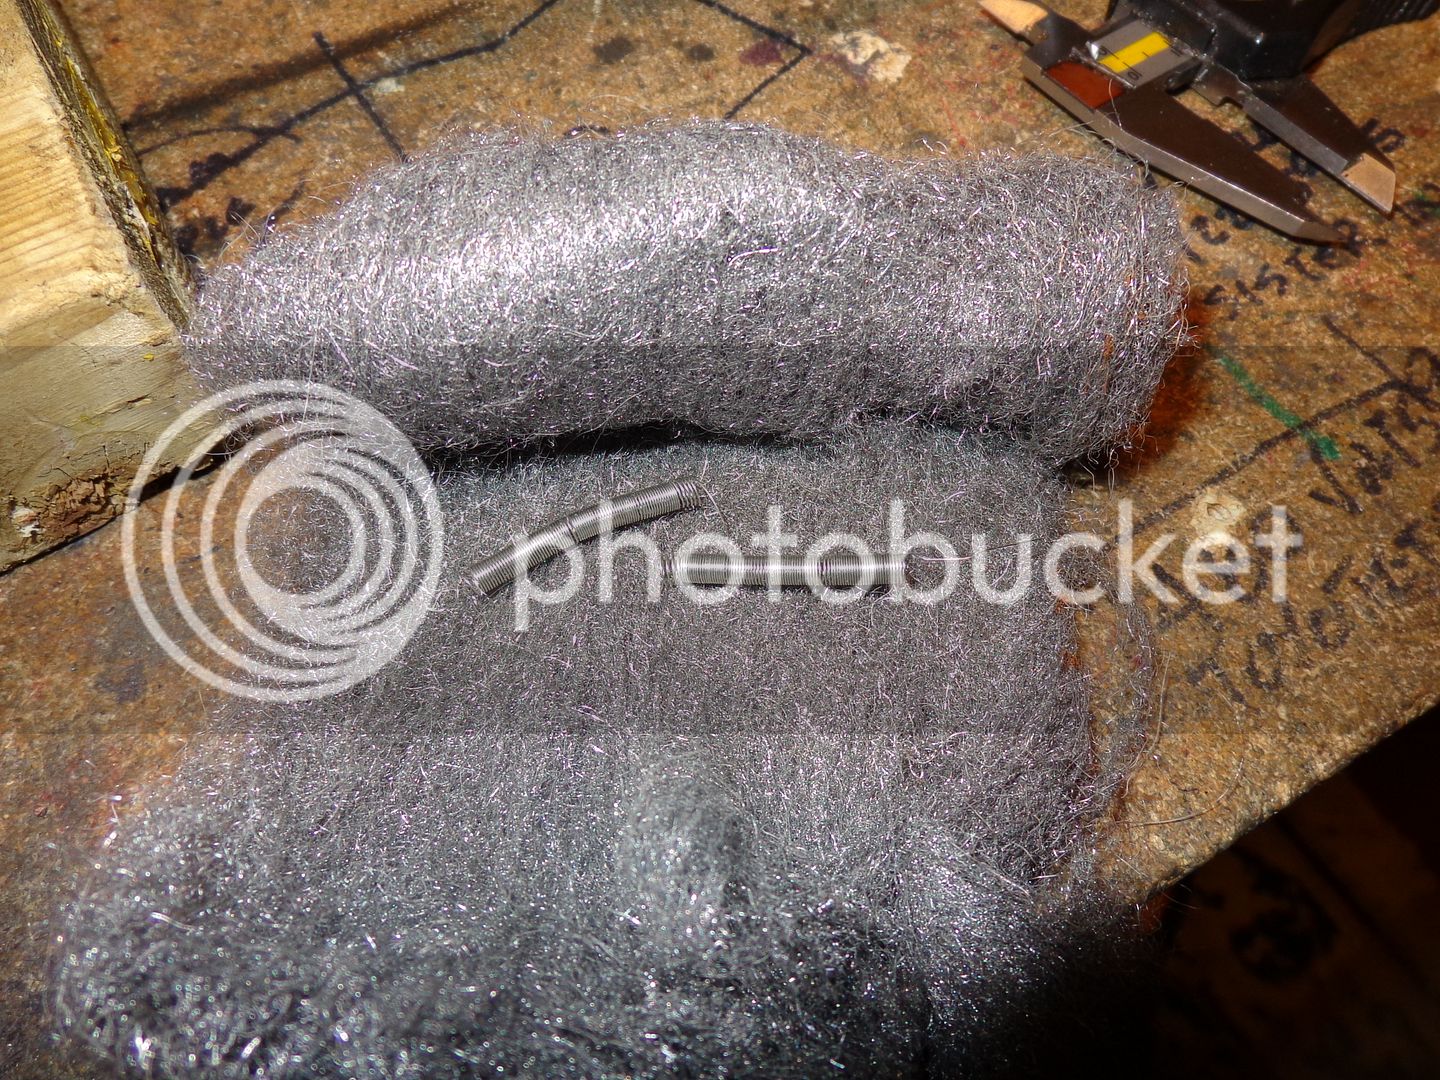
The springs are then loosely wrapped in a roll of steel wool, and then the roll of steel wool is wrapped in kitchen tinfoil. This goes into your kitchen oven and gets cooked for 1 hour at 450 degrees F, then left to cool without being disturbed. WARNING--THIS WILL STINK!! YOUR WIFE WILL KILL YOU.-TRY AND DO IT WHILE SHE IT OUT!!!!
SPRINGSINSTEELWOOL001_zps743dfa7b.jpg

SPRINGSINTINFOIL001_zps4005a8be.jpg
 
Brian, after trying a number of different springs, I finally got the best results by just using a spring on one side. The wire size is .015" and the OD is .230". The untensioned overall length is 1.161" measured from the two points where the spring contacts the screws on the governor weights.

Chuck
 
Thanks Chuck. I couldn't wait for your answer, so I forged ahead and used the same wire dia. that worked so well on the Kerzel for me. Sometimes I forget that other people actually have a life, and don't spend all their time roosting on the forums!!!;D;D
 
Thanks Chuck. I couldn't wait for your answer, so I forged ahead and used the same wire dia. that worked so well on the Kerzel for me. Sometimes I forget that other people actually have a life, and don't spend all their time roosting on the forums!!!;D;D

I usually check several times a day, but I spent most of yesterday working on the wife's car and running back and forth to the parts store. I detailled my adventures in The Break Room... at least most of my adventure. I didn't mention that I had to install the valve cover gasket 3 times. The first time, the spark plug seals (in the center of the valve cover) shifted on me and I didn't notice it until I tried to replace the spark plug leads. The second time I twisted off a valve cover bolt. Of course, I had installed all the bolts and was tightening them down when I broke one. :rant: I managed to get it out with an easy-out, but then had to run to the dealer and get a new bolt. Spent most of the day on it. Third time everything went together OK.
 
Brian, here's a picture of my set up. I have a spring on one side and a detent on the other side to keep the weights from flying apart too far. The detent is just made from a piece of iron wire. The weights were sticking open before.


OddsnEnds.jpg

Chuck
 

Latest posts

Back
Top