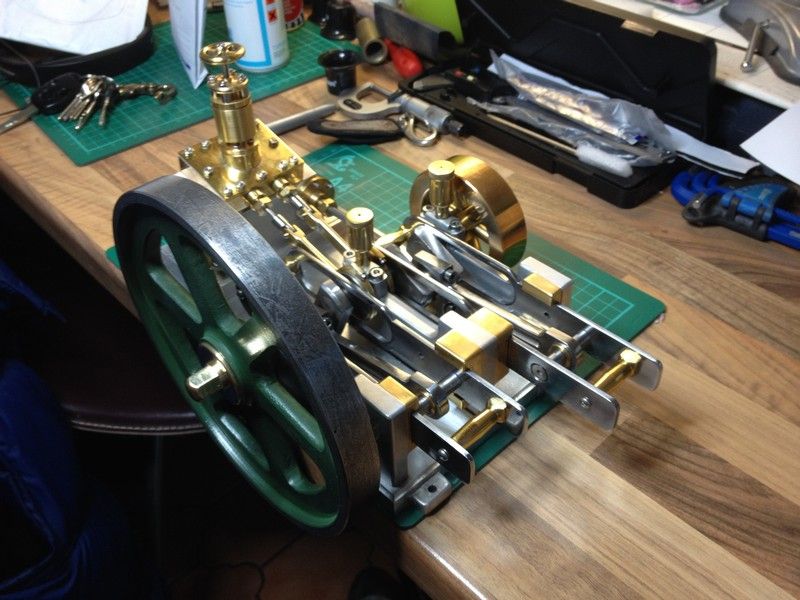
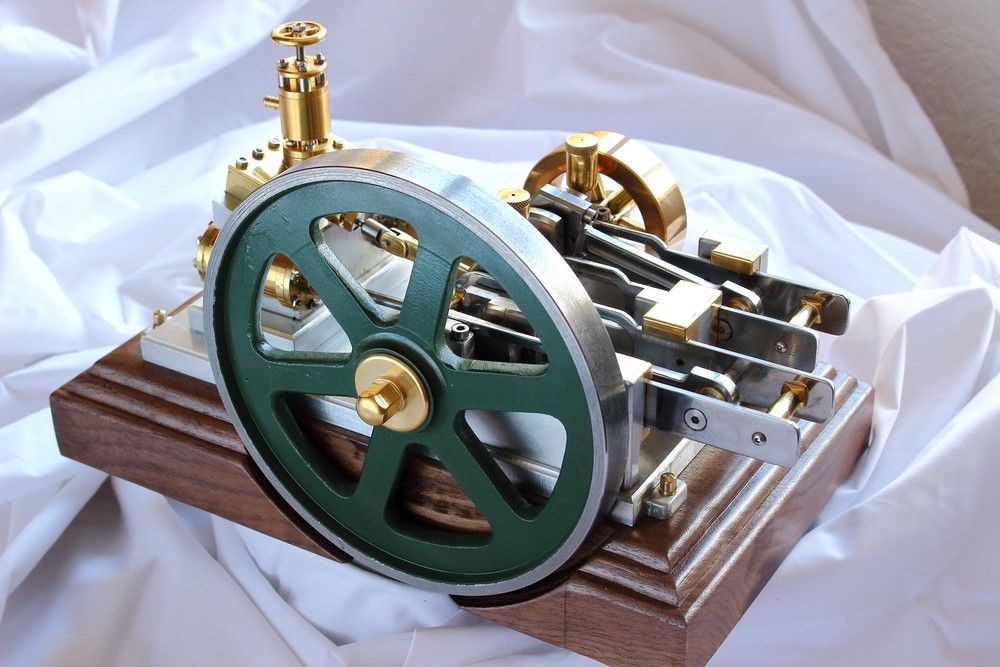
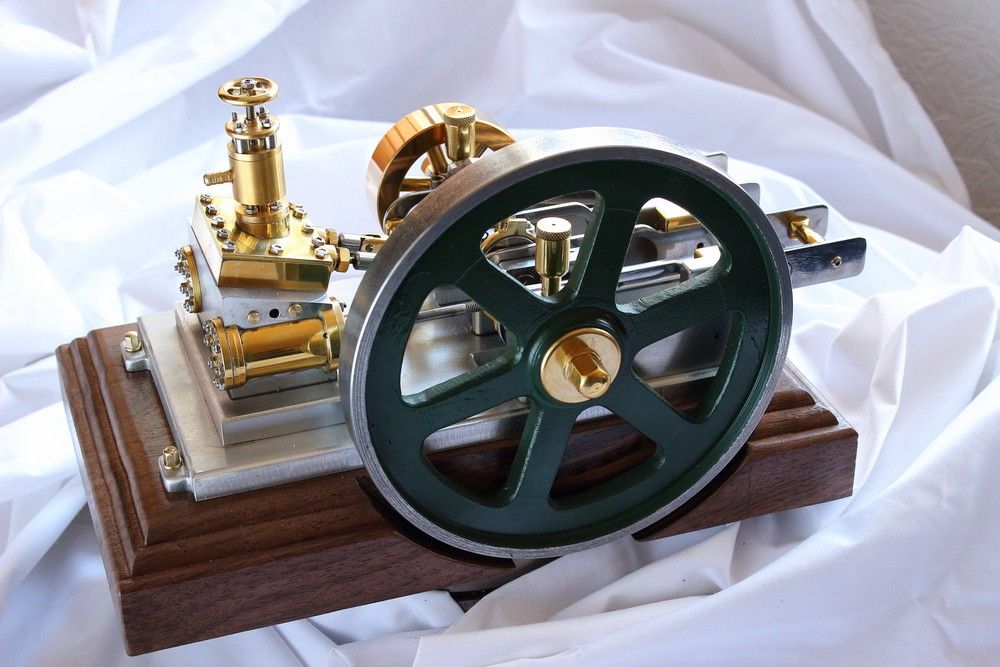
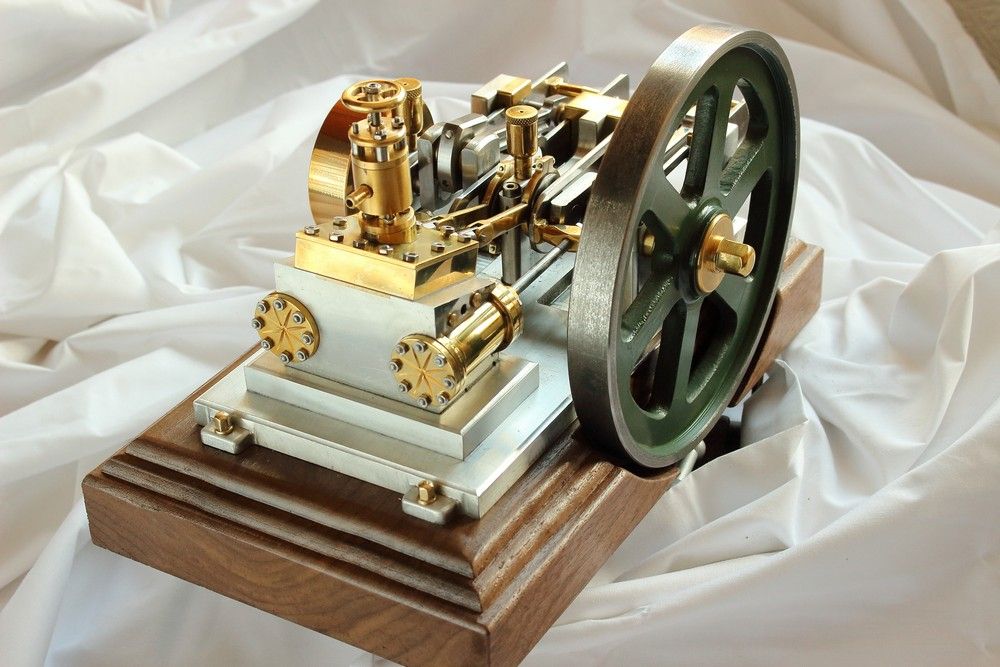
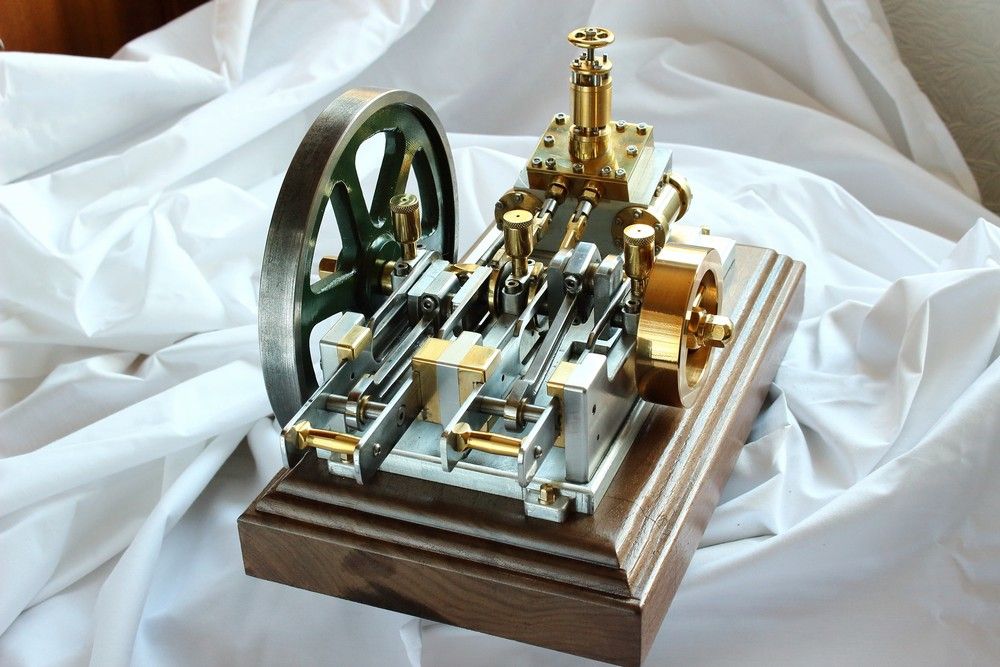
My build of Stew's Overcrank engine

Home Model Engine Machinist Forum

Help Support Home Model Engine Machinist Forum:

This site may earn a commission from merchant affiliate links, including eBay, Amazon, and others.
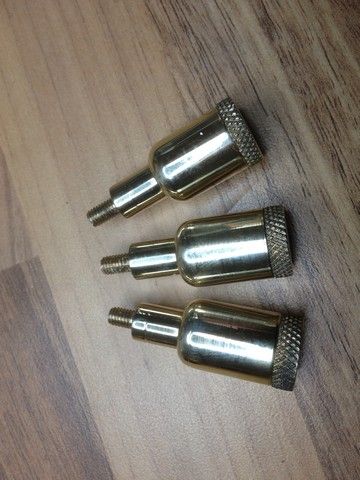
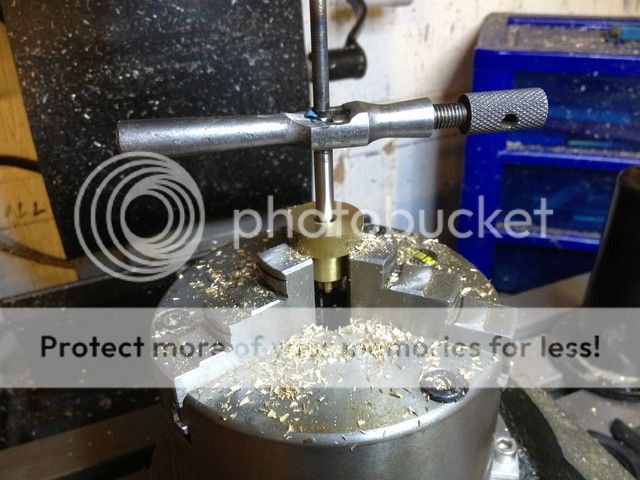
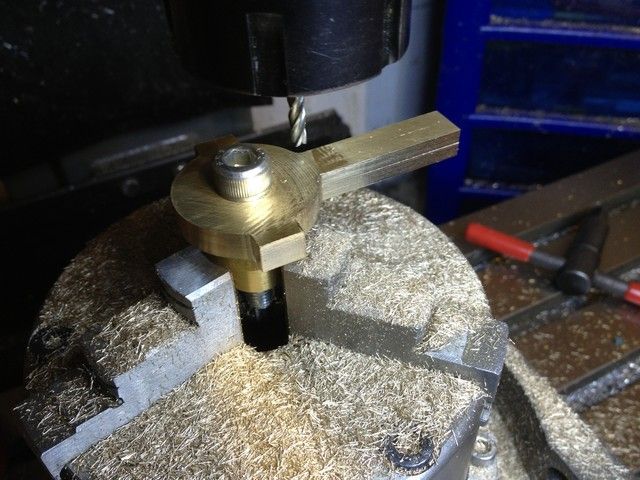
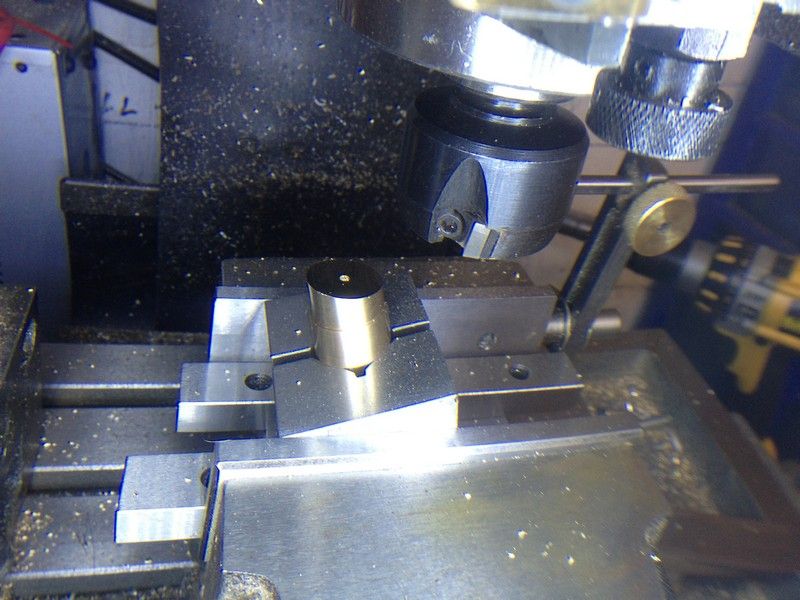
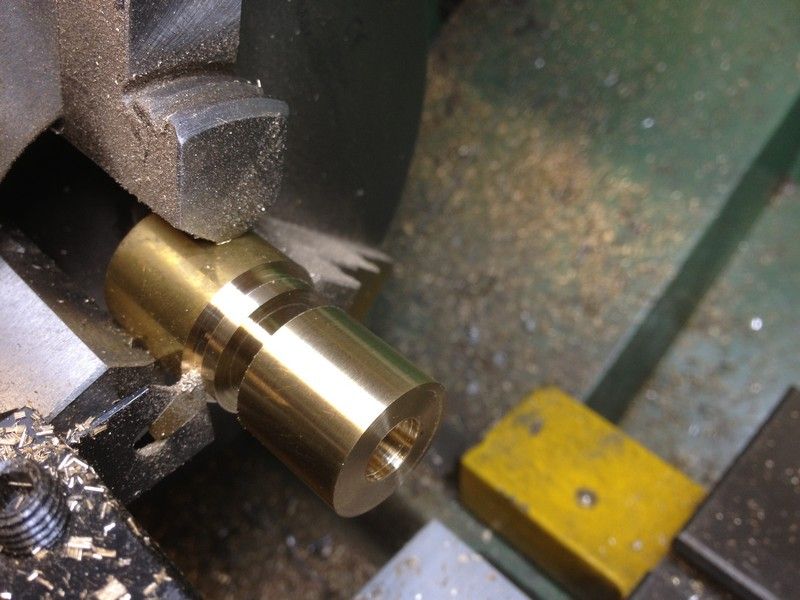
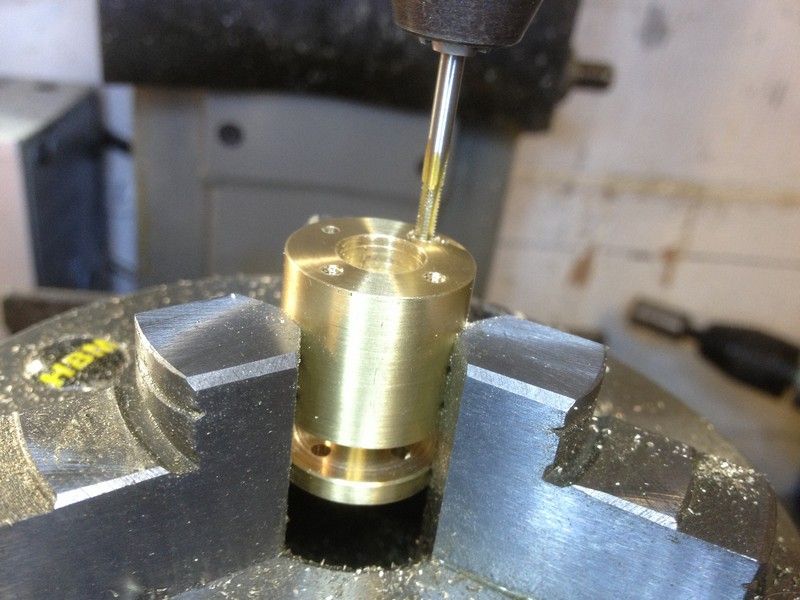
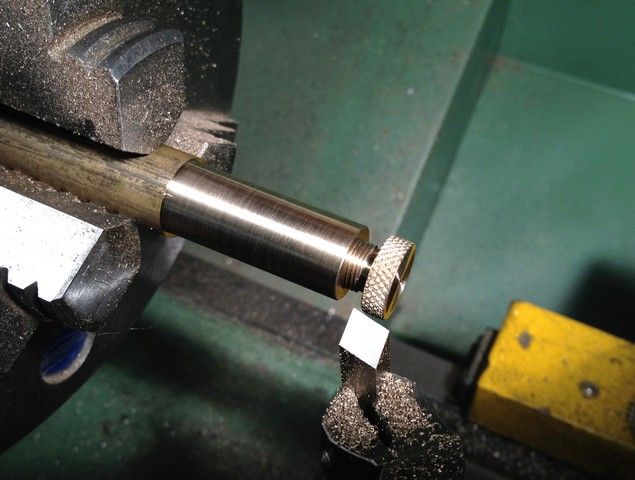
Next the oiler bodies. M16 brass stock turned down to 14mm for the length of the body including the thread. Bored out 8mm dia to a depth of 16mm, then internally threaded to a depth of 8mm with the homemade threading tool. At this point it occurred to me that it would be a good time to use the first body to face off the three caps, which had parting off nibs.
IMG_0479_zps89c3cb27.jpg


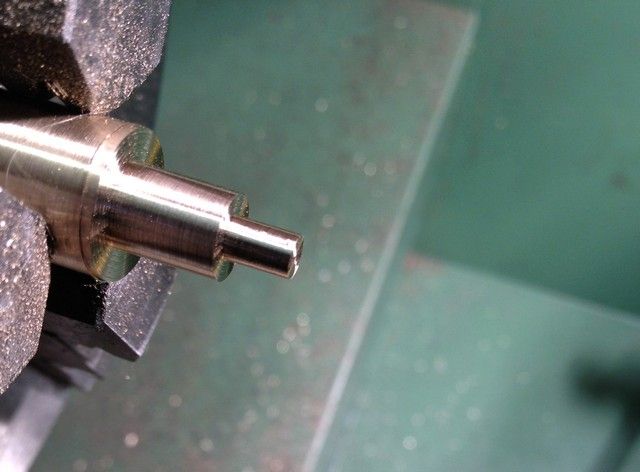
This was then parted off reversed in the chuck and the diameters reduced to 8 and 4mm respectively.
IMG_0483_zps0a246034.jpg


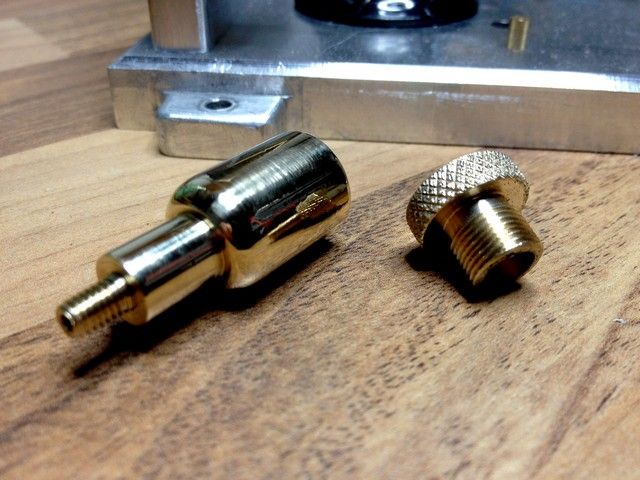
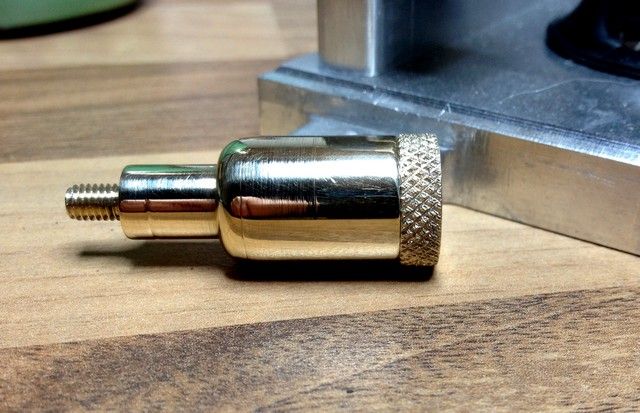
The drawing calls for a chamfer between the 14 and 8mm diameters but I wanted a nice smooth radius and realized that my plan of using the ball turning device would not be viable as it would not be able to approach close enough to the chuck to do the job. so had to resort to using the file, which turned out ok.
IMG_0489_zpsa81094d6.jpg


IMG_0492_zpsfbda2077.jpg


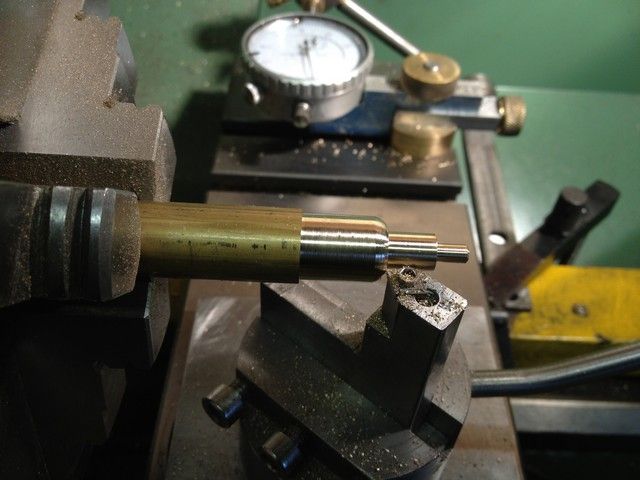
For the next couple I reversed the process so that I could use the ball turner for the radius.
IMG_0494_zpsd477ecea.jpg


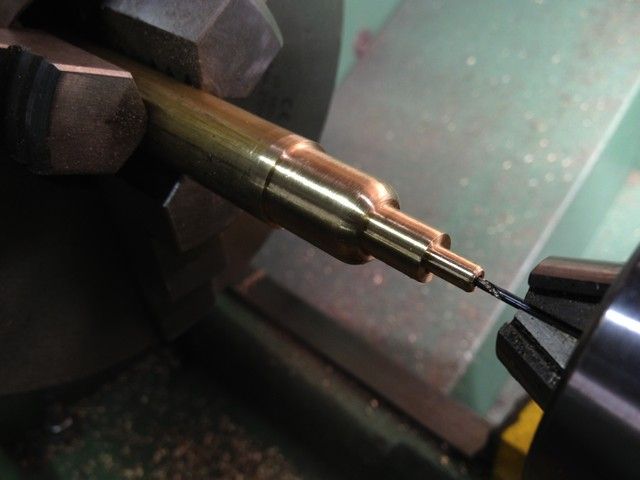
And could also drill the 1.5 mm oil hole part way through and join it up to the oil reservoir later.
IMG_0496_zpse862dbde.jpg


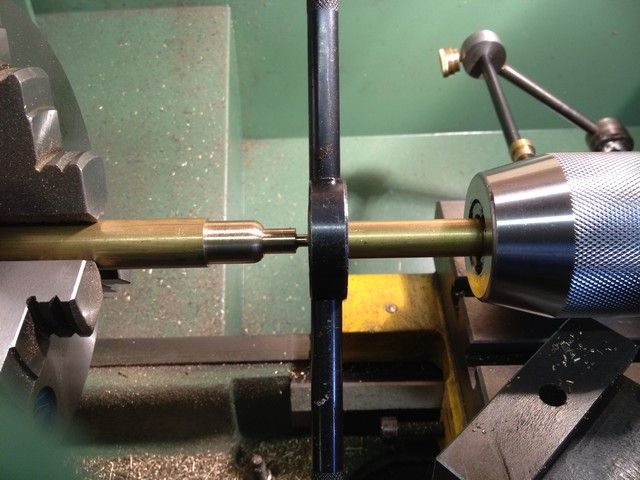
This was also a good point to tap the 4mm thread using a piece of flat brass stock in the chuck to keep the die square.

I also ground a tiny 1mm wide parting tool to relieve the unthreaded part adjacent to the shoulder. No pic.
IMG_0498_zpscf6e50b5.jpg


Three oiler’s complete.

IMG_0508_zps09829ea0.jpg


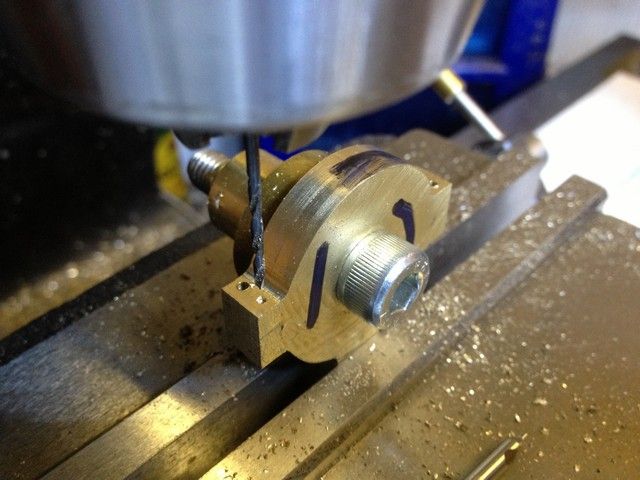
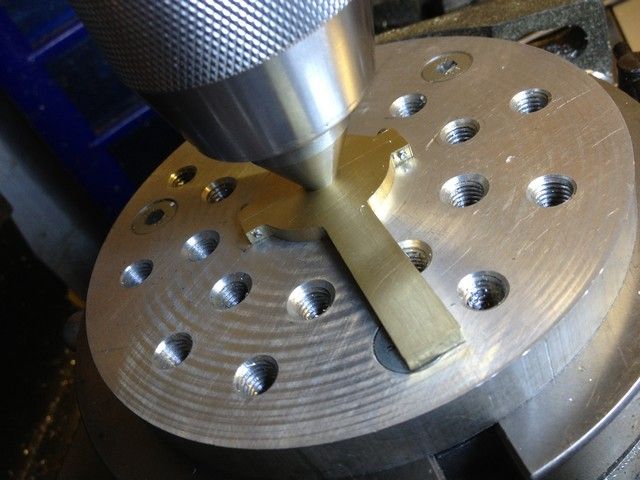
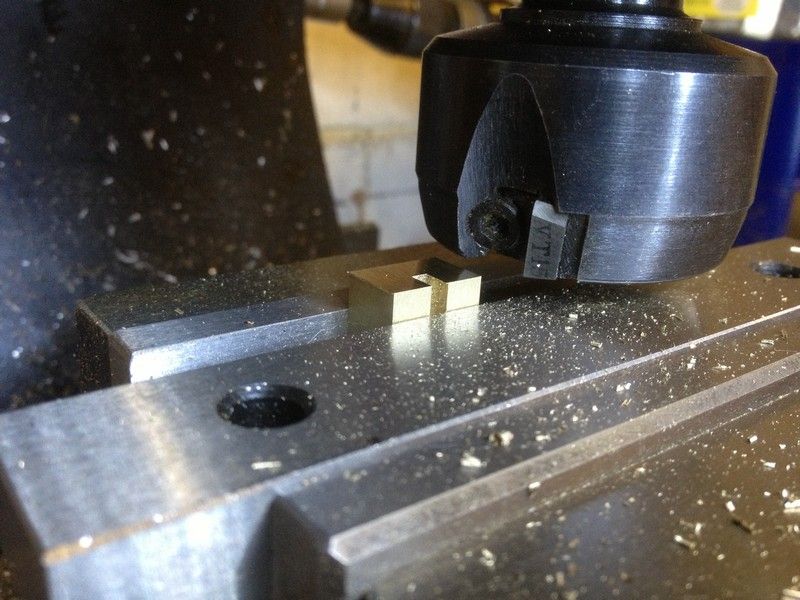
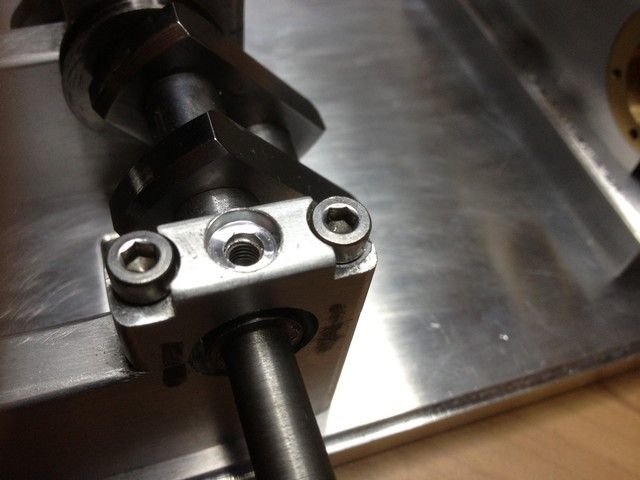
Next step was to drill and tap the crankshaft bearing housings to accept the oilers. First they were drilled 2mm with the bearings in place for the oil hole. Then the bearing was removed for drilling & tapping to M4. The cap was then recessed with a 4mm endmill to allow 1mm of the oiler to protrude through to act as a bearing retainer.
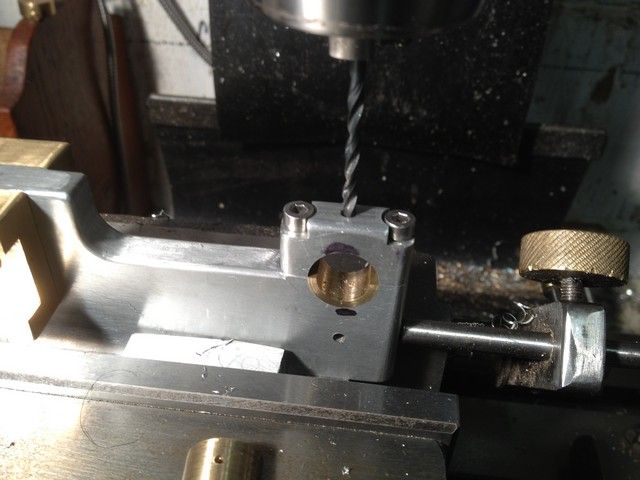
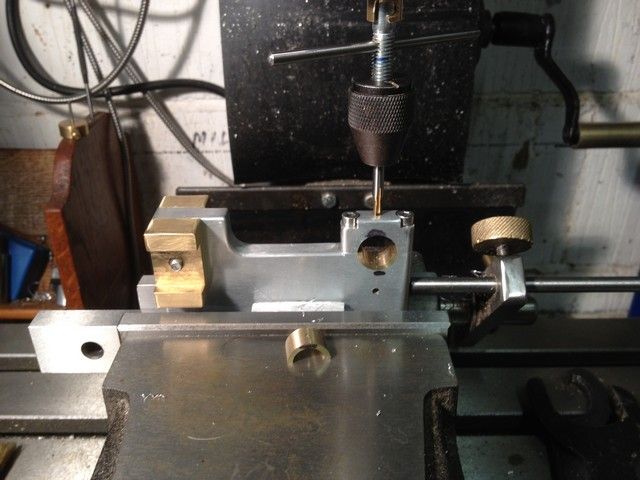
IMG_0510_zpsb2440a3b.jpg


IMG_0512_zpsa002a700.jpg


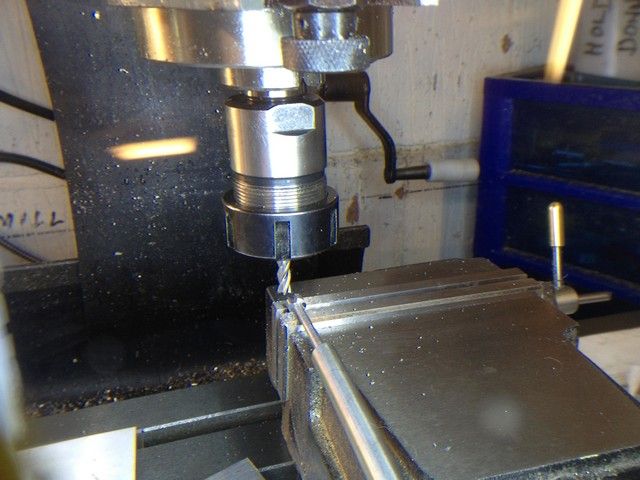
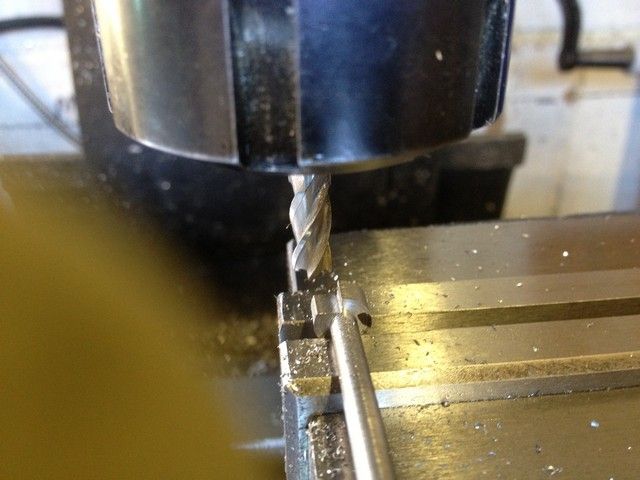
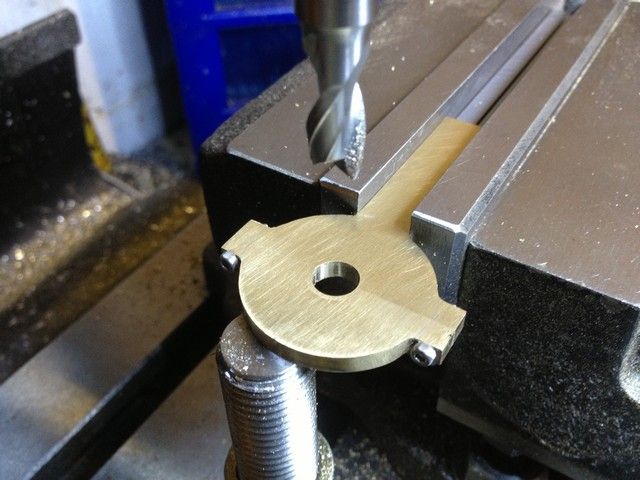
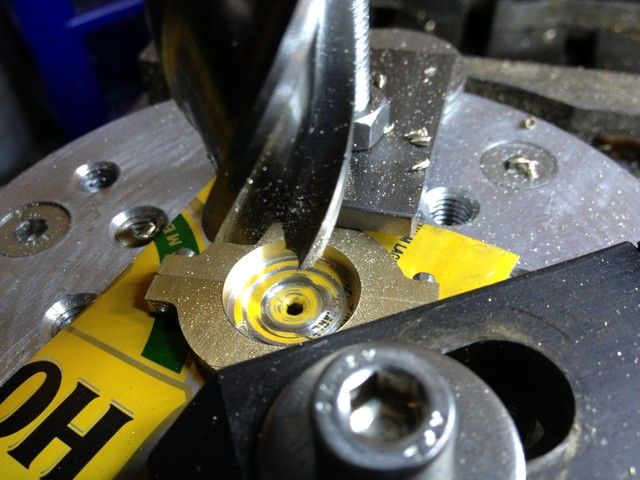
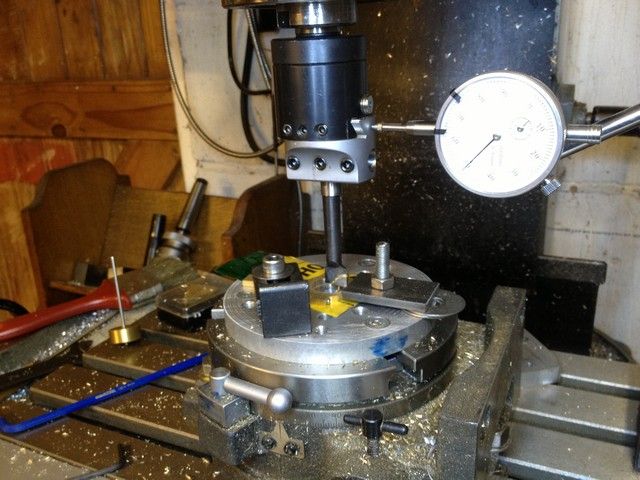
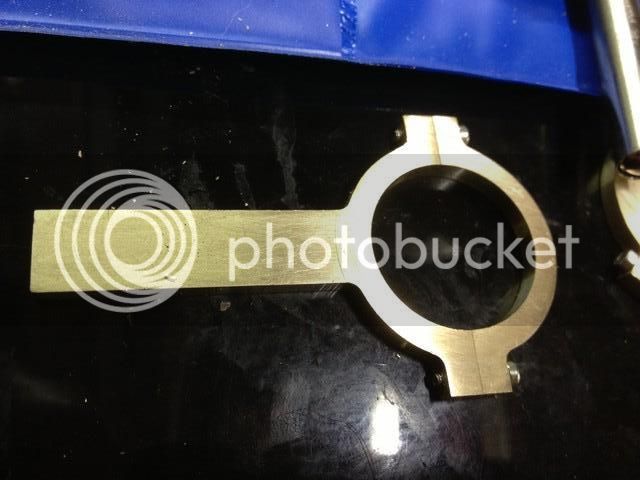
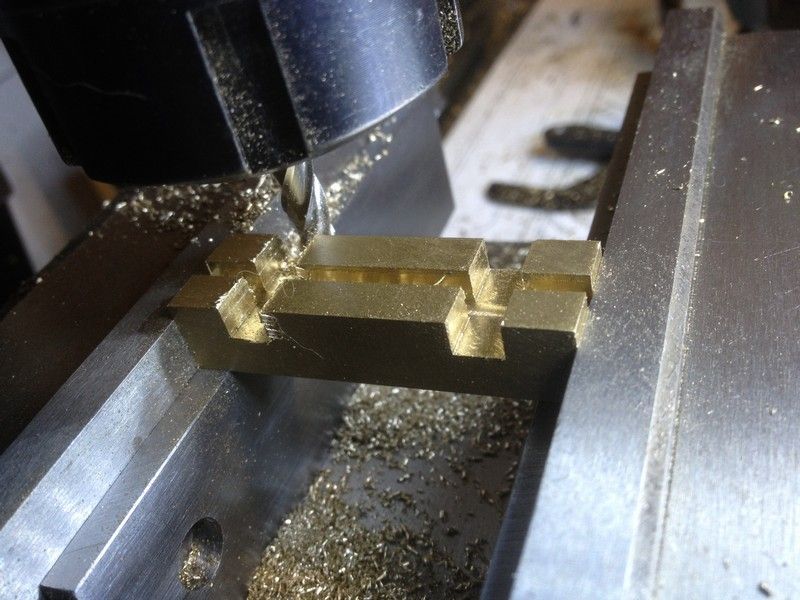
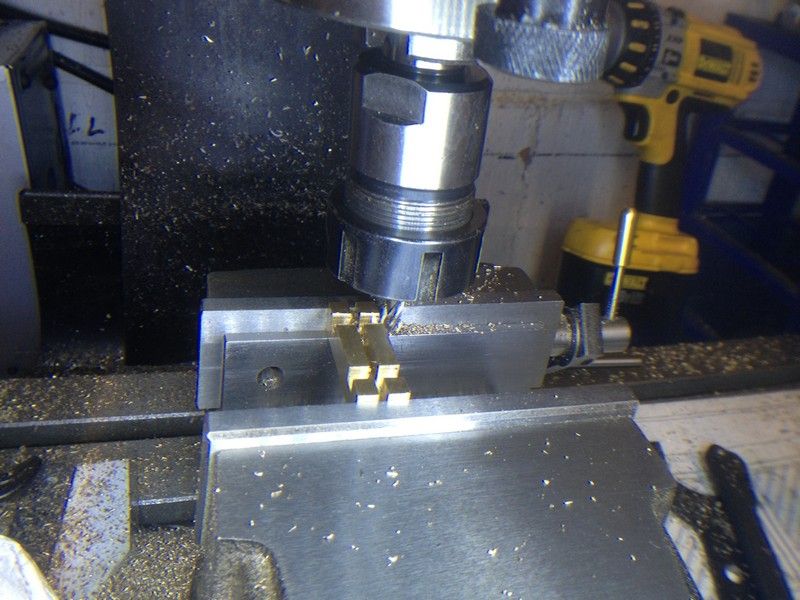
The bearings were then set up as pictured and a 4mm slot milled in the top of each across the oil hole.
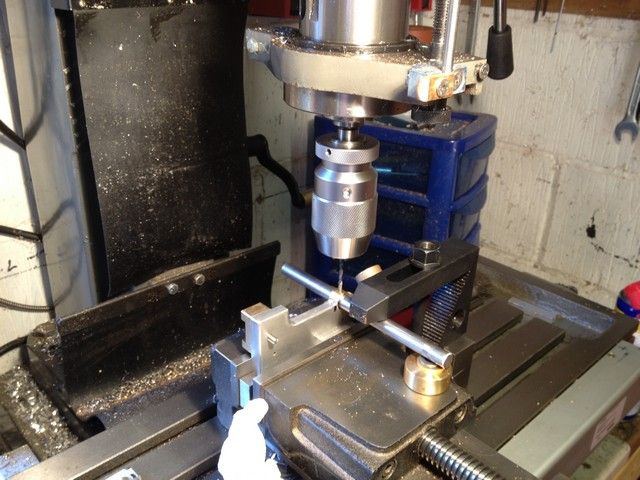
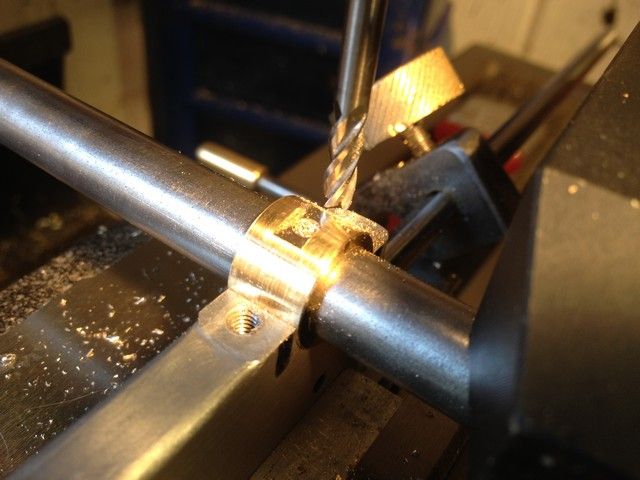
IMG_0515_zps069571c2.jpg


IMG_0517_zps7f9dd768.jpg


Assembly ready for the oiler to screw in.
IMG_0523_zps21edb6e2.jpg


Having found a 150mm length of 78mm dia bronze tube I bought some years ago to make a primary shaft bearing for my old Mini Marcos, I decided to make the small flywheel outer ring from it using the same method as Stew.

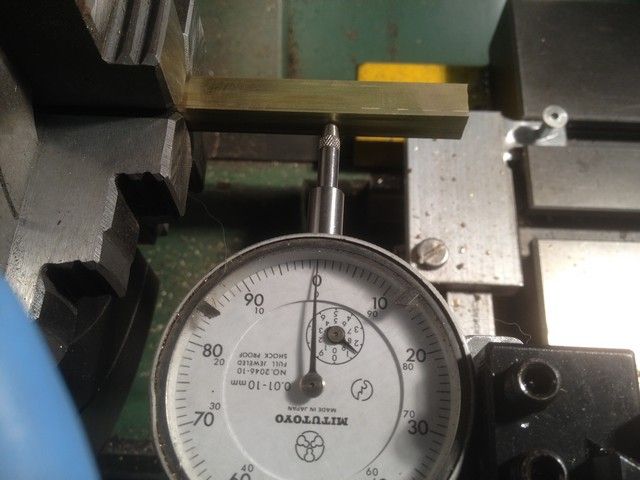
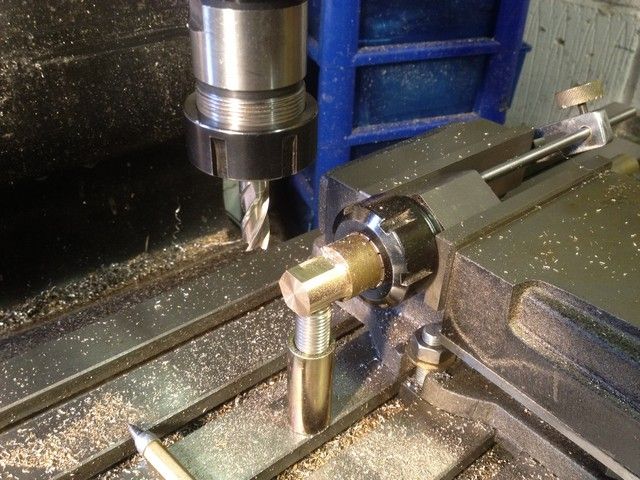
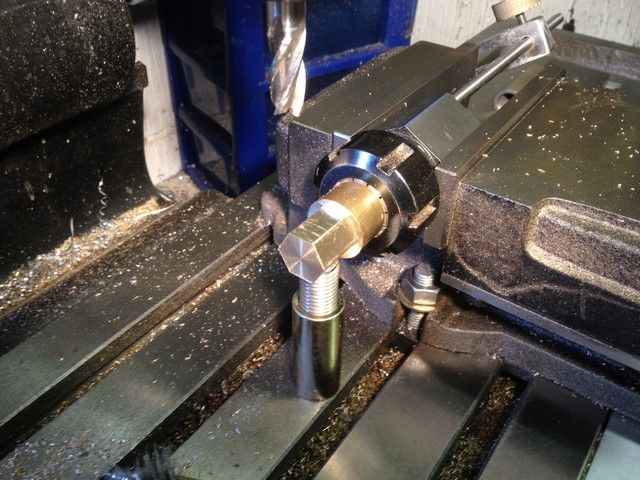
Starting on the centre I took a short 25mm piece of brass, faced one end, put it in the Hex collet chuck and into the mill vice using the backstop for depth control. I then setup the Dro for length & depth of cut and put a homemade jack under the work for additional support, then started milling the hex.
IMG_0526_zps1eee5bb0.jpg


IMG_0528_zpsfb3b7da3.jpg


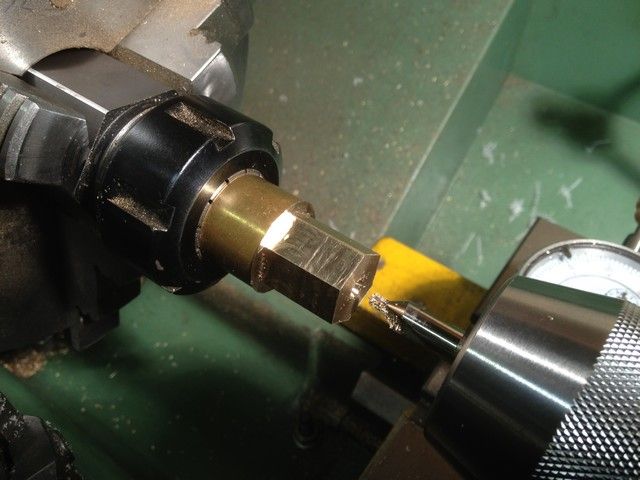
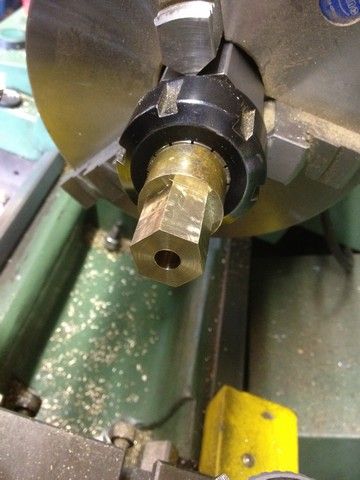
I then took it to the lathe and put it in the chuck, checked if it was running square, centre drilled and drilled it out to 7mm. It would later be bored & reamed to 8mm
IMG_0529_zpscc7ba1cf.jpg


IMG_0532_zps92b304c4.jpg


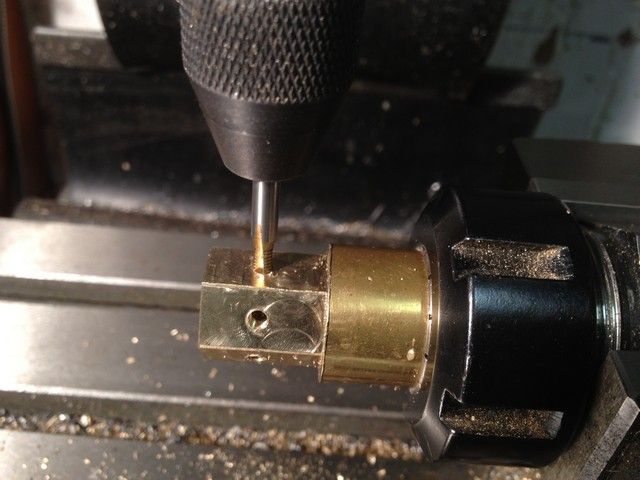
It was then back to the mill to drill & tap the 5mm holes, giving each a slight countersink to ensure good contact with the spoke shoulders.
IMG_0540_zps4894753b.jpg


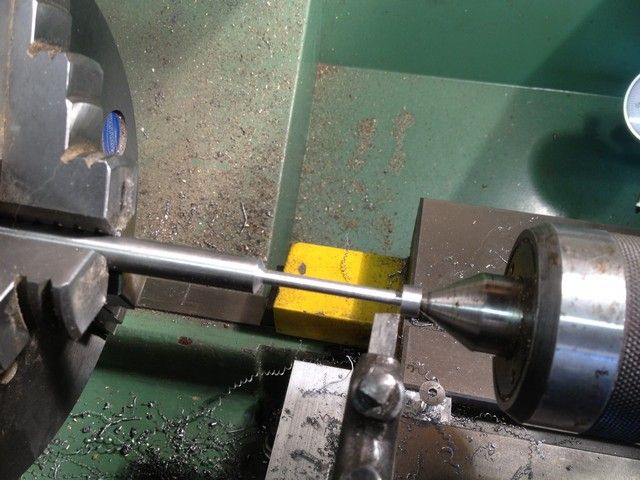
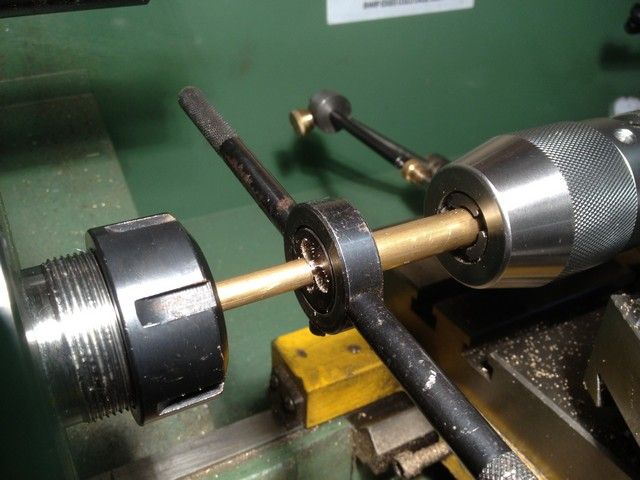
Now for the six spokes, so back to the lathe, a length of 8mm stock in the collet chuck and turn down each one for a 5mm thread using a supported die.
IMG_0543_zps3ec0b350.jpg


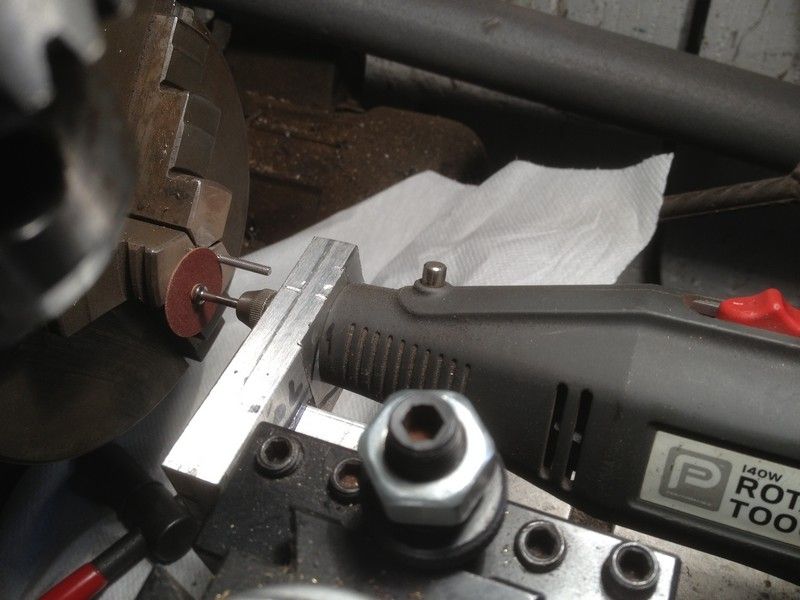
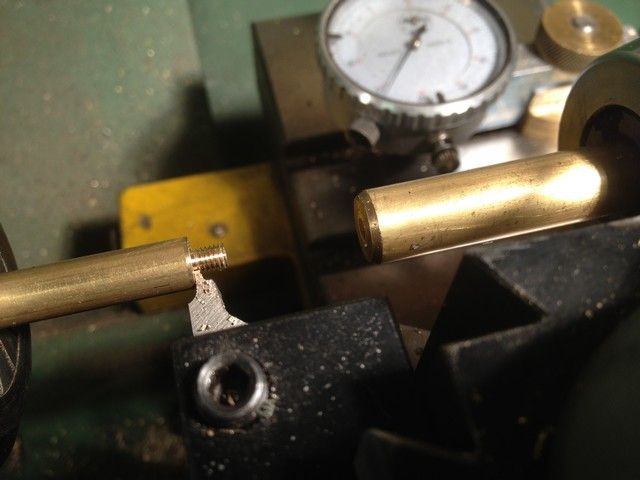
Using the tool I ground earlier I relieved the area where the thread met the shoulder to ensure full contact.
IMG_0544_zps4e6f09ce.jpg


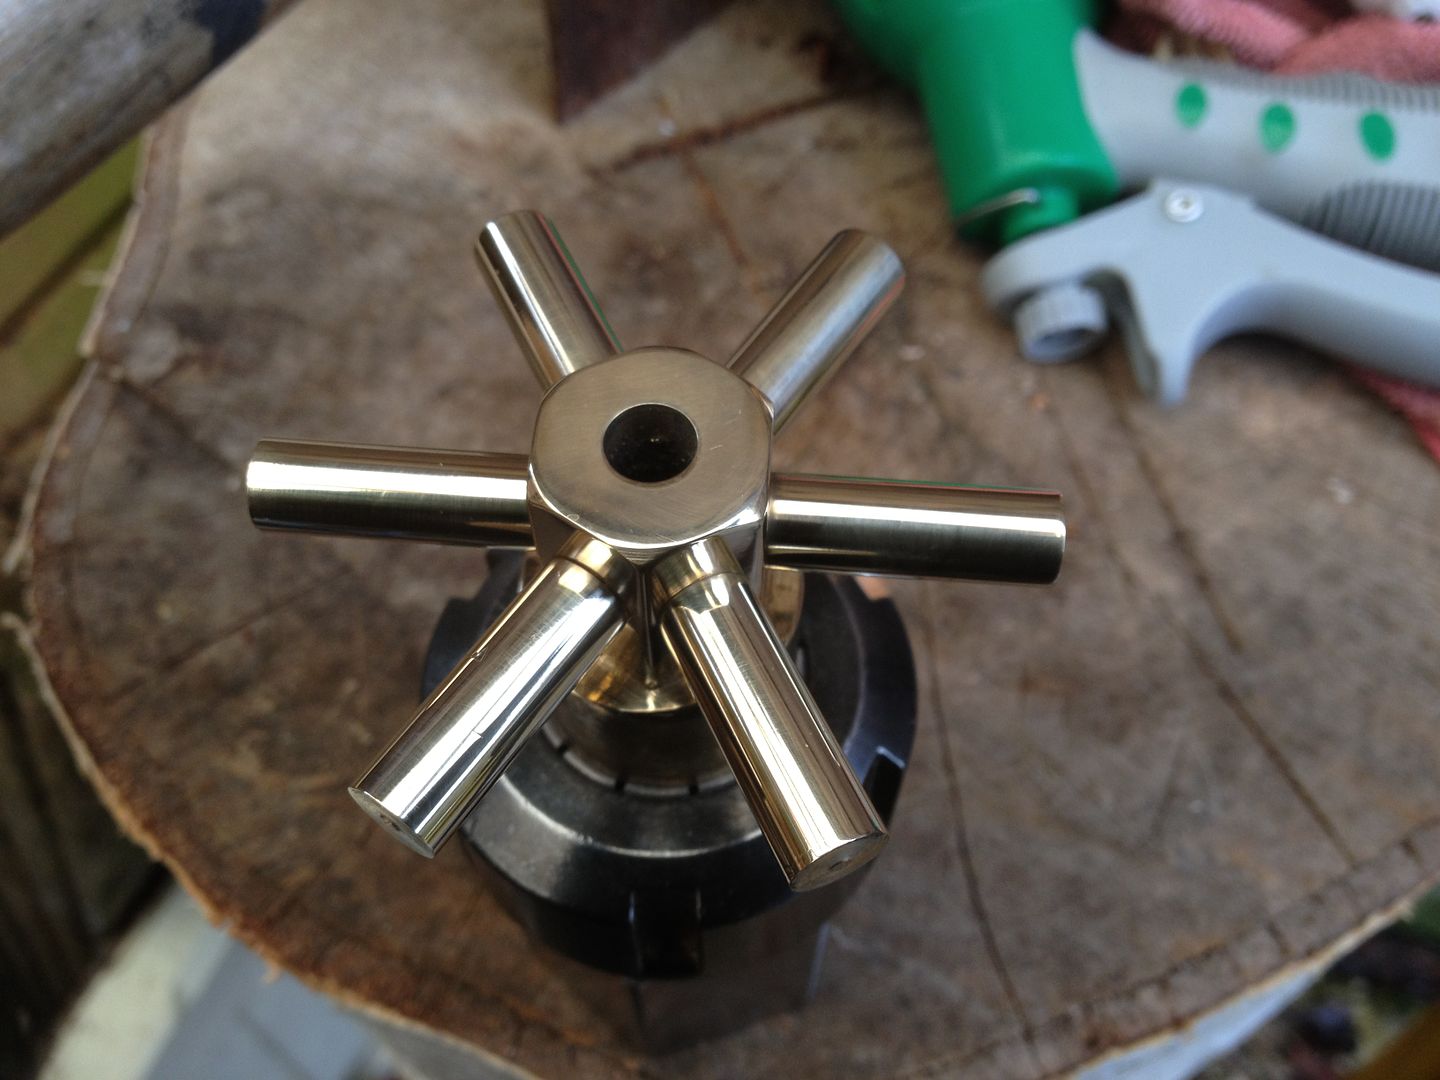
Each one was then polished with 1000 W&D and parted off to length allowing a few mm for turning, and this is the finished assy.
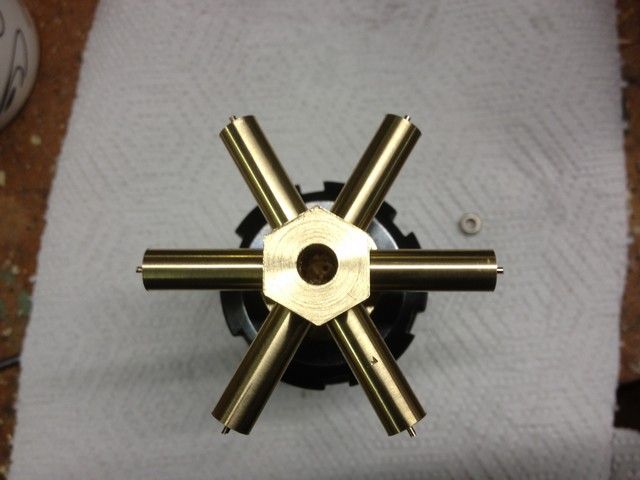
IMG_0547_zps7032d1e5.jpg


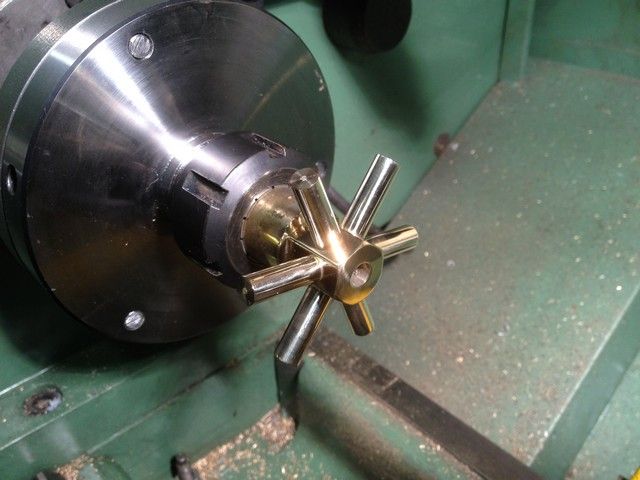
This seemed like a good time to polish the centre while it was still held in the collet chuck and while I was at it I found a chunk of ally, tapered the end and tapped it to hold the spokes whilst being polished, otherwise they would end up in some dark corner never to be found again.
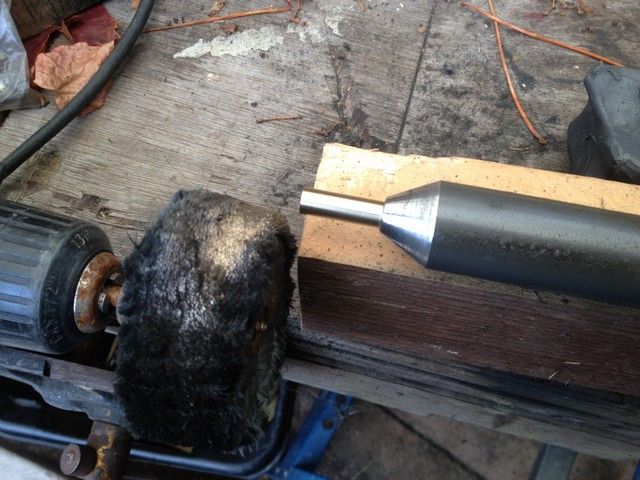
IMG_0548_zps6282acbd.jpg


Polishing done.

IMG_0550_zps2cafc336.jpg


All spokes locktited in place

IMG_0552_zps85ff3908.jpg


Now for the outer rim. I took my dirty old chunk of bronze and put it in the three jaw, and selected a low speed to check it turned without a wobble, increased the speed and faced it off in small increments. I was prepared to make something to support it with the tailstock but it was not necessary and it turned beautifully
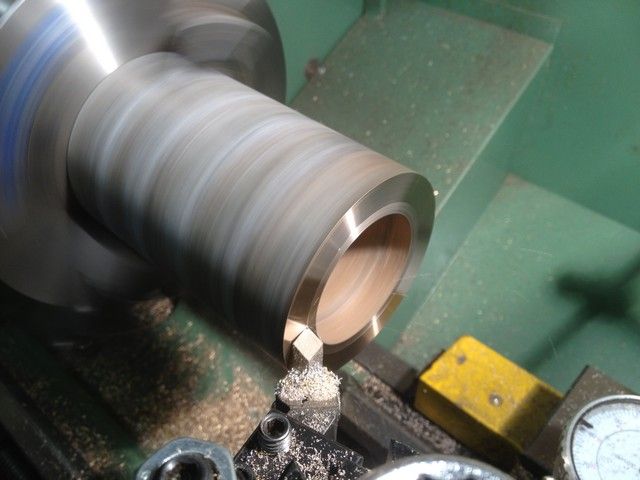
IMG_0558_zpsd8bd280f.jpg


I then cleaned up the outside face for a distance of just over the required 20mm
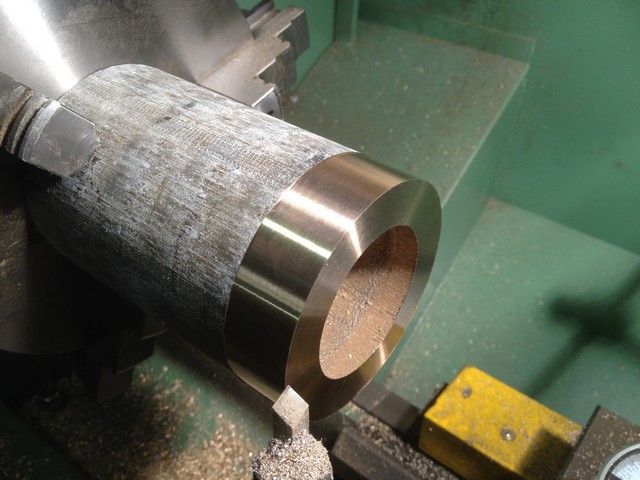
IMG_0559_zps5916b6a9.jpg


Changing to a boring tool, I bored the inside to 56mm for the same distance as the outside. I then took another 1mm out a distance of 14mm to give an inside dia of 58mm The 8mm spokes sit against the 56mm face and are held in place with locktite. Finally the edges were given a small 45 deg chamfer.
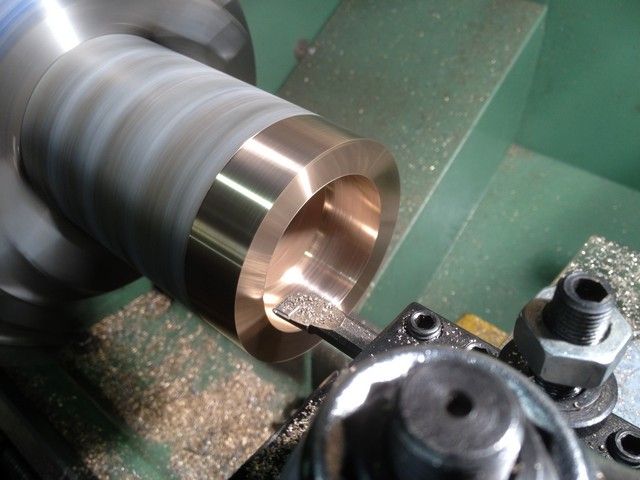
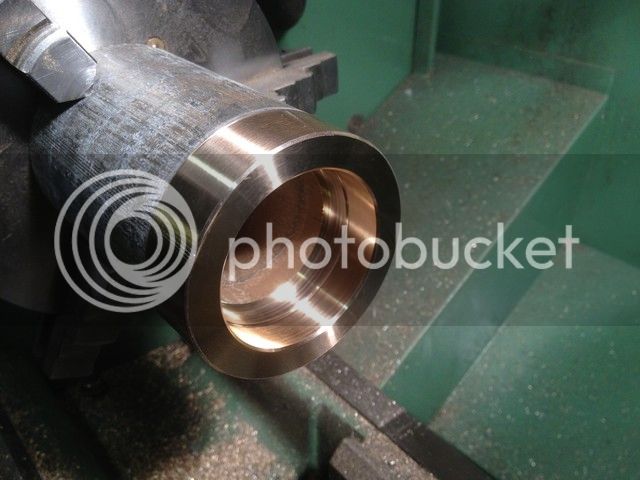
IMG_0563_zpsb9eb0521.jpg


IMG_0564_zpsad6bf4cb.jpg


The outer ring was then parted off and reversed in the chuck to face up the parted side and the edges given the same chamfer.
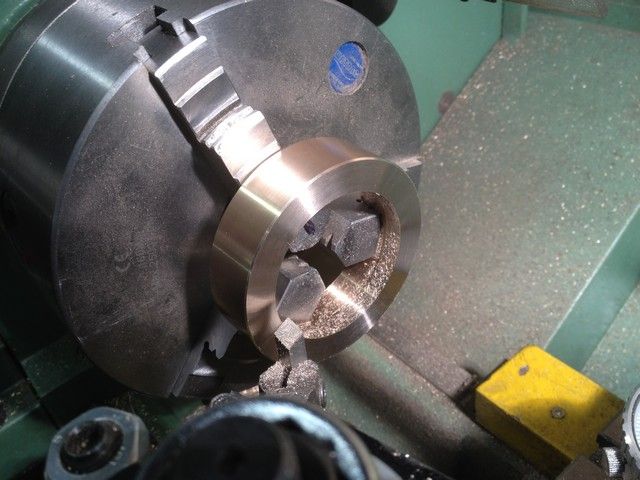
IMG_0565_zps8640d8cd.jpg


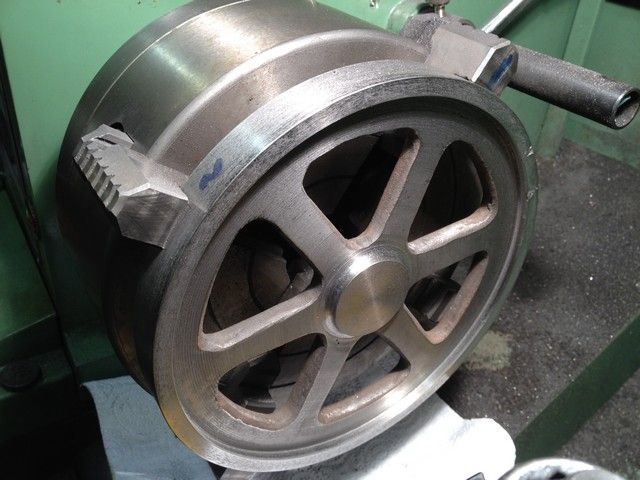
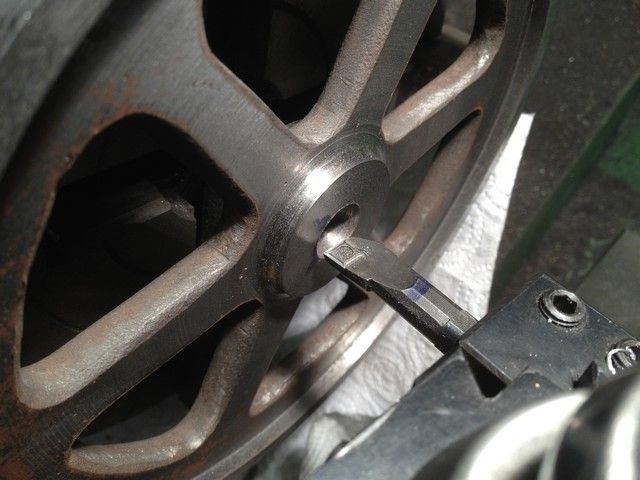
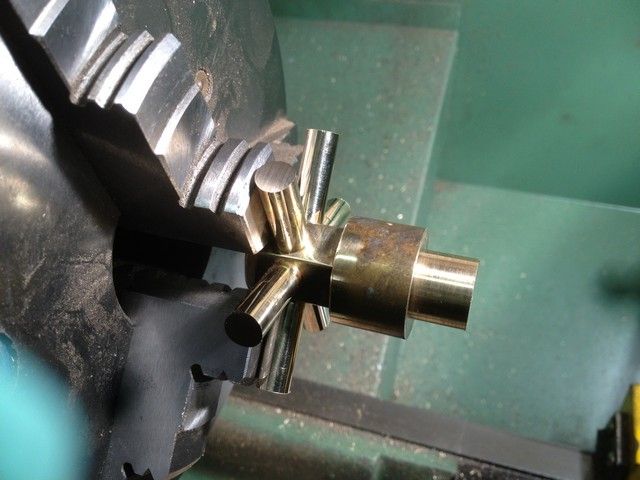
Turning my attention back to the spokes, I set it up in the 3 jaw and turned the spokes down to within 2mm of final dia and at the same time bored the centre out to 7.25mm.
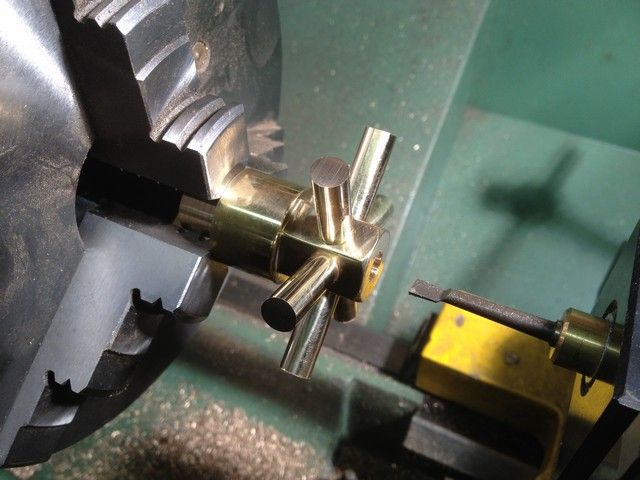
IMG_0555_zps84db5bbd.jpg


It would have been nice to part it off at this stage, but the spokes wont allow that, so I reversed it, centre drilled and used the tailstock to support most of the parting cut and finished with a hacksaw. Then faced it.
IMG_0557_zpsecb0096d.jpg


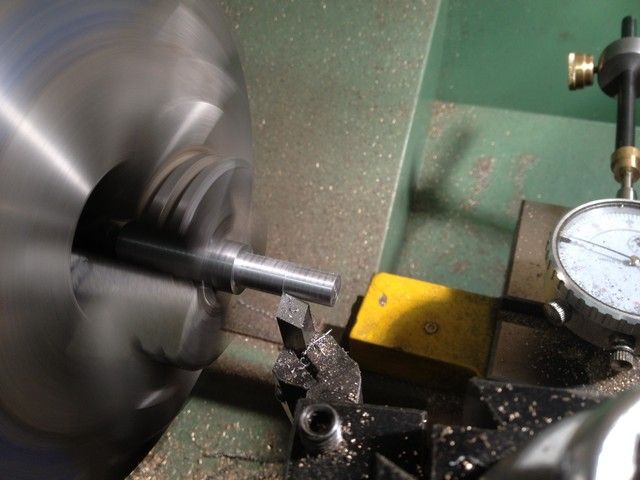
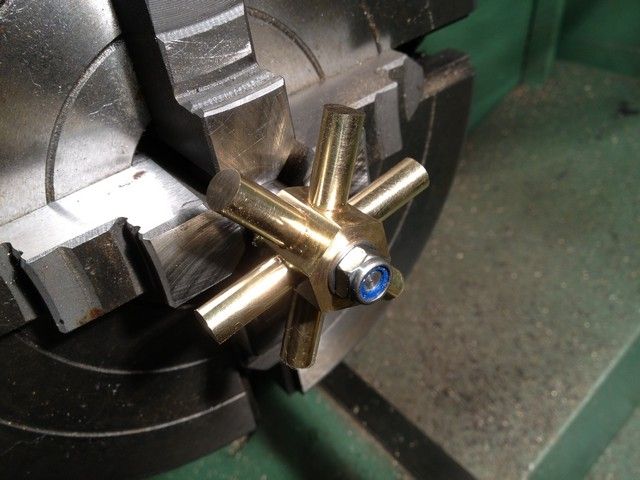
I then made a mandrel creeping up very carefully to 7.25mm dia. I was able to use the as yet unthreaded portion to check for fit as I progressed. Finally I threaded the end, and fitted the hub, and it ran true.
IMG_0569_zpsa36d424e.jpg


IMG_0572_zps4a69afe3.jpg


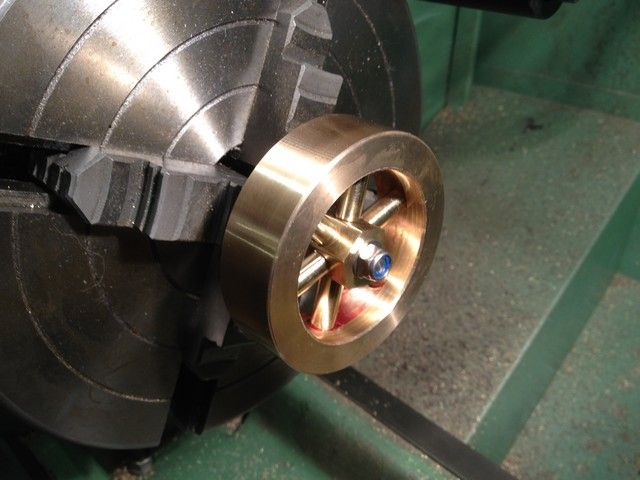
The spokes were then turned with the utmost care until the outer ring fitted perfectly. I had not used any lube during the operations but cleaned the mating surfaces with thinners just to be sure the bond would be good. Applied locktite and left it overnight to cook.

IMG_0573_zpsbcfef52a.jpg


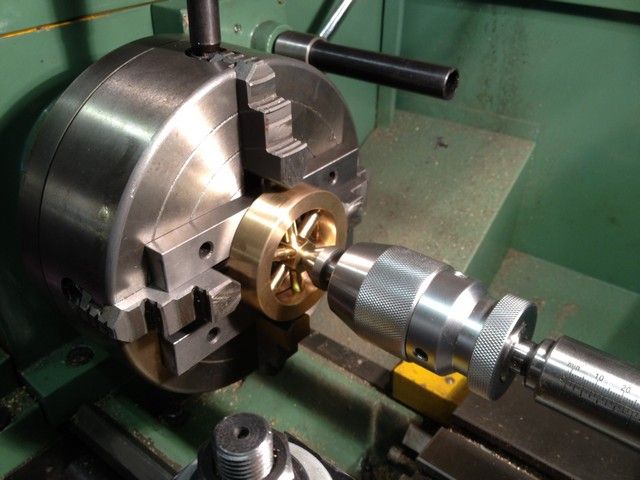
The following day I removed it from the mandrel reversed it and set it in the 4 jaw, using parallels and a centre cone to get it roughly positioned.
IMG_0574_zpsb165a517.jpg


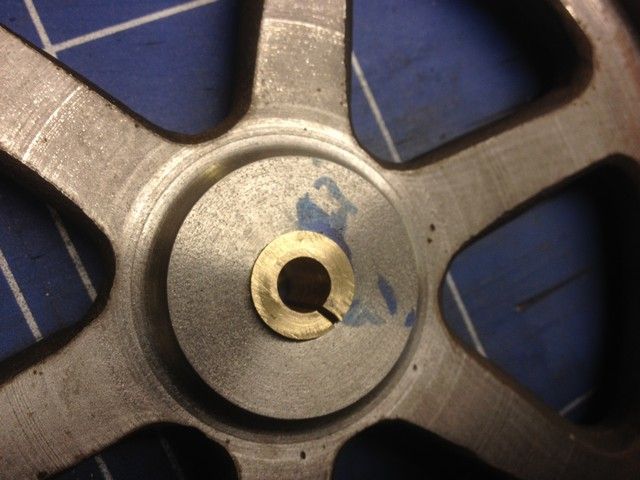
I then cut a ring of ally from a beer can, wrapped it around the work and let each jaw kiss the ally. (No pics too involved) removed the tailstock cone, and then spent some time making sure it was dead on centre. I then bored the centre to just under 8mm then reamed the remainder. Next the conrods.
 
My word Les you've made a cracking job of that flywheel

Stew
 
Hi Stew

Thanks for looking in and again for your kind remark, although all the credit must go to you for the methodology, it certainly worked a treat.

Regards Les ;D
 
Having taken a long break from the workshop, which amounts to most of 2013, to do various jobs on the domestic front, I am now getting around to catching up on the parts I had completed and not written up, and continuing with the parts that are as yet still living inside the bits of metal still lying around gathering dust.

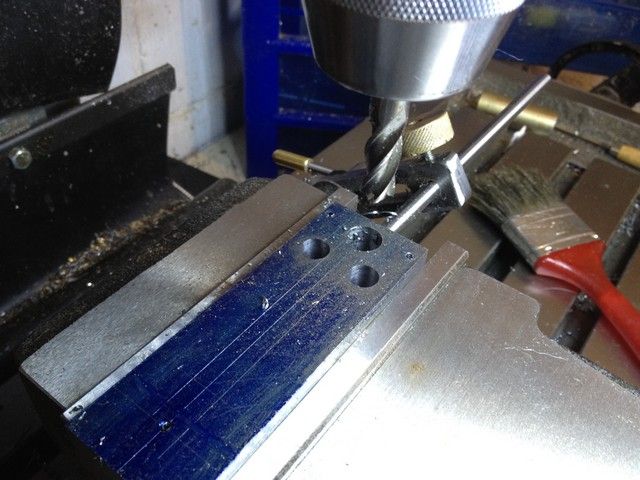
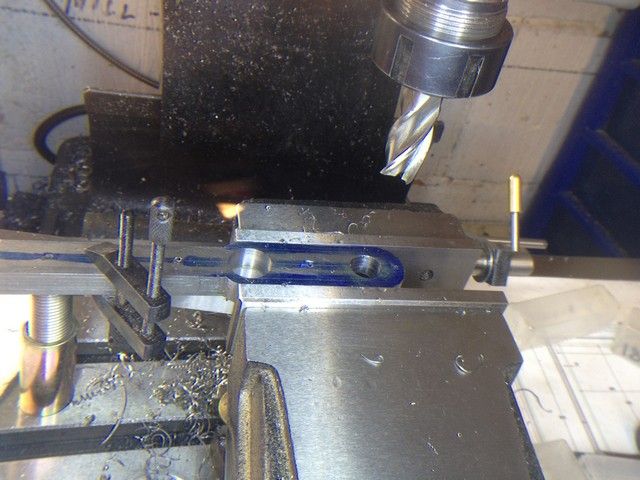
Two lengths of 10 x 34mm plate were cut squared and pinned together using 3 roll pins. The holes were countersunk so that the pins were below each plate surface.
IMG_0577_zps9a2ef32d.jpg


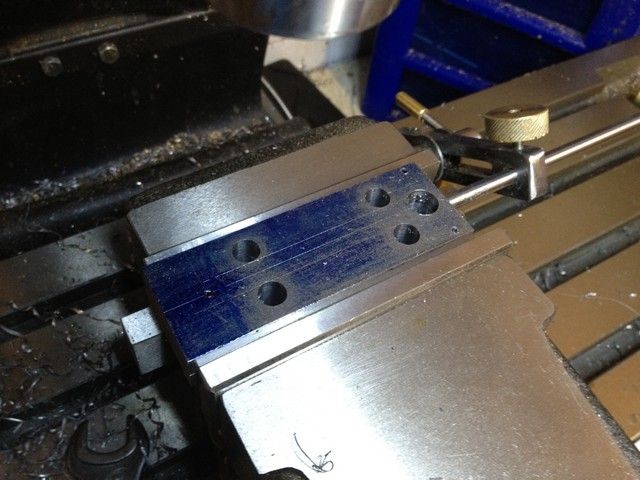
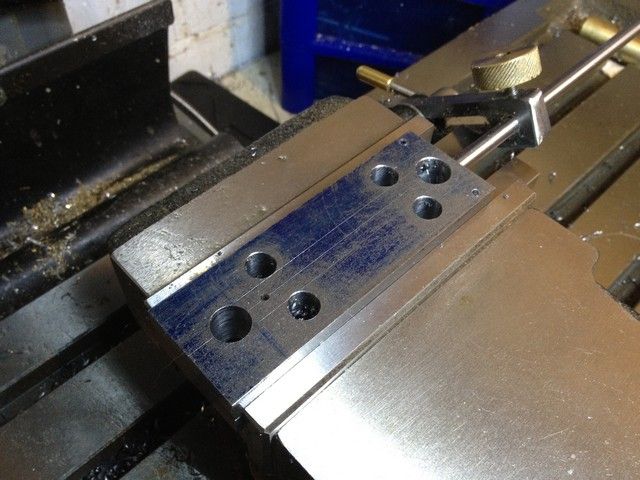
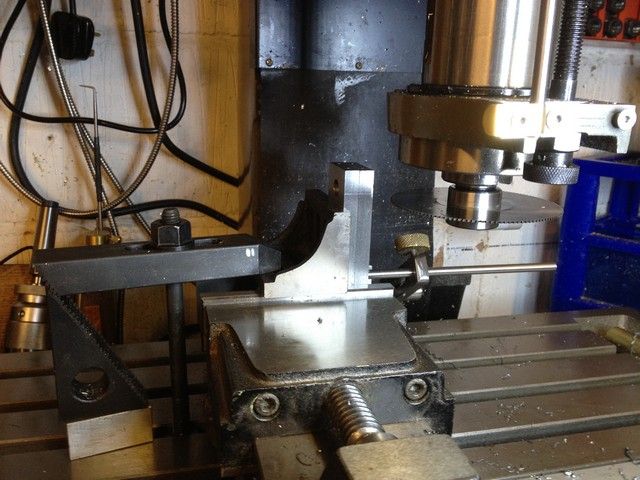
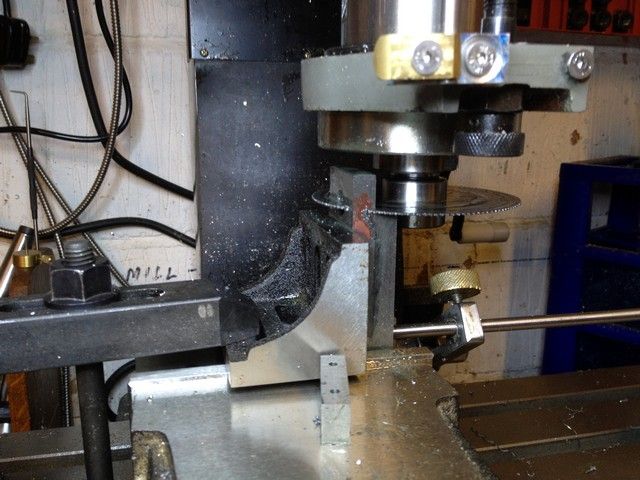
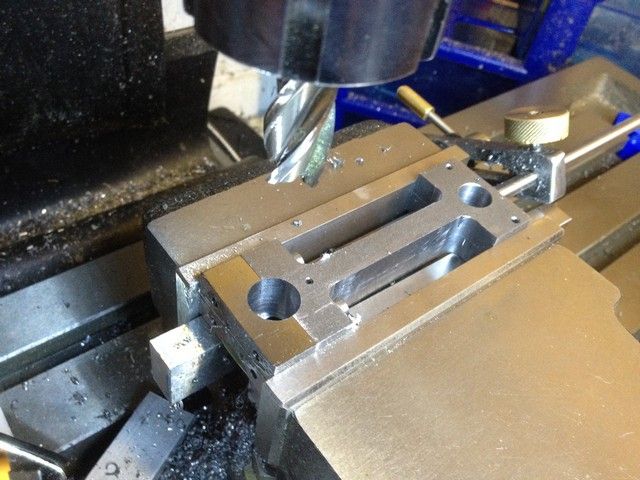
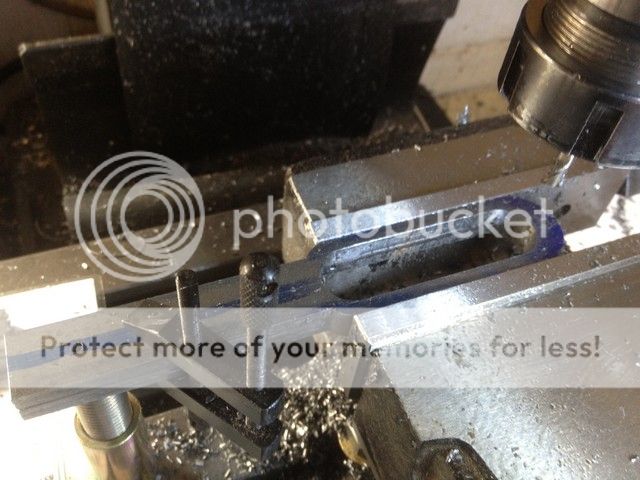
The pair of plates were then blued, marked up, and placed in the mill vice to be coordinate drilled using the mill dro, starting at the small end, as the big end has to be split faced and screwed together before boring out to size. As you can see holes were drilled at the radius points each end, so that the scrap could be milled out ready for final finishing.

IMG_0578_zpsa986777f.jpg


IMG_0579_zps8a795cc9.jpg

(Img

IMG_0581_zps0063f581.jpg


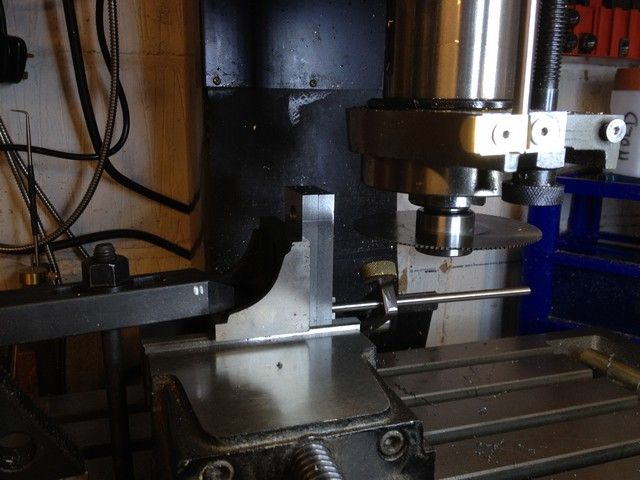
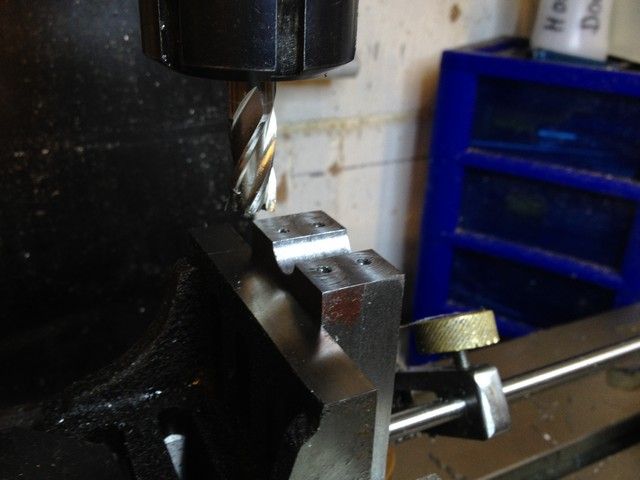
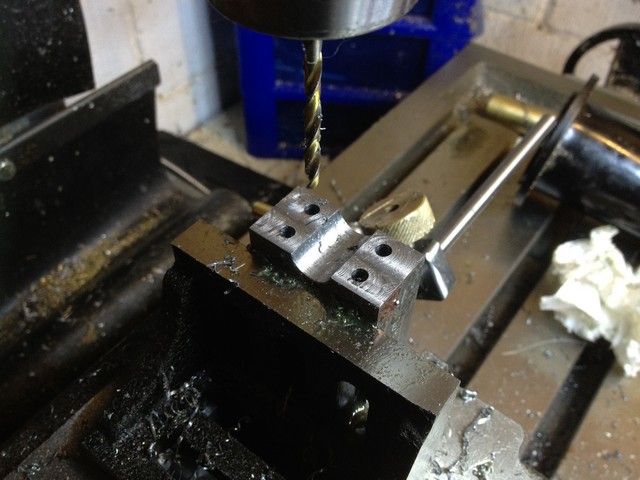
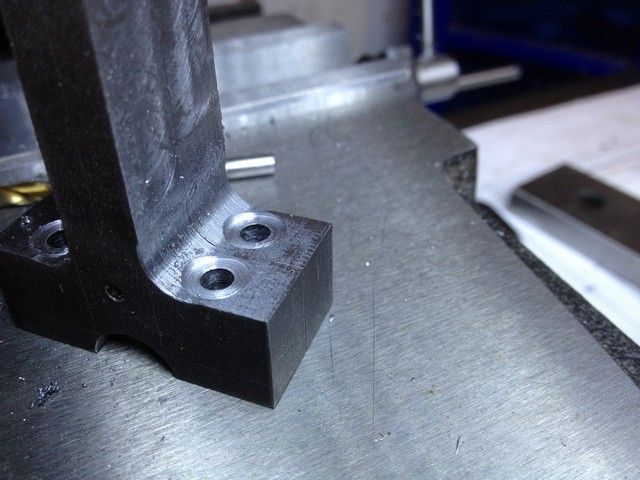
Next I set the pair vertically in the vice for drilling the big end bolt holes, and splitting the big end caps from the rods.
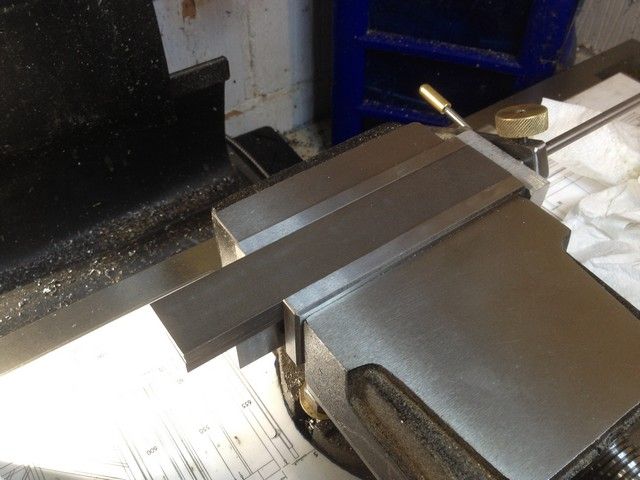
Before doing so they were all marked so that they could be relocated in the same place from which they were cut.


IMG_0587_zps3675b1ac.jpg


IMG_0588_zps581c31e3.jpg


IMG_0589_zps942e99a7.jpg


After cutting, the rods and caps were lightly faced and the rods drilled out for clearance. (The thread being in the caps)

IMG_0590_zpse5e8b5ff.jpg


IMG_0592_zps8348477c.jpg


The pair were then transferred to the saw for cutting, as the next step before returning them to the vice for milling out the bulk of the waste.

IMG_0622_zpsb381ca07.jpg


IMG_0624_zps39508fd3.jpg


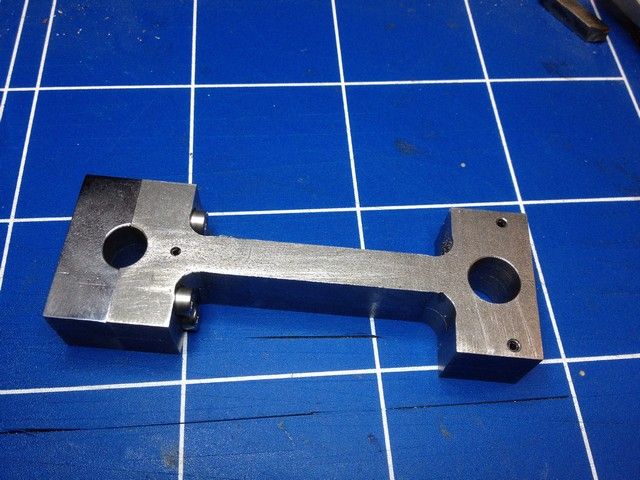
And this is what they look like, pins removed, and then paired up again for the next operation.

IMG_0626_zps0ea353fa.jpg


IMG_0627_zps8fa7c7b3.jpg


Placing them back in the vice again, this time in the other plane, the waist and inside ends of each rod are milled to the finished size.


IMG_0628_zpscc269064.jpg


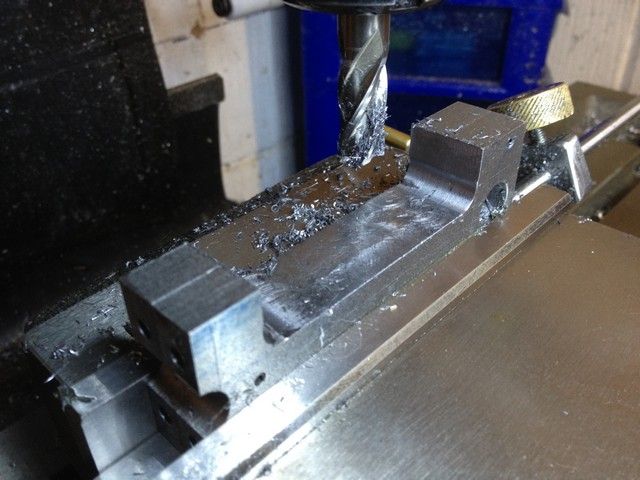
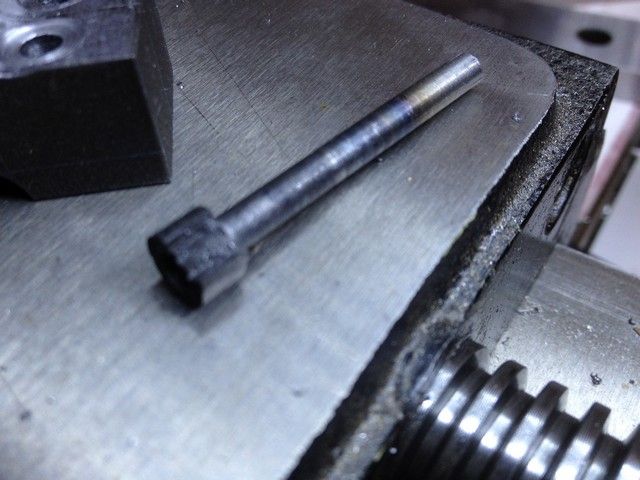
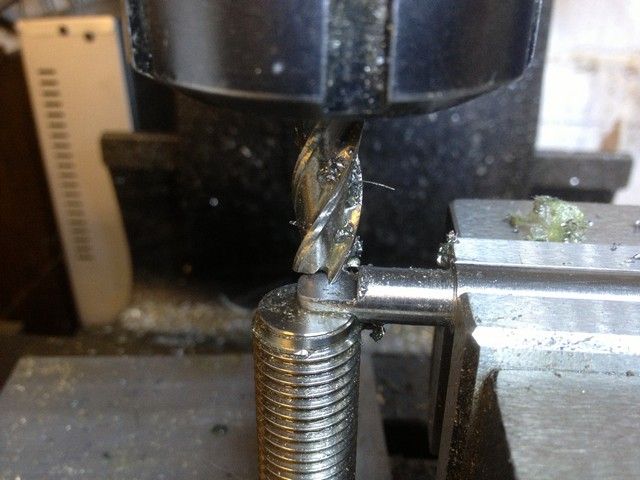
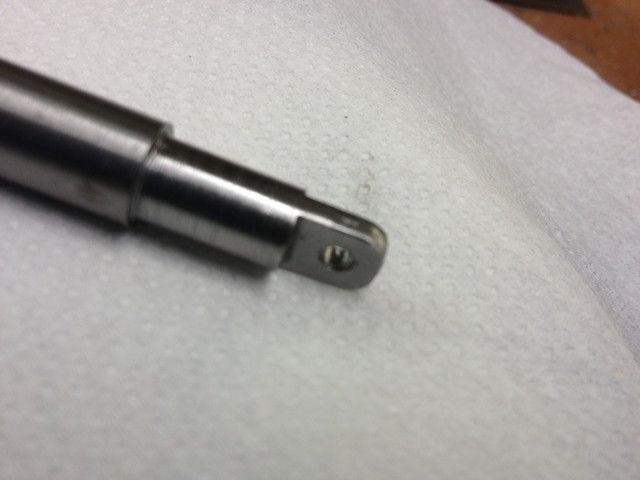
Because the big end bolts go in from the rod end, it is necessary to cut a flat surface into each big end radius, and for this a special tool has to be made to cut them from the underside, whilst applying the drive from the cap side. Unfortunately I missed the pictures from this operation, but did get some of making the tool for the purpose, one of which is scrap.

As it is many months since I made this tool the size details are a bit sketchy in my mind. But here goes.

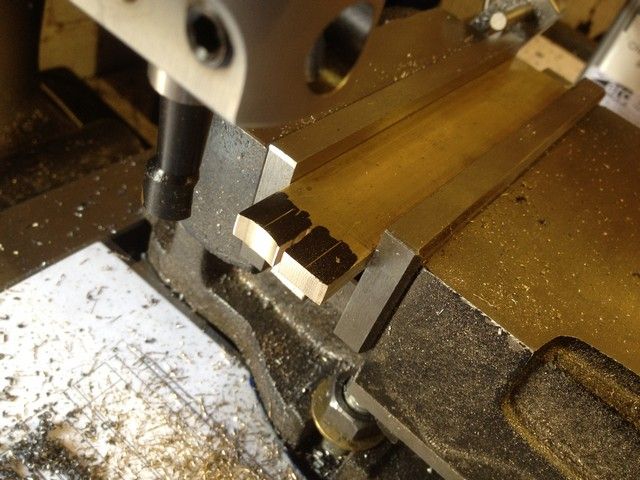
I used a length of 10mm silversteel (drillrod) and turned a 4mm shaft with a 8mm portion on the end, then milled and fettled a cutter shape on the shaft end of the 8mm portion, keeping in mind, the direction of cut. Then hardened it.

IMG_0649_zps82800abc.jpg


IMG_0650_zpseab7e7b9.jpg


IMG_0651_zps6e3cde29.jpg


IMG_0654_zps8a216c3b.jpg


I then placed the rods, big ends upwards into the mill vice, inserted the cutter from underneath through the 4mm hole and into the mill chuck and applied reverse pressure on the quill to make each cut, and this is the result of all the above blather.

IMG_0653_zps30d751d3.jpg


And here they are assembled and awaiting the next step, which is to bore the big end at the correct Centre to Centre distance from the small end, which should coincide with the split line.

IMG_0656_zpse564d98a.jpg


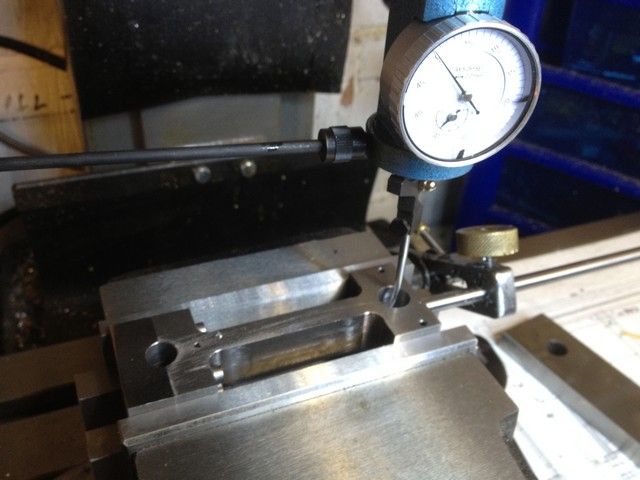
Back into the mill vice they go and the datum point for the DRO is double checked with a gauge

IMG_0657_zpse3870dad.jpg


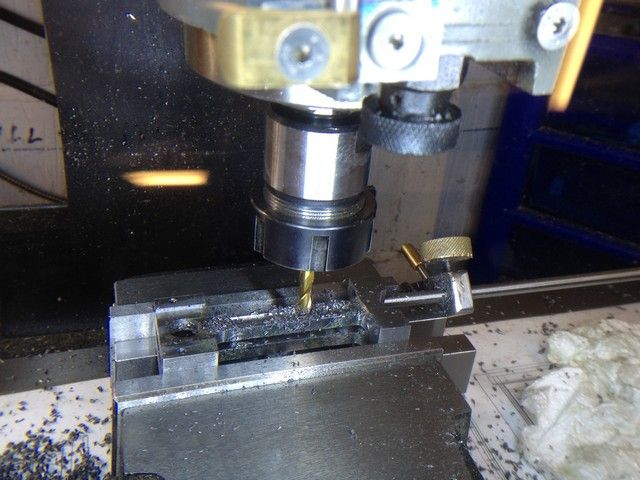
The big end is first milled out to 10mm, then 12mm, and bored out to the finished size of 16mm.

IMG_0659_zpsab3a835f.jpg


You will notice that both ends of the rod have remained the same width throughout and will continue to do so for as long as possible to facilitate holding.

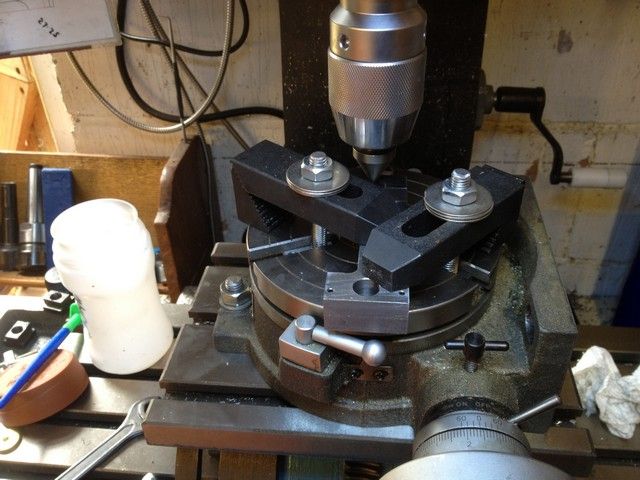
The unit was then transferred to the rotary table to give a 30mm radius to the big end caps. Unfortunately I only have one setup shot of this operation and none at all of the radiusing as when I get involved in a complicated setup, my brain overloads and I forget to get the pictures. “Poor old sod”

IMG_0666_zpsfa16f95f.jpg


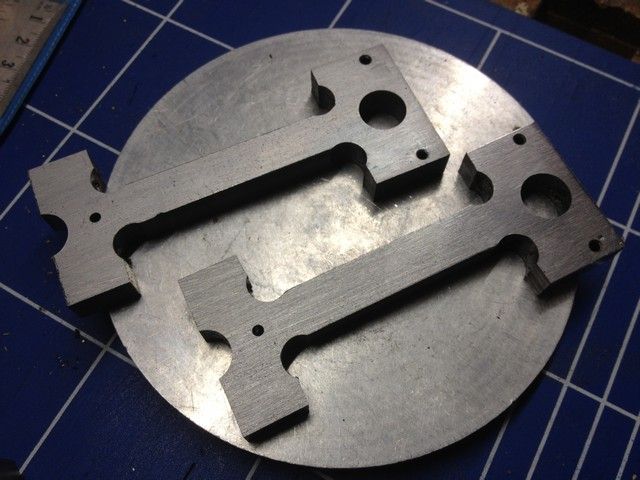
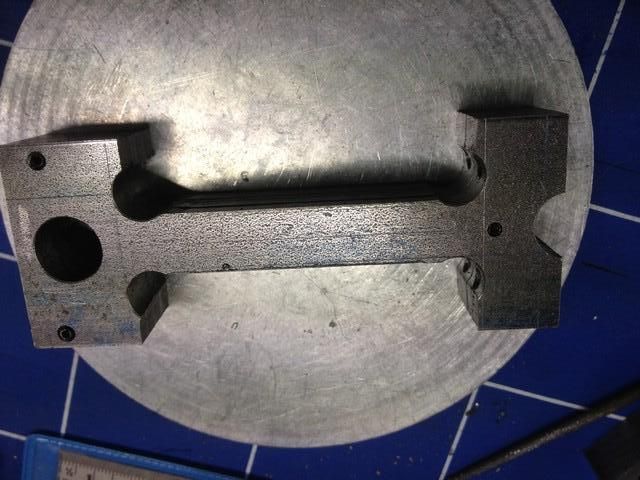
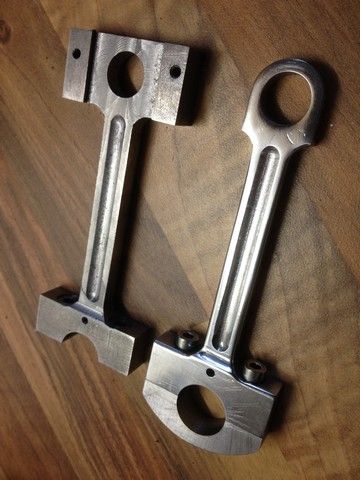
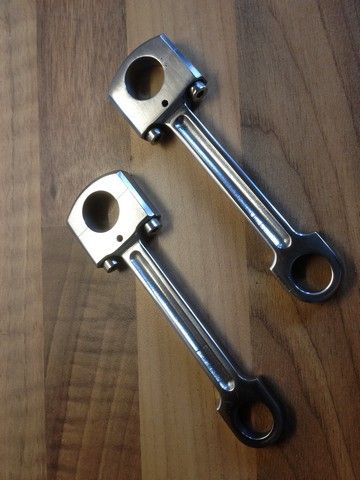
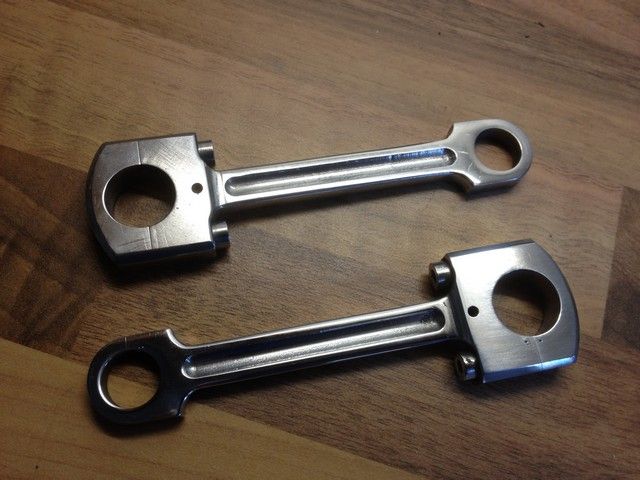
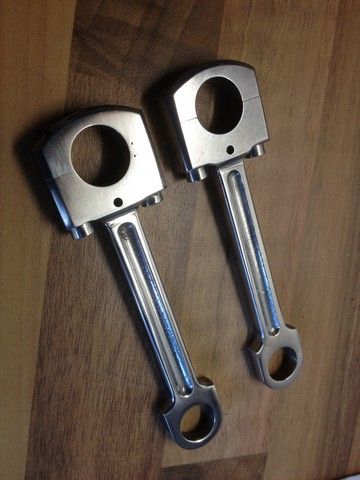
After the big end cap radiusing it was back to the vice to thin down the rods to 6mm except that is for the big end portion,which remains at 10mm, then mill a decorative recess into both sides of each rod using a 10mm ball nosed mill. Finally separating the rods and cutting off the small end ears, reducing the big end width, hand fettling to the final shape and polishing. It doesn’t take long to write, but it was a very slow and time consuming operation. I then lay down for a while to recover.

IMG_0668_zps840adf94.jpg


IMG_0669_zpse2c6f48a.jpg


IMG_0671_zps39540586.jpg


IMG_0672_zps9dff2131.jpg


IMG_0674_zps93c3493b.jpg


I am considering re-making the conrods again in Brass or stainless, but will leave that thought on the back burner to cook for a while.

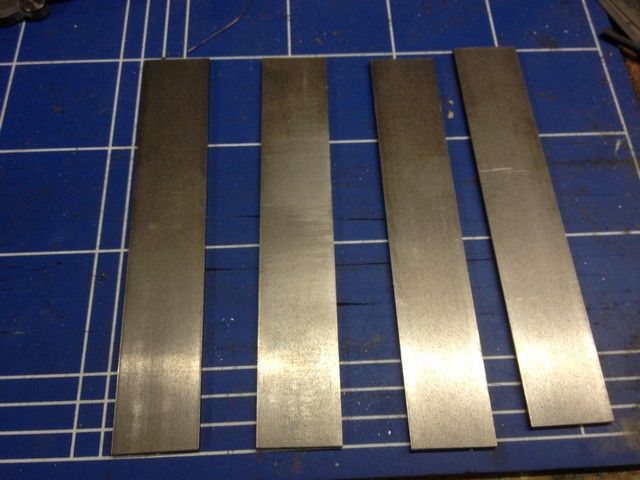
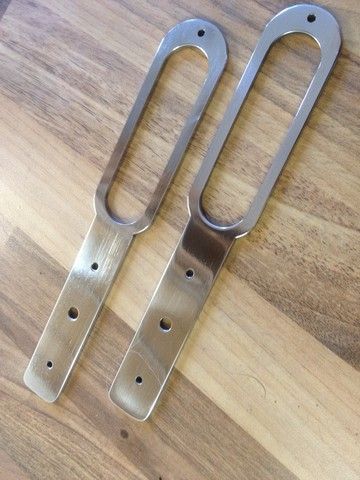
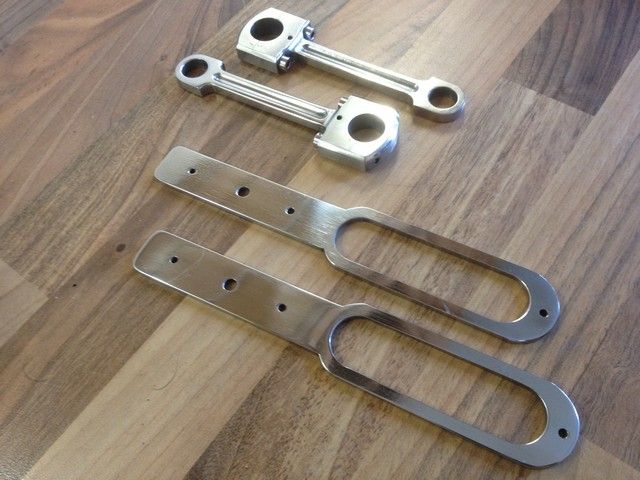
Now it’s on to the return rods of which there are four. So I cut 4 strips 175mm long, off a bright stock length of 30mm x 3mm and cleaned up the ends with a file. I then placed them in the mill vice, drilled them for roll pins, and squared both ends. I then coordinate drilled all the holes required and removed them to mark up the areas from which I needed to remove metal.

IMG_0687_zps777ade0c.jpg


IMG_0688_zps58091dbe.jpg


IMG_0689_zpsf465ca2f.jpg


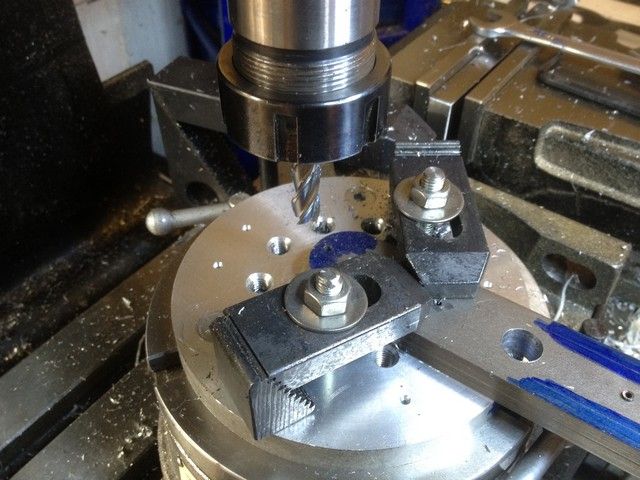
They were then setup on the Rotab to make three radius cuts and the unwanted metal was milled away back in the vice, forming the narrow section

IMG_0690_zps8c08873b.jpg


IMG_0692_zps572352a4.jpg


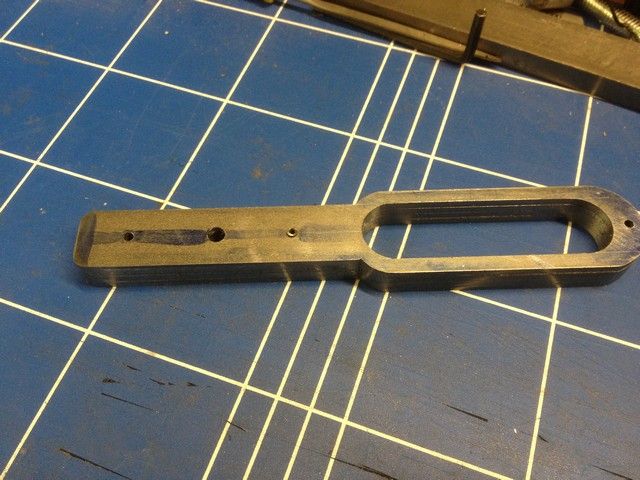
Next the holes in the thick section were enlarged and the scrap milled away with a slot mill.

IMG_0696_zps193df1b6.jpg


IMG_0697_zps6cc90f45.jpg


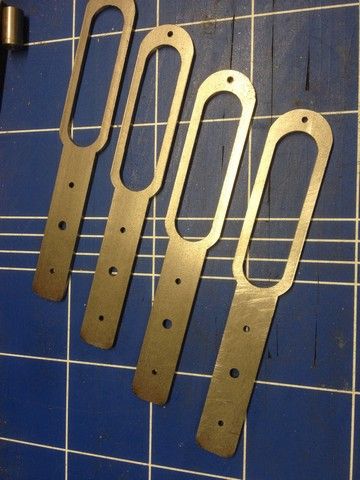
They were then taken to the belt sander and the other small radii made by hand. Next came the labor intensive bit, hand filing, fettling and polishing.
IMG_0699_zpsbaf0ac77.jpg


IMG_0701_zps9a0dcd1e.jpg


IMG_0703_zpseffcba3e.jpg


IMG_0702_zps9baacbd6.jpg


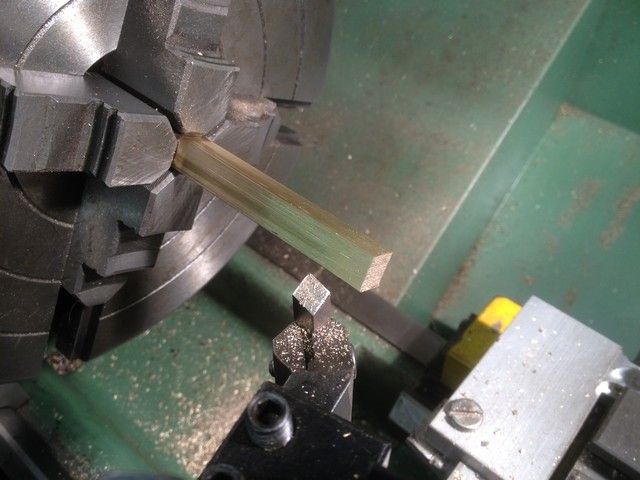
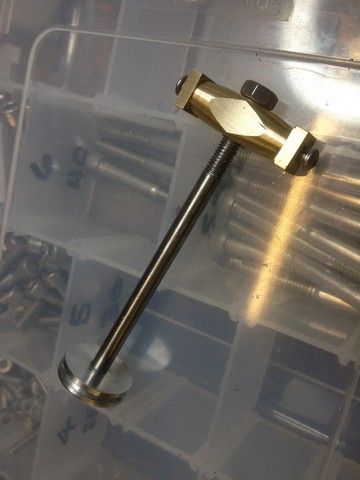
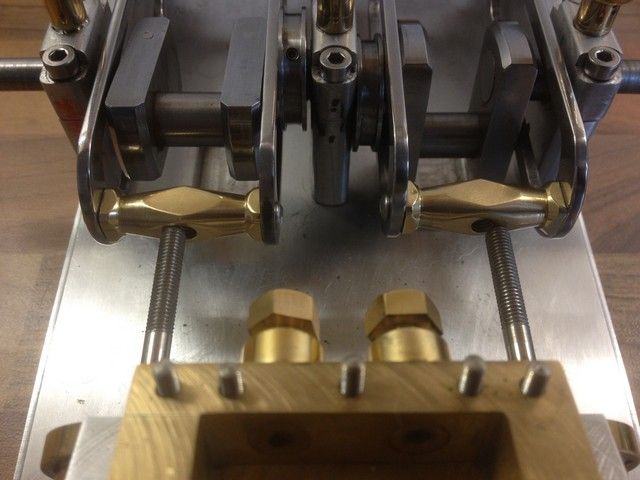
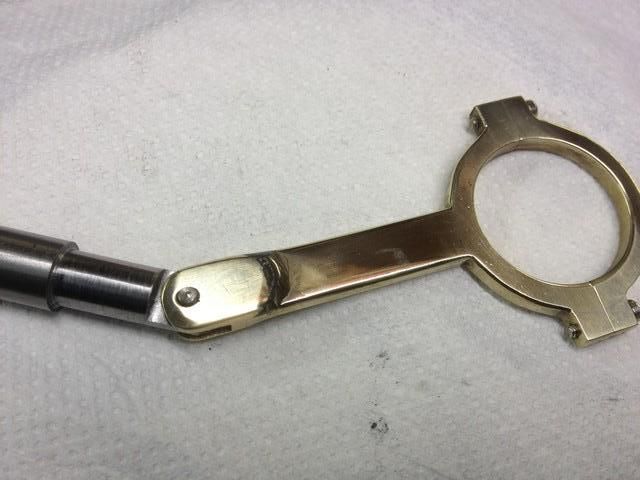
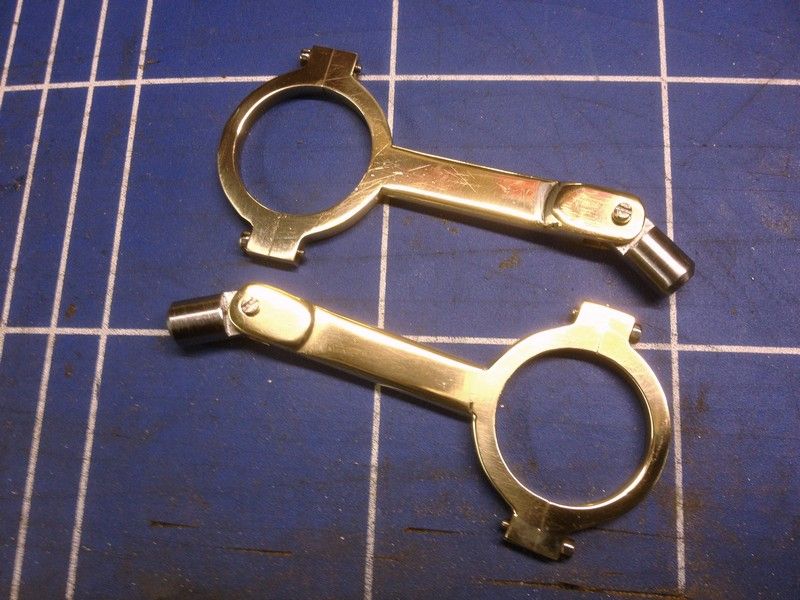
I next made, the piston assembly connecting beams, which join the return rods directly to the piston via an 87mm x 5mm silver steel shaft. They are made from 10mm Sq section and are each 32mm long.
First I took a length of 10mm sq brass and set it up in the 4 jaw chuck
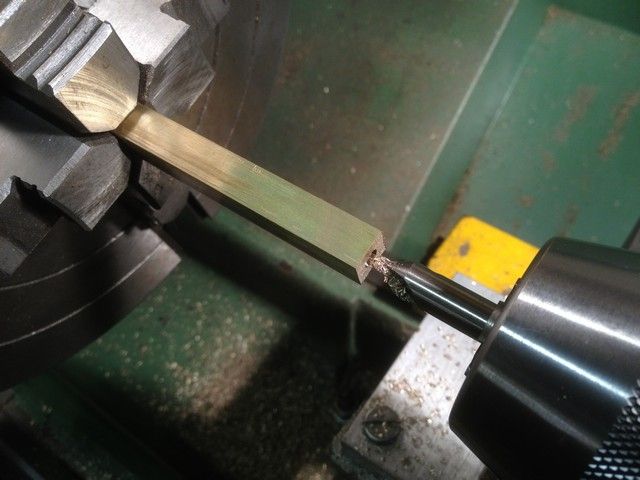
then centre drilled it.

IMG_0720_zpscd1e17ae.jpg


IMG_0722_zps21ddeede.jpg


IMG_0721_zpsff2edebf.jpg


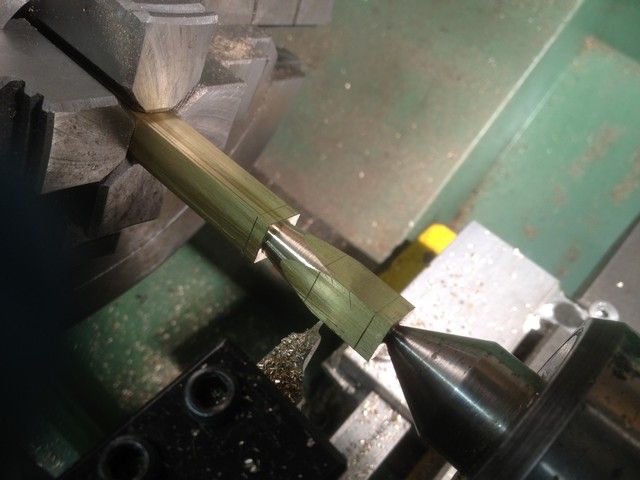
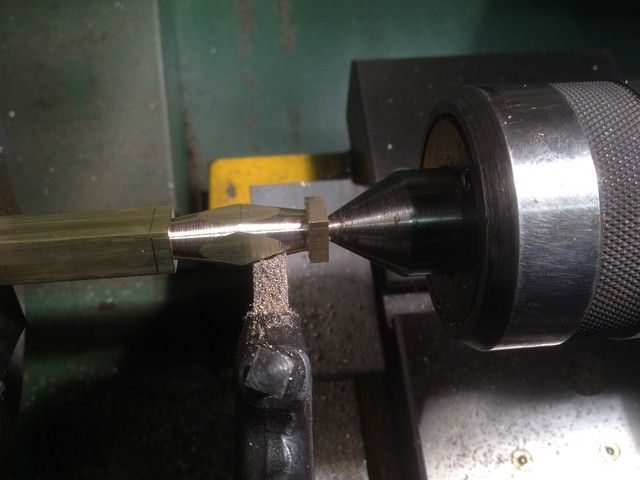
I marked it up in situ then using the tailstock for support and a fine hss cutter, turned the parts to the shape shown in the drawings. These will be fettled and polished later before assembly.

IMG_0723_zps404d00b1.jpg


IMG_0725_zpsb15a68b7.jpg


IMG_0727_zpsf90824e3.jpg


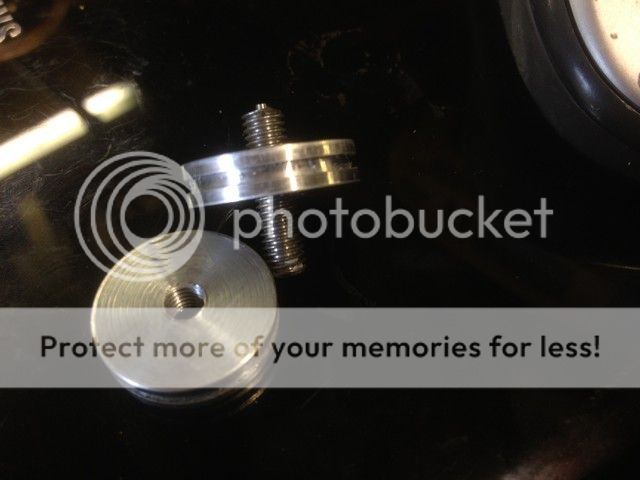
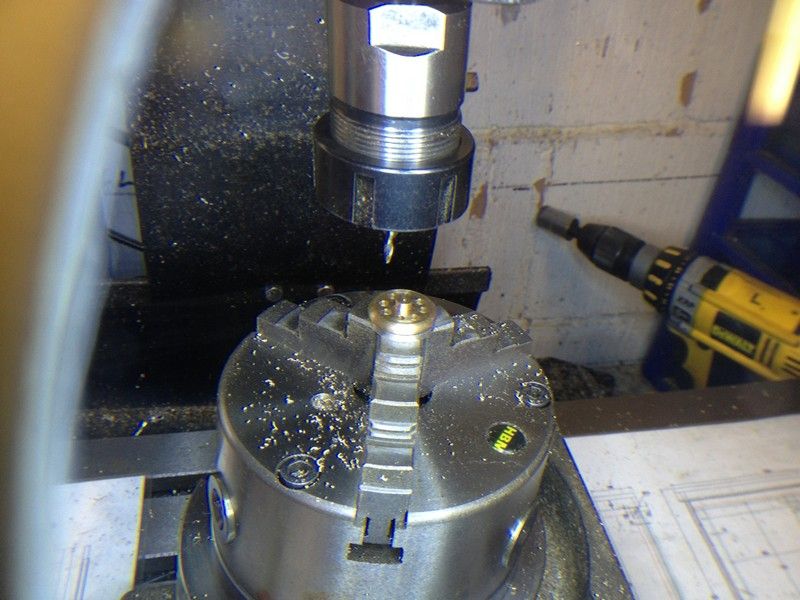
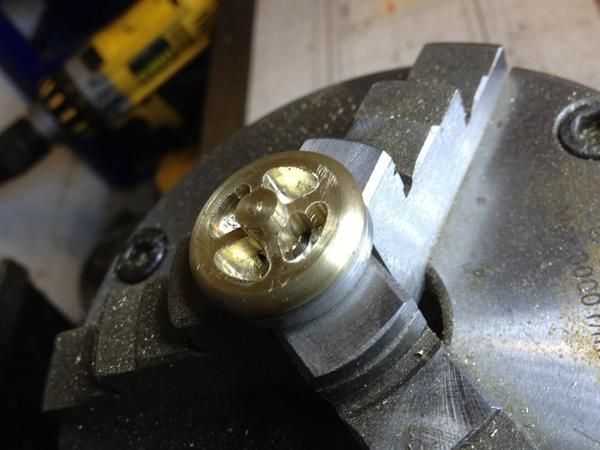
The pistons were made from some 25mm ally round. The pistons are 20mm dia, and each 5mm thick with a 2mm groove in the centre. They were tapped 5mm in situ to maintain concentricity, and parted off.


IMG_0731_zpse4c2f78b.jpg


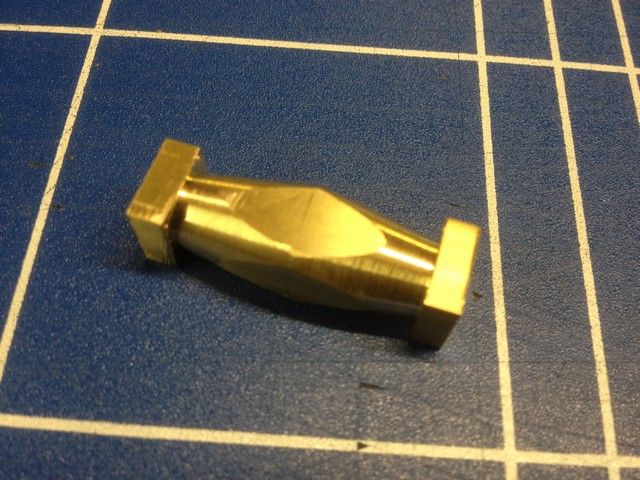
And here is the complete assembly ready for fitting

IMG_0741_zps41a279c2.jpg


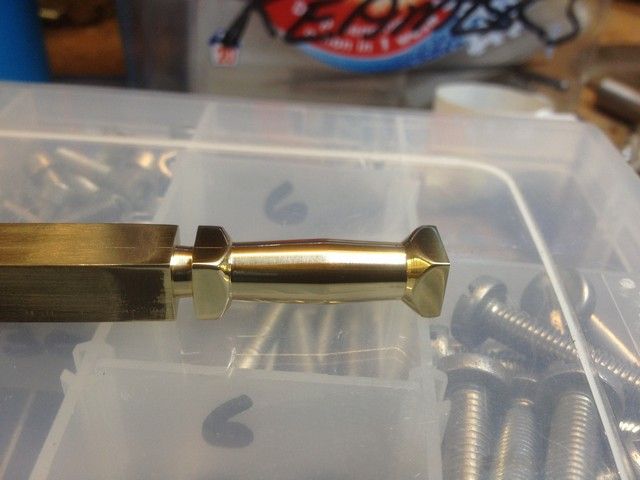
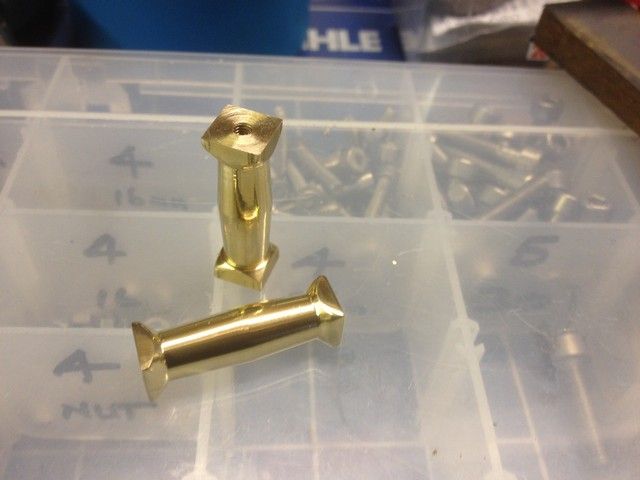
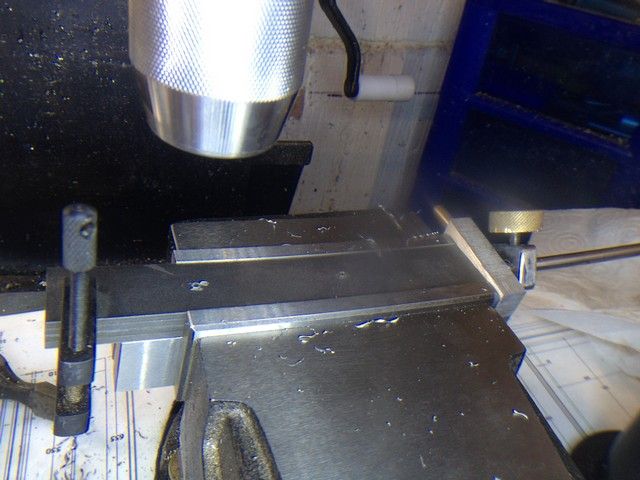
While I had the 10mm sq in the chuck I made the beams for the opposite end of the return rods. These were made in the same way as the other ones but turned barrel shaped instead.
IMG_0746_zps0df5d627.jpg


IMG_0749_zps0ab5a04b.jpg


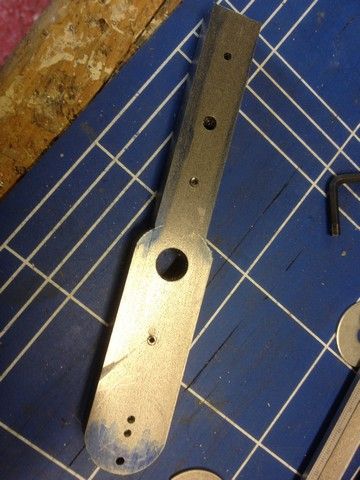
It was now time for a bit of trial assembly, which was followed by a few choice anglo saxon expletives. As you can see from the picture below, the piston centres do not match up to the return rod centres.
IMG_0755_zpsc98849b5.jpg


Further investigation revealed that all the individual parts matched Stew's drawing exactly. It looks as if somewhere during his build he had may have thought things were a bit tight in the eccentric area and made the crank wider, moving out the outer crank bearing posts to the the edge of the base to suit. This is now evident looking at his General plan view.

I originally found three sets of drawings for this engine, which came from either HMEM or Madmodder, I can’t remember which. I could see various changes being made from drawing to drawing . But the base and crank drawings looked to remain the same so I assumed them to be OK.

Let me just state that I do not lay any blame at all on Stew. We all modify things as we go along if we see a better way to do, or improve things, and it’s so easy to miss the drawing update, particularly when making a one off. I am just grateful that he took the trouble to produce the drawings in the first place, as it’s very time consuming job.

I hold myself entirely to blame, because I departed from my usual and well tried procedure. Which is to draw out each individual item in 3d regardless of what it is I am making, and assemble it on the computer, beforehand, this way it shows up any fit problems beforehand, but on this occasion I didn’t do it, but you can bet I will stay with the plan in future.

I should be able to salvage the crank webs and big end journals, if I can get it apart without damaging the webs.

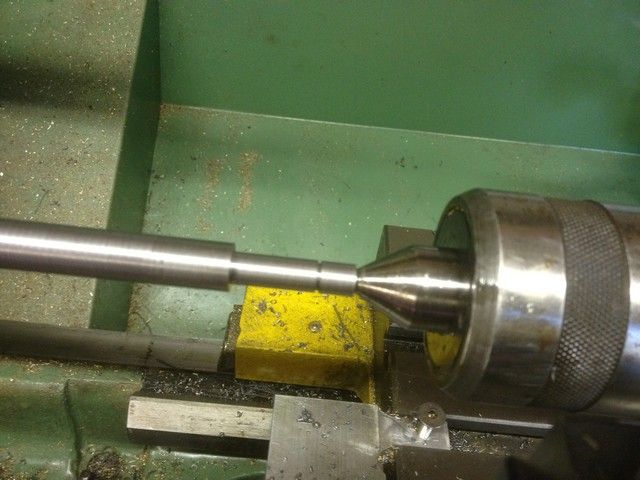
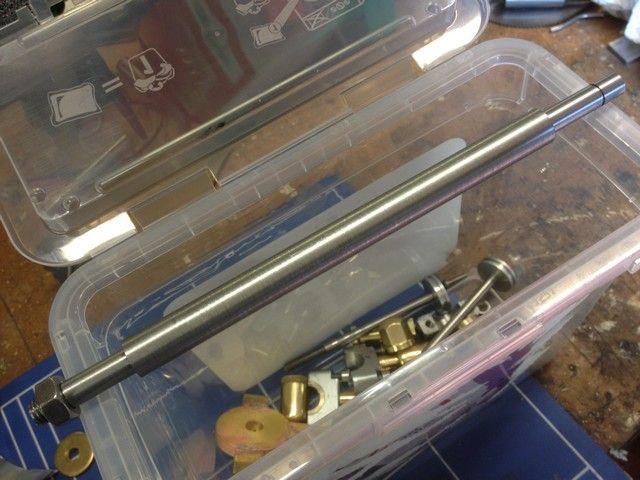
Well the Crank came apart without incident, so I cleaned everything up and turned a new shaft between centres then assembled it again using locktite and set it up to cure overnight


IMG_0760_zps1ddf3810.jpg


IMG_0762_zps11d48138.jpg


IMG_0763_zps6cddb9ea.jpg


IMG_0768_zpseaf9dead.jpg


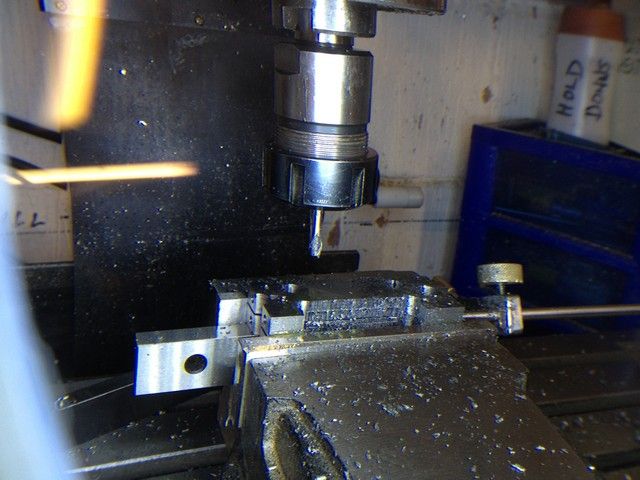
The following day I pinned it and set it up to cut out the unwanted portions and finished the process by milling flush with the web surfaces.
IMG_0768_zpseaf9dead.jpg


IMG_0800_zps7a64a3c7.jpg


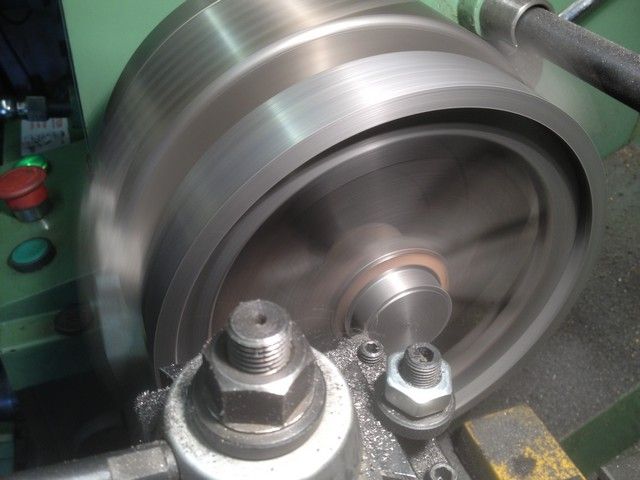
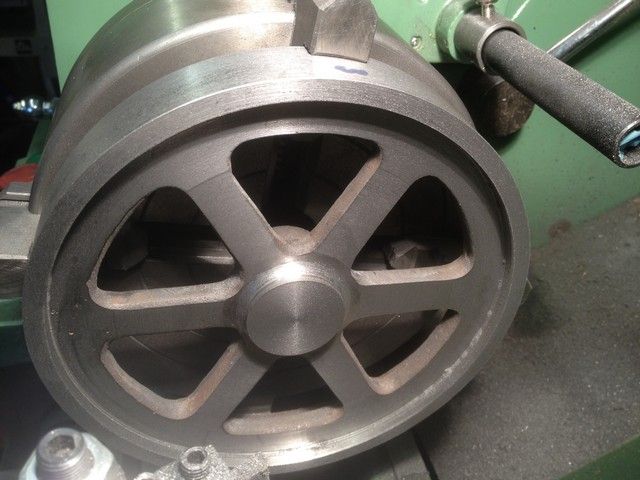
The cast iron flywheel I bought at the start of this project looked a bit large when it arrived, and I put it to one side meaning to return it for a smaller one, but time went by, I was enjoying the build and I forgot all about it.

When I dug it out and measured it it was 200mm dia by 50mm wide, but then I got to thinking that the reason I wanted to make this engine in the first place, was that it looked so good running slowly. It reminded me of the huge water pumping beam engines with their enormous flywheels, that we had in this area when I was a lad, so decided to trim it down some and see how it looked in relation to the rest. I don’t have a pic of the start size, but it was meaty. Here are a few pics of the operation

IMG_0774_zps60386f2f.jpg


IMG_0776_zps8347cc39.jpg


IMG_0784_zpseab2efe8.jpg
 
What a messy material cast is to machine, particularly when ther
e is so much meat to remove, I was glad when it was done.

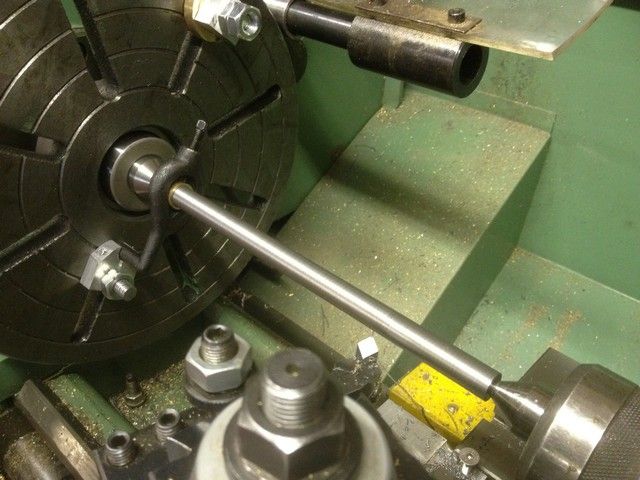
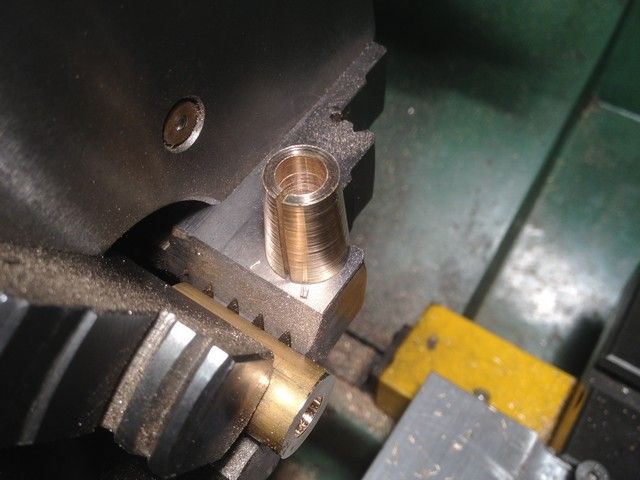
I followed Stews method of using a tapered bush machined at the same angle as that bored into the flywheel centre, for securing it to the crankshaft. The bush was made immediately after boring the flywheel so that both angles matched exactly, it was then split in the mill

IMG_0788_zps3bed2324.jpg


IMG_0791_zpsb8ef8cb8.jpg


IMG_0793_zpsa53180d7.jpg


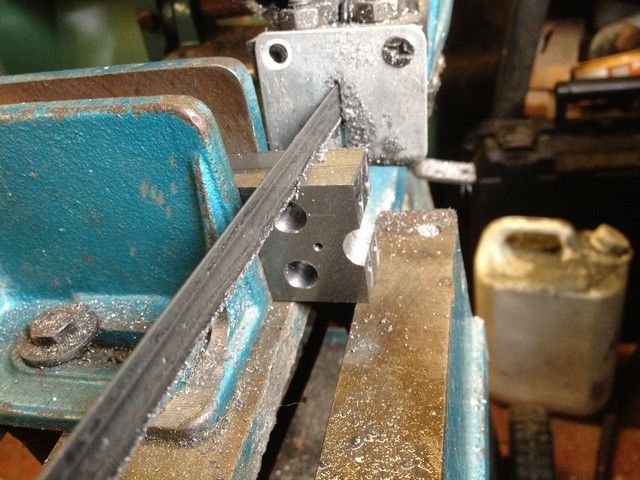
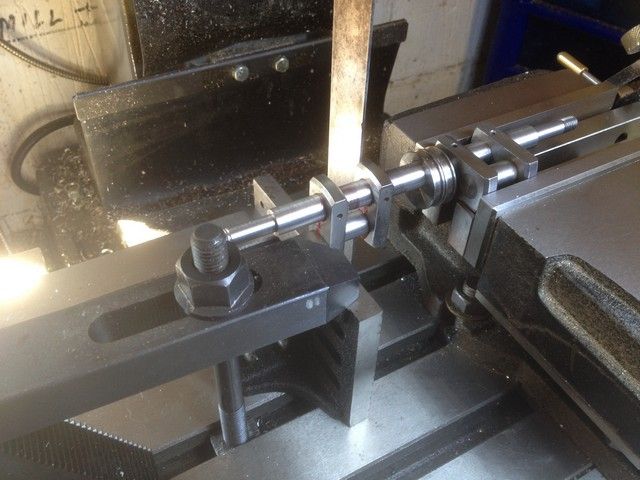
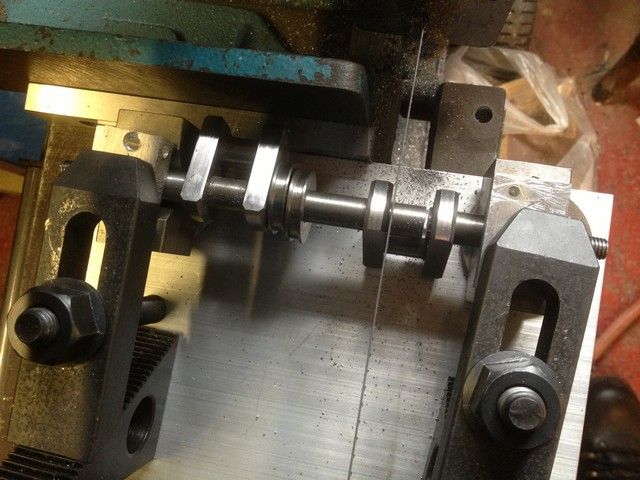
Next task was to remove the two unwanted portions of the crankshaft using the bandsaw. I used the following setup.

IMG_0797_zps6febbacf.jpg


IMG_0797_zps6febbacf.jpg


IMG_0799_zps033a7959.jpg


IMG_0800_zps7a64a3c7.jpg


Then milled the ends flush with the crank webs.


With the crank put to bed, I started on the eccentrics and decided to fabricate the basic shape from flat and round brass bar, silver soldering the parts together.

IMG_0679_zps36a511d9.jpg


IMG_0678_zpsce0a6b53.jpg


As there was plenty of thickness, I cleaned them up first on the belt sander then superglued each one in turn, to a piece of square section tube, which I had previously milled flat & parallel. Then fly cut them to size

IMG_0967_zps48096d76.jpg


IMG_0968_zps9d74c47b.jpg


IMG_0969_zps5afaee6c.jpg


IMG_0973_zps47b24065.jpg


I then made a mandrel for the ro/tab to hold the pair while I milled them to the shape and size required

IMG_0984_zpsb41f9c81.jpg


IMG_0985_zps3ce6a6fa.jpg


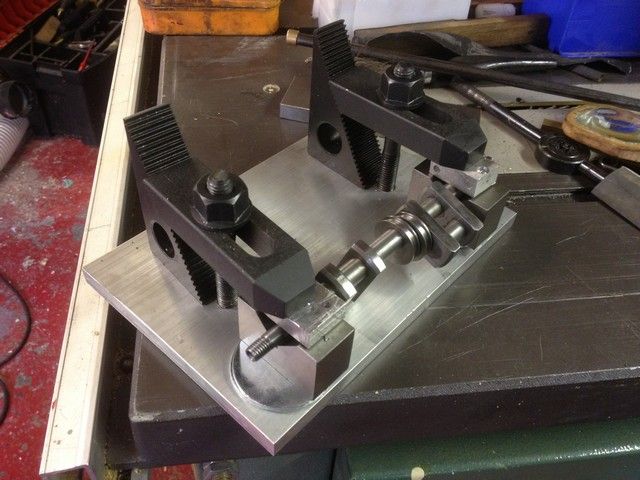
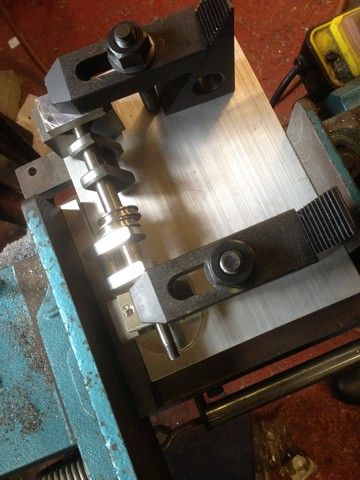
They were then placed in the mill vice and the bolt holes drilled first to the tap size then the top portion to the relief hole size. Removing the mandrel they were then cut across the centre and faced (no pics). The lower portions were then tapped to size, assembled and placed in the vice to mill the centre hole.


IMG_0988_zps794c5a46.jpg


IMG_0997_zpsc06fd2e9.jpg


As I thought there was not enough support to mill out the large centre hole using the present setup, I set them up on the rotary table to carry out that operation.

IMG_0999_zpsea63a267.jpg


IMG_1001_zps4c40d5d8.jpg


IMG_1004_zps4c553959.jpg


IMG_1006_zpsc6ec643f.jpg


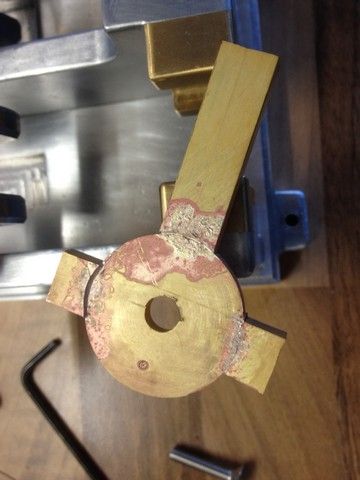
I next silver soldered some ears onto the stems, fettled everything up and polished them

IMG_1043_zps2bdb0fa3.jpg


IMG_1044_zps5141964b.jpg


IMG_1045_zps269d743f.jpg


Next, the stainless steel swivels for the eccentrics.


IMG_1046_zpsef08c1f0.jpg


IMG_1048_zps1b48ecf0.jpg


IMG_1053_zps57cd128f.jpg


IMG_1054_zps4c5d8c0f.jpg


IMG_1063_zps8d0212a1.jpg


Almost there, just a few bits to go.

Valves were machined from a single piece of bar and parted to length.

IMG_1067_zps998ea376.jpg


IMG_1068_zps7a3467b8.jpg


IMG_1068_zps7a3467b8.jpg


IMG_1070_zps21fce4d2.jpg


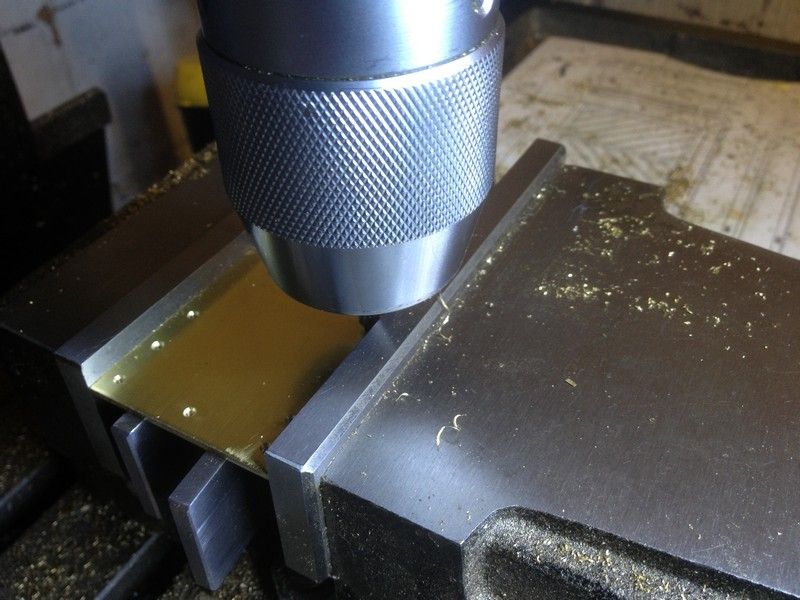
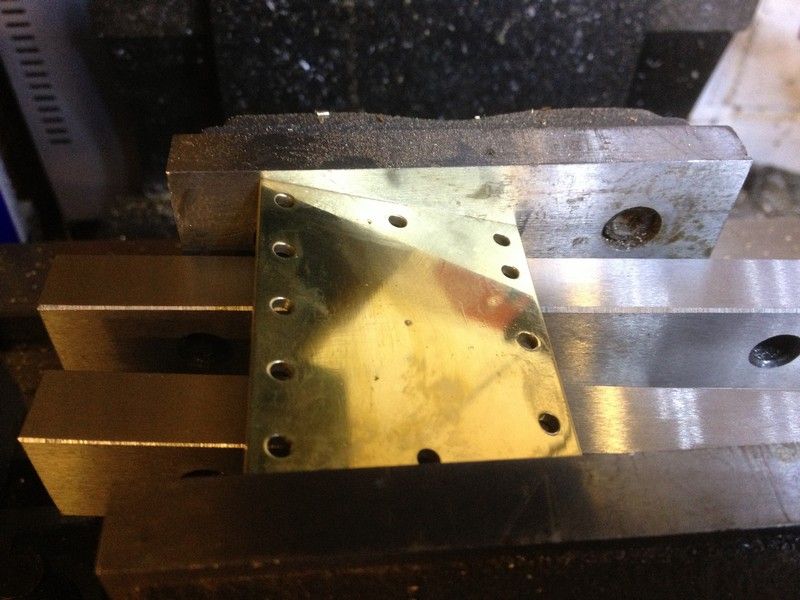
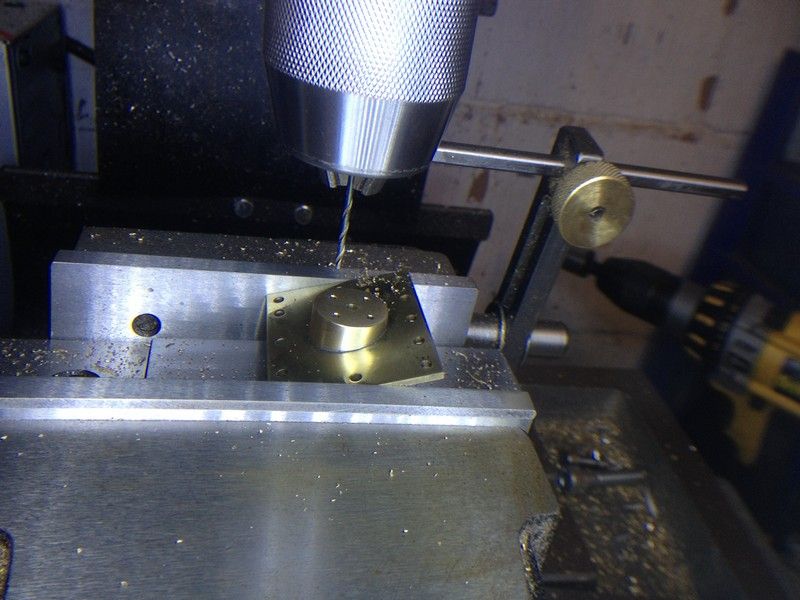
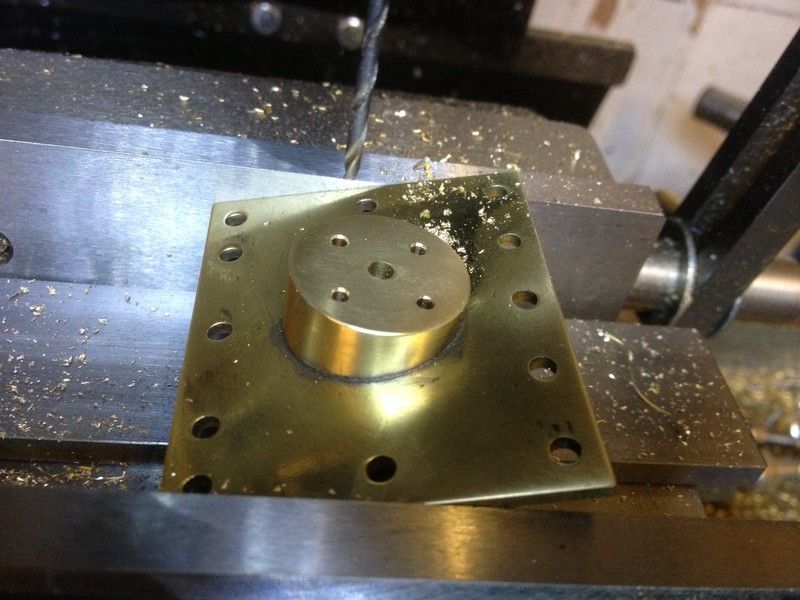
Next came the cover made from 2mm brass plate cut and machined to size and then coordinate drilled to match the engine.

IMG_1072_zpsf4f7c0d5.jpg


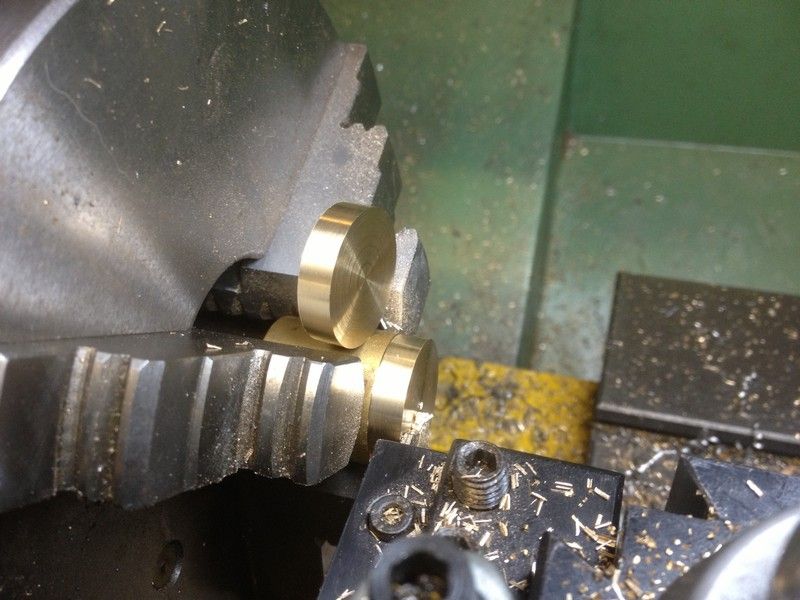
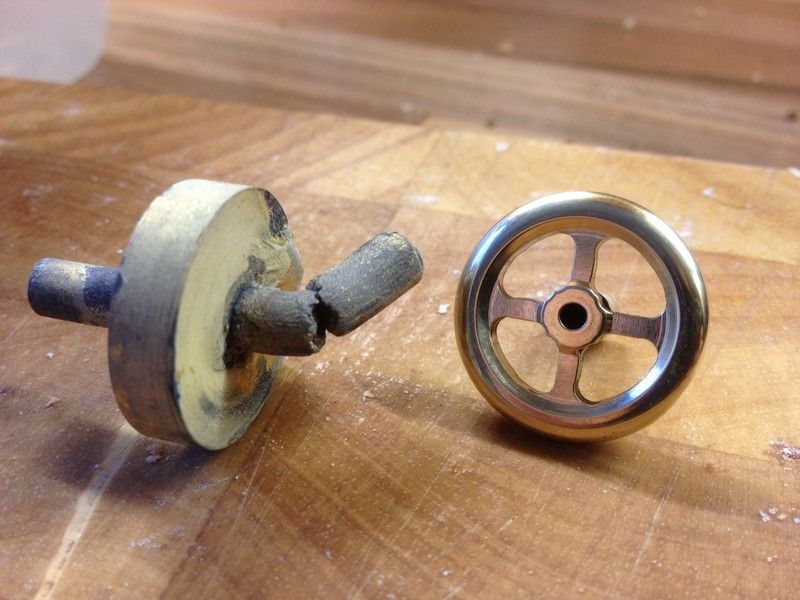
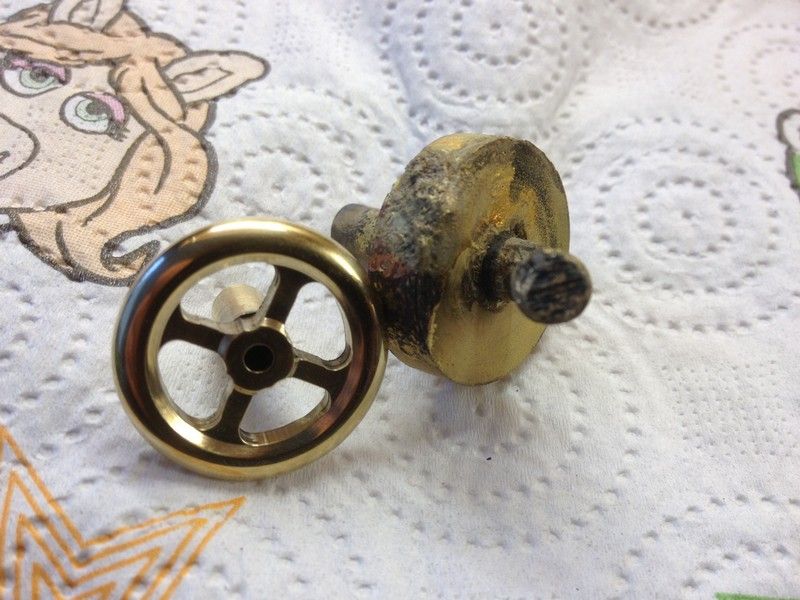
On to the valve assembly starting with the most difficult bit first. The valve wheel.

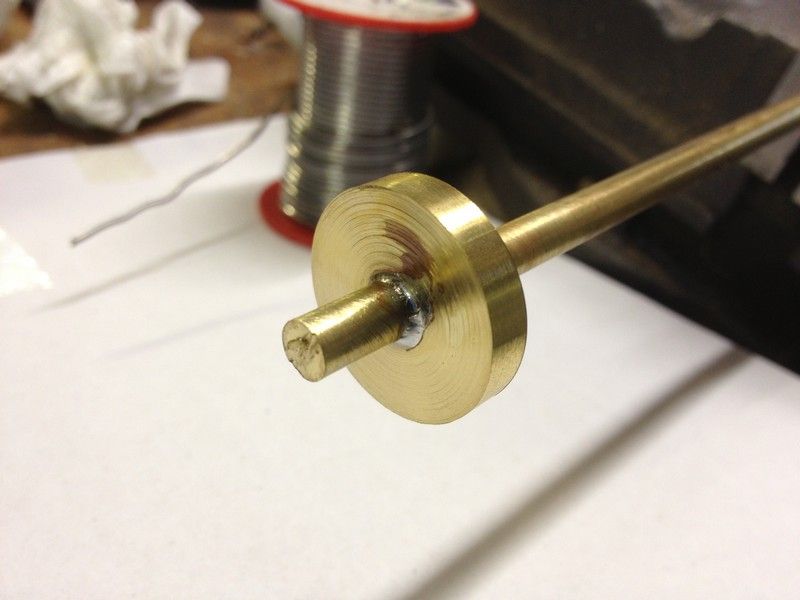
Being a bit short of the correct sized brass bar I decided to fabricate the wheel from two sections of round and silver solder them together.
Trouble was I got a bit carried away during the heating process and ended up with a melted mess, which will be shown soon with the finished wheel for comparison.

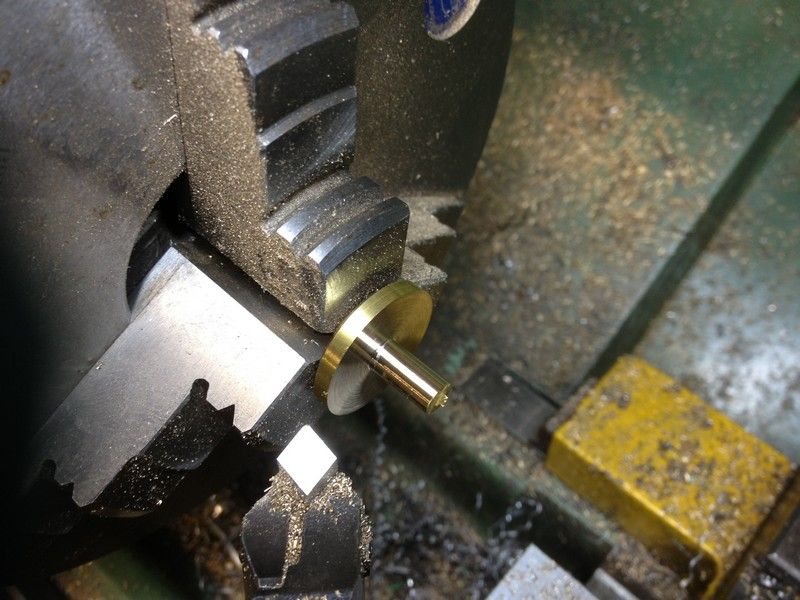
Meanwhile I sized and parted off another brass disc, then drilled it to fit the bar, and this time soft soldered it together.

IMG_1078_zps5eb6e5ca.jpg


IMG_1095_zps02a7eb8e.jpg


It was then placed back into the chuck, turned to size, and the outer rim radiused

IMG_1097_zps4fd6e9fe.jpg


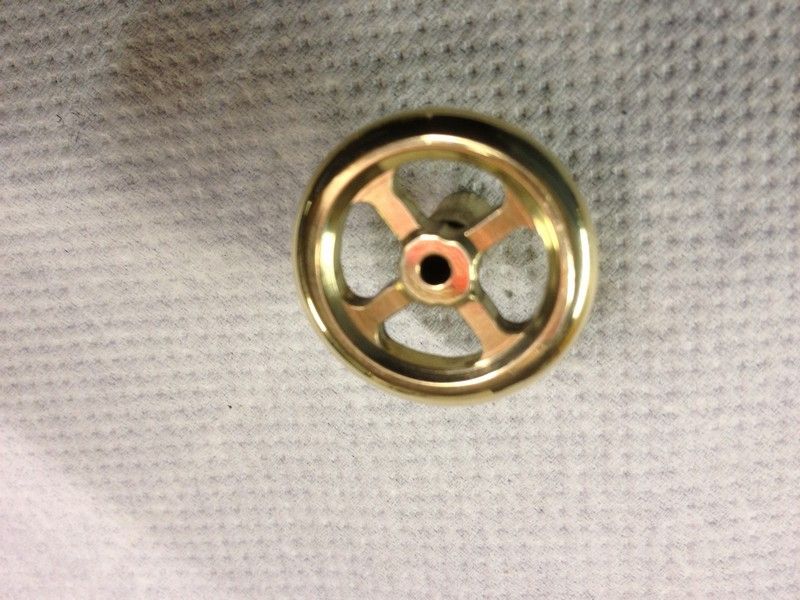
It was then transferred to the rotab for drilling and milling to shape

IMG_1099_zps5481d542.jpg


IMG_1099_zps5481d542.jpg


IMG_1102_zps52bd7b23.jpg


And here is the finished item

IMG_1106_zpsb32f2077.jpg


IMG_1109_zps77cf01d5.jpg


IMG_1108_zpsf8e22729.jpg


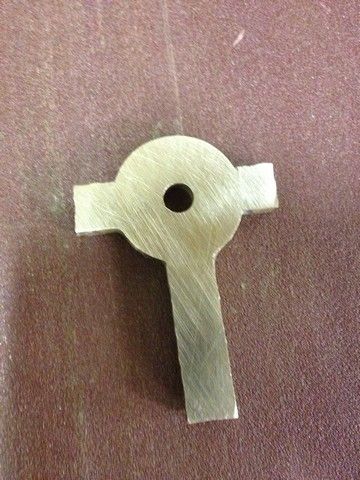
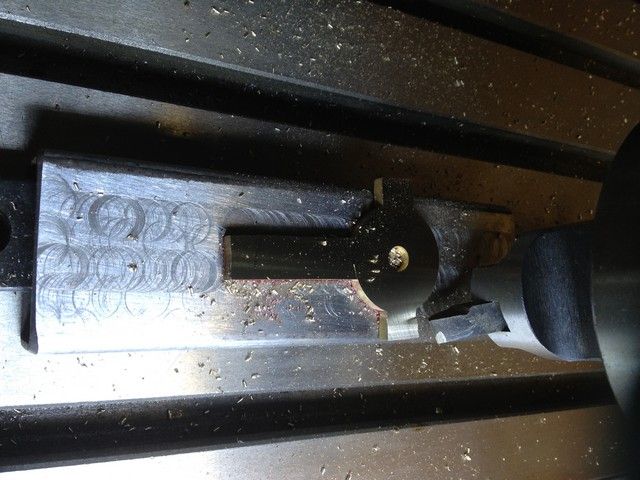
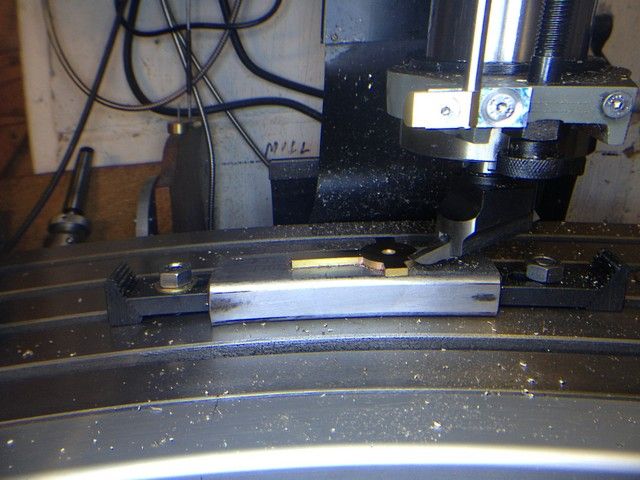
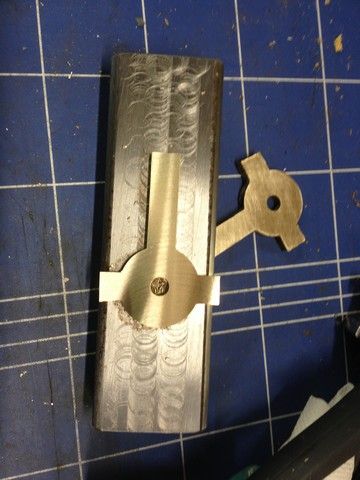
Next item was the base for the valve body, this has to be fitted at an angle to the valve cover, so after drilling it, parting it off and milling the angle on the bottommaking the I made a small central hole with a small sacrificial brass dowel to hold it in place while it was soft soldered on to the cover. The angles were setup using a digital angle finder.
IMG_1110_zps687ce96a.jpg


IMG_1111_zps7a74c1a2.jpg


IMG_1113_zps08b22c9f.jpg


IMG_1114_zps72ca0aba.jpg


IMG_1115_zps236d6ab4.jpg


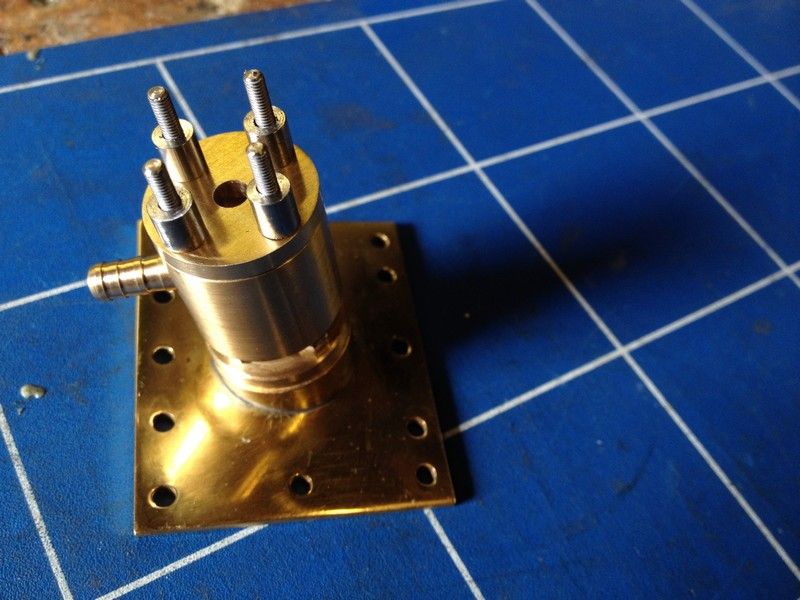
And so on to the valve body, first it was turned to size and drilled


IMG_1116_zps6581dbe0.jpg


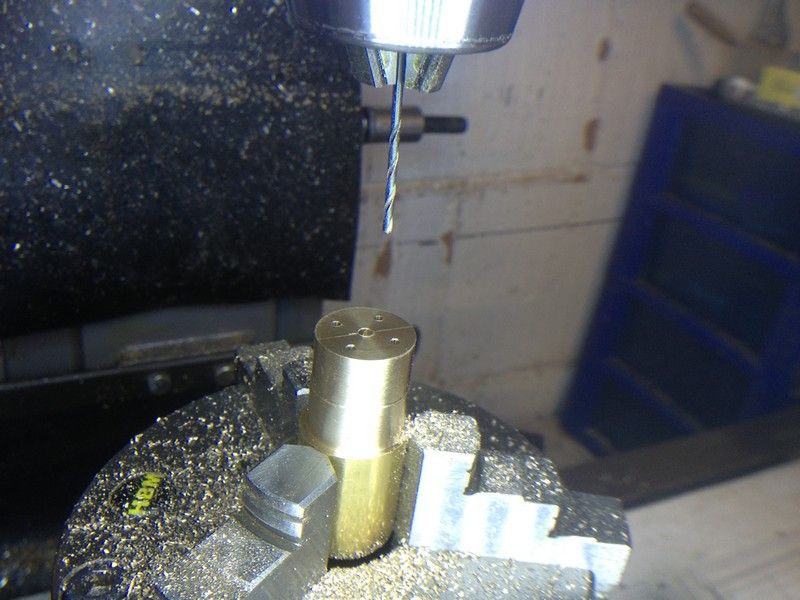
Then transferred to the mill for pcd drilling and tapping

IMG_1118_zps1370528a.jpg


Stainless studding was cut to size using contra rotating lathe and whizzer.

IMG_1119_zps57f35dfb.jpg


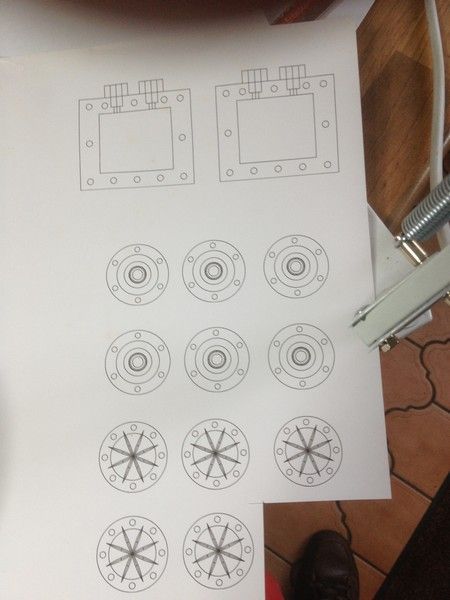
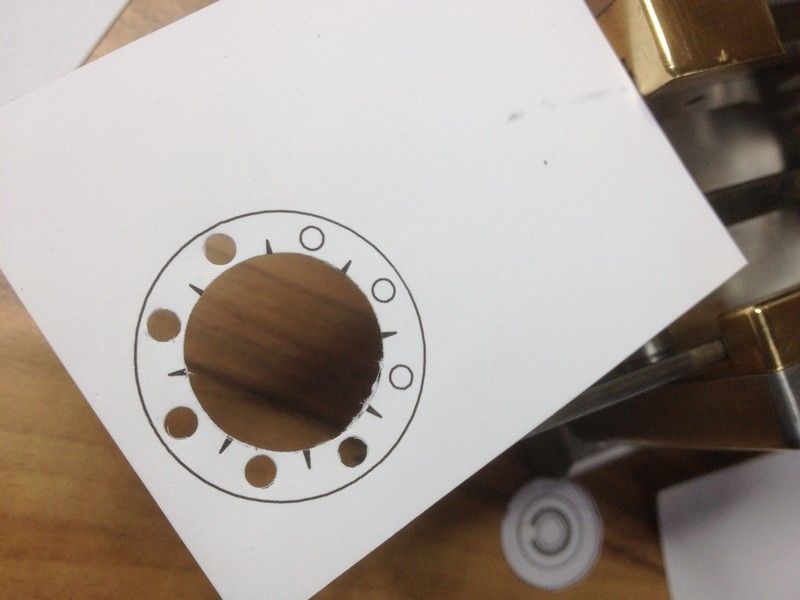
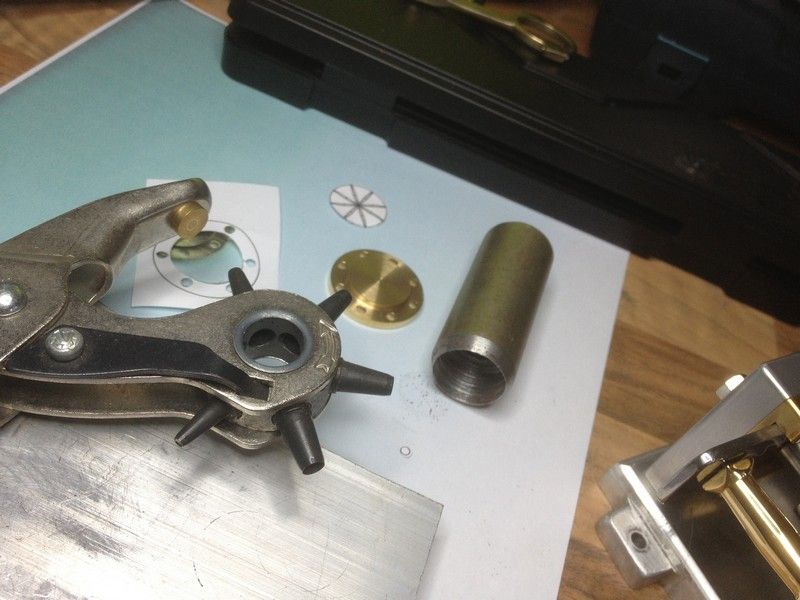
Now for the assembly for which I would need gaskets. These were printed out on robust photographic paper and cut out with punches and a scalpel knife. No pics of assy unfortunately.


IMG_1137_zps085afacb.jpg


IMG_1138_zps09886eba.jpg


IMG_1139_zps8ce6f8cf.jpg


IMG_1152_zpsc1e66109.jpg


IMG_1152_zpsc1e66109.jpg


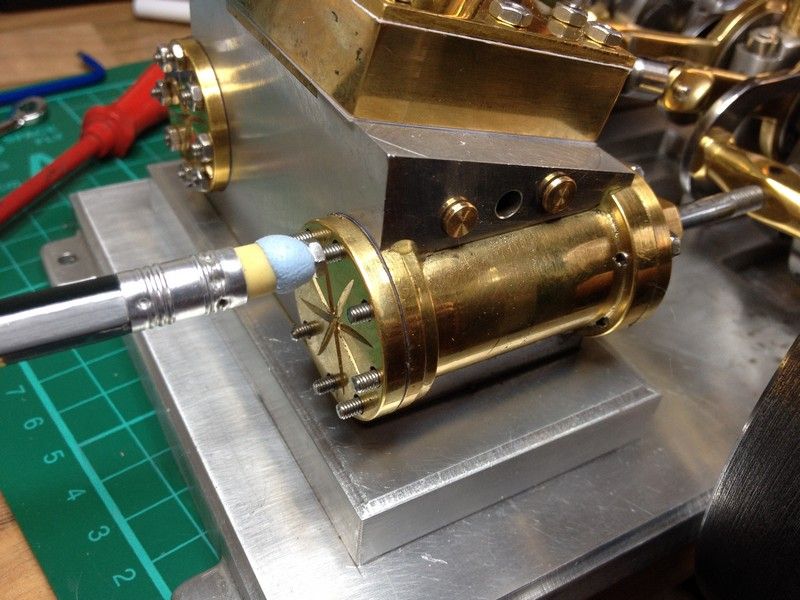
And I found a solution to fitting those tiny 2.5mm nuts having retrieved several from dark corners which is where the usually
end up, that or lost.

Pencil & Blu tak makes it so easy and they don’t drop.

IMG_1165_zpsf3e3d89d.jpg


And here it is awaiting it’s wooden base, a little compressed air and some timing. (Really looking forward to that)

IMG_1159_zps1013b451.jpg


IMG_1160_zpsf85804ca.jpg


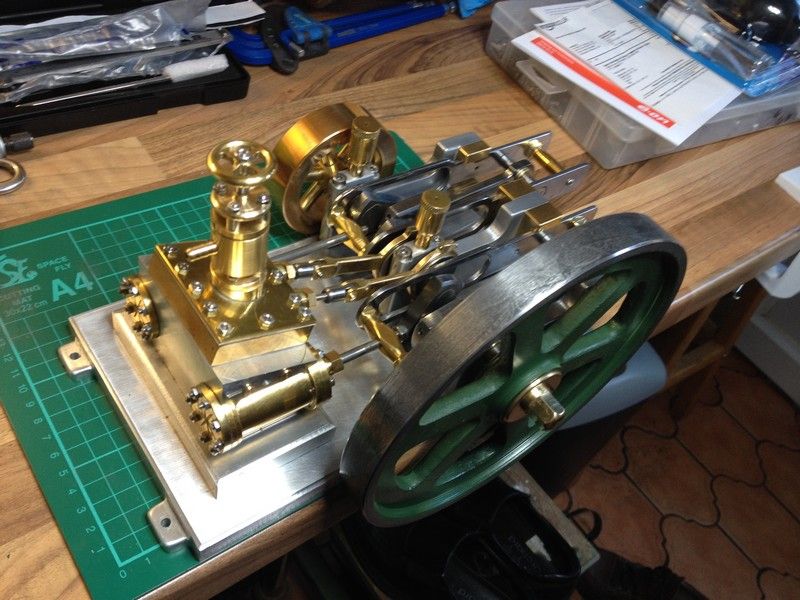
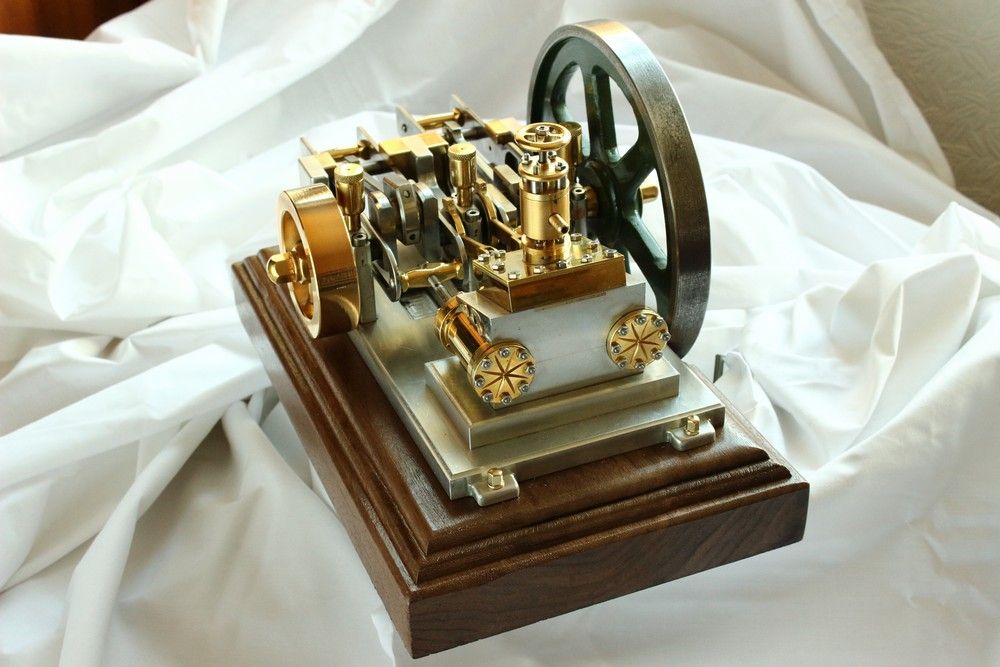
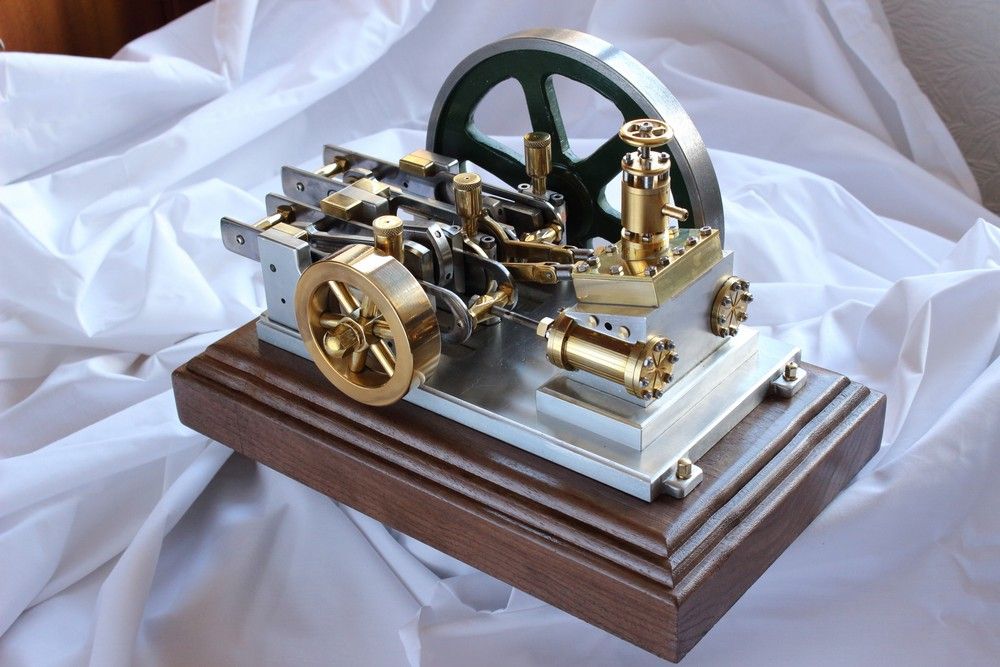
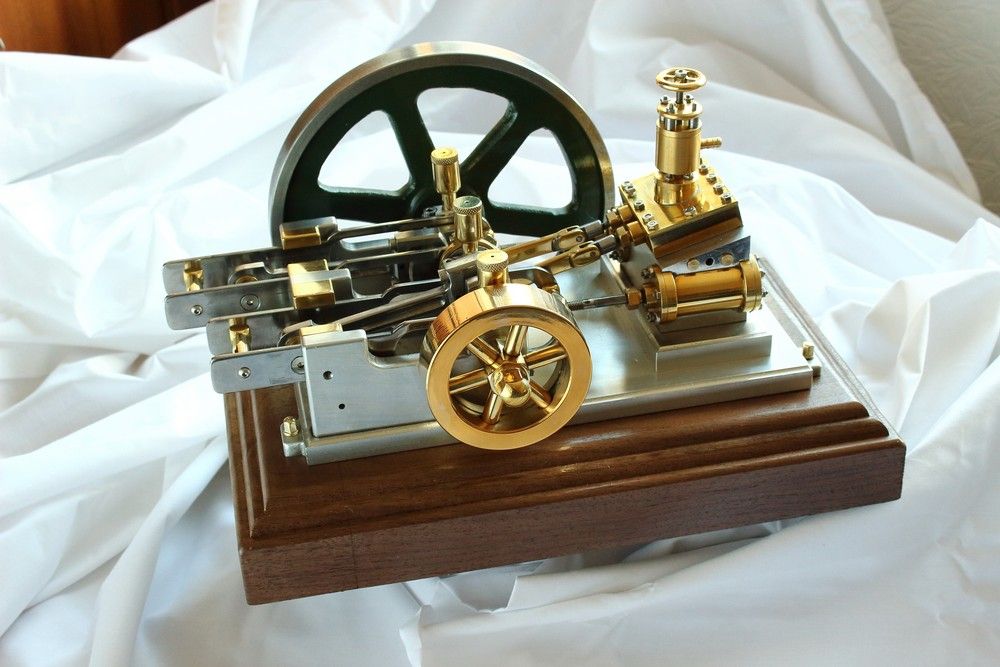
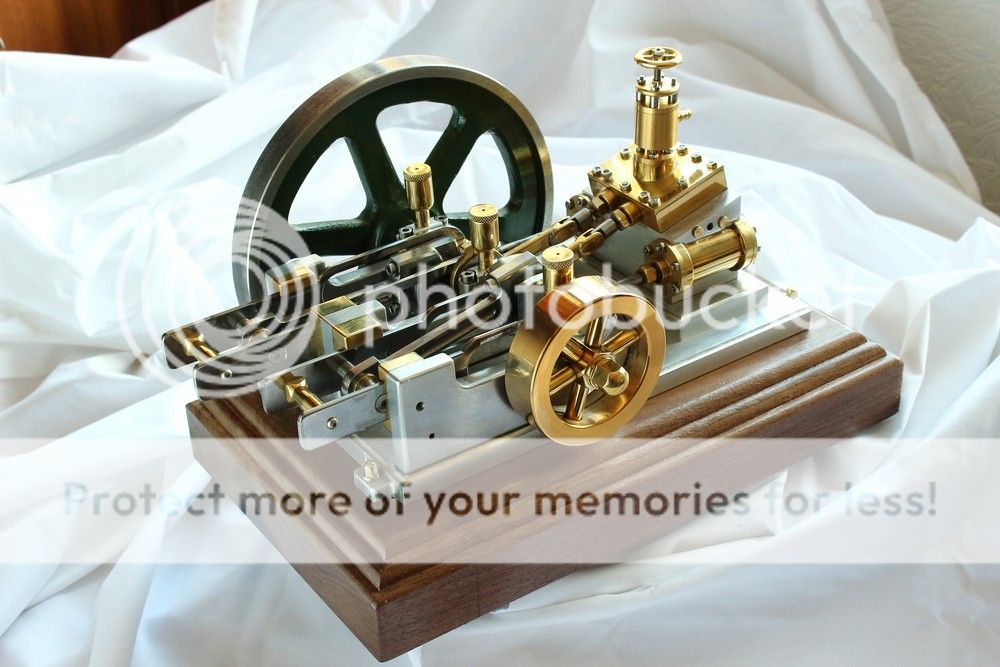
Well that’s it finished. It ran first time and I only had to tweak the timing on the LH eccentric to get it really smooth. It runs nice and slow on minimum air pressure, which is how I like to see these engines run. I will make a video soon.

Meanwhile a few shots of the finished engine mounted on its hardwood plinth.

IMG_0189_zps82d2cad2.jpg


IMG_0190_zpsdce6f35a.jpg


IMG_0191_zpsd9015f96.jpg


IMG_0192_zpsc2663b88.jpg


IMG_0193_zpsd2fc6f96.jpg


IMG_0194_zpsb23ea1b2.jpg


IMG_0195_zps61db431f.jpg


IMG_0197_zps202c500f.jpg


And here it is running as I had hoped it would. At the start I was unsure if I had the ability to complete this project, having only previously made the relatively simple Elmer from Brian’s drawings, which I altered the design of, as I became more confident.

My inspiration for getting started on this far more complex engine of Stew’s, apart that is from admiring Stews engine running so sweetly, is due to something Bogs wrote. I can’t recall the words exactly, but it went something like this. No matter how complex the project, just take it one part at a time and make each part to the best of your ability.

[ame]http://youtu.be/6imVcygNPfE[/ame]

Let’s hope the link works.
 
That's a lovely lovely job Les ,and runs beautifully .
What's your next project,I'm looking for inspiration
Don
 
Back
Top