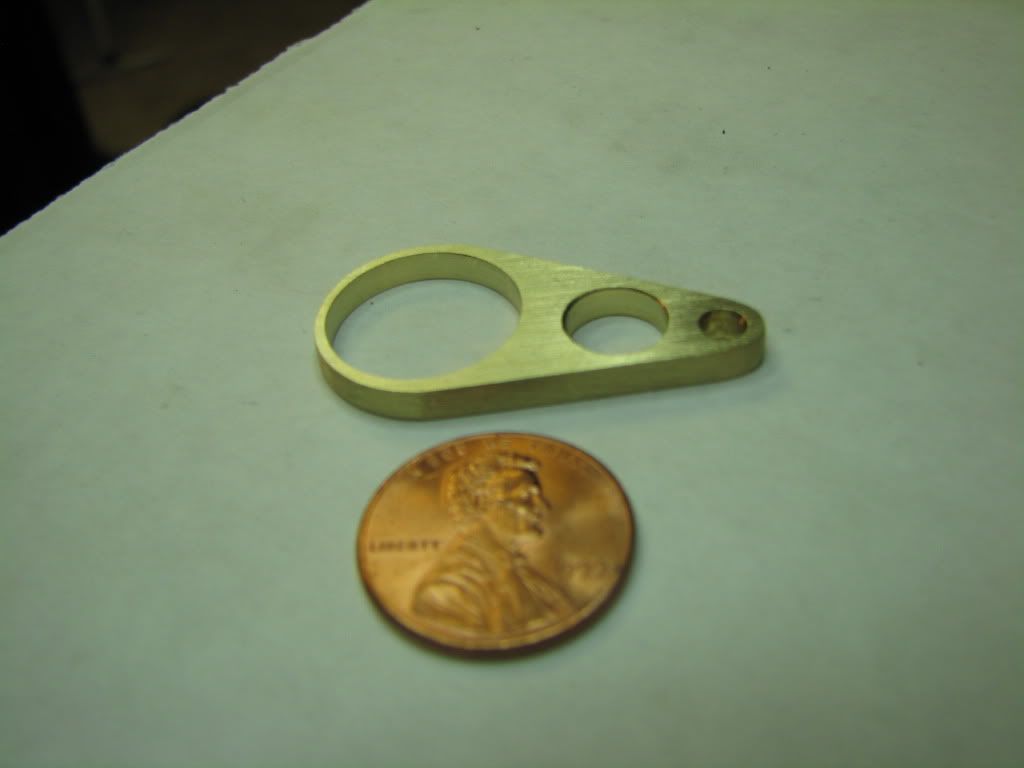
Made the eccentric arm! Woo woo! Not the biggest deal in the world but this was probably the most complicated and difficult part I've done to date. Several mistakes but I think the part will do just fine.
Many thanks to the beerless one. His help was invaluable. Why...I'll even say he owes me less beer. However...beer minus less beer is still beer. ;D
I didn't have a .625 reamer. Beerless one suggested 4-jaw and boring. Okay. I can do that!
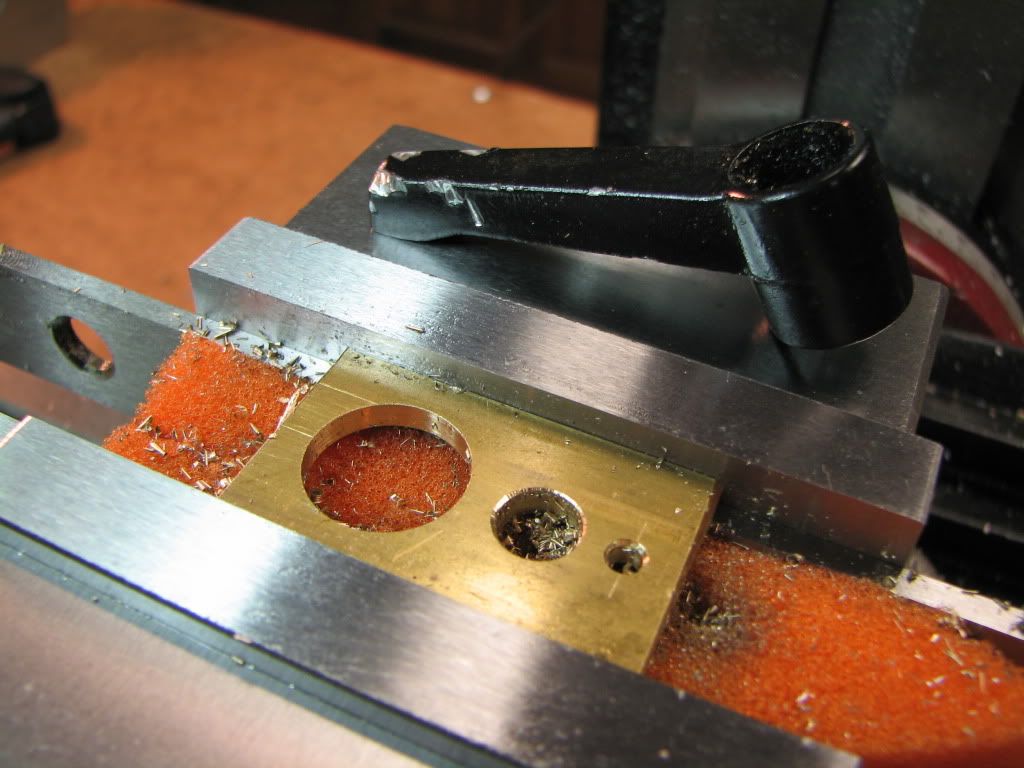
Then make the other two holes. The middle one is for decoration. As for the small one...well...I forgot to drill under size and then ream. Should be okay.
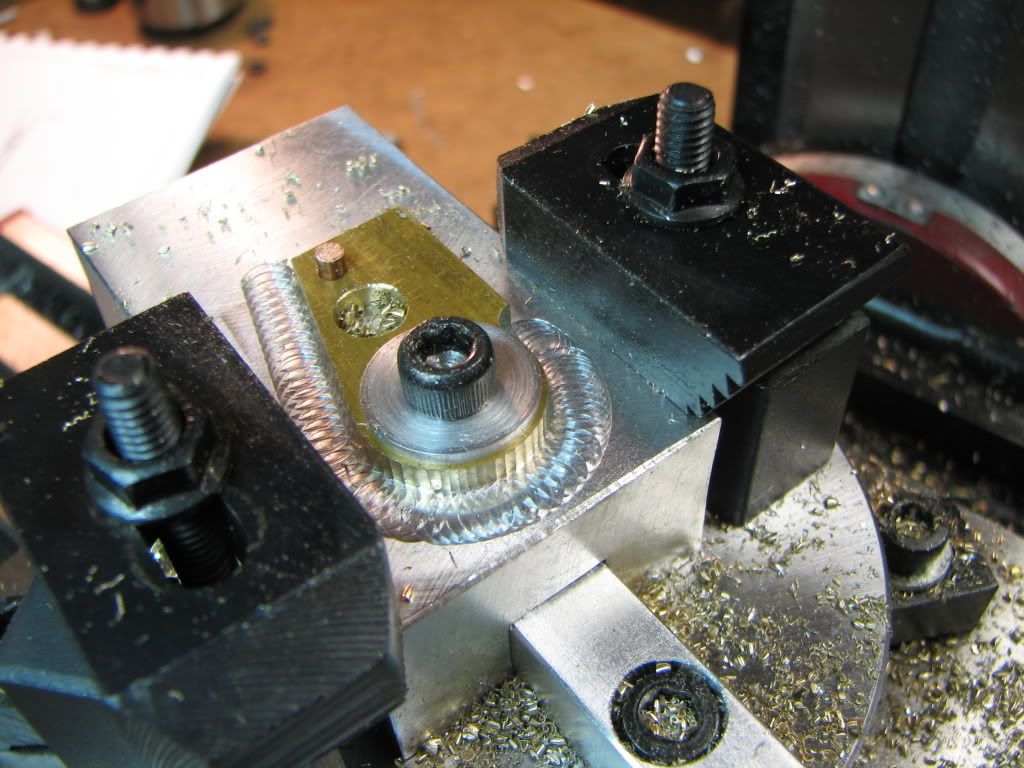
See the lock lever sitting on top of the vise? Well...there's a little story that goes with that. When drilling the hole before boring I could see one of the jaws on the chuck was pretty far out and I looked for any possible interference. The carriage, of course, was between the chuck and the tailstock which had the bit. Things looked good. What I hadn't counted on was that the vibration, due to the off-balance chuck, would cause the lever on the carriage clamp to rotate. Which it did. What I heard was 'thwock thwock thwock ding!'. The ding being the lever bouncing off a wall. Oh yeah...I also heard a 'wha?' but that was me. (I had glasses on and the magnifying light was between me and the fun.)
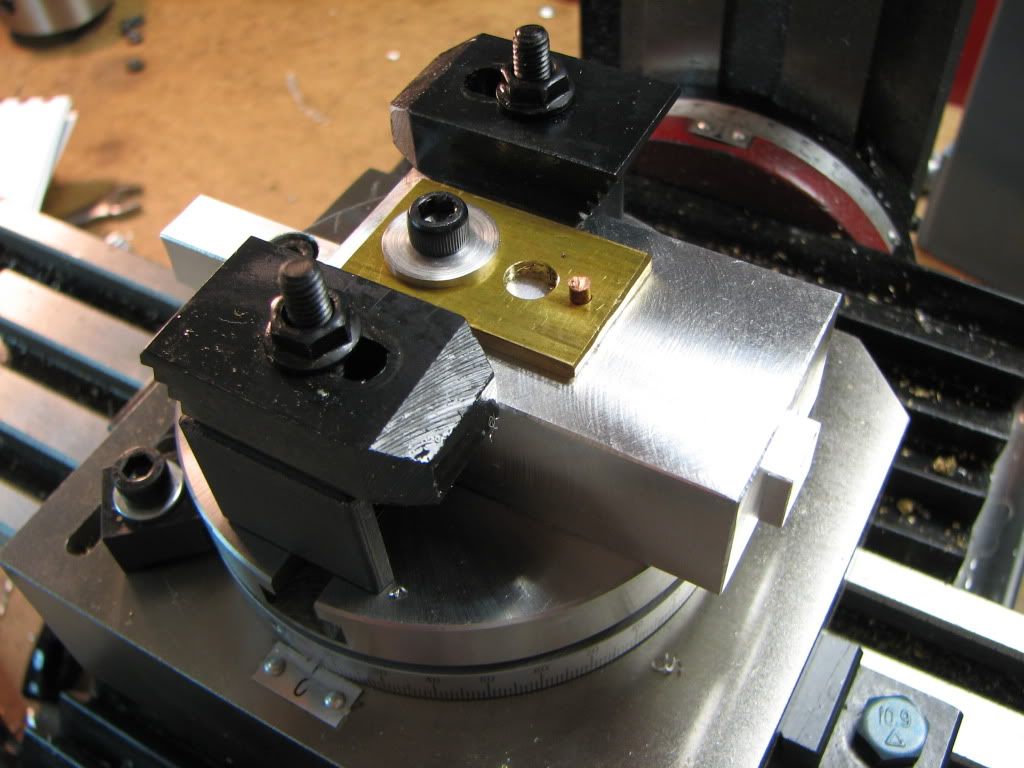
Mounted on the fixture. Luckily, beerless one reminded me to indicate the key to the X axis.
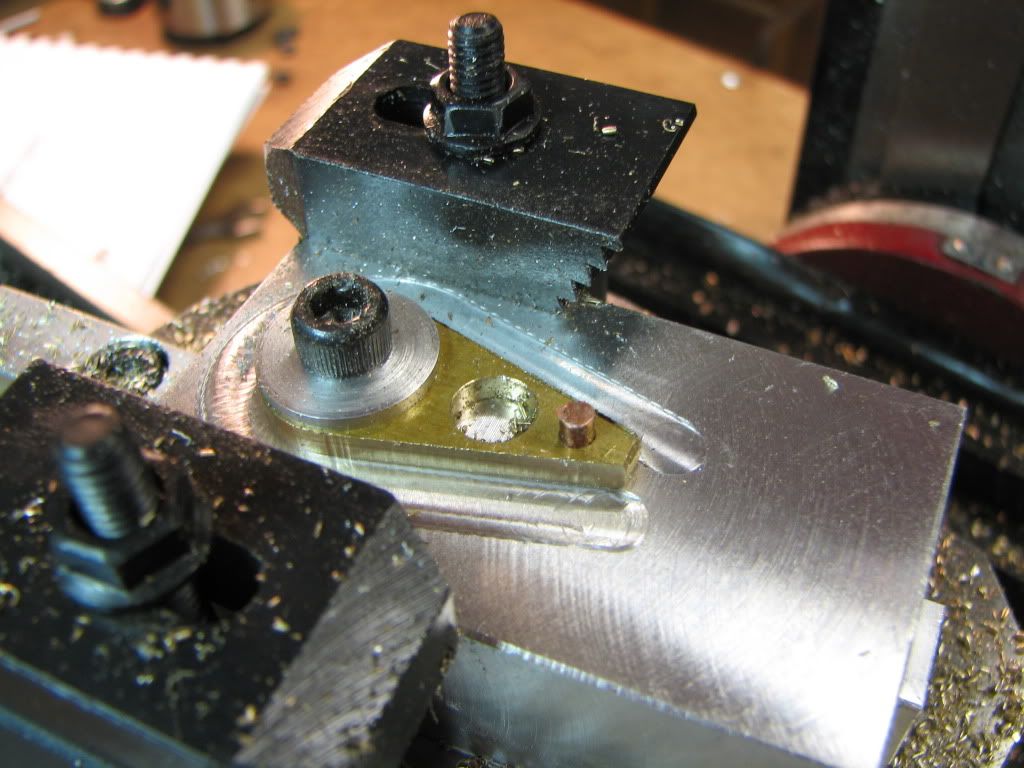
Now...to be honest...this is actually the 2nd part. (Yes...must keep 2:1 ratio.)...The first time I did this I tried to end-mill the 0.625. Big mistake and I knew I was making it. This hobby will quickly teach you to leave nothing to luck. Anyway...didn't clamp well enough so the part rotated on me and was bad. O' beerless one suggested a pin. I had a 0.125 copper rod (was supposed to be tubing) so I used that.
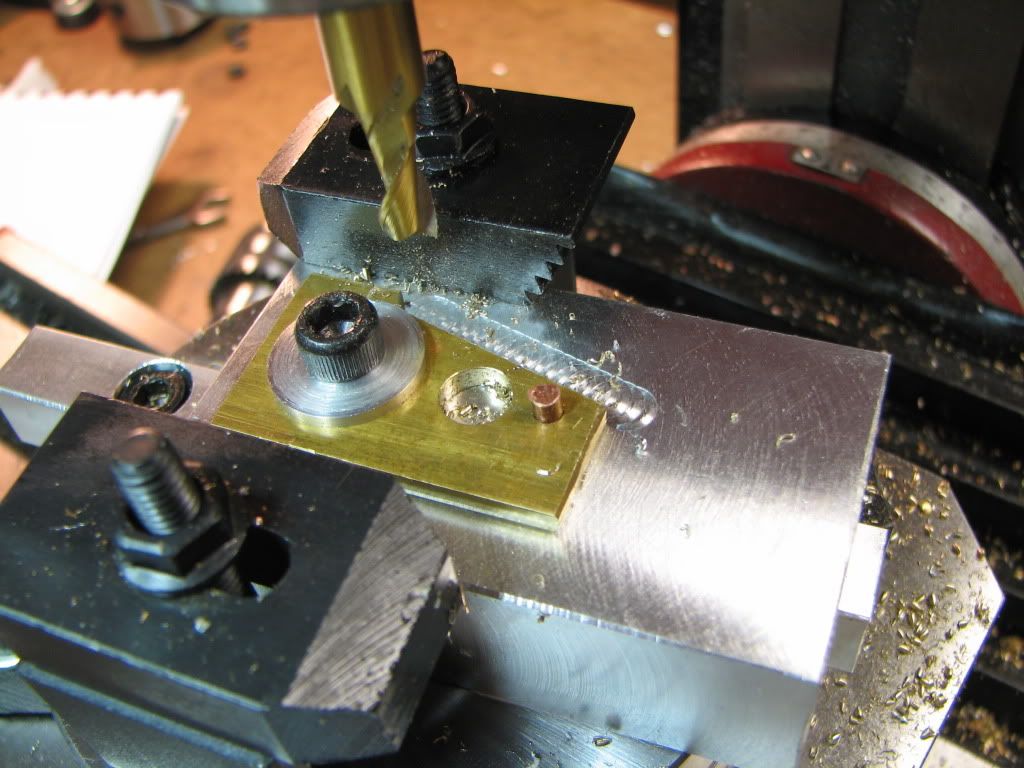
The problem is...since the 1st part caused badness (okay...I caused the badness), the block was no longer centered. I centered on the hole to mount the 2nd part. This, I think, bit me later.
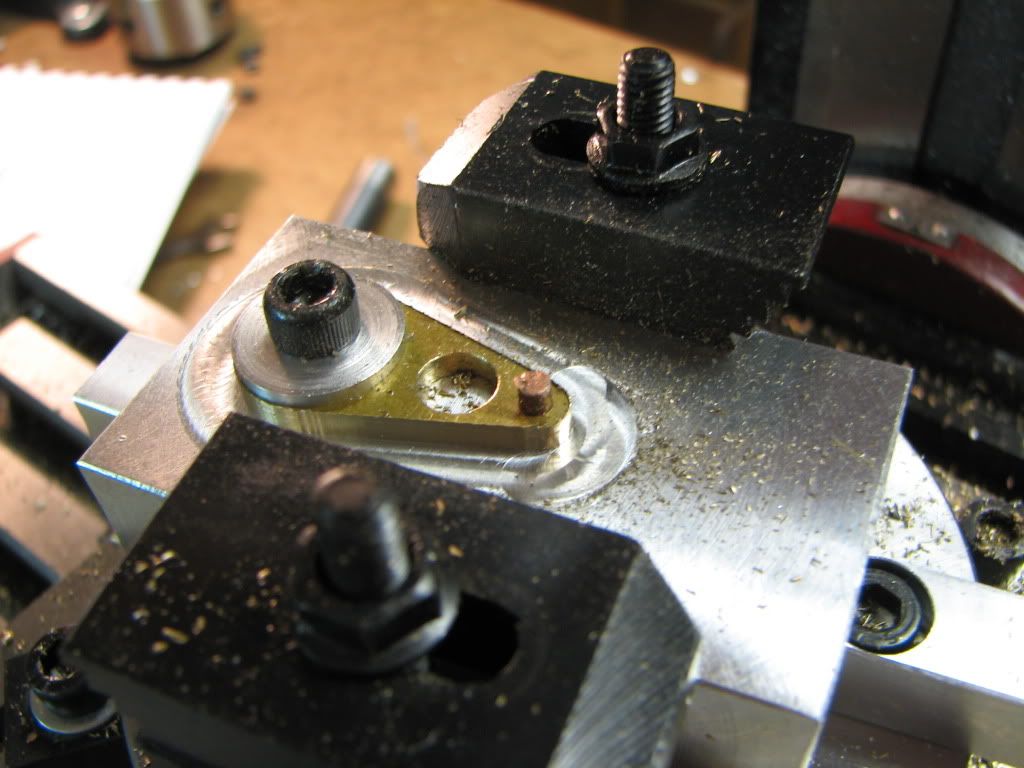
Now for milling. First pass....time to pucker...and pucker I did. Plunge, move, plunge, move...
I could see that a piece of brass was going to come free and go flying...which it certainly did. That little piece of information should have been in the instructions.
Figuring a little thin bit of brass would be easy to clean up, I had hoped to set the cutter a hair above the block and spare it from being milled. Nope. But is okay.
Through the woods...
To grandma's...
Grandma wasn't home...so back again...
Move the block 0.95 inch to center on the small hole because I'm going to rotate around that now (I hope this answers Marv's question.)
And now the dreaded last operation...where things seem to invariably go wrong...
Finished the other end...and discovered the problem...
The part was just a tad off to one side in X. You'll see in a moment.
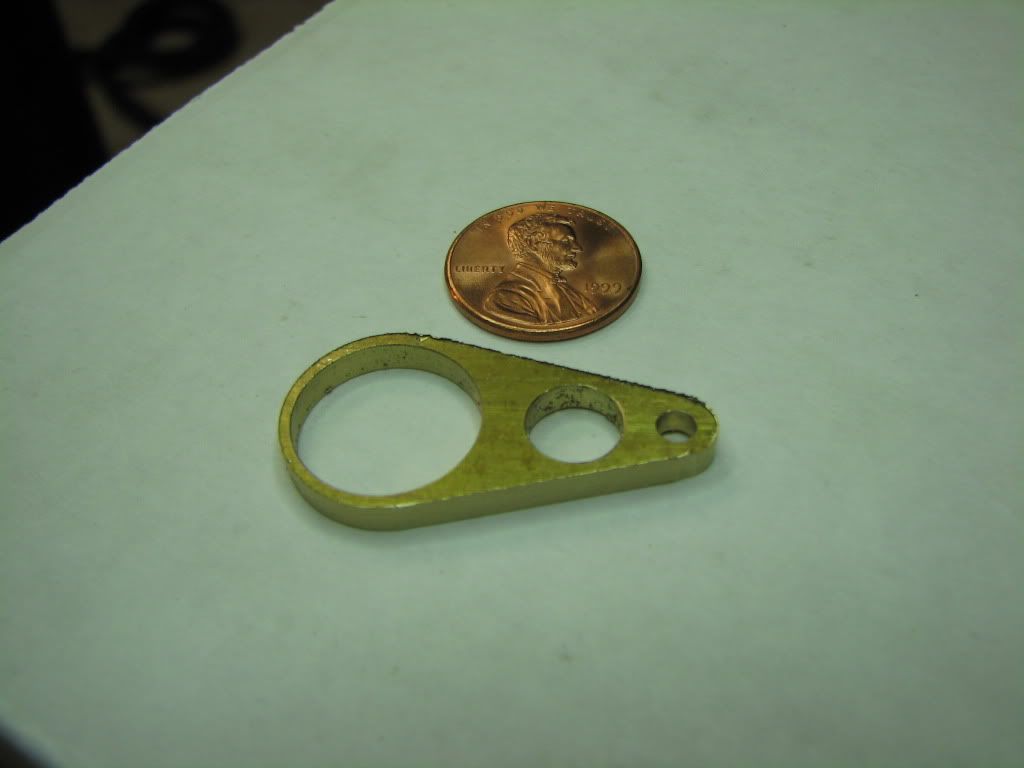
Polished...
So you can see that the bottom of the arm (big end) is a little closer to the hole that it should be. But the distances to either side look pretty good!
So happy guy!
Probably be an hour or two before the pucker relaxes though.
One more part for Isabella!
[EDIT: Almost forgot! Who needs 6" my 4" (RT) did great!]


 ............... and I think he's in danger of making this the longest ever thread on HMEM ........... ;D
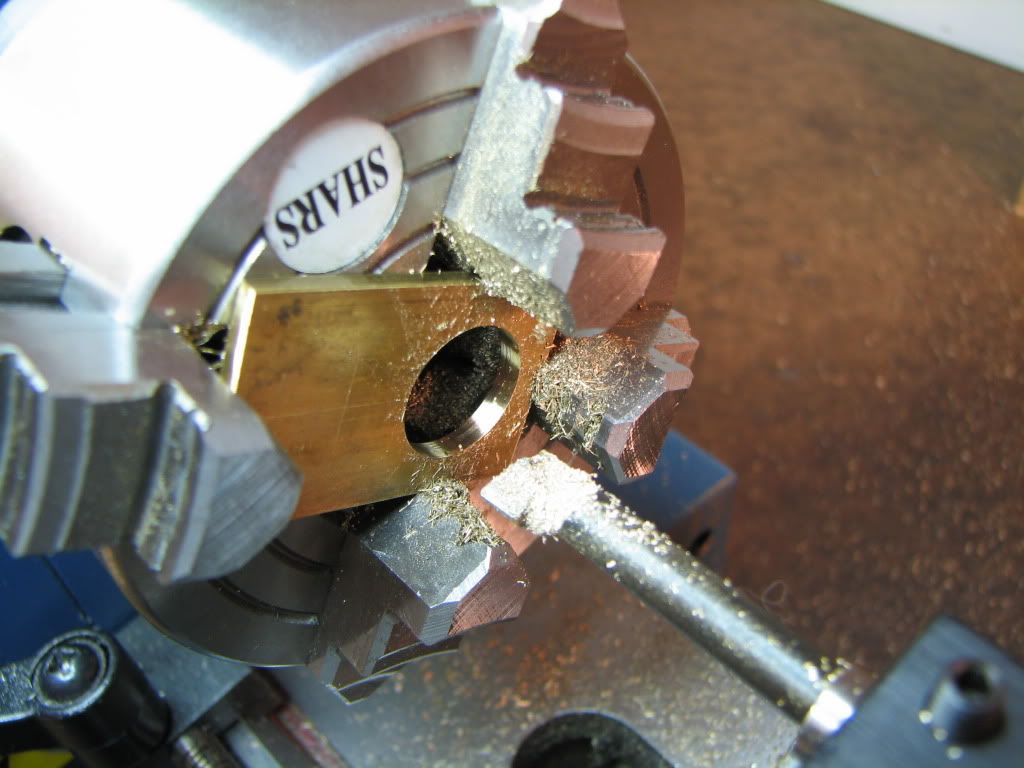


![DreamPlan Home Design and Landscaping Software Free for Windows [PC Download]](https://m.media-amazon.com/images/I/51kvZH2dVLL._SL500_.jpg)


![MeshMagic 3D Free 3D Modeling Software [Download]](https://m.media-amazon.com/images/I/B1U+p8ewjGS._SL500_.png)


