3cc Diesel - My first ICE

Home Model Engine Machinist Forum

Help Support Home Model Engine Machinist Forum:

This site may earn a commission from merchant affiliate links, including eBay, Amazon, and others.
What I like about your posts is the honesty shown for any errors made. Only from mistakes do we learn, and if we make them ourselves they may be imprinted easier.......(but not with me!) So I like to learn by seeing how people achieve there end and just as much from what went wrong.

Thanks for your posts they are great!
 
Metal Mickey said:
What I like about your posts is the honesty shown for any errors made. Only from mistakes do we learn, and if we make them ourselves they may be imprinted easier.......(but not with me!) So I like to learn by seeing how people achieve there end and just as much from what went wrong.

I have to echo this statement! It is easy to put together a post with all of the "right ways" to achieve an end result, but there is much to learn from the goofs, oops, oh no's, and awh shucks that happen along the way.

Bob, thanks for taking us along on the journey.
 
M/M and W/E,

Thanks guys for your kind words, when I learn to walk on water then I'll be a perfect machinist :eek:

W/E
I've been giving some thought about your comments re the crankshaft being the most difficult part of your Crusader to make.

In my case, so far, it has been the crankcase, (the design had a lot to do with this), I had to make 2 to get 1 good one :'( I was very nervous about the conrod but it came out OK, so too has the crankshaft. In both cases the jigs I made were a good investment and made life much easier as well as providing good accuracy. :D

Best Regards
Bob
 
Yet another week has flown by, I'm sure as you get older time passes more quickly, which is a real PITA when you ain't got much left ;).

Enough philosophy for one day ;D. The crankshaft is finished and went pretty well apart from the CU's with the jig and the leadscrew :mad:.

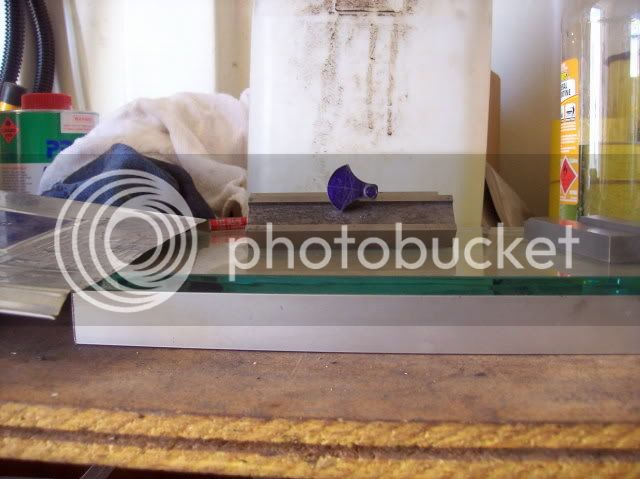
First job to finish the crankshaft was to set the boring head to bore at the correct diameter.

100_0574.jpg


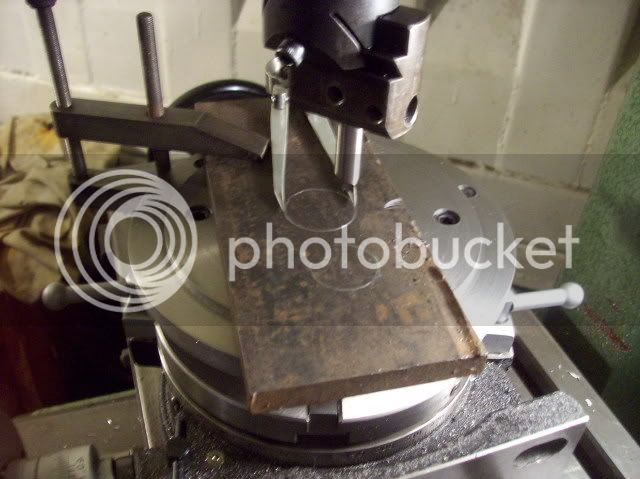
Next came marking out the crank arm for the cut out.

100_0575.jpg


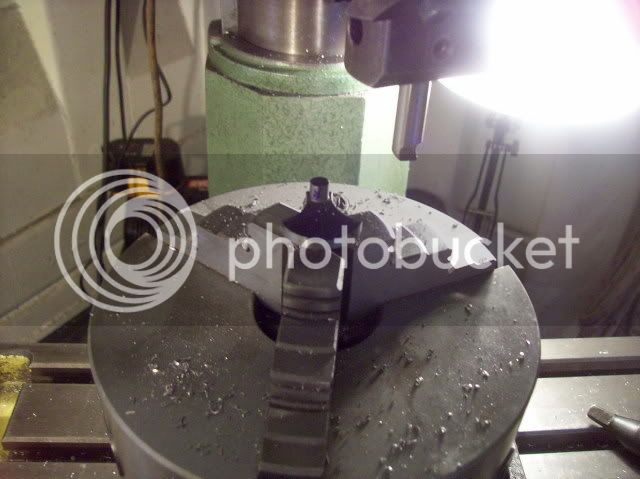
A bit of good old US know how provided the shim to hold the crankshaft in the chuck.

100_0576.jpg


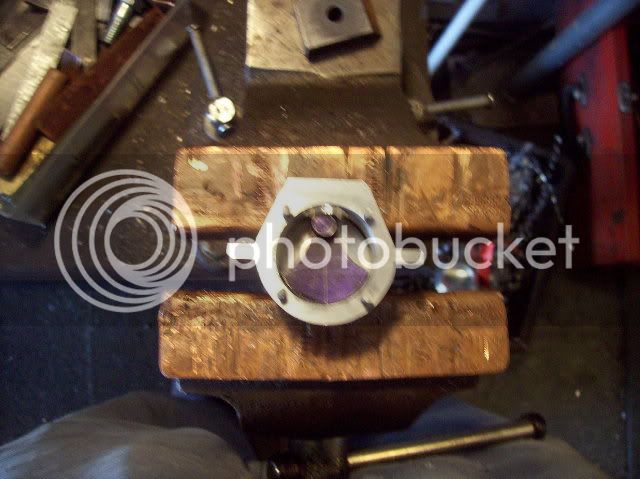
The crank arm boring.

100_0578.jpg


The completed crankshaft.

100_0579.jpg


The crankshaft and crankcase.(sorry about the focus, must have sneezed ;D)

100_0580.jpg


Gave our car a fright and spent the afternoon cleaning it :eek: :eek:

Have a great weekend :D

 
Bob

It's been good to follow your project, especially to see the lathe you are using. I've recently bought the same type, probably from the same place, and was getting a little irked by conversations with people who are trying to tell me that the only way to produce precision work is on a second hand Myford, South Bend or the like. It seems to be holy writ in some quarters that the Hafco lathes are worthless!

Seeing the type of work you are producing on the al320g with the stock chucks etc restores my confidence...

Off topic slightly but have you had problems with the tailstock chuck spinning under shock loads?

Rgds - Gavin
 
Gavin,

Thanks for your support and your comments about our lathe.

Yes, in the land of my birth, there is only one lathe for the model engineering fraternity - "The Myford" I am afraid I don't understand why.

For me the China of today is the Japan of yesterday. Sure some of their early stuff was off the mark, but for a run of the mill jobbing lathe, in my opinion,they are now as good as anybody. They come with all the basic parts as standard, (chucks, faceplates, steadies and a tool kit complete with oil can), Others on the other hand seem to want an arm and a leg for every additional item, including of course there own oil can at their own very special price. This is the 2nd Chinese Lathe I have owned, I traded in my 1st one on this one. I also have a Chinese Mill/Drill bought second hand and it has given me no trouble whatsoever. :)

No I've not experienced spinning in the tailstock. Have you tried bluing a couple of different Mt3 items and seeing if there is a difference in their fit in the tailstock ??? Also if using an Mt3 tanged sleeve you need to be out around 15mm for it to seat fully in the taper.

Hope this helps ???

Regards
Bob
 
Yes, I bought a used ML7 as my first lathe and, unknown to me at the time, it was pretty well worn.
Sold it and bought a 12"x36" Taiwanese gear head lathe (AL-960B) which is absolutely superb. Can't fault it.
 
Hope you all had a good weekend.

Not a lot achieved with the engine today, but the really good news is Galina's CT Scan showed no evidence of stroke or heart attack, so we are both very relieved and happy :D :D

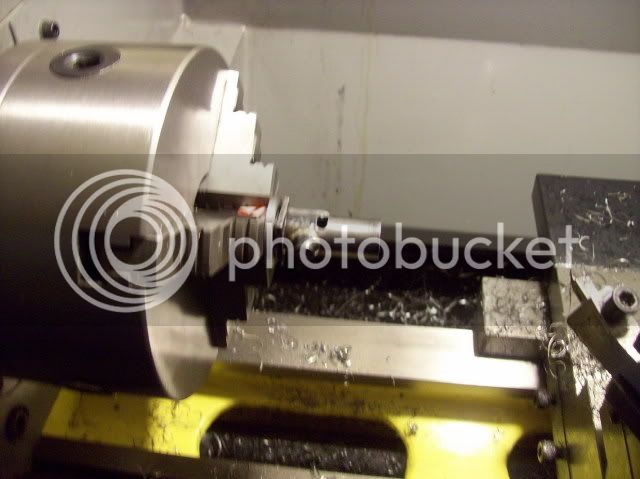
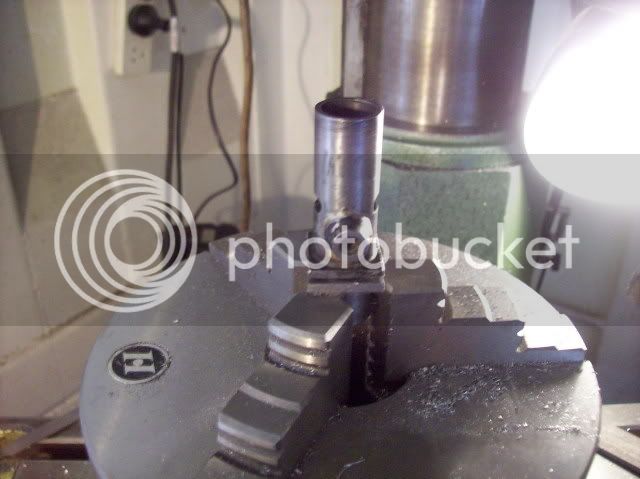
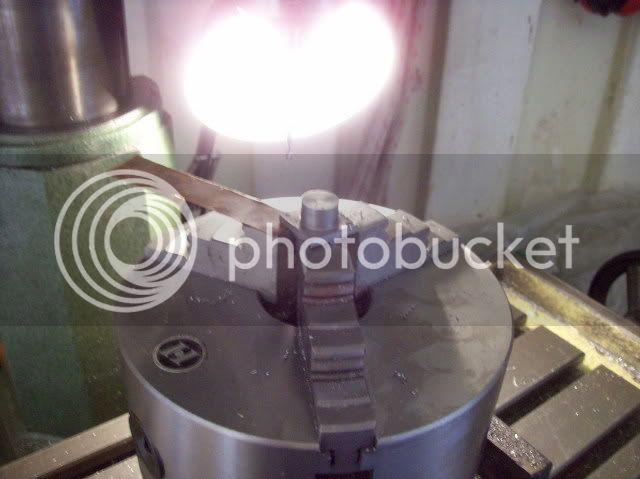
Made a start on the drilling jig for the holes in the crankcase, head and cylinder flange.

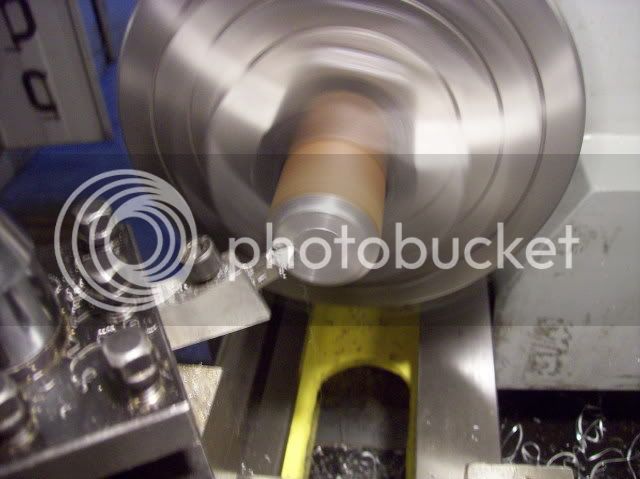
Facing the lump.

100_0581.jpg


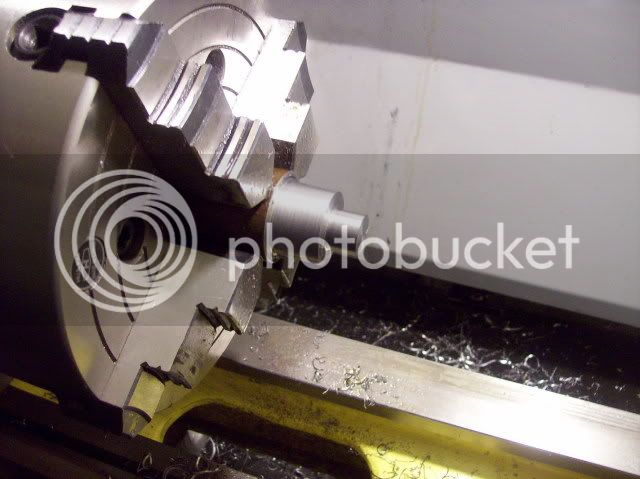
Locator for the head end

100_0582.jpg


Locator for the cylinder/crankcase end

100_0583.jpg


Tomorrow I should transfer to the mill and cut the sides to match the cylinder.
 
Bob

Good to hear the news re the boss. On your post of 22nd September there is a photo of your parting off tool, what type is it and where did you get it from? I'm looking for something a bit more robust than the one I have and was wary of getting into the carbide jobs (too much $$$), yours looks like the type I want to get.

Rgds - Gavin.
 
Gavin,

PM sent re parting tool.

Best Regards
Bob
 
Good news on the home front Bob.

I'll be interested to see how this drilling jig works.

Cheers,
Phil
 
Maryak said:
the really good news is Galina's CT Scan showed no evidence of stroke or heart attack

That's great to hear Bob, and I'm sure I speak for everyone, wish her all the best ;D

anyway, still watching your build with great interest, it's coming along nicely ............ thanks for your efforts.

CC
 
C/C

Thanks for the kind thoughts, maybe today I can get a clear run at the model ??? ???

We'll know this evening. ::)

Best Regards
Bob :D
 
Bob, I am relieved beyond words that Mrs. Maryak is okay! What a huge relief!!

You project is coming nicely! Many thanks for the contiuned posting of your adventure.
 
I'm happy to hear the good news about your wife.

I think we'll see a running engine soon....

George
 
W/E, Kevin and George,

Thanks you for your support and concern for Galina. :bow: Yes we are both very relieved and glad it's behind us

Best Regards
Bob :D
 
Well, I did manage a reasonable day in the shop, it started to warm up this arvo and it was either off with my jumper or go home. I elected for the latter and hopped under the shower. ::)

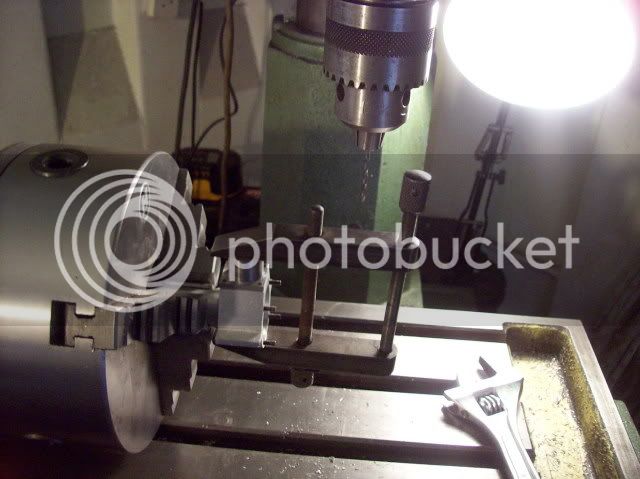
The drilling jig is - So Far.....So Good ;D

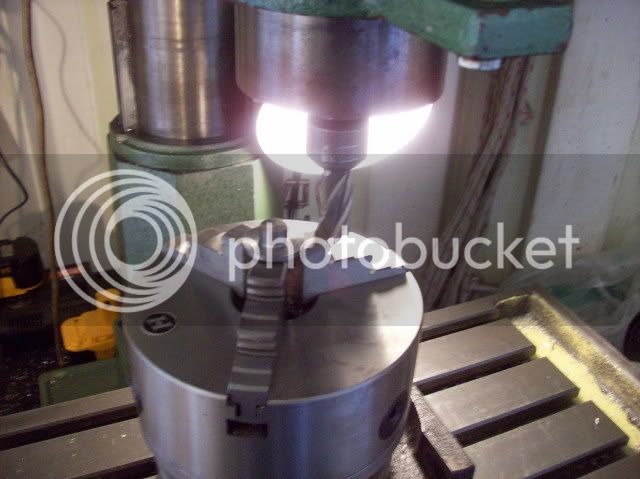
The drilling jig set up in the mill to mill the flats matching the cylinder.

100_0584.jpg


Half way milling the flats

100_0585.jpg


The flats are complete.

100_0586.jpg


100_0587.jpg


Set up to drill the holes in the jig.

100_0588.jpg


The completed drilling jig - the through holes are 6BA tapping and the half way holes are 6BA clearance.

100_0589.jpg


100_0590.jpg


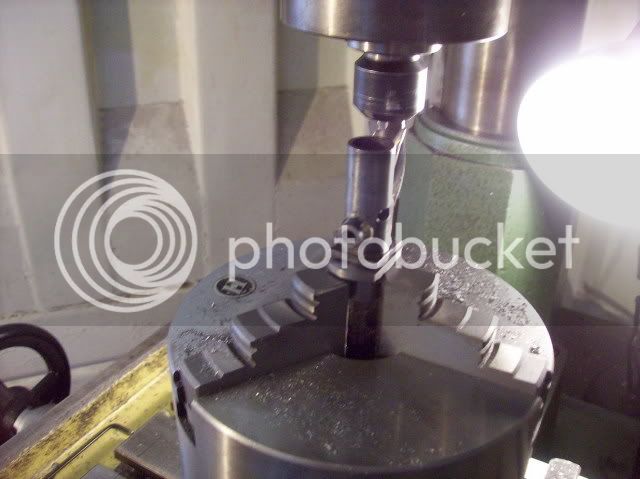
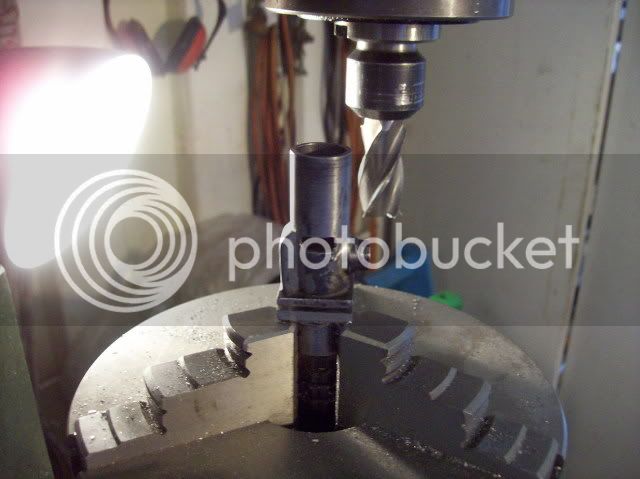
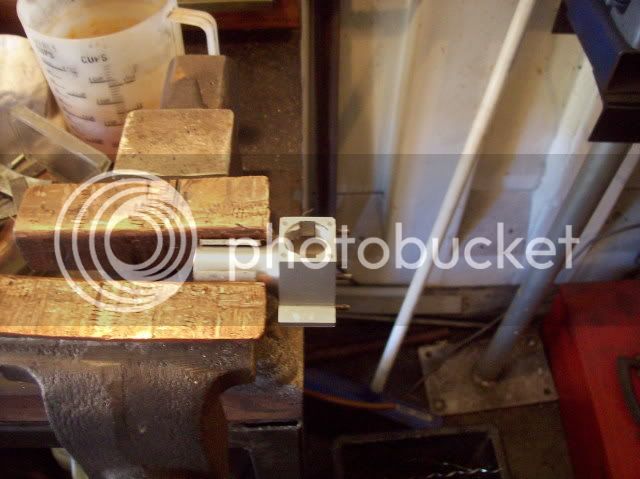
Set up for drilling the crankcase.

100_0591.jpg


The crankcase complete with tapping holes.

100_0592.jpg


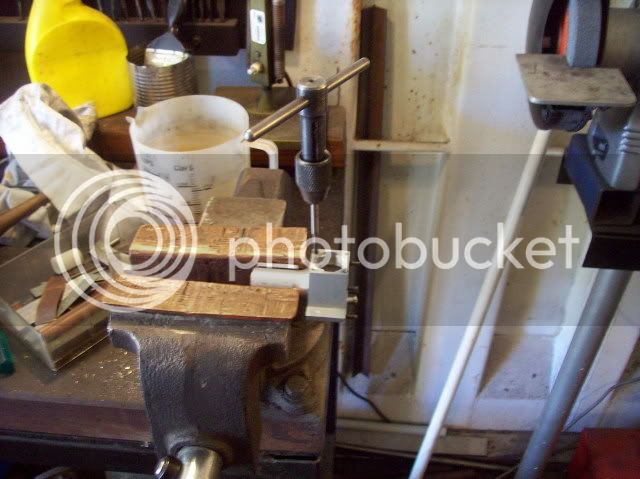
Tapping the holes in the crankcase - I believe that these are pretty important as the whole of the compression and firing forces are carried on these 4 threads via through bolts.

100_0593.jpg


And home I went, it's always stressful tapping aluminium as it's just so easy to tear out the thread especially at such a small, (too me), size.
 
Bob,

Looks like you had a good day. More progress is good!


--Nothing that the old hands don't know already, but for a person inexperienced or having troubles... Tapping aluminum I have found is easy, but can be tricky. The aluminum can get gummed up on the tap, and then can bind up and break the tap, usually on the last hole. ::) I use a light oil (WD-40) when I am tapping, and have found it makes a huge difference in thread quality and easy of tapping. It reduces the tendency of the gum up issue, and allows a better thread. It doesn't take much, either. Tap Magic works very well for the purposes also.
 

Latest posts

Back
Top