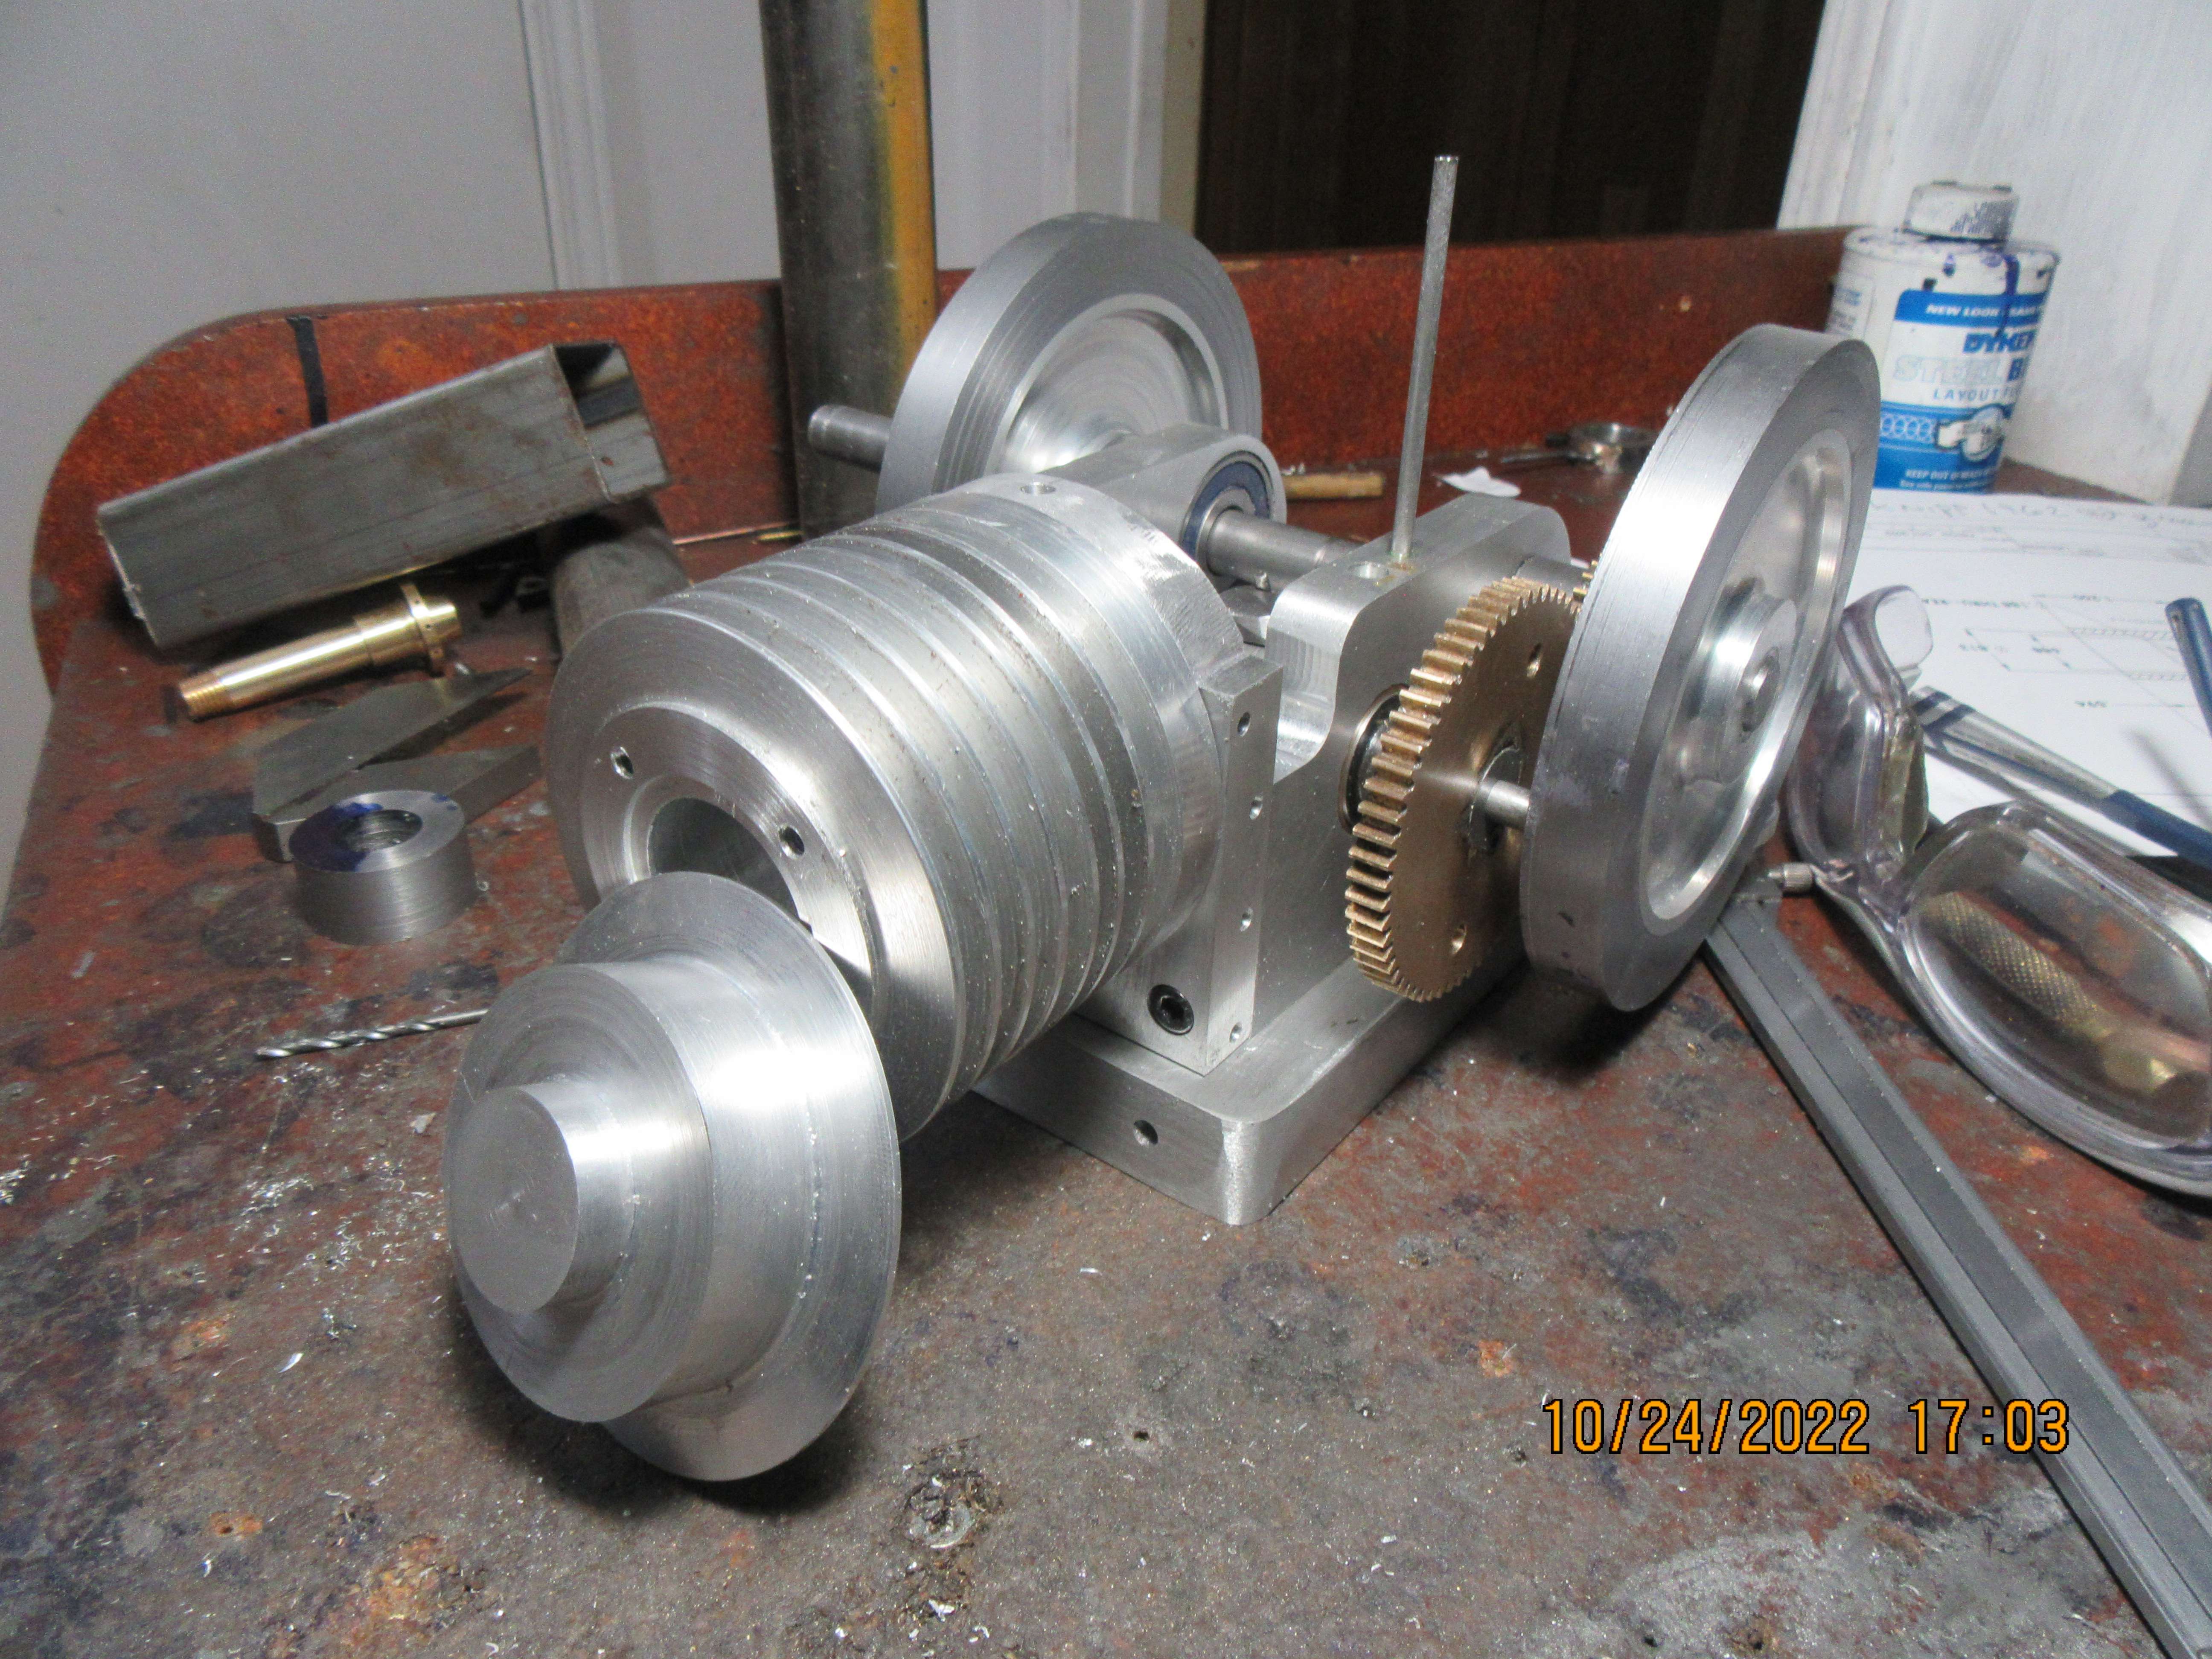
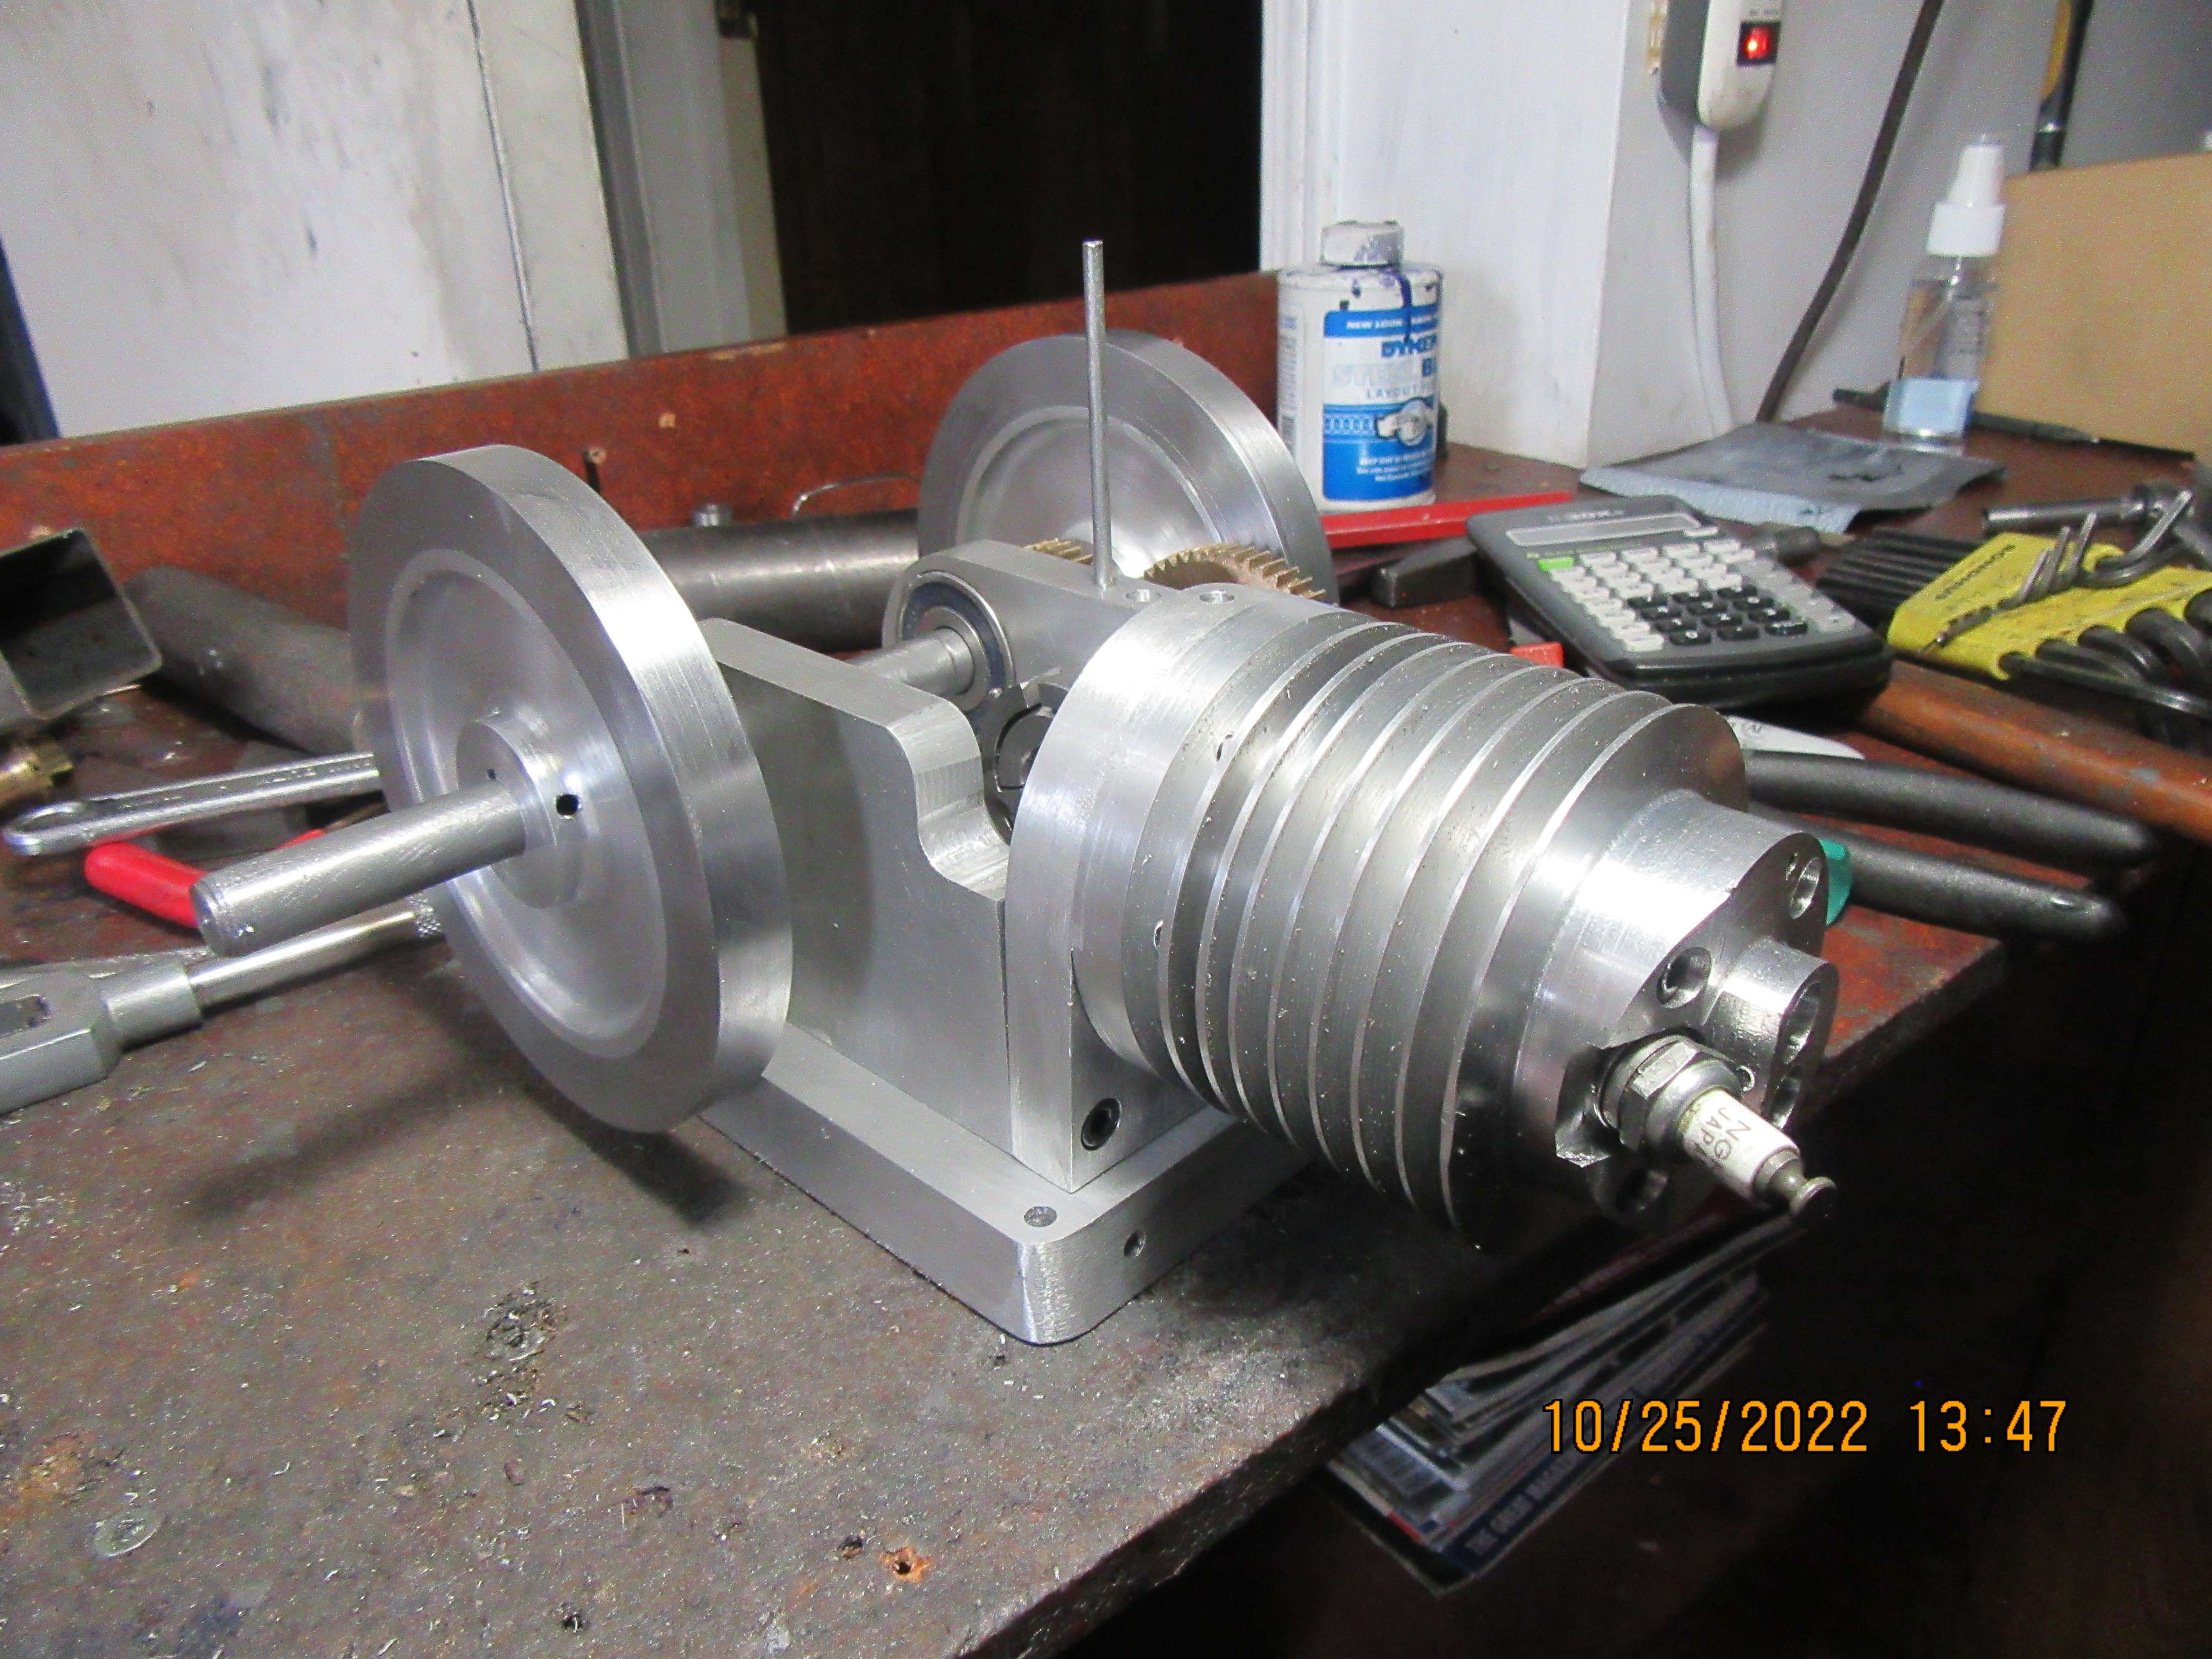
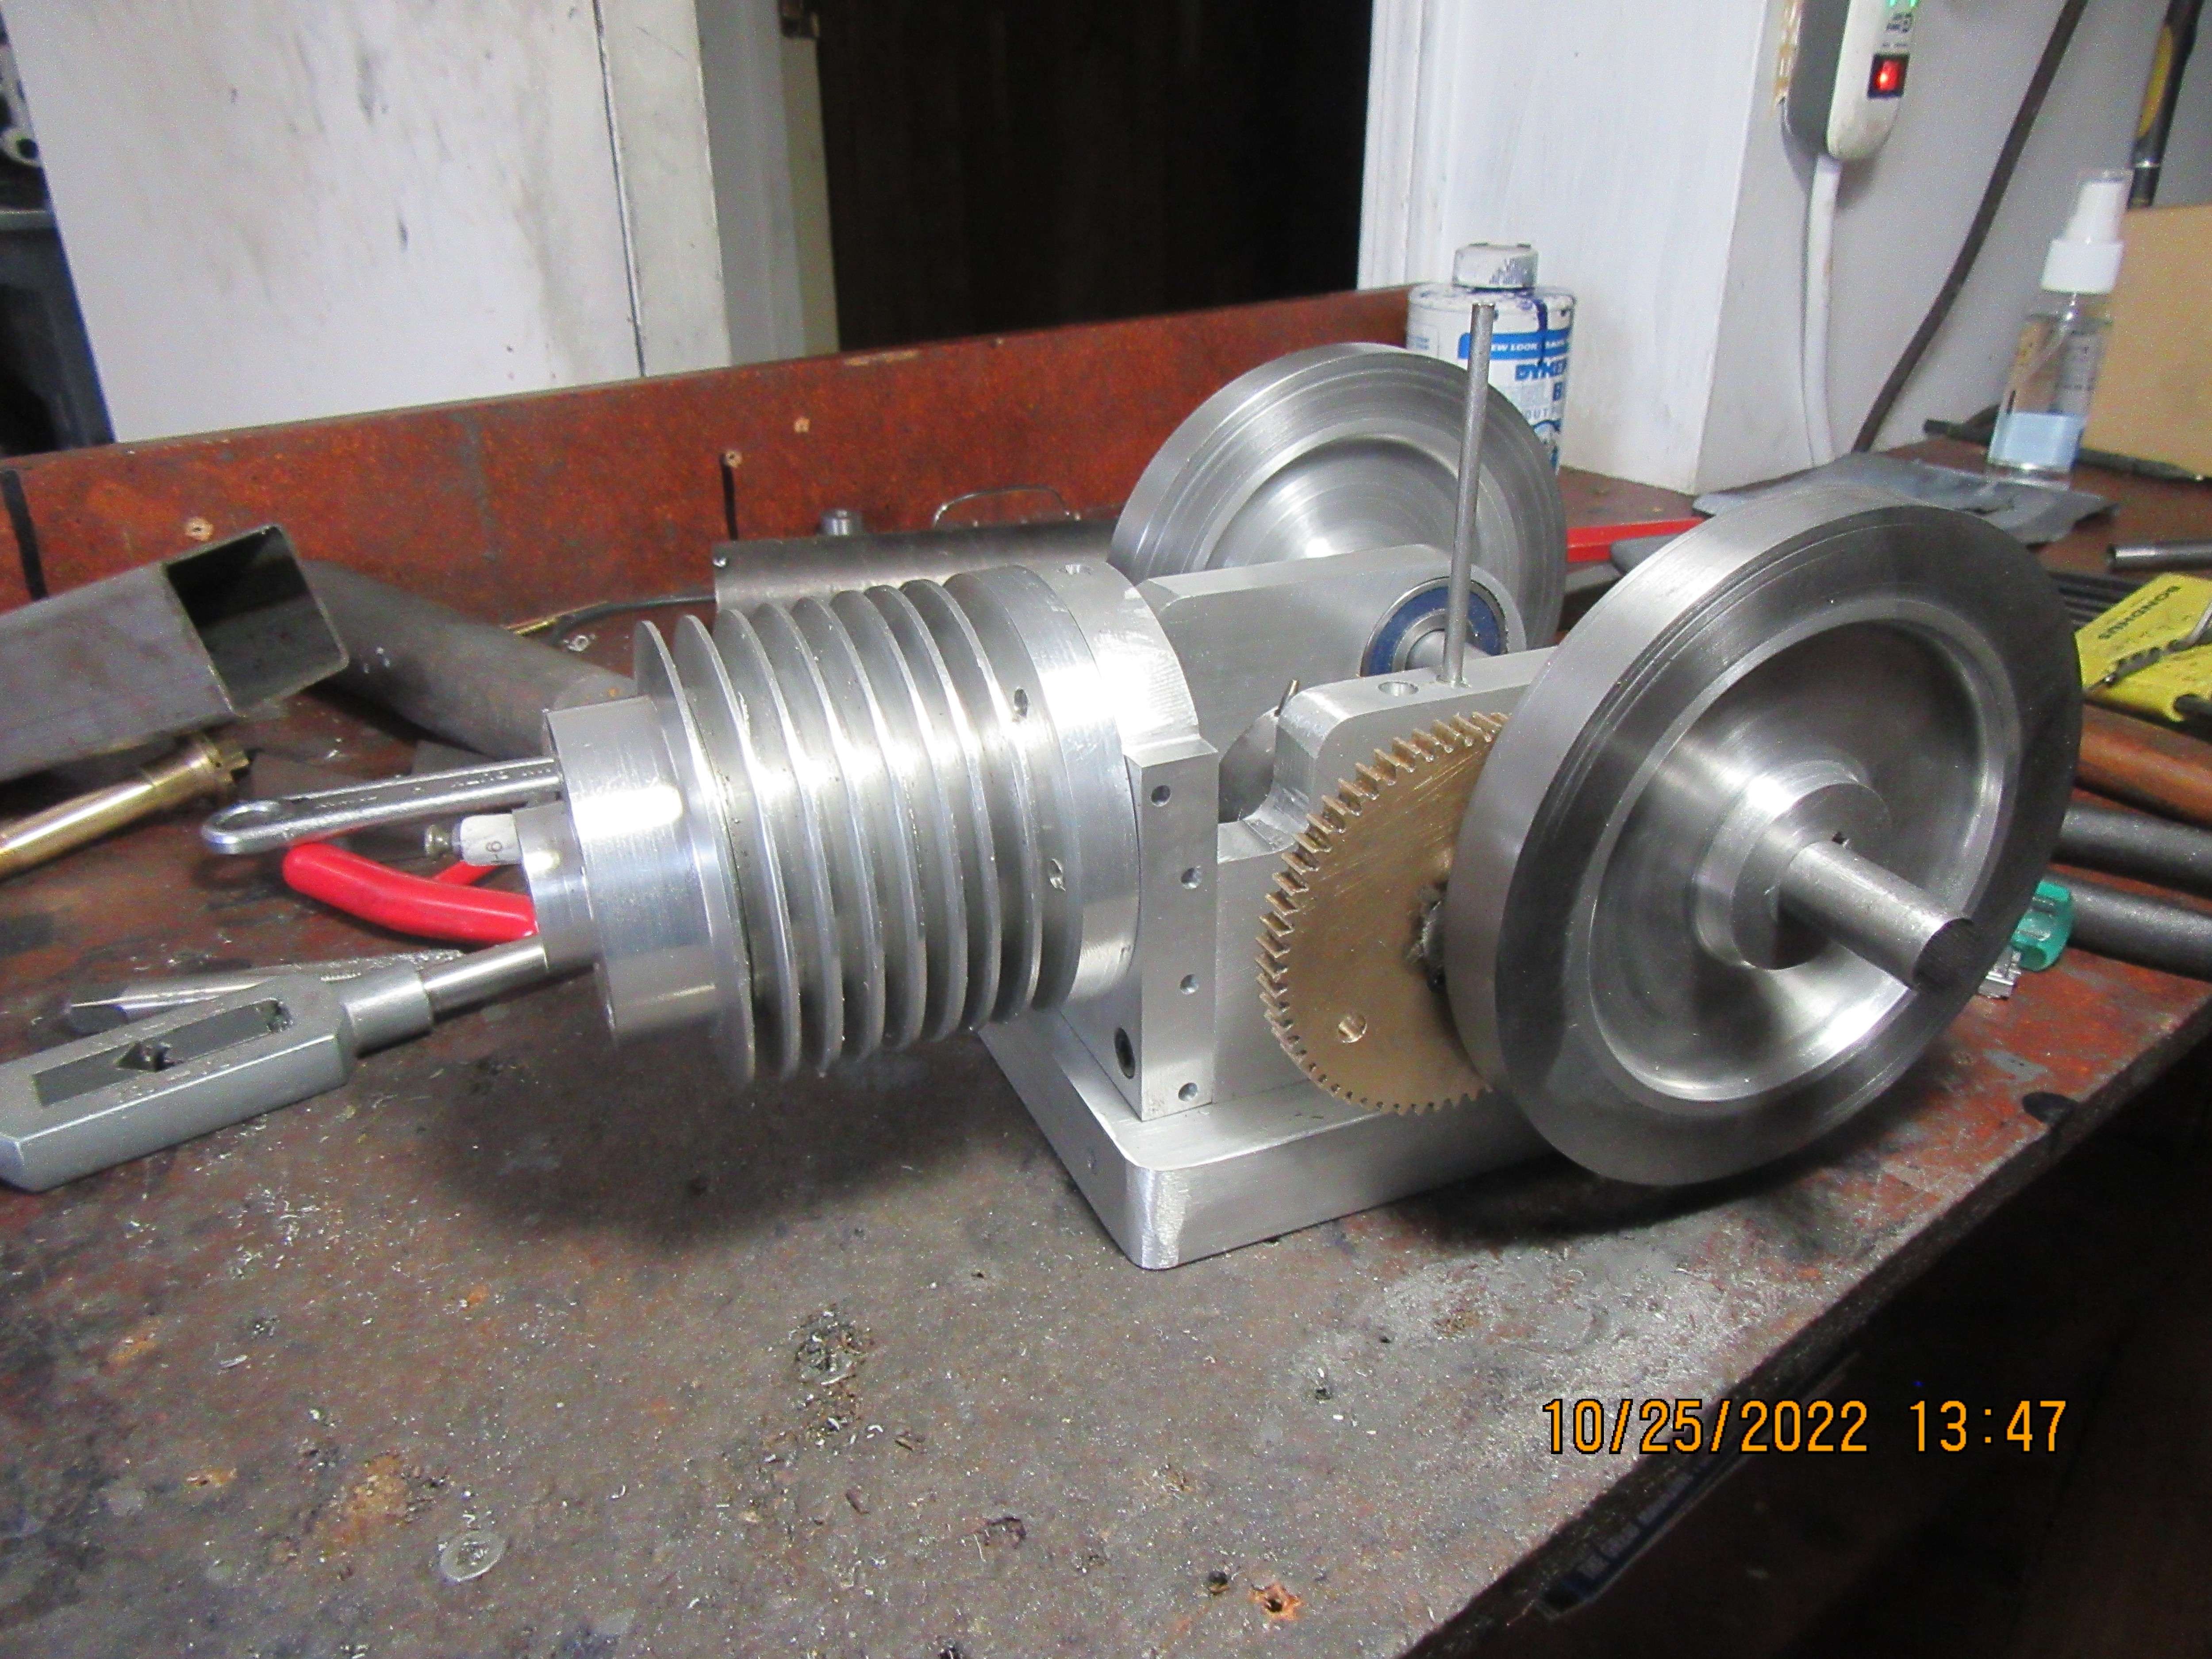
Time for a new Horizontal Hit and Miss engine

Home Model Engine Machinist Forum

Help Support Home Model Engine Machinist Forum:

This site may earn a commission from merchant affiliate links, including eBay, Amazon, and others.
Bob--to get these small hit and miss engines to "free-wheel" between firings, as the full size engines do, it is necessary to remove as much possible friction as you can. Removing the shields and the grease and lubricating the bearings with light lubricating oil is one of the steps towards very low friction.---Brian
Most ball bearings are available without seals or with seals only on one side.
 
Gordon--I know that, but it costs more to buy the bearings without seals than it does to buy them with seals. Their default is to build the bearings with seals. They charge you extra money if they have to take the seals out.--I worked like mad this morning making a cylinder head and finishing the second flywheel. Then at 1:30 a customer called with changes to a design I did for him last week, and that eat up my afternoon.
CbzgEZ.jpg
 
Currently, I have my camshaft riding in a bronze bushing that I made and pressed into the engine sideplate. It works, but isn't as friction free as I would like. I called Canadian Bearings today, and I can buy a roller bearing with no inner race that fits my 7/8" camshaft and is 1/2" wide, same as my engine sideplate for $9.00. The camshaft is very short, and although it is not good practice to run a roller bearing with no inner race on a cold rolled steel shaft, I can make remake my camshaft from a piece of 01 material and flame harden it.
 
Today I finished off the flywheels with keyways and set screws, and finished the cylinder head. I sweat blood every time I make one of these cylinder heads. It's not bad when you first start machining them, but the more you do, the more fear you have of screwing something up and having to scrap the part. This one turned out fine, and I'm happy to be finished with it. The engine looks more proportional once that head gets bolted on.
URr0Ob.jpg

5qwBXI.jpg
 
This morning I machined and assembled five little pieces that are associated with the "hit and miss" action of the engine. My new roller bearing for the camshaft has came in to Canadian Bearings, and this afternoon I will go over and pick it up.
XK200m.jpg
 
Today I replaced the camshaft bushing with a Koyo roller bearing and made a new camshaft out of 01 steel that I can harden. It has made a remarkable difference to how freely the crankshaft and camshaft rotate. It doesn't sound like much, but I managed to use up the entire day doing it. Tomorrow I will flame harden and quench the camshaft, then reassemble things and move on with some new parts.
 
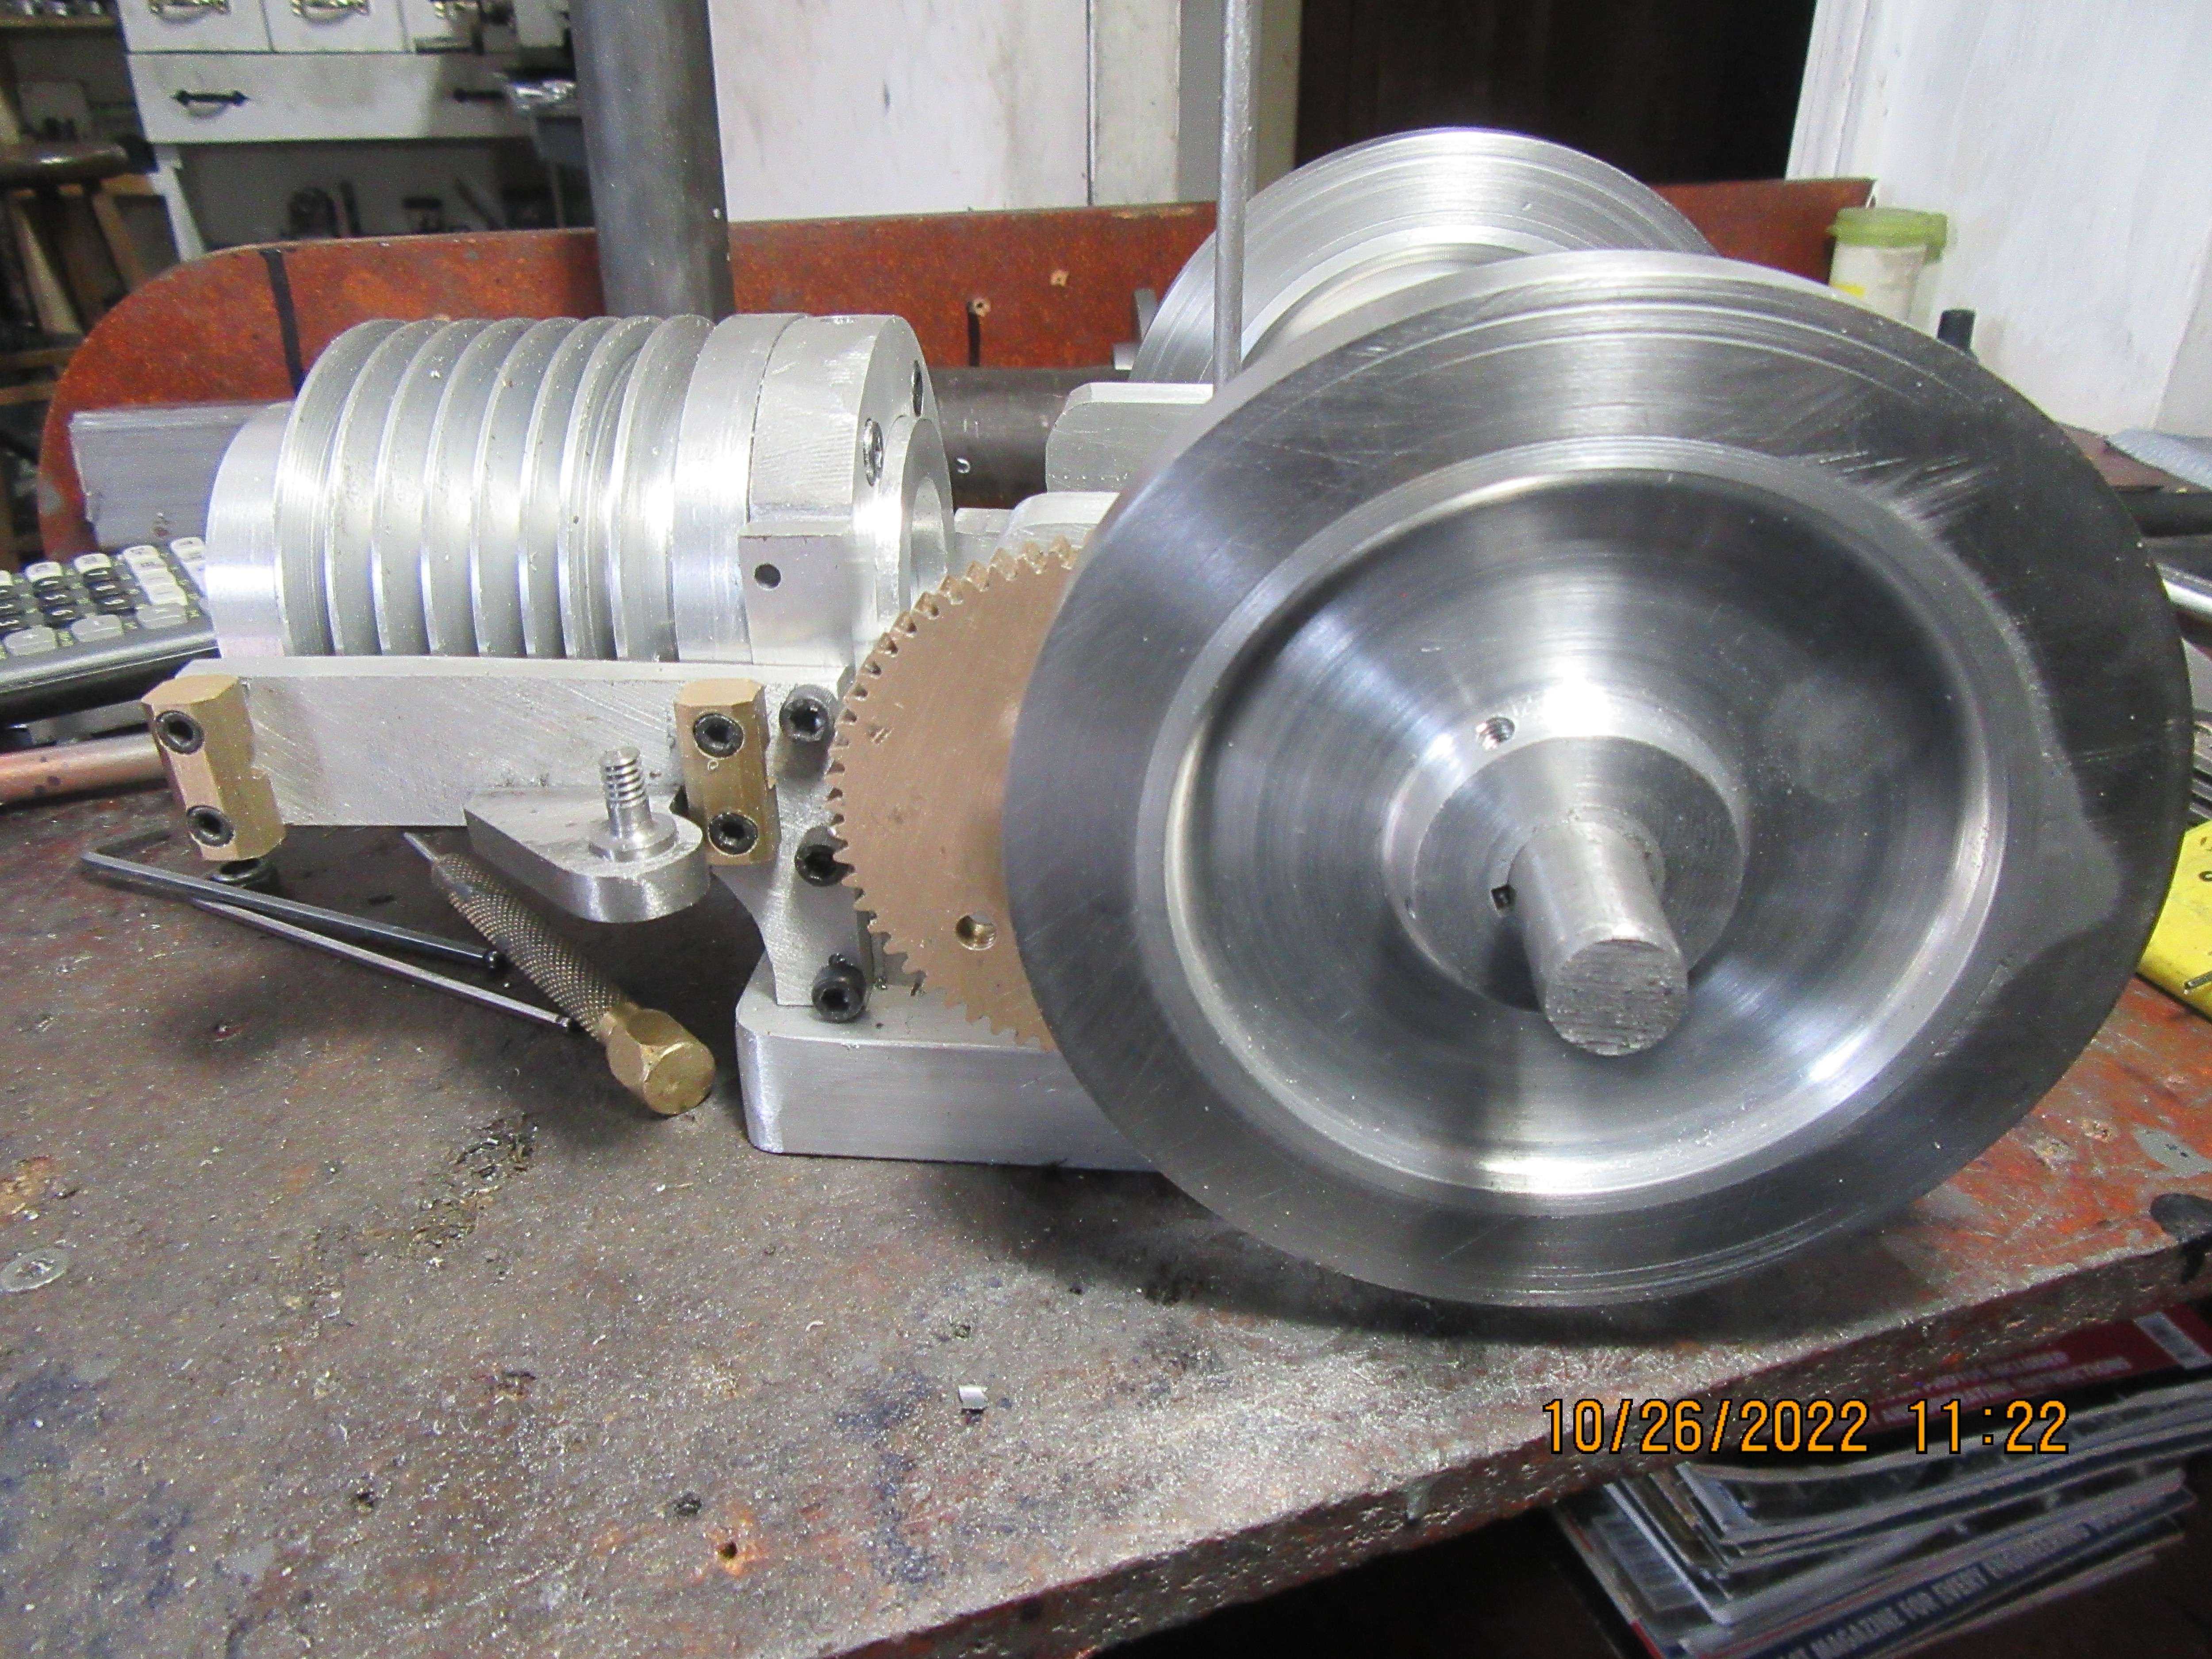
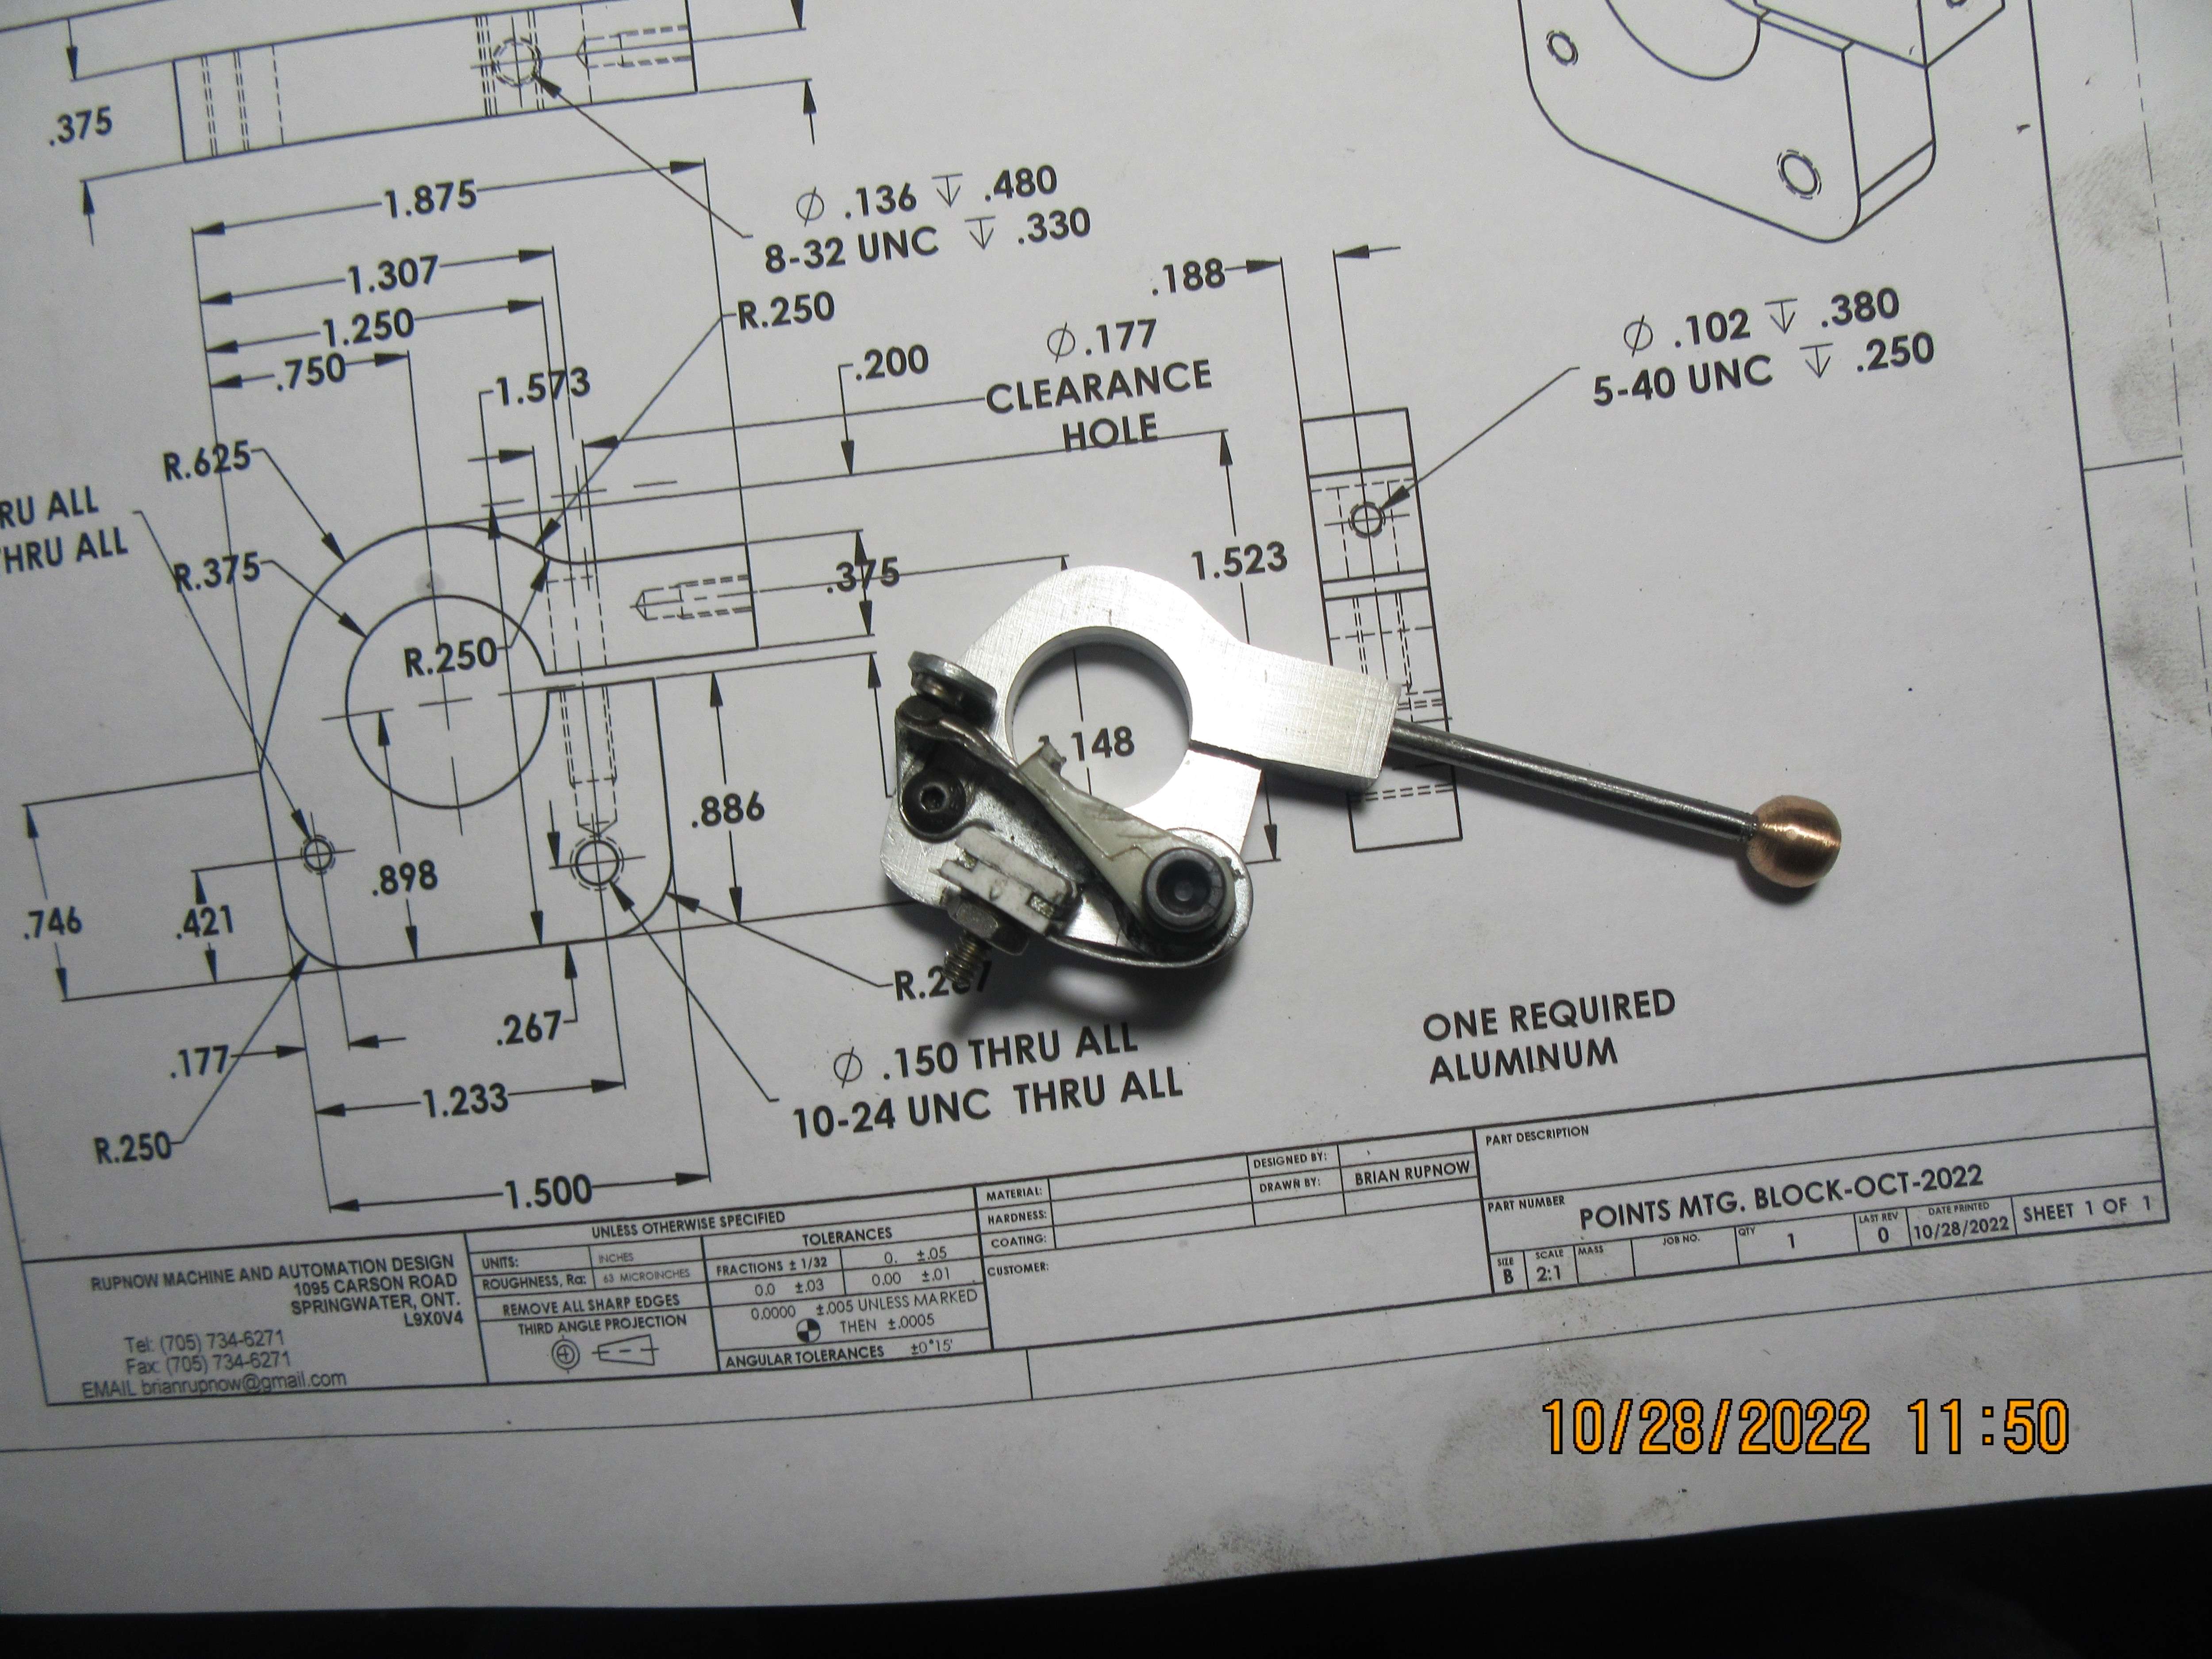
I didn't feel like a real ball of energy this morning, so decided to build something relatively simple. I decided that a mounting block for my adjustable ignition points was something that didn't require a lot of thought, so that's what I made. This doesn't mount directly to the engine sideplate. There is an intermediate plate that I haven't made yet. I will make it this afternoon. the points shown are a damaged set that I keep around for "fitment". I haven't bought the points I will actually use yet.
sogX5Y.jpg
 
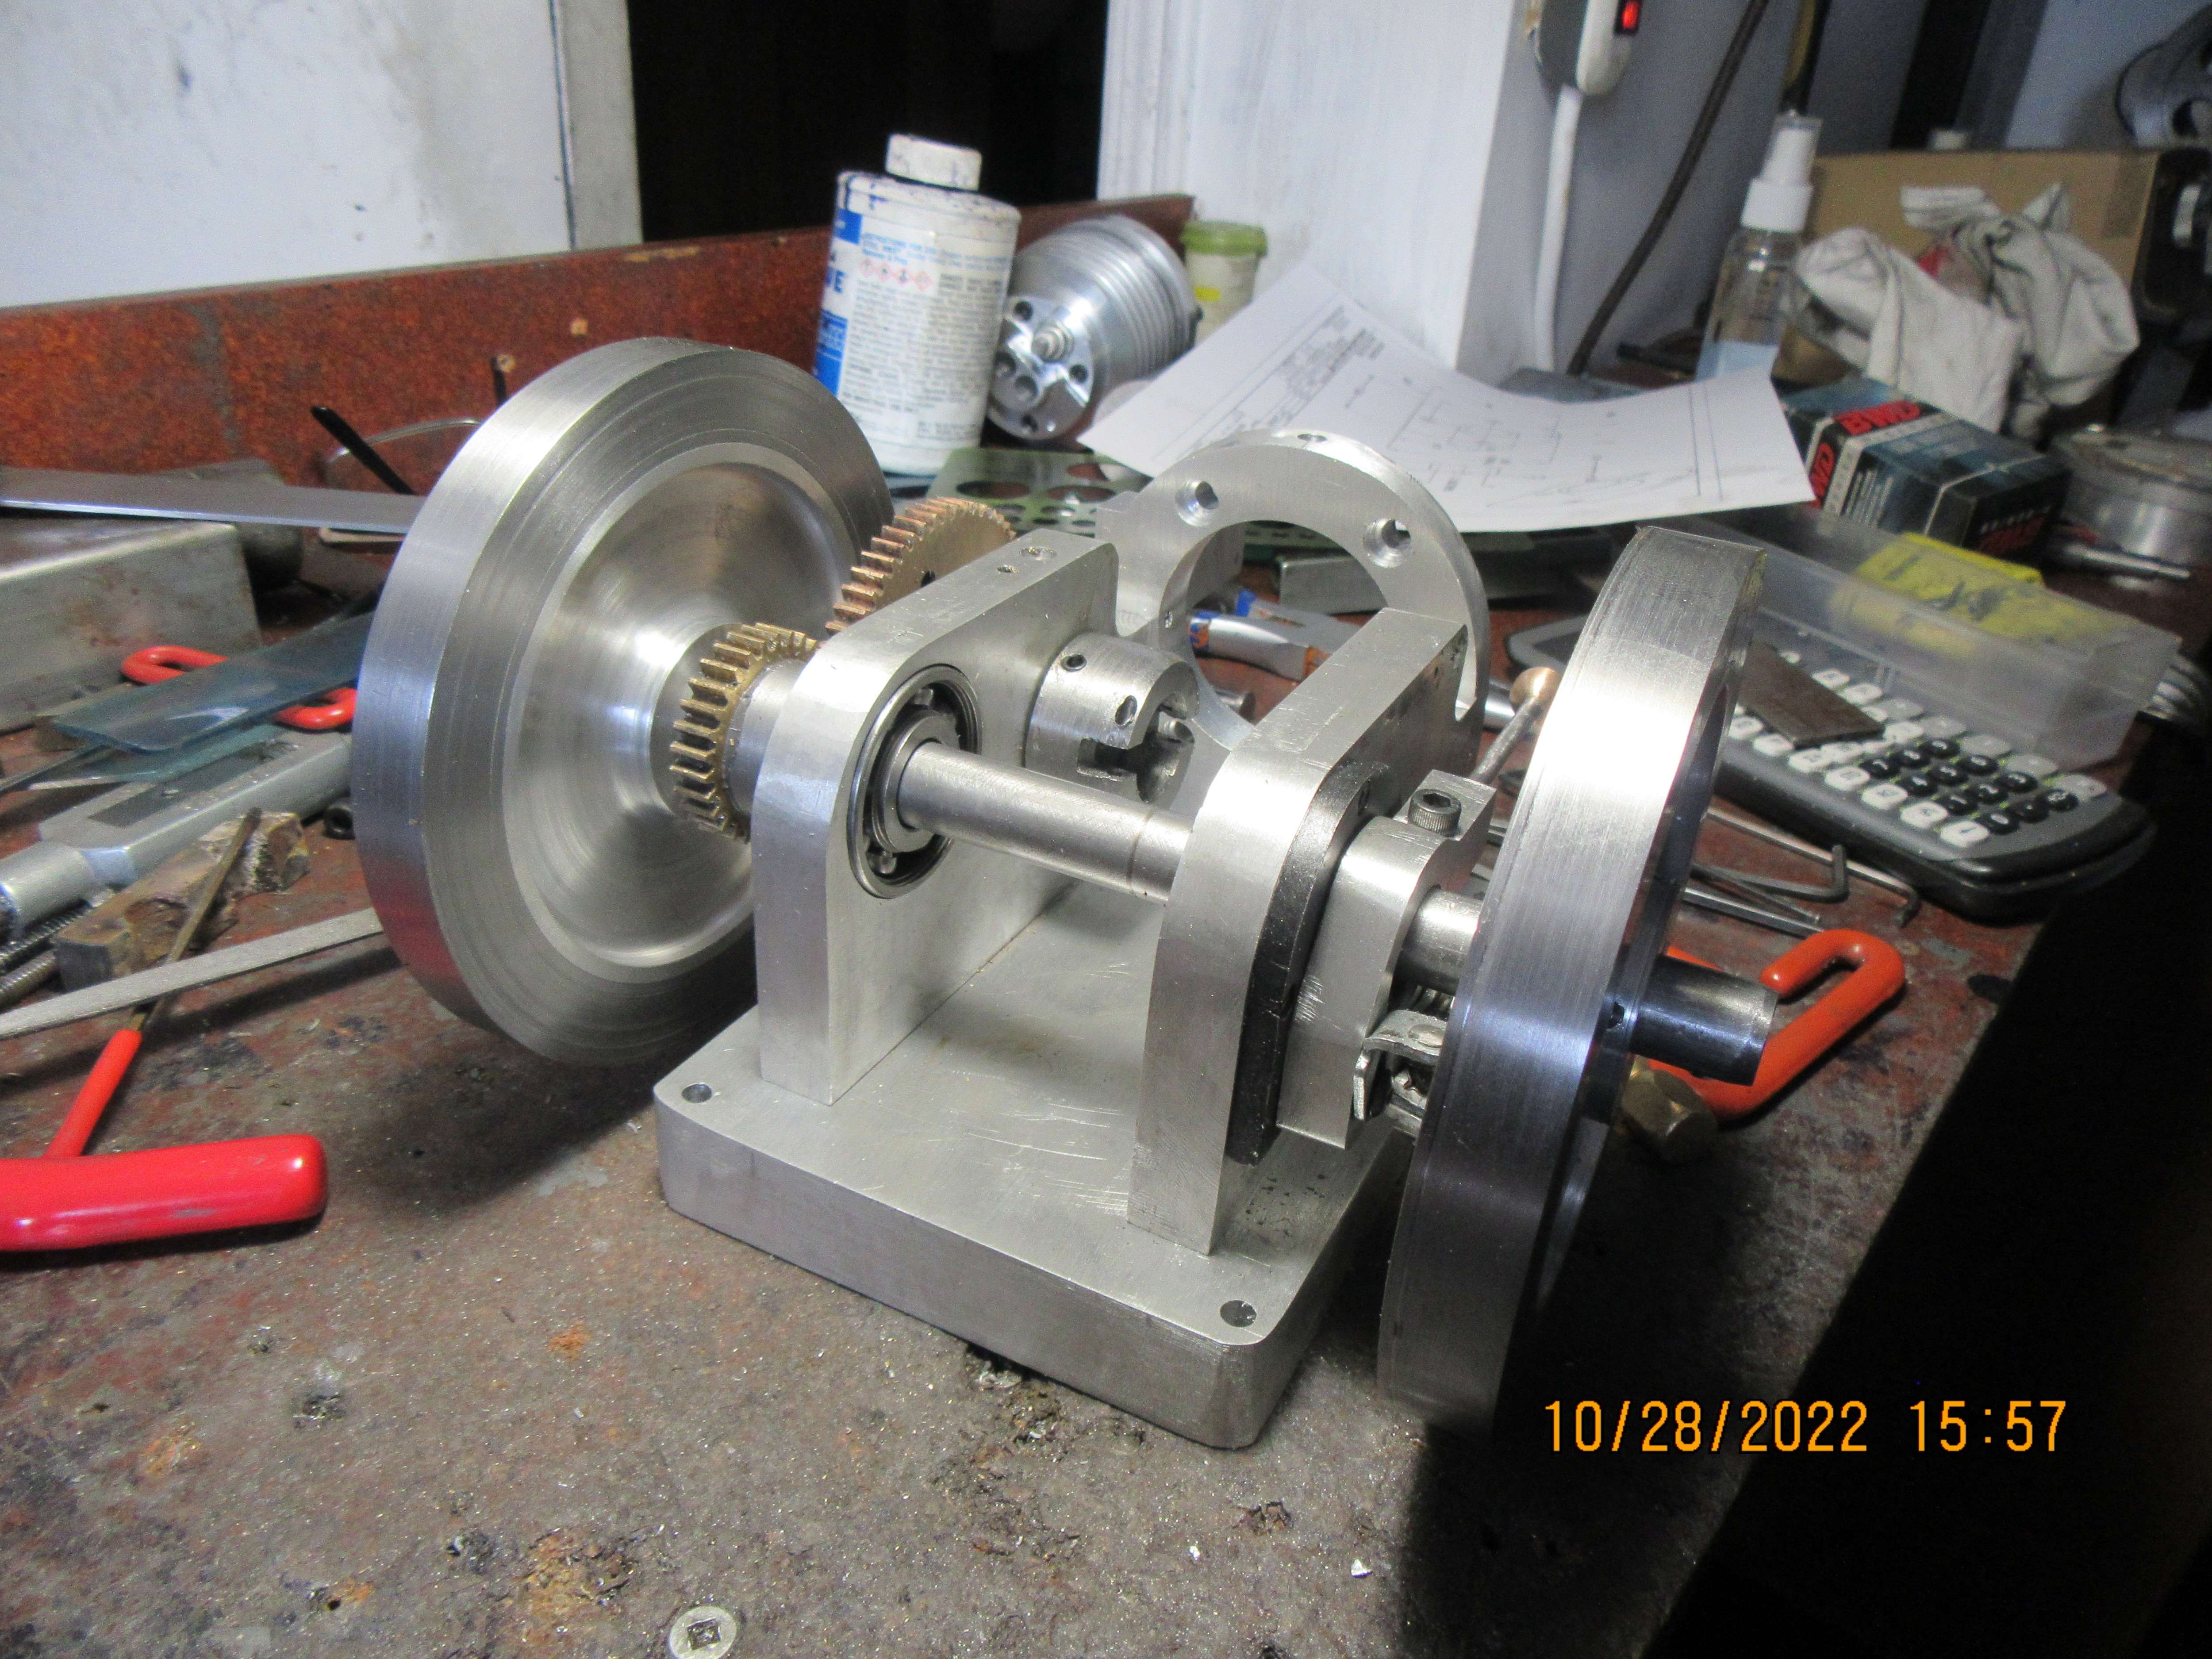
This afternoon I machined the "intermediate points mounting block" which bolts to the engine sideplate and installed it. It is painted black and you won't realy see much of it in this picture. I also took the seals off of the crankshaft bearings and washed them out with paint thinners, then blew them dry with compressed air. I can't believe how freely everything rotates now.
UZM8yK.jpg
Why don’t you just buy shielded bearings instead of sealed?
Should have something there to keep the contaminates out.
 
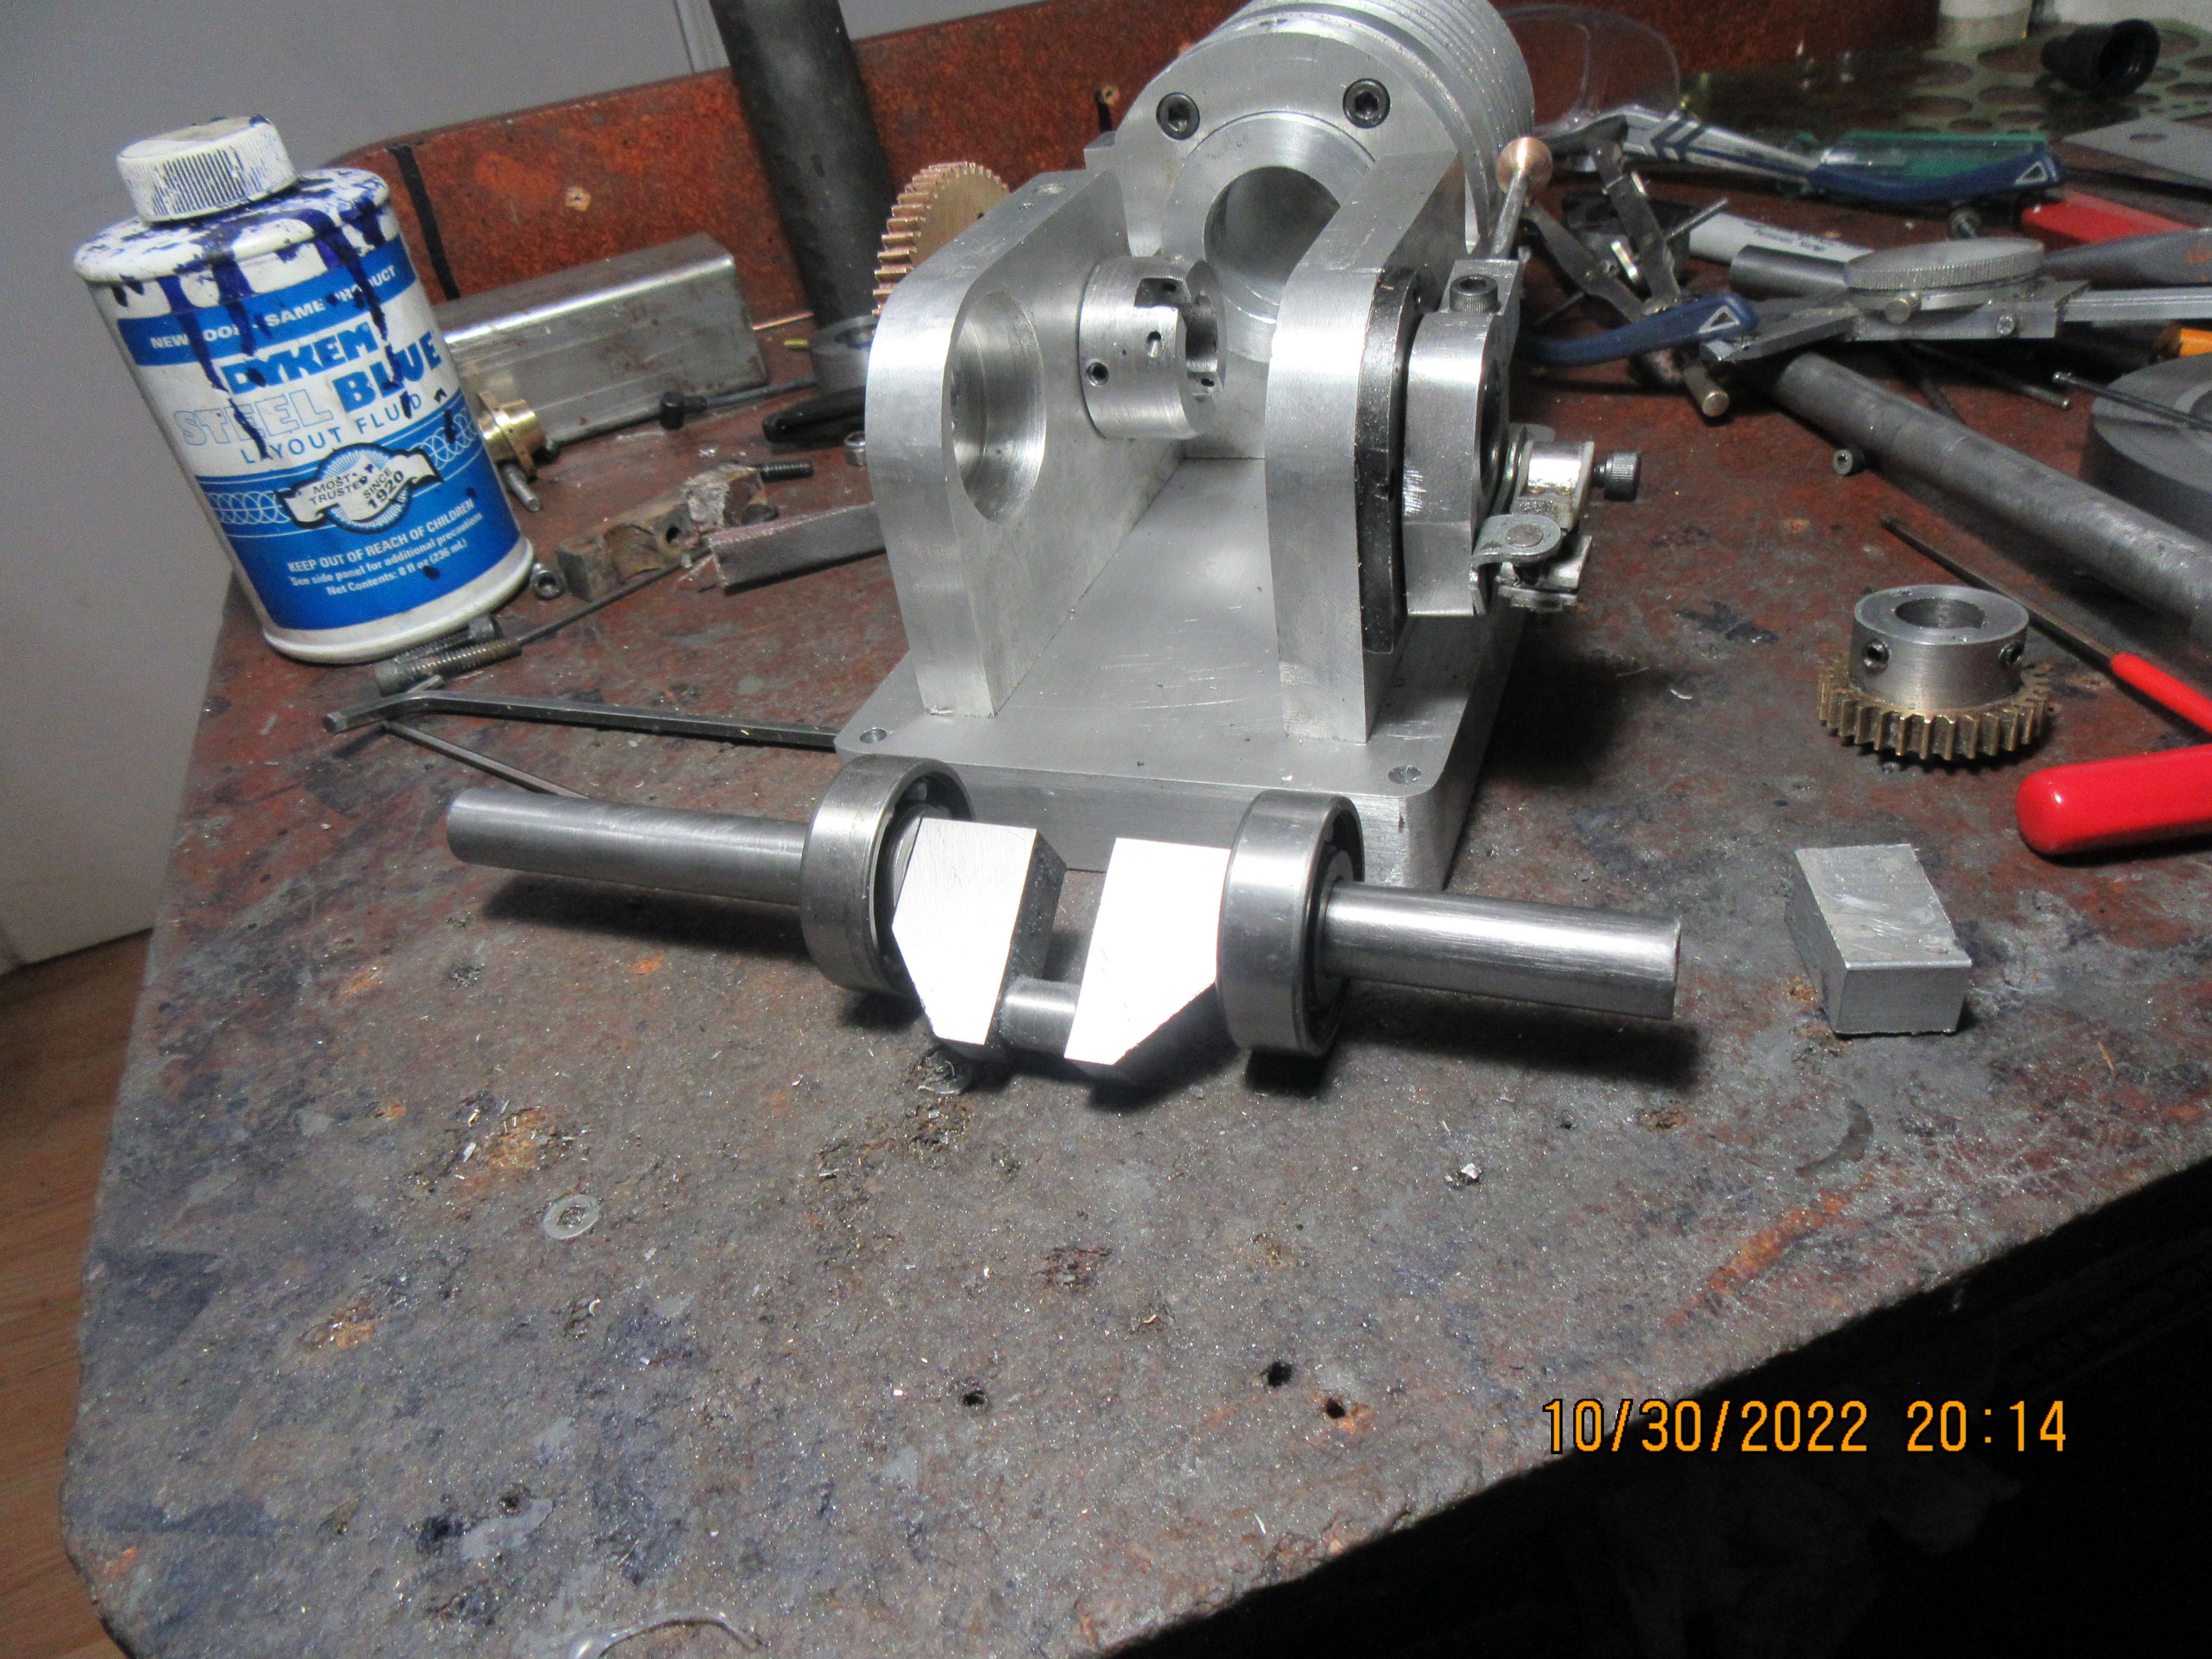
You don't. Not without a lot of grief anyways. These bearings are not self aligning. To get away without any binding, the counterbore holes in the engine sideplates are bored about .002" to 0.005" larger than the outer diameter of the bearings. The o.d. of the bearings are then coated lightly with J.B. Weld, pushed fully into their recesses in the engine sideplates, then a 1/2" length of cold rolled steel is passed thru both bearings, all of the bolts holding the sideplates in place are torqued down, and the J.B.weld is allowed to set up for 24 hours. This guarantees perfect alignment of the bearings. The counterbored holes that the bearings fit into have a 9/16" clearance hole where the shaft passes thru. If you want to remove a bearing, the shaft and sideplates are removed, the sideplate is heated with a torch until the J.B.Weld lets go, then the bearing is tapped out with a 9/16" drift punch. Today I heat treated (hardened) the cam shaft and reinstalled it, made a new ignition cam and installed it, and had to do a bit more machining on the underside of the sideplates because they weren't perfectly square to the frontplate that holds the cylinder.
 
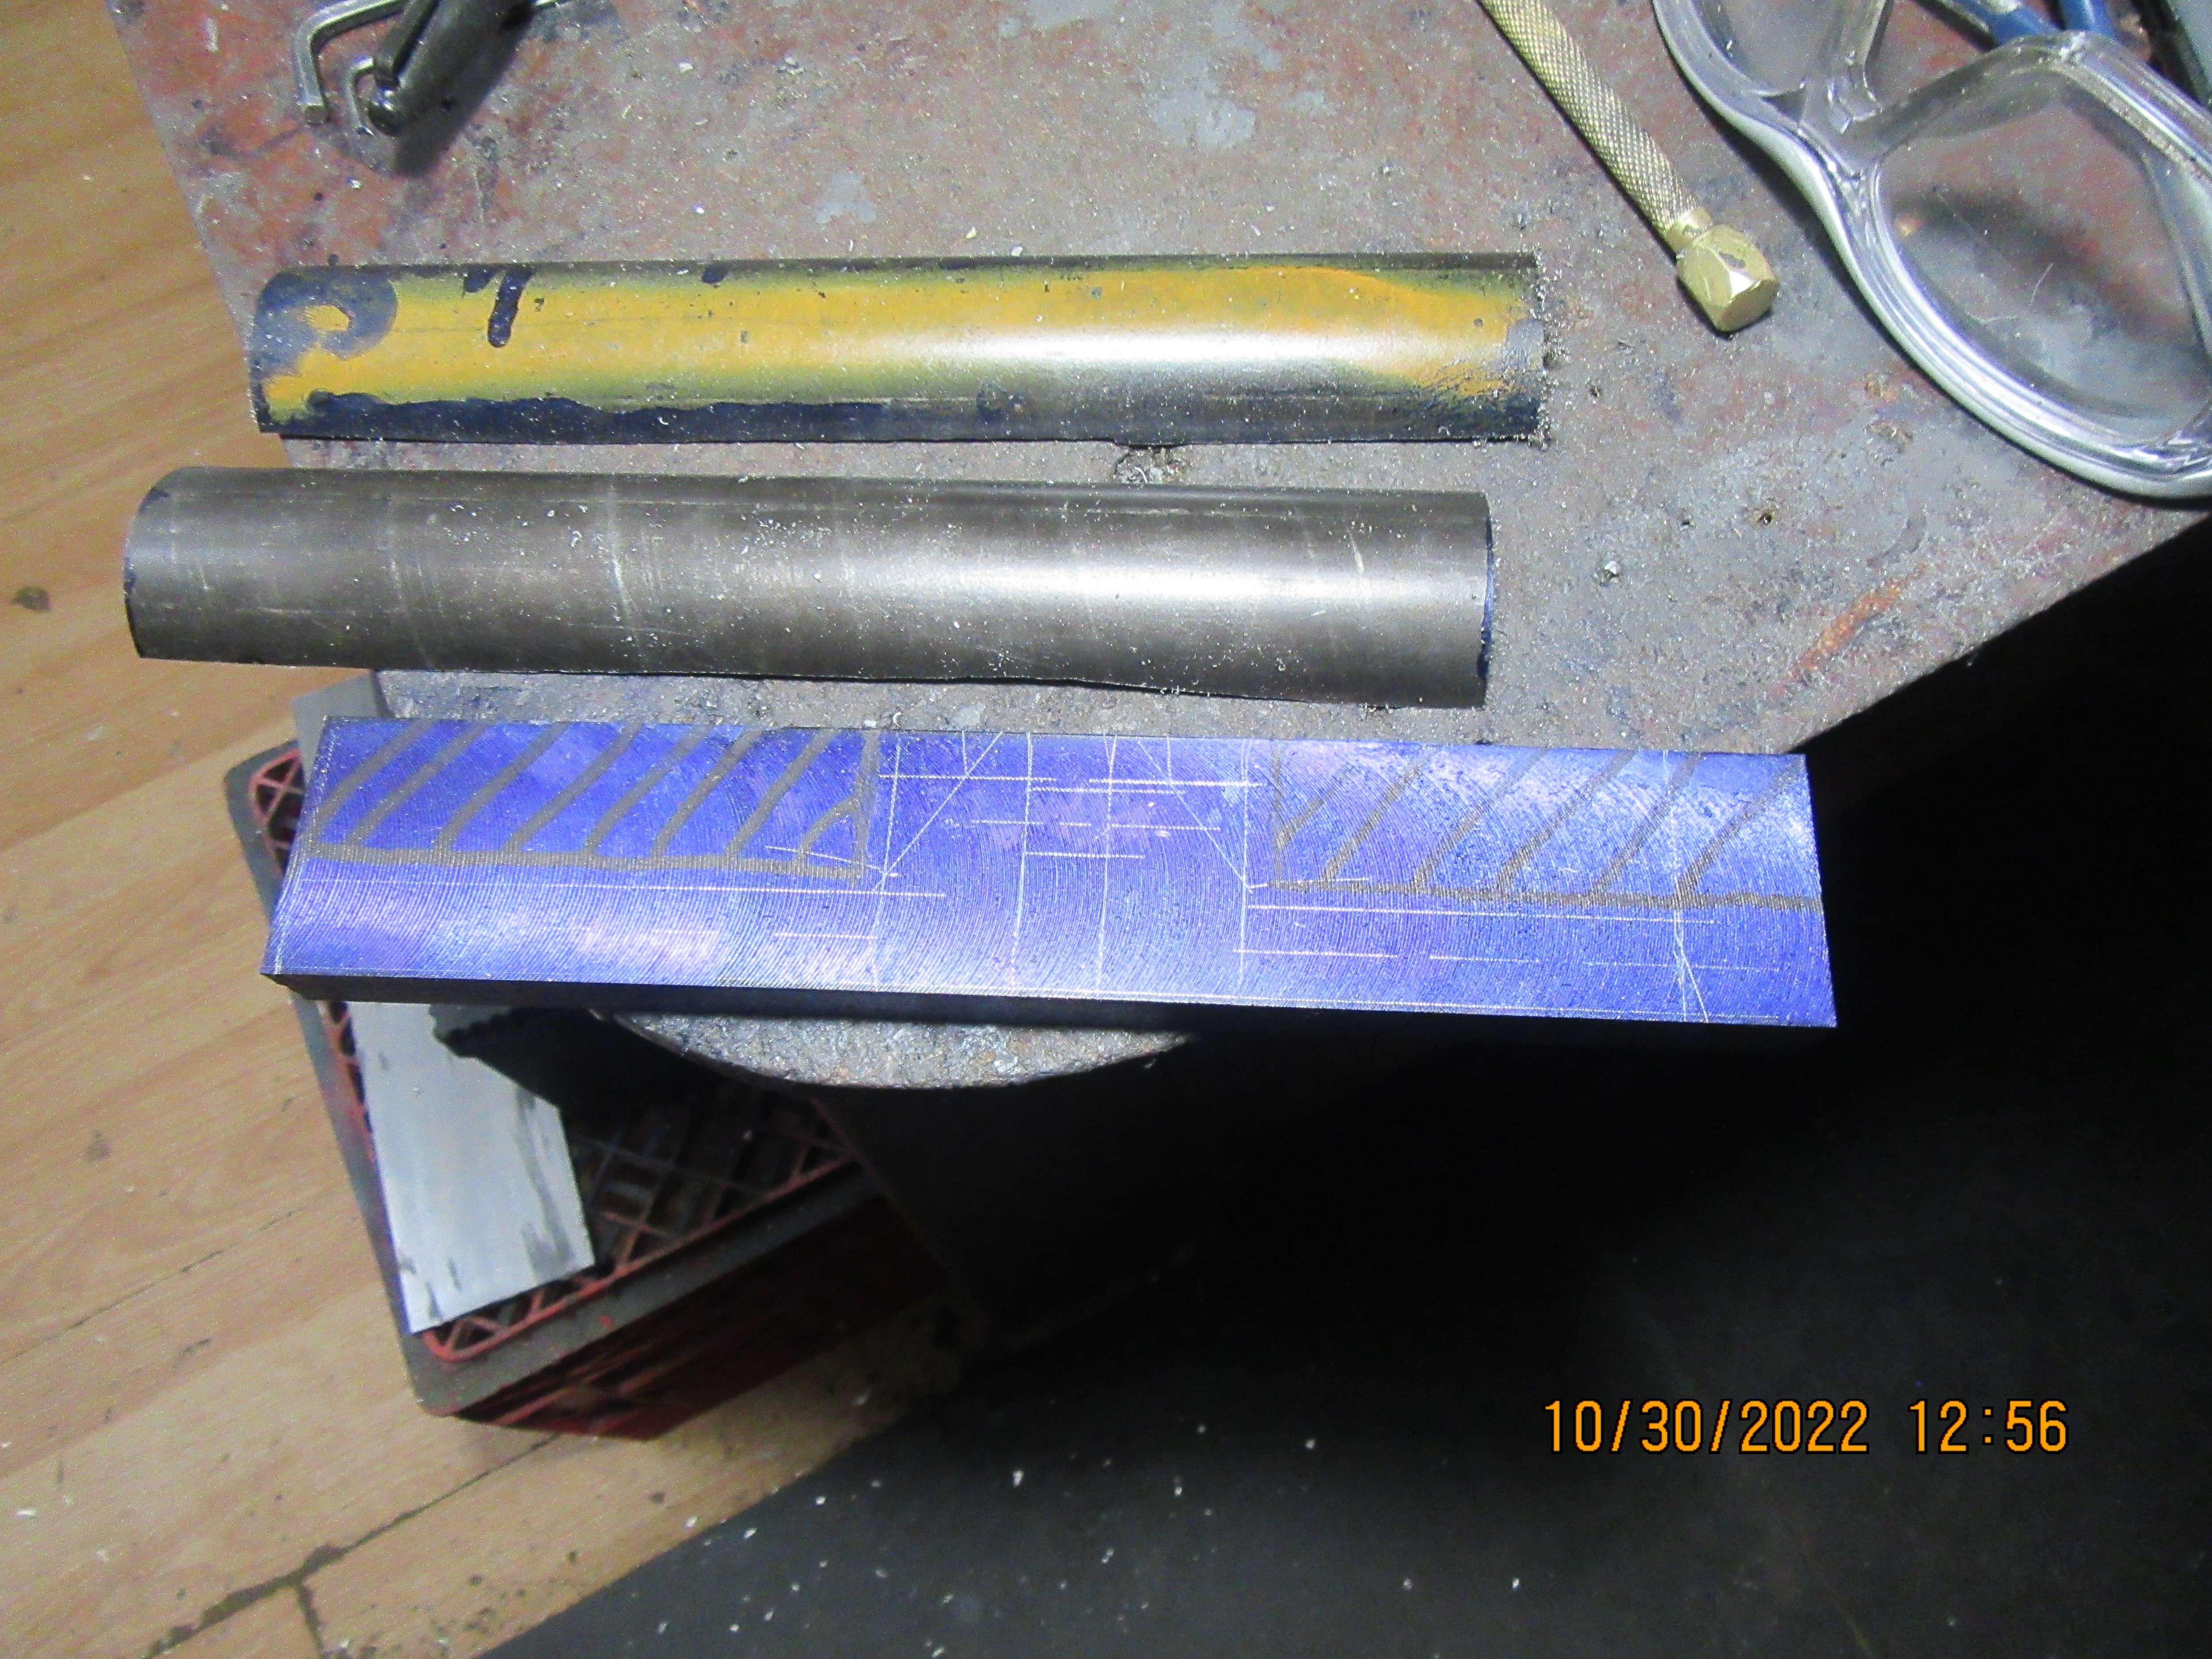
Todays task is turning a piece of round 1144 stress proof steel into a crankshaft. First a slab is cut from both sides, then what is left gets machined on both sides and one edge, then the crankshaft is layed out on the remaining flat piece. Every time I make a "machined from solid" crankshaft, I spend more time planning what I'm going to do next than I do actual machining. These are one of those things where if you cut away something you shouldn't, then you have to buy a new piece of 1144 and start over again.
6w7KuH.jpg
 
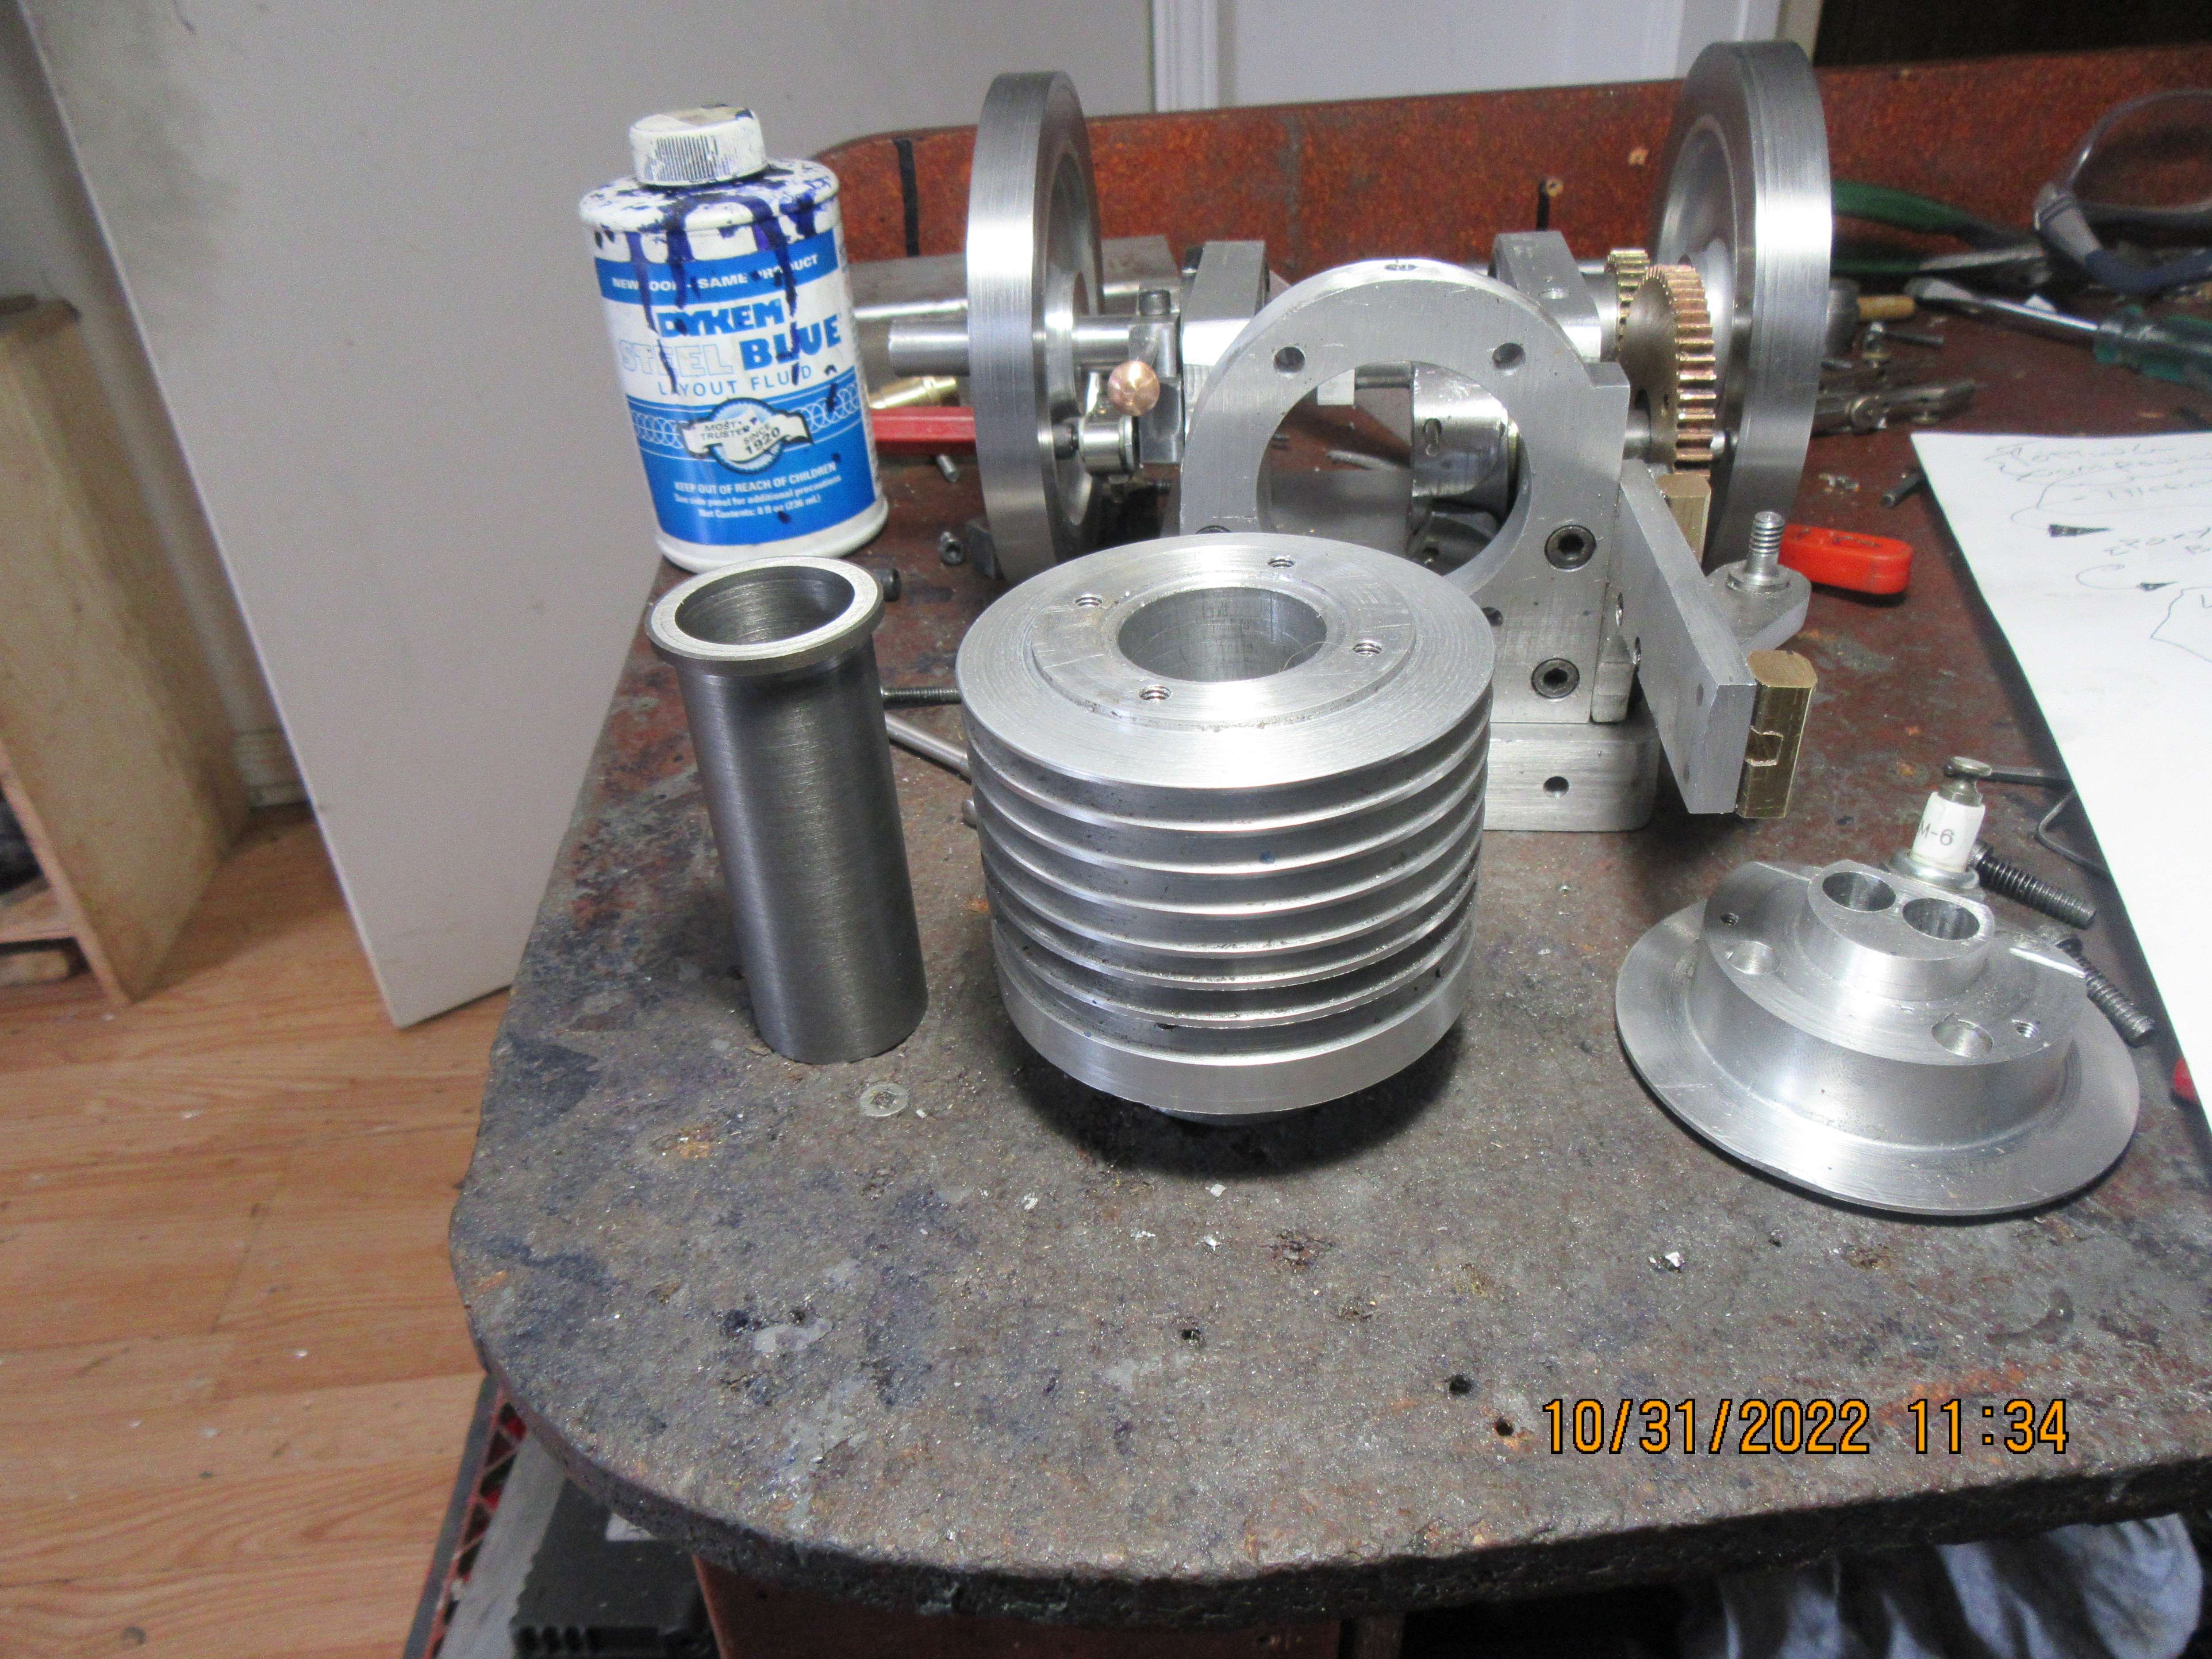
This morning I came down to the bat cave and machined a cast iron cylinder liner. It was intended to be a medium press fit into the aluminum cylinder.---The machining gods laughed, and it ended up being a smooth sliding fit into the cylinder.---Not good!!! I am now involved in a series of talks with a Loctite representative, trying to find a two part epoxy with really good thermal conductivity. Apparently Loctite does have exactly the thing I need, Loctite #PE3142, but it is only sold in one gallon cans and costs a zillion dollars. I am waiting for a call back from a Loctite rep, hoping like Hell that he has something very similar in small tubes.
zxb2py.jpg
 
Oh boy Brian, I really am liking this one too. I can't wait!!! I have a soft spot for hit n miss engines.
 
I just ordered a small tube of two part heat transfer epoxy. The cost is just about equal to the price of another piece of cast iron and a couple of my hours to machine it.

Not something that I know anything about but...is differential expansion any concern? What kind of running temperature do you expect for the engine? Are the thermal expansion rates of aluminum and cast iron different enough to make create an issue? Is the epoxy bond elastic enough to cope?

Craig
 
Craig---Best answer--I don't really know. These engines do not run hot unless they are under protracted heavy load. They pump cool air thru the cylinder during the "miss" cycles, which bleeds away a lot of the internal cylinder heat. I haven't used a heat transfer epoxy before, so it is definitely a "try it and see" kind of thing.----Brian
 

Latest posts

Back
Top