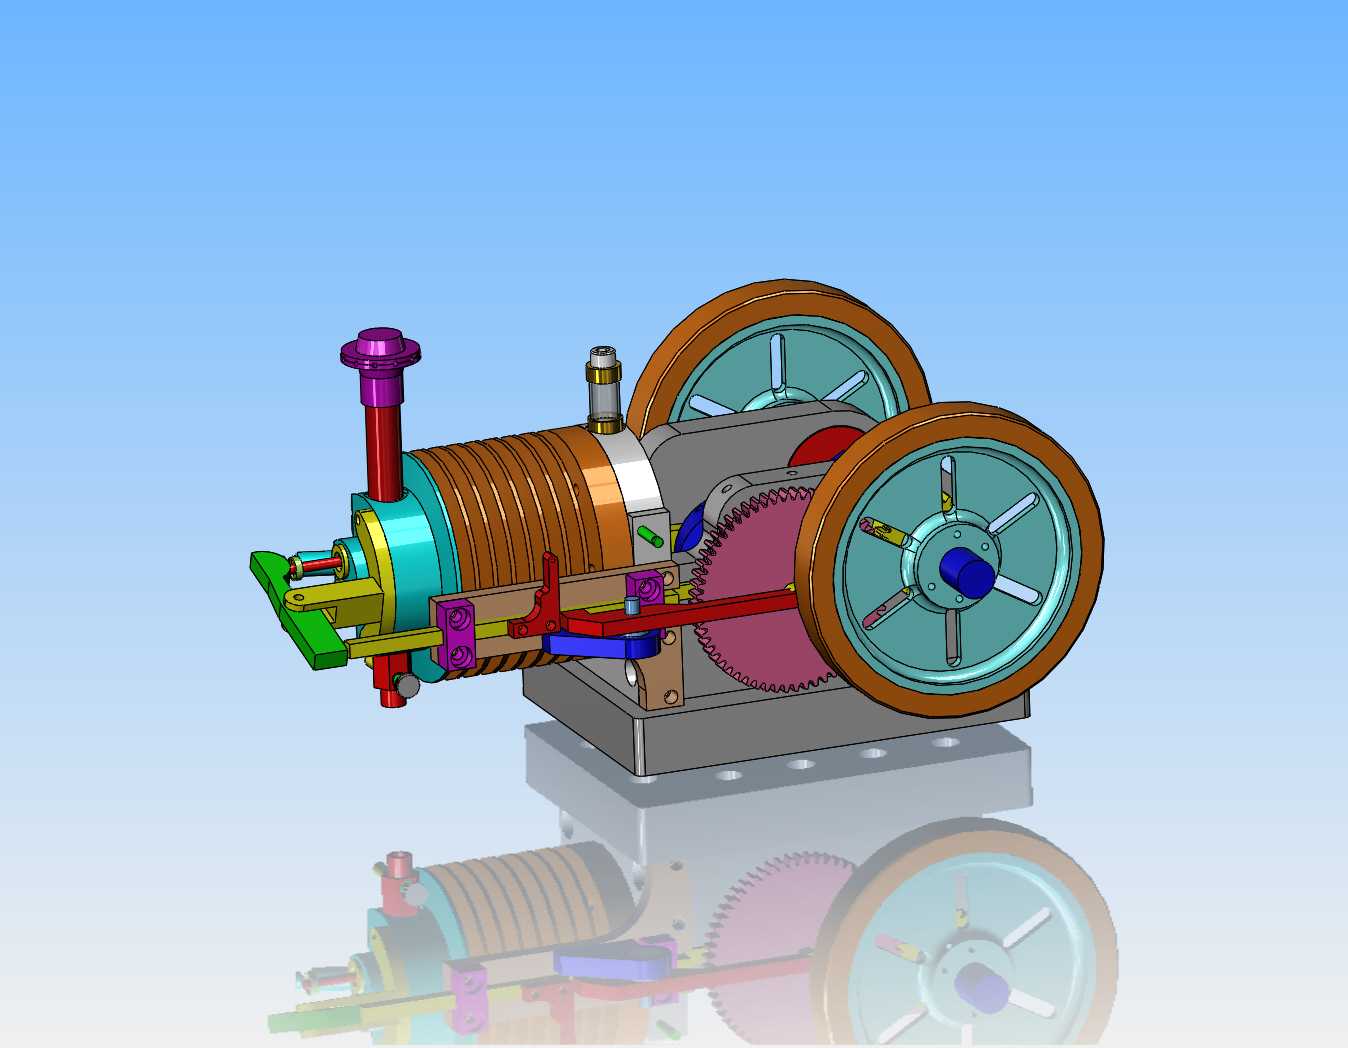
Time for a new Horizontal Hit and Miss engine

Home Model Engine Machinist Forum

Help Support Home Model Engine Machinist Forum:

This site may earn a commission from merchant affiliate links, including eBay, Amazon, and others.
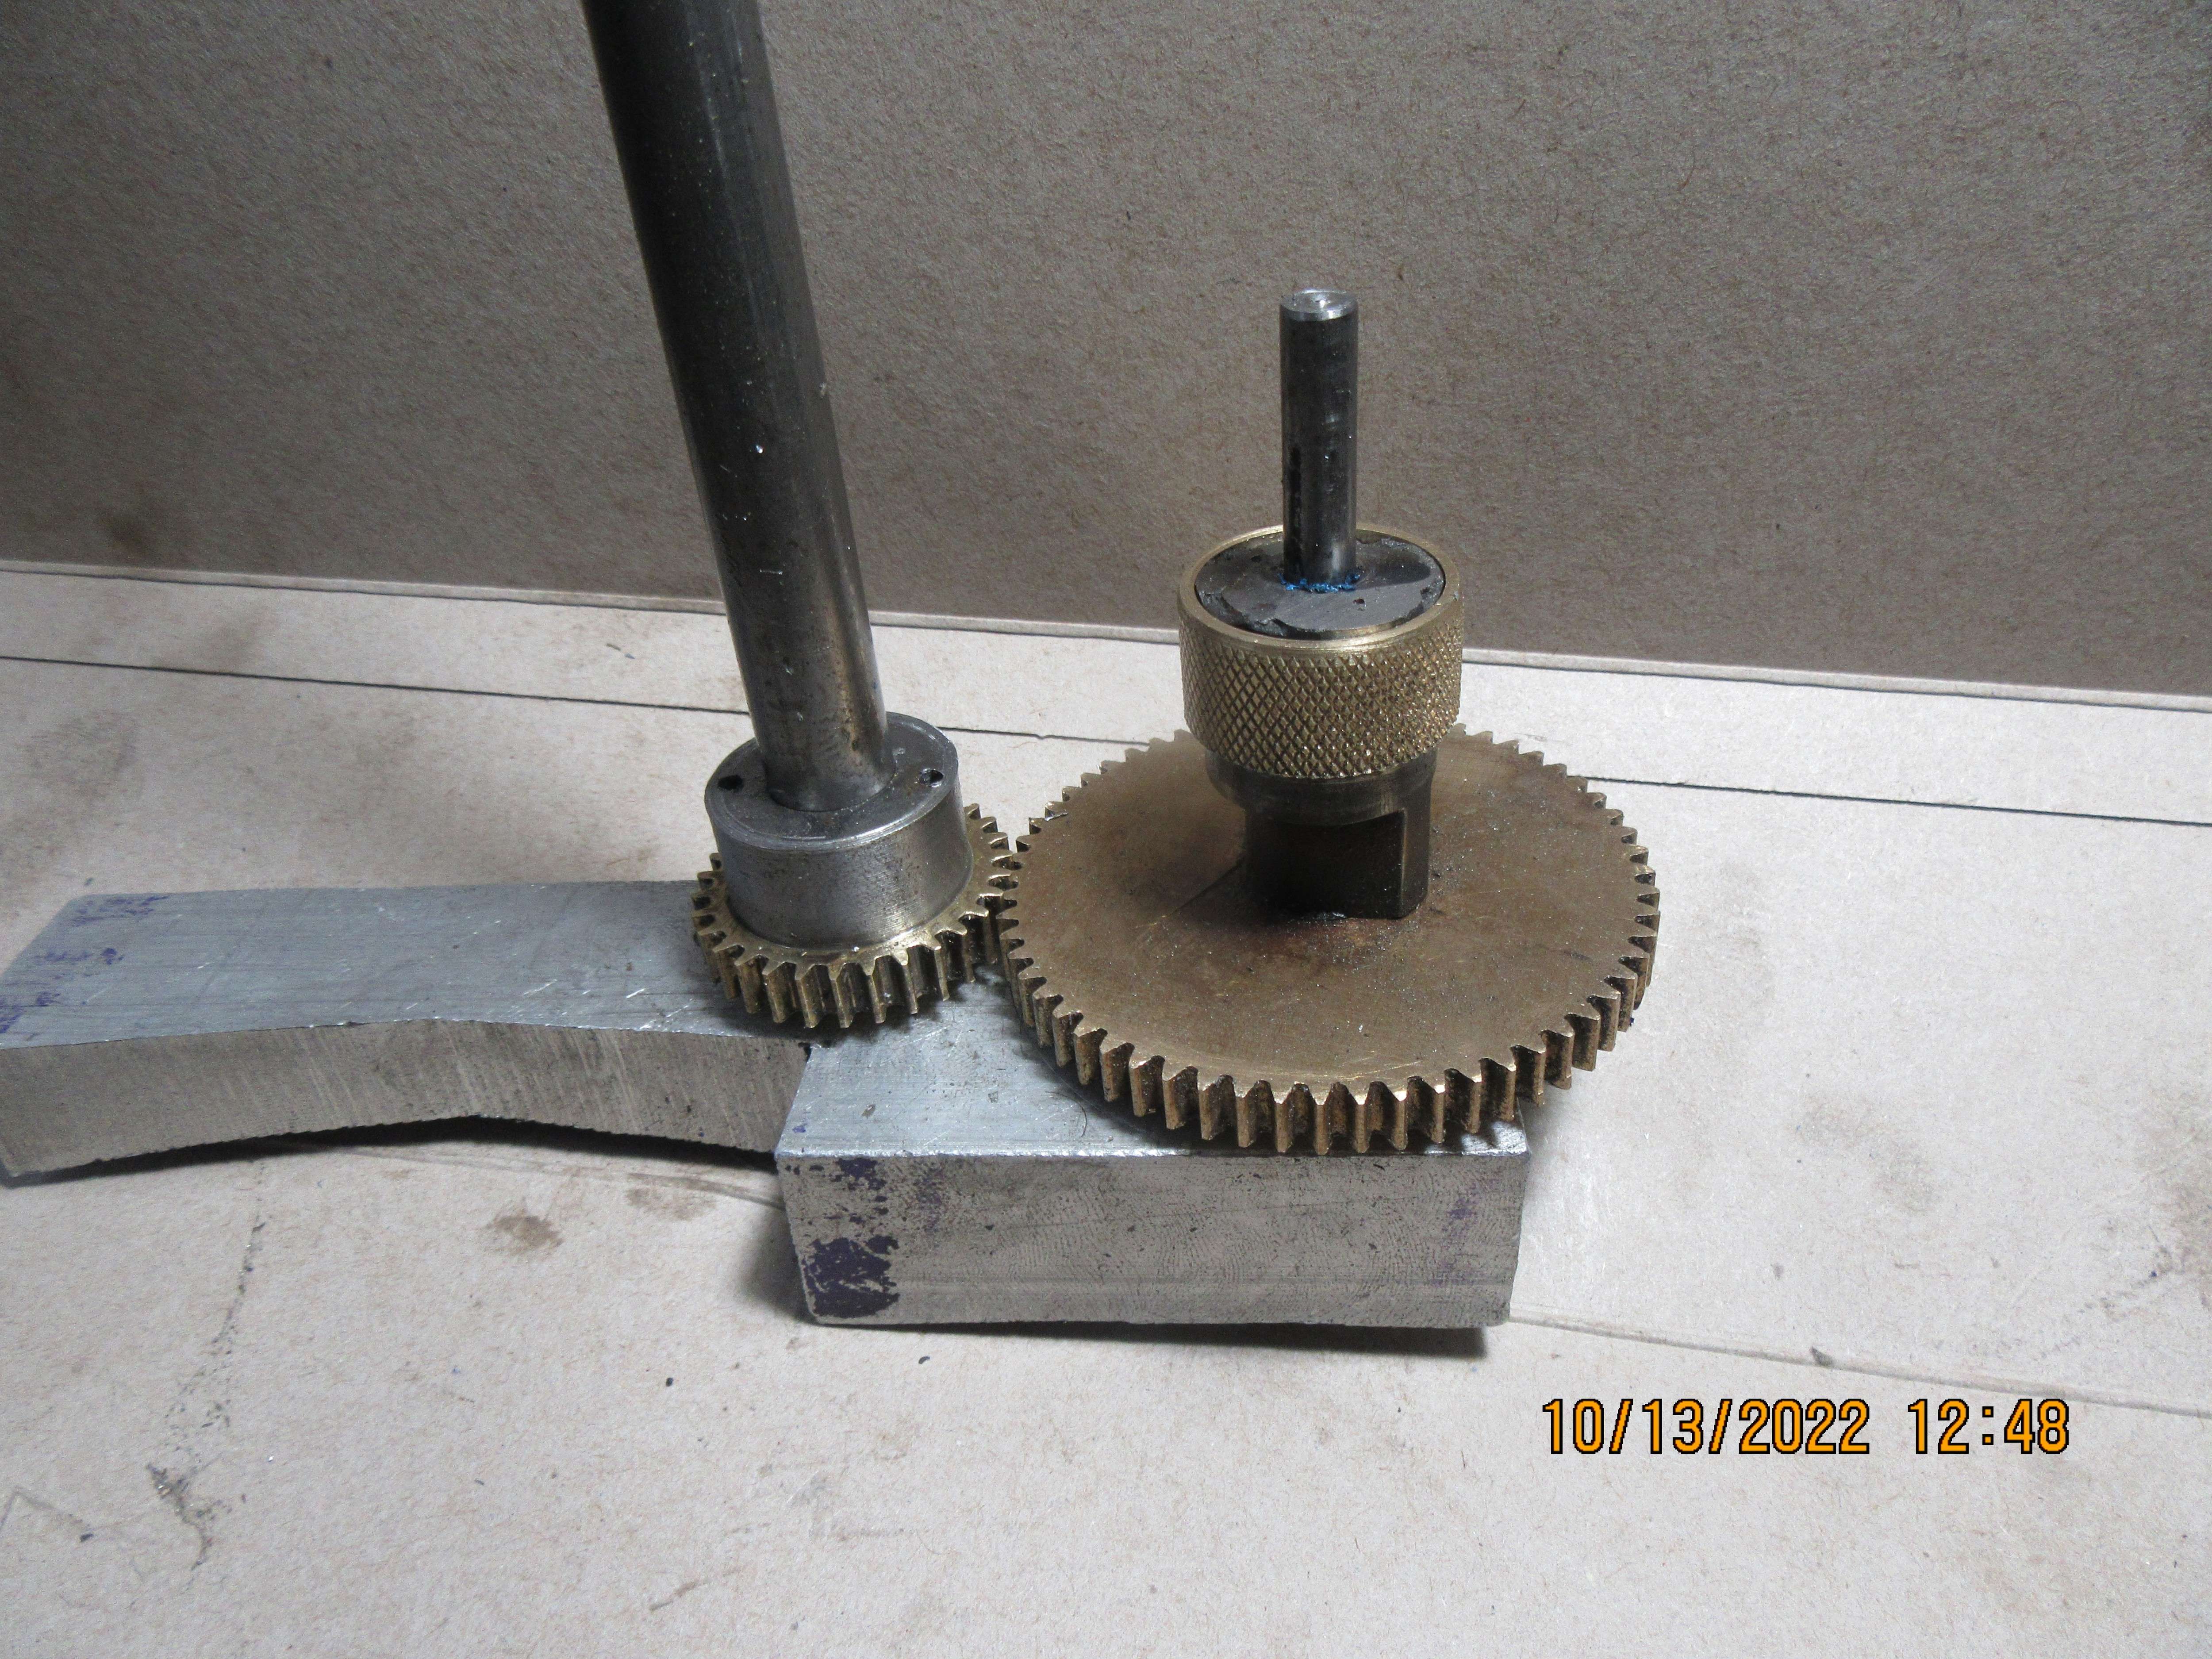
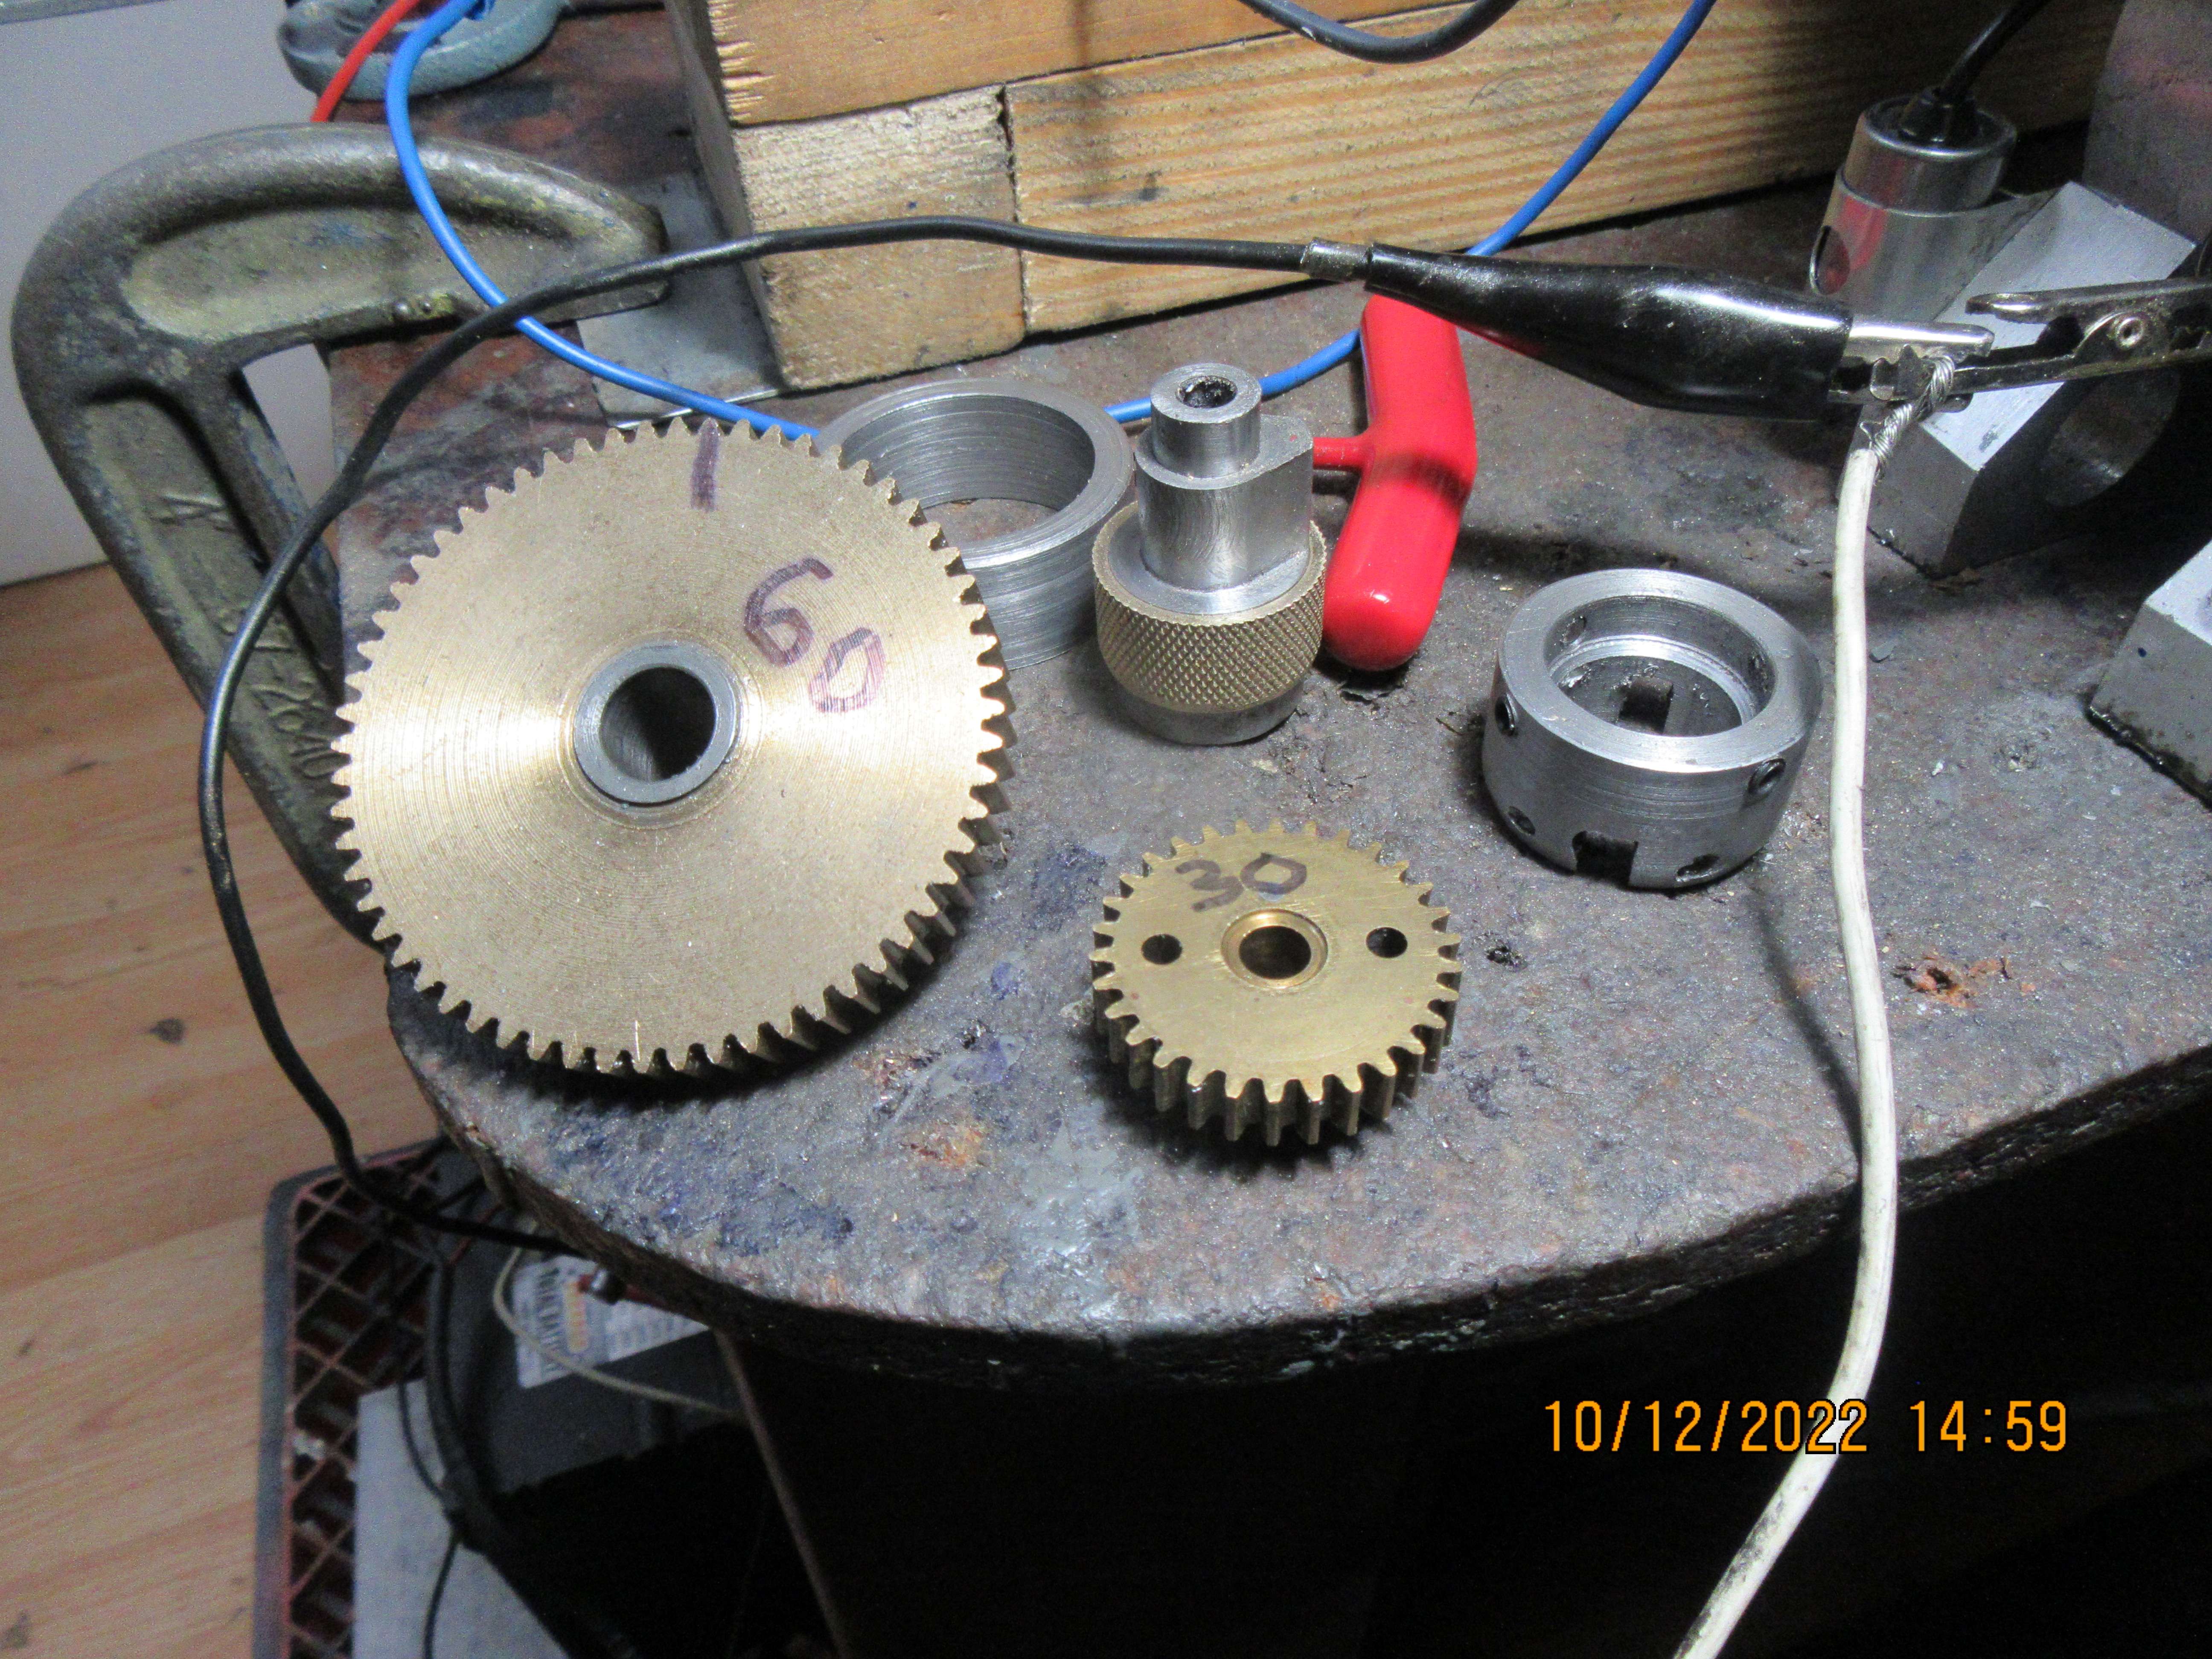
WOWZA!!! Ya never know your luck in the big city. I remembered having a 30 tooth gear in my shelf of "things recovered from old projects" and I did. But---amaze me--I had a 60 tooth gear in there that I had forgotten all about. Both gears will require a bit of creative hub rework, but not near as much work as setting up and cutting new gears.
C5kR6q.jpg
 
WOWZA!!! Ya never know your luck in the big city. I remembered having a 30 tooth gear in my shelf of "things recovered from old projects" and I did. But---amaze me--I had a 60 tooth gear in there that I had forgotten all about. Both gears will require a bit of creative hub rework, but not near as much work as setting up and cutting new gears.
C5kR6q.jpg
Brian, I'm carefully watching this thread. Will you offer plans for sale for this engine whenever appropriate?

Interesting design!

Mike
 
Good News!!!--My gears (actually old gears with new hubs) mesh perfectly when set up on a couple of dummy shafts for tryout. Yes Mike, I will be offering plans for sale once the engine is finished and performing properly.---Brian
LKMuer.jpg
 
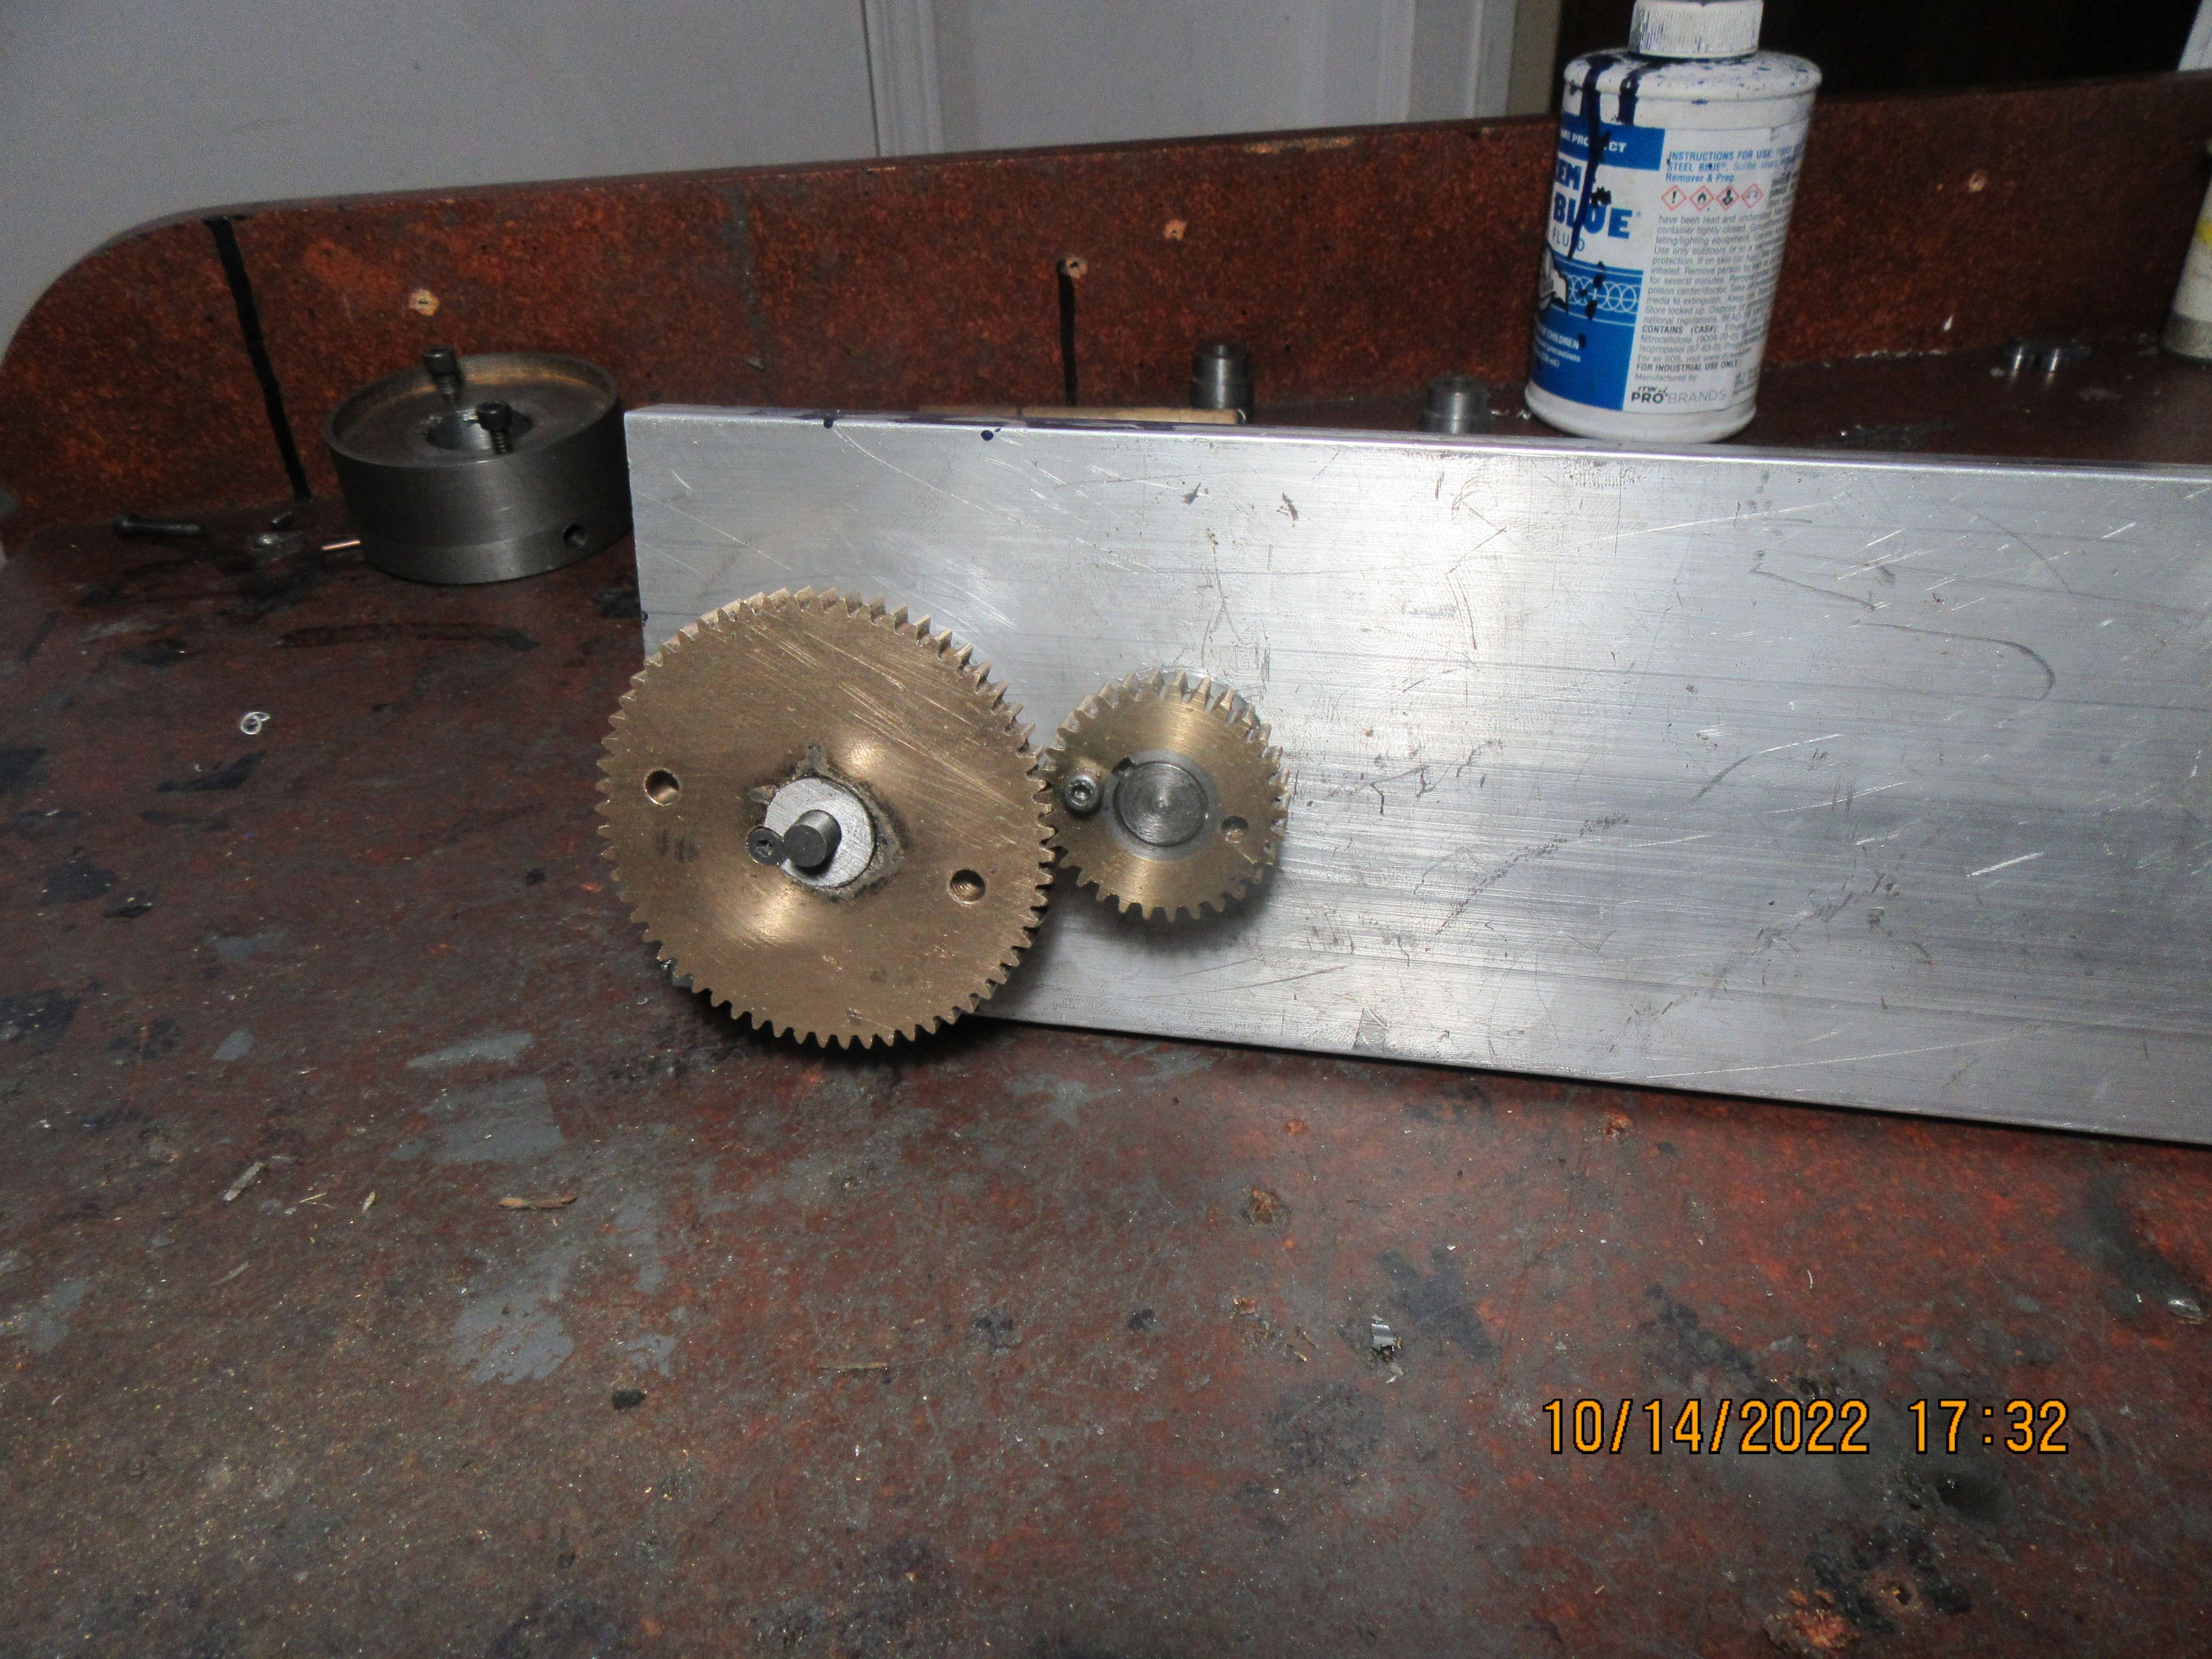
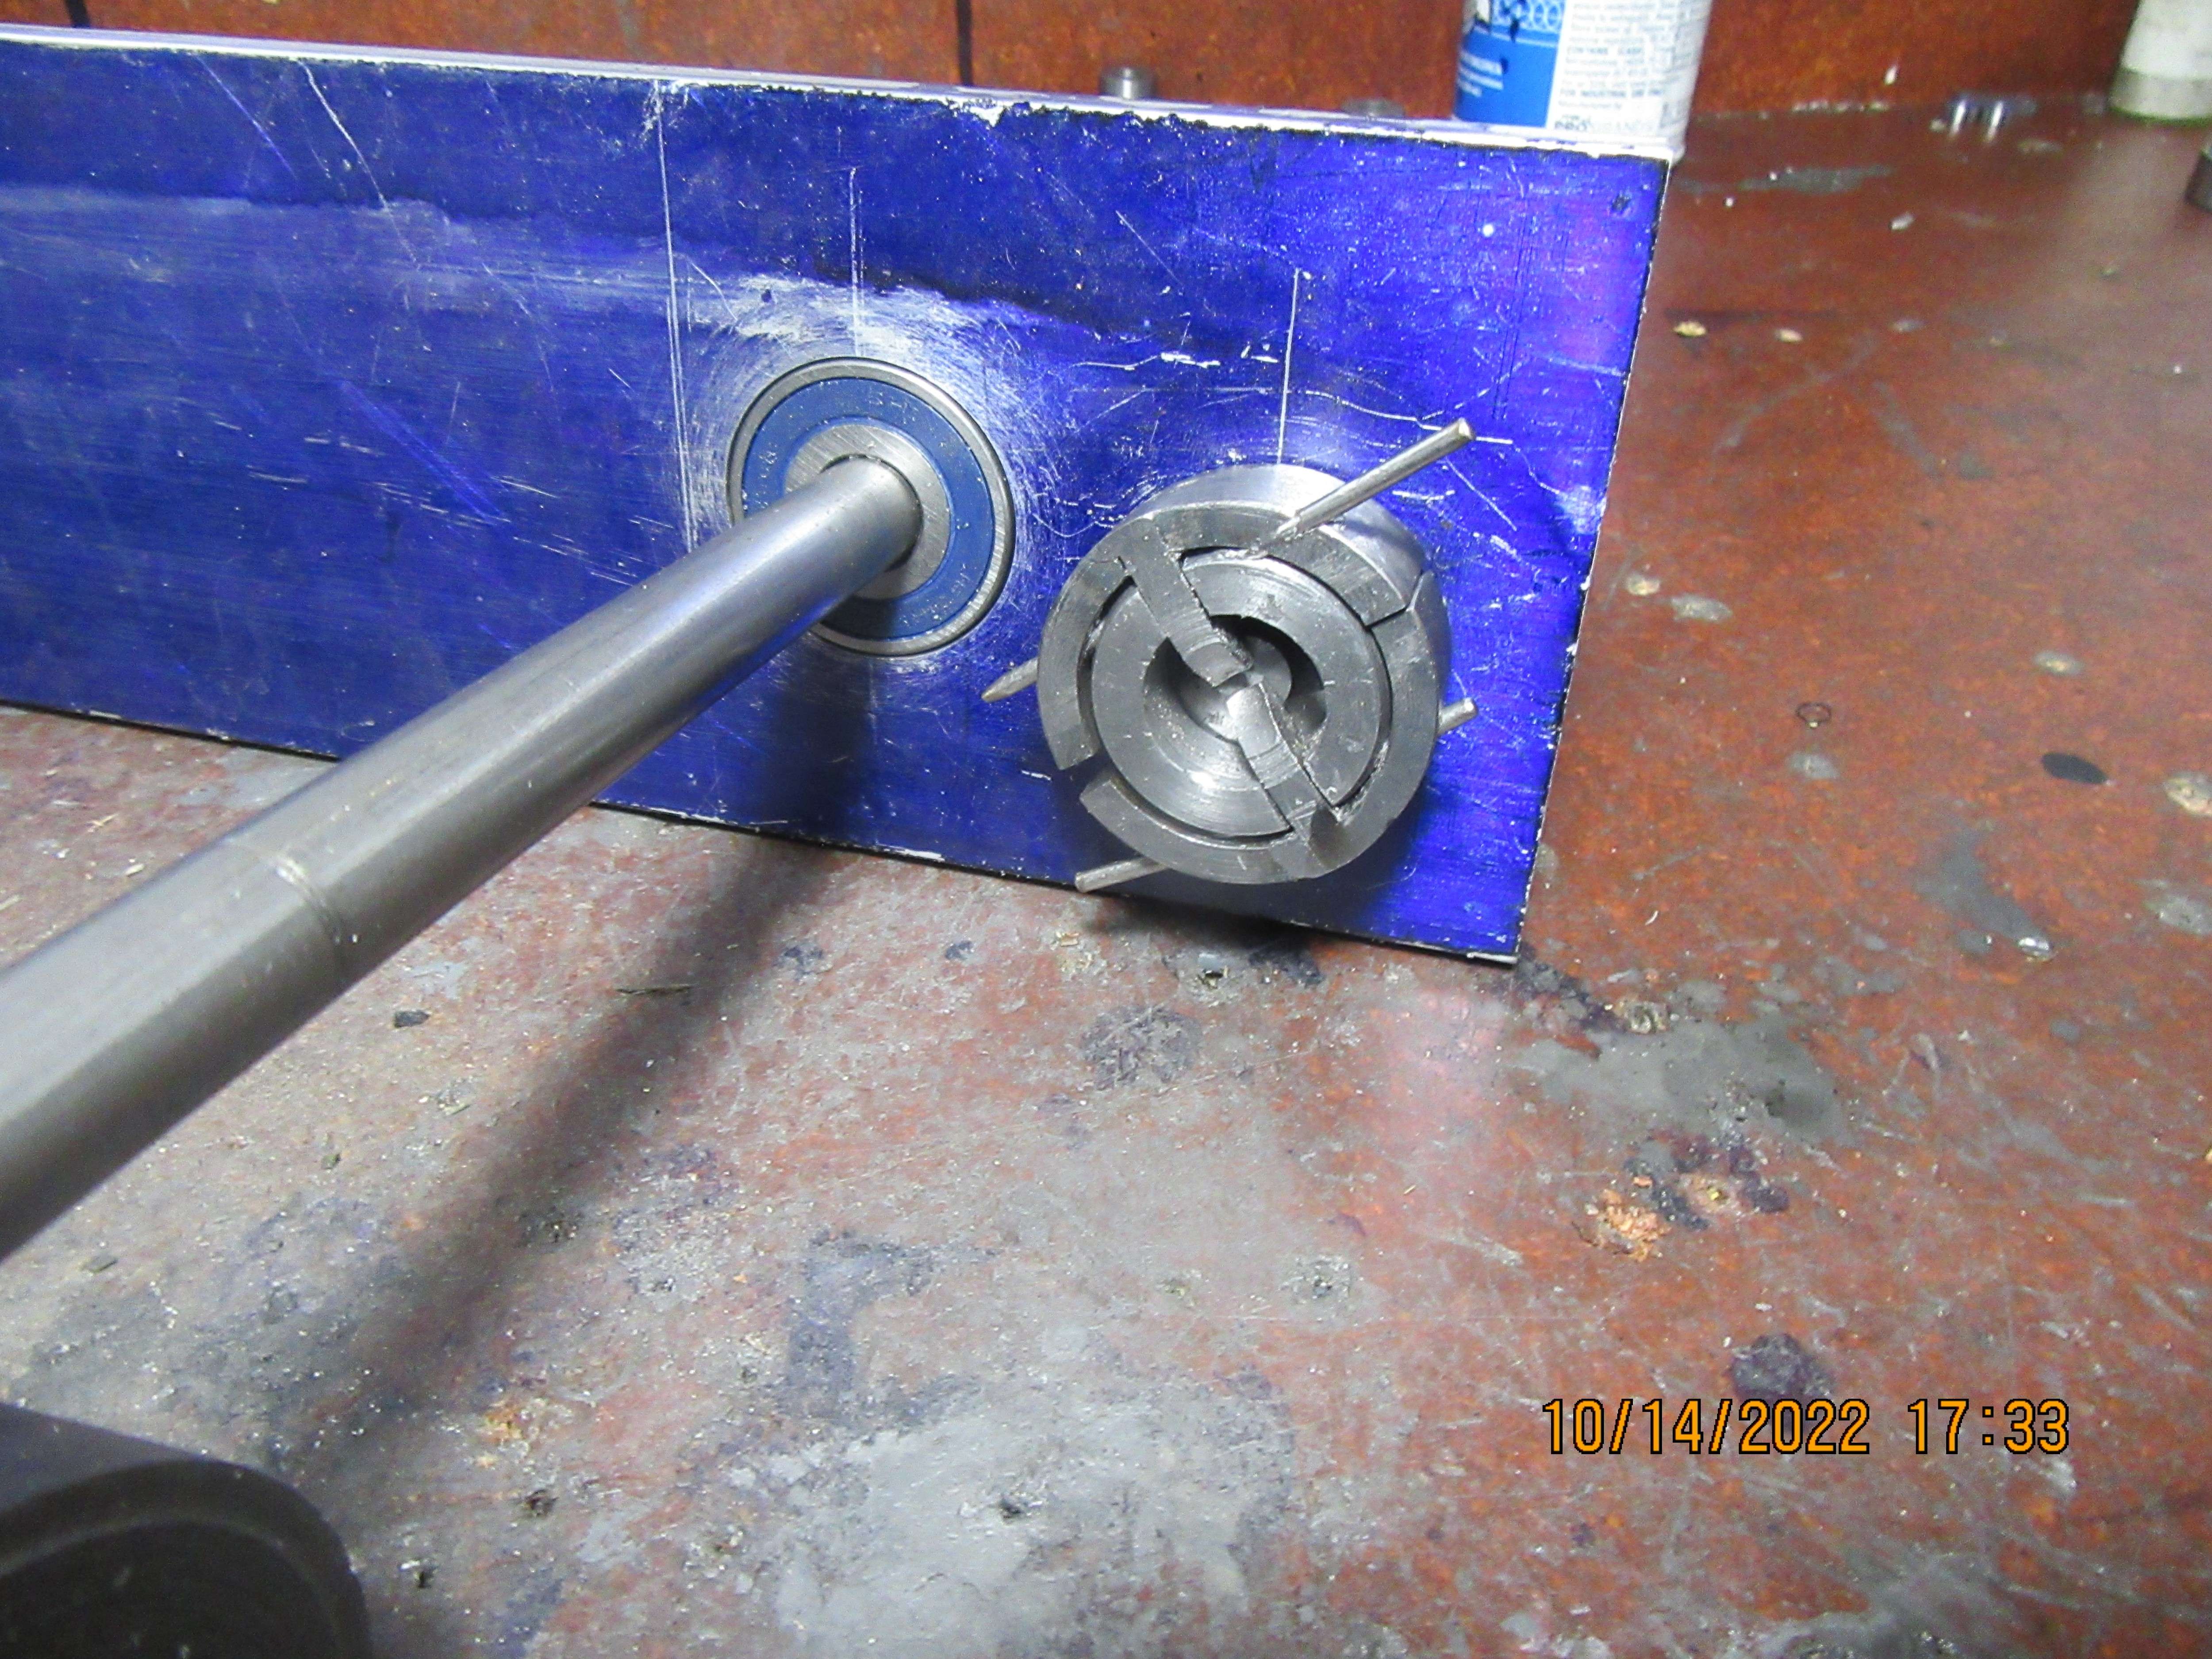
These pictures aren't going to mean a lot, unless you are following my hit and miss engine thread. The pictures show two sides of the same thing. The aluminum plate is destined to become one of my engine sideplates. I have shown the governor, which does seem to work quite well, but I haven't done a dynamic test of it yet. There has been a major screw up with the people who I buy my bandsaw blades from. The new blade which was supposed to be here yesterday is still setting in Texas waiting to be shipped, so I'm kind of stuck with machining things that don't need to be bandsawed for now. I've had a chunk of 3 1/2" diameter aluminum about 3" long that has been acting as a door stop for the last year but is now destined to become my outer cylinder, so I'm not entirely stuck for something to do. The cylinder will have a cast iron inner sleeve.
RUPE3b.jpg

CzYG2l.jpg
 
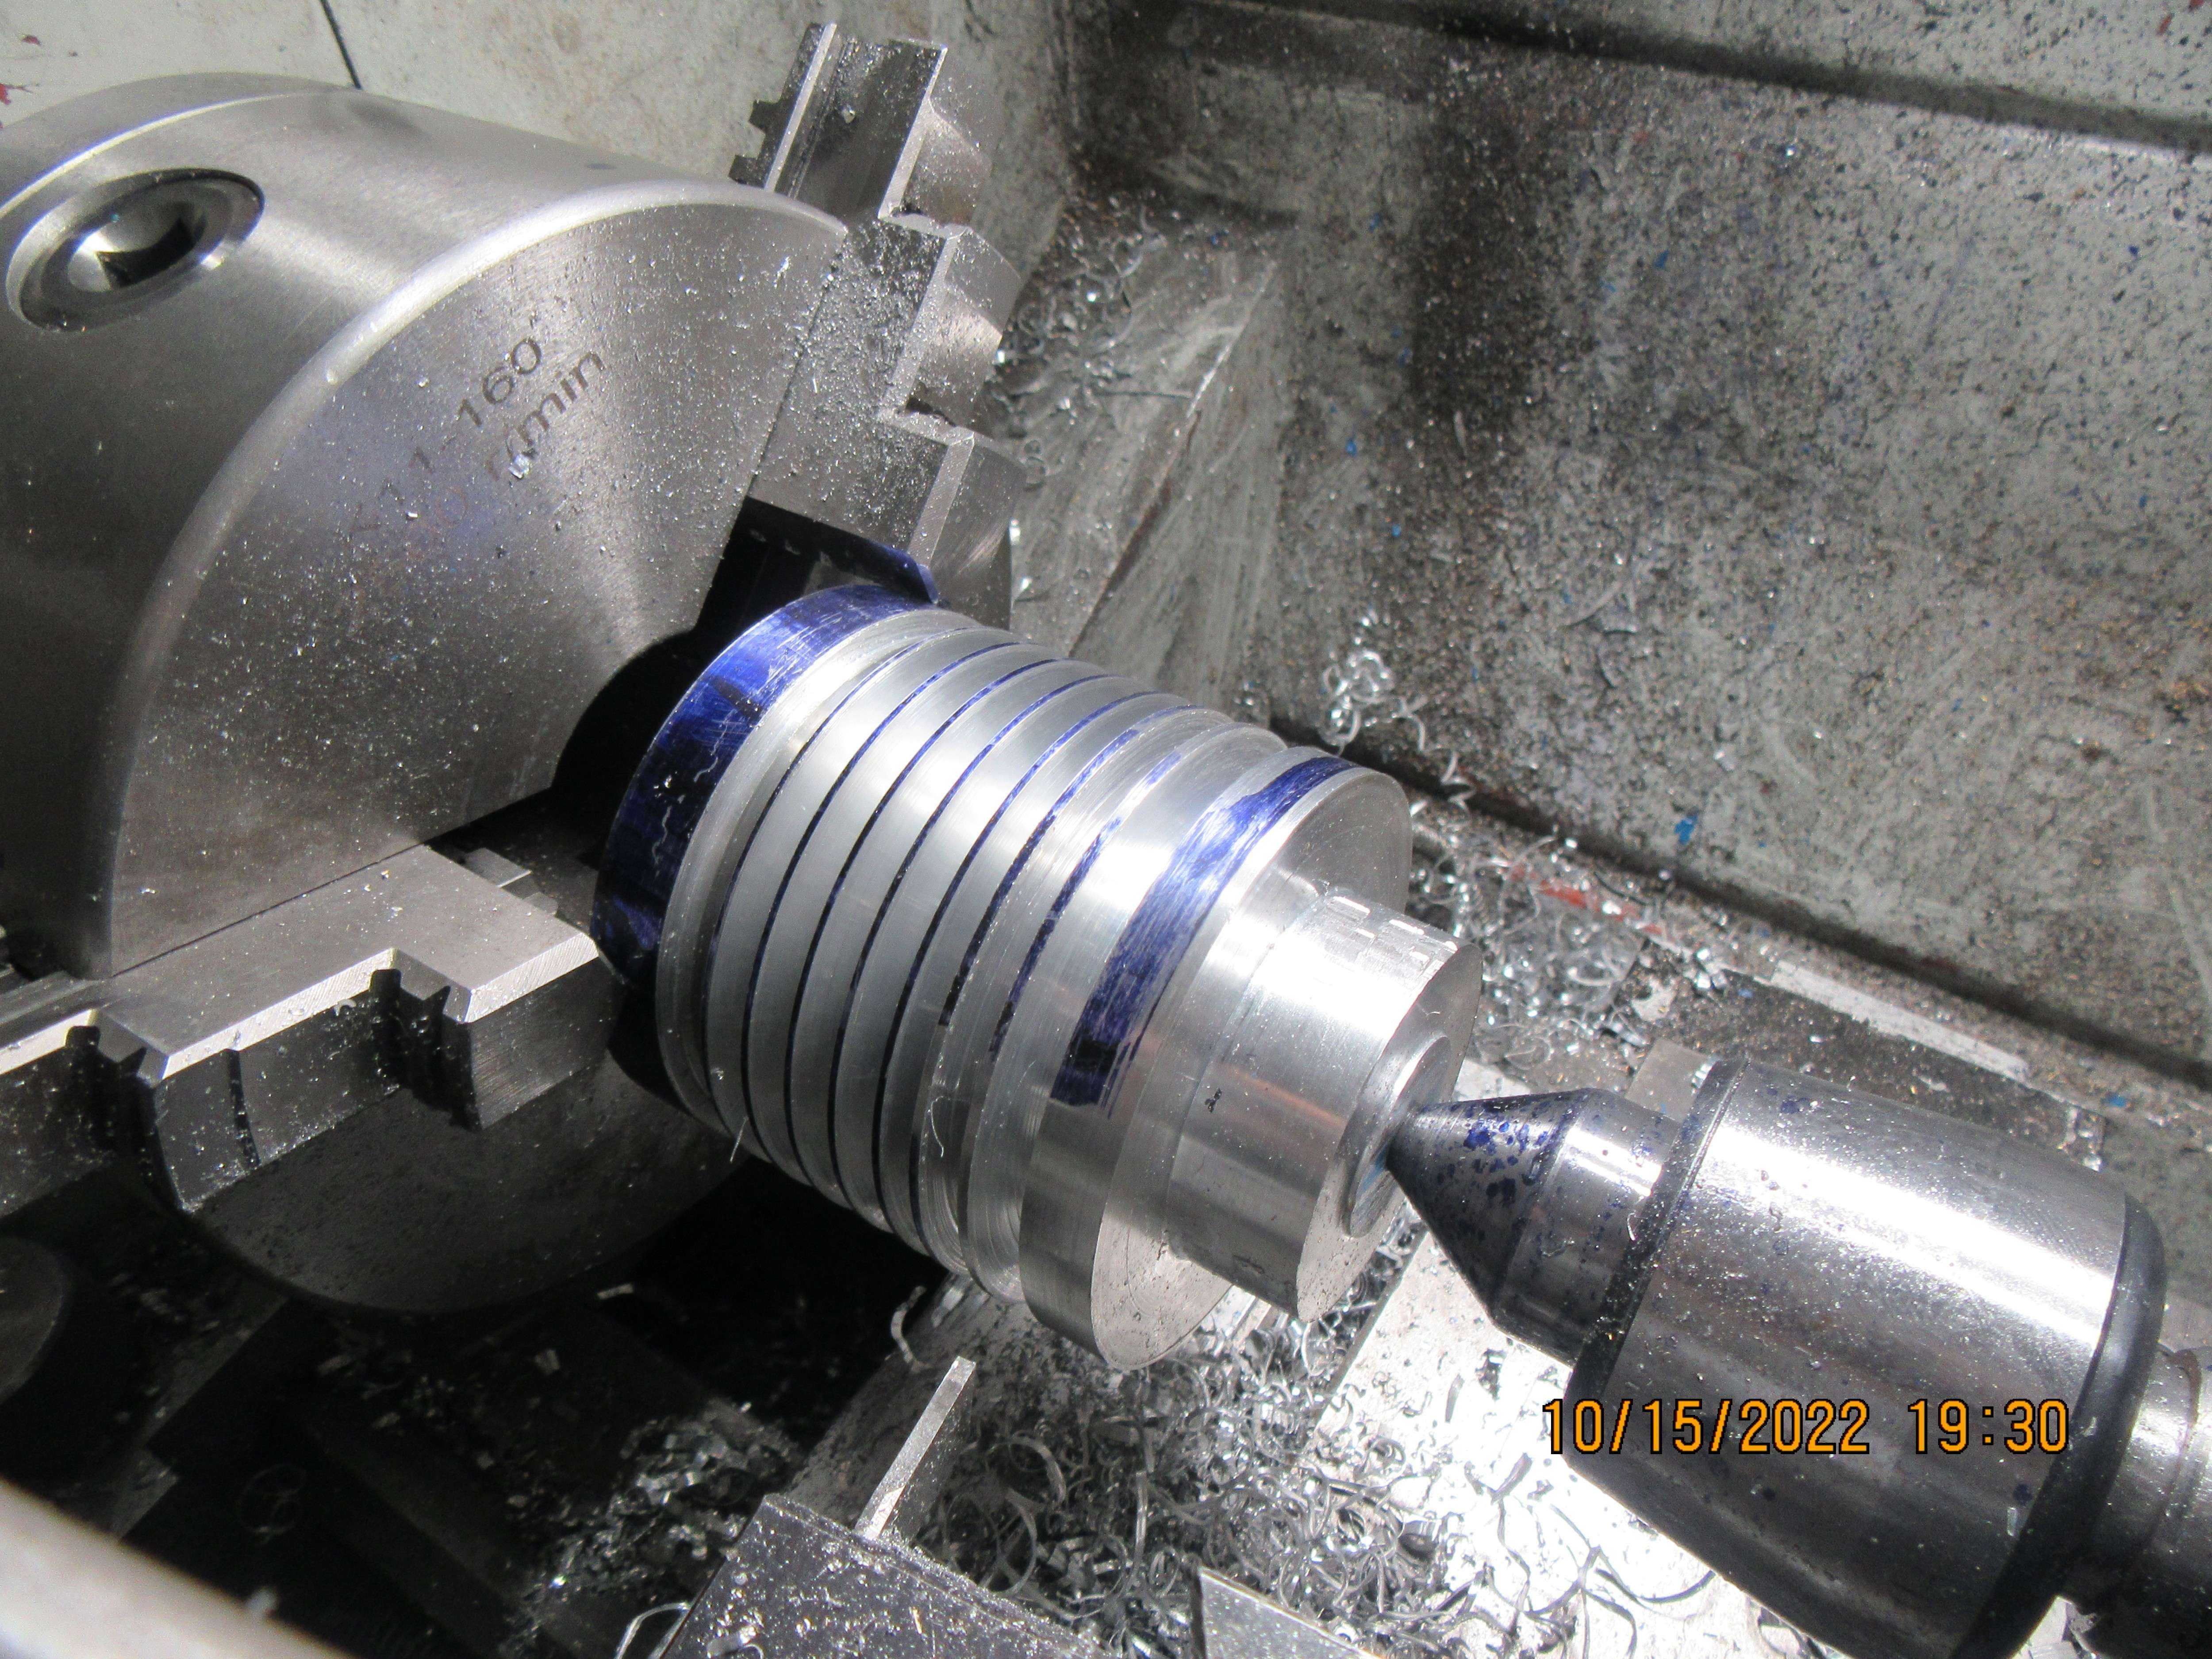
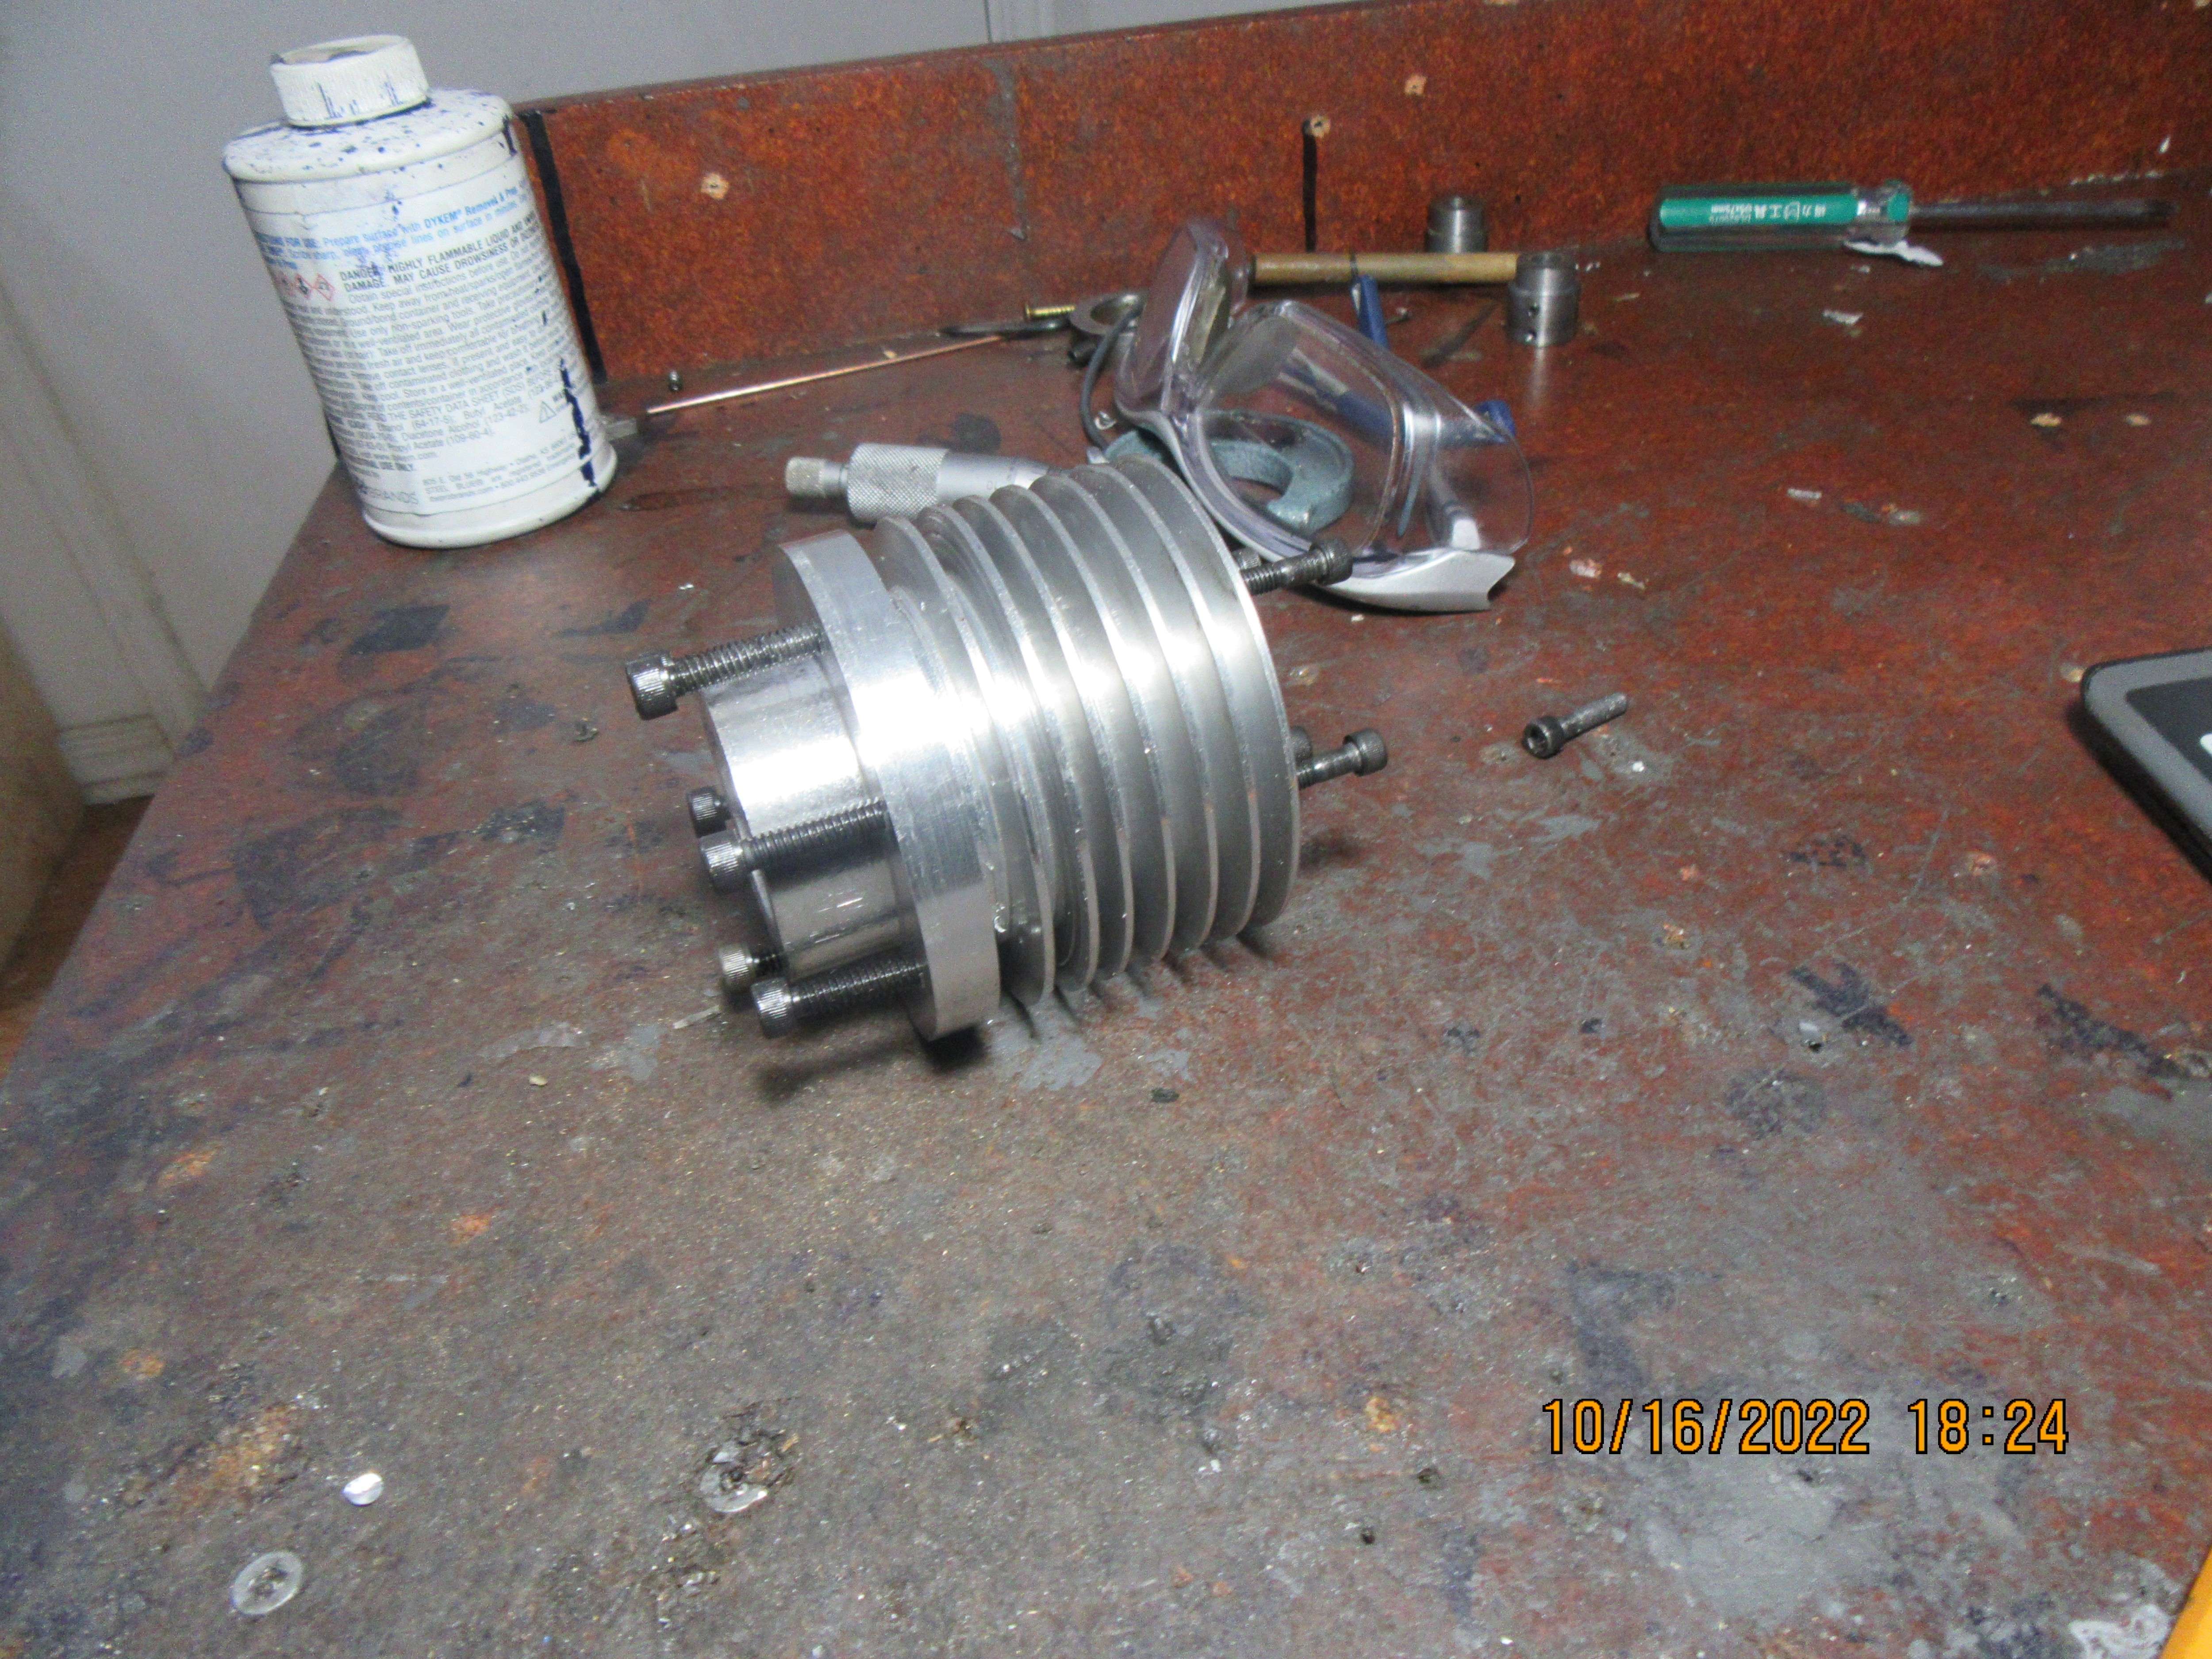
Much of today was spent converting my aluminum door-stop into a cylinder. I haven't put the bore in yet, that will be for tomorrow. Some very butt-puckering machining here, as the cuts between the "fins" were 0.425" deep with a 3/32" cut-off tool. None of them cut absolutely clean--they all jammed up and stalled my lathe at least once for each cut. It's amazing how quickly you can back the tool up and hit the e-stop button all at the same time and not crap yourself while doing it. The bore will be 1 1/8" and will be sized for a shrink fit onto a cast iron inner sleeve.
kARUMq.jpg
I have thin 'piano wire' thick springs to make. The slowest my lathe will turn is 70rpms. It gives me the willies just thimking about not being able to turn off the machine if somehow my fingers should get caught, wrapped up in the wire somehow.
 
I have thin 'piano wire' thick springs to make. The slowest my lathe will turn is 70rpms. It gives me the willies just thimking about not being able to turn off the machine if somehow my fingers should get caught, wrapped up in the wire somehow.
You could make a hand crank to fit in the back of the spindle. I find mine very useful. I use it when I want to tap a thread in the lathe, except for very small ones, and sometimes for single point thread cutting too. Myford even offers one as an accessory.
 
You could make a hand crank to fit in the back of the spindle. I find mine very useful. I use it when I want to tap a thread in the lathe, except for very small ones, and sometimes for single point thread cutting too. Myford even offers one as an accessory.
I have a hand crank for my small lathe--never thot of that. thanx
 
Much of today was spent converting my aluminum door-stop into a cylinder. I haven't put the bore in yet, that will be for tomorrow. Some very butt-puckering machining here, as the cuts between the "fins" were 0.425" deep with a 3/32" cut-off tool. None of them cut absolutely clean--they all jammed up and stalled my lathe at least once for each cut. It's amazing how quickly you can back the tool up and hit the e-stop button all at the same time and not crap yourself while doing it. The bore will be 1 1/8" and will be sized for a shrink fit onto a cast iron inner sleeve.
kARUMq.jpg
Did you use any lube??
Is the tool good an sharp?
 
Yes, tool was newly sharpened and lots of wd40 for lube. My 3/32"cut of tool was only HSS. I have never plunge cut to this depth before. Most air cooled cylinders I have made were of cast iron, and the maximum plunge cut depth was 3/8". I found the aluminum to be much "grabbier" than cast iron. I do have a carbide cut off tool that would probably have worked better, but it is 0.125" wide, which wouldn't have looked right.
 
And, just like that, my doorstop has turned into a cylinder!! It looks HUGE. Those are the deepest cut fins I have ever made at 0.425" deep. There will be a cast iron liner fitted inside the aluminum cylinder.
SRQxbA.jpg
 
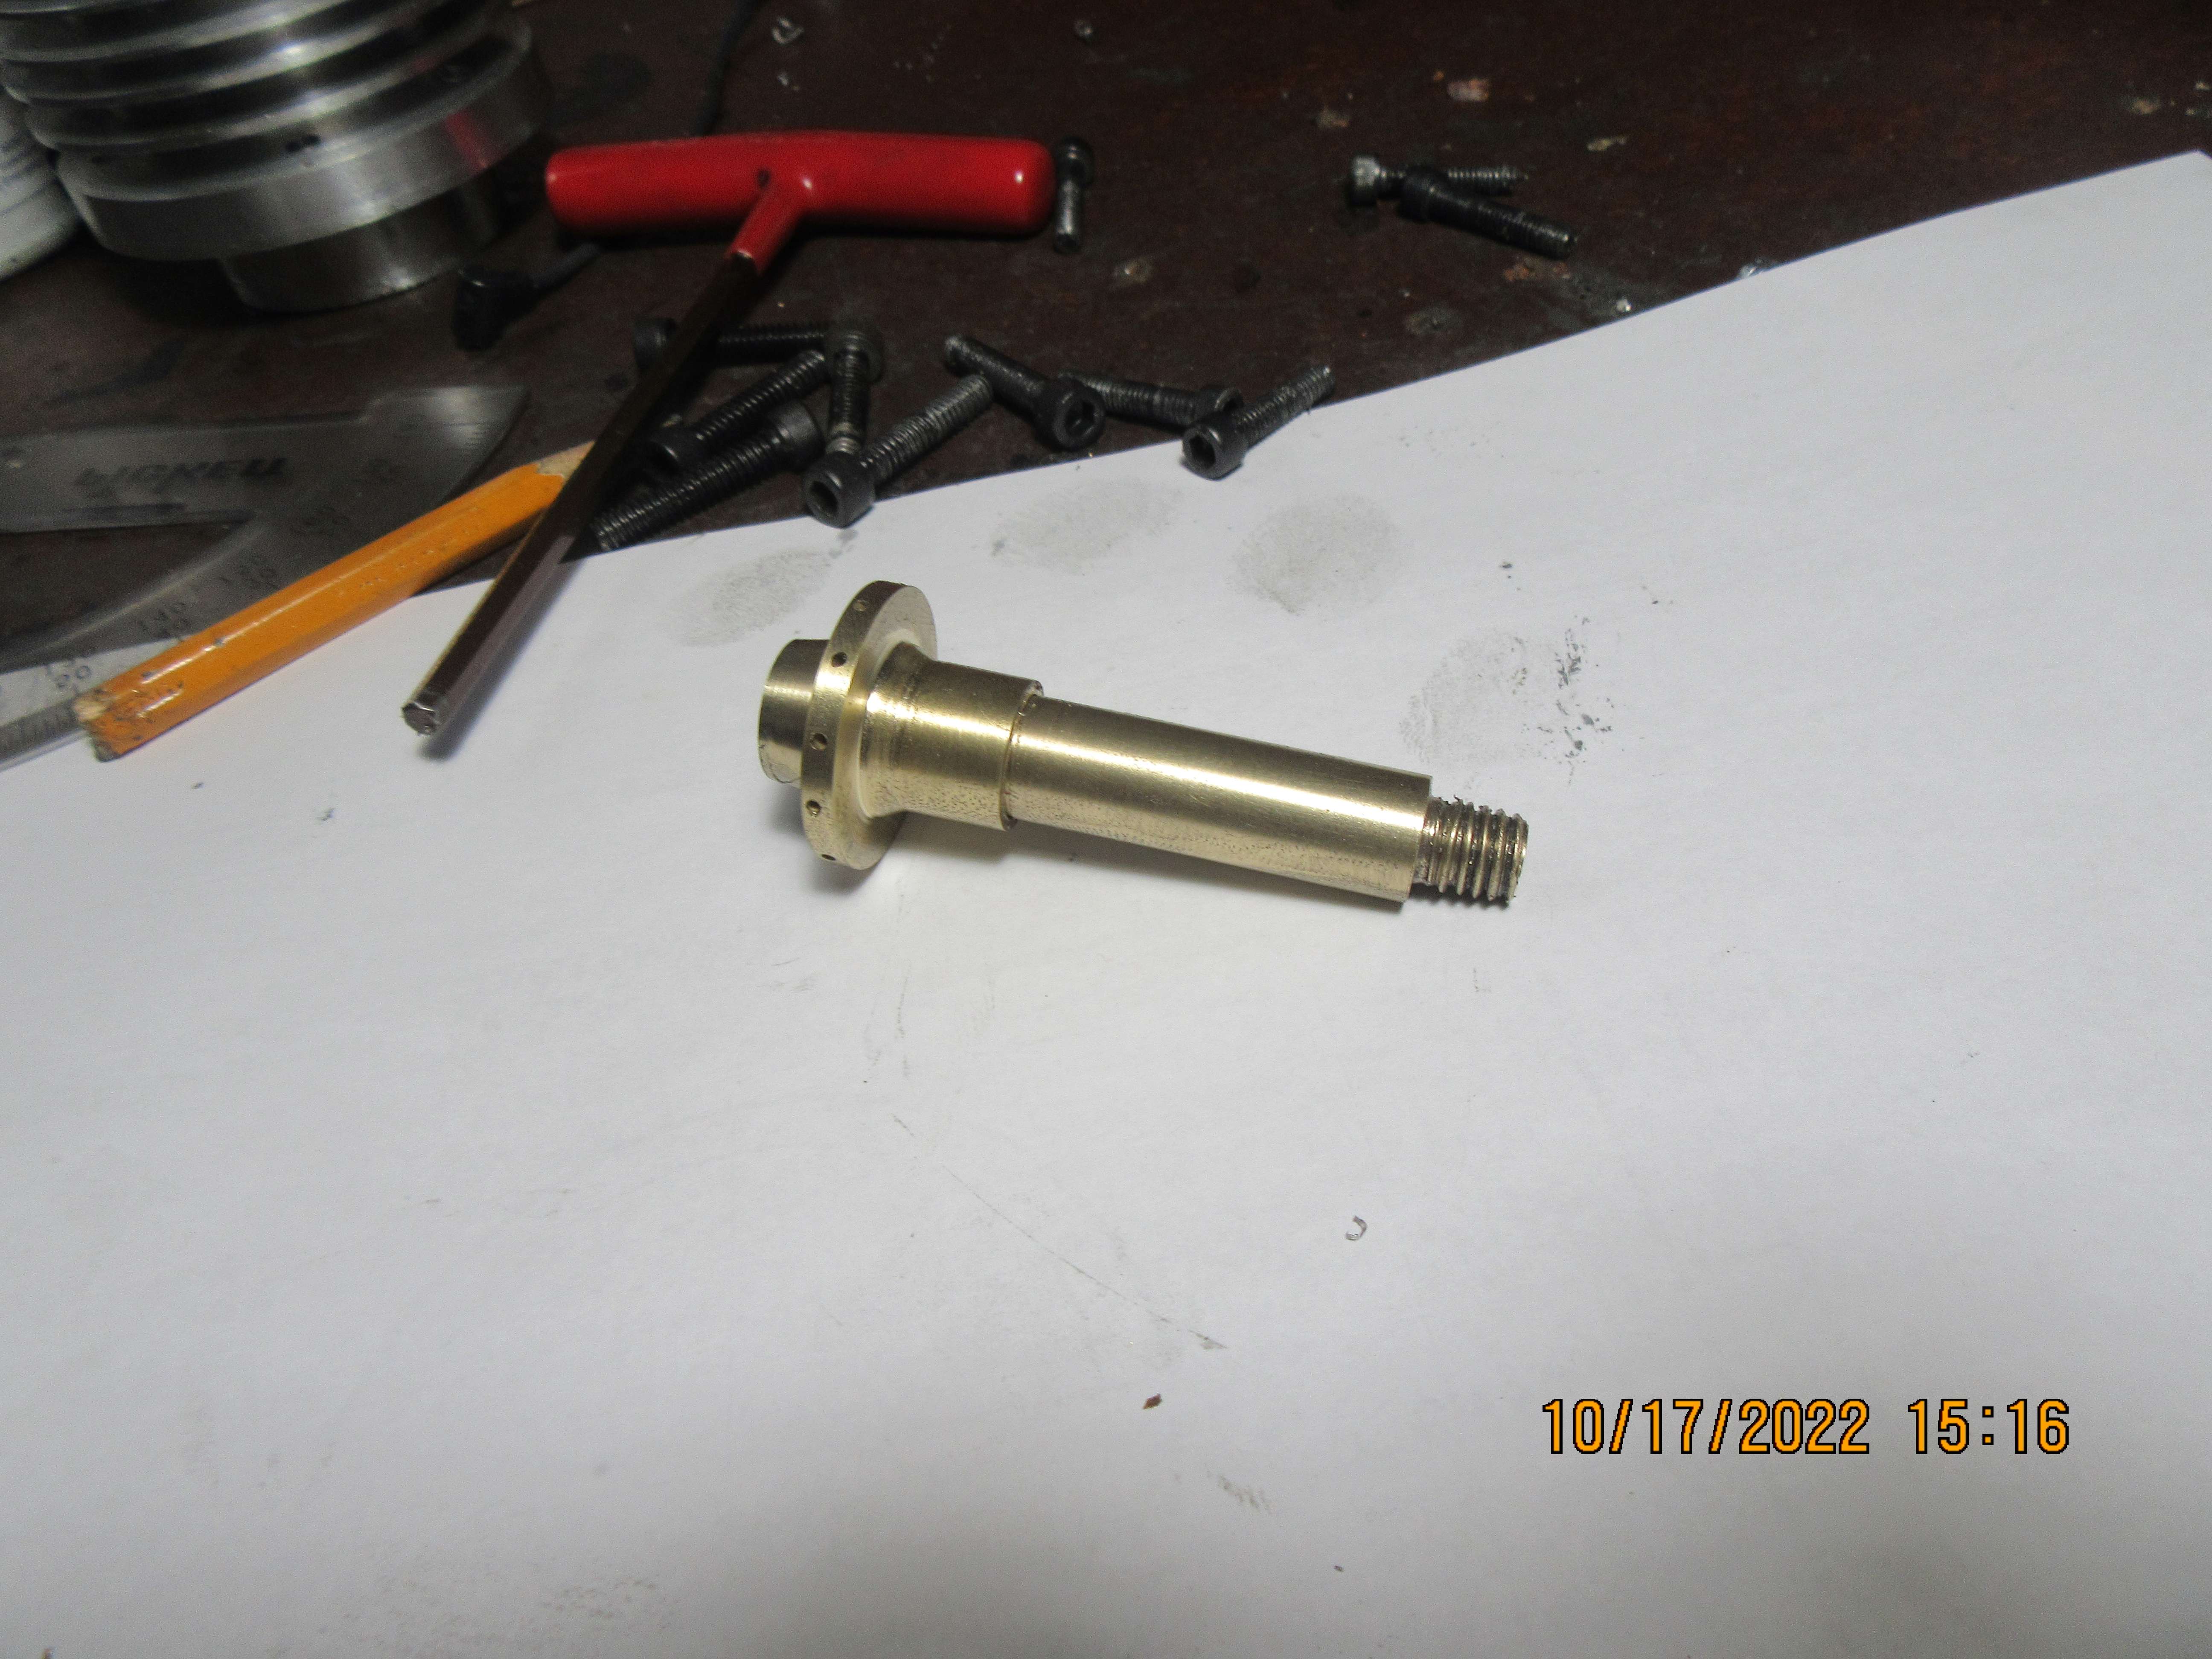
Due to supply chain screw ups, I've been setting here figuring out what I could make without using my bandsaw.--Turns out that there is a lot of stuff!!---Handle for ignition advance, 2-valves,-2-valve cages,-2-valve spring retainers,-a piston,-2 outer flywheel rims (cut from a section of heavy wall pipe)-an exhaust stack, and a muffler. That should be enough stuff to last me until my saw blade gets here from Texas.
 
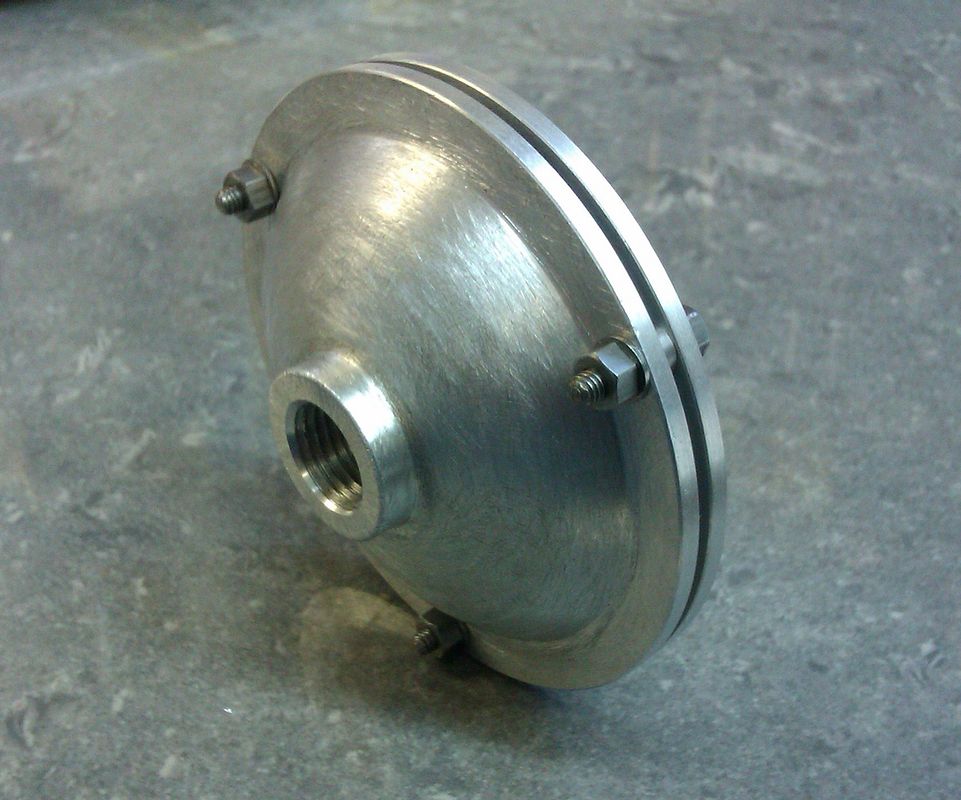
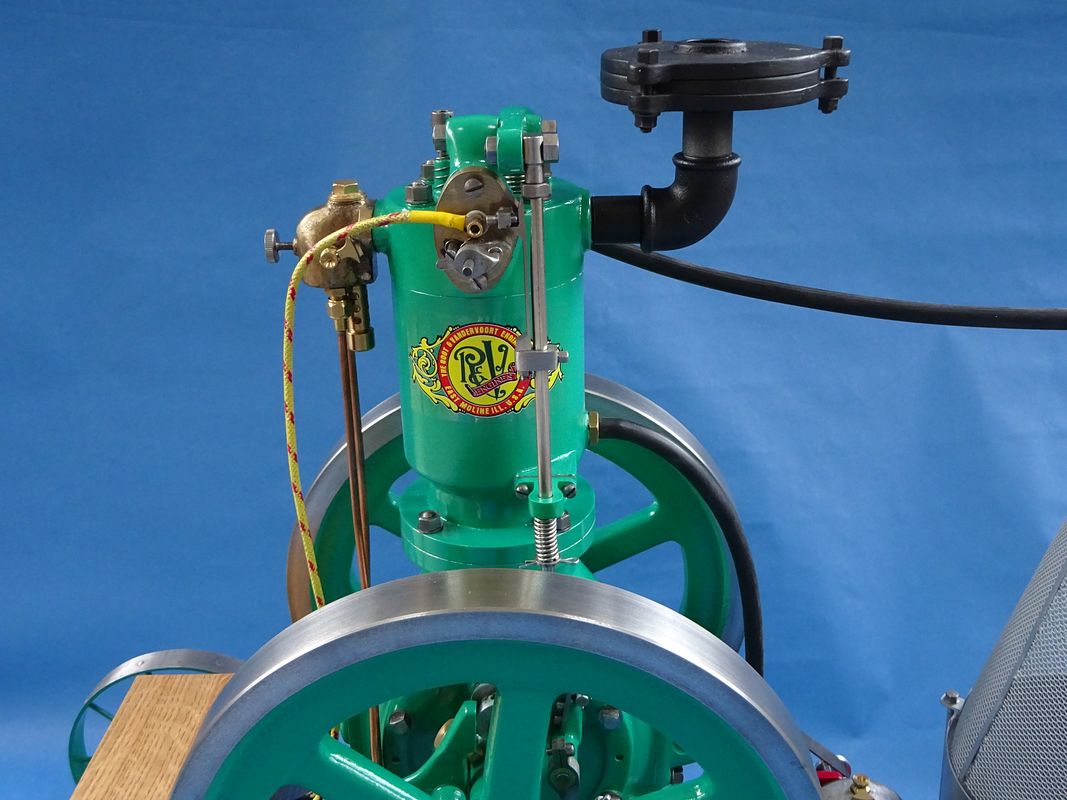
About 13 years ago, when I built the Kerzel, I made up a couple of oilers for the bearings. For one reason or another, one of them was never used so, I will add it to this engine for a cylinder oiler. This engine won't need oilers for the bearings--the bearings will be ball bearings with the seals removed to give maximum free spin.
0oEVLw.jpg
 
Is that thing going to allow the engine to breath enough?

I thought it looked a bit small on the general assembly but now I see those few tiny holes I can't help thinking it will restrict exhaust flow. All the pancack type mufflers I have made just have 3 or 4 small spacers between the two halves and the open area is at least as large as the pipes cross section if not more

Even the ID of the pipe looks a bit small now I can see you have a reduced dia for the thread what is the bore at the threaded end? The various 24mm bore engines that I make tend to have at least 6mm (1/4") clear

PICT0460_zps070e7c0f.jpg


IMAG3024_zpsgghbhguw.jpg


DSC03486_zpsacibkx0j.jpg
 
Last edited:
The exhaust pipe has a 0.150" hole thru it. the small holes are 0.050" diameter. Cross section of a 0.150" hole is .0177 square inches. Cross section of a 0.050" hole is 0.0019 sq. inches times 16 holes =.031 sq. inches. Craig--My son used to work for Fastenal, and I can get my blades from them at cost price, which is a considerable savings to me.
 

Latest posts

Back
Top