Back on Track
The recovery is complete. We now return you to your regularly scheduled boiler build.
Ready to go. This time with the end plates correctly oriented.
Although I won't show steps that I've already covered here, some refinements for your viewing pleasure.
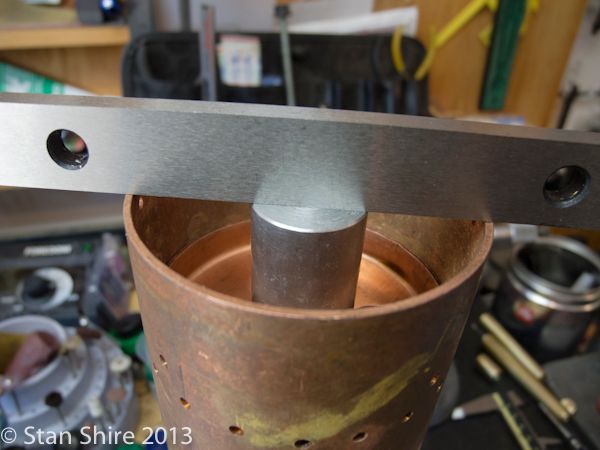
I turned an internal spacer for the dome.
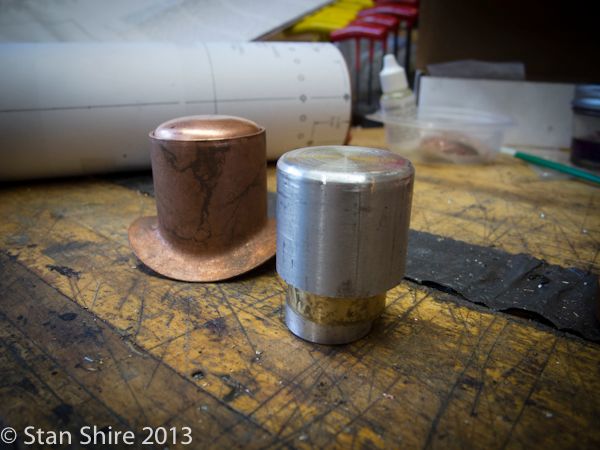
It's also used with a mill stop to fix the dome cap in position until a few rivets are in to hold it.
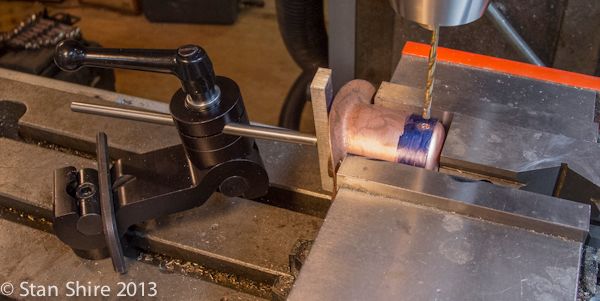
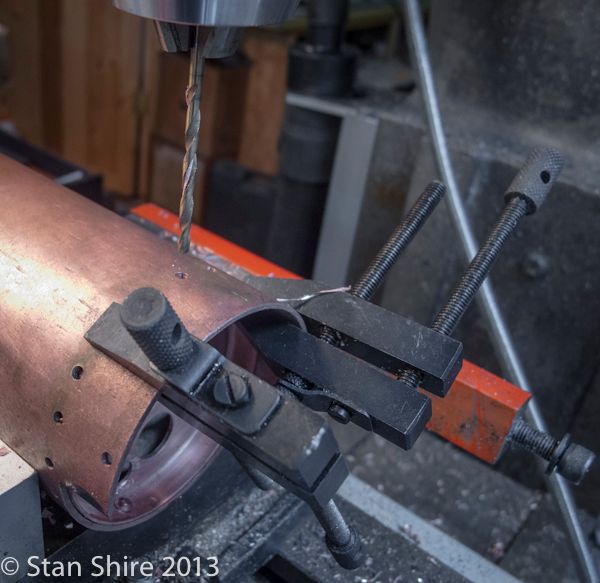
With the first two holes drilled, I'm ready for the rivets. Per Jo's instructions, I'm fluxing as I go. (Yes, I did remove the Dykem blue as soon as I took this pic.
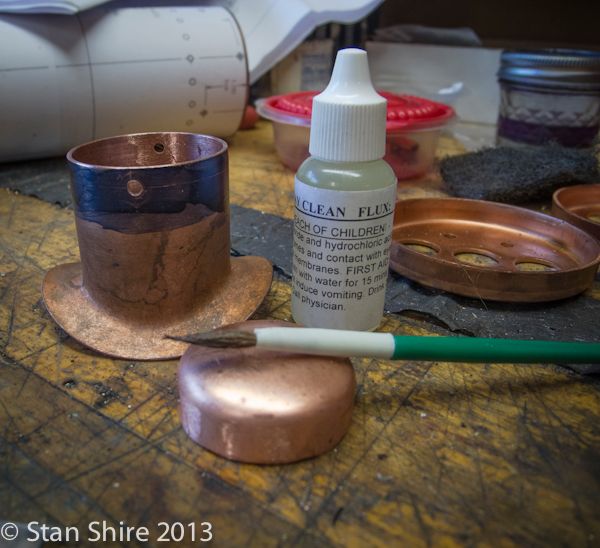
After riveting, cleaning, more flux and soldering, I did (also thanks to Jo) leak testing as I went. No leaks here. FYI. I spoke with PMR about what kind of solder is supplied. It is Harris Stay Brite. 96% Tin, 4% silver.
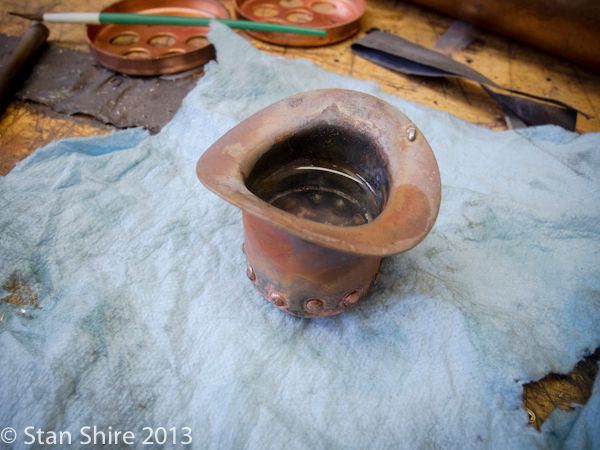
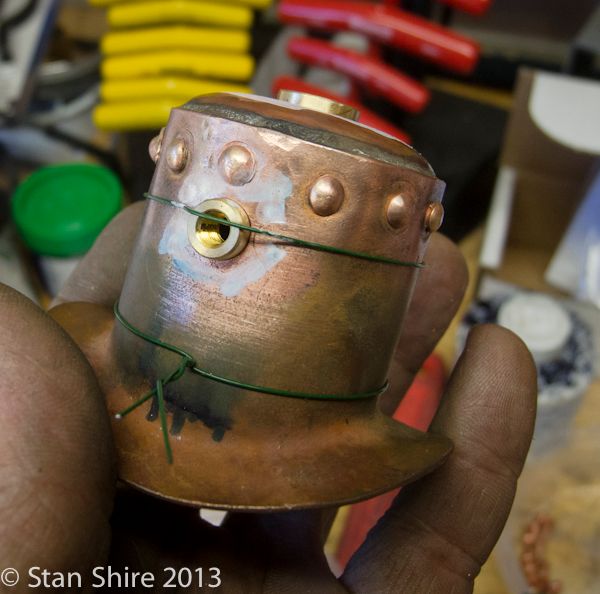
Next, the dome was drilled for three threaded bushings. I wired them in place with iron florist wire. The grey stuff around the bushing is anti-flux to keep things a bit cleaner.
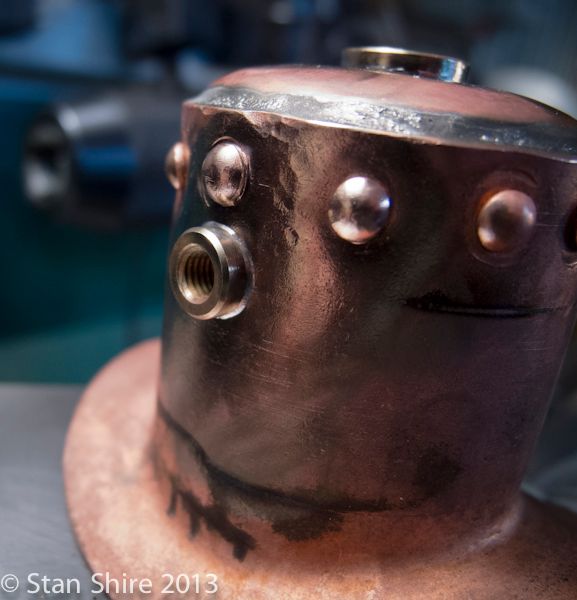
I heated the outside and applied the solder on the inside of the dome. It flowed through very nicely.
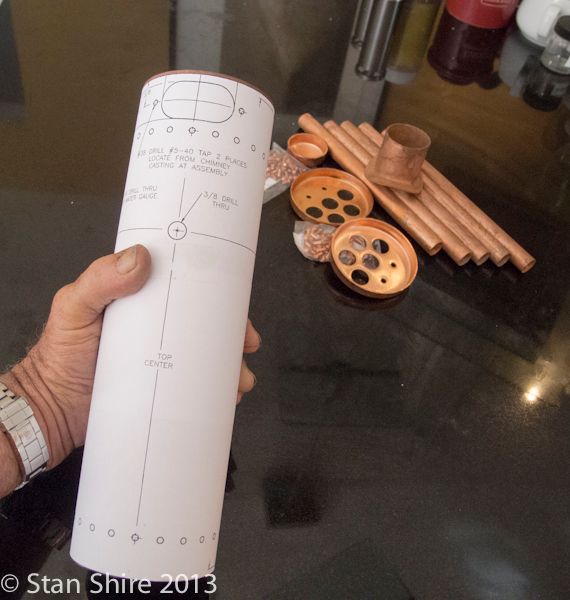
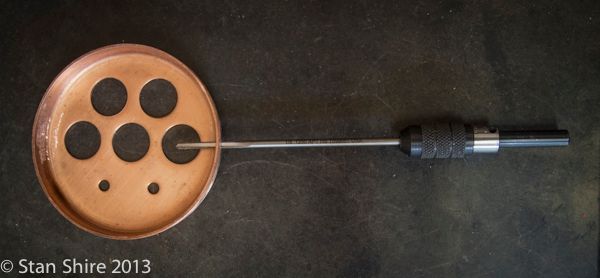
My addendum to PMR's template. My attempt at not doing anything stupid this time around.
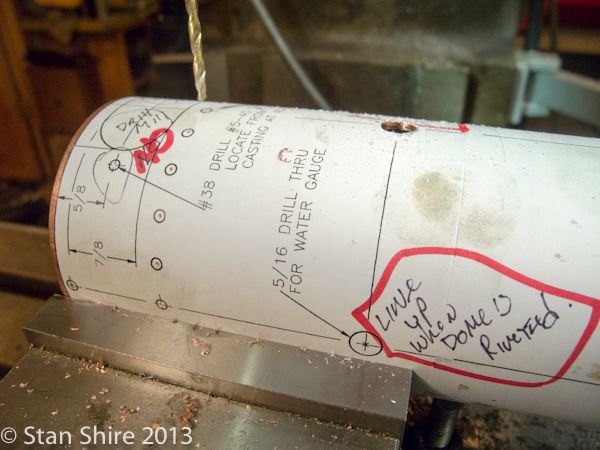
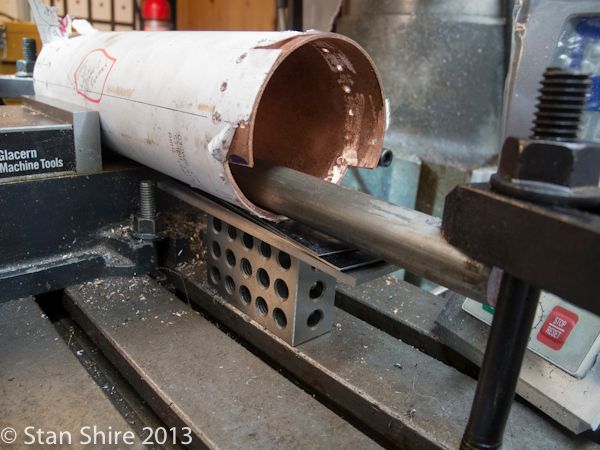
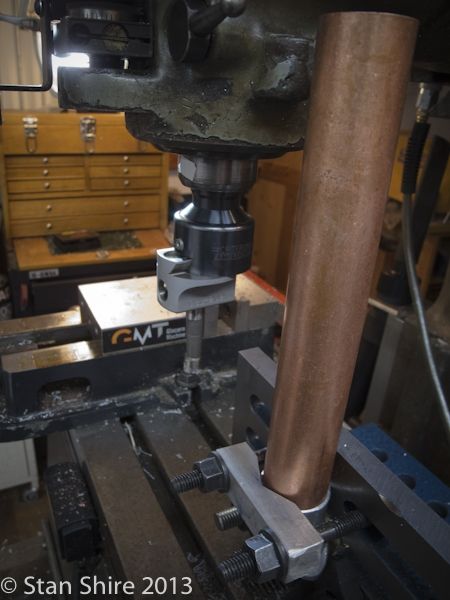
On the original shell, I wasn't happy with the setup for holding the tube for drilling and milling. This is much better. Rock solid. A cold rolled round, both ends flattened and clamped solidly to the table.
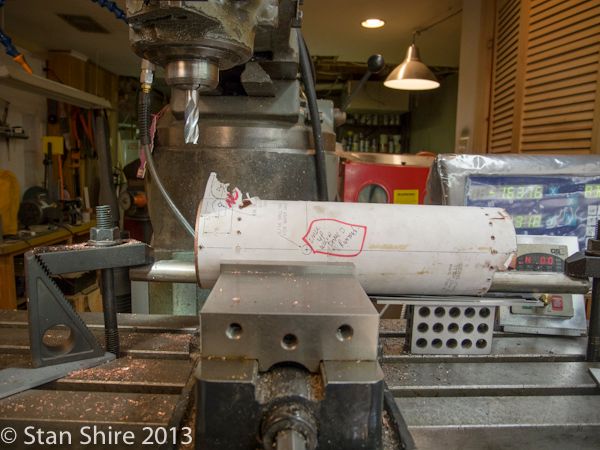
Lining up the ends plates VERY CAREFULLY this time.

Another height gauge to position the plate.
And a few clamps to keep it in place until a few rivets are in.
A double-check. Bang on.

I remembered on the first build, that the rivets were a PITA to get through the drilled holes. A .125 reamer in a pin vise solved that issue.
The rest of the riveting proceeded as before.
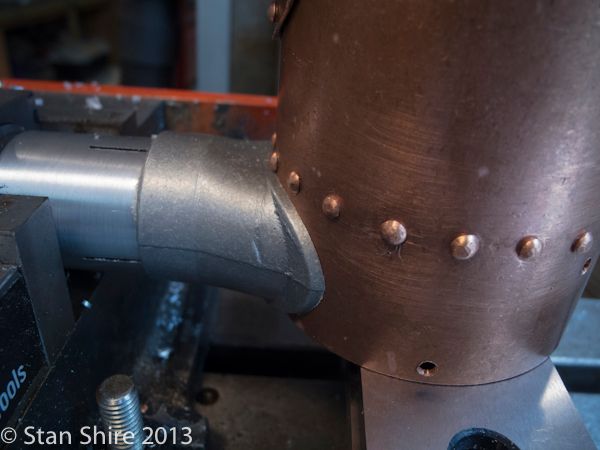
With the shell riveting done, I moved to the chimney casting.
You may have read the "Boring Question" thread. With a great deal of help and suggestions, I followed Steamer's procedure for making an expansion mandrel to hold the casting. Thanks, Dave!
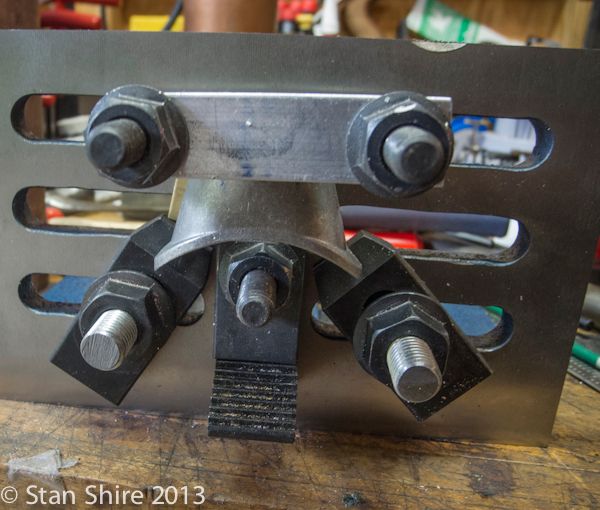
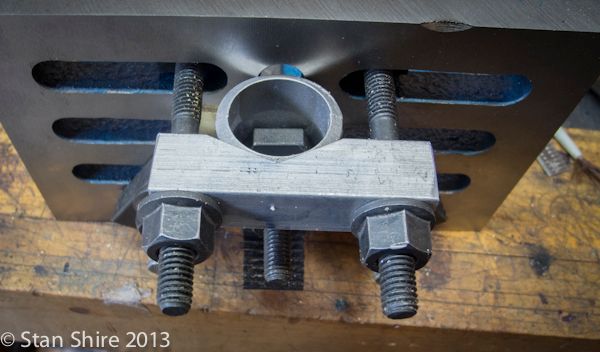
But before I could do that, I needed to bore the casting to fit the chimney.
Taking no chances, I made a V block for the angle plate, one clamp on the inside of the casting, and two more to prevent any rotation.
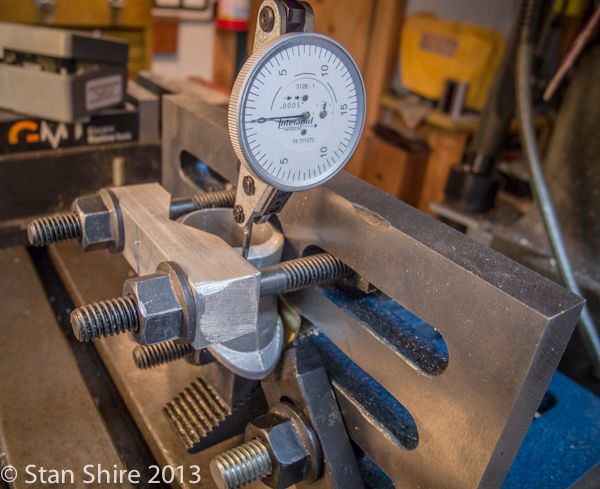
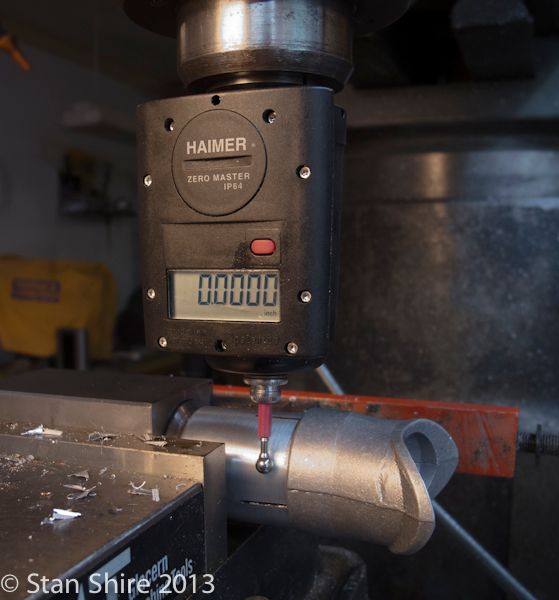
Indicated the bore.
Other than making sure that it worked, I'd never REALLY used the Bridgeport's auto quill-feed.
I set the movement at the lowest feed of .001 per revolution. WOW! it's very spooky watching that.
A short film.
[ame]http://www.youtube.com/watch?v=6PsUkBCpXCo[/ame]
And, a perfect sliding fit.
With that done, I could now finish the mandrel.
Turned a some 6061 to slightly over the ID of the casting.
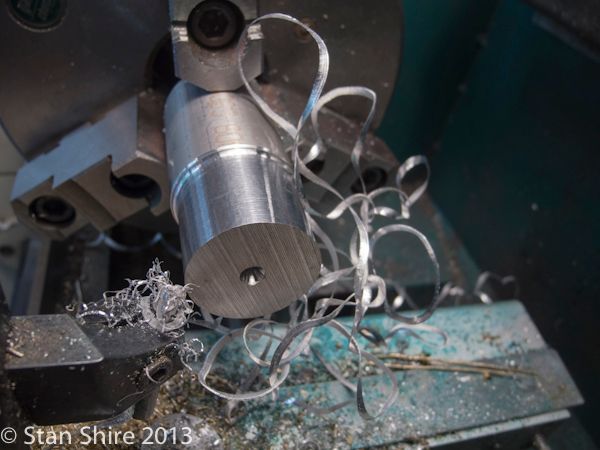
Drilled and tapped ¼ NPT.
Two cuts through, front to back at 90 degrees for the expansion slots, then back to the lathe to turn down to just under the ID. This was with the ¼ NPT plug in place.
On like it's welded.
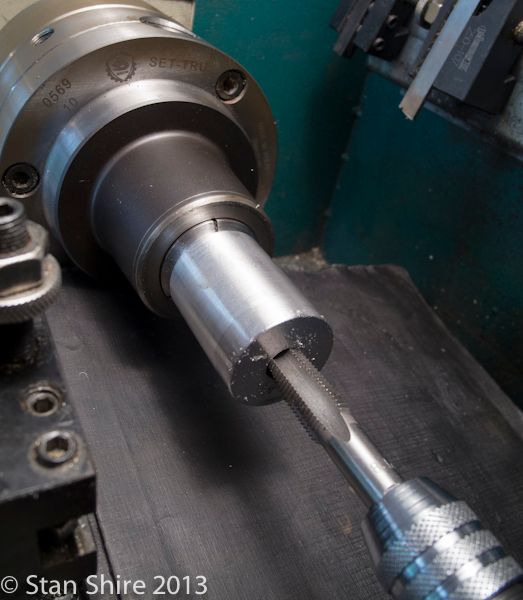
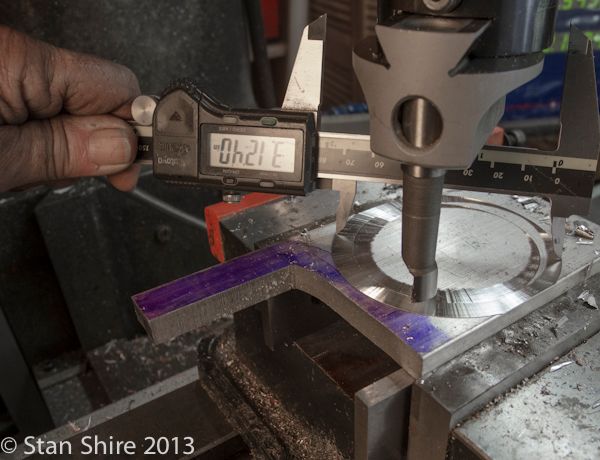
I had some excellent suggestions to set an interrupted cut to a radius in the drawing. (See the "Boring Question" thread). In the end, I just put a piece of plate in the vise and "scratched" the surface with the boring head. Measured, moved the boring bar out based on the reading and hit it dead on in three tries.
Then, centering the mandrel on the Y axis.
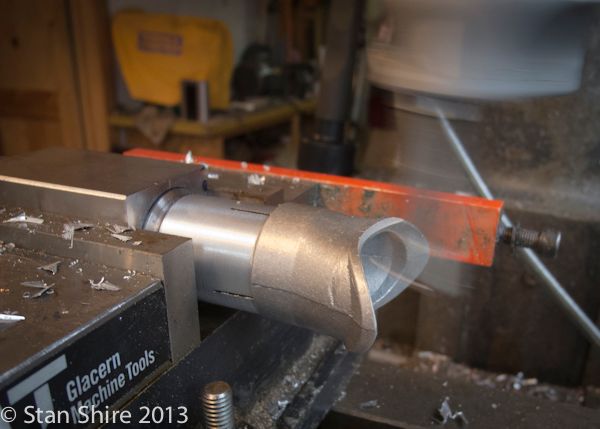
And making the cut with the auto feed
Another video of this op.
[ame]http://www.youtube.com/watch?v=UqBrOTPCQ5w&feature=c4-overview&list=UUtv2FL7ehRo9CV-vt2kPlWw[/ame]
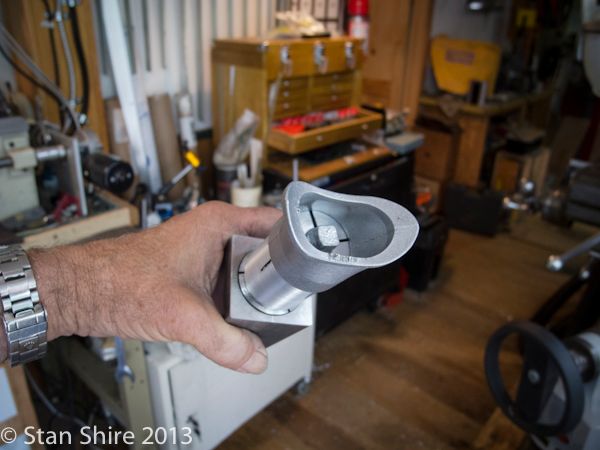
It fits!
Starting to look like it could be a boiler.
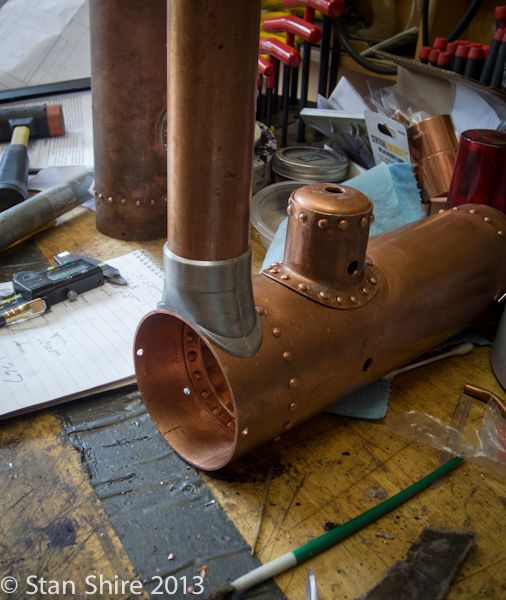
Tomorrow, I'm hoping to get the tubes and stays in place and soldered.
Thanks for being patient while I got back on track.


")


![DreamPlan Home Design and Landscaping Software Free for Windows [PC Download]](https://m.media-amazon.com/images/I/51kvZH2dVLL._SL500_.jpg)


.jpg")


