What method did you use to model the prop?
I have recently done a 4 blade prop, by creating a series of sections and lofting between them.
I have recently done a 4 blade prop, by creating a series of sections and lofting between them.


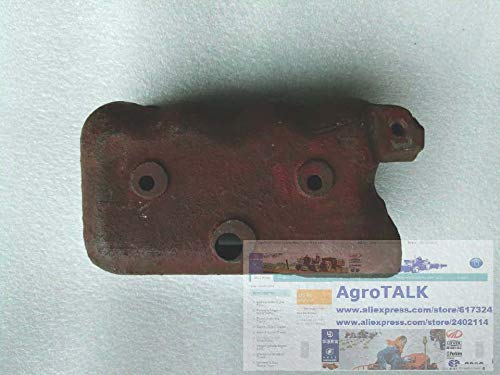
Is been a long time since I looked at these plans. It just re-occurred to me the carb is front-ish on the nose case. So presumably the mist charge can lubricate cam gear train, back through bottom rod assembly, through that the rotating vane diffuser/booster? part up to the heads. But I can't quite figure out how that diffuser/booster wheel works. There is an aperture slot on the upper area & a series of holes on the bottom? Any explanation in that regard? (The full parts diagram is shown in post#1)
HiWhat method did you use to model the prop?
I have recently done a 4 blade prop, by creating a series of sections and lofting between them.
More what I'm wondering about is the gas flow through diffuser. Is it entering through the lower (yellow shade) array of holes, into the pie chambers & then flung out to the induction tubes? What does the (pink shade) opening do?Are you referring to how the diffuser is driven


All the holes go through to the vanes, so fuel would be able to pass through all the way aroundMore what I'm wondering about is the gas flow through diffuser. Is it entering through the lower (yellow shade) array of holes, into the pie chambers & then flung out to the induction tubes? What does the (pink shade) opening do?
Hi
I copied the way to do it from this guys video
Made one blade and then used the circular pattern tool to make more blades


I think from memory I used the spare cylinder as test piece, The threaded area of the valve cages on the plan is .313in long and the cages are flush with the top of the head, I just drilled down and kept checking the depth with a light and magnifier to see how close it was to the bottom, when I thought it was right I put a mark on the drill and also used the DROQuestion for you Michael. When you were drilling the valve cage holes for tapping, how did you gauge the tap drill depth? I don’t see an easy way to set this without making a special go / no-go gauge. TIA.
I think from memory I used the spare cylinder as test piece, The threaded area of the valve cages on the plan is .313in long and the cages are flush with the top of the head, I just drilled down and kept checking the depth with a light and magnifier to see how close it was to the bottom, when I thought it was right I put a mark on the drill and also used the DRO
When tapping the hole I used the quill to keep the tap in line but only tapped about 3/4 of the way down and then when all the other work was done I I finished tapping the holes by hand with the cylinder off the fixture so I could seen in the bore and make sure the tap didn't cut all the way through
Maybe Littlelocos can shed some more light on how he did it
I found this was
Thanks. I’m at a point where I’ve drilled down most of the way but stopped short until I figure out a way to gauge the land thickness. I’m considering making a slot gauge with the width of the land. @littlelocos Any thoughts?I think from memory I used the spare cylinder as test piece, The threaded area of the valve cages on the plan is .313in long and the cages are flush with the top of the head, I just drilled down and kept checking the depth with a light and magnifier to see how close it was to the bottom, when I thought it was right I put a mark on the drill and also used the DRO
When tapping the hole I used the quill to keep the tap in line but only tapped about 3/4 of the way down and then when all the other work was done I I finished tapping the holes by hand with the cylinder off the fixture so I could seen in the bore and make sure the tap didn't cut all the way through
Maybe Littlelocos can shed some more light on how he did it
I found this was challenge


Enter your email address to join:


![MeshMagic 3D Free 3D Modeling Software [Download]](https://m.media-amazon.com/images/I/B1U+p8ewjGS._SL500_.png)