You are using an out of date browser. It may not display this or other websites correctly.
You should upgrade or use an alternative browser.
You should upgrade or use an alternative browser.
Philip Duclos "Odds N Ends" hit and miss engine
- Thread starter Brian Rupnow
- Start date

Help Support Home Model Engine Machinist Forum:
This site may earn a commission from merchant affiliate
links, including eBay, Amazon, and others.
Cogsy
Well-Known Member
More 4 jaw work machining the 660 bronze crankshaft bearings. I don't think I could ever get to actually LIKE 4 jaw chuck work, but its ttrue, what others have said. It does get easier as you do more of it!!
When I first got my lathe I put off installing my 4 jaw until I absolutely had to use it. I didn't enjoy my first couple of uses but since then (and hundreds of parts later) I have NEVER re-installed the 3 jaw. I'm not sure I ever will.
Ed --Look at posts #10 thru 18. It shows all the steps I used in making the gears plus a video. Sorry to hear that you can't get into your shop for a month.---Brian
Cogsy---Your a braver man than me!!! My 3 jaw chuck has a total indicated runout (TIR) of .003" which is about standard for cheap 3 jaw chucks. I can never get it any closer than that with a 4 jaw, even after multiple tries and frustration trying to "zero" the damned thing. To me thats a lot of pain for very little tangible gain. I use the 4 jaw when I absolutely must, but not as a matter of course.---BrianWhen I first got my lathe I put off installing my 4 jaw until I absolutely had to use it. I didn't enjoy my first couple of uses but since then (and hundreds of parts later) I have NEVER re-installed the 3 jaw. I'm not sure I ever will.
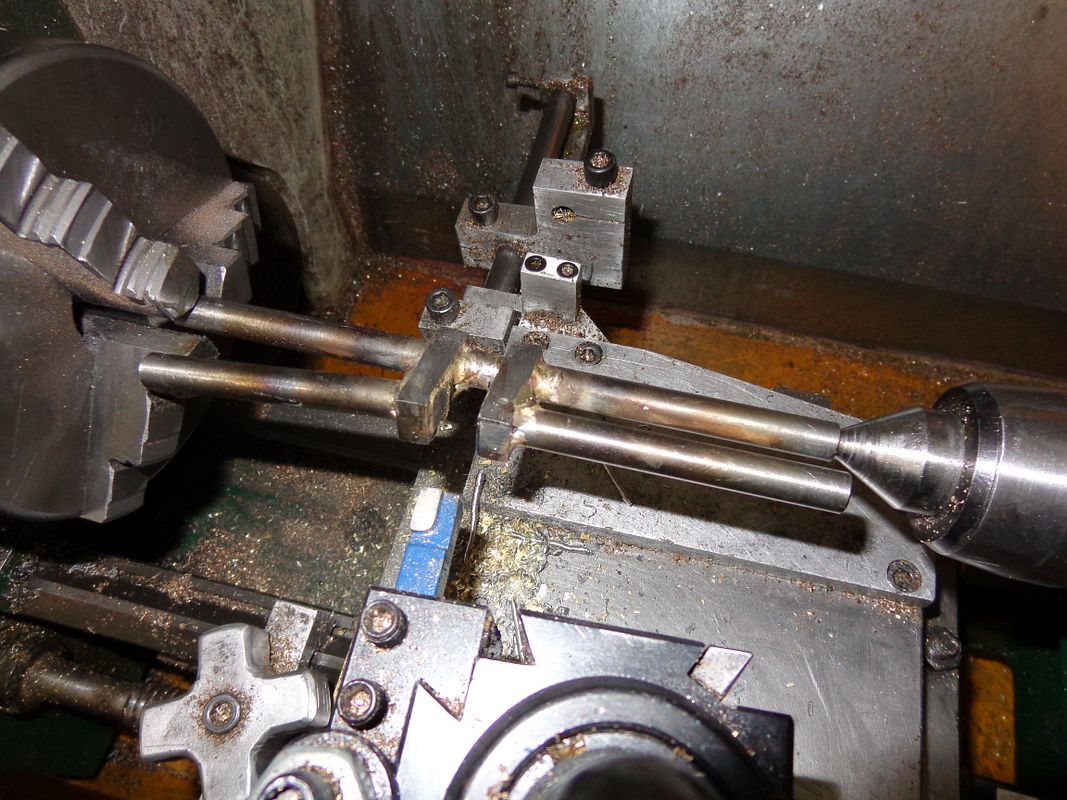
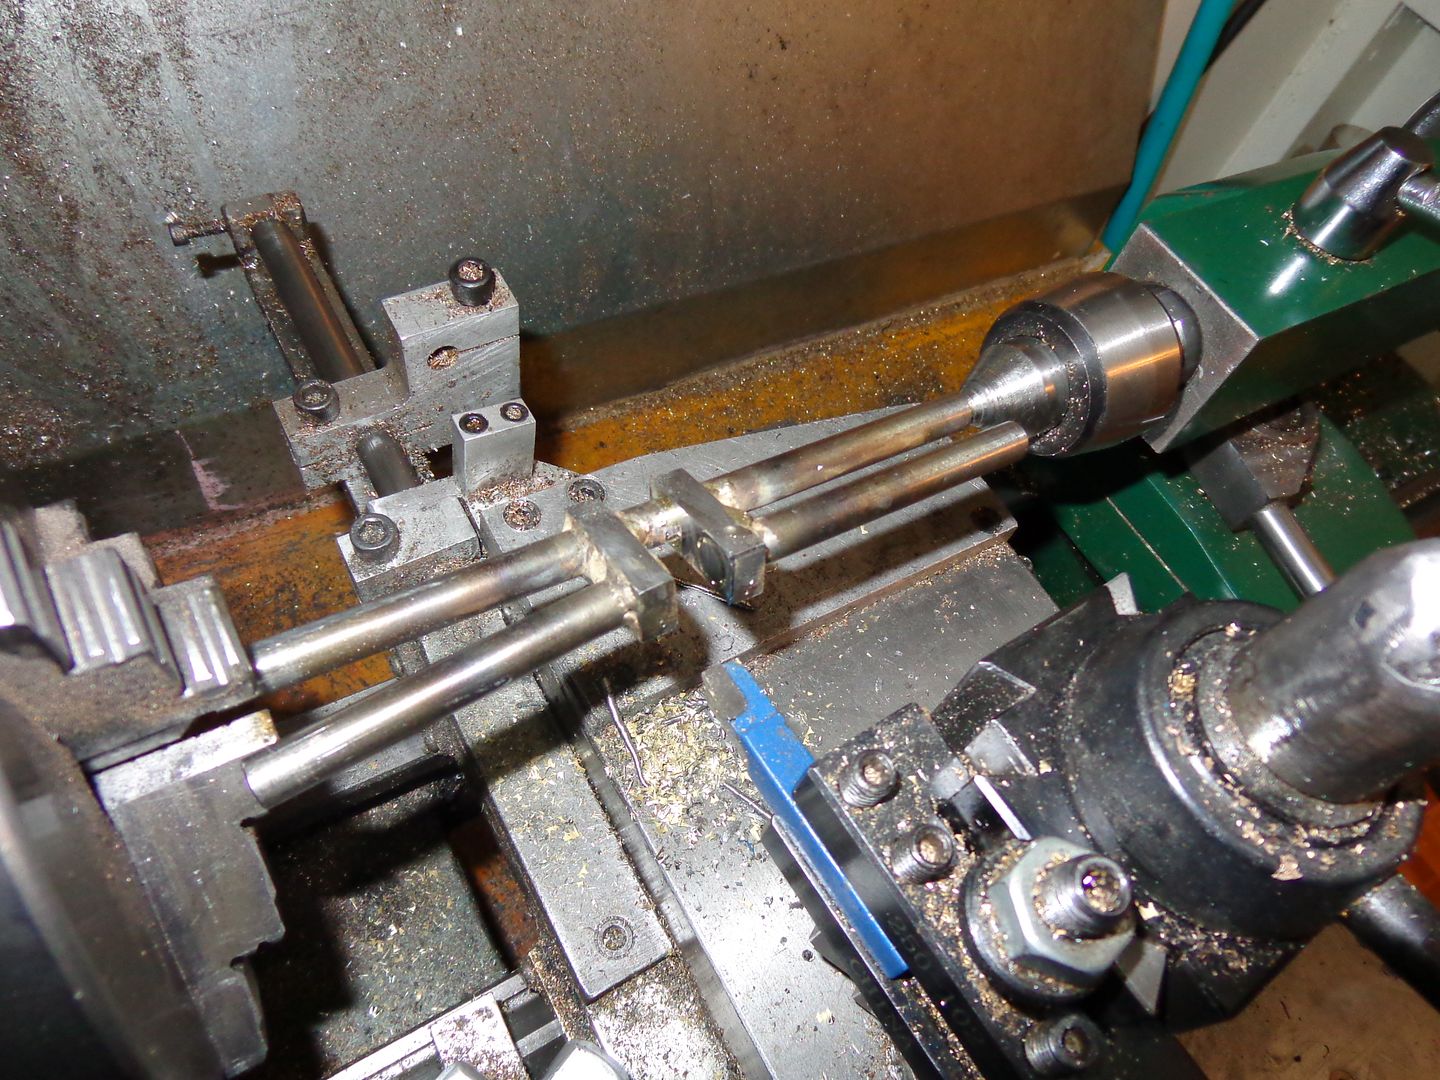
What you see here, is a truly horrible end to a truly horrible day!!! I decided to make my crankshaft as a built up unit, pinned and silver soldered together from seperate pieces. All went well, and I had everything drilled, reamed, centered, trued, and silver soldered, ready for cleanup. Then I got the TELEPHONE CALL. A very east indian sounding chap, telling me was from Microsoft, and that my computer was downloading error messages and overwhelming the local server. I am not as a usual matter of course a gullible old fool, but this fellow sounded very sincere. He directed me to a place deep in the guts of my computer and sure enough, there were a whole #$@t load of big red error messages. Now my spider senses had started to tingle a bit, but then again, damn near every place that has a tech help division now operates out of India. He informed me that if this wasn't fixed at once, it could possibly crash my computer and lose all of my files, yada, yada, yada. However, rescue was at hand, because if I would just give him access to my computer he could set things right for the low, low price of $149 payable thru PayPal. ---And that he would install some software that was good for the next 3 years to prevent this happening again.----So I did. Then my good wife, being the ever diligent watchdog that she is went online, looked it up, and sure enough, the whole damn thing was a scam. The rest of the day was spent in a flurry of cancelling bank cards, changing passwords, changing accounts, changing online access codes, calling Vissa, calling Paypal, visiting local banks, removing added software from my computers hard drive, running malware and anti virus programs, phoning computer repair shops (who in my opinion are only one notch better than the scammers).--In short, a totally dreadfull experience. At the end of the day, when things had sttled down, I decided that something to calm my mind was in order, so I went down to my little shop and decided to begin final clean-up and machining of the crankshaft. I got the center cut out, the shaft mounted between centers with one leg running past a chuck jaw to act as a drive dog, and very carefully cleaned up one side. Then I changed to an opposite hand tool and just started to very carefully clean up the other side, when "WHAM--CLUNK"--a horrible end to a horrible day. I may spend the rest of the winter hiding in my bedroom contemplating my navel, or maybe take up needlepoint.----Brian


AussieJimG
Well-Known Member
- Joined
- Oct 17, 2010
- Messages
- 890
- Reaction score
- 118
What a bummer. It can happen to any of us, particularl when our minds are on other things. I am pleased that you managed to recover before any serious damage was done.
And since the crankshaft is already bent, don't discard it before trying to straighten it. I have read about blokes in the BSA factory in UK who check each rifle barrel after it has been bored and who then bend it straight. If they can do it. so can you. Put it in the chuck and whack it with a hammer and block of wood until it indicates straight. I did it for one of mine that warped when silver soldered and it works fine.
You have nothing to lose.
Meanwhile, thank you for another interesting thread. I am watching with great pleasure.
Jim

$89.99
Outdoor Wood Boiler Water Treatment Rust Inhibitor- AmTech 300 & Test Kit
Alternative Heating & Supplies

$99.99
AHS Outdoor Wood Boiler Yearly Maintenance Kit with Water Treatment - ProTech 300 & Test Kit
Alternative Heating & Supplies

$39.99
$49.99
Sunnytech Low Temperature Stirling Engine Motor Steam Heat Education Model Toy Kit For mechanical skills (LT001)
stirlingtechonline

$12.56
$39.95
Complete Plans for Building Horse Barns Big and Small(3rd Edition)
ThriftBooks-Atlanta

$94.99
$109.99
AHS Woodmaster 4400 Maintenance Kit for Outdoor Wood Boiler Treatment
Alternative Heating & Supplies

$519.19
$699.00
FoxAlien Masuter Pro CNC Router Machine, Upgraded 3-Axis Engraving All-Metal Milling Machine for Wood Acrylic MDF Nylon Carving Cutting
FoxAlien Official

$24.99
$34.99
Bowl Sander Tool Kit w/Dual Bearing Head & Hardwood Handle | 42PC Wood Sander Set | 2" Hook & Loop Sanding Disc Sandpaper Assortment | 1/4" Mandrel Bowl Sander for Woodturning | Wood Lathe Tools
Peachtree Woodworking Supply Inc
Ogaryd
Member
- Joined
- Dec 21, 2011
- Messages
- 83
- Reaction score
- 9
Hi Brian, sorry to hear about your crash, we've all had that happen more than once. My solution for a day like that comes in a clear bottle labeled Dewars, all you have to do is add ice, works like magic.
The normal disclaimers, I'm in no way affiliated with this company. just good experiences. Regards Gary
The normal disclaimers, I'm in no way affiliated with this company. just good experiences. Regards Gary
I have two crankshafts now for what somebody called "The wall of Shame". One milled completely from bar stock and finished before I realized my tailstock adjustment had come loose and drifted out of alignment, and this new built up one with the funny bend in it..
COWABUNGA!!!! I reported the computer scammer to the Canadian fraud authorities and to Paypal.---Just got an email from Paypal that my $149 has been refunded. Now all I have to do is wear that sign around my neck for the next six months that says "Gullible Old Fool"!!!!
starnovice
Member
- Joined
- Nov 21, 2010
- Messages
- 194
- Reaction score
- 23
Well, while you are wearing the sign, just make sure to keep your wife close so she can look after you. 
Pat
Pat
Well, so far-so good!! This is my second attempt at a crankshaft, this time being turned from solid hot rolled 1018 steel flatbar. The cutting tool is a 3/4" x 1/8" wide parting off tool, HSS. I have turned the center journal down to the point where I have to grind a left hand and a right hand cutter to finish the journal to size. I find this very nerve wracking, expecting the side of the crankshaft throw to come around and whack the cutting tool and do something dreadfull!!
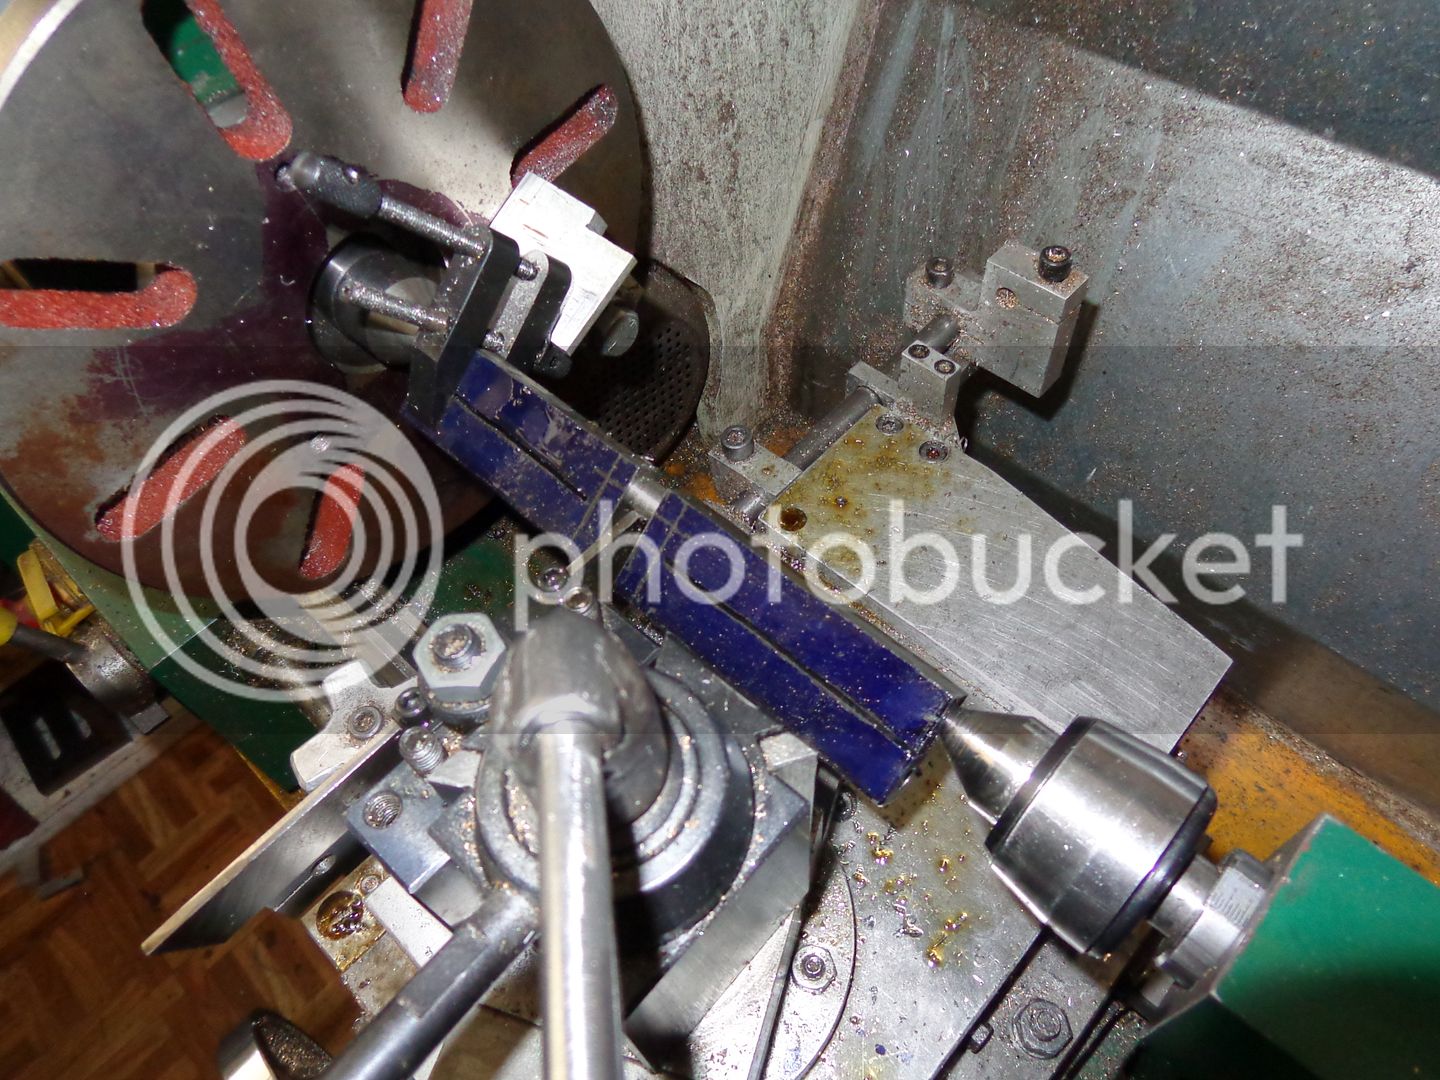
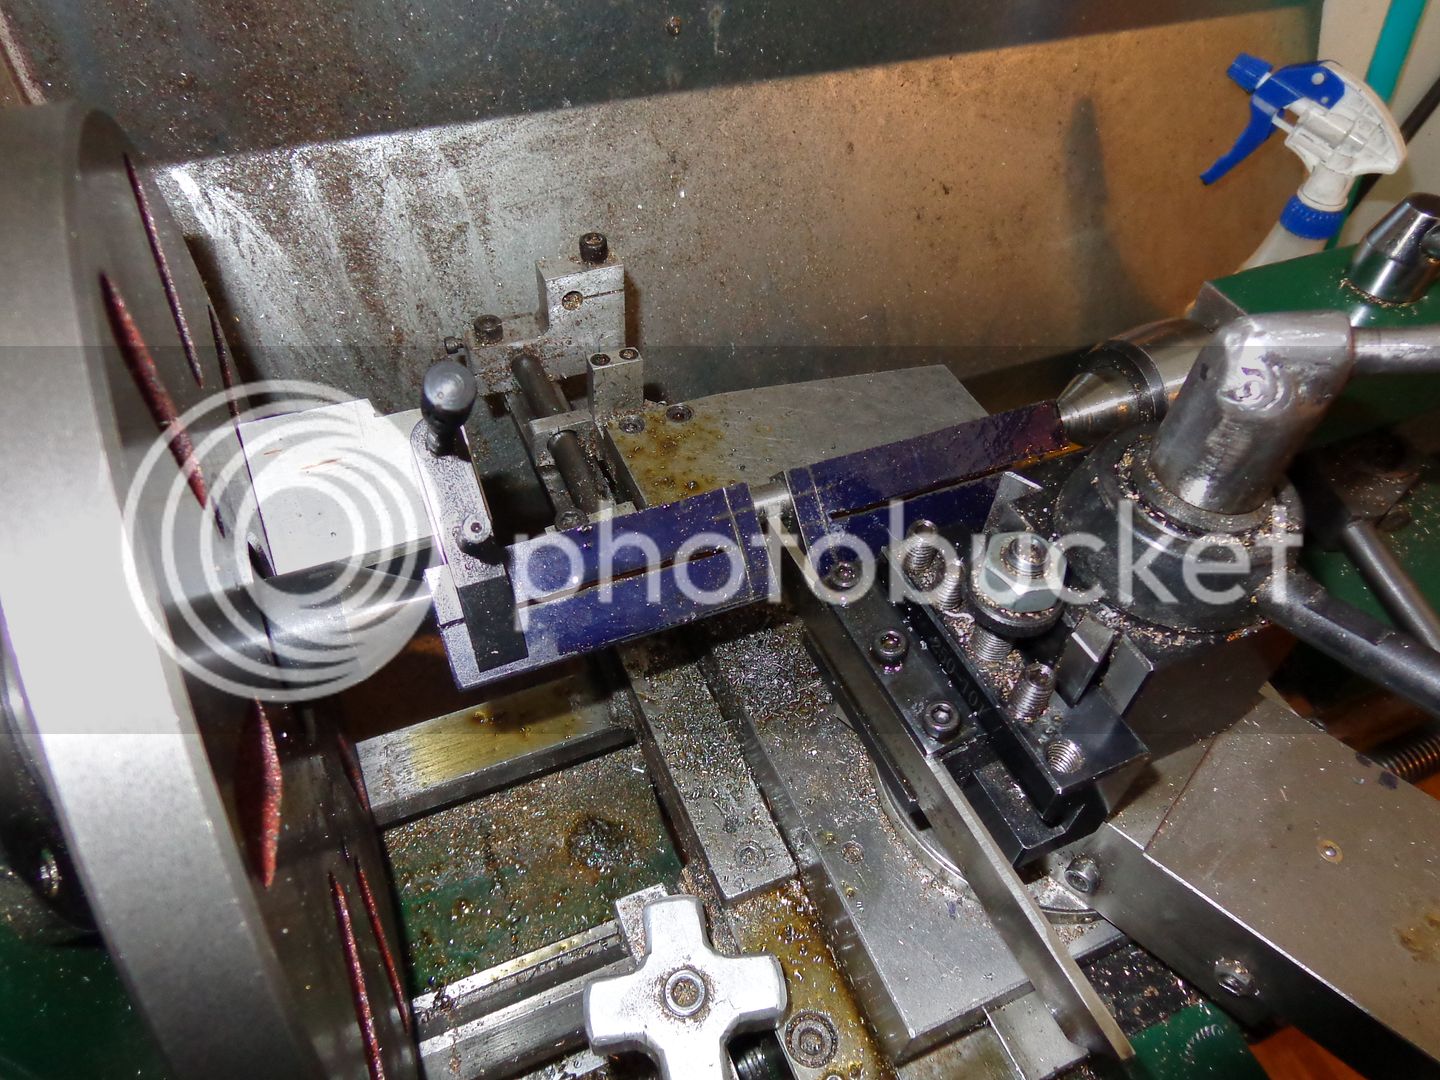


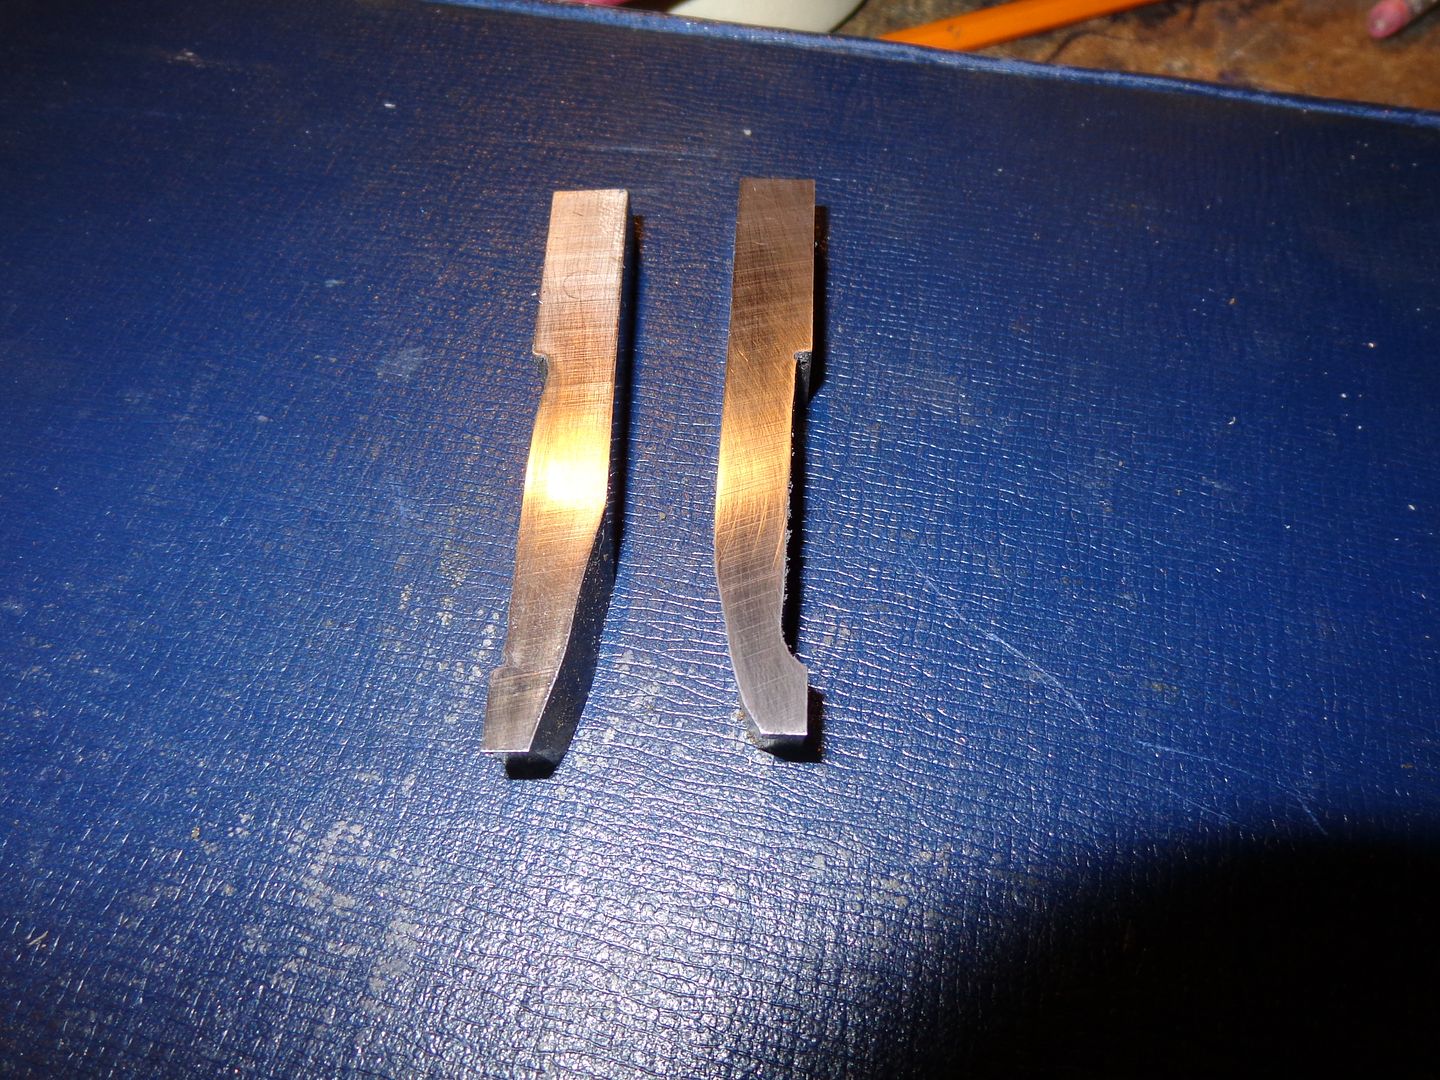
Here we have right and left hand lathe tools. If they look a little crude, thats because, er, uhm,---They are a little crude!! However, they are only crude in the clearance areas. The parts that really count (as in cutting edges) are "Right on".--Lacking the time and/or energy to stand for two hours in front of my 6" grinder, I clamped the tools one at a time in my old shop vise and "clearanced" them with my big old angle grinder with a 36 grit wheel on it. Nothing like using a sledge hammer to kill a gnat!!! The crankshaft center journal is finished, measures 0.375" "dead nuts" and has a pretty damn respectable finish on it. Now I have to quit for a while, and work up the courage to turn the rest of the crankshaft.--And Oh Yeah---I was plunge cutting with the end of the tool---very very little cutting on the side of the tool.

Glad to see the new one is going well. I have had the slug for the crank for my Demon V8 sitting between centers on my lathe for two or three weeks now but have not yet worked up the nerve to try and offset turn it. So I'm rooting for success on your effort!
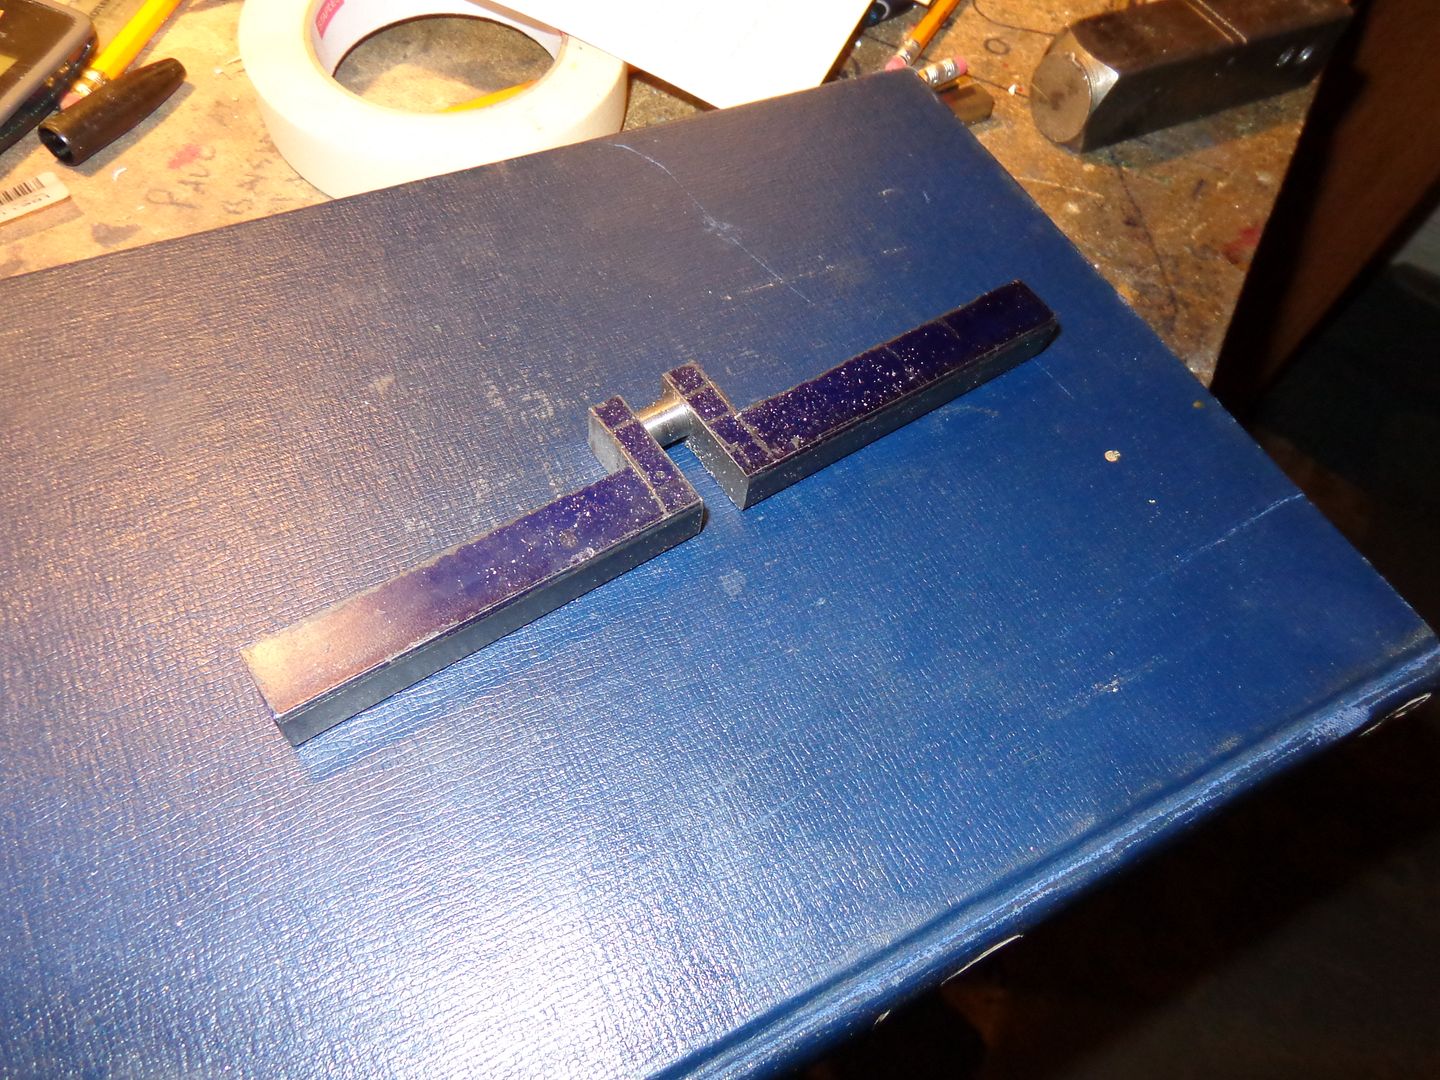
Now to put a 3/8" bolt thru the center and tighten a nut into place, with a flat washer, to keep any potential "spring" from distorting the crankshaft when supported between centers, and back into the lathe for next machining operation.

idahoan
Well-Known Member
- Joined
- Oct 7, 2008
- Messages
- 594
- Reaction score
- 210
Looking good Brian,
I feel that you really need something to completely fill the gap tightly; you may never get just a nut and bolt tight enough to keep from springing the crank under the pressure of the centers. This is the little gizmo I made while turning the crank on my Pacific engine.
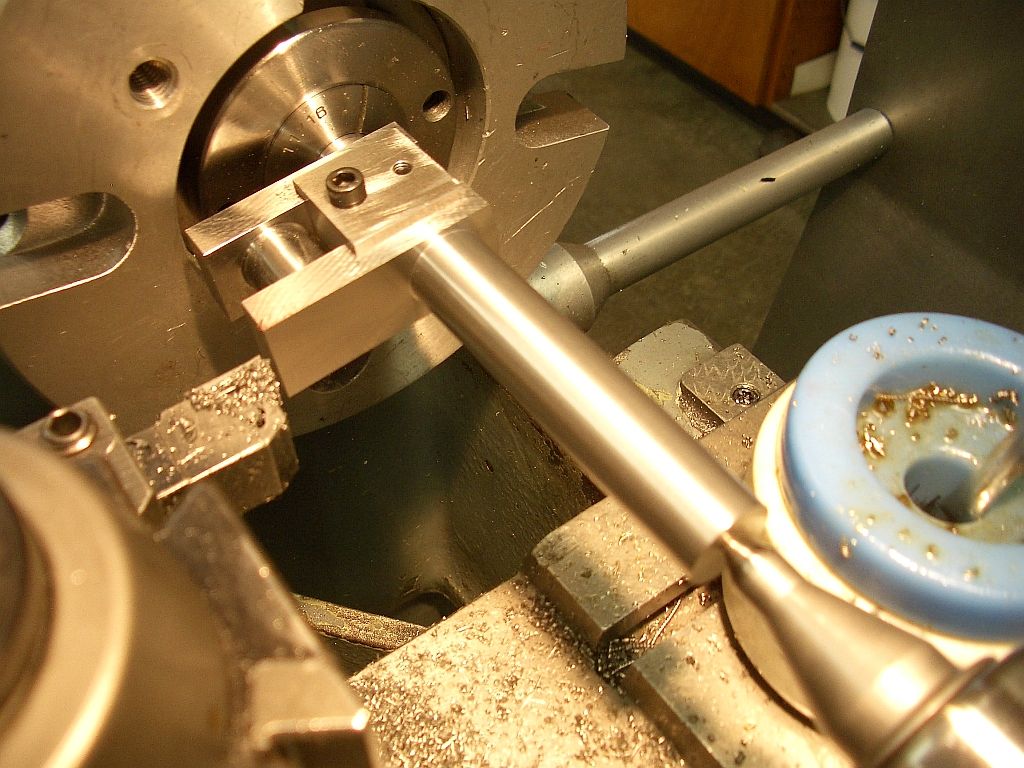
It slipped in tightly and locked down; there was no worry of the crank closing up under the pressure of the centers.
Dave
I feel that you really need something to completely fill the gap tightly; you may never get just a nut and bolt tight enough to keep from springing the crank under the pressure of the centers. This is the little gizmo I made while turning the crank on my Pacific engine.

It slipped in tightly and locked down; there was no worry of the crank closing up under the pressure of the centers.
Dave
One end done----
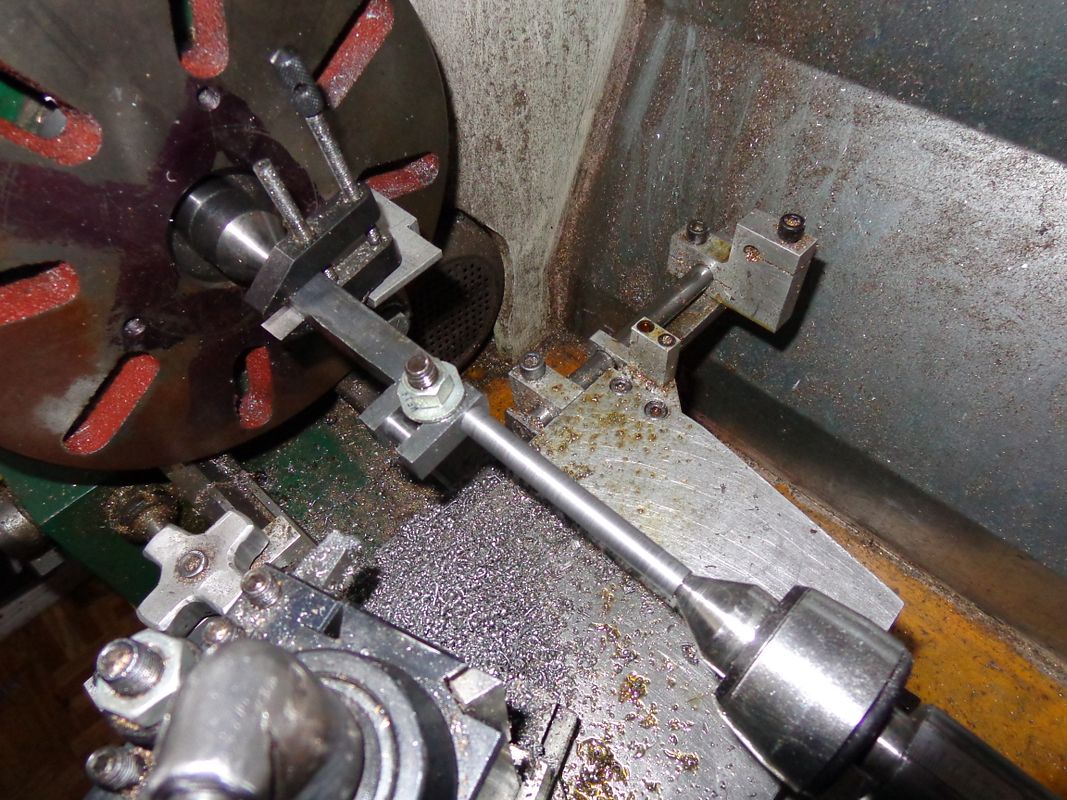

It goes 'round and 'round. It doesn't crash, and it doesn't wobble. I think I did it right this time!!!
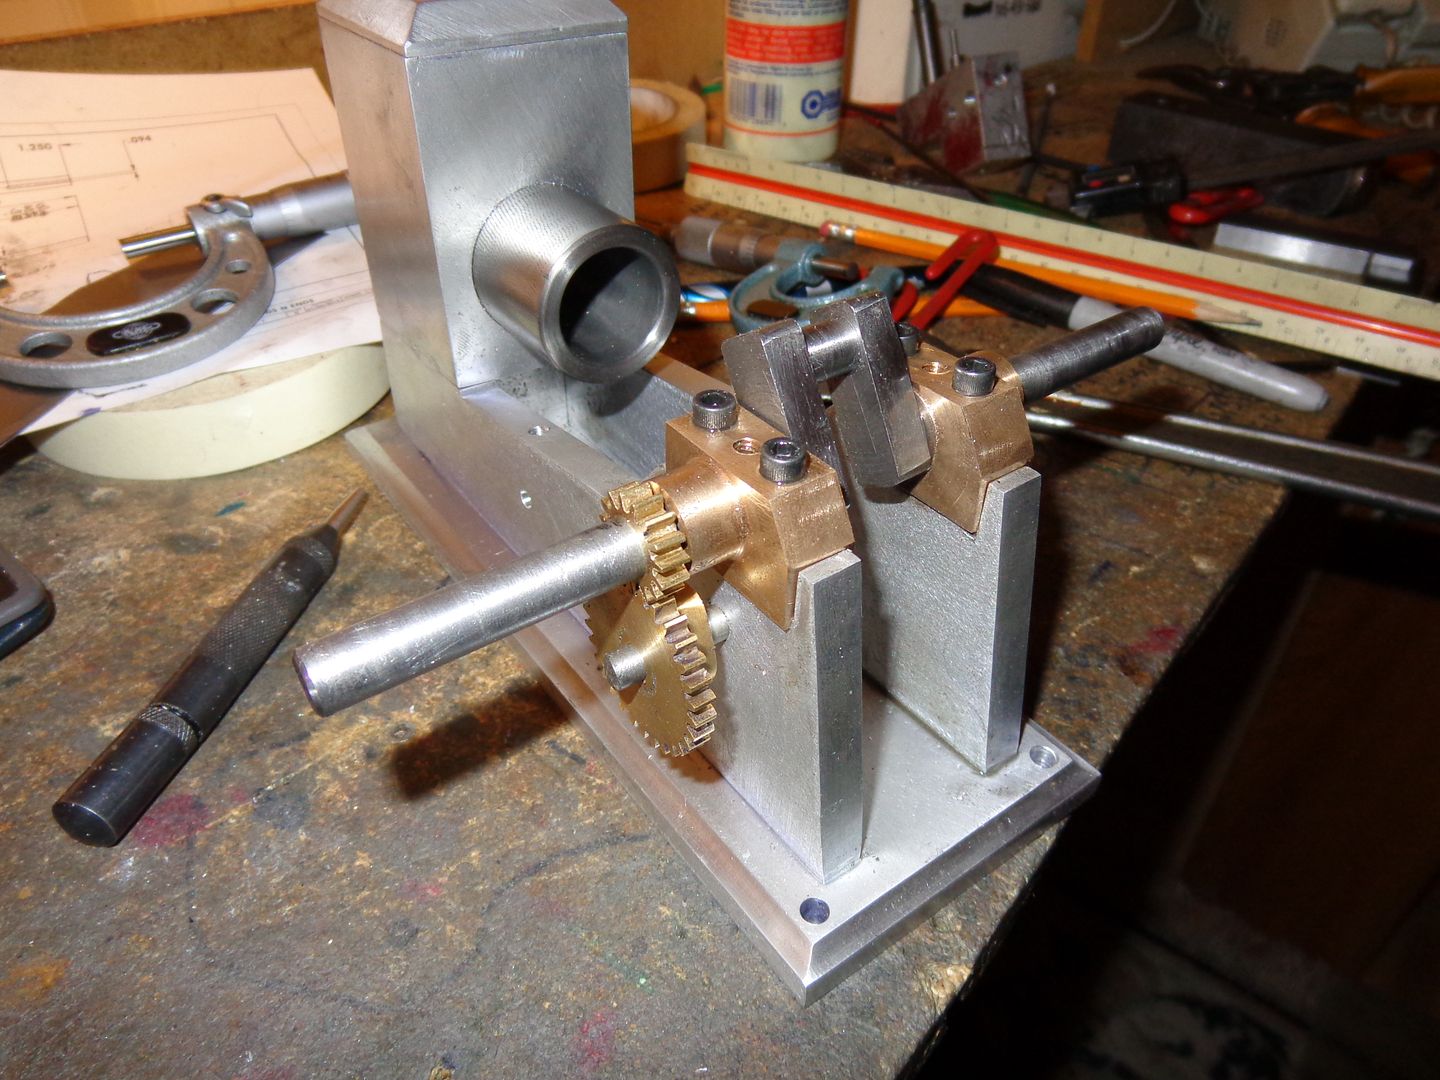
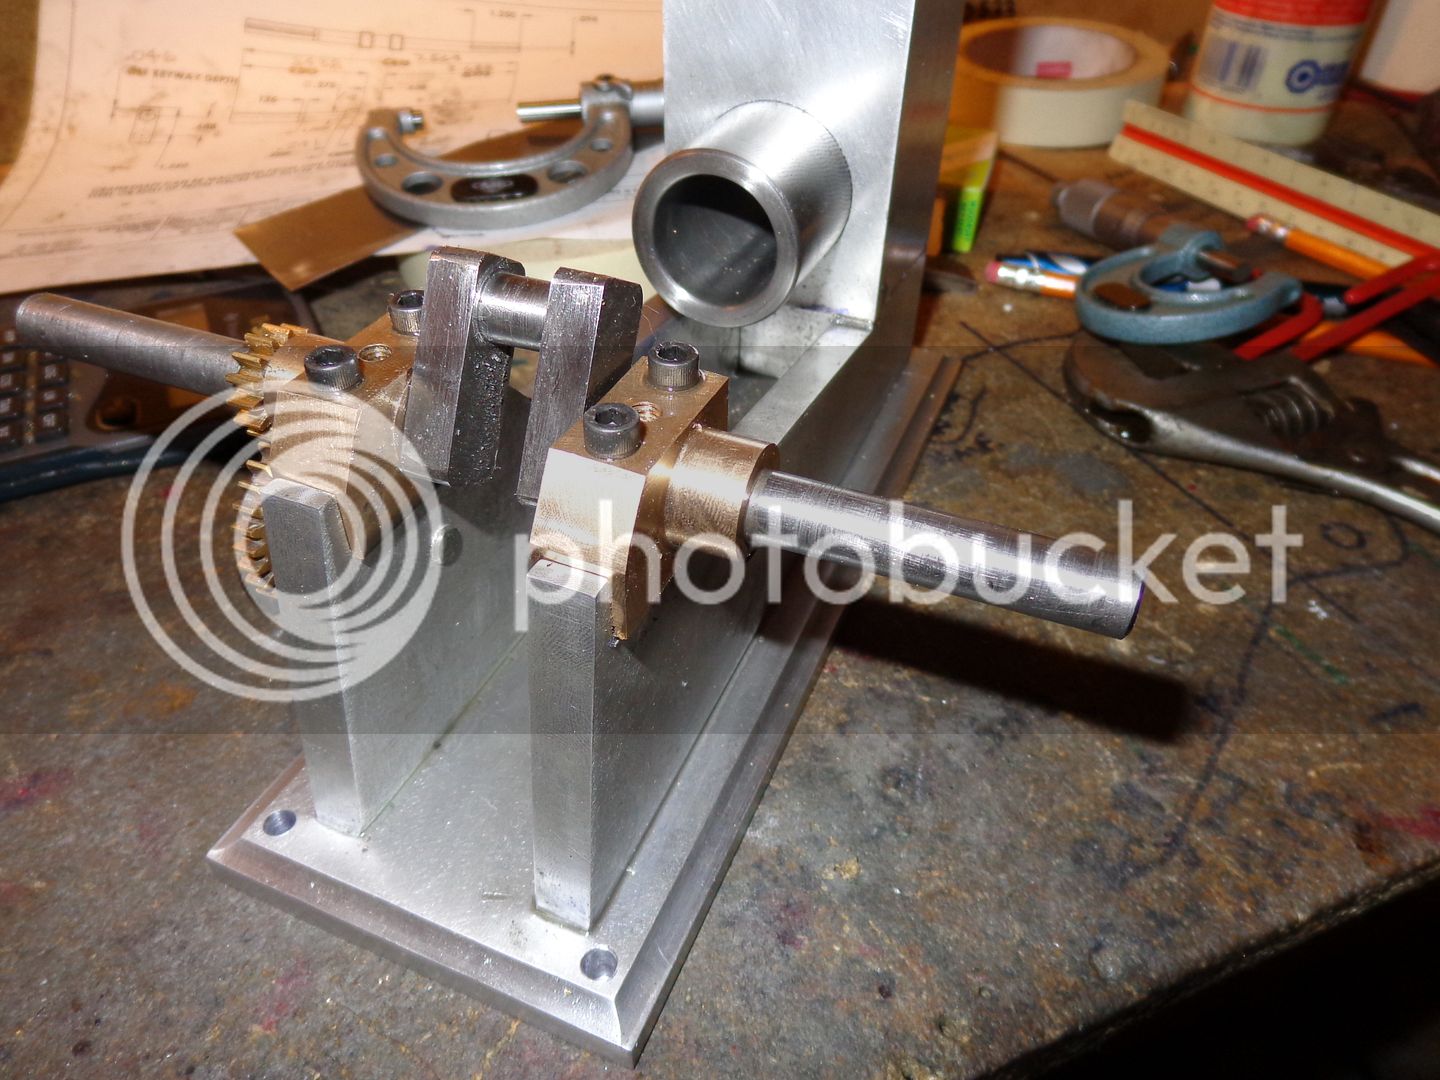


I feel that you really need something to completely fill the gap tightly; you may never get just a nut and bolt tight enough to keep from springing the crank under the pressure of the centers. This is the little gizmo I made while turning the crank on my Pacific engine.
Dave
Dave,
While it looks like Brian got it sorted with a nut and bolt, I do like your solution. It looks rather more "right." Combining approaches, I might be tempted to turn a full-diameter bushing for the bolt to accomplish the same. It seems I can remove material faster with my lathe than mill.
Thayer
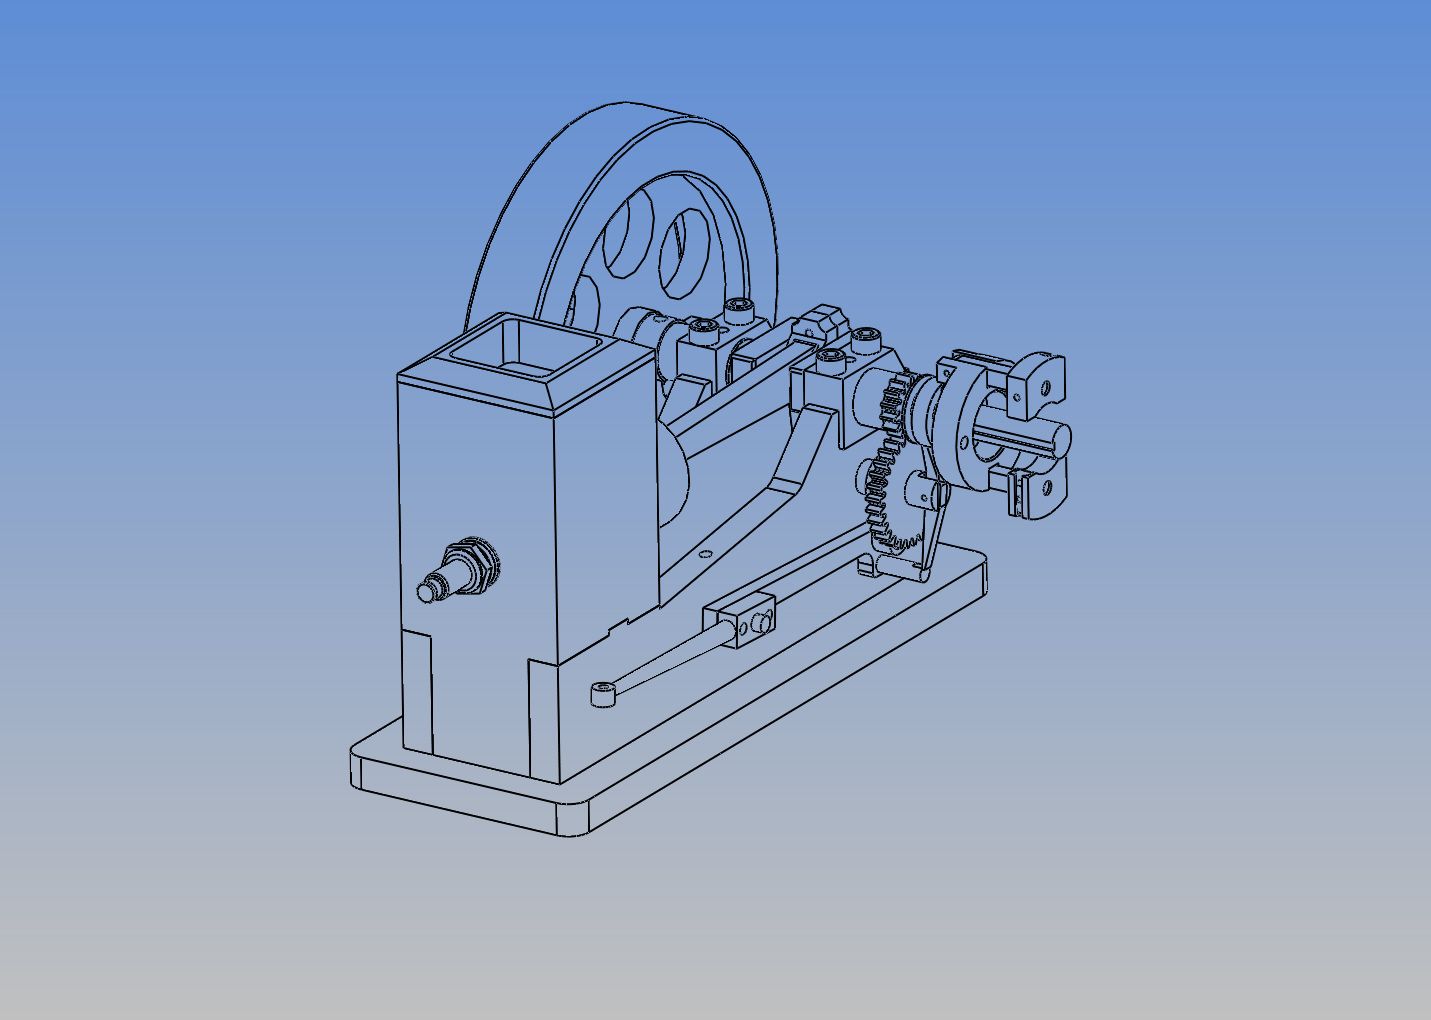
I had to take a couple of hours this morning and work my way thru the "hit and miss" mechanisms for this engine. Modelling it in 3D cad makes it much easier for me to understand, and also lets me see if there were any mistakes in the original 2D drawings of this engine which are posted in the book. Everything looks to be okay, now I just have to machine all the little bits and pieces.----Brian

Similar threads
- Replies
- 356
- Views
- 66K
- Replies
- 394
- Views
- 79K


