Pacific Vapor Engine from Morrison & Marvin Castings

Home Model Engine Machinist Forum

Help Support Home Model Engine Machinist Forum:

This site may earn a commission from merchant affiliate links, including eBay, Amazon, and others.
Hi everyone

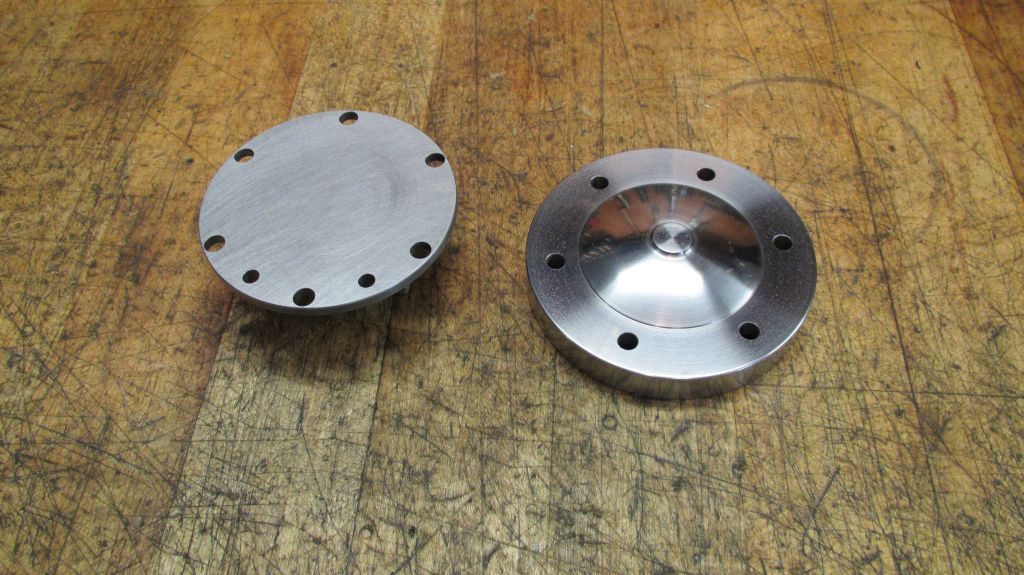
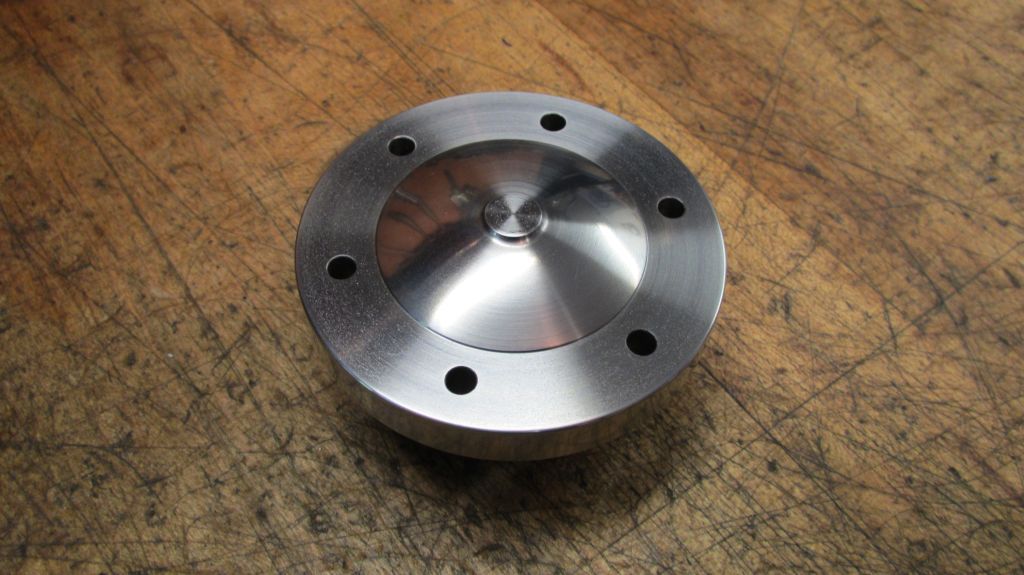
Well I have finally been able to spend some quality shop time on the Pacific; within the last week I was able to finish up the cylinder head. Another little milestone in its construction.
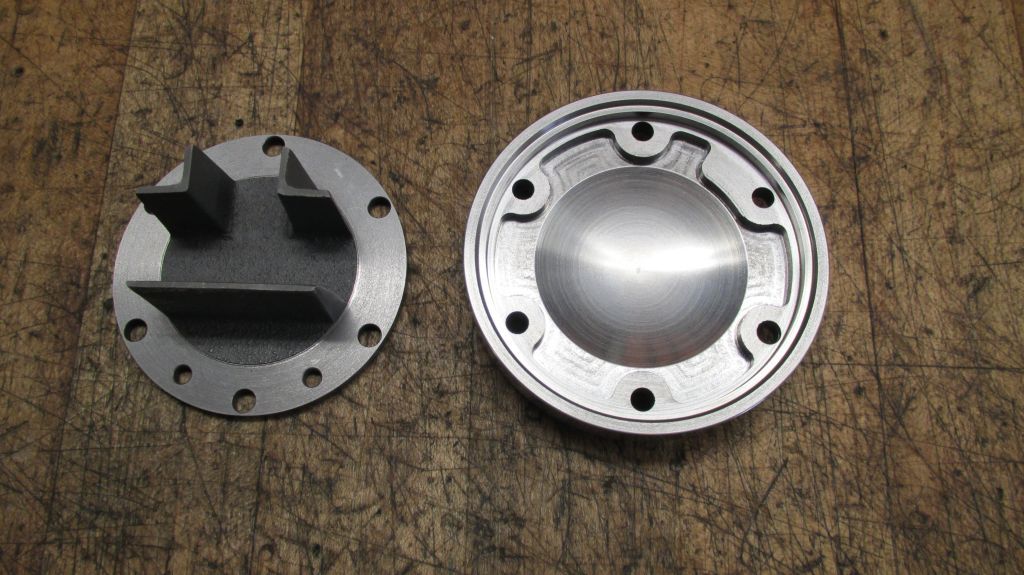
As I had indicated earlier the internal design was altered somewhat to keep from having to drill and plug holes in the side of the head. I created a cavity which would have been more like the original cored water jacket. This way the holes that connect to the ports on the top surface of the cylinder open directly into the water jacket cavity; I’m happy with the way it all turned out.


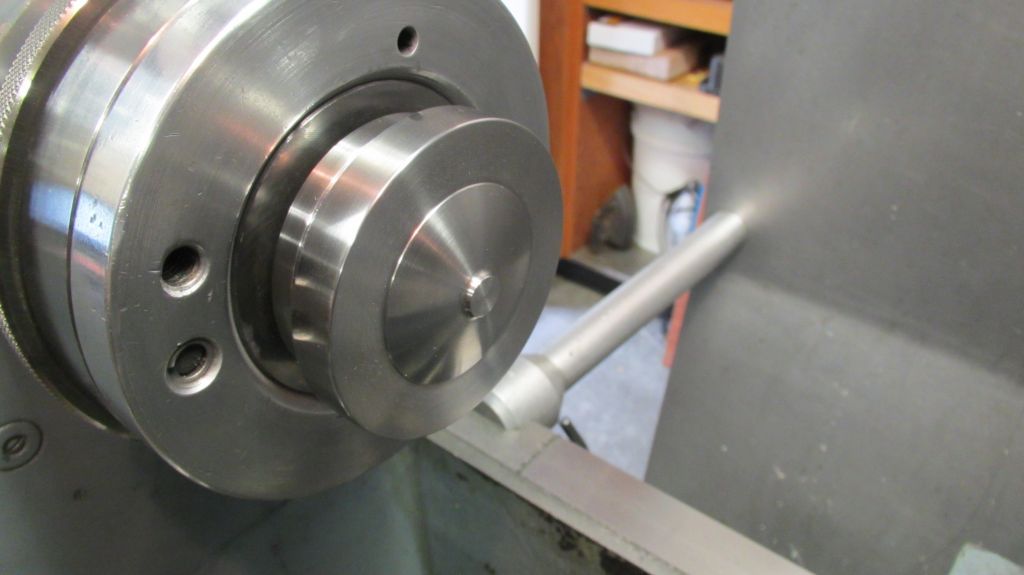
Here are the castings after machining the chucking lugs.


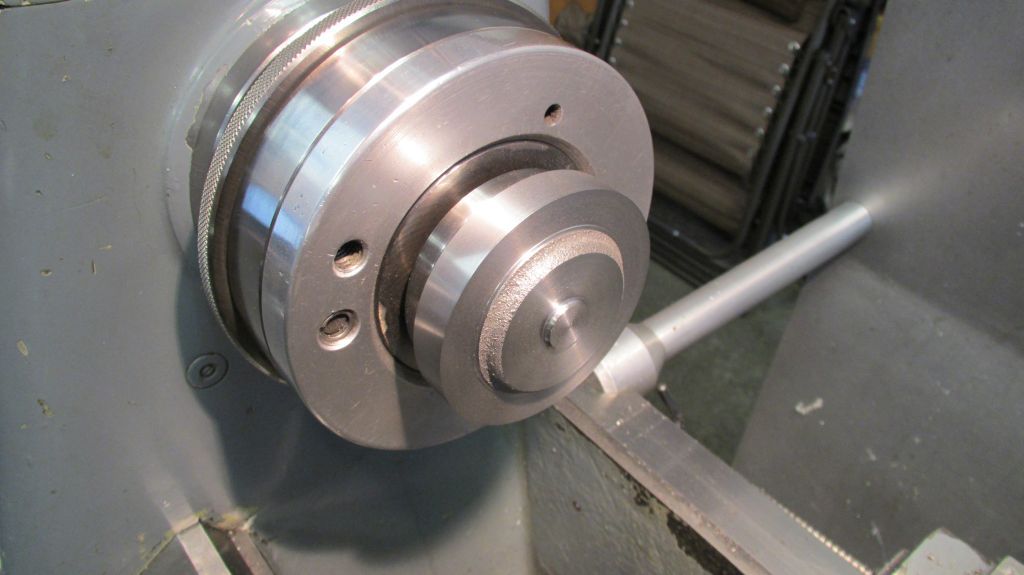
Starting with the upper casting the head is profiled.


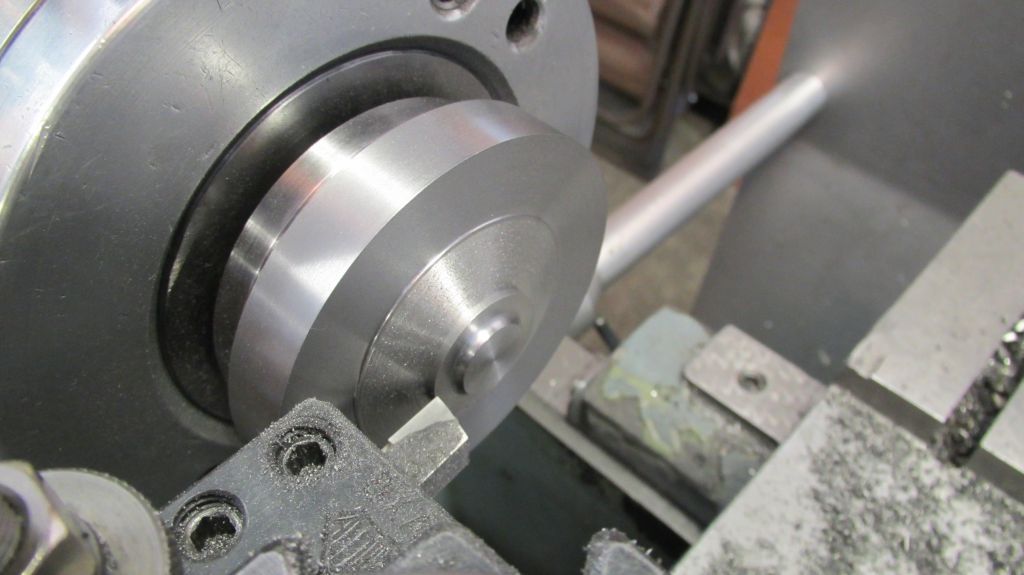
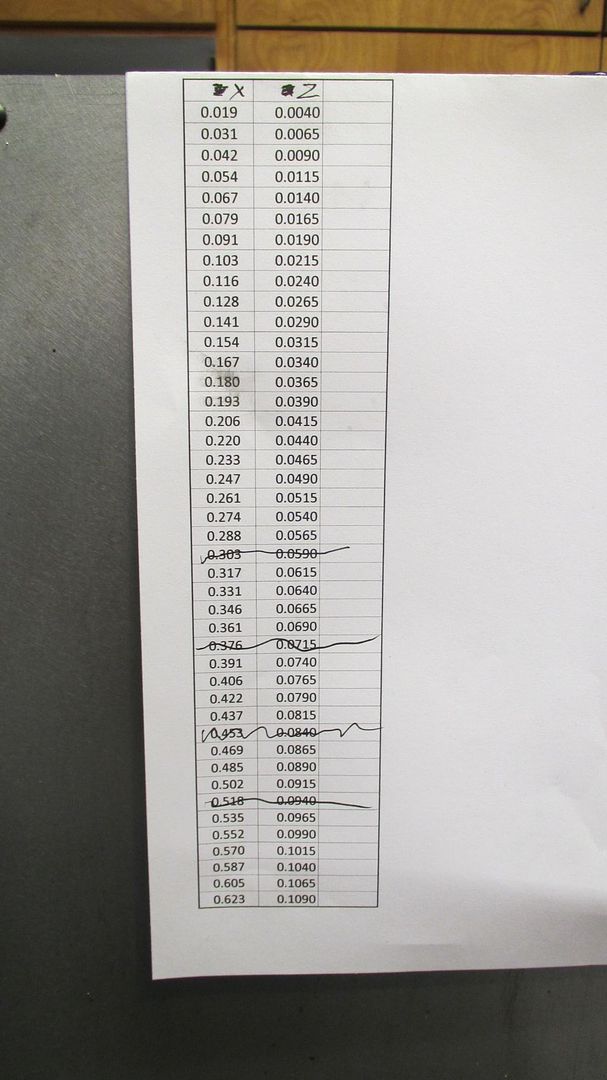
I created a 2D CAD drawing of the curve profile and put in an intersection point every .0025”. These dimensions were entered into an Excel Spread sheet that could be printed and used at the lathe. The dome is a little more than ½ way done here.


Here is a sample of one of the 3 pages used to create the upper curve.


After some careful filling and sanding I’m quite please with the result.


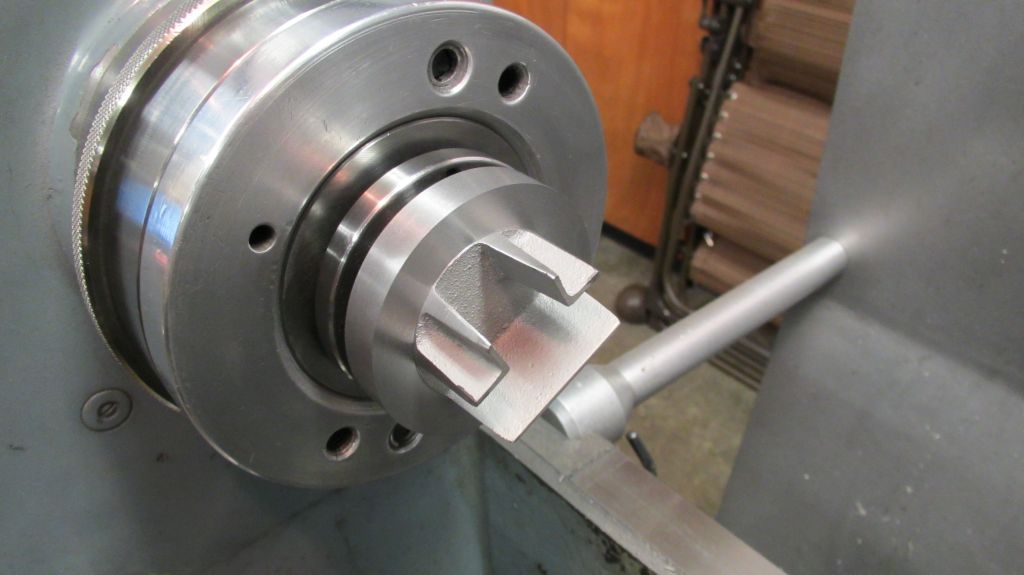
Soft jaws were bored and the upper casting flipped around to work on the underside.


The chucking lug is cut off and the head machined to the proper thickness.


The head is counter bored both for cylinder clearance and the register for the lower casting.


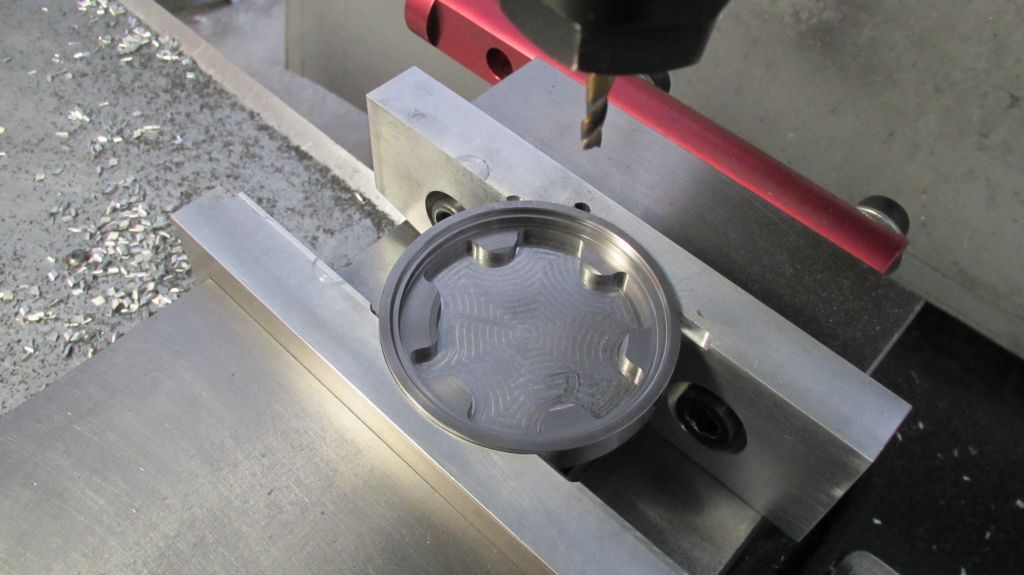
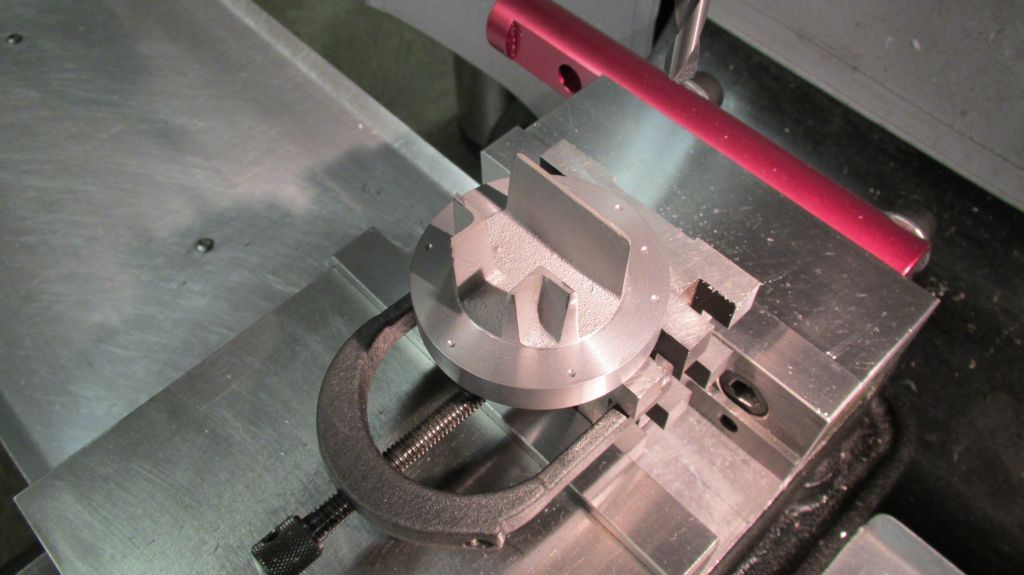
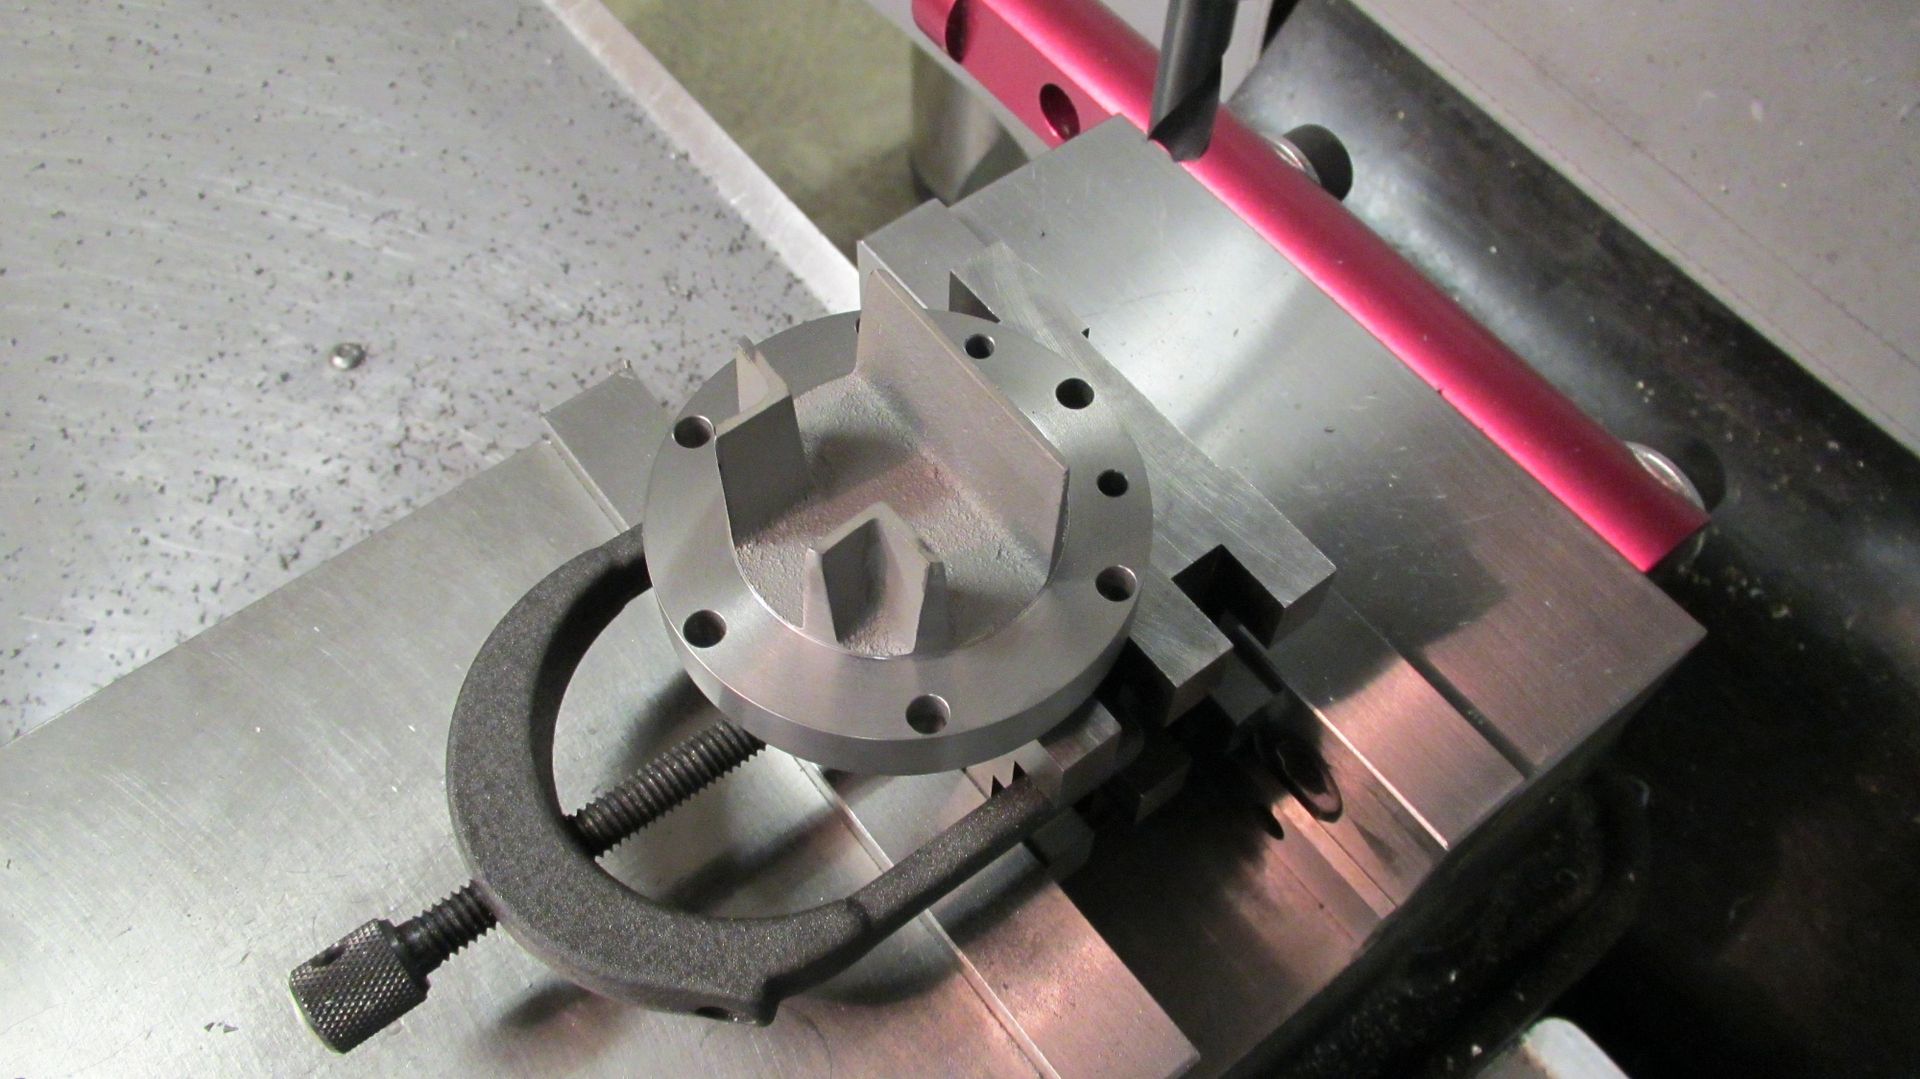
Using a pair of soft jaws in the milling vise the next part of the cavity is machined; the holes are also drill at this time. Notice the one boss that is a little extra big; this is where the outlet port will pass through and the inlet ports will fall between the bosses.


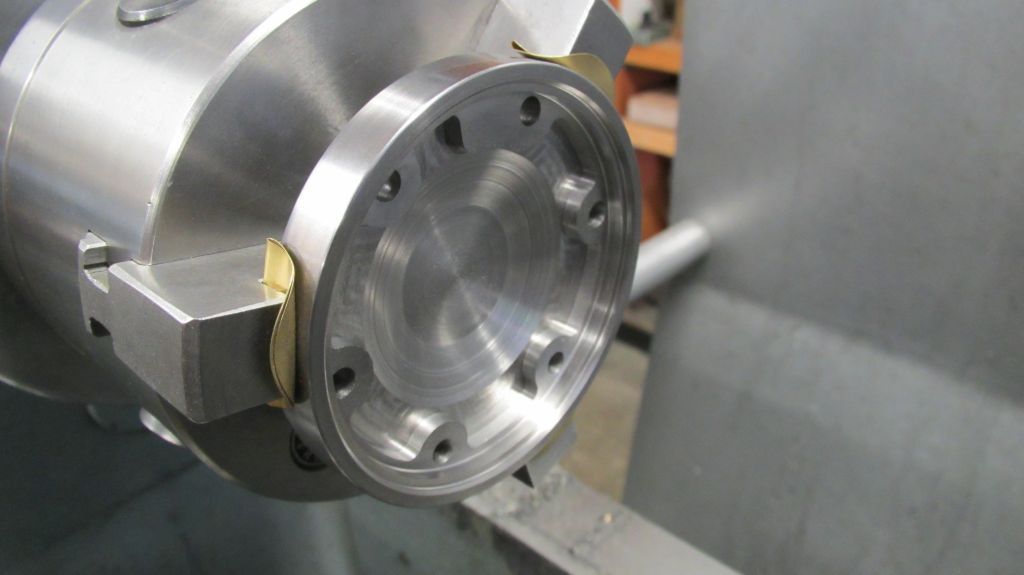
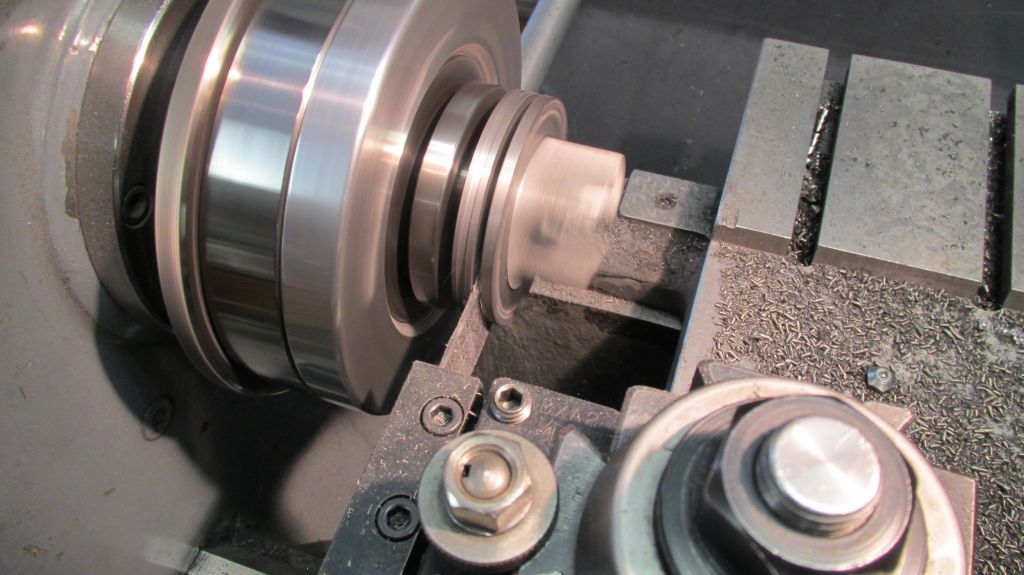
Back in the lathe the internal dome is machined using the same method as on the top; only this time using a boring bar.


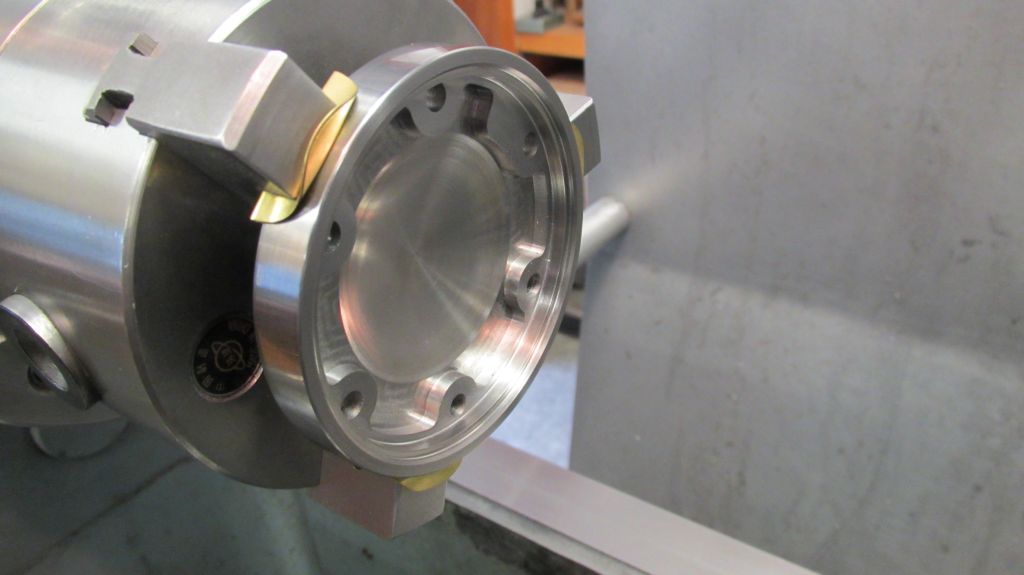
Starting on the lower casting the baffles are turned to be a slip fit in the cylinder and the OD is turned to press into the upper casting.


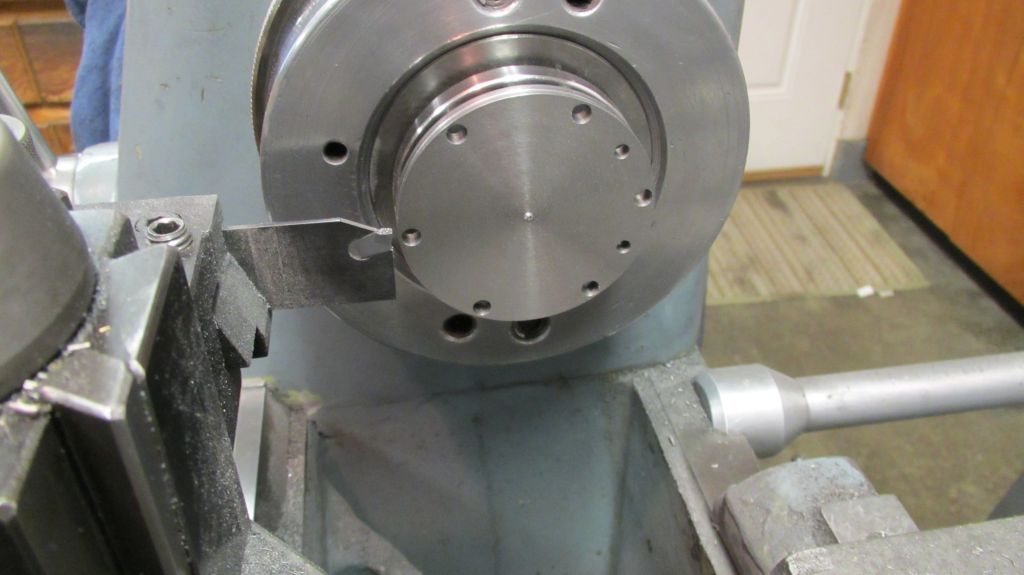
Transferred to the mill and indicated in; the bolt circle is drilled along with the two water ports.


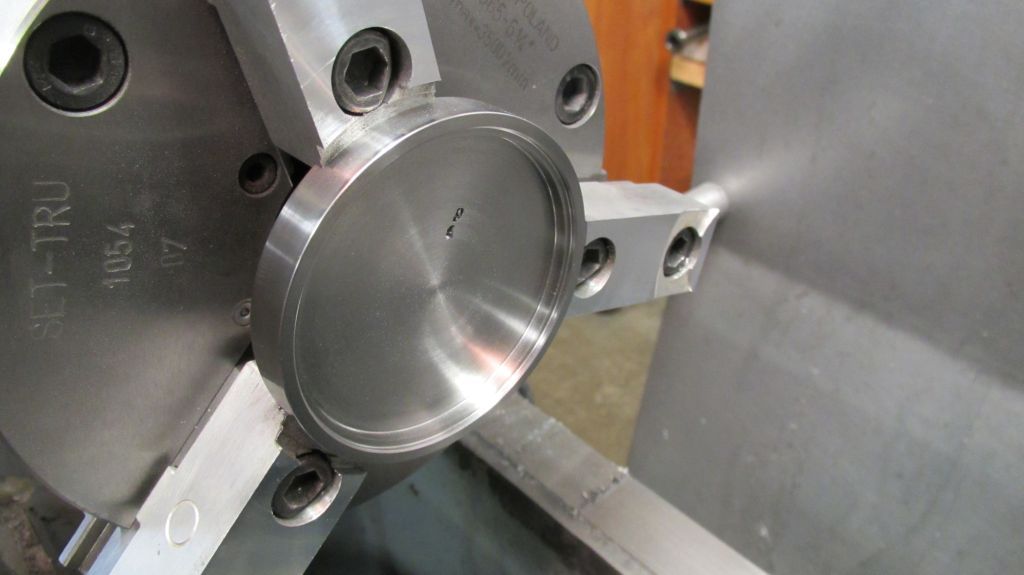
The lower casting is parted from the chucking lug using an insert parting tool. Jus a little bit of work on a lapping plate removed the tool marks and left a nice flat surface.


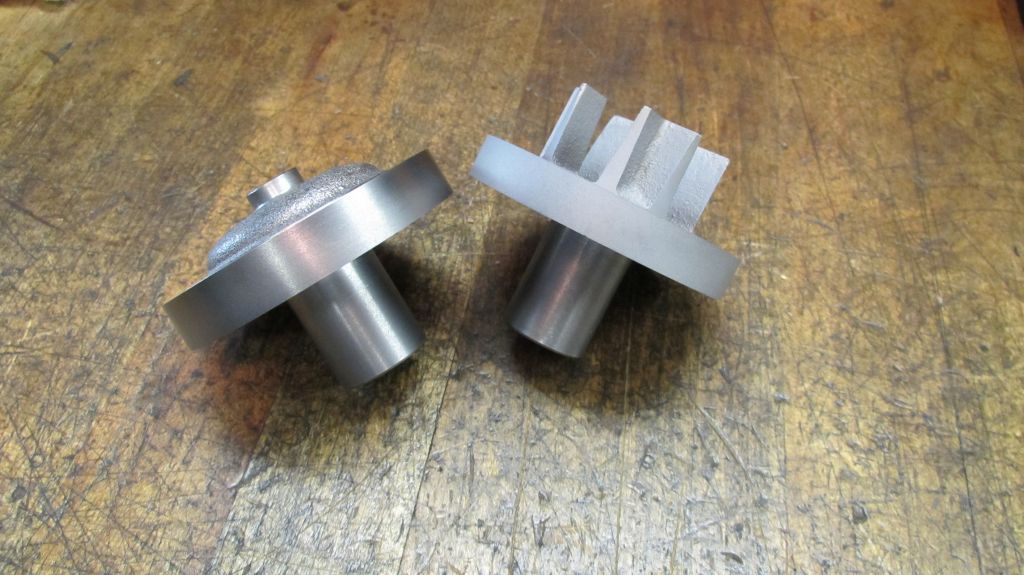
Here are the upper and lower castings ready for assembly.


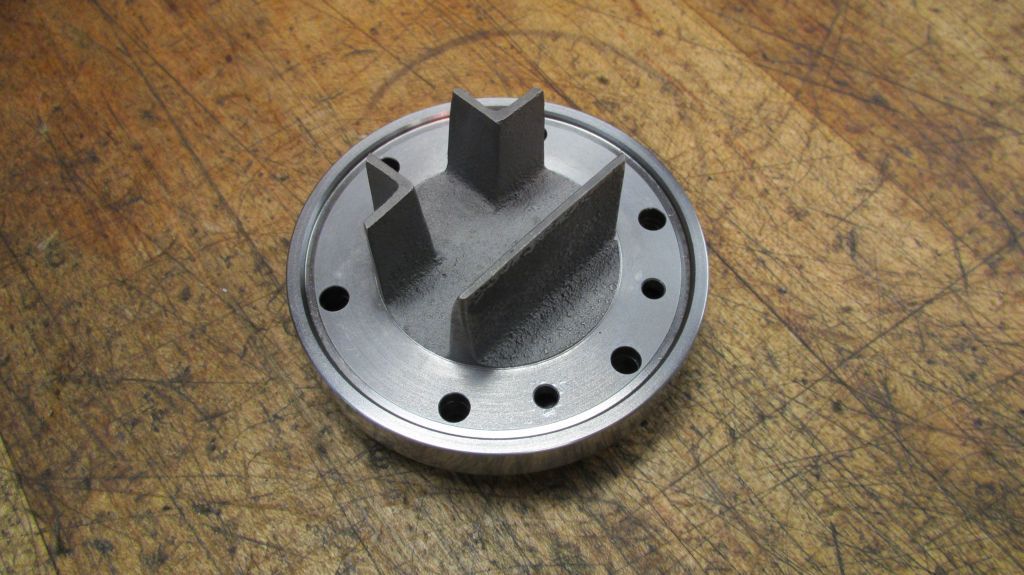
And after assembly.


One more detail to take care of is drilling and tapping the water outlet port.


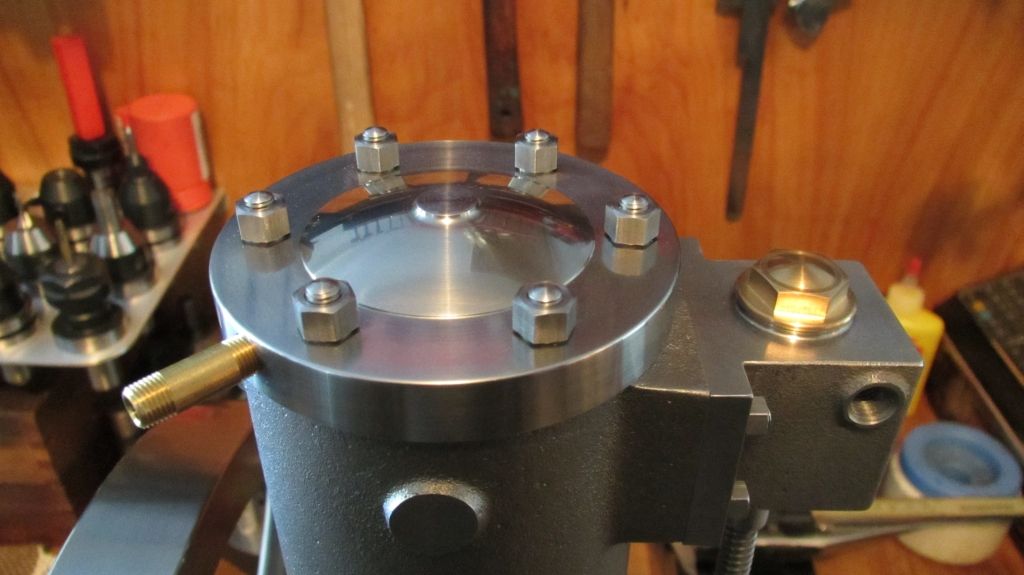
Here is the finished head installed on the engine; I’m really pleased how it all turned out.

Thanks for checking in,
Dave
 
Great work Dave.

Really enjoyed the step-by-step progress report.

Vince
 
I get a heart attack wright now........What a beautifull work.
 
Thanks for the kind words guys; I appreciate it

Dave
 
Very, very nice work as usual, Dave - well done Thm:
 
Hi everyone,

I have been able to make some progress on the piston this week; so far all is going well but is was a bit of a challenge to get it dialed in.


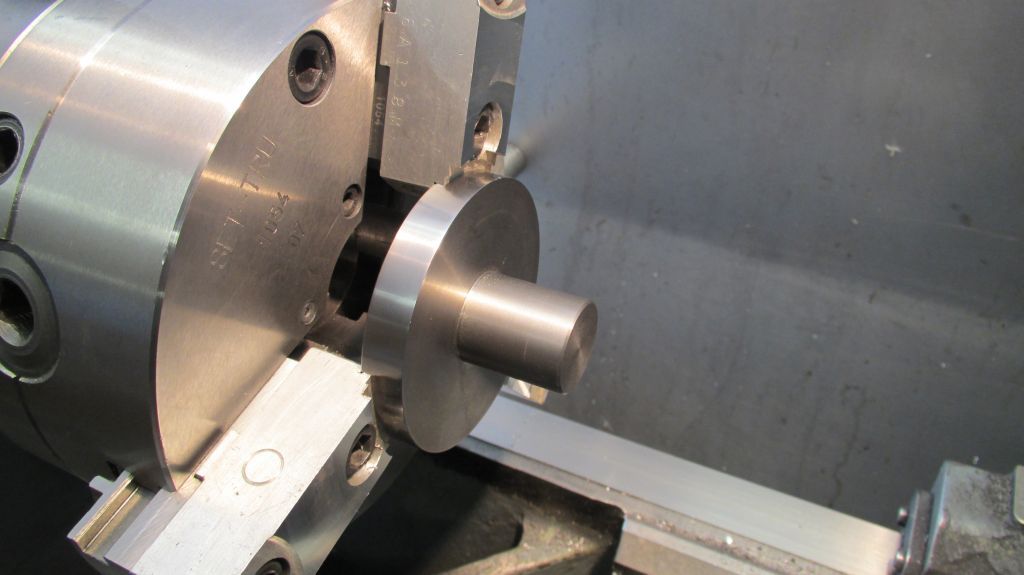
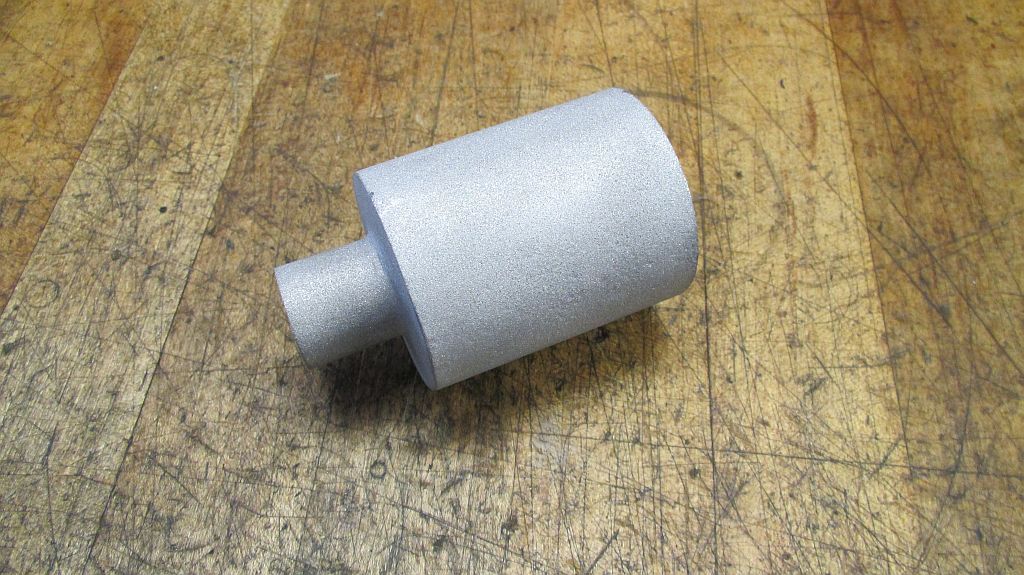
Here is a shot of the raw aluminum casting.


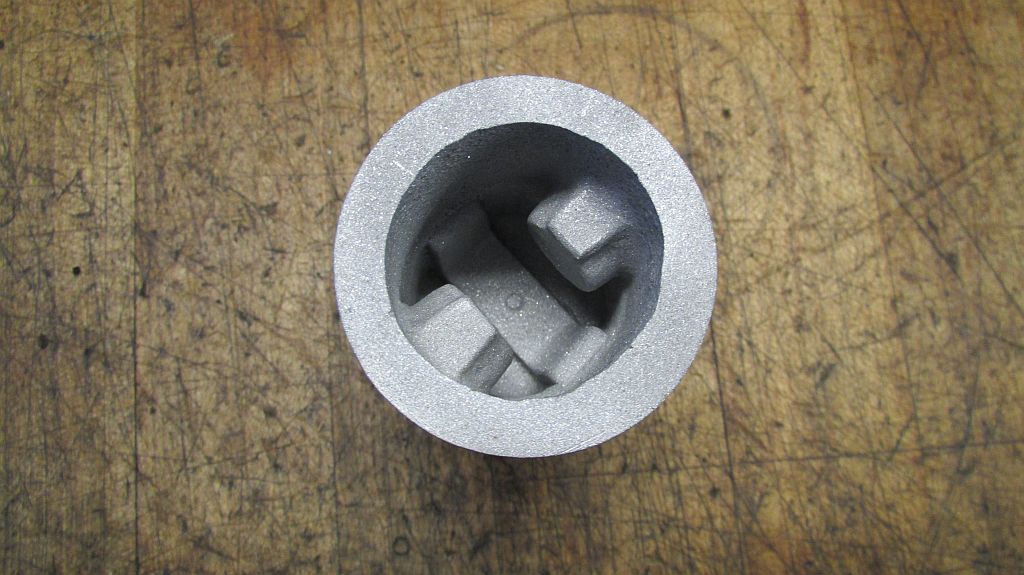
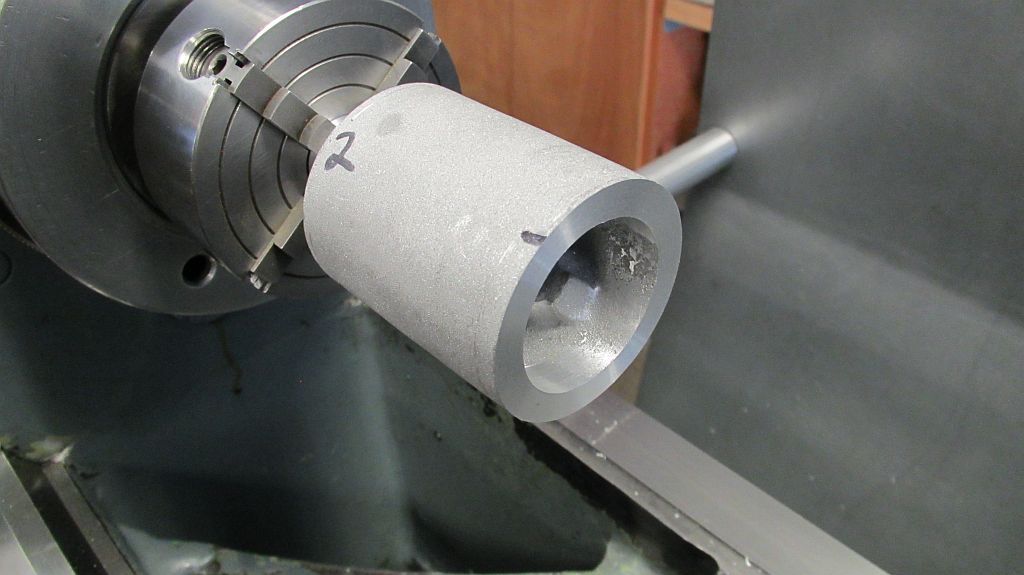
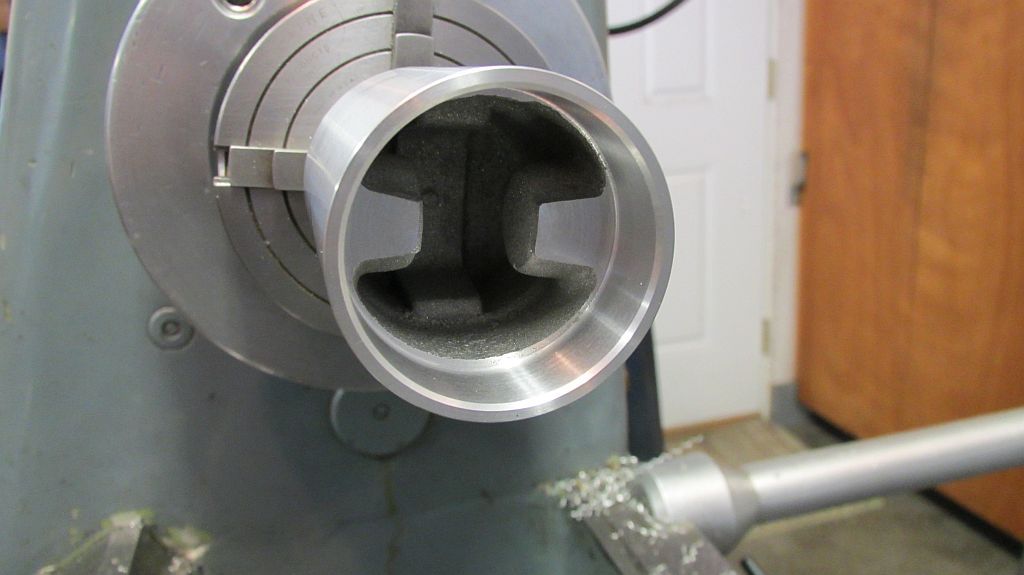
And a view of the inside.


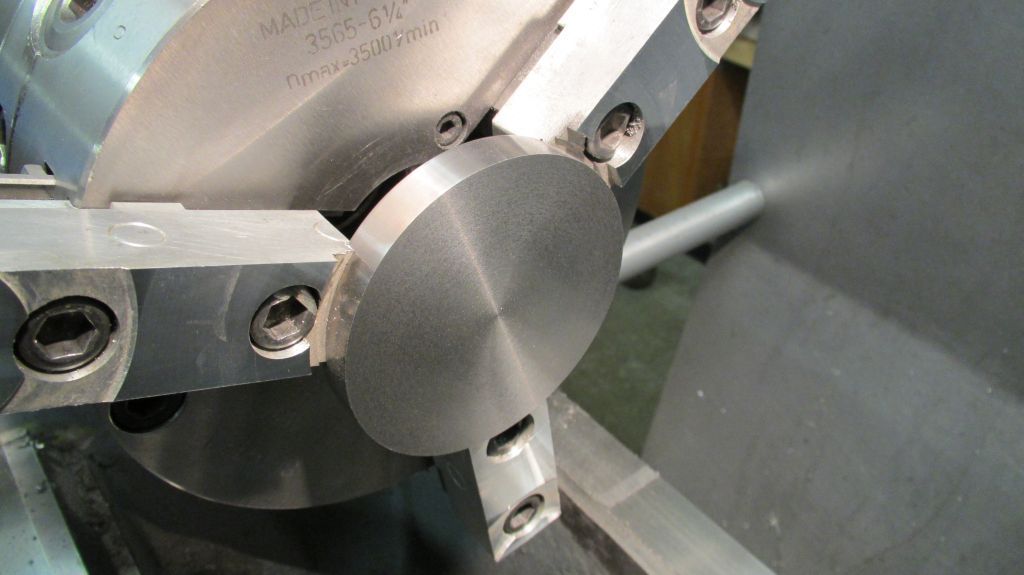
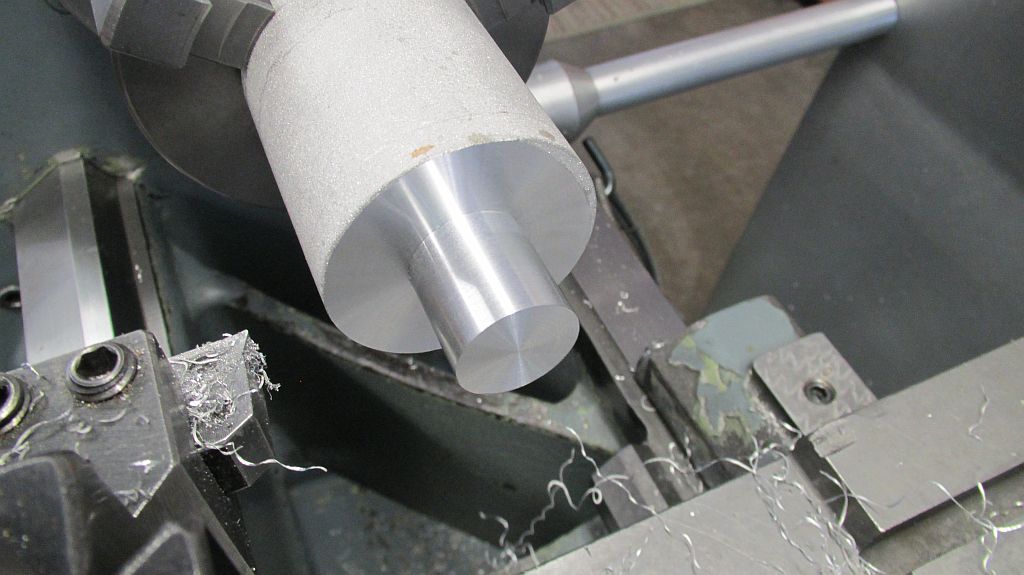
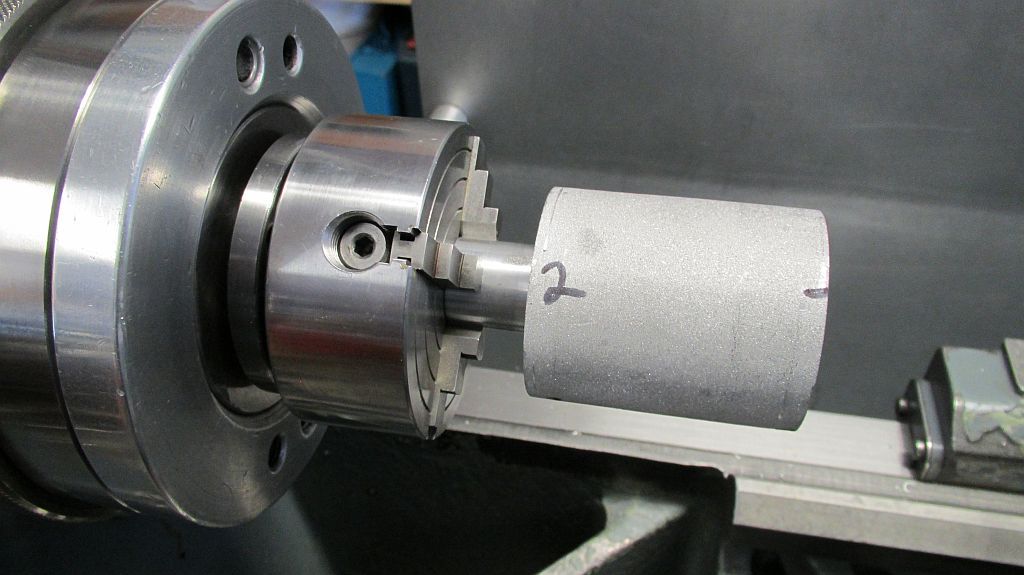
The casting was chucked in the small 3 jaw chuck and tapped around to get it running true. After it was running about as good as I could get it the chucking lug was machined.


After the chucking lug was machined the piston was flipped around and chucked in my baby Sherline 5C 4 jaw chuck. This is a sweet little chuck for small work.

The inside of the piston was indicated in. first I centered the inside of the wrist pin bosses then centered the inside of the skirt 90 degrees to the pin bosses. A lot of checking here but I finally got it to a point I was comfortable with.


The outside was rough turned leaving about .005 to remove later.


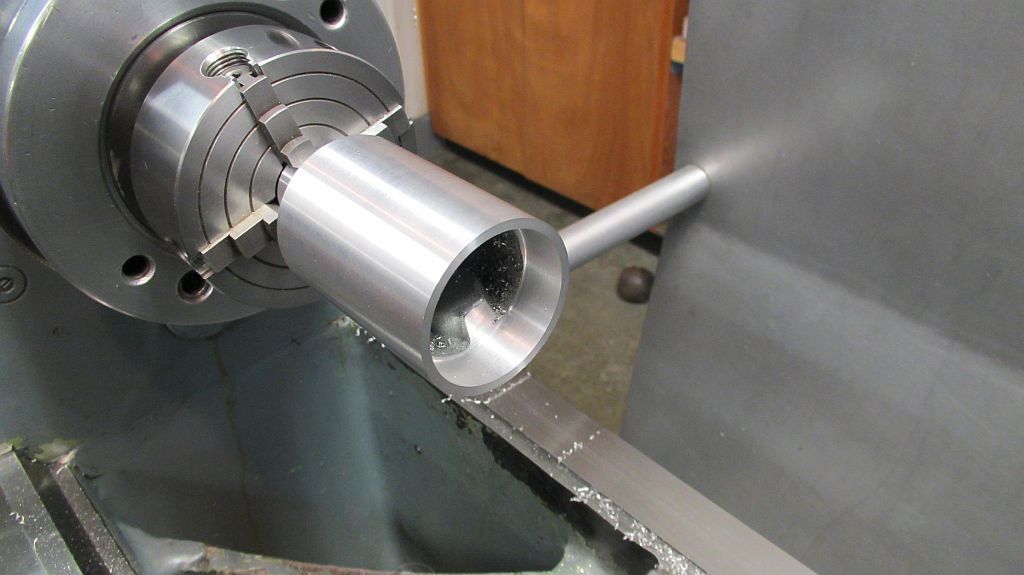
The inside of the skirt was turned along with facing the bosses where the wrist pin set screw jam nuts will seat.


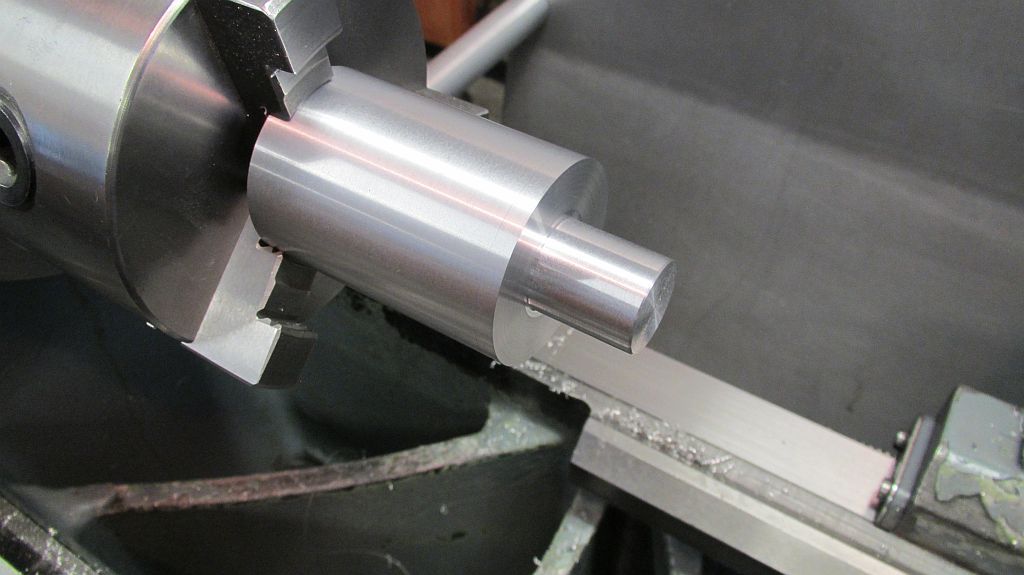
The piston was flipped around and the chucking lug turned true with the piston body. A size was chosen that would fit in a standard collet (25/32”) which is about where it cleaned up.


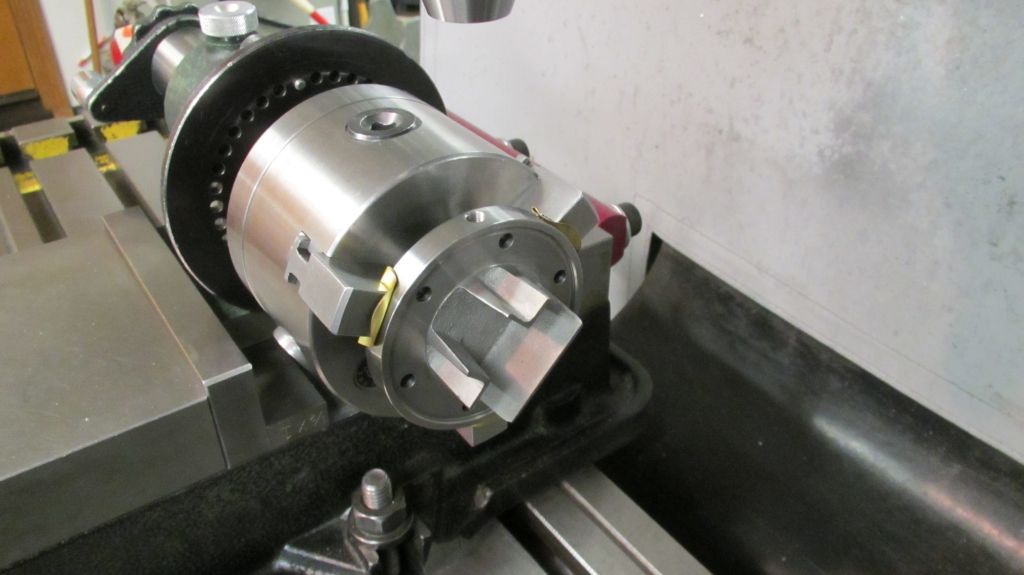
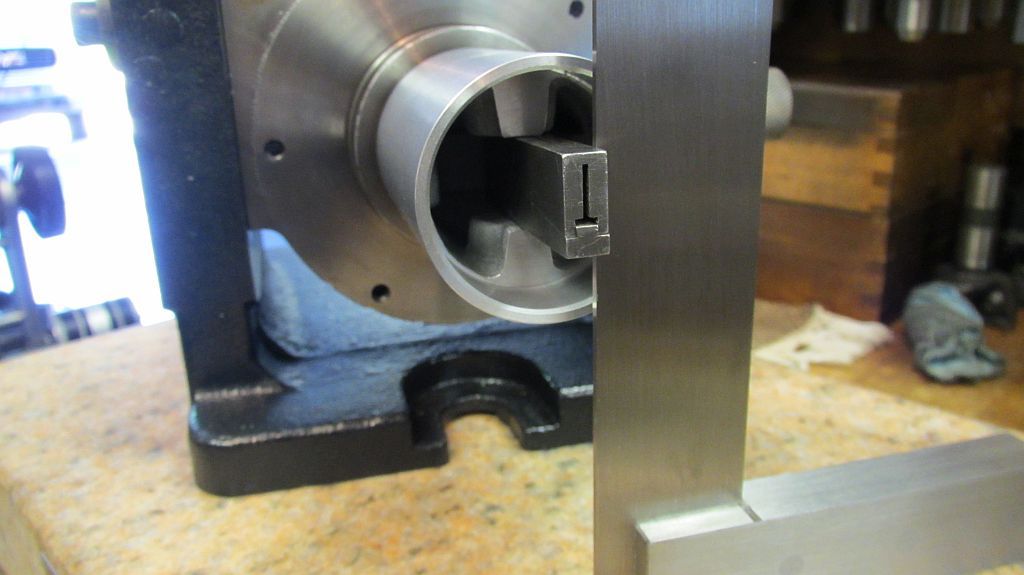
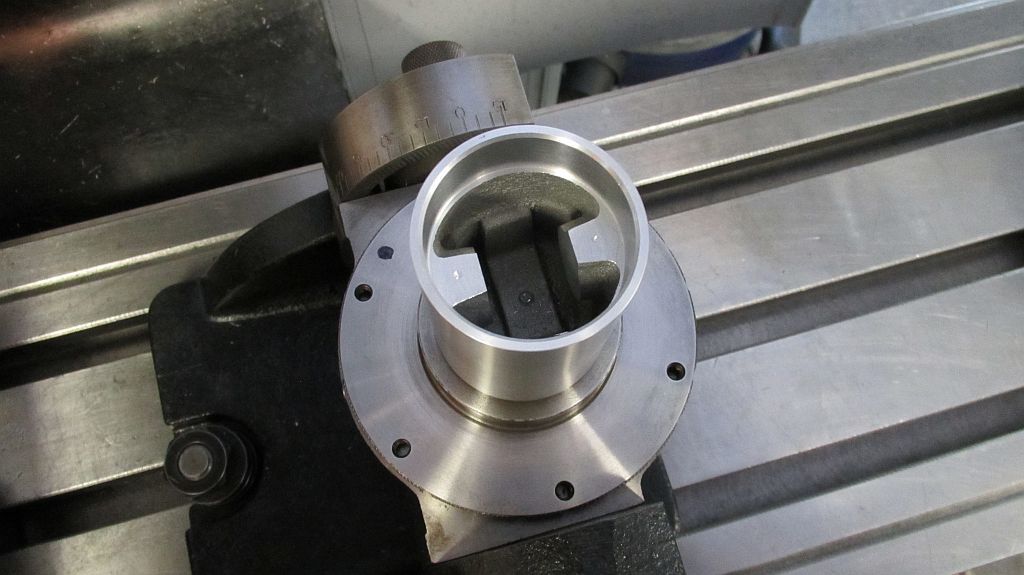
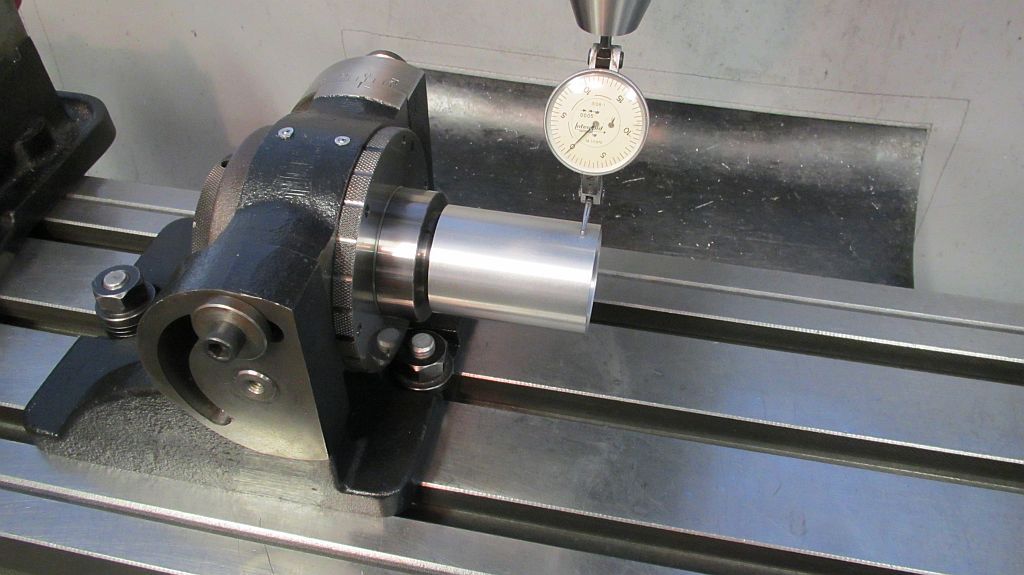
The piston now put in the indexing fixture; using an adjustable parallel and precision to square the pin bosses . This indexer can pivot 90 degrees so the plan is to mill the inside surfaces of the pin bosses then rotate the piston down drill and ream the wrist pin hole.


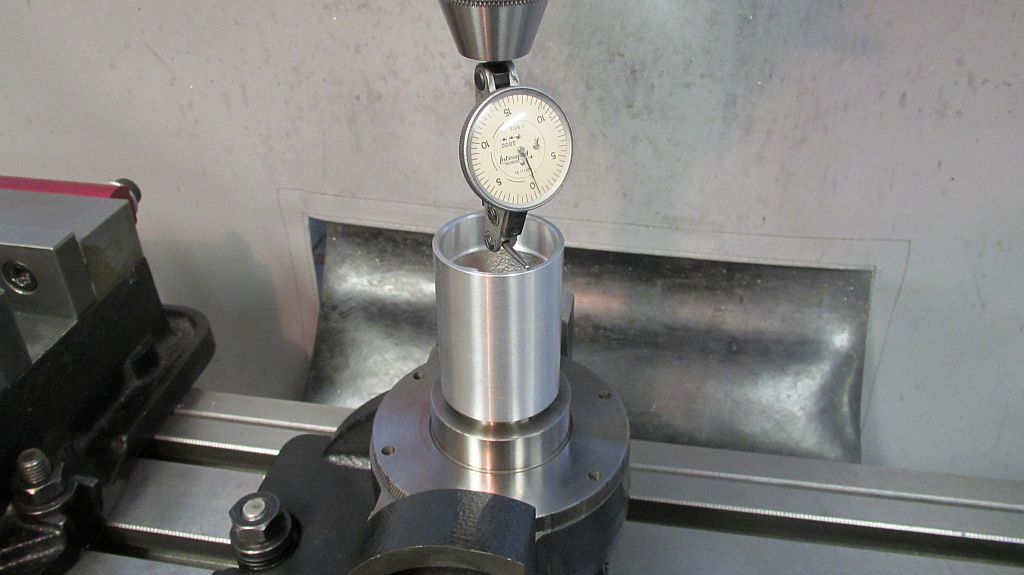
The bottom of the piston is indicated in; also with the piston horizontal the indexer was indicated parallel with the X axis.


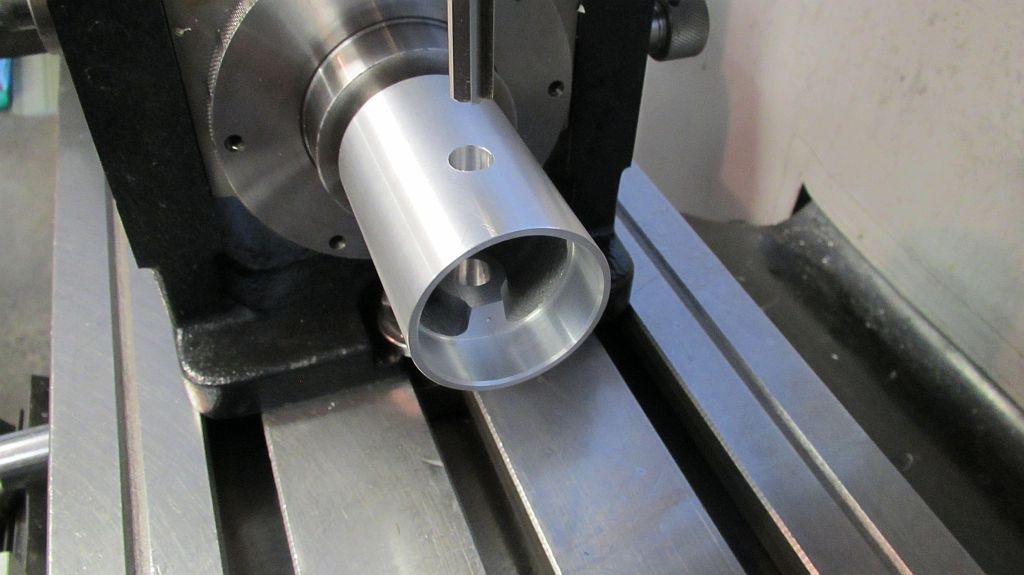
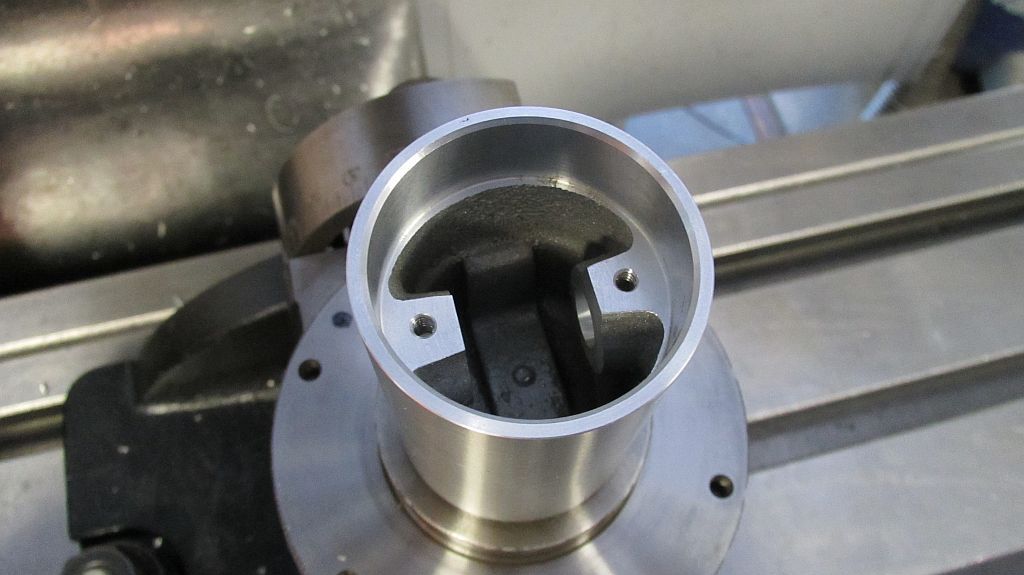
The inside surfaces of the pin bosses have been milled to .750” and the set screw hole spotted just for a sanity check. I will probably drill and ream the pin hole first then rotate it back up and do the drilling and tapping for the set screws.

Thanks for checking in.

Dave
 
Fantastic work on that piston! What's the nub on the end for? Simply for workholding?
 
Thanks for the comments guys; yes the nub is just for chucking and get mostly machined away.

Dave
 
Hi Everyone

I got my cylinder back from my friend who honed it on Sunnen power hone; it came out beautifully and dead on the 1.750 diameter.


Continuing work on the piston the indexing head is rotated down to the horizontal position and indicated in.


The wristpin hole is now spotted, drilled and reamed.


The indexer is rotated back up and the wristpin retainer screw holes are drilled and tapped. I didn’t want to run the reamer across the holes so that is why I seem to be jumping back and forth.


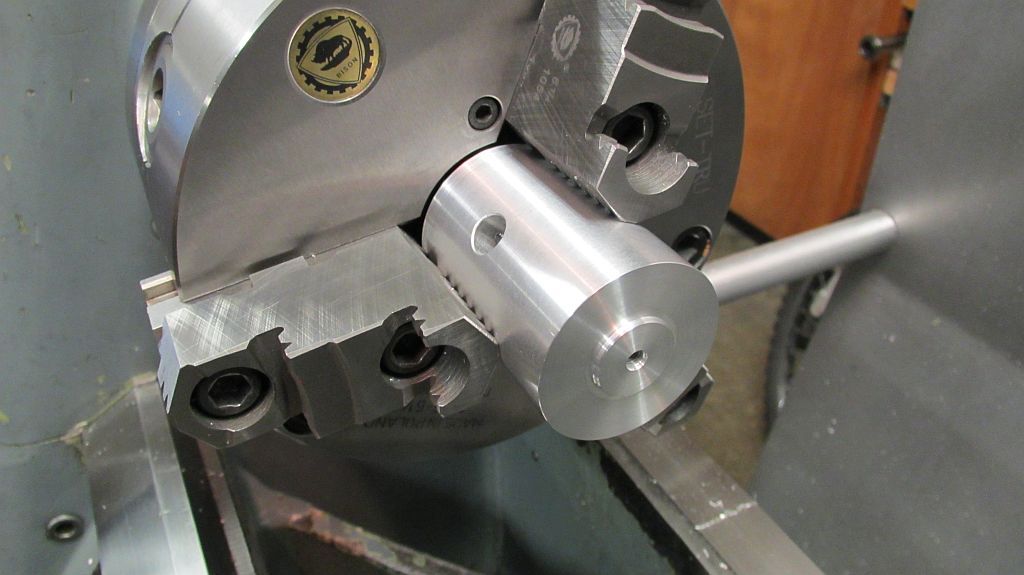
Back in the lathe chucking lug has been cut off and the top of the piston finished; the threaded hole is for the post that works the piston trip ignitor.


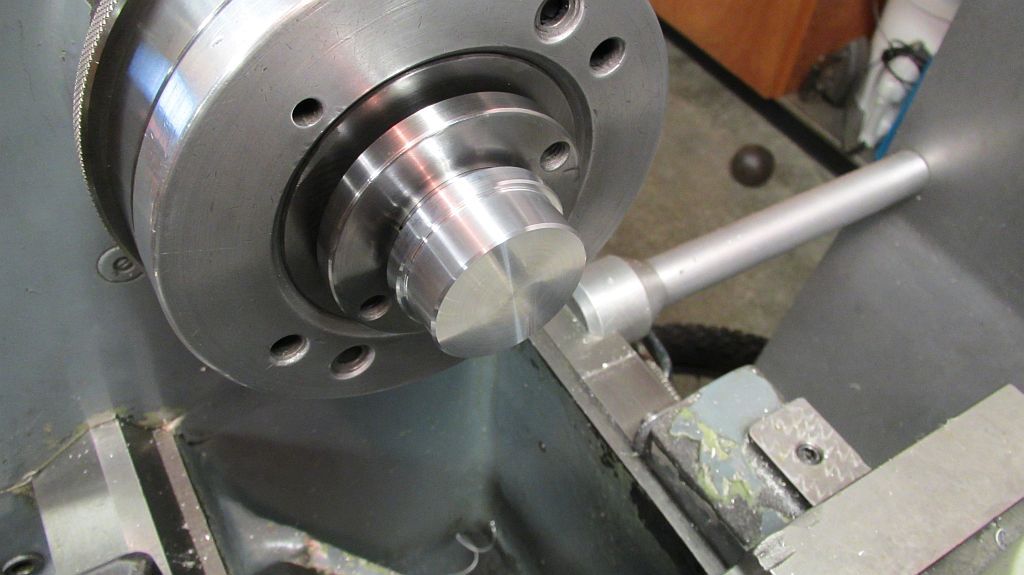
A mandrill was turned that is a very light push fit on the ID of the piston skirt.


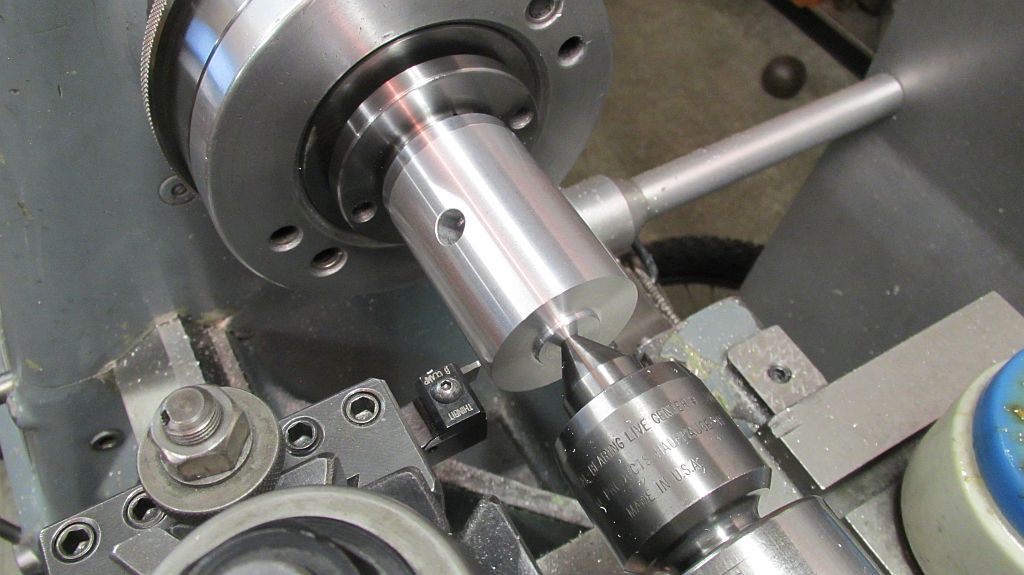
With the piston installed on the mandrill and the center in place the piston is turned to its final size.


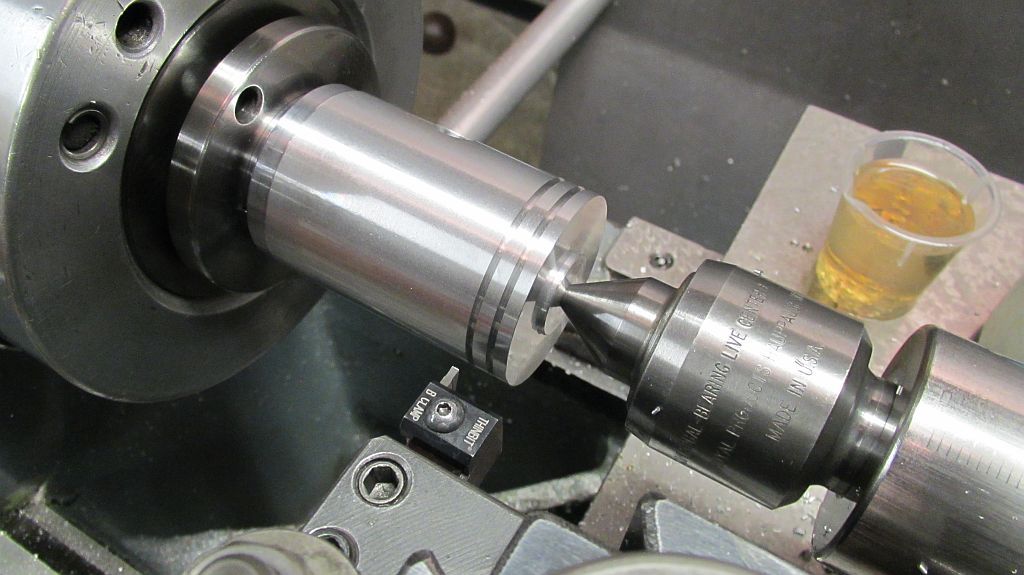
Without disturbing the setup the ring grooves are cut using a Thinbit; the rings are .062”wide. Also but not shown I cut 3 .03” X .01” deep oil grooves in the skirt area. Being a vertical engine I’m hoping this may retain some of the oil and help keep it lubed.


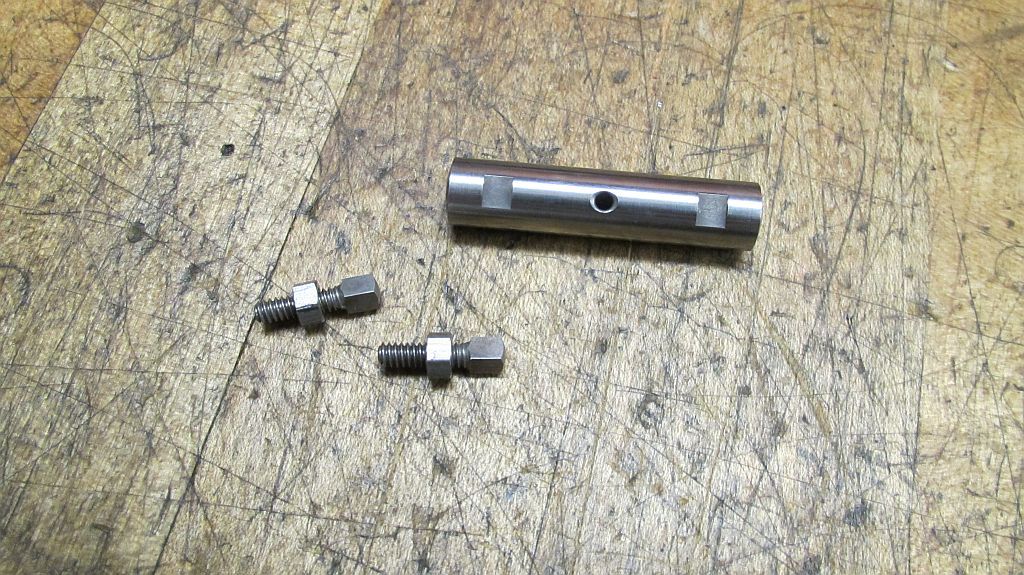
I didn’t take any pictures of the construction but here is the wrist pin and square head set screws. Both the pin and screws have been case hardened.


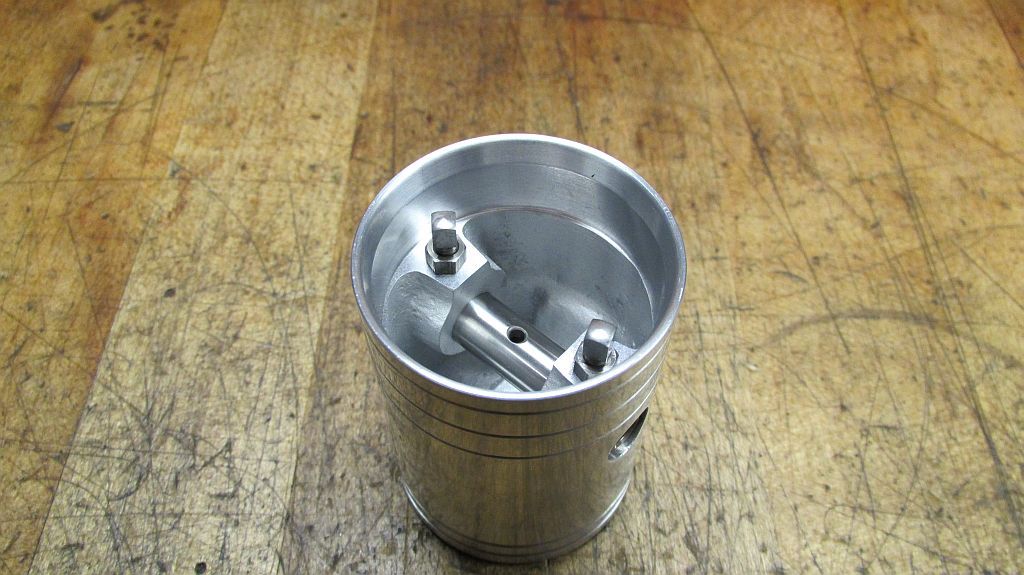
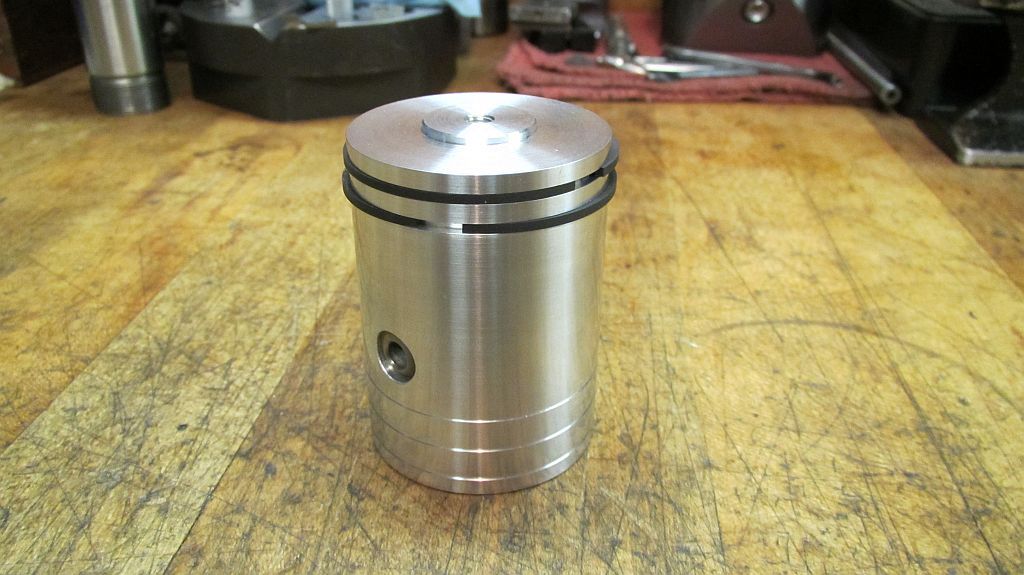
And finally a couple shots of the completed piston with the hardware installed.


Thanks for checking in,
Dave
 
What could I say, just that I wish you were showing all this good stuff when I was building the Wyvern.
Not that the my workmanship would have been any better, but the methods I used sure would have.
Keep it coming.

GUS
 
Thanks for the kind words guys it is a appreciated.

Gus is the Wayven finished? I thought you kind of left us hanging?

Dave
 
No Dave, sorry to say the Wyvern is not quite finished, a few more things to do but I got side tracked.:(
I went back to work on my Fairbanks Morse 45A diesel (not a model), which I started restoring about 3 or 4 months before work on the Wyvern began.
It's also near completion.
The Wyvern made first smoke months ago, and I really feel the need to smell some diesel smoke now.

Summer is never a very productive time for me, too many distractions.

GUS

DSCN3368.jpg
 
Looks like you are doing a great job on the 45A; I seem to remember seeing some of the dissasembly shots.

Dave
 
There is nothing I can add in the way of compliments that hasn't been said already, I arrived late to your project but have studied every post and continue to be amazed at your workmanship and the quality of your parts. My question is; having built Morrison & Marvin's 6-cycle MERY engine, I know their castings are first rate, but without the extensive tooling you have and the CNC capabilities, could this model be completed by us mere mortals with amateur skills, a lathe and mill-drill?? Your brass parts and the 2-part head seem out of reach for someone who doesn't have CNC, do the plans and castings offer alternative methods?
 
Hi Philip

If you built the Mery there is no reason why you shouldn't be able to build a Pacific. My good friend here in town (who has also built a Mery) finished his pacific a month or so ago. It is a beautiful engine and runs real nice; he has a 12x36 lathe and a Bridgeport style mill; all manual.

If you have enough swing in your lathe to turn the flywheel and enough Z height on your mill to work on the body casting you should be good to go.

There are iron castings in the kit for the brass parts that I did on the CNC and if you follow Lester's blue prints the fancy machining isn't needed in the water jacket of the head; having access to a CNC mill, it is fun to play.
The main bearing saddles may present a challenge with out a shaper but there are other ways this part can be machined. I have seen this engine built using bronze bearings instead the the poured Babbitt.

It is a fun and interesting engine to build and I have been thoroughly enjoying the project; although I don't get to spend as much time in it as I would like.

Dave
 
Hi Everyone

Here are some construction photos of the Pacific rod; the rod has brasses on each end with a turned steel center. I wonder if this is a hold out from the steam engine designs; the split small end bearing isn’t something you see very often on an IC engine.
I accidently deleted the construction of the brasses and didn’t take any of the hardware machining. The brasses were left a little oversize on the radius so they could be turned as a unit assembled on the rod. I roughed them out on the CNC so that is how I originally generated the radius.
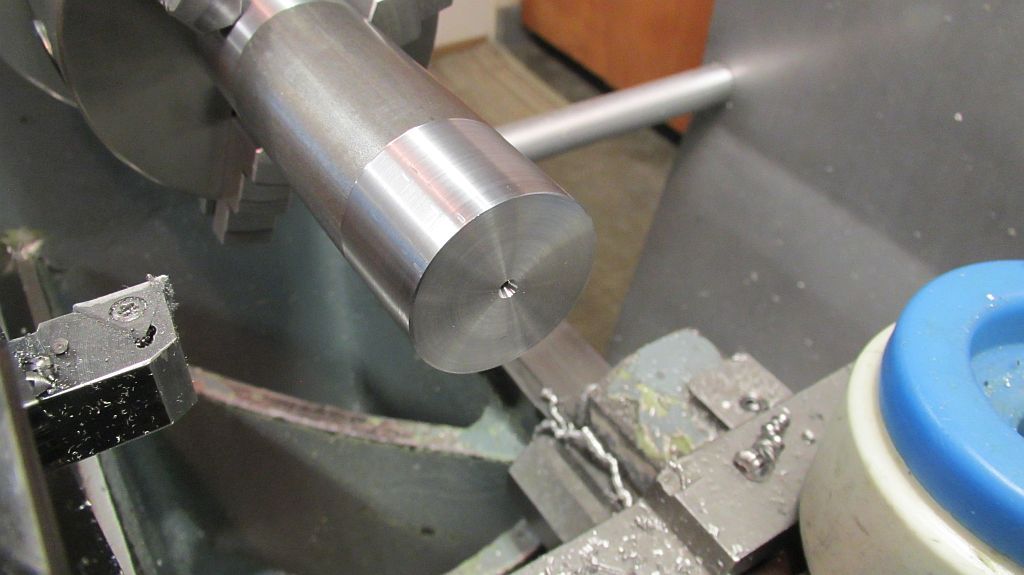

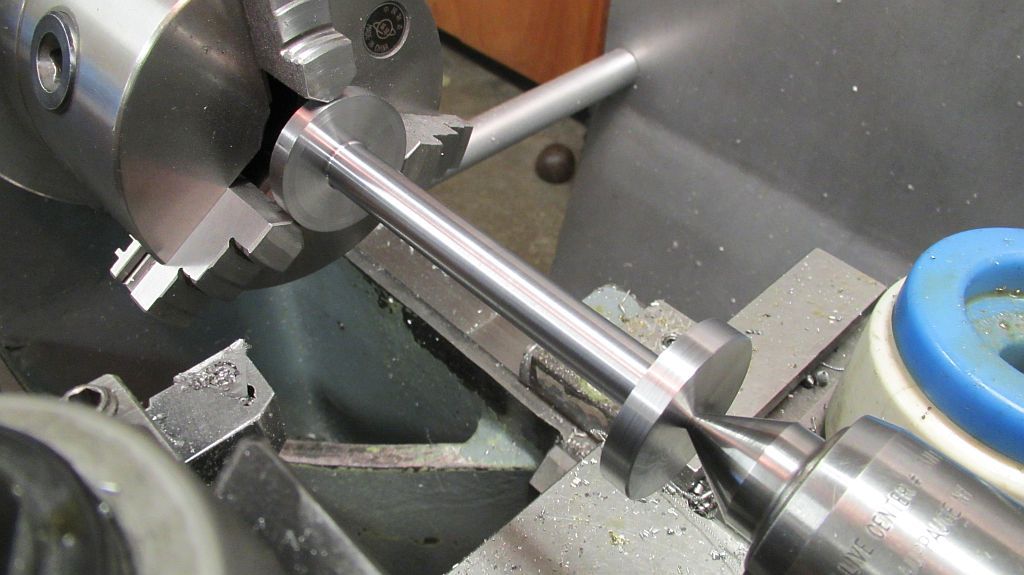
First a suitable piece of 12L14 stock was faced to length and centered on both ends.


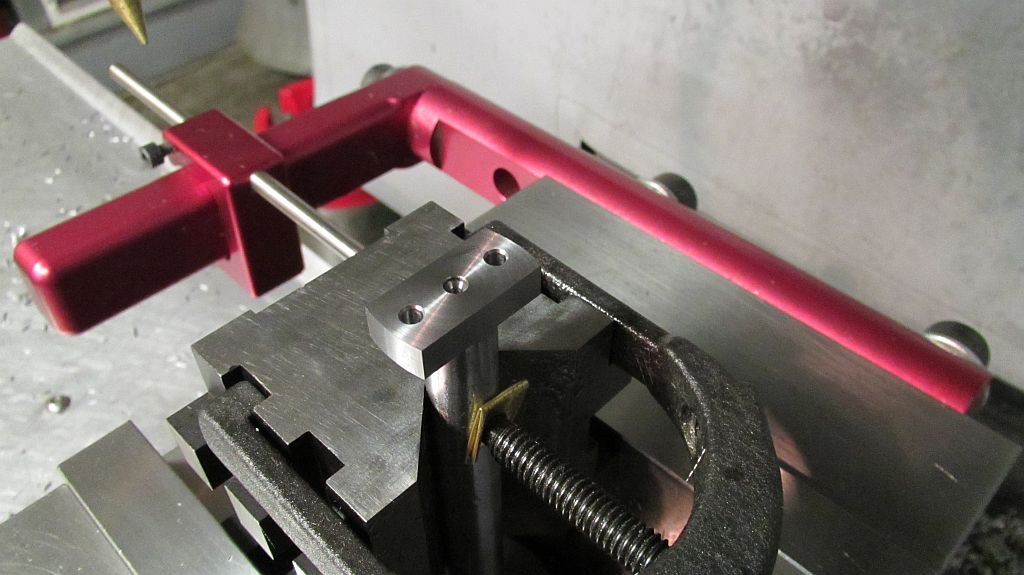
Then the center was machined just a little larger than the finished fat part in the middle of the rod.


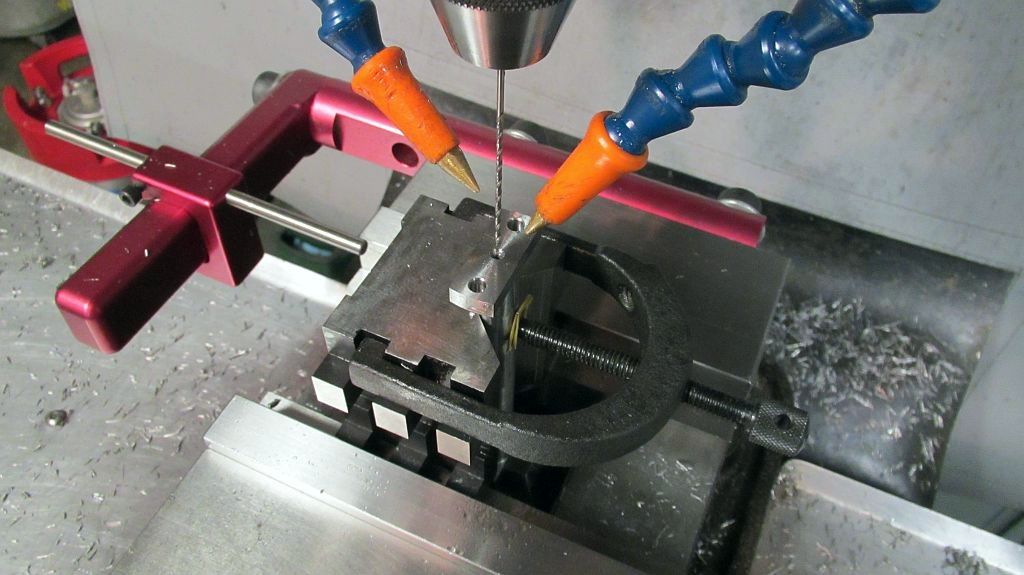
Using a V block the profile on each end of the rod was machined leaving the radius on the ends a few thou over for turning later; also at this time the holes were drilled.


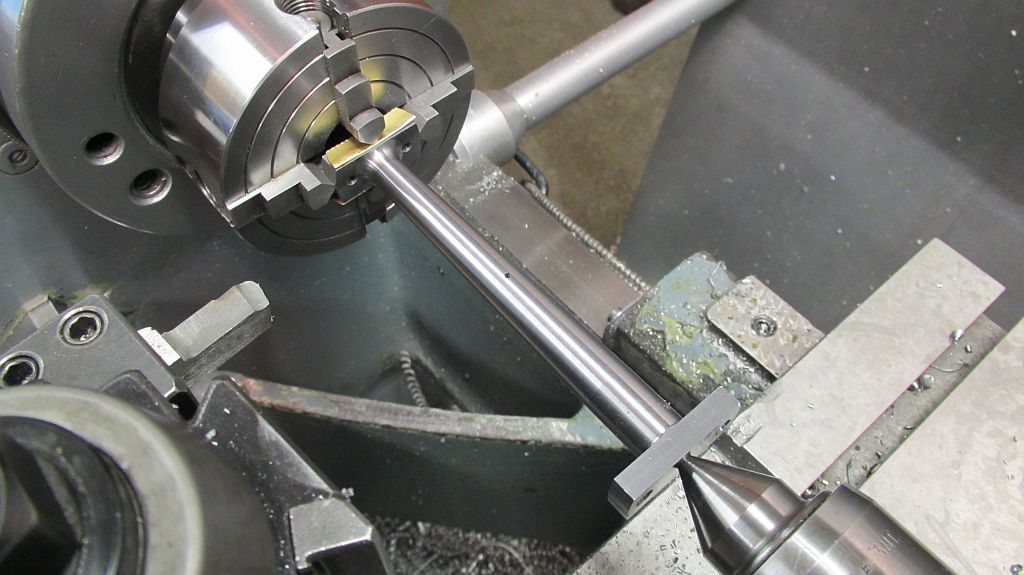
Here the 1/16” hole is drilled all the way to the middle of the rod for oiling; it gets an intersecting hole put in later.


Back in the lathe and indicated in using a 4 jaw chuck the first taper is machined and the radius at the root is also cut with the same tool.
You may notice that in the next few pictures the radius at the root is smaller; that is because I goofed and made it too large the first time. I re-ground the tool and went back and re-cut them.
Not shown the rod is flipped and the same was done for the other end.
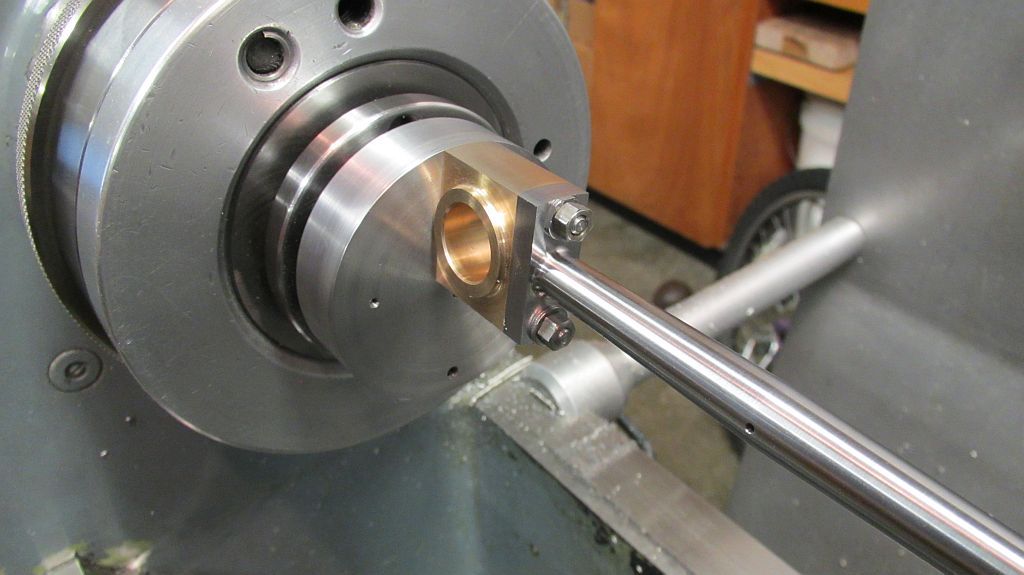


Turning the radius on the sides was a bit of a challenge; the radius is not centered with the rod axis so the rod assembly needed to be offset for turning.
A fixture was made the mount the rod assembly to with the proper offset; two sets of mounting holes were included. One set for each end of the rod.
First the big end is done; first one side the rod is removed and rotated and then the other side is turned. Two pair of special stepped studs were made as the one end of each of the brasses is threaded so a thread size that would slide through the threaded hole was chosen.
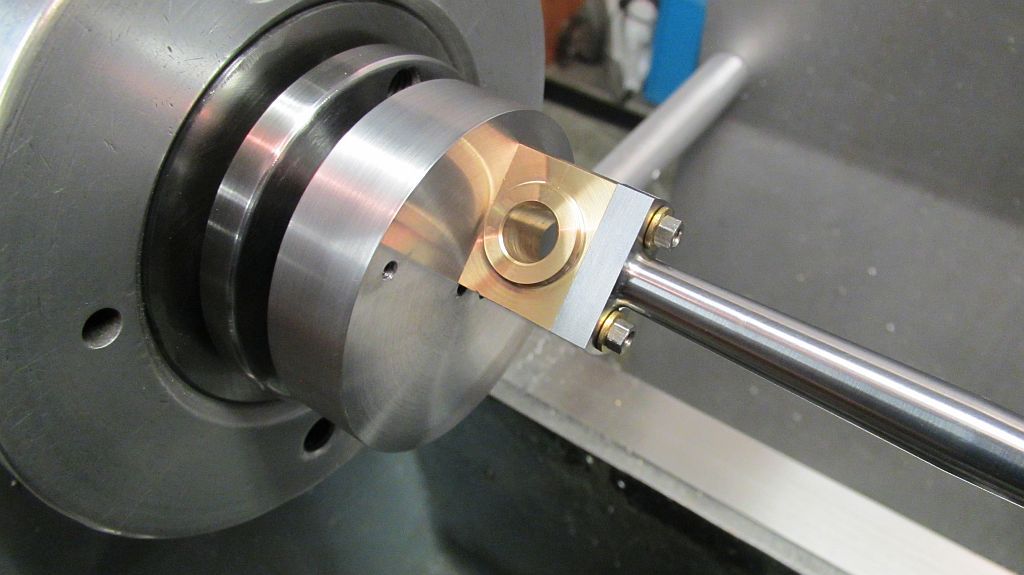


First the big end is done; first one side the rod is removed and rotated and then the other side is turned. Two pair of special stepped studs were made as the one end of each of the brasses is threaded so a thread size that would slide through the threaded hole was chosen.
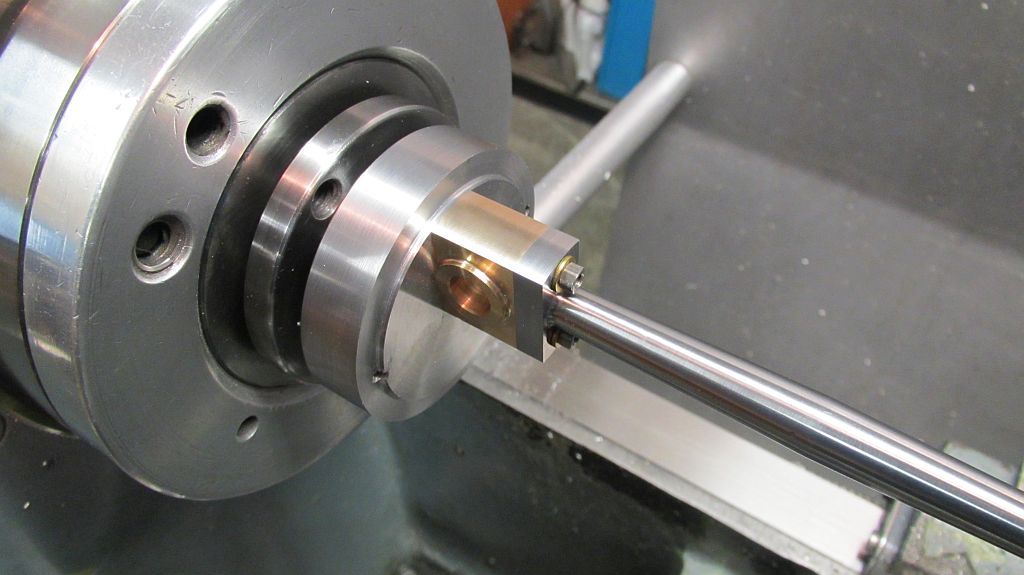


And after the first side is completed; you can see part of the fixture was machined away so the tool would clear the end of the bearing.
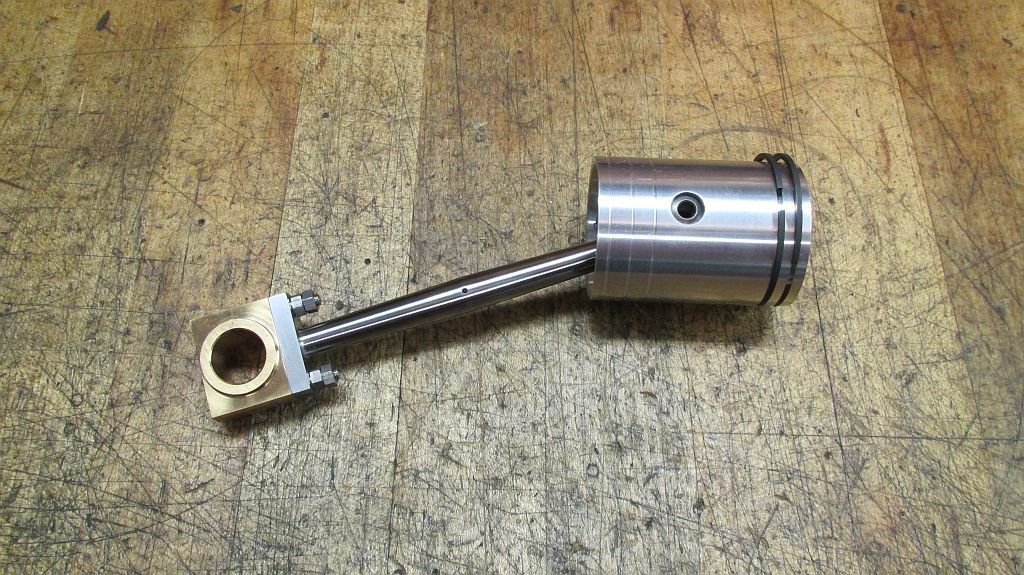

The completed piston and rod assembly with the proper hardware
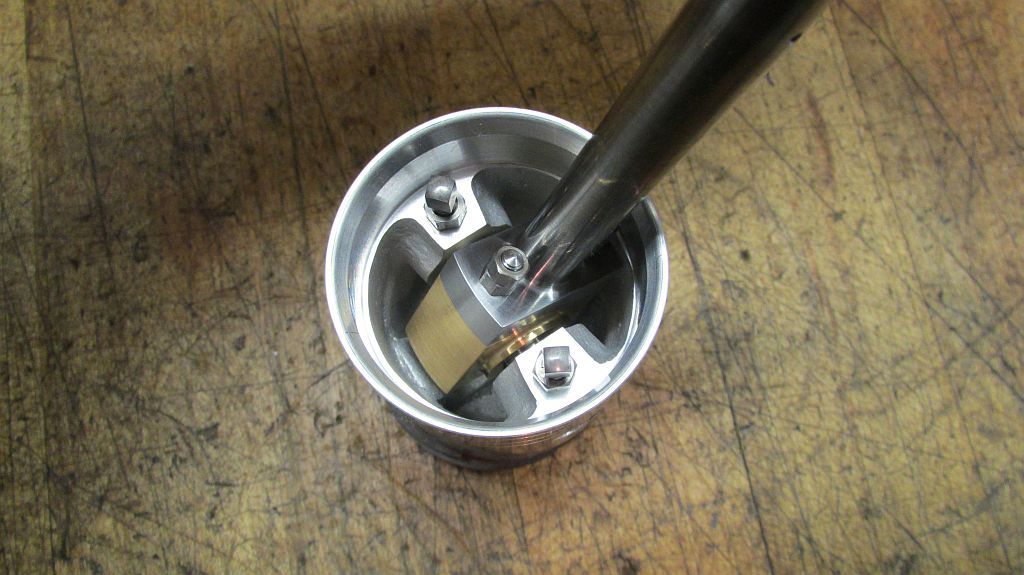


Here is a shot of the inside.
I need to do a thorough cleaning of the cylinder then I can do a test fit of the new parts.

Thanks for checking in,
Dave
 

Latest posts

Back
Top