Overcrank Single Cylinder Engine

Home Model Engine Machinist Forum

Help Support Home Model Engine Machinist Forum:

This site may earn a commission from merchant affiliate links, including eBay, Amazon, and others.
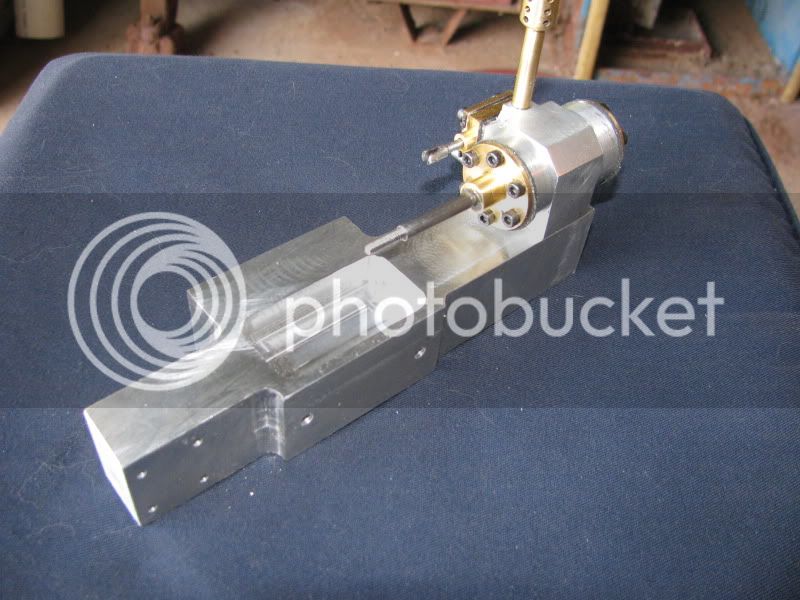
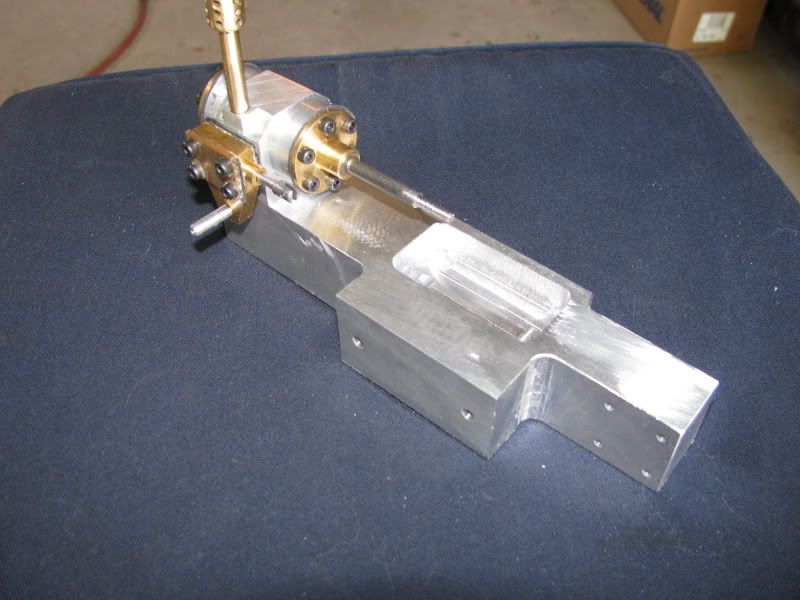
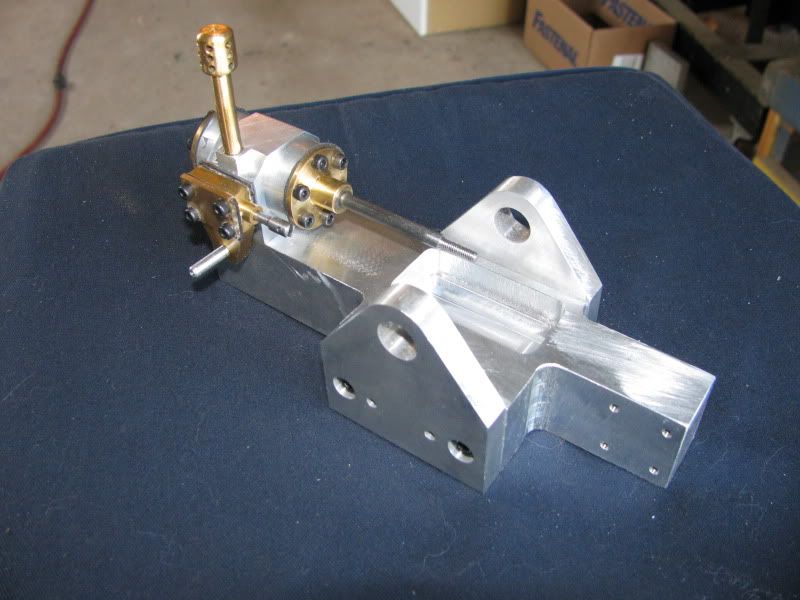
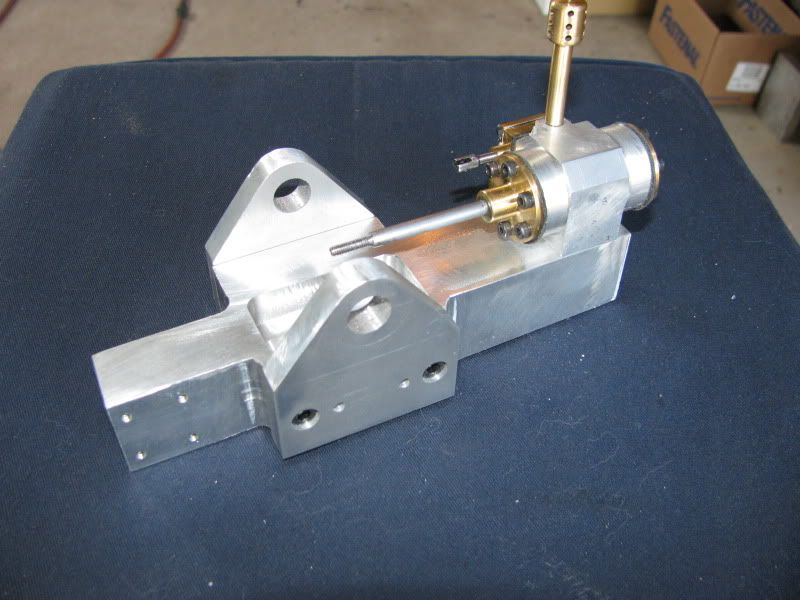
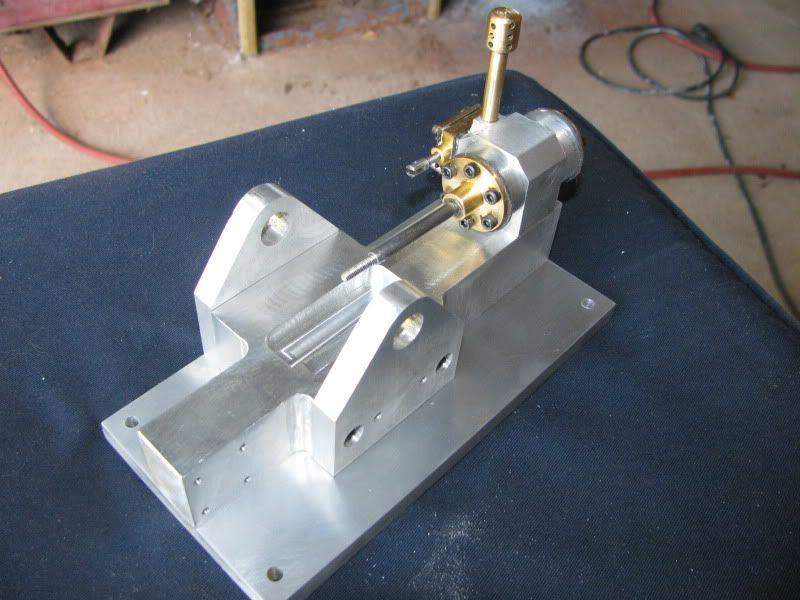
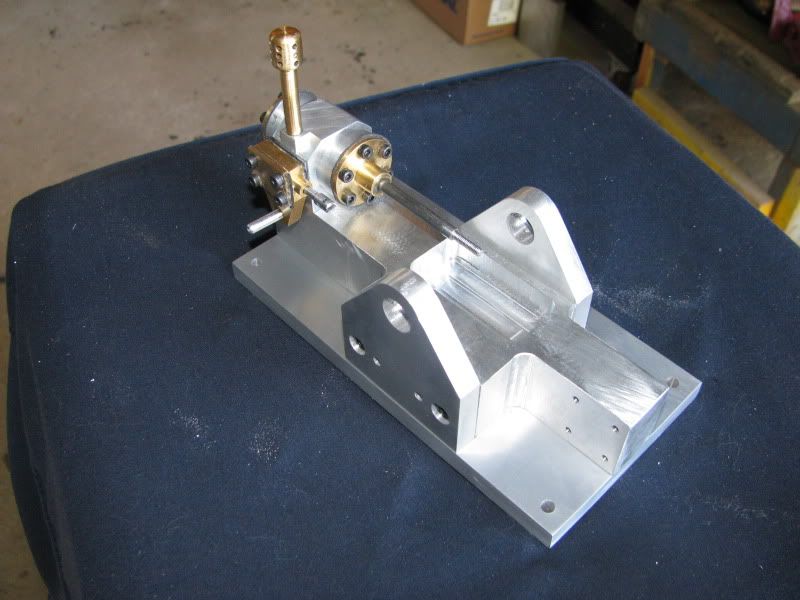
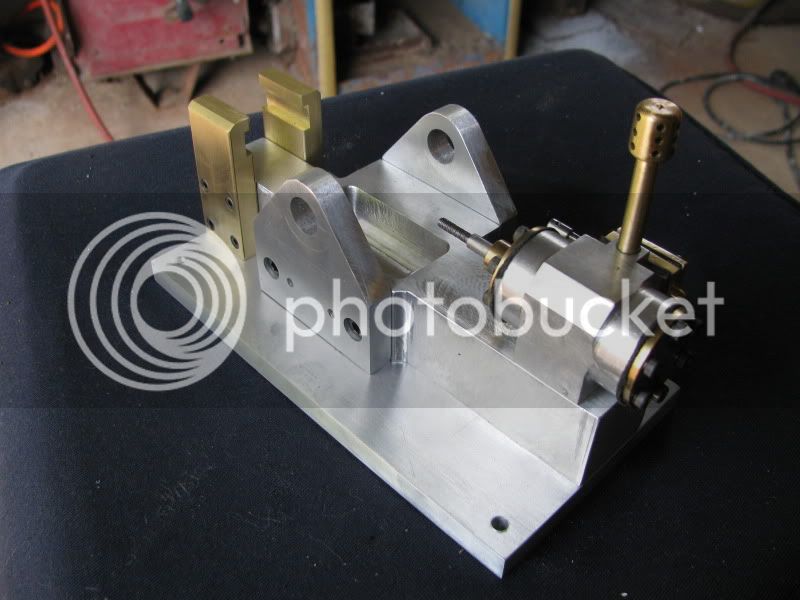
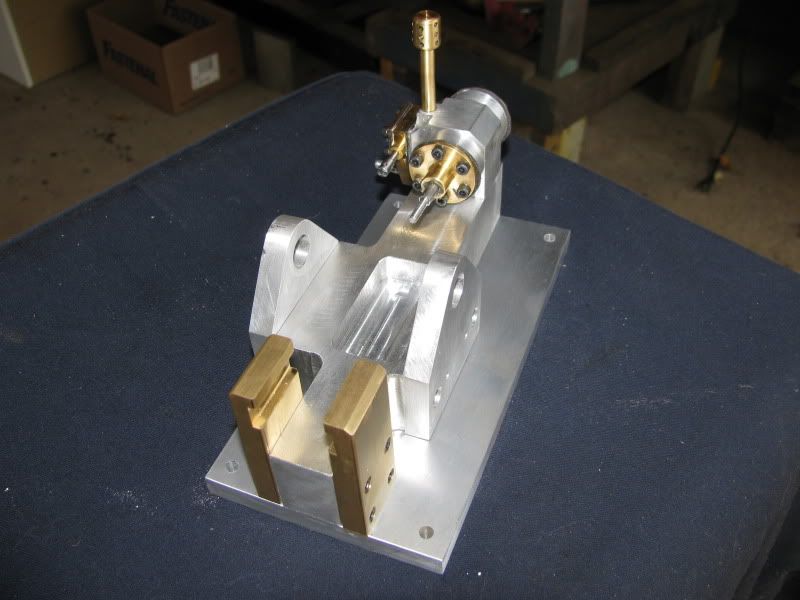
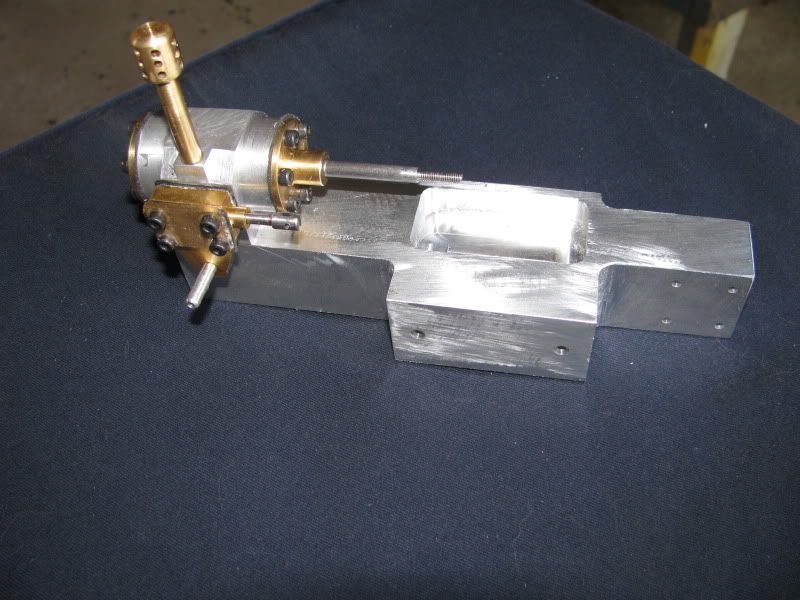
So here we have a "Cylinder Riser". Other than a bit of cosmetic work and some hole tapping its finished. I am very pleased with it, and I have come up with "Rupnows Theorum"---Namely, that "The more work you have invested in a single part, The more terrified you become that you are going to do something irrevocable and screw it up"!!! It has turned out fine, and its just to darn nice outside for me to spend anymore time in the machine shop today.---Thanks for looking.----Brian
CYLINDERRISERFINISHED003.jpg

CYLINDERRISERFINISHED002.jpg

CYLINDERRISERFINISHED001.jpg
 
Brian-

Looking good. Glad you got your valve/port thing worked out.

Pat J
 
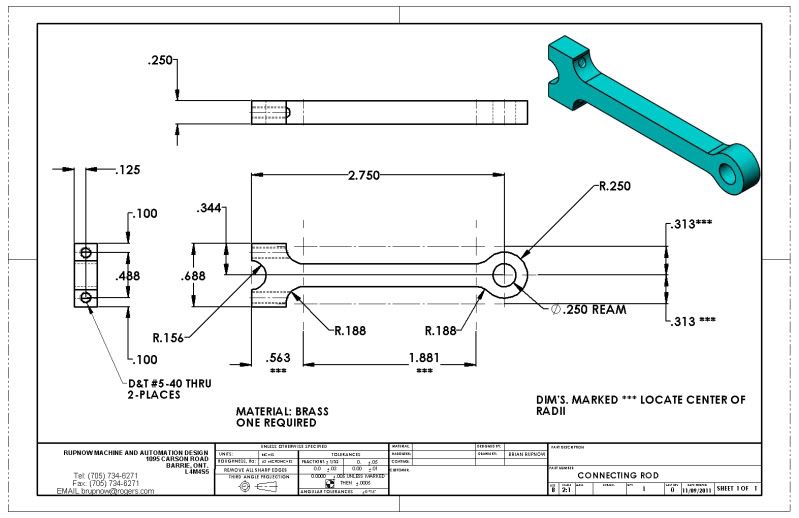
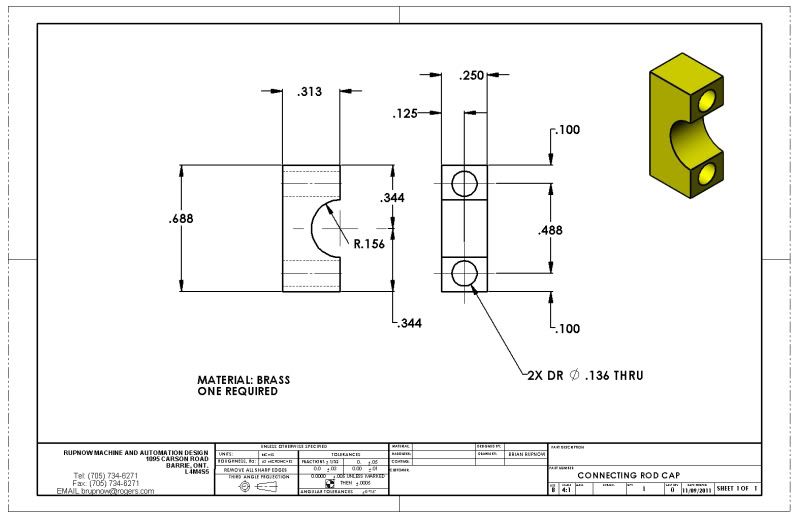
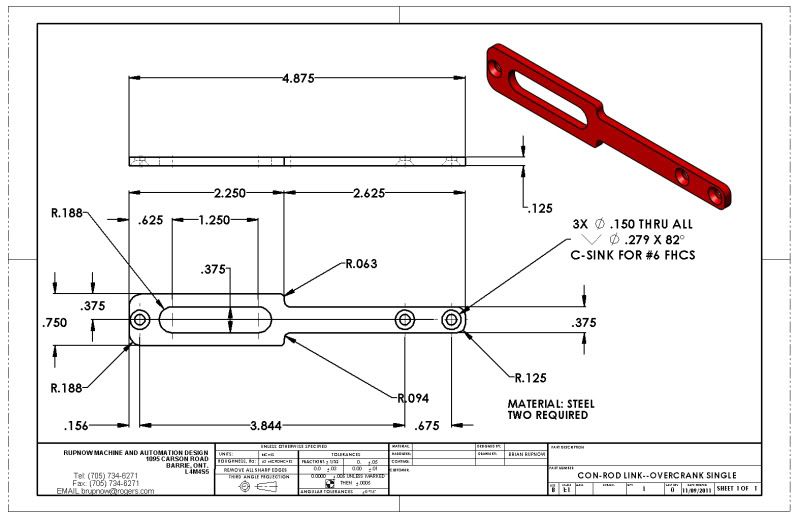
Well guys, so far everything I've built is according to drawing. I have noticed, as I build from the prints that I have posted, that there are a few missing dimensions, and I have added them but not reposted to Photobucket. The drawings will all be saved as .pdf files when the engine is completed, and I will post a download link for anybody that wants them. So far I am liking the proportions of this engine, but thats the "magic" of 3D cad, in that it lets me get a good feel for sizing before I cut any metal. I was quite concerned about the weakness in the "retract" stroke of the cylinder, but fortunately that is sorted out now. It just makes me absolutely crazy when something doesn't work right, that logic tells me should work perfectly and I can't find any mistake in how I have machined the part!!!!! I will start tomorrow to make the parts that I have just posted drawings of, and will keep you updated with pictures as things progress. Thanks for looking, and thank you for the Karma points.----Brian
 
Looking good Brian!!!
Nice work in Solidworks!!!

A karma point for designing and building a cool looking engine!!!

Andrew
 
Thank you gentlemen!!! I do hope that you realize that I get joy from these builds many times. First time when I build it myself, and then many times more as people from all over the world build these engines and then post about them or email me their finished results. This type of build is the gift that keeps on giving-----to ME!!!! ;D ;D
 
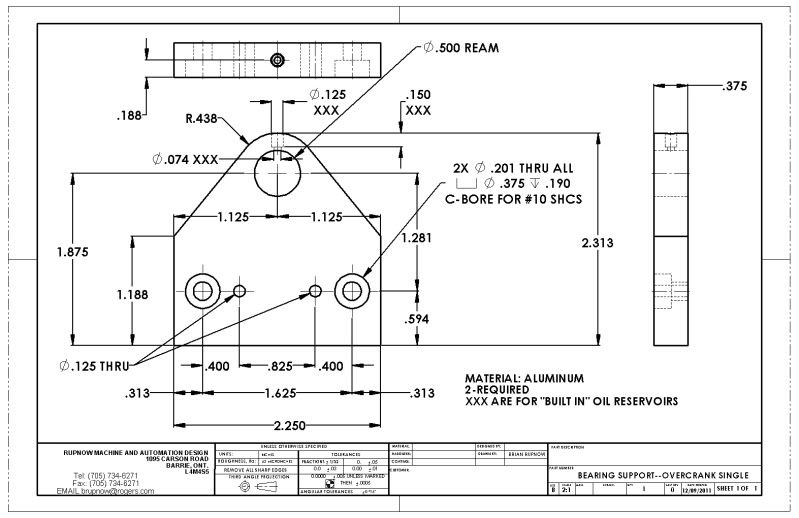
This mornings offerings to the Machining Gods is a nice pair of bearing stands. Now, a little story about these---Firstly, much to my chagrin, I discovered that my metal supplier doesn't stock any 5/16" aluminum flatbar.---Only 3/8". This means that I either machine these down to 5/16" thick, or decide on a minor "work around" to use them as they are. The one on the flywheel side of the engine doesn't matter. The one on the other side though---well, we'll see. Fortunately I haven't yet built the main baseplate, so I can probably make it work.---Secondly, you will notice a pair of 1/8" holes just inboard of the two bolts holding the bearing plates in place, that weren't on the drawing. They have now been added to the drawing,and here is why.-- I like to Loctite the bushings in place, and bore them to final size "in assembly'. This works great untill the first time you have to remove one or both bearing plates, and then you can NEVER get them back into proper alignment without a bind on the crankshaft. So---once everything is set up and the bushings bored in place, I will use the bearing plates as guides to drill 1/8" holes in the side of the "cylinder riser" for dowel pins. That way no matter how many times things have to come apart, the bushings stay lined up perfectly. And thirdly---the oil holes are not in the bearing plates yet. That is because I add them after the bushings are loctited in place. The small 0.074" dia. hole goes thru the bearing housing AND the side of the bushing. The larger oil reservoir hole is added in the same set-up, for the sake of concentricity.----Brian
BEARINGSTANDS002.jpg

BEARINGSTANDS001.jpg
 
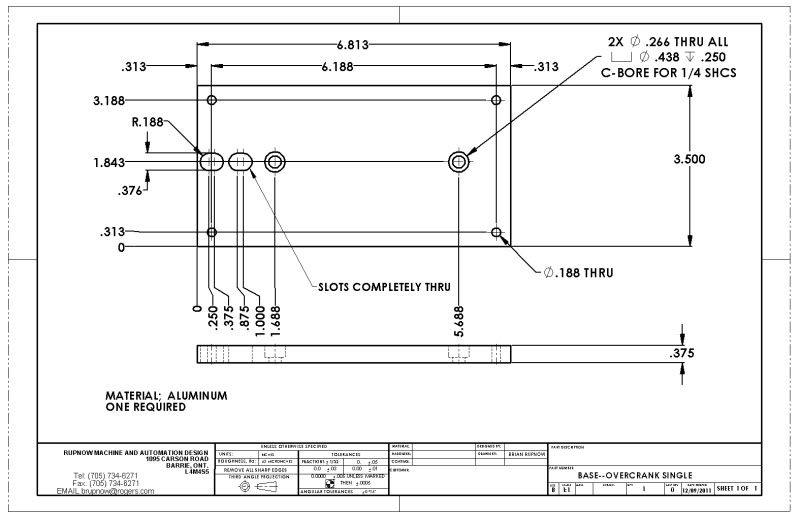
Everybody likes a nice baseplate----BUT---NOW I HAVE TO WARN YOU---I have changed and reposted the base and the bearing support drawings, as of right now!!! This was necessitated by the fact that I chose to keep the bearing supports as 3/8" plate, and consequently the holes in the baseplate shifted by 1/16". Again,I will be posting updated drawings at the end of this build, however where a drawing already posted has dimensional changes I am reposting them as I go along here, rather than have incorrect drawings posted.
BASEPLATEFINISHED002.jpg

BASEPLATEFINISHED001.jpg
 
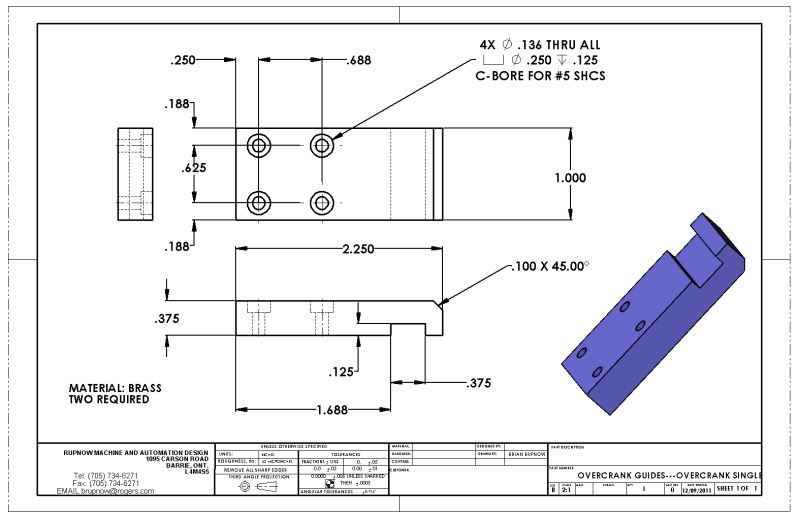
And to end the day off in style---We have a pair of "Overcrank Guides". I have no idea what the proper name for some of this stuff is, so I'm making it up as I go along. Damn, this is a lot of work---I could never have done this (machining) for a living!!! I am rapidly closing in on the "exciting" part of this build----The Overcrank mechanism itself. I imagine it will be quite a "task" to get everything lined up so that it slides and doesn't bind the cylinder. I have absolutely no engineering design work at the moment, so I am able to really spend the entire day working on this project. Fortunately, I did get paid today for a small job I did three weeks ago, so good wife promptly went up and bought a bottle of red wine and a bottle of white (His and Hers) ----and I'm headed upstairs ro make some inroads on it as soon as I finish posting this!!! I hope you are enjoying the build. Talk to me people----Its lonely here when I don't hear from you.----Brian
OVERCRANKGUIDES002.jpg

OVERCRANKGUIDES001.jpg
 
It's looking good Brian, just don't spill red wine on those nice, clean, bits!
 
Brian-

I am following with interest.
I really enjoy your enthusiasm for the hobby, and it inspires me to get off my duff and try some things too.

I like your "never give up" attitude.

Pat J
 
Thanks for dropping by and saying Hi, Pat and Tel. Pat, I'm 65 years old, and if my dad was still alive, he'd be 91----and to this day, I'm afraid that if I ever abandoned a project just because it was difficult, old Angus would raise up out of his grave and give me a swat on the arse!!! ;D ;D Seriously, I really enjoy it when folks say Hi---I know folks are watching this thread because I see the "View count" going up every day. I'm really enjoying this build, just because its so different to anything I've seen before. I owe a big Thank you to Sbwhart for posting the original Potty Overcrank Twin.
 
Looking very nice Brian

-The Overcrank mechanism itself. I imagine it will be quite a "task" to get everything lined up so that it slides and doesn't bind the cylinder

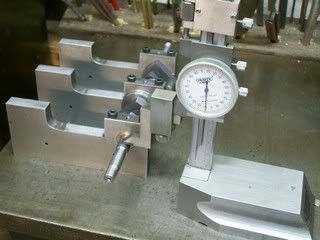
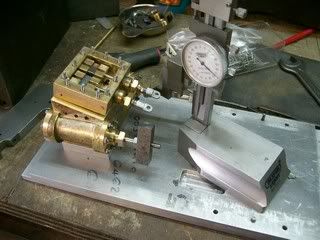
You have to get the centre line of the crank and of the slides on the same centre line as the cylinder, by measuring up like this.

100_5089.jpg


100_5090.jpg


I don't know if this was what you've aimed for but I guess you can adjust thing in by slotting some of the holes and making adjustments.

Hope this helps

Stew
 
Hey Brian,

I finally made it back into a WI FI zone where I can connect to the internet. The Internet is a bit elusive at my mothers house.

Nice job on the engine. It's really coming together.

Chuck
 
How old is your mom, Chuck?---My mom just turned 91. I've been scurrying around this week trying to get her a set of headphones to listen to her TV with. She has to turn it up so loud to hear it that the other old gaffers in the seniors residence are all getting on her case.----Brian
 
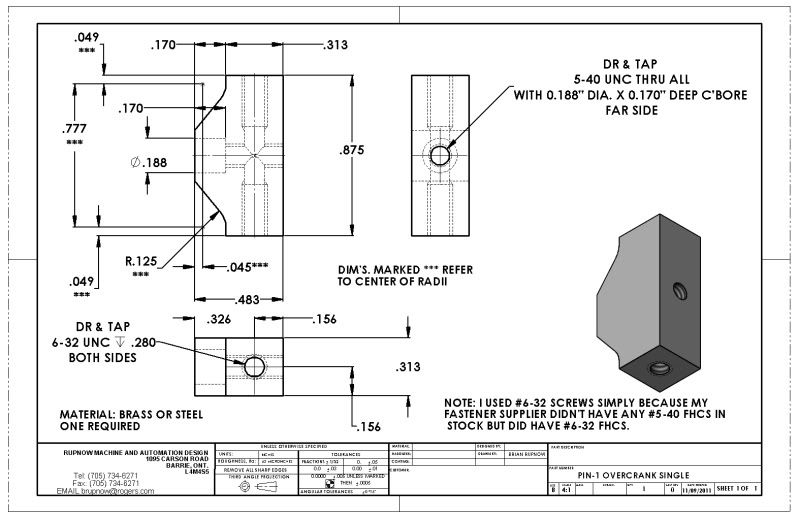
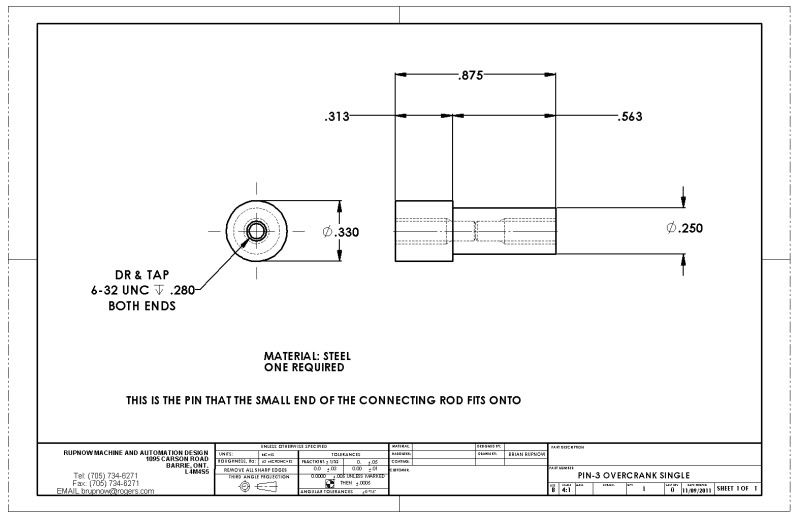
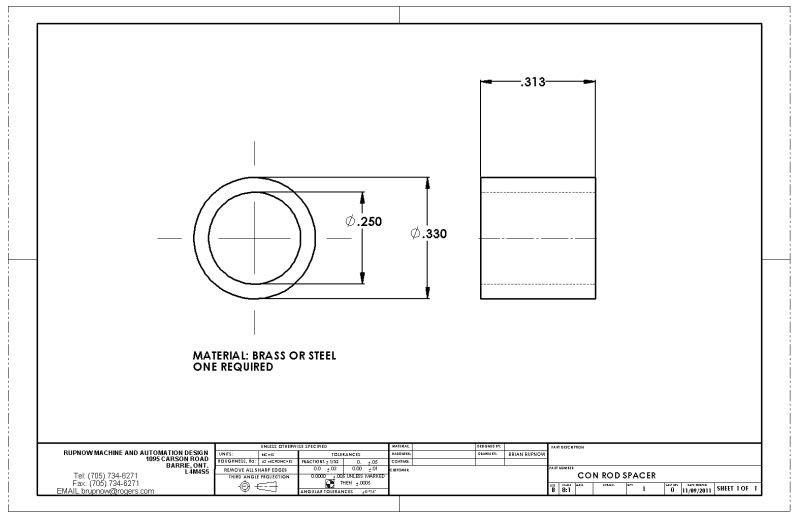
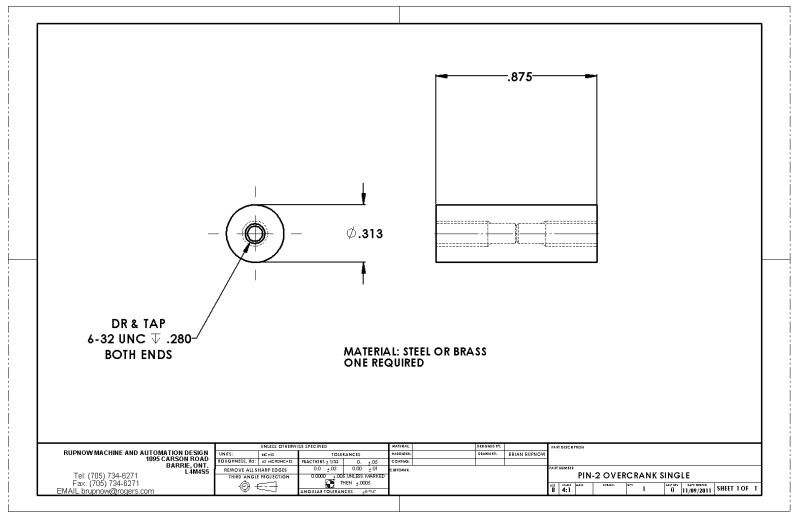
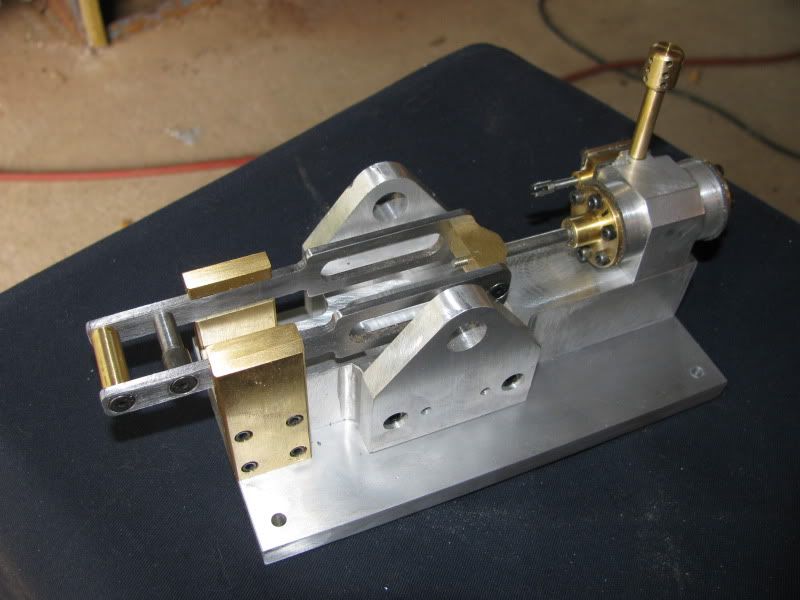
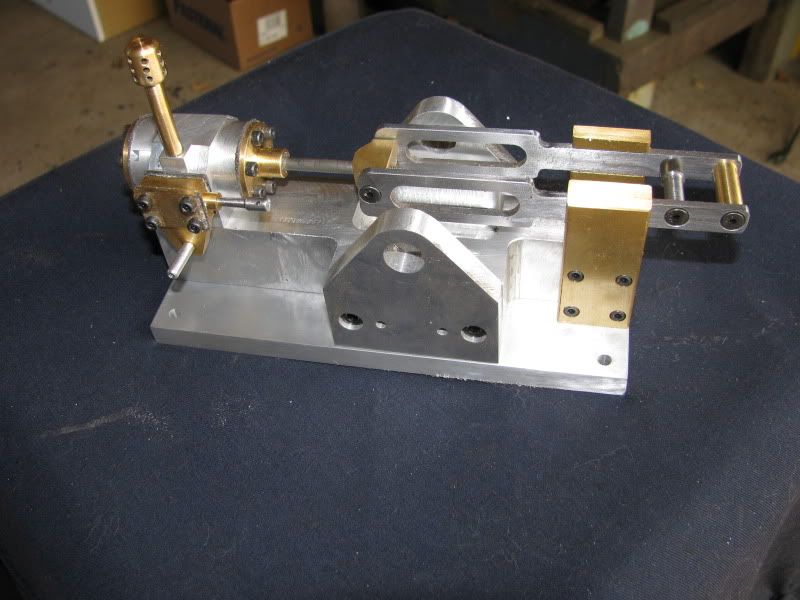
Today was major thrash time in my little machine shop. There are only---count them---five new parts, but its 4:00 PM now and I started at 7:30 this morning!!!! The overcrank mechanism machined up exactly according to drawing, and with only minor tweaking went together real well. I was quite excited about getting these parts done, as they truly are "Something new". Right now, as it sets, the flat head capscrews are setting about .008 proud of the slide bars, and I have to decide wheter to deepen the countersunk holes or cheat a little bit and grind .010" off the top of the flat head capscrews.---At any rate, its together----TA-DA!!!!!! I guess its almost time to start thinking about a crankshaft and con rod. I'm quite surprised at how well everyting slides when all the bolts are cinched down tight. I'm not sure whether that is a testament to good machining or just outrageous good fortune.
OVERCRANKMECHANISMASSEMBLED002.jpg

OVERCRANKMECHANISMASSEMBLED001.jpg
 
Brian Rupnow said:
How old is your mom, Chuck?---My mom just turned 91. I've been scurrying around this week trying to get her a set of headphones to listen to her TV with. She has to turn it up so loud to hear it that the other old gaffers in the seniors residence are all getting on her case.----Brian

She'll be 87 in a couple of months. She is vehemently opposed to having anything to do with computers and apparently so are all her neighbors. Couldn't find a hotspot anywhere so I've been Internet deprived for about a week.

Chuck
 

Latest posts

Back
Top