Hit me - Miss me?

Home Model Engine Machinist Forum

Help Support Home Model Engine Machinist Forum:

This site may earn a commission from merchant affiliate links, including eBay, Amazon, and others.
Gavin, Phil, JackB and Dean,

Thanks guys for your support and interest. :bow: :bow: :bow: :bow:

Alas no shop this week as we are having an erection ceremony with our Pergola. The chippy says he will be finished Friday. Let's hope he's on schedule. :p

Best Regards
Bob
 
Maryak said:
Alas no shop this week

Such is the price we pay for keeping in good with she who must be obeyed....still it's worth it in the end. Good luck with the pergola and hopefully we'll see you back at the Port soon.
 
Gavin,

Thanks again, the pergola turned out well. I did make it to the port last week but I had to work so no time on the engine. :mad:

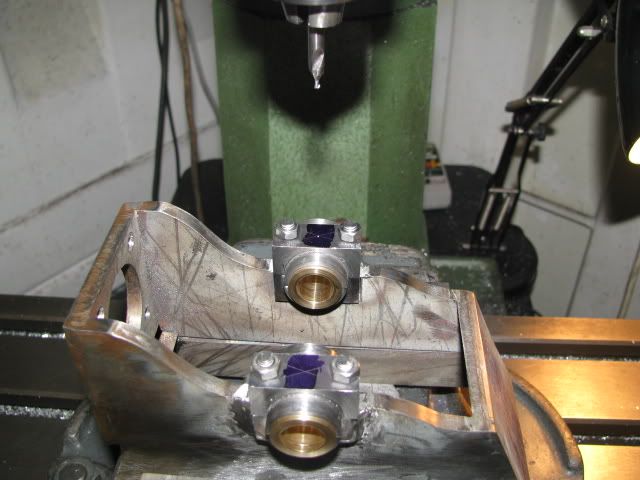
Today after fitting a cup wheel to my T&C grinder I did manage to make and fit the crankshaft main bearings. :eek:

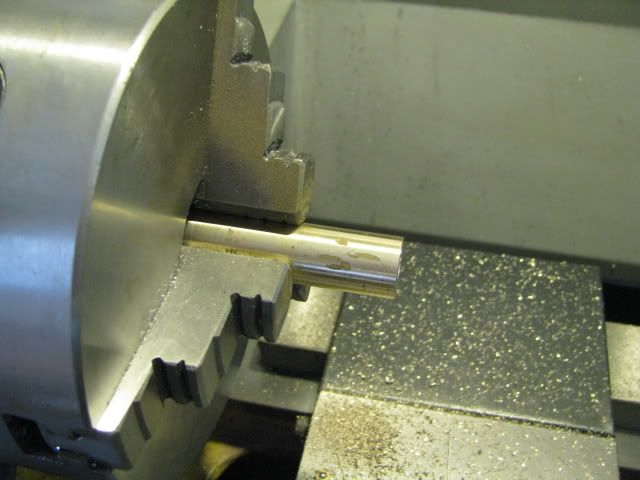
Some bronze for the bearings - This was drilled through and reamed to 1/2" for the crankshaft.

IMG_1199.jpg


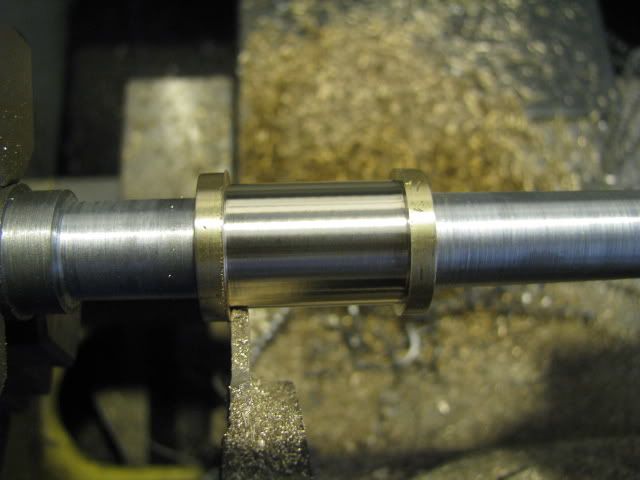
A taper mandrel was made and the bearings turned to fit the housings.

IMG_1202.jpg


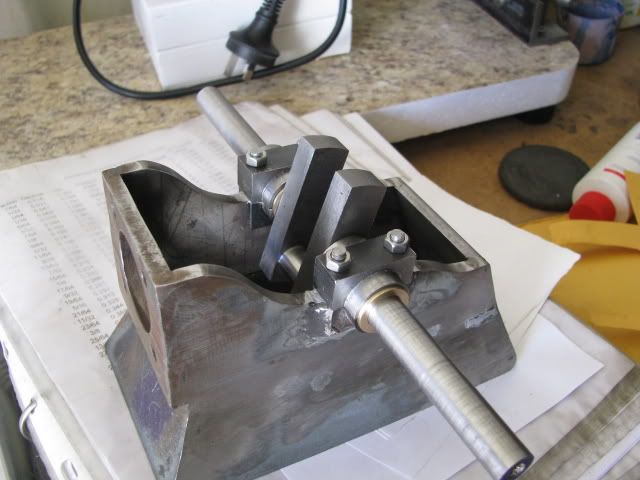
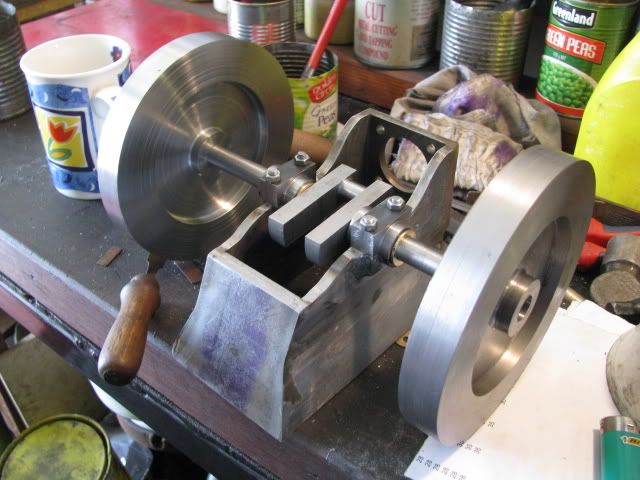
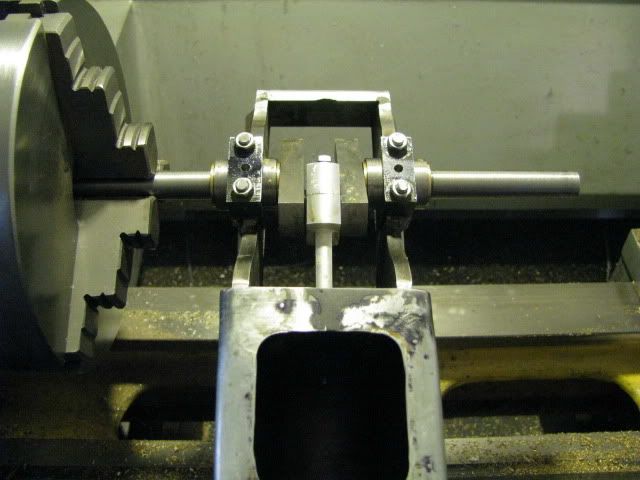
A couple of assembly shots to inspire me if nobody else. ::)

IMG_1203.jpg


IMG_1205.jpg


Next I will fit the gudgeon pin and then we can bed the working bits in with a drill.

Best Regards
Bob
 
Bob

It's looking impressive, especially now the bits are coming together. Dumb question - what's the significance of the cup wheel on the T&C grinder with the making of the bearings?

Rgds - Gavin
 
That is really starting to take shape Bob.....gonna be a nice one.

Dave
 
Looks great Bob. Thanks for the photo updates. Always something for me to learn here.

Cheers,
Phil
 
Gavin, Dave and Phil,

Thanks guys. :bow: :bow: :bow:

gjn said:
what's the significance of the cup wheel on the T&C grinder with the making of the bearings?

Nothing ;D - I just found a cup wheel and fitted it before I turned my attention to the important things, I probably shouldn't have mentioned it and confused the issue.

Best Regards
Bob
 
Looking Good Bob,
I can almost hear the putt putt..........putt putt now.

Tony
 
You'll be needing some help to pick that bad boy up if you build the rest of it as beefy as you have sofar. Nice shape to the base. :bow:
 
:) :) :) WOW :) :) :) Bob

That engine is forming up super Nice. Keep getting your "shop time" 'cause I need to see more of this great build!

Jeff
 
Tony, CMS, Jeff and Ron,

Thanks guys for your kind words and continued support. :bow: :bow: :bow: :bow:

Best Regards
Bob
 
Coming together nicely now, Bob. When you get to the point of assembly pics, it really starts showing how much work you've got in it.

Dean
 
Bob;

That thing is a monster.........I like em big too.........engines that is.

Matt
 
Dean and Matt,

Thanks for the support guys. :bow: :bow:

Best Regards
Bob
 
Yeah it is taking shape, nice work Bob. :bow:
 
Nick,

Thankyou for your continued support. :bow:

Managed to get a little done yesterday.

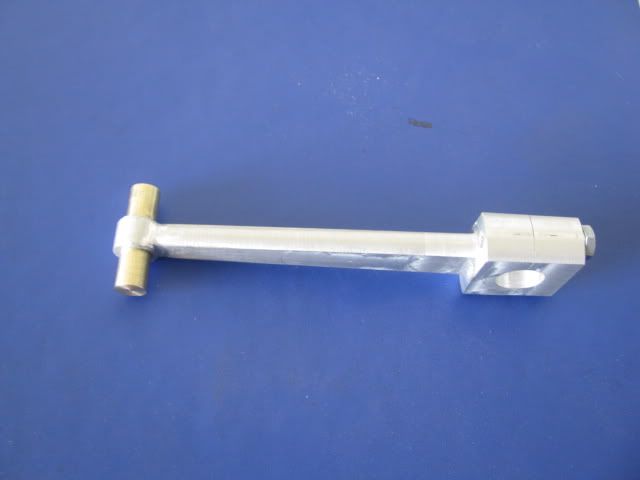
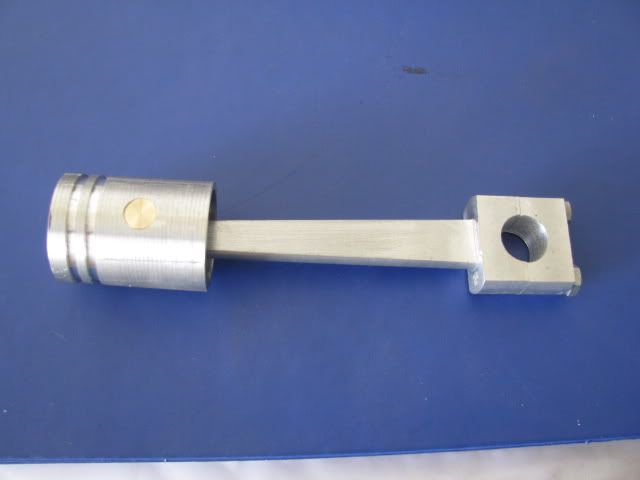
First up I made the gudgeon pin.

IMG_1206.jpg


IMG_1208.jpg


IMG_1209.jpg


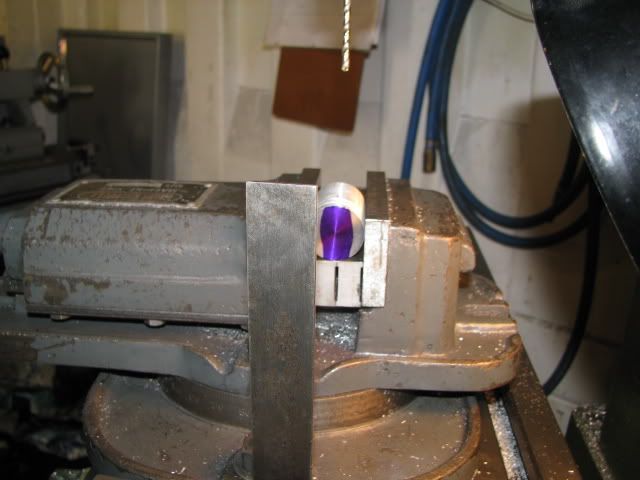
Next I drilled the main bearings and blocks for the oil cups - This will allow me to introduce a bit of brasso during the bedding in if needed.

IMG_1207.jpg


I commenced to assemble the main components but ran into a problem. The piston with rings was not just a tight fit in the cylinder but a VERY TIGHT fit. Checking the rings without the piston all seemed OK so I can only assume that the ring grooves in the piston are slightly oversize on their diameter. I will double check this and fix things up on my next shop visit.

Best Regards
Bob

 
Looking good Bob :) :) :)

I'm sure you'll find and fix the piston/ring clearance. Shop Time, Shop Time!!!

Jeff
 
Bob,
Good to see you back in the shop again.
I hope the visits won't be so far and few between :(
 
Jeff and Kevin,

Thanks for dropping in with words of encouragement. :bow: :bow:

Not much to show today.

I sorted out the ring grooves in the piston. There was a slight taper in the groove and when I checked I had not ground the parting tool dead square. A lick and a promise on the grinder sorted that out and everything went together OK. There was a small amount of binding on one main bearing which is probably due to the welding creating a bit more pull in one direction compared to the other. Some brasso and some boring time sorted that.

Bedding in the main running assembly.

IMG_1211.jpg


Following this I decided I would get started on the gears so I found a piece of drill rod in the form of a broken crowbar and spent the rest of the day rough turning a blank for the hob.

Best Regards
Bob
 

Latest posts

Back
Top