You are using an out of date browser. It may not display this or other websites correctly.
You should upgrade or use an alternative browser.
You should upgrade or use an alternative browser.
Hit me - Miss me?
- Thread starter Maryak
- Start date

Help Support Home Model Engine Machinist Forum:
This site may earn a commission from merchant affiliate
links, including eBay, Amazon, and others.
putputman
Senior Member
- Joined
- Nov 22, 2008
- Messages
- 600
- Reaction score
- 55
Bob, lot of good information on this thread. Thanks.
I am interested in your technique for making rings. I want to give it a try someday. That is one part of these engines that I never had the courage, or knowledge, to try.
Question: I have never heard the term "spun cast iron". Could you tell me a little about it and how it differs from just plain grey cast. Is it specified as spun cast iron when you purchase it.
Maryak
Well-Known Member
- Joined
- Sep 12, 2008
- Messages
- 4,990
- Reaction score
- 77
Tony, Joe, Dean and Ron,
Thanks Guys for you kind words and support. :bow: :bow: :bow: :bow:
Ppm,
Thanks for your interest. :bow:
This is my understanding but if someone can give more detail, I know of at least 2 people who will appreciate it. Spun cast iron is cast iron which is poured into a rotating mold i.e. the mold spins the metal as it enters and centrifugal force ensures an even homogeneous mix with no occlusions etc. etc. A bit like the way they make concrete pipes. There is no hard outside skin as experienced with cast iron ingots and it is an absolute joy to machine. The result of having such an even mix is there are no hard or soft spots and all the properties of the metal are consistent throughout.
The last piece I bought was 4" diameter and 1ft long and cost $AU100 about 4 years ago. In Oz it is available from Surnam Metals in varying diameters and lengths. Quite often offcuts can be had but the prices from this company are always at the top of the range.
Hope this helps.
Best Regards
Bob
Bob is correct in all respects re the spun cast iron. I've also used the stuff from Surnam's and as he says it's good but not cheap. I've not been able to find another supplier in SA so for the moment that's all we've got.
It's good to see the project regaining momentum after the domestic hiatus.
It's good to see the project regaining momentum after the domestic hiatus.

$45.99
Sunnytech Mini Hot Air Stirling Engine Motor Model Educational Toy Kits Electricity HA001
stirlingtechonline

$519.19
$699.00
FoxAlien Masuter Pro CNC Router Machine, Upgraded 3-Axis Engraving All-Metal Milling Machine for Wood Acrylic MDF Nylon Carving Cutting
FoxAlien Official

$12.56
$39.95
Complete Plans for Building Horse Barns Big and Small(3rd Edition)
ThriftBooks-Atlanta

$24.99
$34.99
Bowl Sander Tool Kit w/Dual Bearing Head & Hardwood Handle | 42PC Wood Sander Set | 2" Hook & Loop Sanding Disc Sandpaper Assortment | 1/4" Mandrel Bowl Sander for Woodturning | Wood Lathe Tools
Peachtree Woodworking Supply Inc

$39.99
$49.99
Sunnytech Low Temperature Stirling Engine Motor Steam Heat Education Model Toy Kit For mechanical skills (LT001)
stirlingtechonline

$40.02
$49.99
Becker CAD 12 3D - professional CAD software for 2D + 3D design and modelling - for 3 PCs - 100% compatible with AutoCAD
momox Shop
![DreamPlan Home Design and Landscaping Software Free for Windows [PC Download]](https://m.media-amazon.com/images/I/51kvZH2dVLL._SL500_.jpg)
$0.00
DreamPlan Home Design and Landscaping Software Free for Windows [PC Download]
Amazon.com Services LLC
Maryak
Well-Known Member
- Joined
- Sep 12, 2008
- Messages
- 4,990
- Reaction score
- 77
gjn said:It's good to see the project regaining momentum after the domestic hiatus.
Gavin,
Thanks for your continued support and help. :bow:
I think with this project momentum is more like a moment.................per month....................um.
Not a lot to show but here are today's moments. ;D
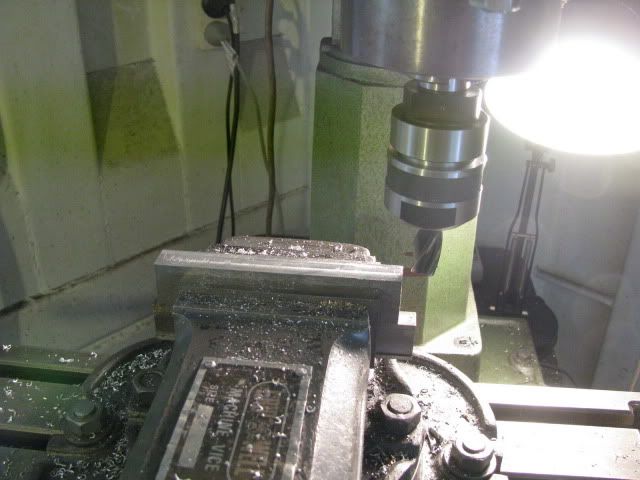
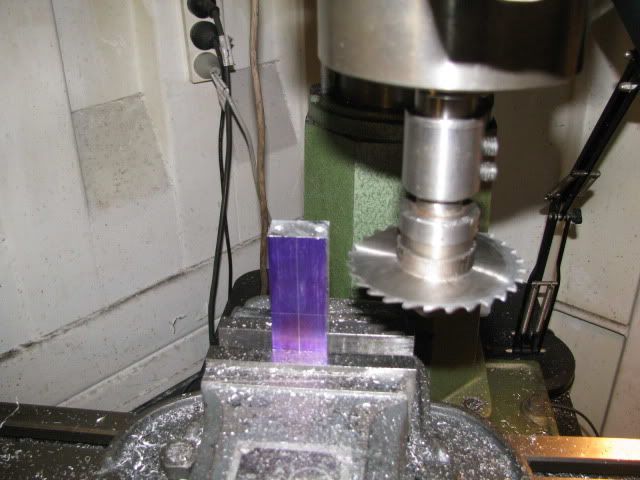
Squaring up a piece of Aluminium for the conrod.
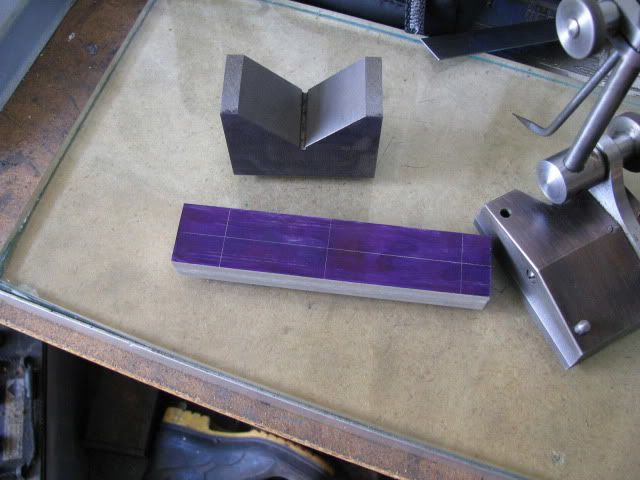
Marking off for splitting the big end.
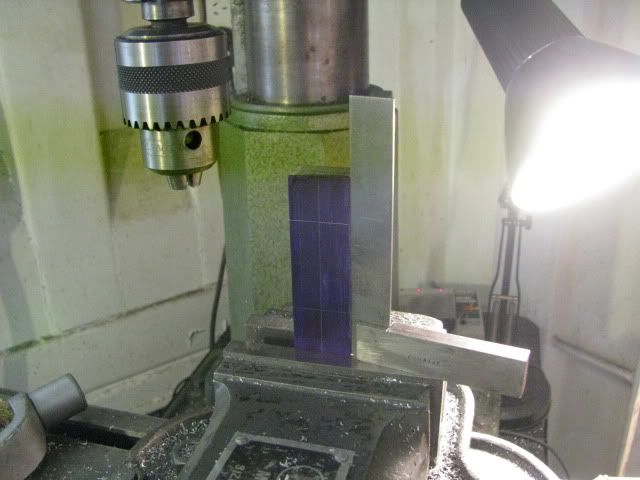
Set up to drill the big end studs and split the bearing with a slitting saw.
Playing with my collets and other interruptions in the form of phone instructions from you know who meant this was a Necessary good place to stop.
Best Regards
Bob
"Playing with my collets and other interruptions in the form of phone instructions from you know who meant this was a Necessary good place to stop."
Had similar interruptions during the boat build......hang in there!....looking great!
Dave
Had similar interruptions during the boat build......hang in there!....looking great!
Dave
Maryak
Well-Known Member
- Joined
- Sep 12, 2008
- Messages
- 4,990
- Reaction score
- 77
Gavin, Kevin, Dean and Dave,
That's almost the 1st line of a poem but I better not otherwise Marv will think I'm beyond help. ;D
Anyway, thanks guys for your ongoing support.
SHOP TIME
The conrod is coming along quite nicely.

The holes in one end drilled prior to splitting for the big end.
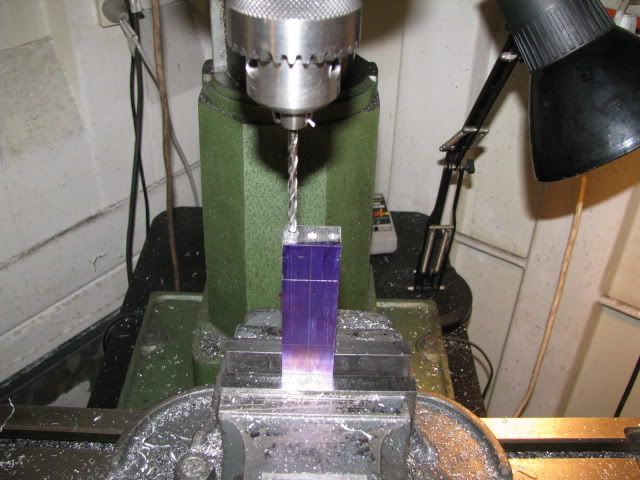
The big end is slitted and splitted.
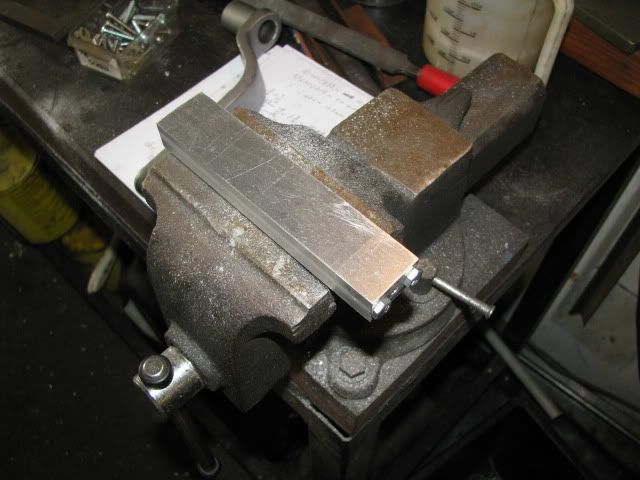
All joined up and ready to start some turning.
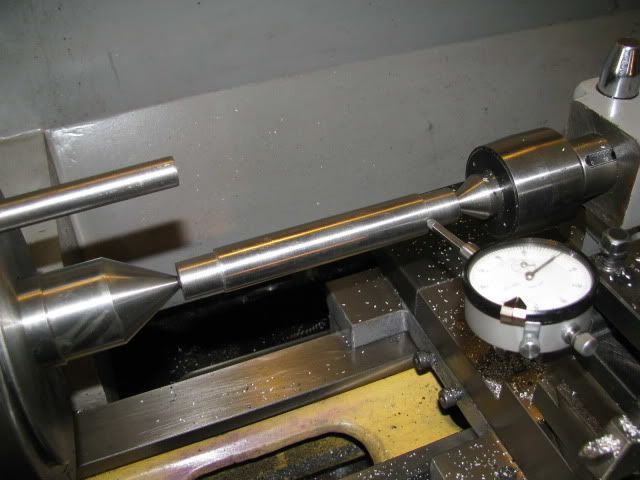
Checking the tailstock alignment with a test bar.
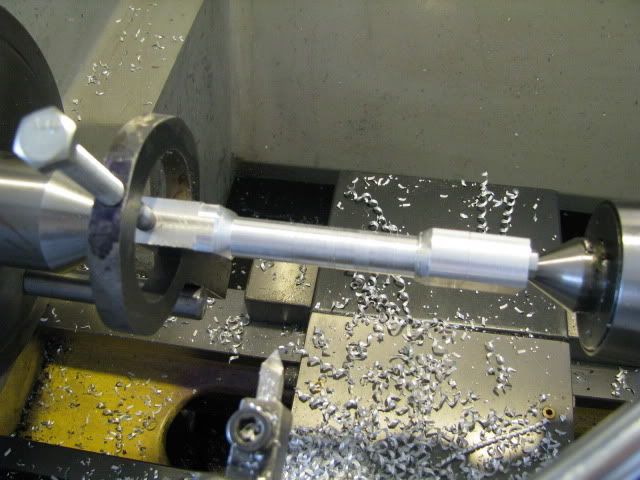
Roughed out and ready for reversing and tapering.
The completed turning .............next................ drilling the big end and gudgeon.
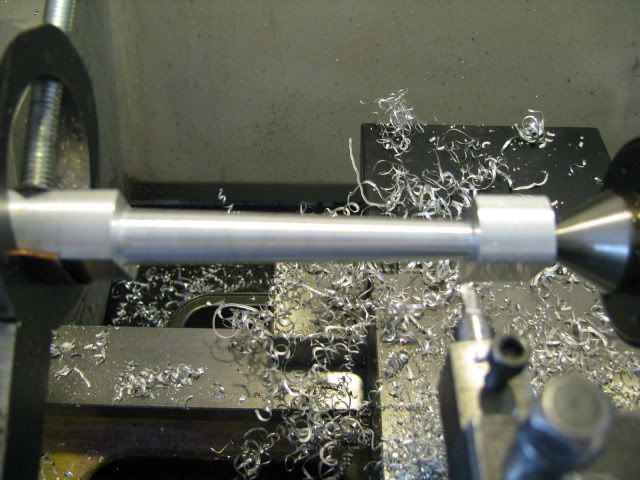
Enough excitement for one day - time to quit whilst I'm ahead.
Best Regards
Bob
That's almost the 1st line of a poem but I better not otherwise Marv will think I'm beyond help. ;D
Anyway, thanks guys for your ongoing support.
SHOP TIME
The conrod is coming along quite nicely.
The holes in one end drilled prior to splitting for the big end.

The big end is slitted and splitted.

All joined up and ready to start some turning.

Checking the tailstock alignment with a test bar.

Roughed out and ready for reversing and tapering.

The completed turning .............next................ drilling the big end and gudgeon.

Enough excitement for one day - time to quit whilst I'm ahead.
Best Regards
Bob
Hey, there he is, and he found his way back to the shop!
I don't know how you do it, Bob. Being so far from your machines, I mean.
I'd get the shakes if mine weren't within walking distance.
Glad you got some more time at it. The crank is looking good!
Dean
I don't know how you do it, Bob. Being so far from your machines, I mean.
I'd get the shakes if mine weren't within walking distance.
Glad you got some more time at it. The crank is looking good!
Dean
arnoldb
Well-Known Member
- Joined
- Apr 8, 2009
- Messages
- 1,792
- Reaction score
- 12
Thats looking very good Bob :bow:
And I like all the home-made tools you're using; the lathe dog, tool bit "holders" and it looks like your slitting saw arbor is home-made as well Thm:
"The big end is slitted and splitted. "
"  :big:
:big:
Kind regards, Arnold
And I like all the home-made tools you're using; the lathe dog, tool bit "holders" and it looks like your slitting saw arbor is home-made as well Thm:
"The big end is slitted and splitted.
Kind regards, Arnold
Maryak
Well-Known Member
- Joined
- Sep 12, 2008
- Messages
- 4,990
- Reaction score
- 77
Deanofid said:I don't know how you do it, Bob. Being so far from your machines, I mean.
I'd get the shakes if mine weren't within walking distance.
Dean,
I know what you mean. I'm think about the 3 "V's" VODKA, VALIUM and VIAGRA. That may stop one shake then again maybe I'll shake all the harder so to speak. :
arnoldb said:And I like all the home-made tools you're using; the lathe dog, tool bit "holders" and it looks like your slitting saw arbor is home-made as well.
Arnold,
Yes my tool holders, (except for the parting tool), lathe dogs etc. are Holme made including some of my milling arbors. The slitting saw and side and face cutter arbor has had a hard life and I'm thinking about a new one with an improved design and maybe a key and keyway. So many things to do and so little time to do them. I'm sort of working on the principle - If it ain't broke don't fix it.
Anyway, thanks to you both for your continued support. :bow: :bow:
I actually made it to the shop again today but managed to put 2 duff batteries in my camera. I have now put them, (the batteries), in the rubbish bin.
I drilled and reamed the conrod bearings and have taken one side down to size. Piccys next week.
Best Regards
Bob
Maryak
Well-Known Member
- Joined
- Sep 12, 2008
- Messages
- 4,990
- Reaction score
- 77
Hi Guys,
Got to the shop early this week as I had a bit of urgent business at that end, (the other end), of town. Good combo business and pleasure. I managed to finish off the machining of the conrod.
Last Friday's effort of one side of the rod.
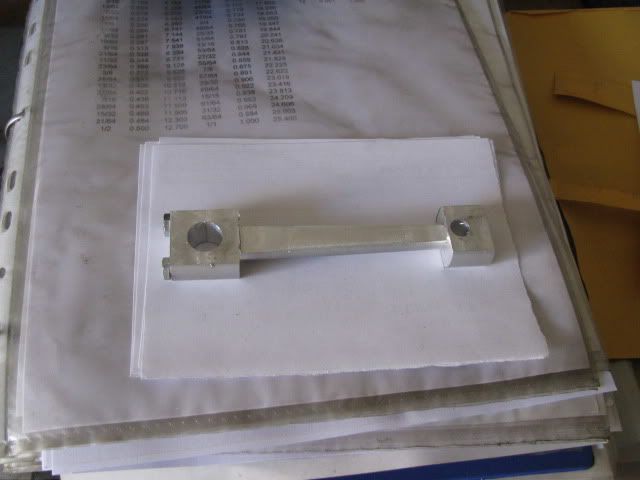
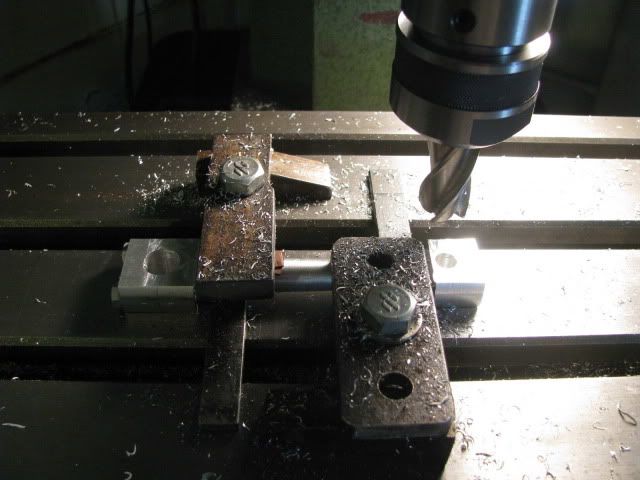
Setup for mlling the big and gudgeon ends.
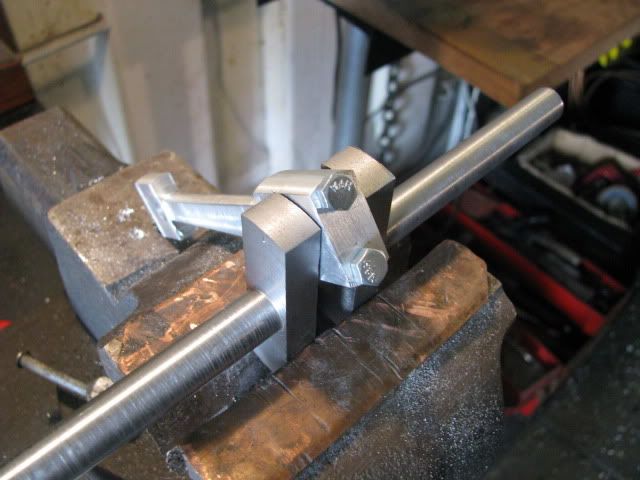
Test fit of the bigend and crankshaft.
Sizing the gudgeon end of the rod.
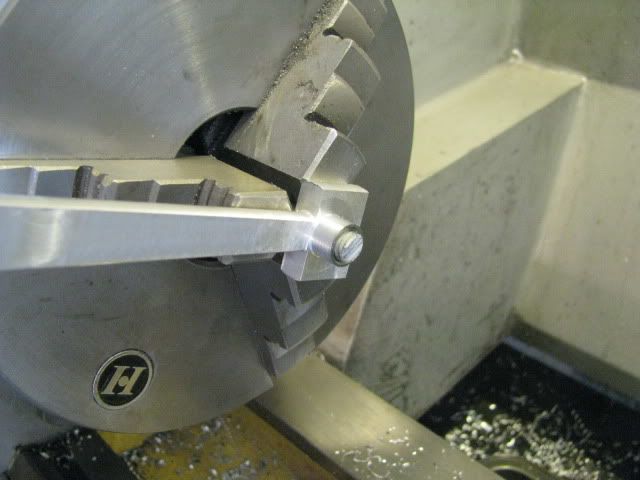
Milling the gudgeon end round to the guide, (machined off nut).
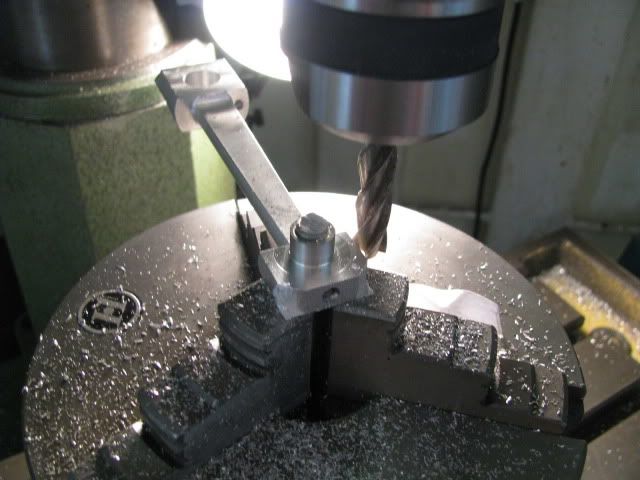
The finished machining - now for my worst part - BLING.
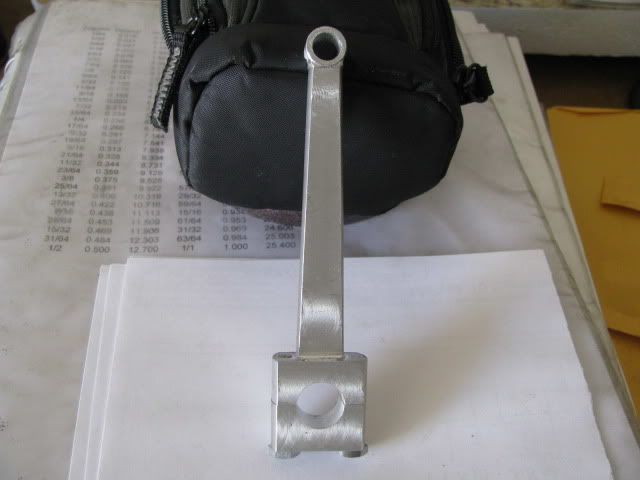
Best Regards
Bob
Got to the shop early this week as I had a bit of urgent business at that end, (the other end), of town. Good combo business and pleasure. I managed to finish off the machining of the conrod.
Last Friday's effort of one side of the rod.

Setup for mlling the big and gudgeon ends.

Test fit of the bigend and crankshaft.

Sizing the gudgeon end of the rod.

Milling the gudgeon end round to the guide, (machined off nut).

The finished machining - now for my worst part - BLING.

Best Regards
Bob
Similar threads
- Replies
- 6
- Views
- 3K


