Hit me - Miss me?

Home Model Engine Machinist Forum

Help Support Home Model Engine Machinist Forum:

This site may earn a commission from merchant affiliate links, including eBay, Amazon, and others.
Thanks Shred Nick and Carl,

Today is air con and central heating installation day. Tomorrow our new furniture for the study arrives - having spent a considerable portion of my life looking like a stevedore at least I'll go out looking like a commodore. I have been admiring the desk for over 12 months now.

Yea I know - pictures will be in the mansion thread.

Best Regards
Bob
 
Hi Guys,

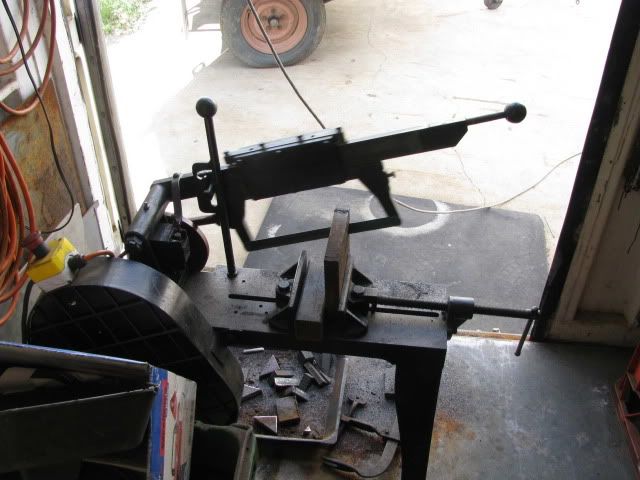
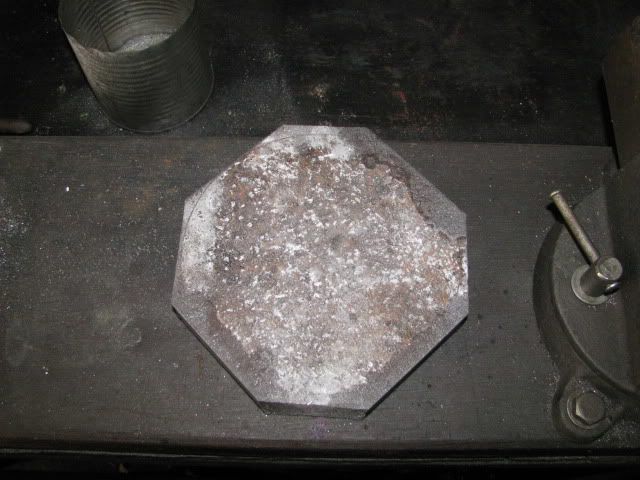
Success................well I obtained a lump of scrap 1" plate. With no oxy available it was quite a challenge to cut 7.5" x 12" x 1" in a 6" power hacksaw down to 5.5" x 5.5" but almost there................naturally I forgot my camera, (which I always keep in the car ::)), so you will just have to imagine the four cuts on 2 sides and some fancy grabbing of the saw arm lifting handle as the last cut broke through on each side.

Best Regards
Bob
 
Hi Guys,

Left home at 0630 ready to hit the shop for a full day. A 1 hour drive to the mantra of "measure twice cut once." ;)

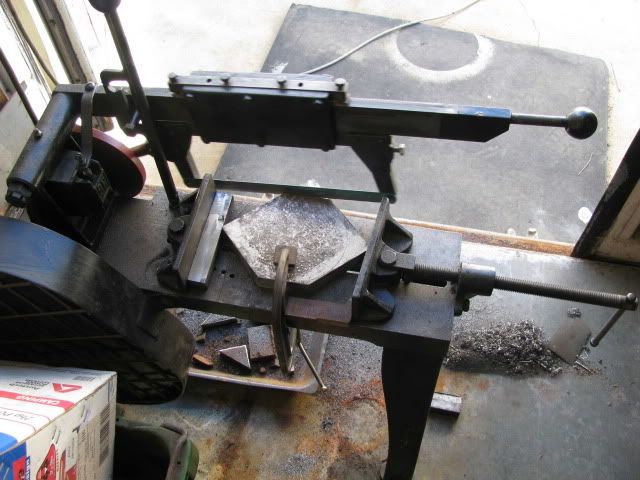
Opened up and re-commenced battle with the oversized metal v the undersized hacksaw.

IMG_1029.jpg


IMG_1030.jpg


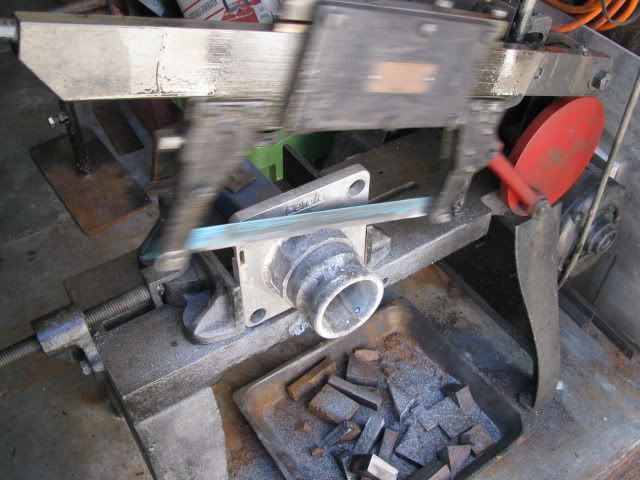
Oh we're so glad your here panic job we need a new camlok to empty a tank please cut out the damaged one and weld in a new one. :mad:

IMG_1031.jpg


IMG_1032.jpg


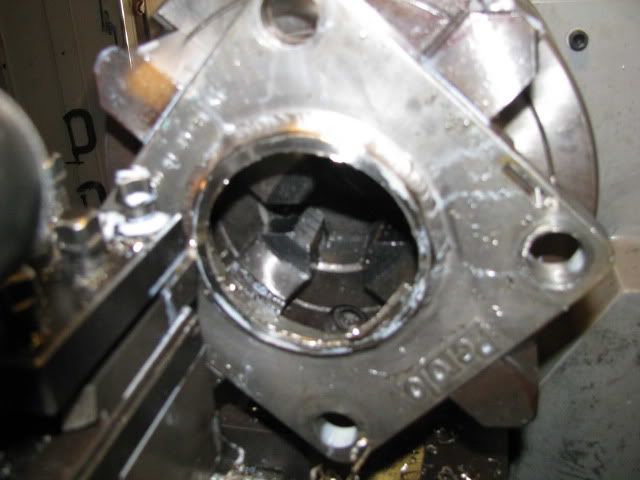
All 316 stainless and the cargo was Hydrochloric Acid - nasty stuff. Still the money was good and very welcome.

Nett result after progress interuptus.

IMG_1033.jpg


Ah well there's always next week.

Best Regards
Bob

 
They call you in the shop, Bob? Man, what kind of people do you hang out with?
: )

Too bad about the interruption, but always good to have paying work.
I miss the times when you used to be able to work on this project every few days! Still hanging in with you.

Dean
 
Thanks Tony and Dean :bow: :bow:

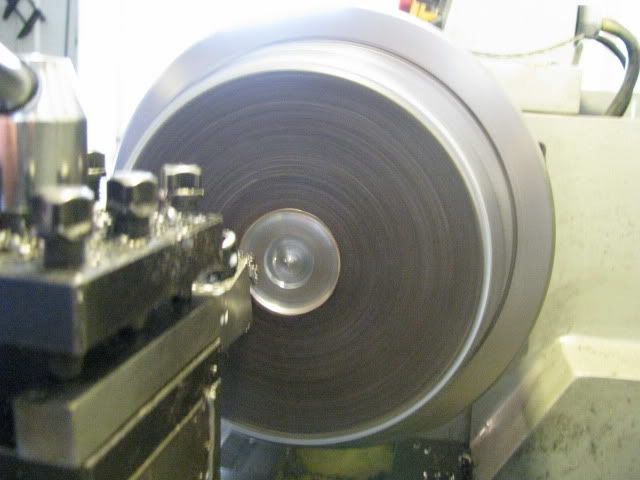
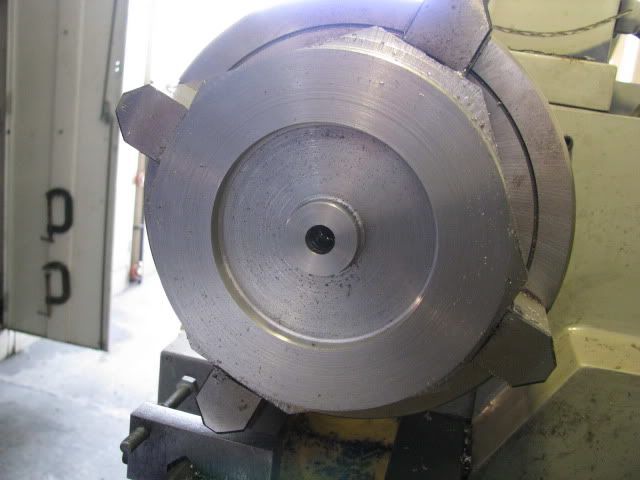
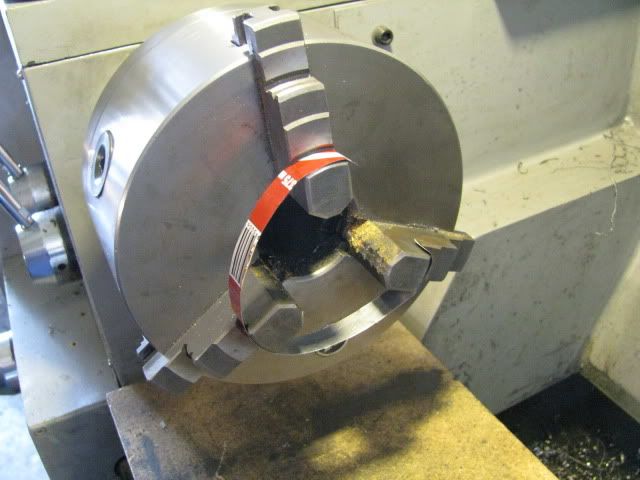
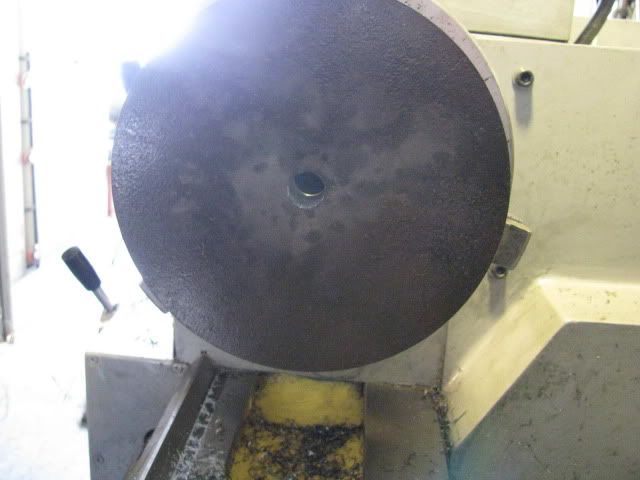
Well did my round trip today and set up flywheel No.3 in the 4 jaw, another interruption to re-band a tanks insulation so when I got to starting the recess in the wheel, I DIDN'T. :eek: After my last stuff up I will do this in one operation and hopefully get it right. ::)

IMG_1037.jpg


IMG_1038.jpg


I'll be Back ;D (after Xmas).

Best Regards
Bob
 
Hi Guys,

Another week and I hope you all had a good Xmas. Ours was very quiet as it turned out. New Year should be a blast - will let you know how I survive.

Took the car for a service today and managed to get a little shop time whilst that was underway.

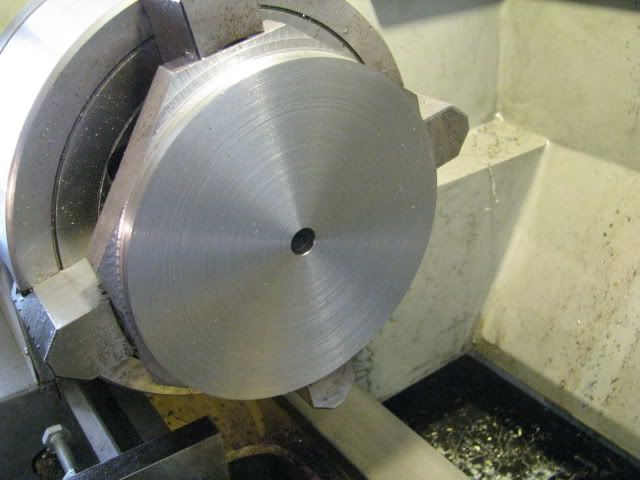
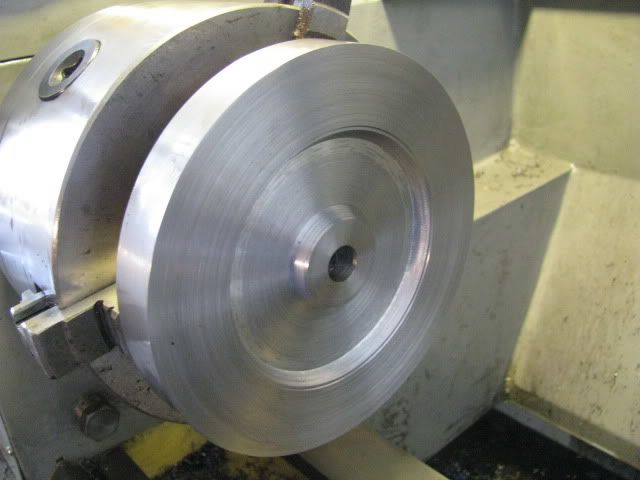
3rd flywheel recessed to depth, (managed to read my depth gauge correctly this time ::)).

IMG_1049.jpg


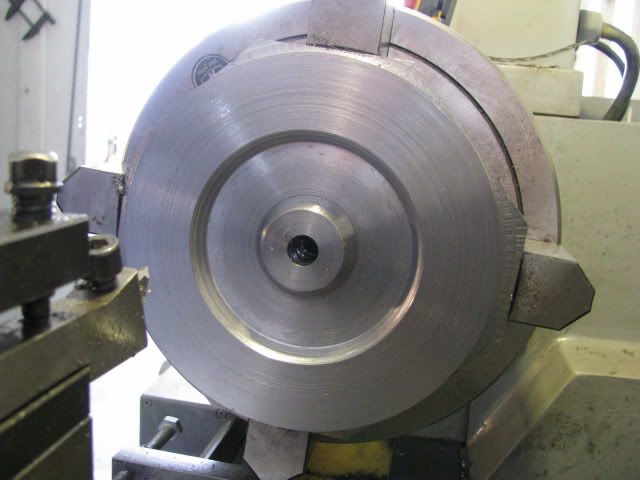
The recess squared off on the inner and outer diameters.

IMG_1050.jpg


See ya in the new year.

Best Regards
Bob
 
Happy for your success, Bob. Glad you could get some shop time!

Dean
 
Bob,

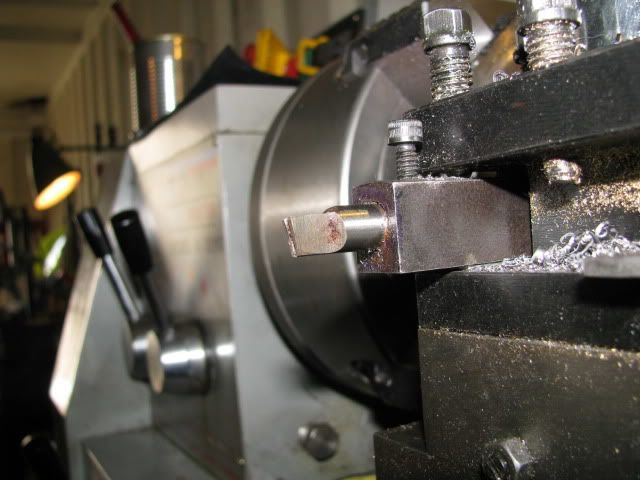
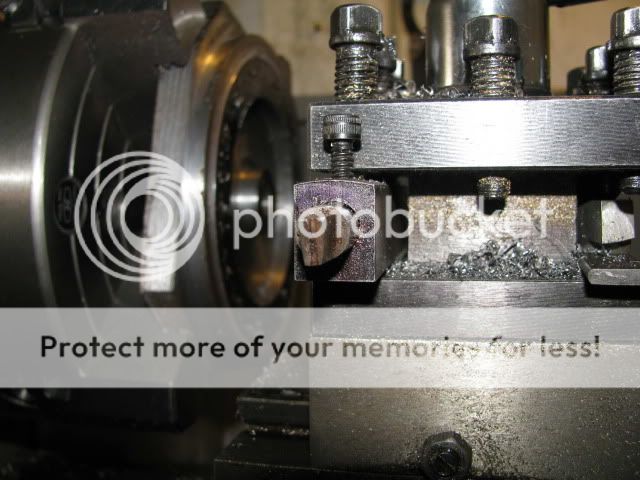
Any special technique or tool used to square off the diameters? That is, did you switch to another tool for that?
 
Wes, Kevin and Dean,

Thanks guys for your continued support and interest. :bow: :bow: :bow:

Zee,

Yes I switched to a round section toolbit in a holder, ground similar to a parting tool. The round section allows the toolbit to be angled permitting it to compensate for the angle of the diameters whilst maintaining rigidity.

IMG_0850.jpg


IMG_0849.jpg


Best Regards
Bob


Good to se you back on the build Bob. Nice work.

Ron
 
glad to see you back Maryak
good work, thanks for sharing
thanks for the trick on the round toolbit too

 
Ron, Dave and Ariz, :bow: :bow: :bow:

Thanks for the support guys and whilst I think of it, Thanks Dave for the info on toolpost grinders, (I don't want to mess up Gail's excellent thread anymore than I already have).

Another day in Sunny SA - that's SA as in South Australia not SA as in South Africa. Our colleagues in the West are having very bad bush fires and in NSW severe flooding. The "Lucky Country" is again having a summer "Ordeal by Fire and Water." :mad:

Oh yes the engine. ::)

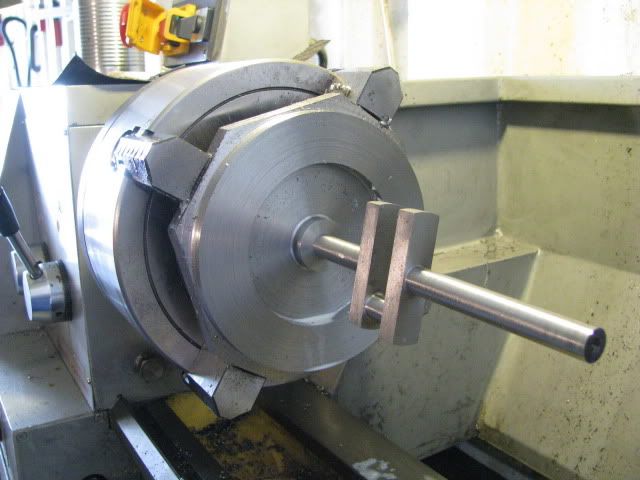
The second, (3rd), flywheel bored to fit the crankshaft.

IMG_1066.jpg


The coke can protector for the chuck jaws to finish turning the flywheels.

IMG_1067.jpg


Flywheel 1. sized for diameter.

IMG_1068.jpg


Ready to square off side 2 recess and then the turning part of making the wheel is complete.

IMG_1069.jpg


Best Regards
Bob

 
Nice work Bob, this thing is huge, we'll be able to hear it over here when it starts up! :big:
 
It's good to see you back Bob. That's a good tip on the toolbit. I never thought of that. I have quite a few pieces of carbide from broken end mills. They would work great for that purpose.
gbritnell
 
No Worries Mate! Hope their handy,

Nice flywheel blank there.....spoked or not spoked?

Dave
 
gbritnell said:
It's good to see you back Bob. That's a good tip on the toolbit. I never thought of that. I have quite a few pieces of carbide from broken end mills. They would work great for that purpose.
gbritnell

George,

Thanks for your support. :bow:

It's an old trick for turning large square threads, which allows for the helix angle of the thread, permitting the tool to go to depth.

Dave,

Thanks again. :bow: Spoked - 6 from memory and one of the wheels carries the governor weights with the forks through a spoke, (I'm winging this as the drawings are 60 km away ::))

Best Regards
Bob
 

Latest posts

Back
Top