British 0-4-0 Toy Locomotive: he said

Home Model Engine Machinist Forum

Help Support Home Model Engine Machinist Forum:

This site may earn a commission from merchant affiliate links, including eBay, Amazon, and others.
Reread my treatise on centering in the 4jaw. It's another thing you have to waste time learning so that you don't spend a lot of time wasting time. (Now, there's a sentence of which any grammarian would be proud.)

If the process of removing the residue of boiler #1 leaves the end cap slightly oversize, you can flare the end of boiler #2 slightly by driving in a sized bung made of aluminum or hard wood.

Won't the bushings ventilate the boiler interior themselves? They have holes in them, nicht wahr? Regardless, you can soft solder the stud. The exterior of the boiler will never reach 400 degF.
 
Oh yes...centering the 4jaw. I've gotten good okay with that...still...

As for flaring the boiler...well now we're talking about making a tool (and that's not what I mean) and possibly learning how not to do it (the flaring). ;D

This just seems to be going off-track from what I'm trying to accomplish. I understand I need to learn these things...I just don't want to right now.

I'd like to finish this by the time I have some visitors in a few weeks. So I'm more inclined to do things that I feel represent the lowest risk or the greatest chance of success.

Not that I'm saying the suggestions should stop...they're very interesting and worthwhile to me and I'm sure others.

As for the ventilation...if you recall the jig I made to hold the bushing...it uses a 1/4-28 bolt to hold the bushing in place. Doing one at a time would leave the other hole available for venting. But I'm thinking of doing both at once...that means both bushings will be 'plugged' by a 1/4-28 bolt. The end sheets will have been soldered in place before that. So where does the heated boiler air go? Having the stud hole would be an advantage.

Now to get the credit card out...I have some ideas for the next project but no idea of what material is needed...so I'm just going to have to get the minimal stuff.

Thanks Marv!

 
Drill a hole through the center of the bolt axially, that would then allow the heated air to vent. Or did I miss something in the translations?

BC1
Jim
 
bearcar1 said:
Drill a hole through the center of the bolt axially, that would then allow the heated air to vent. Or did I miss something in the translations?

Hadn't thought of that. Can I? It's a socket head cap screw. Are they soft enough to drill?

And yes...I could answer that myself by trying it...but gee.
 
A real nice guy is helping me decide what other material to get when I order my 1" piece of 1 3/8 brass.

In the meantime I'm tempting fate and cleaning shop.
Or just tempting fate.
Or just moving things around.

Nah...I'm going to bed.
 
Zee

That's OK. That just shows that you go back the next day and reread the posts to see if you missed or miss interpreted anything.

I have been following along for 500+ posts or so. Just don't say a lot but read most all.

Keep plugging away and it will all come together when it is ready.

Cheers :)

Don

 
Uh oh, not the Zeepster Eye!!!! :big: :big: :big:

BC1
Jim

normal_The Zeepster Eye.jpg
 
:big:

Wrong eye Jim. It's the other one.

---------------------------------

It would be silly not to give Marv's suggestion a try. So this weekend I will hack off the end sheet from boiler #1 and see if I can machine it for boiler #2.

Maybe we shouldn't name them #1 and #2.
Implies the possibility of a #3. ;D
 
Now I'm really confused. :shrug: :wall: Rof}
 
:big:

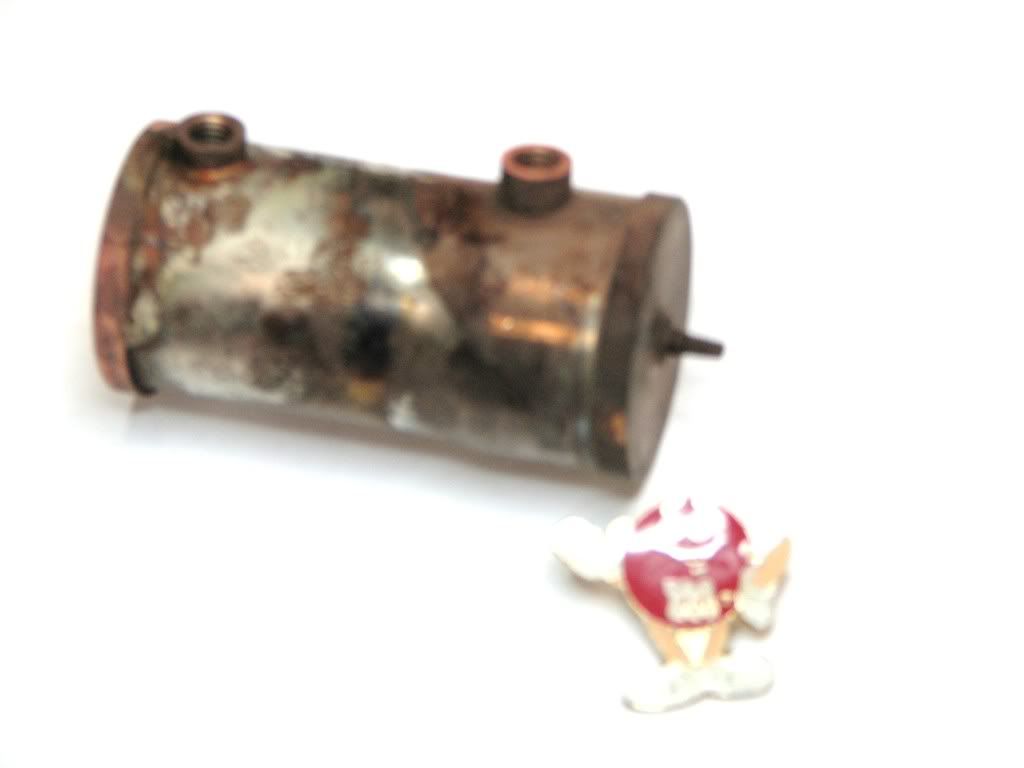
Here's some pics of 'that other' boiler...

Sorry the pics are so bad...they looked good in the finder...
Ever since she stole my camera...gosh darn it...
Anyway...

The original...note the glob of solder...
e15a83cc.jpg


You can also see how crappy the bushings line up. Well that's after the 3rd try...I'm not surprised they're off.

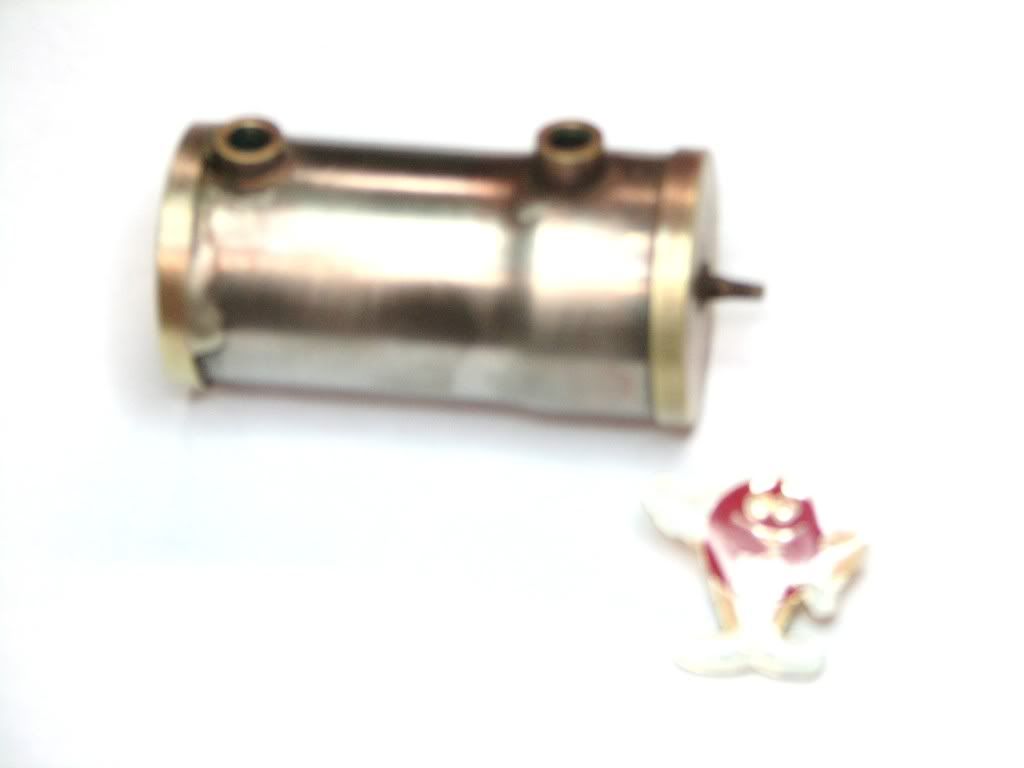
Just to see...I took a Scotchbrite and a little sandpaper to it...
5d61360a.jpg


So they either used soft solder and was able to clean up easily...or they lied.

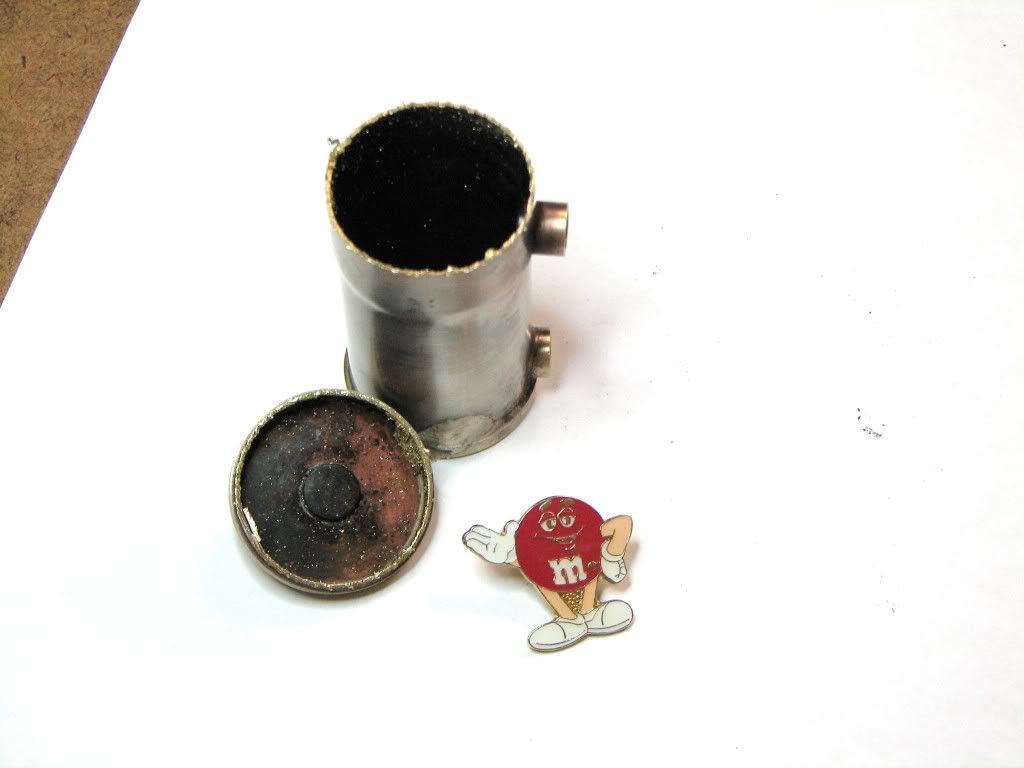
Decapped...
a57dd83b.jpg


You can also see how the bushings ended up. They're supposed to be at the same height.

But I don't apologize to anyone! I wielded fire! I may not have won...but I didn't lose.

Aw okay...it's pretty lousy. I'll take any opportunity to say 'ta-daaaa'.

This post is for all newbies.."You too can be a machinist..."

I crack myself up sometimes.
Not a good thing. The looks I get...
 
Well Zee, look at it this way; With the end cut off, you have a fine opportunity to check
out the flow of your solder.
And, the shined up "other one" doesn't look bad, I think. This particular camera work
is a teensy deceiving, maybe..

Dean
 
Zee,
It's a fair bet that the display model they show doesn't even function. It was probably put together with super glue. It's all show and no go.
 
;D

That looks like the work I was doing AFTER I had a few years of practice. You are doing well enough (in my opinion)to ease up on the hard time you are giving yourself.

At least the solder is sticking to the metal! 8) When I first began, I tried a half dozen times before I discovered that I was using axle grease instead of flux. It was in my dad's tool box, and for some reason he had put grease in the tin can that used to have flux in it. So I grabbed up the torch and the little roll of solder and applied a little flux. It just balled up and rolled off, so, I put on a BIG blob and turned up the torch and quickly dropped it all and started throwing dirt on the massive grease fire on the floor of the family garage. :-\

So, uh, like I said. You doing good!
I'll fade back into the shadows now,
Kermit


Thanks Dean and Kevin.

Well I couldn't wait...
So I chucked it up. Used a spacer I'd made some time ago. It was wonderful.
Centered it on the 4-jaw. It was wonderful.
Started turning. It was wonderful.
Probably the best finish anyone has ever seen.
You couldn't pay someone enough to have that kind of finish.
I mean it was a wonderful job. Beautiful.
You can't imagine how happy I was with this turning.
I can't even show you. It would be too intimidating.

Just knowing it was me was probably enough for you to know where this went. ;D

I was waiting for the boiler piece to go away. It never did.
It didn't occur to me that it was hanging on by the solder on the lip of the end sheet.
The result being a bigger diameter than the boiler. Way bigger. But what a finish.

Tomorrow I place an order for brass.

Thanks Marv for the suggestion. Had I taken it a little more carefully and slowly, in particular with more size checks, I think it would have been successful. The learning experience was well worth it. And Dean, you're right...it was interesting seeing the soldering on the inside of the boiler. Not bad!

Kermit..you posted while I was writing this. That's a great story. Classic. And thanks.

P.S. I can't help but give myself a hard time. Mom trained me well. That training got me 'T'. No complaints.
 

Latest posts

Back
Top