British 0-4-0 Toy Locomotive: he said

Home Model Engine Machinist Forum

Help Support Home Model Engine Machinist Forum:

This site may earn a commission from merchant affiliate links, including eBay, Amazon, and others.
mklotz said:
I can't encourage you enough to practice soldering with a torch but there's no reason to make it unduly hard for yourself.
Get or make a small, smooth anvil

Zee a piece of railway line makes a great small anvil, (removing same from a working track is not a good idea ::)).

Almost forgot - nice collection of parts. :bow:

Best Regards
Bob
 
Wow. What a great set of replies. Thanks Dean, Marv, Kermit, and Bob.

Dean...thanks...I was wondering about bits or strips of solder. My plan of experimenting has gotten larger.

Marv...'grok'...I had to look that one up...coined by Heinlein! "Stranger in a Strange Land". It's been years and years since I read that. A Martian word at that! Well that gives me yet another perspective on you.

Good advice on the types of joints to practice. Thanks. I was thinking along similar lines when I was reading Stew's boiler thread.

Thanks Kermit for the description of what to expect when hammering the solder. That's very helpful.

Bob...interesting...I've seen small lengths (a few inches) of track...now I'm trying to remember where. I think it was a friend...I could have stolen bought begged for it.

Well...don't get too anxious. I'm anxious enough. I have 4 more parts to make...and then some fixtures...and then I can embark on the 'adventure'.

Thanks again everyone.
 
zeeprogrammer said:
Thanks Kermit for the description of what to expect when hammering the solder. That's very helpful.

Bob...interesting...I've seen small lengths (a few inches) of track...now I'm trying to remember where. I think it was a friend...I could have stolen bought begged for it.

Zee

Do this the easy way .Take about 12" of your hard solder wire and a roll of duct tape and go for a drive and find a railway track. When no one is looking take the wire solder and lay it on the center of the rail and tape it down with a piece of duct tape from end to end. Now go home and have a martini or whatever. Go back tomorrow or after the train has gone thru and collect you piece of solder. It should now be 1/4 to 1/2" wide depending on the weight and number of rail cars that ran over it. Sure beats swinging a hammer and you don't have to try and drag 6 feet of rail home.

Cheers :)

Don
 
HEY that works wonders on a penny as well.

The only trouble was locating the penny afterwards. :big:
 
Hi Zee, here's yet *another* ::) suggestion for you regarding the flattening out of your solder. Go to a jeweler in the area, or call, and ask them if they could/would be willing to do it for you. They have a roll and could set it up to do what you ask, whether it be reduce the diameter or flatten it into a ribbon, one would be amazed what they can do to a piece of metal. Of course some small *ahem* bribe token of appreciation might go a long way in helping persuade them, you know, like a full bag of M&Ms :big: That is of course if they make it to the store. ;D

Just an idea. Best of luck, oh, and be safe if you find yourself out and about walking the rails in search of short pieces of track, many people get hit and killed/injured every year by not paying attention and a train rolls through. That and you would be trespassing as rail right of ways are privately owned property.

BC1
Jim
 
While a good anvil, conventional or ex-RR rail, is a valuable addition to any shop, you don't need anything that ponderous to flatten silver solder. A small chunk of 3/4 or 1" steel plate will work just fine and be a good bit easier to store and manipulate. Being unhardened, it won't last forever but, when totally munged it can be surfaced on the mill and restored to life. Drill a 1/2" hardie hole halfway through and you can mount all sorts of home-made hardie tools for doing miniature forging tasks.

More useful to me than a large anvil is what jewelers call a "bench block". Mine came from Micro-Mark...

http://www.micromark.com/TOOLMAKERS-BENCH-BLOCK,7597.html

It isn't obvious from the photo but the underside is hollow, i.e., the thing resembles an upside down, heavy-walled, cylindrical steel cup. This is a distinct advantage when using it to support a part while driving out a pin through one of the holes. Once freed, the pin is trapped in the well formed by the underside and doesn't fly across the room, never to be seen again.
 
Thanks Don, Kermit, Jim, and Marv. Some good suggestions...
and some I won't follow. :big:

Worked on the bottom part of the fuel tank today.

Success! ...of a sort.
And a surprise at the end!...but not for some of you. ;D

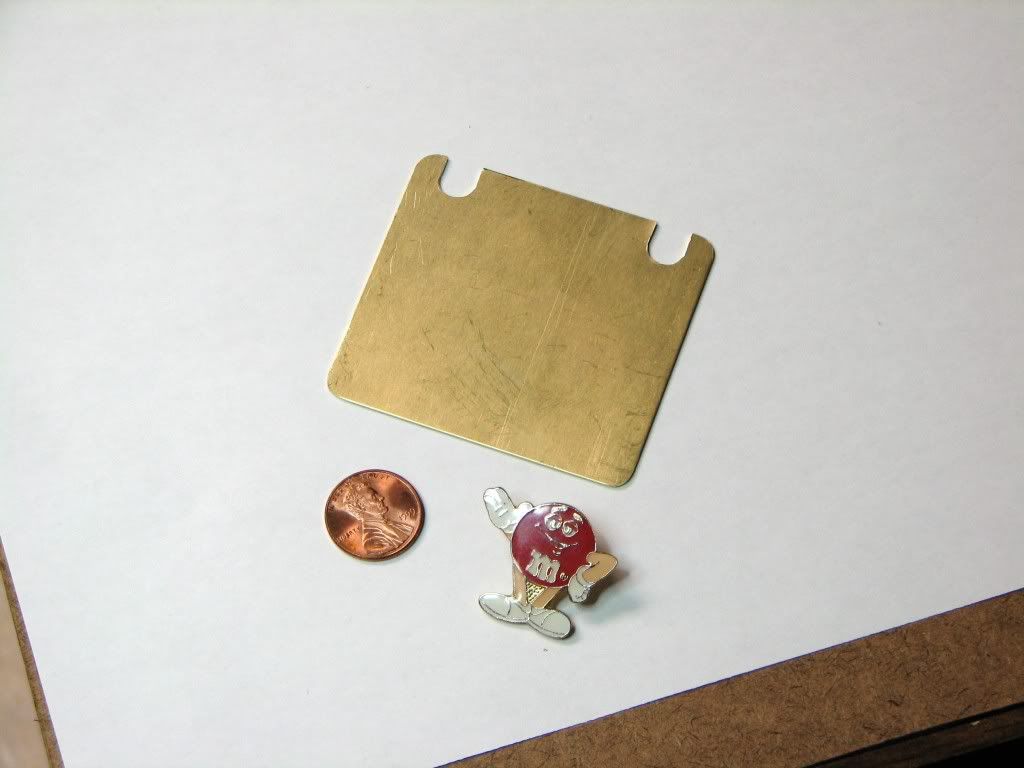
Took the recently purchased 4x10 sheet of 0.032 brass and chopped off a piece for trimming to 2.31 x 2.50. (Remember that. 2.31 x 2.50.)

Earlier post showed how I did that. When finished I removed it and measured. 2.31 x 2.50. yep. right on.

Marked where the slots would be and drilled and filed them. I think there was a better way to do that. I had the sheet in the vise with some support...but still, I had to be careful lest the sheet buckled or rotated. I probably should have clamped on scrap and drill through into that. Then milled the slots. That or wait for a 9/32 end mill. Anyway...here it is...

76683733.jpg


See those slots? Perfectly measured. (There's a hint for you.)

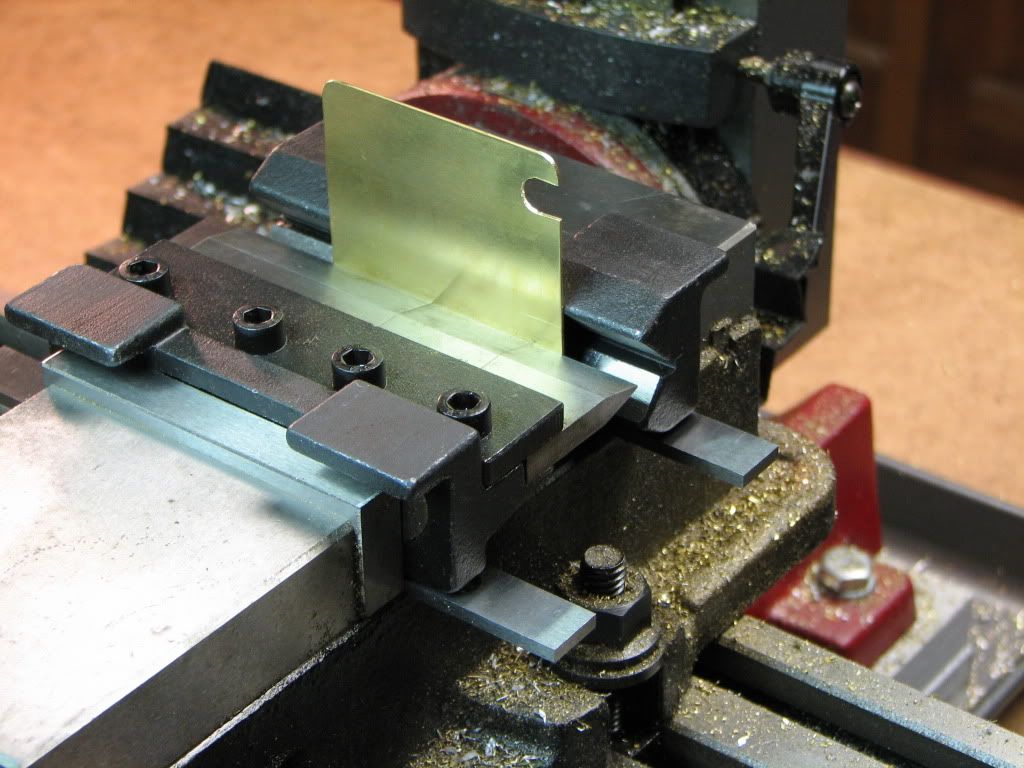
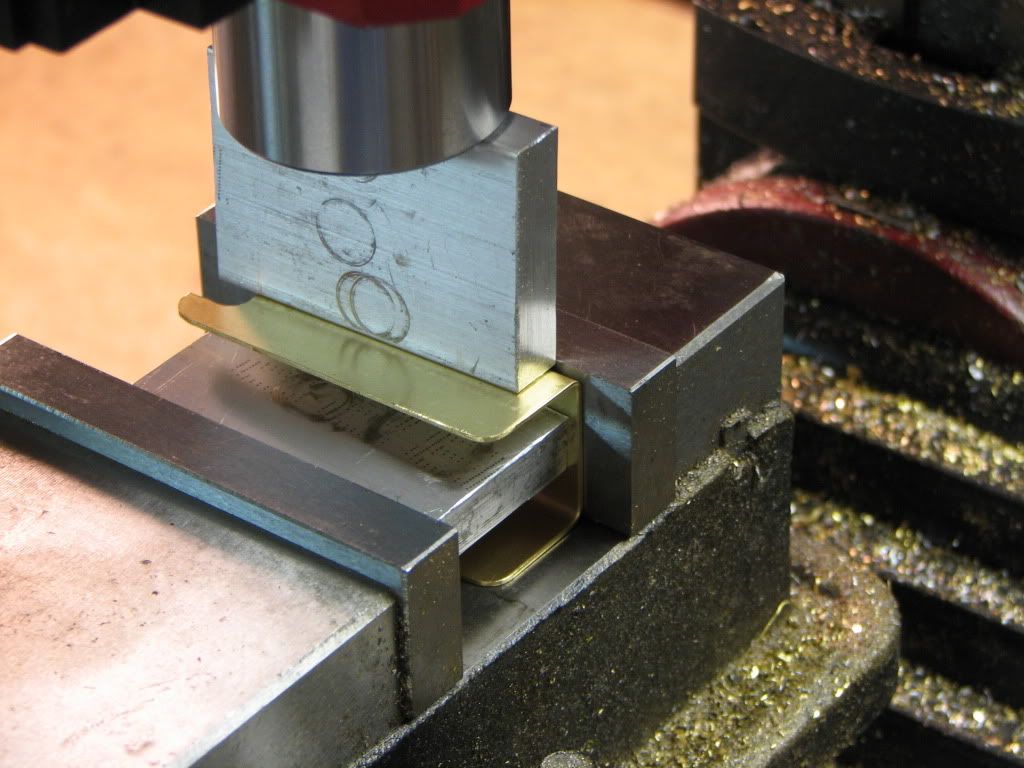
Now for bending. I bought the brake from Micro-Mark that Marv had suggested. It uses magnets to clamp to the vise. Too low so I shimmed up from beneath. A parallel and some measuring gauges.

8bead728.jpg


Here's the first bend...

23ea03c4.jpg


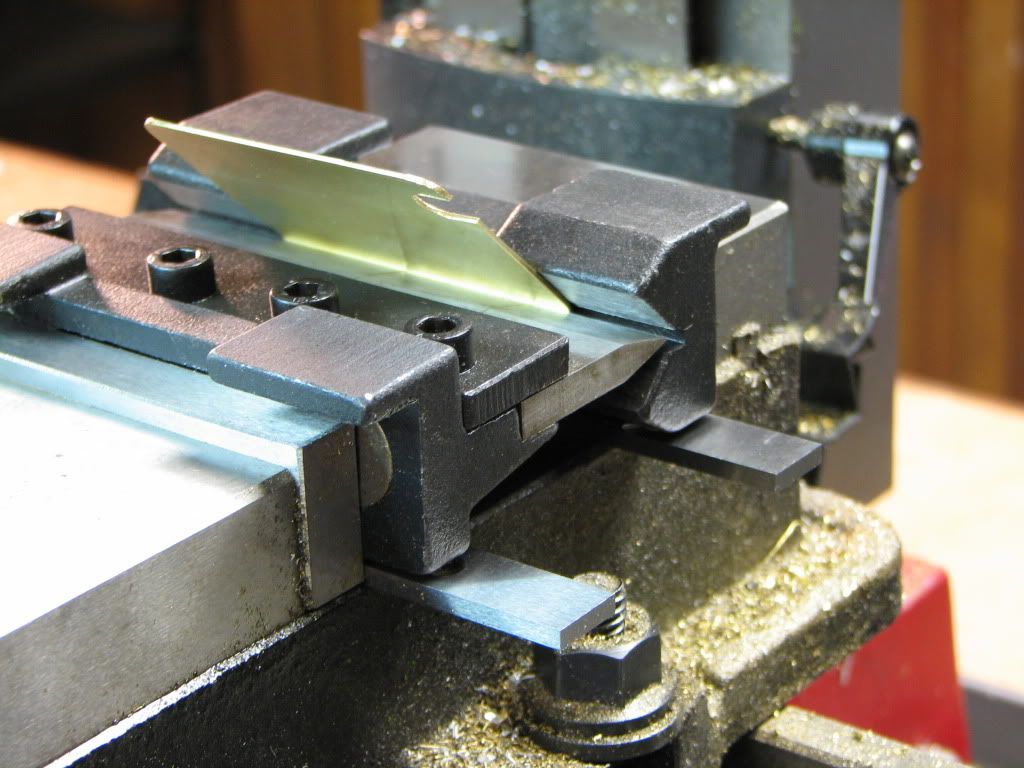
Then I rotated the thing and did the other side. I went too far though and the outer edge hit the top of the vise and bent the middle a little. I figured I'd be able to correct it.

d673fa89.jpg


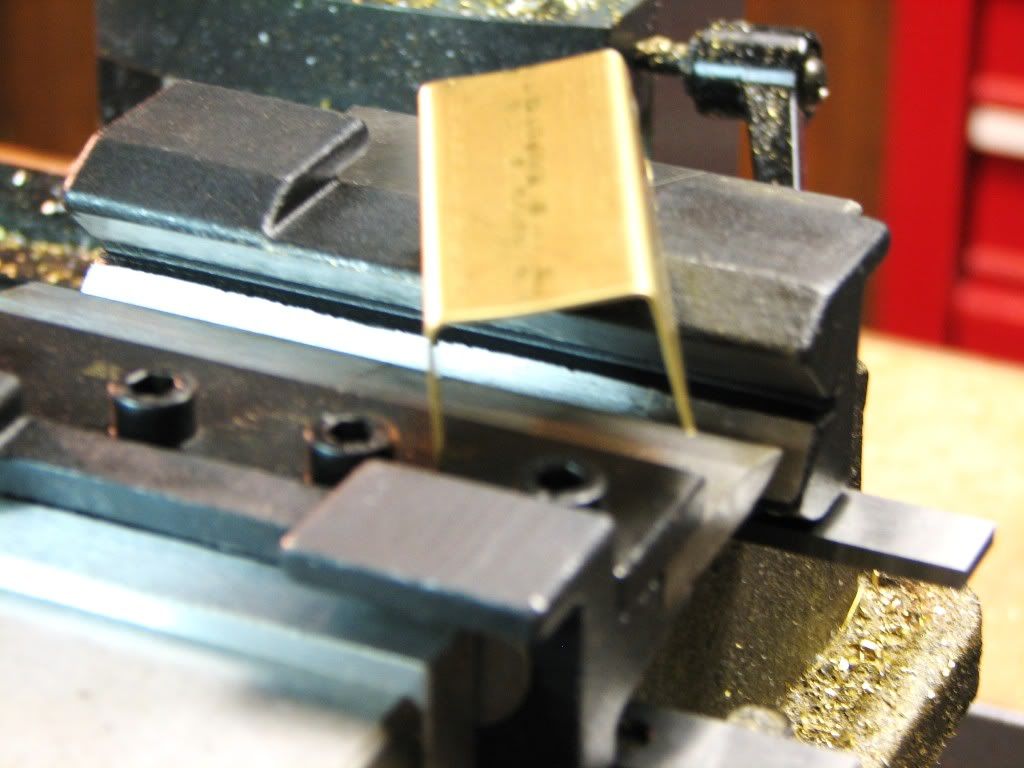
To complete the bend I did the following...(this is all according to the instructions that came with the kit...I wouldn't have known how to do this)...

22ab5526.jpg


And here it is...a beautiful thing in my eyes...

2752cca2.jpg


Does it fit the loco?

c64fd673.jpg


Wow!

Wait.

Noooooooooooooooooooooooooooooooooooooo!!!

It's supposed to fit inside the frames. I put the slots along the wrong edge.

Let's apply some salt and measure how well I screwed up...

In order for the tank to fit the outside instead of the inside of the frames, the middle of the tank needs to be wider by twice the thickness of the sheet plus twice the thickness of the frame.

2*(.032 + .0625) = .189

2.5 - 2.31 = 0.19

I'm within a thou. A perfect fit. I know my government would buy that.

:big: :big: :big:

It's Friday. I ain't waiting for 5 o'clock. ;D
My rule is to celebrate both the successes and the failures. I like to celebrate.

Oh yeah...and 'rats'.
 
Rof} Rof} I'm not laughing AT you Zee; I'm laughing WITH you Rof} Rof}

That's a bummer; had my own one today, and laughing it off is the best. Some liquid high in alcoholic content helps at the end of the day -I'll join you on one *beer* ;D

Tomorrow's another day Thm:

Kind regards, Arnold
 
Zee, great job bending the brass accurately. :bow:

Is't it........ yeah I think it is Saturday, or at least in the Central Time Zone :big:.

Kel
 
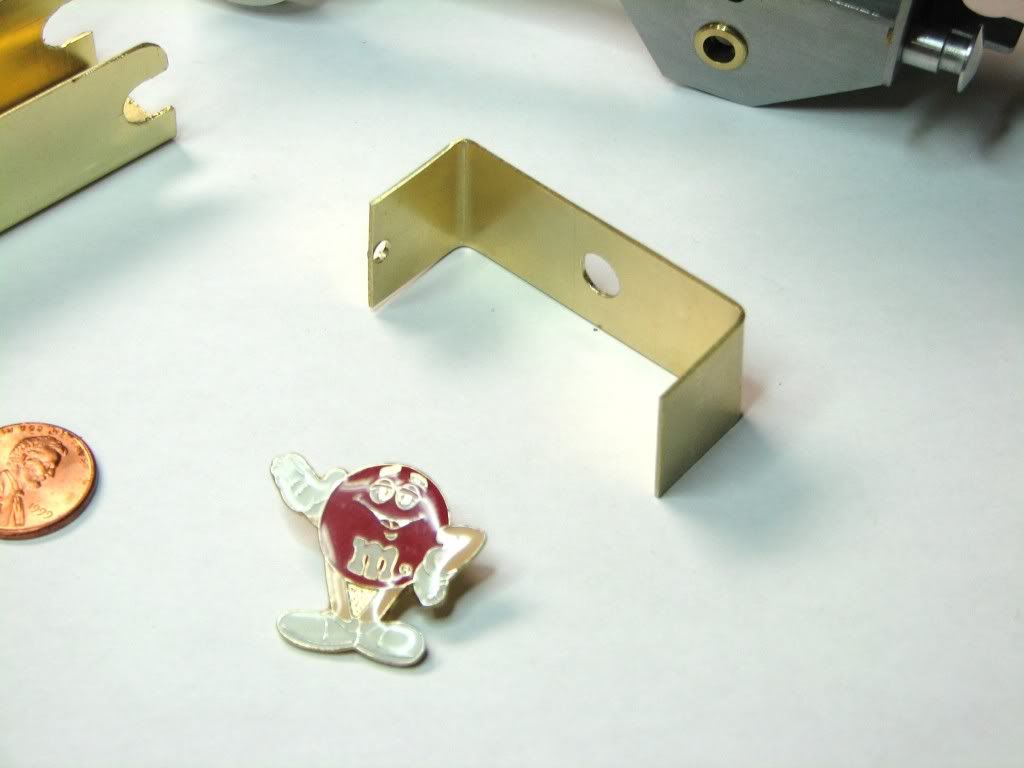
Damn, that's the prettiest silver soldering practice coupon I've ever seen.

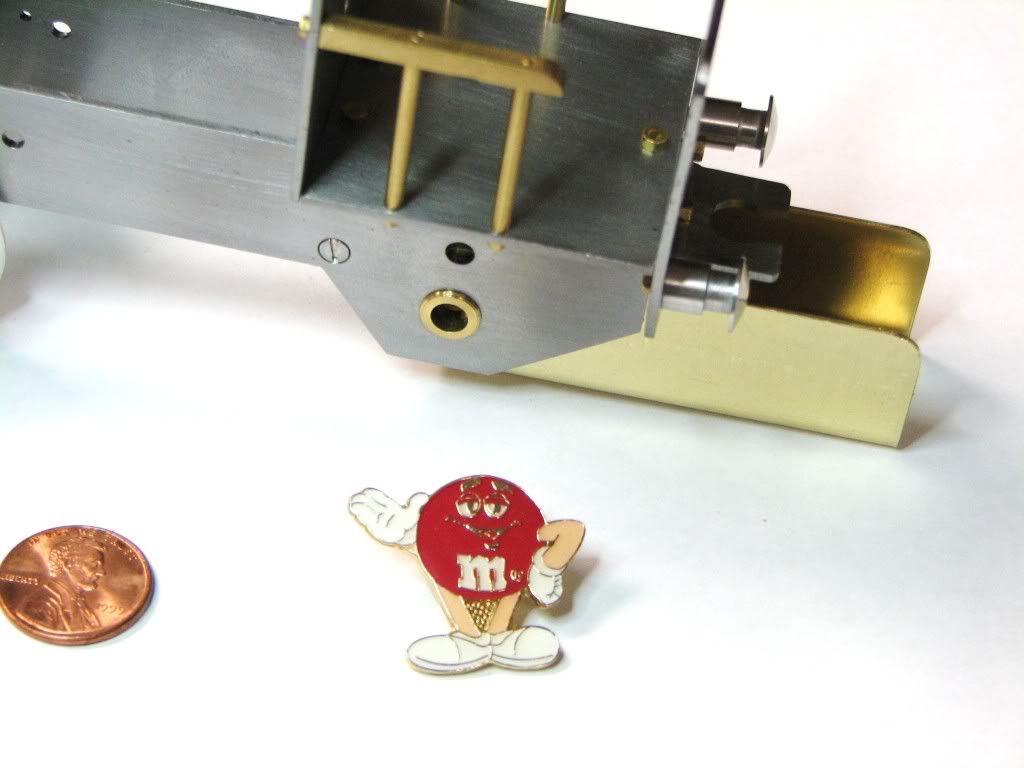
Maybe you can solder a handle on it and make a nice little M&M scoop out of it.

What's that? Oh, you wanted sympathy. In that case...

[ame]http://www.youtube.com/watch?v=V3FnpaWQJO0[/ame]
 
Thanks ttrikalin. (I can't call you 't'...that's my wife's moniker. Teresa. Her family calls her 'tt' but I shortened it. No sense wasting time. IF you know what I mean.)

Arnold...thanks. I did see your post. I couldn't come up with anything meaningful to say. I'm just impressed with the work you do.

kel...oh crap! I think I'm more embarrassed about getting the day of the week wrong. I'm not embarrassed at all about the screw-up. That's just a sign of inexperience (that's right...inexperience). But getting the day wrong is...is...what do you call it...darn if I can remember now...it was just yesterday...man it sucks to get old.

Marv...Gilda...nice touch. I know you're older than me but your soul isn't. And yes...that part will be used.
 
zeeprogrammer said:
I think I'm more embarrassed about getting the day of the week wrong. I'm not embarrassed at all about the screw-up. That's just a sign of inexperience (that's right...inexperience). But getting the day wrong is...is...what do you call it...darn if I can remember now...it was just yesterday...man it sucks to get old.

Don't feel bad, After reading It, I thought it was Friday, and had to double check my measurements. (I usually dont work Saturday, but today I did, and I was off my standard schedule) It feels like Friday, but no, I have to work tomorrow, Sunday, darn. I will just pretend its Friday all weekend.

Kel
 
I know you're older than me but your soul isn't.

Too right! When the sense of humor goes, it's time to set up the rocking chair on the porch. I'll be 70 next year and, I swear, I don't feel a day over 85.

You could bend that brass into a snazzy clip, mount it on an oiled walnut base and use it to hold a card on which is writ, in large letters...

Mark all the assymetries
on the part
with a Sharpie
before cutting metal,
Dummy.

(last line optional)

My card like that says...

Check the algorithm
at ALL the parameter
extrema,
Doofus
 
Thanks kel. Sorry if messed up your day. :big:

Marv...dummy...doofus...doof...goof... 't' calls me 'idiot' or 'turd'...they all fit (me) at one point or another...as well as many others that I won't mention here. ;D

Well...instead of the celebratory drink...I took a swim and spa with 't'. But only because she interrupted me as I headed for the fridge.

After which...

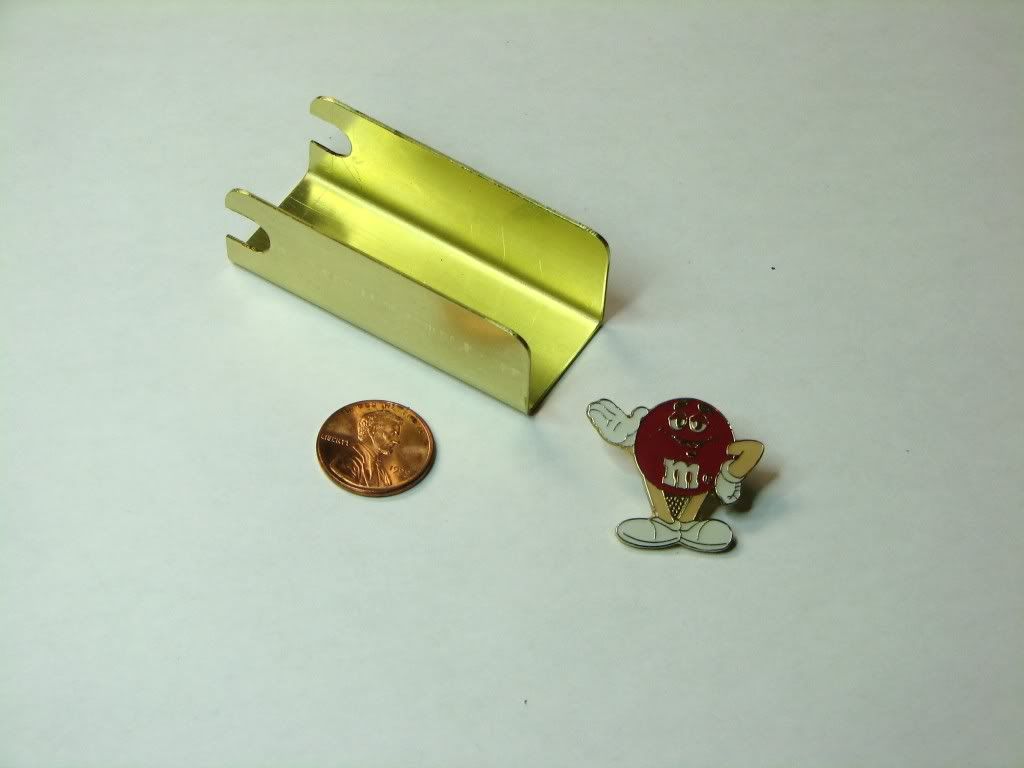
8f1fa41a.jpg


Sort of looks similar? But it ain't...

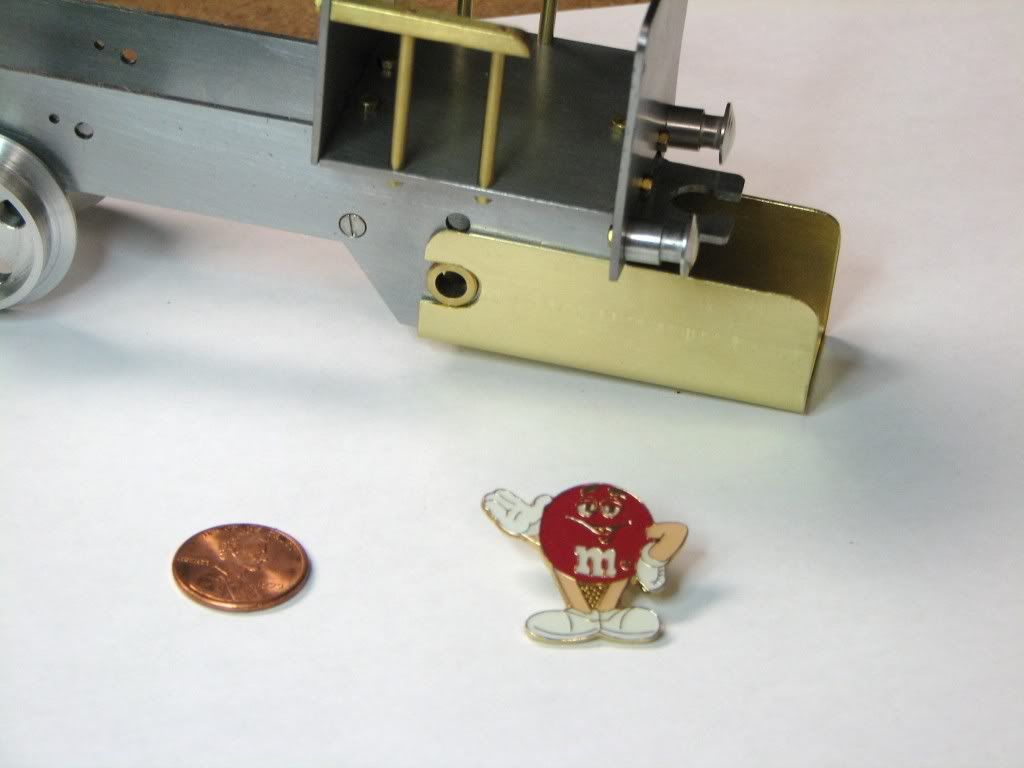
0f1331fc.jpg


NOW I'll have that celebratory drink...but for success.

Thanks for watching everyone.

Oh..this time I drilled into scrap material and sure 'nuff...a lot less clean up.
 
Oh! This is such happy news after going to a wedding. Good for you, Zee. The correct one is just as pretty as the first one, and it even fits! What a bonus.

Enjoy the rest of your (Satur)day!

Dean
 
Zee,
Looking good! I'm looking forward to the next step.
Dennis
 
Thanks Dean and Dennis. Very much appreciated.

Kept going...

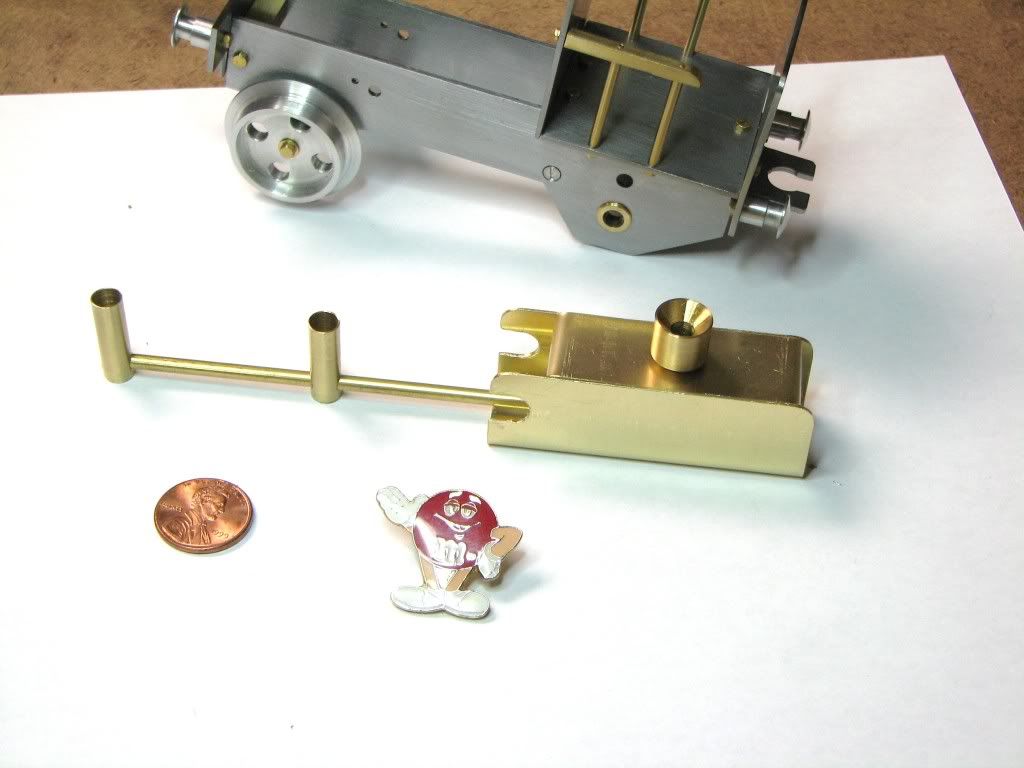
Here's the top of the fuel tank...same process as the bottom...

7eee0325.jpg


This is what it looks like when put together...

c8167919.jpg


The left end of the top is a little high but that's because I haven't rounded the corners at the bottom yet. Also, I haven't trimmed the .125 tube yet so it's long.

AND NOW I'LL HAVE THAT CELEBRATORY DRINK. YAY!

Happy Memorial Day everyone.
And many many thanks to those that have served.
 
Z, you have gotten quite a bit done today, including the *ahem* interruption from the mrs. Well done. The parts I tank parts I mean .. :big:

BC1
Jim
 
Thats got to be the most accurately made meths burner I've ever seen.
Most of mine are first measured with just a ruler or even just the 'squint one eye' method.
You folding also looks more professional that mine.

Have you got the wick material for the burner yet?
The best material to use I've found is the fibreglass rope that is used to seal slow combustion fire place doors.
You can find it on ebay.
 

Latest posts

Back
Top