British 0-4-0 Toy Locomotive: he said

Home Model Engine Machinist Forum

Help Support Home Model Engine Machinist Forum:

This site may earn a commission from merchant affiliate links, including eBay, Amazon, and others.
Not a lot to show. I spent most of the weekend replacing our whole house fan and adding a wall switch for it. After finishing I had a choice...pay the bills or get some machining done. My debt increases.

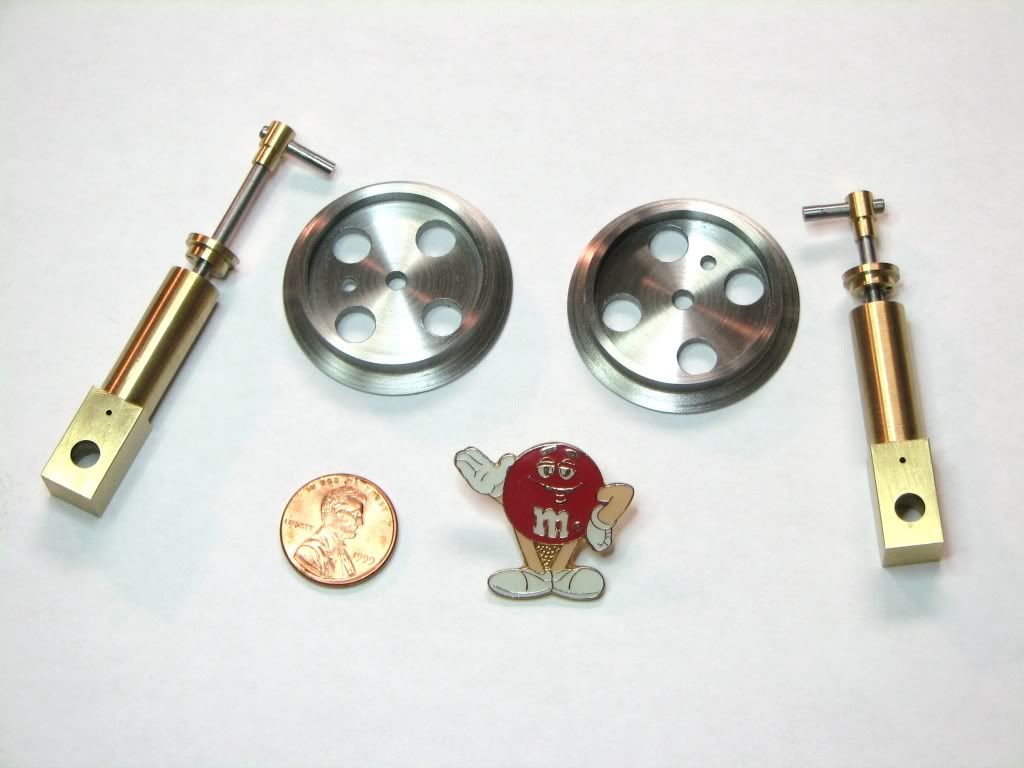
Finished the crank pins. I just need to press them into the drive wheels.

922915c4.jpg


A few posts back I mentioned my first attempt and how I took a little off the crank pin and the pin easily rotated in the wheel. I'm starting to suspect that I mistakenly put the pin in the center hole. Hee.

What you might also notice is that the pistons are inside the cylinders. I had also cleaned up (lapped?) the cylinders and pistons. I'm fairly pleased. When I close the inlet, I can feel a noticeable change in pressure as I move the piston in and out. Cool.

 
Oh, I just knew everything would turn out right, Zee.
Your parts look down right impressive. You've made good progress,
both with this build, and improving your skills. You go in leaps and
bounds.

Very nice, my good man.

Dean
 
Those are nice! You're getting closer and closer Zee. I hope you are planning out the video for this. I don't expect to see any cell phone camera quality stuff for this nice project. The video must be as nice as the work you've been doing, with a plot line and everything. ;D

-trout
 
The video must be as nice as the work you've been doing, with a plot line and everything.

And tutus. It's gotta have tutus. Maybe hippos in tutus? I like ill-tempered, fat herbivores in tutus. They remind me of my ex-wife.

Seriously, great work, Zee. It will be a childhood dream fulfilled and it doesn't get better than that.
 
Troutsqueezer said:
I hope you are planning out the video for this. I don't expect to see any cell phone camera quality stuff for this nice project. The video must be as nice as the work you've been doing, with a plot line and everything.
mklotz said:
And tutus. It's gotta have tutus. Maybe hippos in tutus? I like ill-tempered, fat herbivores in tutus.

Sheesh. A bit beyond shiny things aren't we?
Fantasia fan, eh Marv?

A preview of coming attractions (repulsions)...
It's really pretty silly stupid (yet somehow called for here).
But it was fun.
Anyone in Missouri should recognize these boys...


People will remember today as the day after yesterday's peak.
 
That is too funny Zee !! But hey, it proves you have the wheel gage right at least :)

Bill
 
:big: :big: :big: :big: :big: :big:

you can always make me laugh...

 
Yes, you're on the right track! :hDe:

 
Were you giggling when you did this, Zee?

I sure was.

Dean
 
Thank you Bill, ariz, Trout and Dean.

Deanofid said:
Were you giggling when you did this, Zee?

I was indeed.

The downside though is that I haven't been able to get that song out of my head for two days now.

Chicken Train...running all day.
Chicken Train...taking chickens away.

Sigh. It doesn't help that my family is tired of my humming.
 
Hey!
The Ozark Mountain Daredevils!

Yee haw!

Saw them live at Mississippi River Festival a couple lifetimes back ::)
 
Ha! Great. I thought you'd be one to recognize them Kevin.

I used to see them in the cafe at UMC...before they cut records.

'Country Girl' is one of my favorites.
Should I mention 'Standing on a Rock'?

Hometown boys. Saw a couple of them at the KMart when I worked the camera department.

Geesh it's easy to fall back into it...'the Kmart'?


Newbie question...

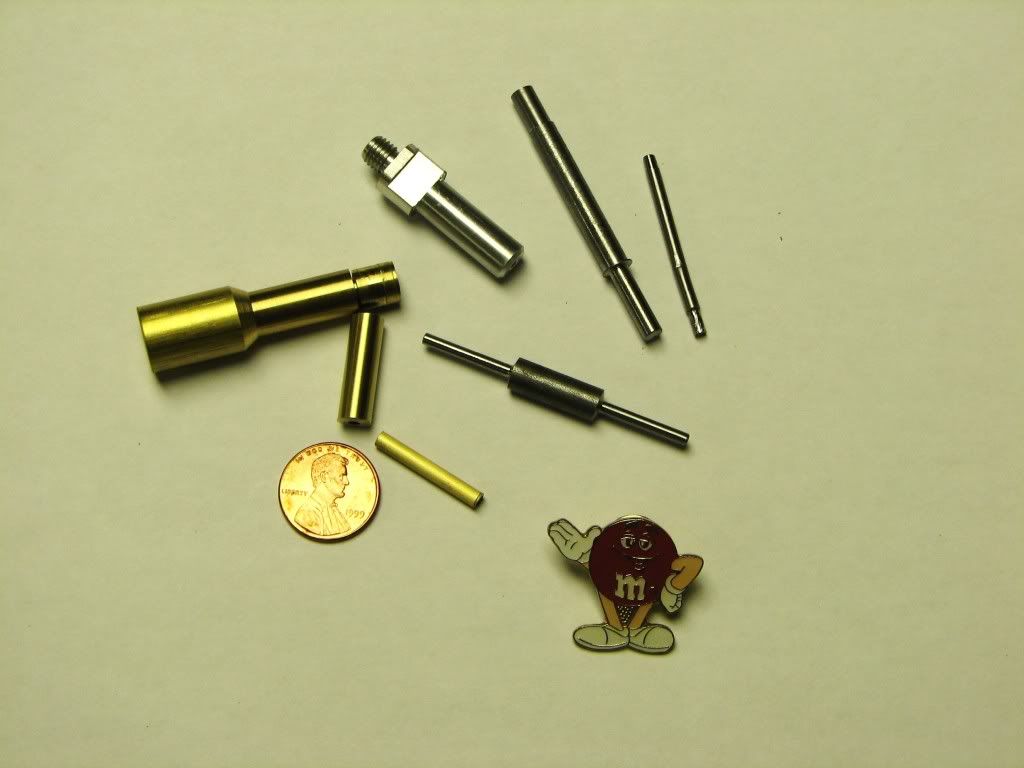
I'm trying to make the burner tubes. 1/4" rod, drilled with .22 bit for .8". Blind hole.

First attempt is a beautiful tube with a hole on both ends. Rats.

I'm thinking this calls for...drill to .8 with 7/32 bit, then end mill with 7/32 to flat bottom.

I don't have an end mill of that size.

Alternative 1: Make a D reamer out of drill rod. Don't have any.

Alternative 2: I have a junk 7/32 drill bit. Grind it flat...or rather...slight angle and use that after drilling with regular drill bit to depth.

Alternative 3: Buy a 7/32 end mill. Nah.

I have to use a similar process for making the safety valve. So why not?

Hm..actually...the safety valve calls for a ground drill bit at a slight angle. Maybe grind this one flat? Stock is brass.

Yeah. Alternative 2. Okay. If I'm wrong I hope someone is fast enough to stop me. ;D
 
First attempt is a beautiful tube with a hole on both ends. Rats.


Zee:

Since the parent stock is no doubt significantly longer than the final part, why not drill to a little more than required depth, do what you've got to do to the bottom of the hole, face the cut end AFTERWARDS to the correct length, then part it off at the correct overall length?

Still following along, and enjoying the ride. Except for the chickens. Still hearing that danged train.

Cheers, Joe
 
Doesn't work. Obviously I'm doing something wrong.

I ground the 7/32 drill bit down...but it doesn't seem to do any cutting.
Also tried grinding it down at an angle. No difference.

I'm thinking the only sharp edge is on the flute...nothing on the end. That's why it's not cutting.

Makes me wonder if the safety valve is going to be successful.

My suspicion is that I'm doing something fundamentally wrong...so any hints, suggestions, 'you dummy you should...', would be appreciated...

Thanks.

Oh...and another lesson...

Using tape on the drill bit to set the depth...might work...but you really have to watch it. The tape moved by as much as 0.1" and I didn't notice. You really have to let the chips clear often near the end or else they push the tape back.

It's a great night. I have successfully drilled a hole. Just not the hole I wanted. Poo.

Thanks Joe. You posted while I was.

The problem is near/at the bottom of the hole, I have to drill a hole in the side for a smaller tube that carries the fuel. If the depth isn't right (or flat) then the side hole won't have enough clearance. I think. Although in thinking about it...I'm not convinced it needs to be flat.

Well...one tube is made...I still have to drill the side hole. I'm not particularly happy about the job...but it should work. Won't be seen anyway except by the eagle eye of you all. Right. That's all of you. ;D
 
Zee

Skin this kitty another way: dig the part with the through hole back out of the recycle box, and turn a close fitted plug with a flat face, solder in place, trim either or both ends accordingly. Wall-ah!

Joe
 
Joe,

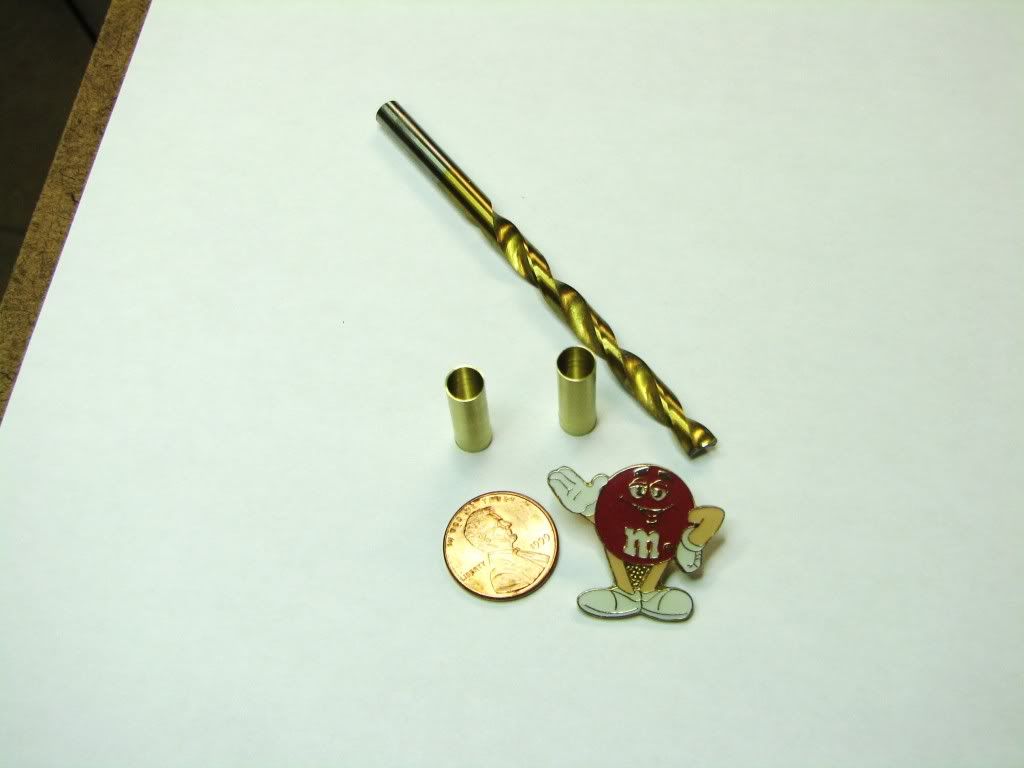
Thanks! I'm too quick to toss a part and try again. I still need to learn how to recover. Too late in this case...I went ahead and made the second tube. In part because I was curious why I found a little 'tire' around the 1st tube. It happened on the 2nd part too. I'm thinking the walls are thin enough and the drill bit I ground shoddy enough that it pushed the metal out.

7464e3ca.jpg


If you look closely, you can see it better on the right part...near the bottom...a little bulge.

Ah well...they should work so long as I drill the cross holes right and solder the small tube in well. ;D

I thinking of using my 5C collet to hole the tube for drilling.

I may need to wipe that stupid little smirk off of mini-zeepster's face. :big:
 
Used the 5C 1/4" collet to hold the tubes and drilled the through hole in one and the side hole in the other.

27144b94.jpg


I hadn't noticed the little ring around the right one from the collet. No matter really.

It's going to be interesting to solder this stuff up. For one...I haven't done this kind of soldering. I've done plenty of electrical work and quite a bit of plumbing...but I didn't care what it looked like.

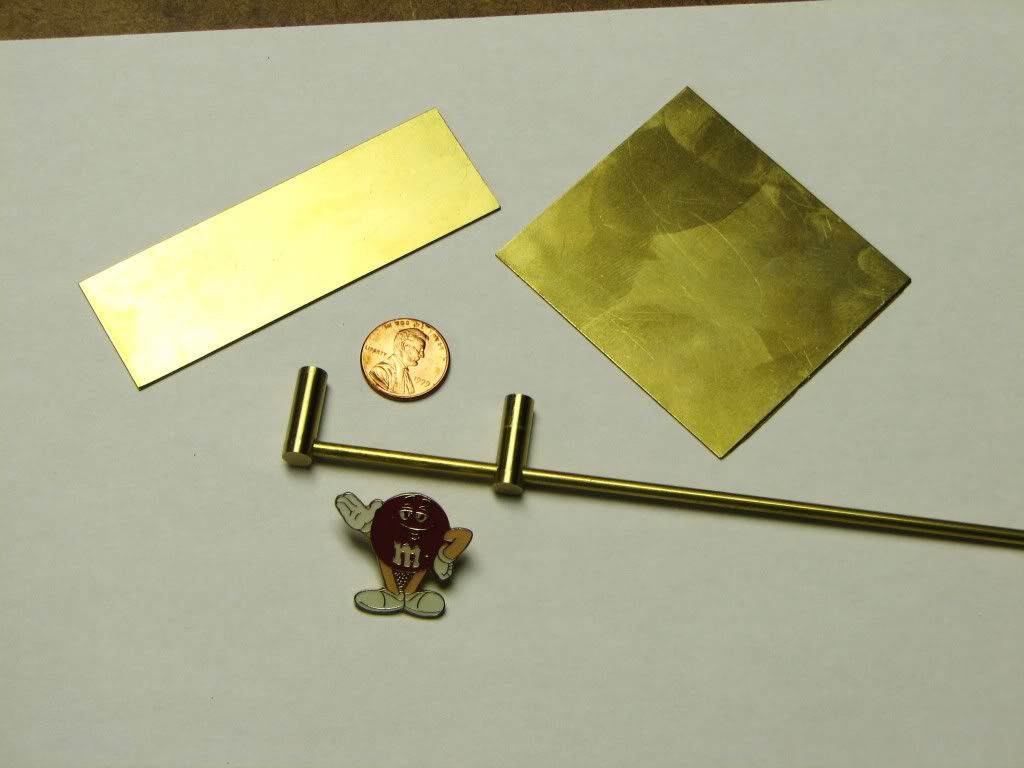
Those two flat sheets are the beginning of the rest of the fuel tank. Should be straight forward but I'm getting down to it. These two pieces and then two more to turn...

the chance of screwing up increases in direct inverse proportion to the number of pieces left to fab...which means....by the time I have just one more piece to make...I have a 100% chance of screwing it up the first time...

Which leads me to my next post...
 
This post is about my do-overs, screw-ups, wall of learnings (and to some extent you all)....call it what you will...

Surprising as it may be...this is probably my most proud post.

I started this hobby a little over a year ago. A kids dream. No experience in machining of any kind. I've made...four engines...

On average, I think I remade each part for the 1st engine 3 to 4 times...subsequent engines...probably twice. At least.

But here's a shot of my wall of learnings [EDIT: thus far] in this thread...

4def9bcd.jpg


And one of those parts hardly counts...I just cut the wrong diameter tube.

That's tremendous progress to me...so...

Thank you all. Your help, advice, and friendship has made this a most satisfying hobby. And I'm not just saying that because I have 3 martinis in me. ;D

I love you guys.

Now that's the martinis talking. :big:

This loco isn't running yet. I haven't soldered squat yet. Have I jinxed myself? Doesn't matter...I am so enjoying this road. (Or the martinis.)

Hm...I'm thinking I should delete this post. Nah. Should be some fun in a month or two. :big:
 

Latest posts

Back
Top