Back to Steam

Home Model Engine Machinist Forum

Help Support Home Model Engine Machinist Forum:

This site may earn a commission from merchant affiliate links, including eBay, Amazon, and others.
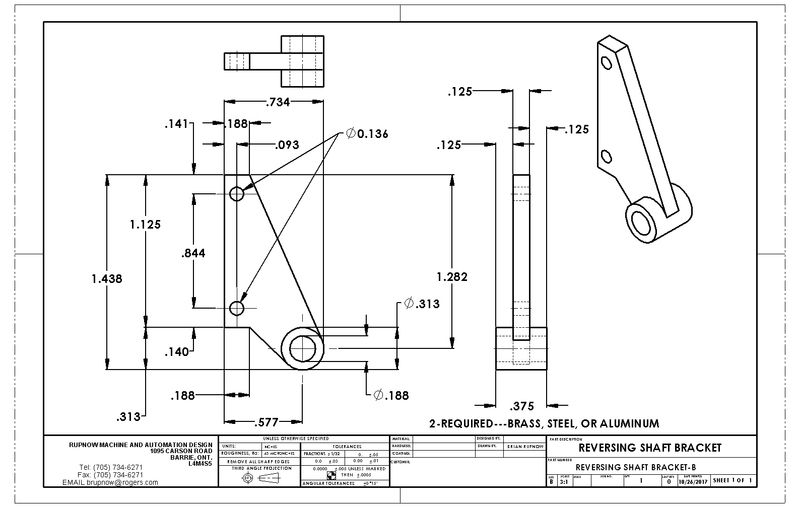
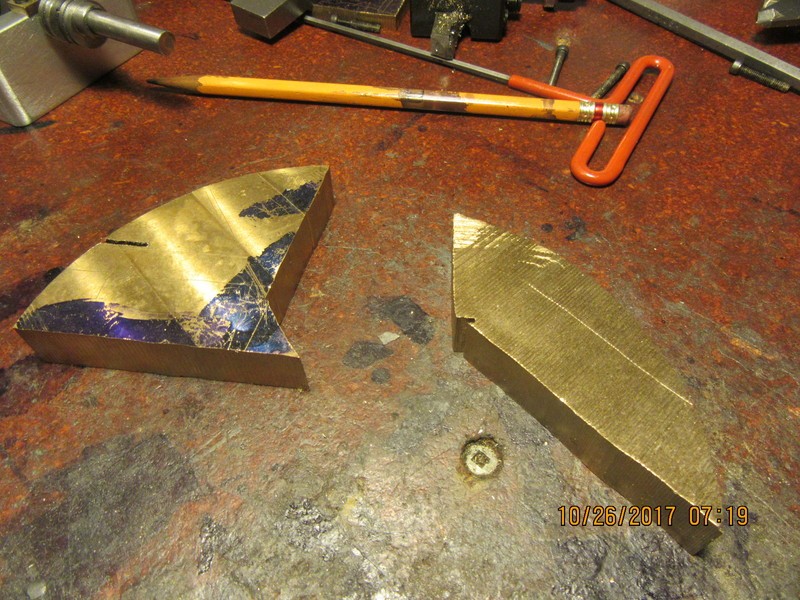
I have two really dreadful pieces of bronze left over from that 50 pound weight that found it's way to my house. It made a lot of beautiful flywheels, and now I'm using the left over scraps. These two pieces are destined to become the reversing shaft brackets which hang of the face of the steamchest covers.
eMUCuk.jpg

gZlaoO.jpg
 
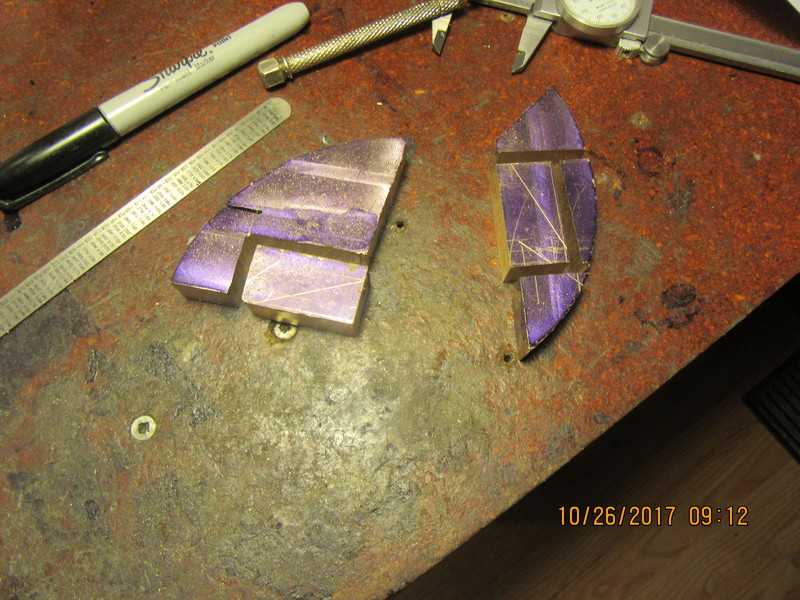
The pieces are laid out and the rectangular profile I require is cut free, leaving about .031" all around the perimeter greater than the finished size I will need.
3W6W6u.jpg
 
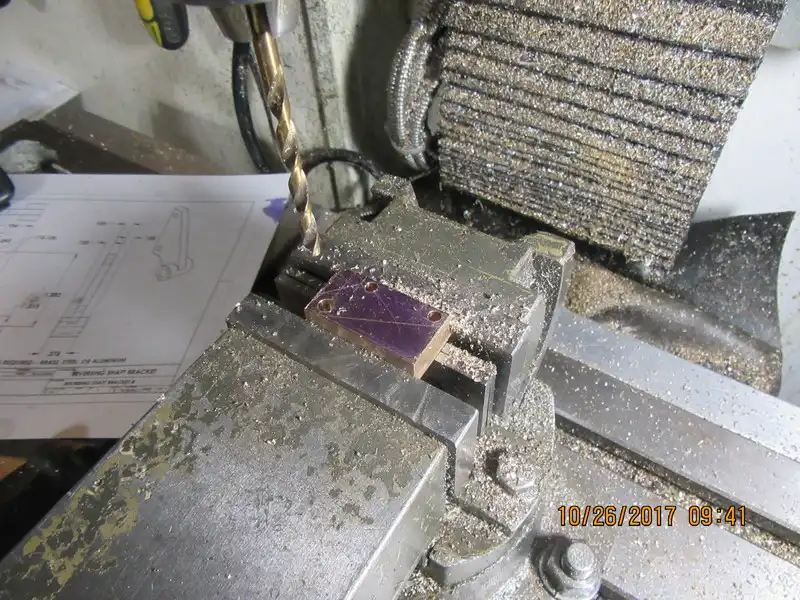
The rectangular pieces are sawed/filed/sanded to their final shape, and a simple fixture made up so I can mount them in the lathe to turn material away from both sides, to expose the "boss" on each side.
Ytsid1.jpg
 
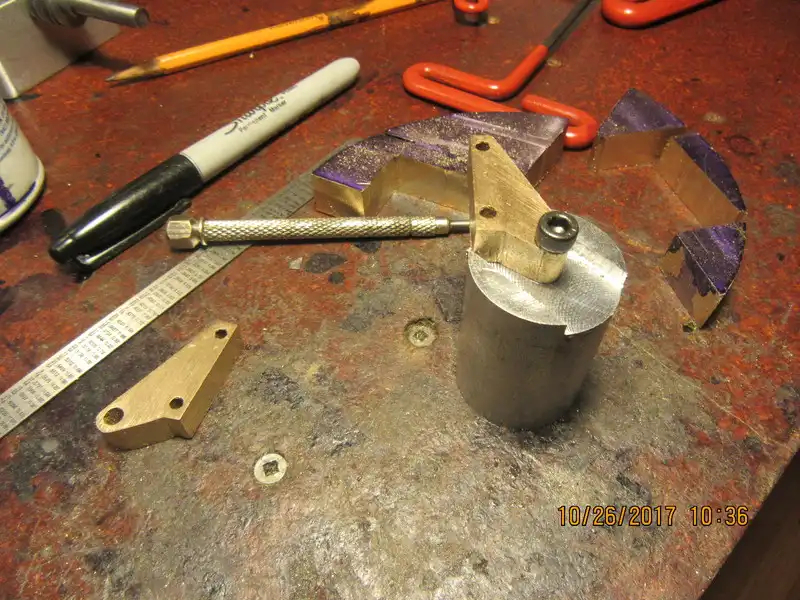
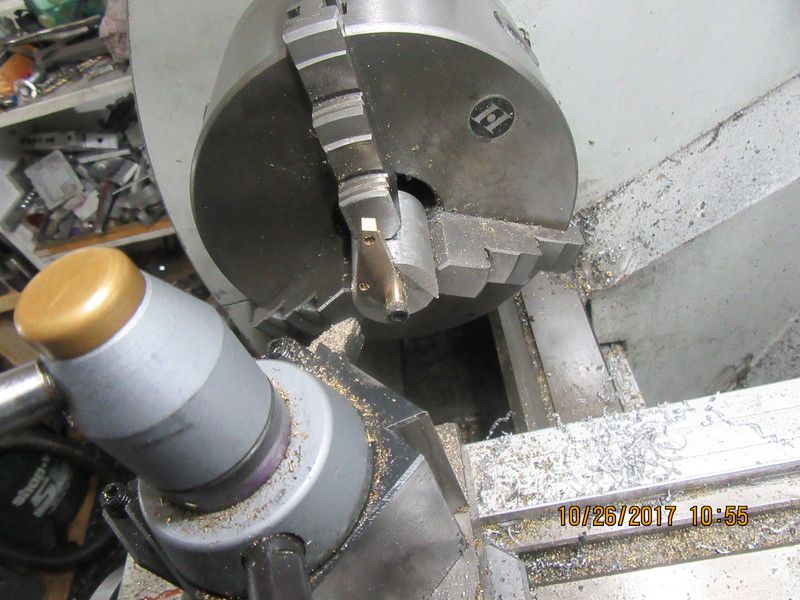
The fixture is mounted in the 3 jaw chuck in my lathe, and first one side is turned, then the other on both brackets, exposing the boss on each side.
RZ18sx.jpg
 
looking great Brian.

on a side question, I have never had the pleasure of working with bronze. do you find it cuts like brass or more like steel? I guess I have cut through some bronze brazing but never a large chunk.
 
Bronze cuts a bit harder than brass, a bit easier than steel. You don't get chips like brass or steel, you get powder.--Hot powder, depending on speed and depth of cut.
 
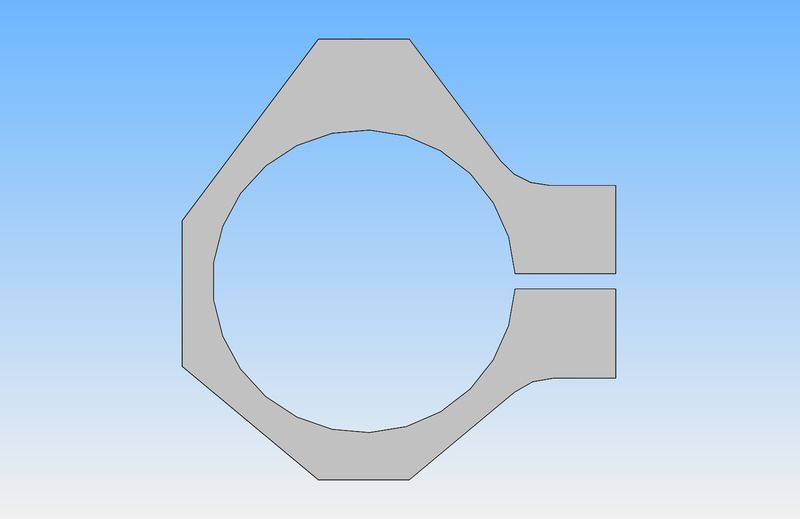
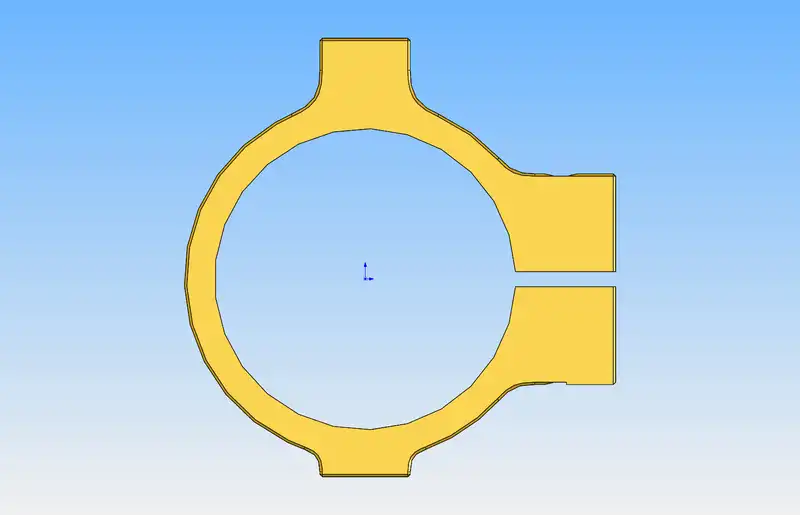
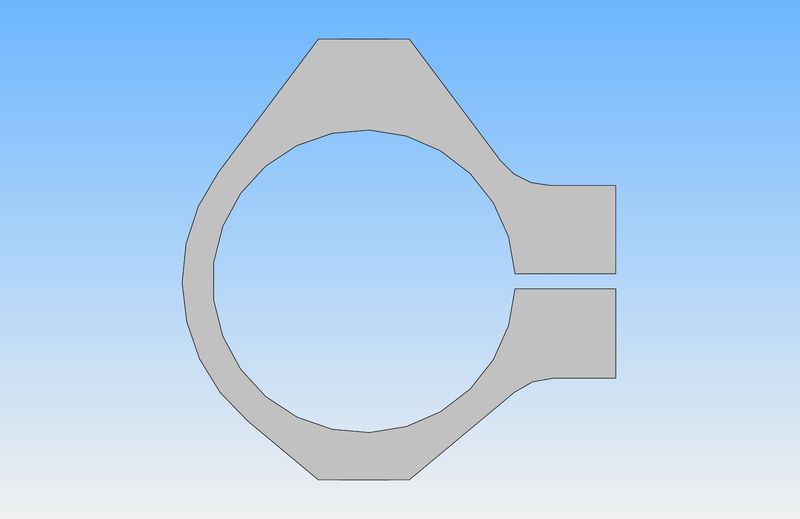
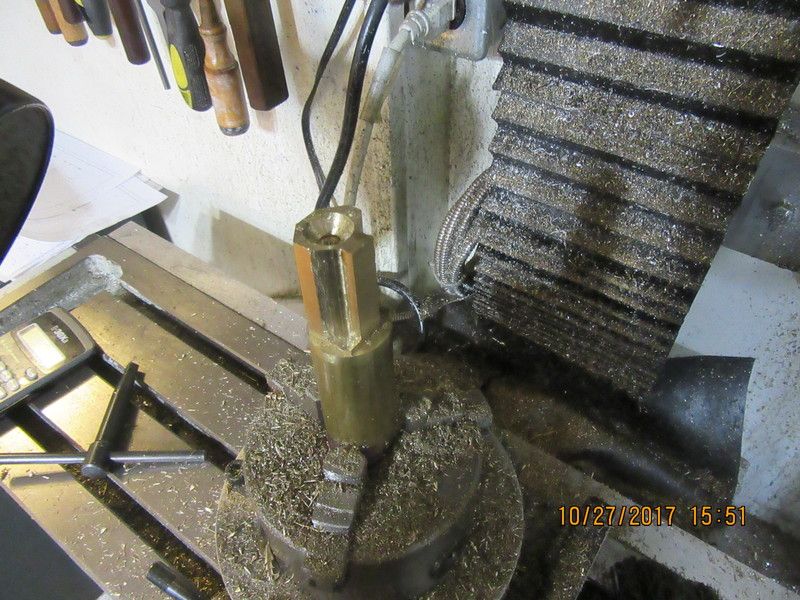
The eccentric strap on the original Stuart models (shown in yellow) is very pretty, but difficult to make as it looks like it will require a lot of rotary table work on the outer perimeter. I have redesigned it so that it requires no rotary table work. It is made in two stages--first with definite corners on the left hand side, then mounted on a mandrel and the corners knocked down with a file. The end result looks fine, and requires no rotary table work at all.
xxupVc.jpg

33ievB.jpg

CMgxGc.jpg
 
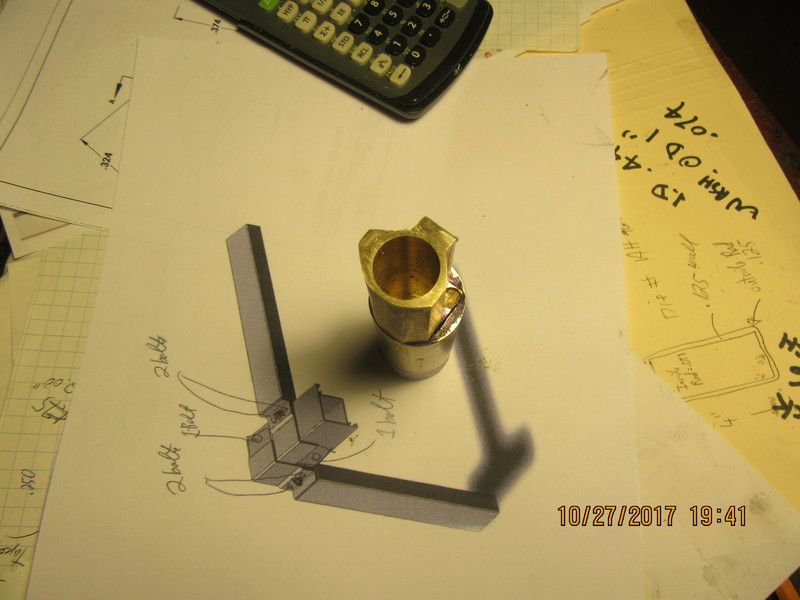
I'm not really sure how this is going to turn out, but it's ,uhmmm---interesting. The shape is very definitely there. Now that the basic shape is there, it's time to transfer into the 4 jaw on my lathe to bore and ream the 5/8" hole, 2" deep.
Then if I'm lucky, I will part off four eccentric straps. I will do the tapped holes and sawcuts after all four straps are parted off.
Ru8ILn.jpg
 
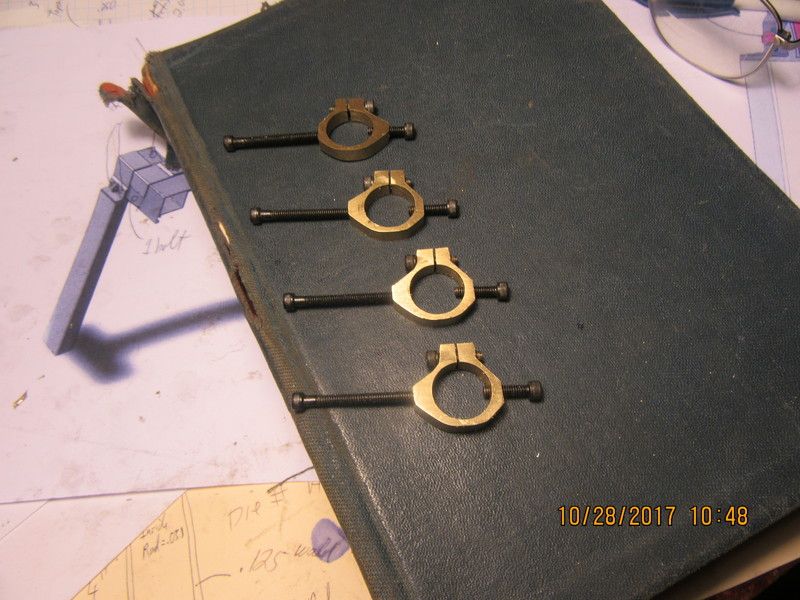
Well--That didn't turn out to shabby!! I still have to part the four straps off from the parent stock, and add threaded holes and saw cuts. I'm happy with it. Now if I can part it off without any disasters, I'm almost ready to start sorting out linkages.--Disregard the 3D drawing it's setting on. That's a design job I'm working on for a customer.
KN6v33.jpg
 
This mornings work was to finish the eccentric straps. The long bolt represents the linkage which will extend up from the eccentric strap to the Stephensons reversing linkage. The clamp bolt at the sawcut allows tightening or loosening the fit of the strap to the eccentric itself, and the short bolt which you see extending into the bore fits into the slot in the eccentric to keep the strap from trying to fall of the eccentric as the engine runs.
kC0lQo.jpg
 
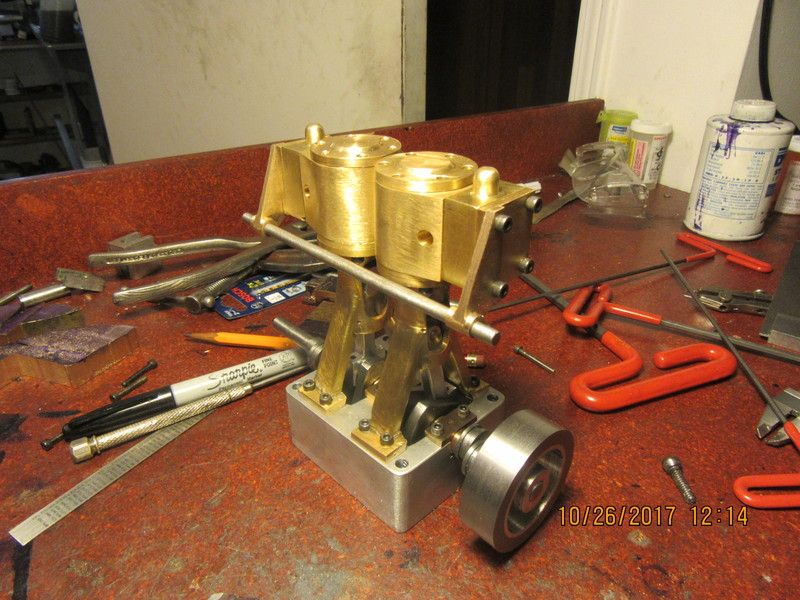
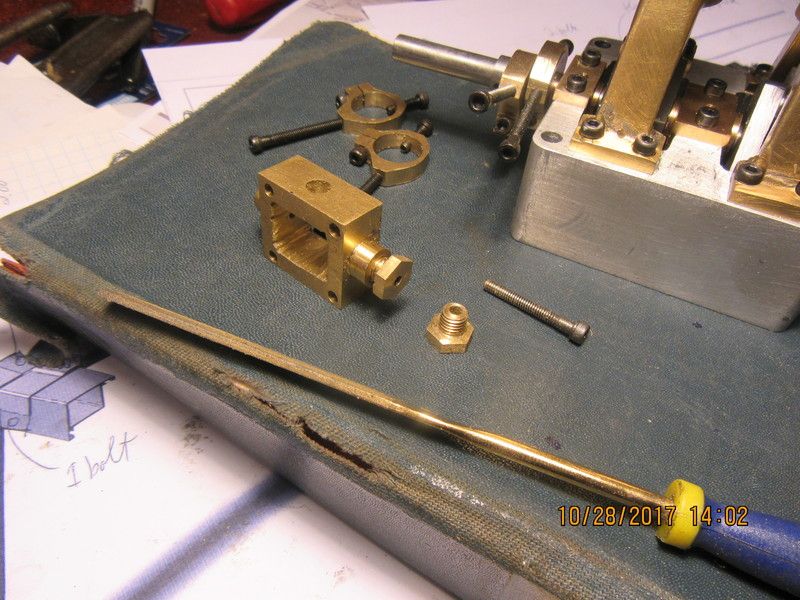
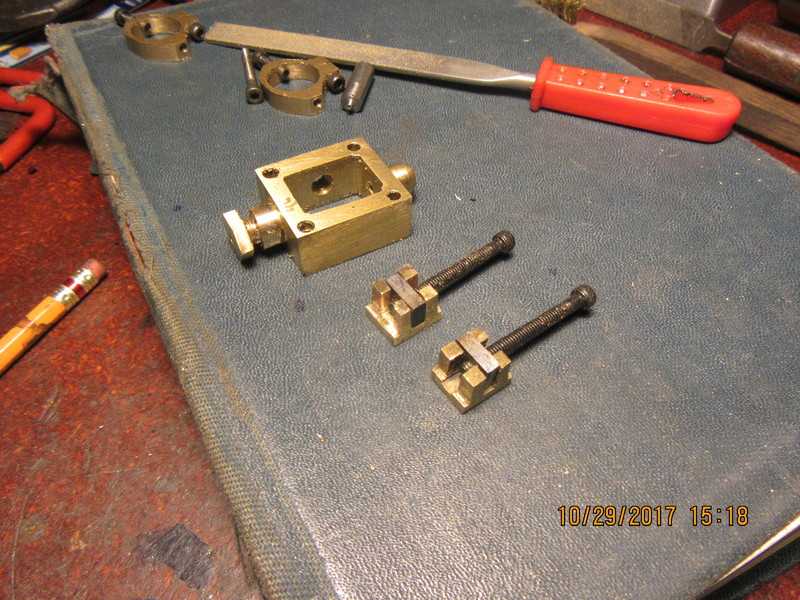
This afternoon I made the gland nuts for the steamchests. I'm done for today. I had a couple of thoughts today.--#1 thought--I have this thing finished to the point where another days work could see it running without the Stephensons reversing linkage. #2thought---I think I need to tap the holes in the side of my steam chests, otherwise I have no way to attach the pressure lines to it.--May have to tap the exhaust holes in the sides of the cylinders.
CMFiJB.jpg
 
Today was the day for slide valves and slide valve nuts. I had a lot of trouble with the slide valves.--You know how it is---Measure wrong, cut too deep, launch part across room, solder short end to add piece back on--Maybe my mother was right about not working on Sundays. At any rate, I persevered and finished the parts.
S7jx7j.jpg
 
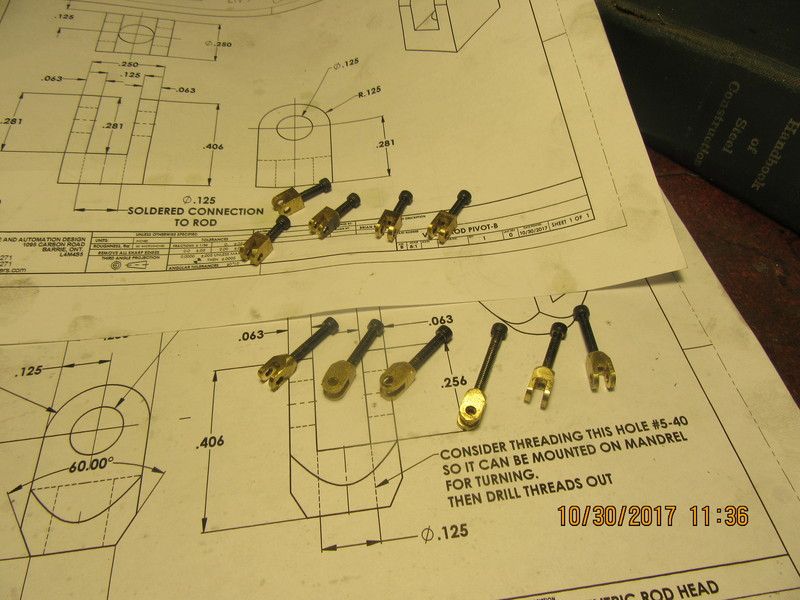
Let me be the first to point out----I'm not really good at making these small clevises. When parts get this small, (1/4" square) I have a difficult time getting them to be cosmetically correct. The reamed thru holes are correct, and the #5-40 (1/8 dia.") threads are in the right place, but the overall outer shape always leave a bit to be desired. You will notice that I have made extra of each type. This lets me pick the best ones out of the lot and discard the really bad ones.
q5DyuP.jpg
 
Im making a 5" G and still struggling with small parts.Broke 2-2mm drills
yesterday and no chance of grinding them.Eyesight and age a terrible thing
Like what you are doing in this thread.I first made the single cyinder version
from the stuart kit and thought of scaling up the 2 cylinder and fabbing the castings as you doing.Great job Brian keep the posts coming. Your work
output is phenominal considering you are also working full time
 
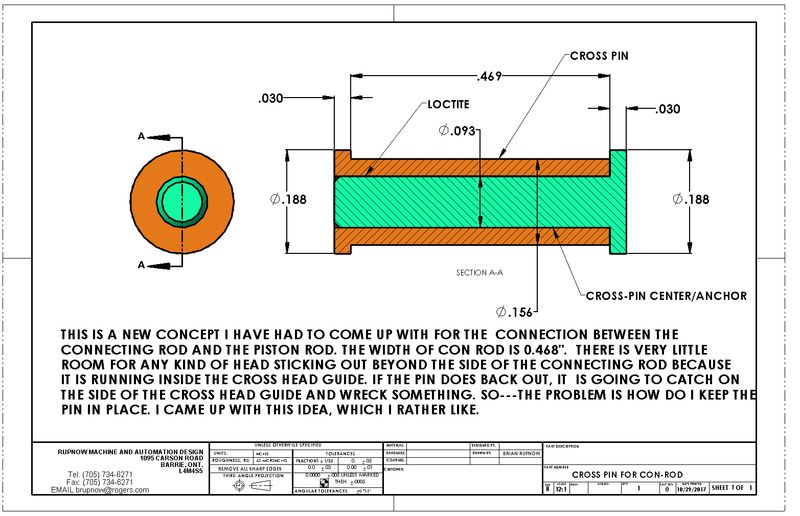
I'm doing a juggling act here between "real" paying design work and no pay engine building. I'm finding that I don't really want to give up any of my time for "real" work, and that's bad. I would give it up completely, but I know that 2 or 3 weeks down the road when this engine is finished, I'll be going mad for something to do. I finished all of the clevises that this engine requires, and tapped the ports in the side of the steamchest. I have finished securing the cross pin for my con-rod, and everything clears, but man, it's a tight fit inside those cross head guides. I've decided that before I finish the Stephenson's reversing gear, I will attempt to run this as a simple non reversing engine, then if I am successful I will add the reversing gear. All I have left to do now is make some connector links out of 1/8" diameter steel rod and to make some gaskets.
 
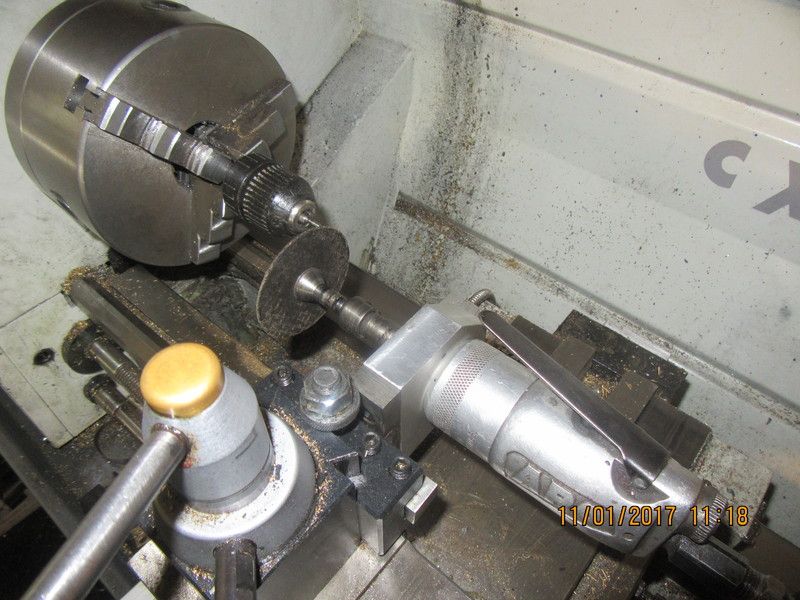
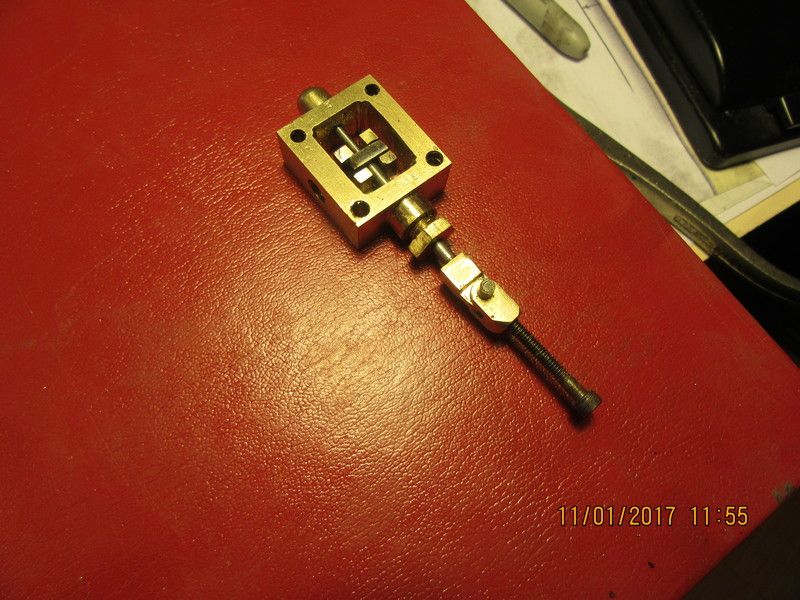
Sometimes---Things get pretty damned crude around here. I wasn't having any luck at all turning the end of a 1/8" rod to .093" to fit into the blind end of the steamchest. So--Out comes the faithful pneumatic die grinder, and ground it to size. It worked. a little touch up with some sanding strip and we have one steamchest linkage finished.
sJ3Lvx.jpg

2OYqPp.jpg
 

Latest posts

Back
Top