- Joined
- Apr 10, 2017
- Messages
- 61
- Reaction score
- 25
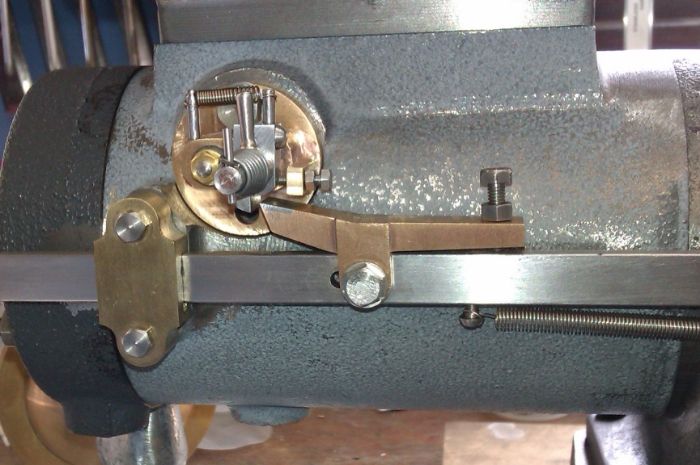
Now that the head is mounted, I don't want to mount the pushrod brackets until I have the Rocker Arm Support Bracket mounted, to ensure that everything is aligned. I could move the pushrod brackets slightly if needed.
This is another example of using reality and not just the drawings, even though I try to make sure the two match.
Starts with the casting, I used the belt sander to remove some of the casting marks and then into the lathe.
 IMG_4488 by Mark Savoca, on Flickr
 IMG_4520 by Mark Savoca, on Flickr
Once faced, I center drilled so I could bore out the inside.
 IMG_4522 by Mark Savoca, on Flickr
 IMG_4524 by Mark Savoca, on Flickr
 IMG_4527 by Mark Savoca, on Flickr
Next I built a simple arbor to hold the bracket so I could machine the outside.
 IMG_4528 by Mark Savoca, on Flickr
The live center gives support and pressure to stay on the arbor.
 IMG_4532 by Mark Savoca, on Flickr
 IMG_4533 by Mark Savoca, on Flickr
I used a small sanding drum to clean up the edges.
 IMG_4537 by Mark Savoca, on Flickr
 IMG_4552 by Mark Savoca, on Flickr
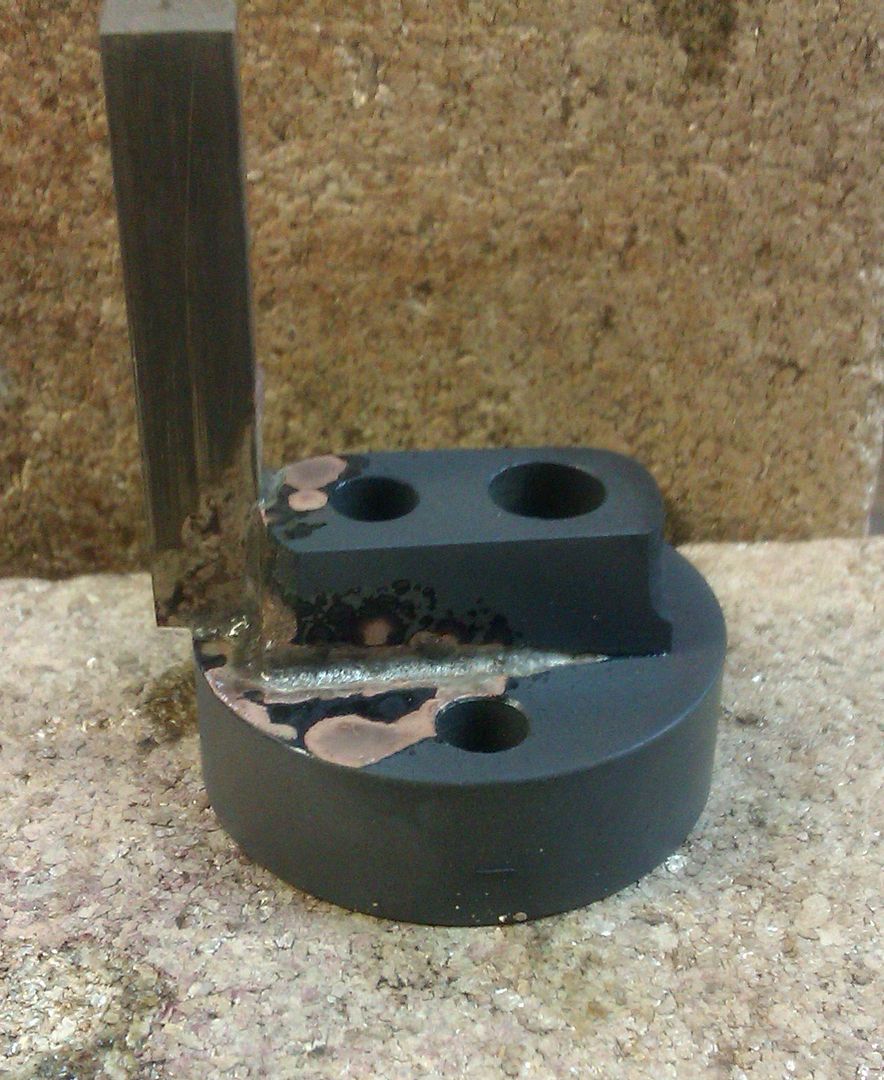
Next, because there is not flat sides to clamp, I created a small plate the held the bracket square.
 IMG_4554 by Mark Savoca, on Flickr
Drilling for the rocker pin.
 IMG_4557 by Mark Savoca, on Flickr
Machining the slot for the rocker arm.
 IMG_4563 by Mark Savoca, on Flickr
How I made sure it was square to the table.
 IMG_4569 by Mark Savoca, on Flickr
Before some sanding.
 IMG_4570 by Mark Savoca, on Flickr
Finished sanding. Noticed the slot cut in the side. I guess I missed that picture...
 IMG_4608 by Mark Savoca, on Flickr
This is another example of using reality and not just the drawings, even though I try to make sure the two match.
Starts with the casting, I used the belt sander to remove some of the casting marks and then into the lathe.
 IMG_4488 by Mark Savoca, on Flickr
 IMG_4520 by Mark Savoca, on Flickr
Once faced, I center drilled so I could bore out the inside.
 IMG_4522 by Mark Savoca, on Flickr
 IMG_4524 by Mark Savoca, on Flickr
 IMG_4527 by Mark Savoca, on Flickr
Next I built a simple arbor to hold the bracket so I could machine the outside.
 IMG_4528 by Mark Savoca, on Flickr
The live center gives support and pressure to stay on the arbor.
 IMG_4532 by Mark Savoca, on Flickr
 IMG_4533 by Mark Savoca, on Flickr
I used a small sanding drum to clean up the edges.
 IMG_4537 by Mark Savoca, on Flickr
 IMG_4552 by Mark Savoca, on Flickr
Next, because there is not flat sides to clamp, I created a small plate the held the bracket square.
 IMG_4554 by Mark Savoca, on Flickr
Drilling for the rocker pin.
 IMG_4557 by Mark Savoca, on Flickr
Machining the slot for the rocker arm.
 IMG_4563 by Mark Savoca, on Flickr
How I made sure it was square to the table.
 IMG_4569 by Mark Savoca, on Flickr
Before some sanding.
 IMG_4570 by Mark Savoca, on Flickr
Finished sanding. Noticed the slot cut in the side. I guess I missed that picture...
 IMG_4608 by Mark Savoca, on Flickr


