Yet Another Webster Begins

Home Model Engine Machinist Forum

Help Support Home Model Engine Machinist Forum:

This site may earn a commission from merchant affiliate links, including eBay, Amazon, and others.
Another week, another little bit of progress. Back on the 1st, I finally said "tomorrow" I'd make a replacement crankshaft throw to replace the one that has been giving me problems for weeks. The next day I thought it might make a nice accent to make it out of some brass I have, so that was a few hours. It had to be 1/4" thick to fit where it goes, and I had some junk 1/2" thick brass I've had around for years and used to make test cuts on. I thinned it down to 1/4" and was able to make a replacement fit in the space I had. Because of a few factors involved with thinning the brass and proofing the CNC file, it took two afternoons to make this one.

BrassCrankshaftThrow-2s.jpg


With that pin at the top moved over to the brass one and once in place on the engine it looks like this.

NewThrowInPlace.JPG


When it's moving, you can tell it's a different color, and when it's at rest, it's a bit more noticeable but I probably should have spent a day sanding and polishing it, then coating it in polyurethane varnish.

I ran it with my drill driving it for another half hour today and the system seems to move OK. The binding I had a couple of weeks ago seems gone.

What's left? I need a couple of inches of fuel line from the tank to the carburetor. I need a little mount for the fuel tank; I understand that it should be around a half inch or so higher than the carb. so that the fuel flows without a fuel pump. I need to get a set of points for the engine and hook up my electronic ignition. I can get it to run with the electronic ignition spread around on the bench, but a box for it seems like a good idea. Lastly, I need to grab a gallon of Coleman fuel and some WD-40. I have spray cans around and someone on another thread suggested just spraying some of that into a plastic cup that measures out teaspoons. My fuel tank holds 4 ounces and I don't think I'll put that much into it.
 
The top of the fuel tank should be level with the carb, it needs to suck the fuel up. I don't see any reason to put wd40 into fuel, i use 2 stroke oil, it is designed to lubricate a bore. the only reason that it is called 2stroke is that 4 strokes have oil in the sump and lubricate the bore from inside. a proper open crank engine will have a cylinder oiler that will again lubricate from the back.
 
Coulsea is right. Top of gas tank marginally below center of carburetor or it will constantly flood itself.--Gas runs down-hill from gravity. Forget the wd40 added to your fuel. Use a bit of 2 cycle oil added to it.
 
I don't see any reason to put wd40 into fuel, i use 2 stroke oil, it is designed to lubricate a bore.

I actually have a practically unlimited supply of that. Almost a gallon. I have an outboard engine that's among the last ones made that injected that oil along with the gasoline. It seems like a drop or two in a half cup of fuel would work.

Back when I had my first boat, it was called 50:1 oil and the cans were sized so that you put one can in a 6 gallon gas tank.
 
Coulsea is right. Top of gas tank marginally below center of carburetor or it will constantly flood itself.--Gas runs down-hill from gravity. Forget the wd40 added to your fuel. Use a bit of 2 cycle oil added to it.

Brian, do you have a photo where you show the Traxxas carburetor on an engine? Does the fuel inlet barb go on the bottom like this or the top? I think I need a dab of sealant of some kind on where the carburetor adapter goes into the valve block assembly. The carb rotates too freely in there for my taste.

Carb_Mounting.jpg
 
You have the carb positioned correctly. You most smear a bit of green Loctite around the o.d. of the discharge side of the carburetor. It is 10 mm in diameter and fits into a reamed 10 mm hole. The Webster intake manifold as per drawing will not fit that carburetor. You need to make a male to female adapter.
 
on mine i did the barb on the side, and the feed is from the bottom of the fuel tank. so im thinking its ok to rotate it if you need
i to used lock tight on the carb - at first it tried the teflon paste sealant but it didnt hold

1605037488757.png
 
on mine i did the barb on the side, and the feed is from the bottom of the fuel tank. so im thinking its ok to rotate it if you need
i to used lock tight on the carb - at first it tried the teflon paste sealant but it didnt hold

Very helpful. I was looking at mine and thinking that spark plug was too close to where I'll be sticking my fingers. I've been zapped enough in life, thank you. Rotating 90 degrees like yours is a simple way around that.
 
I've gotten myself into a hole I can't seem to get out of. While waiting for my fuel line to get delivered, I thought I'd try to get rid of the offset between my gears and slide the crankshaft a little away from the side with the cylinder, piston and all. I think it's mostly cosmetic.

I can't pull the spring pins out of the holes they're in (and sticking out of). I didn't drill through the crankshaft, so I can't hammer them through, and when I try to grab them with Vise-Grips and pull them out, the pliers always slip off before the pin moves.

How do I get the spring pins out?
 
Bob, I hate to say that this does not sound good to me - the options for removing the pins will be greatly complicated by the fact that they are in the assembly - or to say it another way, access will be an issue.

One option is to try to drill them out. Spring pins are hardened, so carbide will be needed ... and carbide will be very difficult not to break unless you can do the drilling in a mill ... which brings us back to the access issue. (Even, then, the interrupted cut from the slot in the pin may cause problems.)

Another option would be to use a carbide endmill to mill it out. Again, interrupted cut is not great, but you may be able to mill just the side of the pin opposite the slot. Again, though ... access and fixturing will be the key.

One more option comes to mind; it is messy, but may be your best bet if you can't get into where you need to get with a carbide drill or endmill. You can locate the shaft opposite the pin and drill out to create a through hole. Then you can use a punch or pin driver to drive out the spring pin.

These are the ideas that occur to me ... but maybe someone else will have a better option to offer.

Well, actually, one more - I didn't mention EDM as not many home machinists have one. Also, the typical EDM immerses the part in a dielectric fluid. I don't know how compatible the commercial fluids would be for immersing an engine. I have built an EDM (which is currently in pieces awaiting an upgrade), and in that I used kerosene as the dielectric (sounds like a fire hazard waiting to happen, but seemed to work just fine) - I would think your engine would survive just fine being immersed in kerosene.
 
One more option comes to mind; it is messy, but may be your best bet if you can't get into where you need to get with a carbide drill or endmill. You can locate the shaft opposite the pin and drill out to create a through hole. Then you can use a punch or pin driver to drive out the spring pin.

I'd probably go in this direction.
 
One option is to try to drill them out. Spring pins are hardened, so carbide will be needed ... and carbide will be very difficult not to break unless you can do the drilling in a mill ... which brings us back to the access issue. (Even, then, the interrupted cut from the slot in the pin may cause problems.)

Drilling on the mill table is conceivable, because that's how I drilled the holes they go in. A 3/32" carbide bit might be tricky to come up with, but I've never looked. BUT, the pin is at angle to the vertical so the other side, with the pin leaning in toward the flywheel center, has worse access.

I don't have a good picture, but it's to fix this:

OffsetFix.jpg


You can kind of see how the steel gear is offset from the brass gear to the right. It's about 1/4 of the width of the teeth off. You can see the pin, at an angle to the vertical.

Plan B might be "live and learn." Ignore it and do better next time.
 
There is a lesson there. I have built a couple of engines with a ball bearing big end on a fabricated crank using loctite and pins, my son managed to get some amazing revs out of his and the bearing disintegrated, because the holes for the pins were not drilled all the way through and were stainless steel in a mild steel web it was easier to make a new crank, this time drilling through.
if it is only cosmetic maybe its better to fix it in Webster 2.0 or maybe trim the brass gear so at least one side lines up.
 
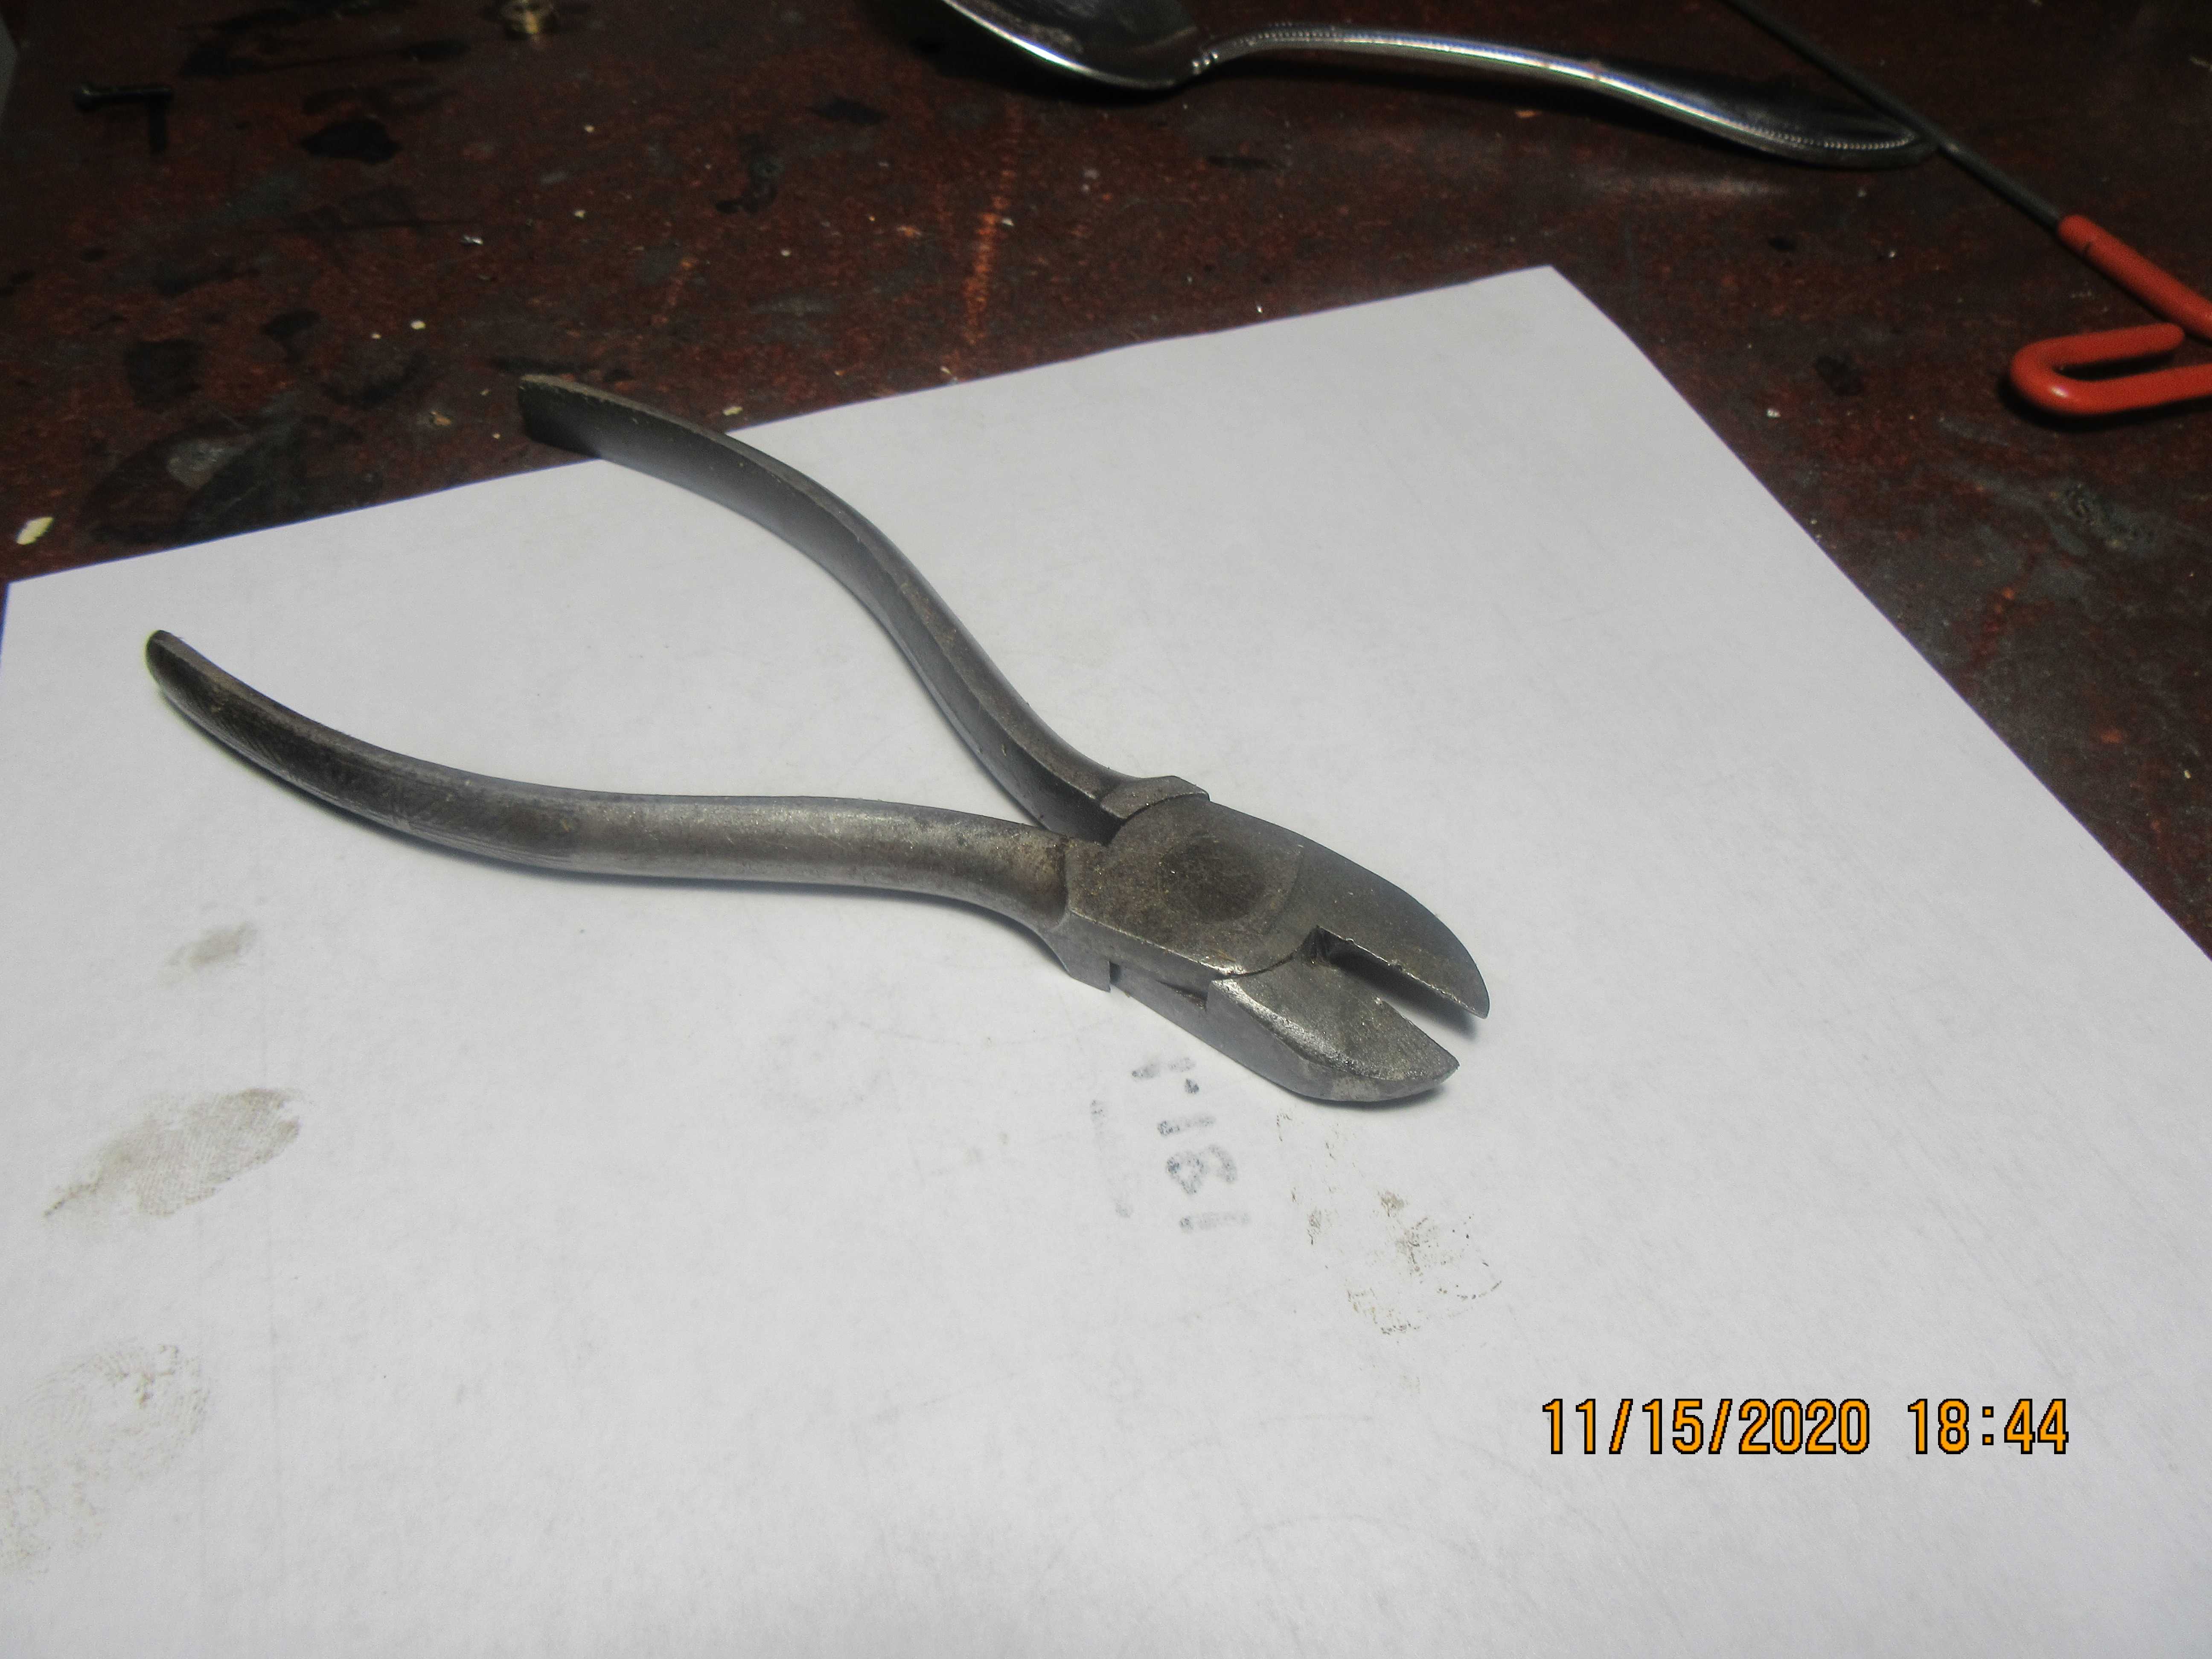
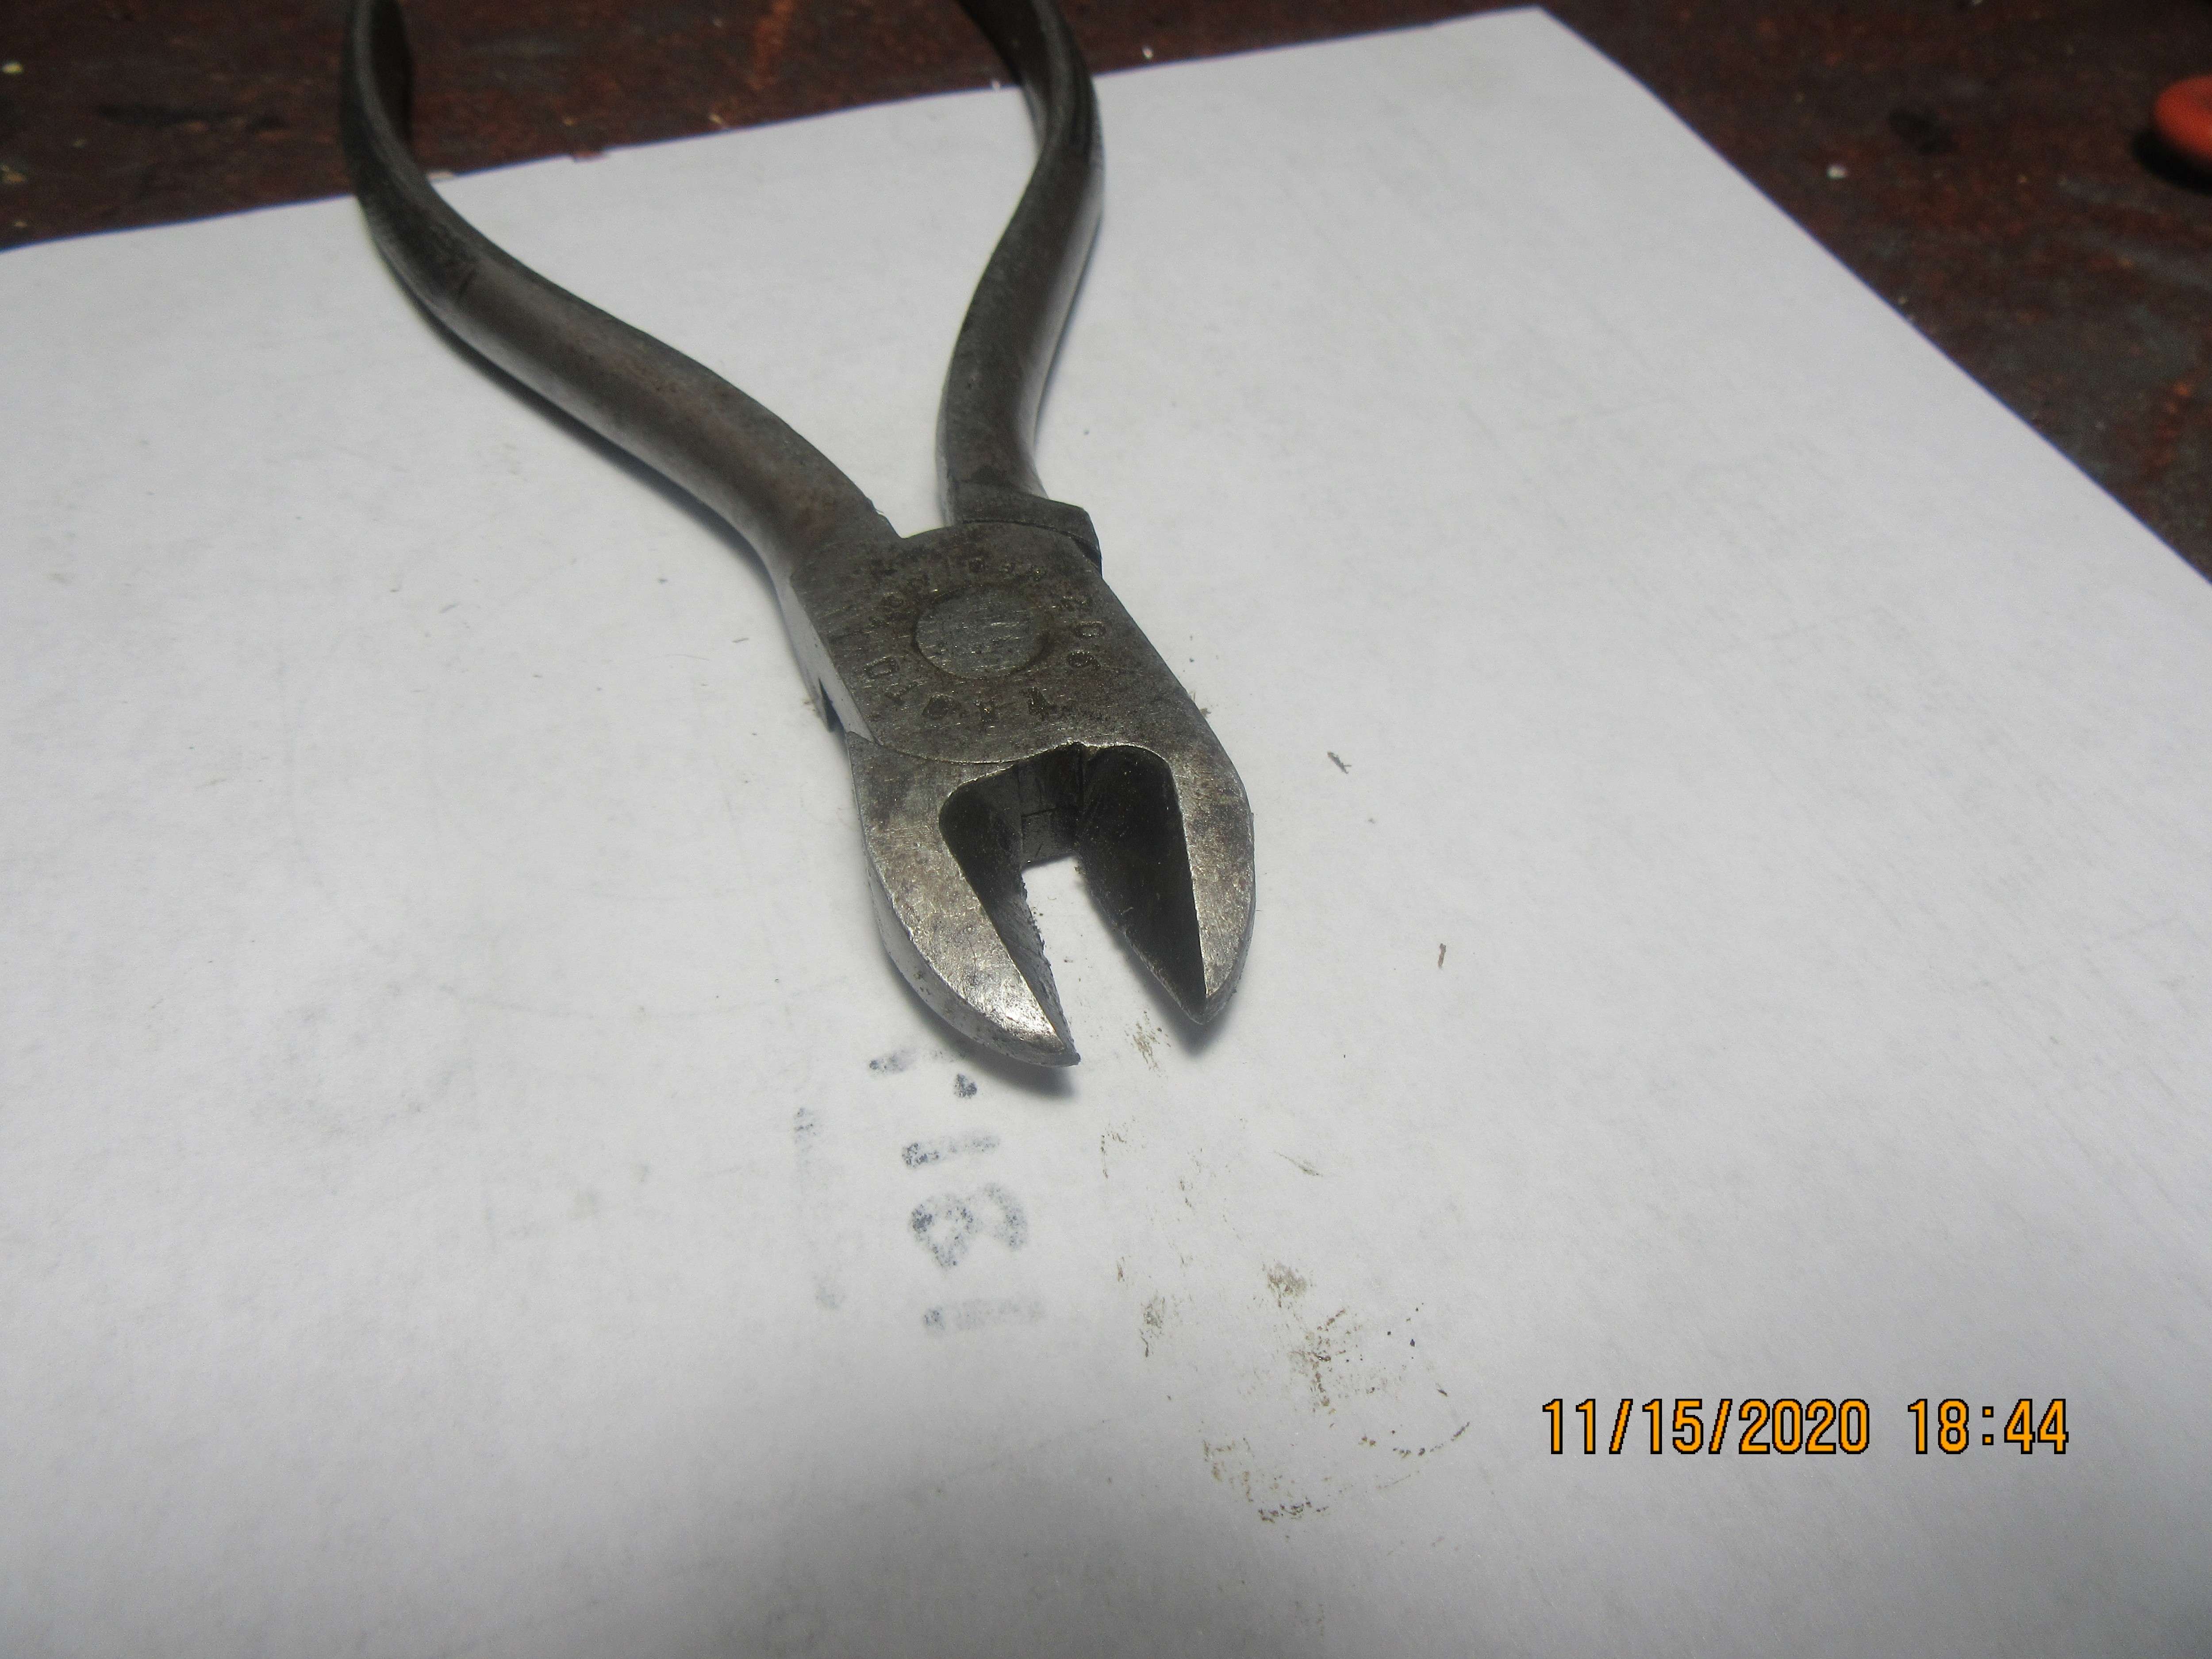
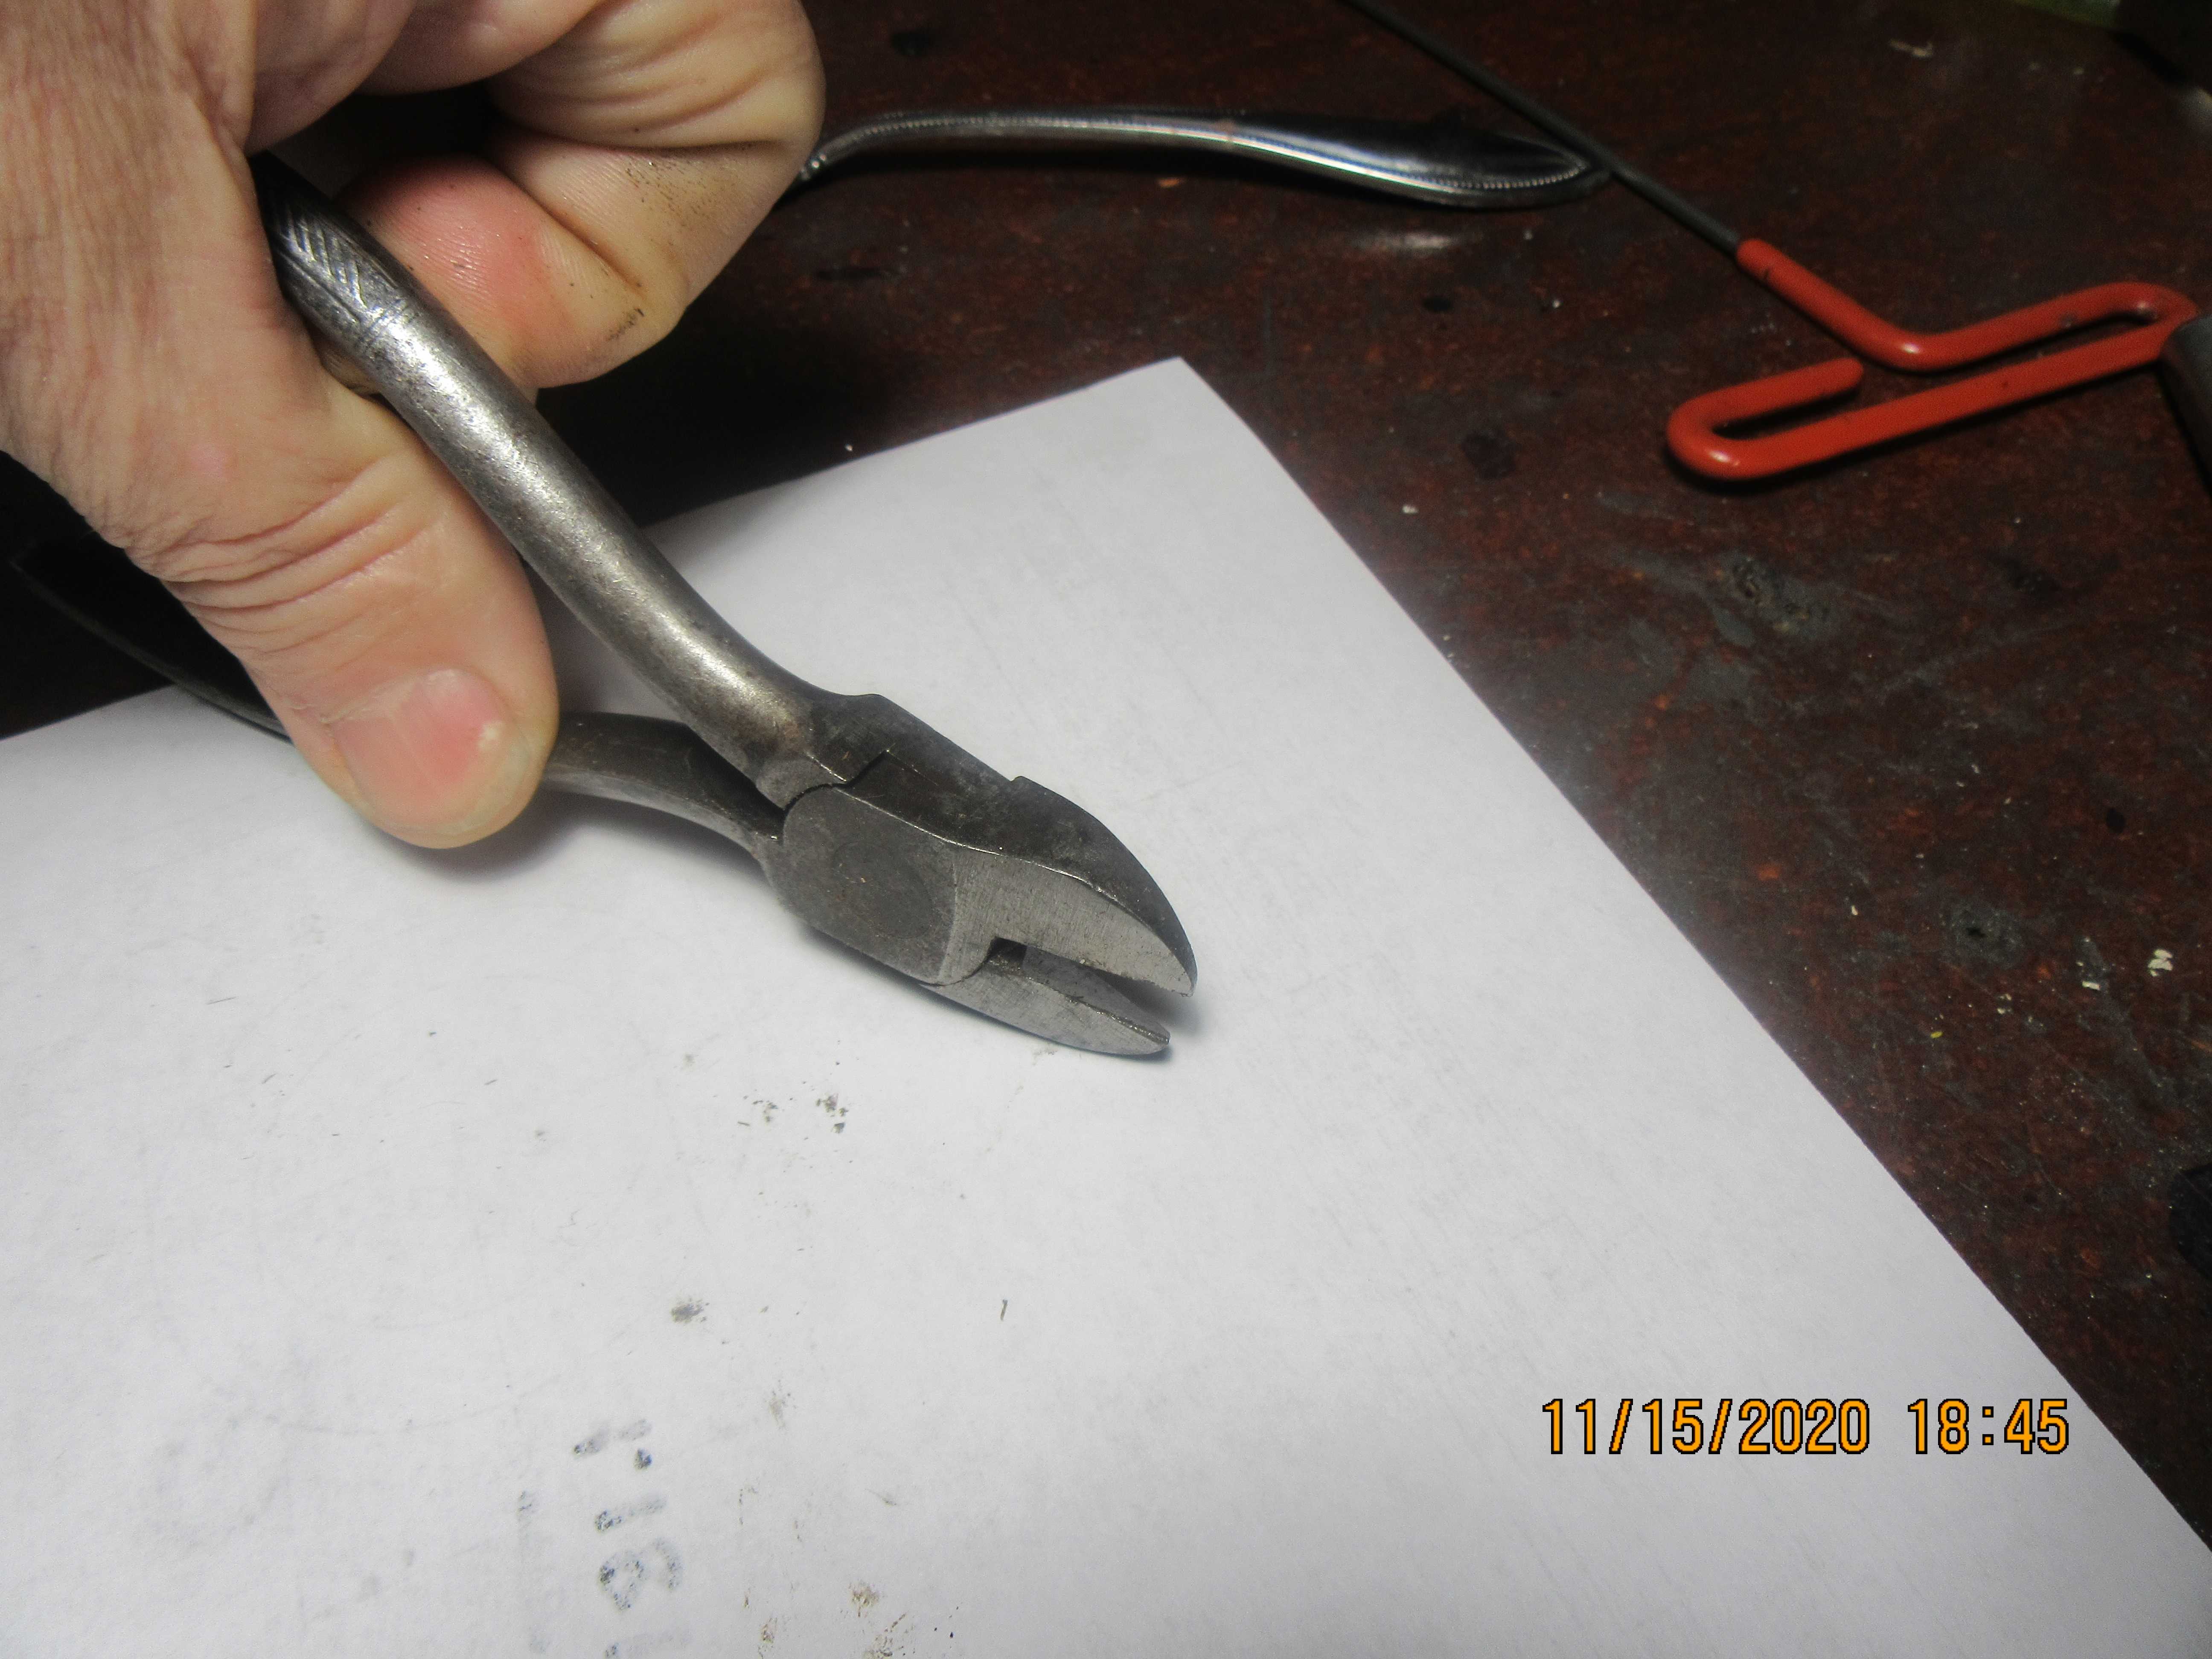
Take a pair of wire cutters. Look close and you will see that there is quite a pronounced chamfer on the side of the jaws. Hold the cutters up against a grinder until that chamfer is almost gone, leaving a sharp edge. Now the wire cutters will grip the pin and pull it out. It is also a great tool for removing taps that break off leaving only a shred of tap above the surface of the material being tapped. It lets you grip the tap and gently unscrew it.
j56hQm.jpg

HeWZSS.jpg

X8BOSP.jpg
 
Good idea - I have actually used that method on other items needing removal.

It reminds me of what my favorite of wire cutters look like after someone (usually an engineer or one of my kids) borrows them to cut something other that wire. Now I keep my nice ones hidden.
 
Take a pair of wire cutters. Look close and you will see that there is quite a pronounced chamfer on the side of the jaws. Hold the cutters up against a grinder until that chamfer is almost gone, leaving a sharp edge. Now the wire cutters will grip the pin and pull it out. It is also a great tool for removing taps that break off leaving only a shred of tap above the surface of the material being tapped. It lets you grip the tap and gently unscrew it.
j56hQm.jpg

HeWZSS.jpg

X8BOSP.jpg

I refer to side of the cutters you show in the top photo as the back of the pliers. Most cutters have a chamfer on that to make an angle on the jaws for better cutting. I can see you ground the backs to flatten it and remove the taper toward the cutting edge. Do you flatten the cutting edge to make it more square? It looks like it in the bottom picture, just at the end.
 
Regardless of what the picture looked like--I try to remove the chamfer completely so the gripping edges are almost as sharp as knife blades. This is a very slippery slope, because if you get too enthusiastic and grind beyond the "cutting edge", then you have a gap which won't grip anything.
 
I was going to suggest the same tool Brian did (we know them as 'side-cutters' down here). Looking at the picture, I would have thought there was enough pin sticking out that the cutters wouldn't even need modifying. Many times I've used side-cutters to grab and manipulate heavy springs, mostly in drum brakes on old cars (which I suspect is where Brian learnt this trick as well).
 

Latest posts

Back
Top