Wyvernish Build

Home Model Engine Machinist Forum

Help Support Home Model Engine Machinist Forum:

This site may earn a commission from merchant affiliate links, including eBay, Amazon, and others.
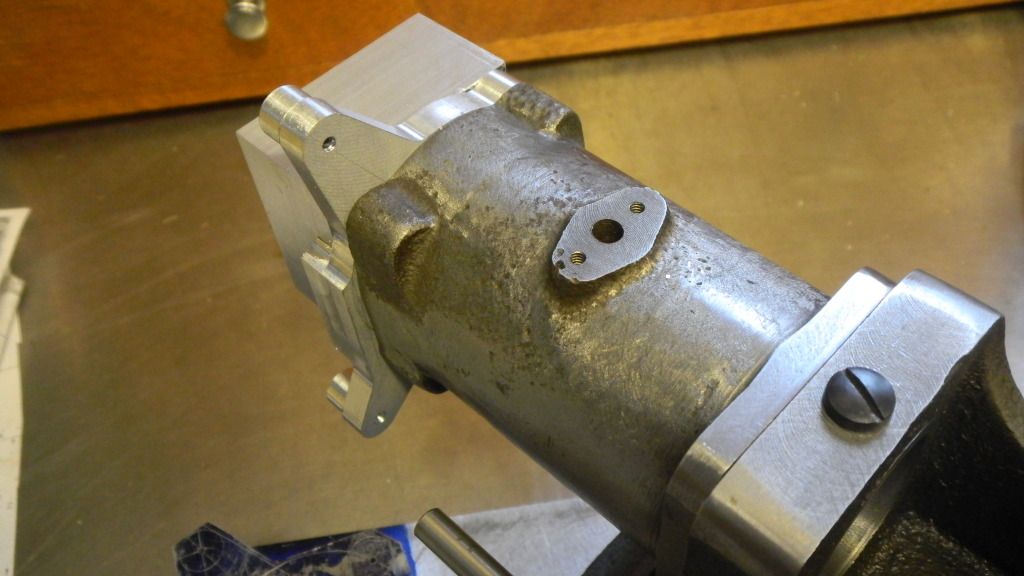
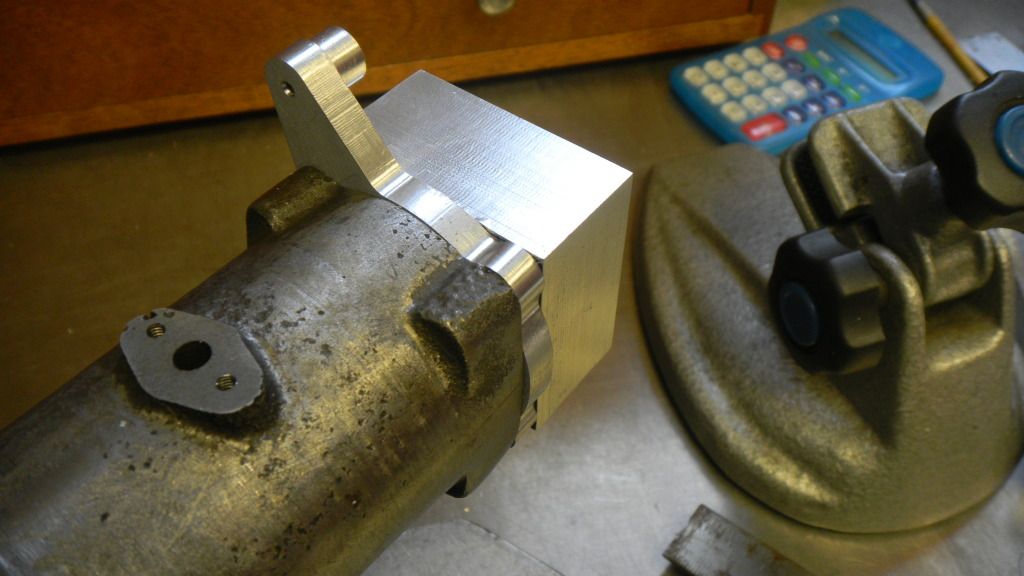
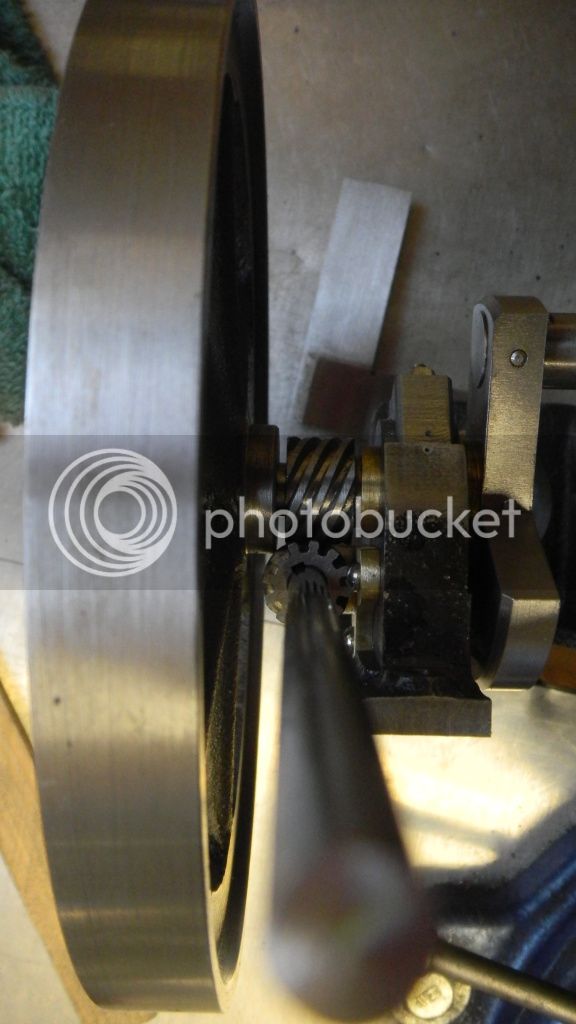
One more teensee little problem. I’ve run out of space on the crankshaft. The hub of the flywheel is larger than the drive gear and will have to be spaced farther out.
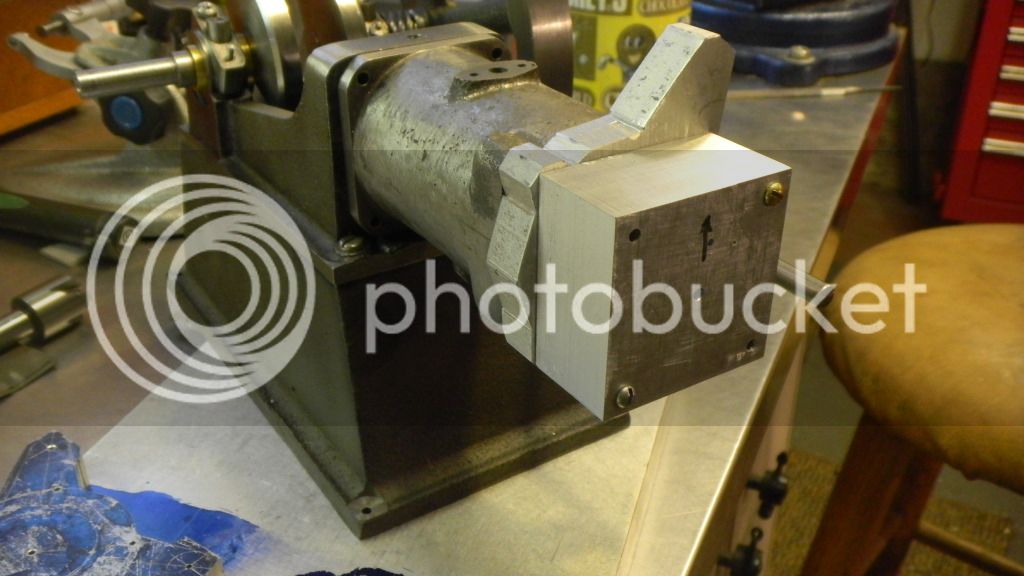
Also the drive gear will have to be spaced away from the engine base in order to keep it centered over the driven gear. The outside of the hub is now flush with the shaft., and the gib key will protrude beyond.
DSCN2152.jpg


I thought I allowed enough extra length on the shaft, but it’s now perfectly apparent that I didn’t plan far enough ahead. I can’t leave it like that so now I have to make some adjustments.
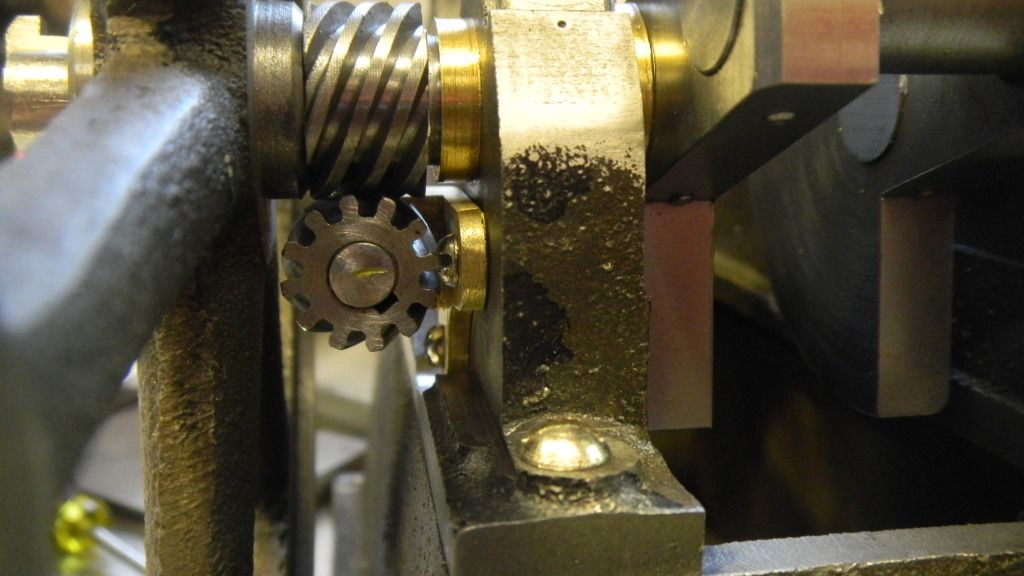
First and most apparent is to reduce the inner hub diameter, also while in the lathe I can trim the projection a 32nd.
Still not enough gain in space. I will reduce the thickness of the sideshaft bracket mounting and mill a bit more of the engine base. About another 32nd each. This ought to do it.
Modifications now made the results are great. All seems to be OK on that end of the engine.
DSCN2159.jpg


Now moving to the front line.
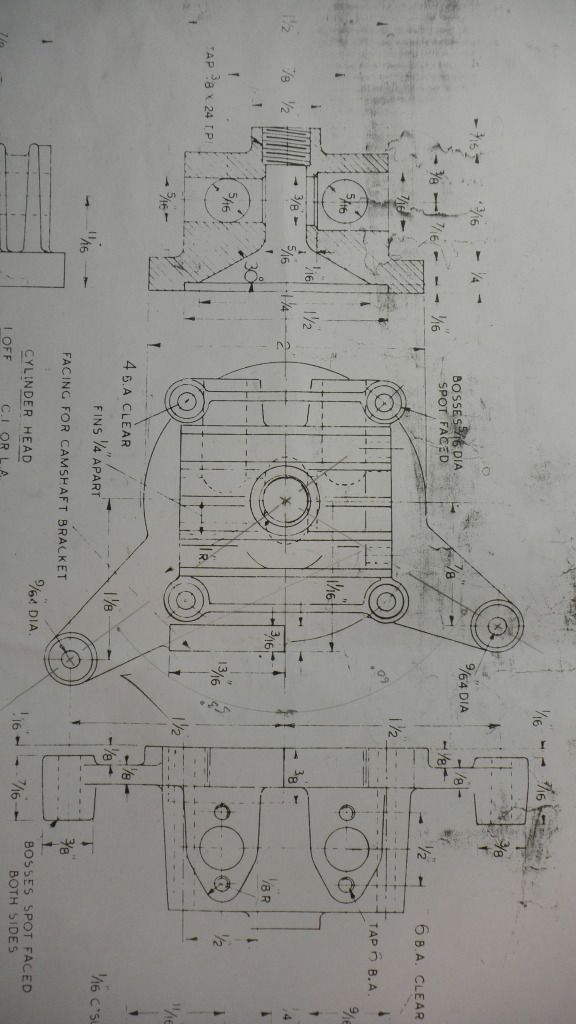
I’ve been scrutinizing the cylinder head details for about 3 or 4 months.
It will be a serious challenge for me.
DSCN2195.jpg

 
If I think like I’m going to build a casting pattern for this piece, I can see it being built of a few individual pieces.
The base, IE: cylinder cap/rocker arm brackets and side shaft bracket mounting.
This part will have to accommodate these parameters and provide a landing pad for the actual cylinder head, as well as providing part of the combustion chamber.

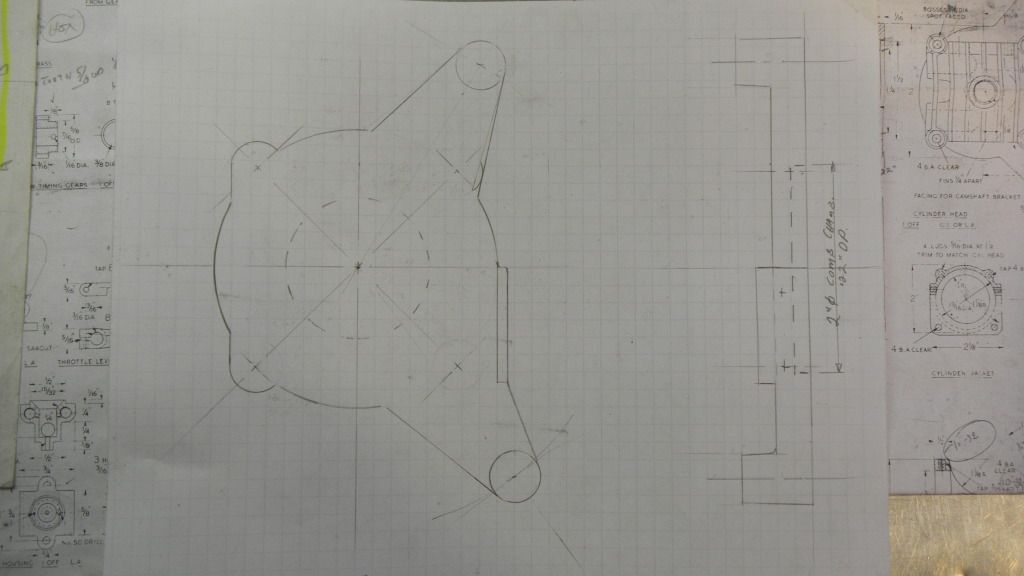
A few sketches, much what-iffing and I’ve come up with this, as the first and easiest piece.
DSCN2184.jpg
 
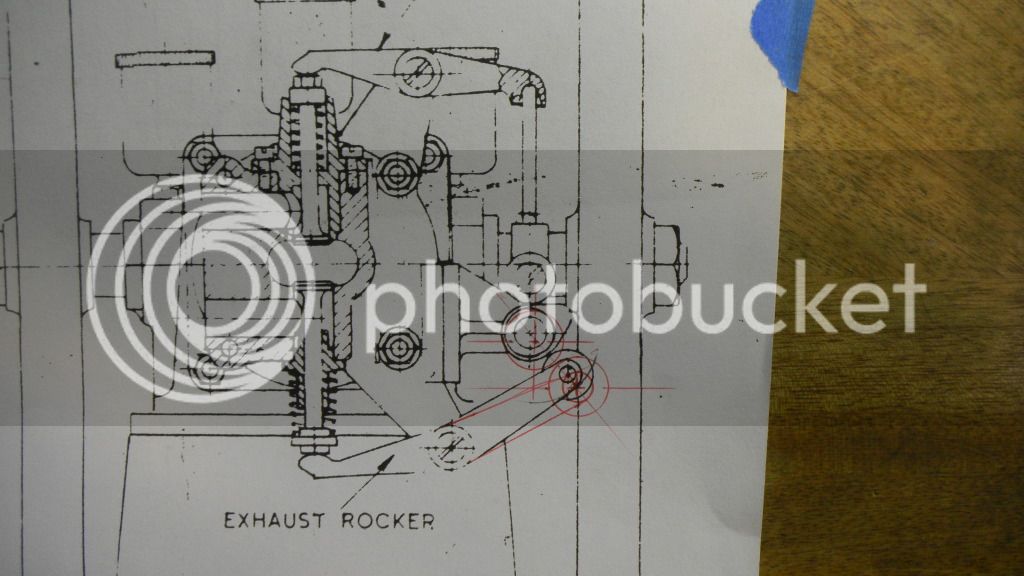
Also in the mix is what complications will be caused by the relocated sideshaft.
This seems to be a fairly simple modification of the rocker arm angle, at least according to my next sketch.
I’m really thinking that mastering CAD would be real handy for what I’m messing with here, but I’m still in old fashioned way mode, and pencil and paper should suffice my needs.

DSCN2185.jpg


The cylinder head itself , if I’ve done my homework should drop “seamlessly” (a much overused word) on top of part A.
My plan includes, doing a physical layout (I think I’m finally learning), drilling the centers for all of the holes, and setting it up on the el cheapo rotary table and carving it up like a roast turkey.
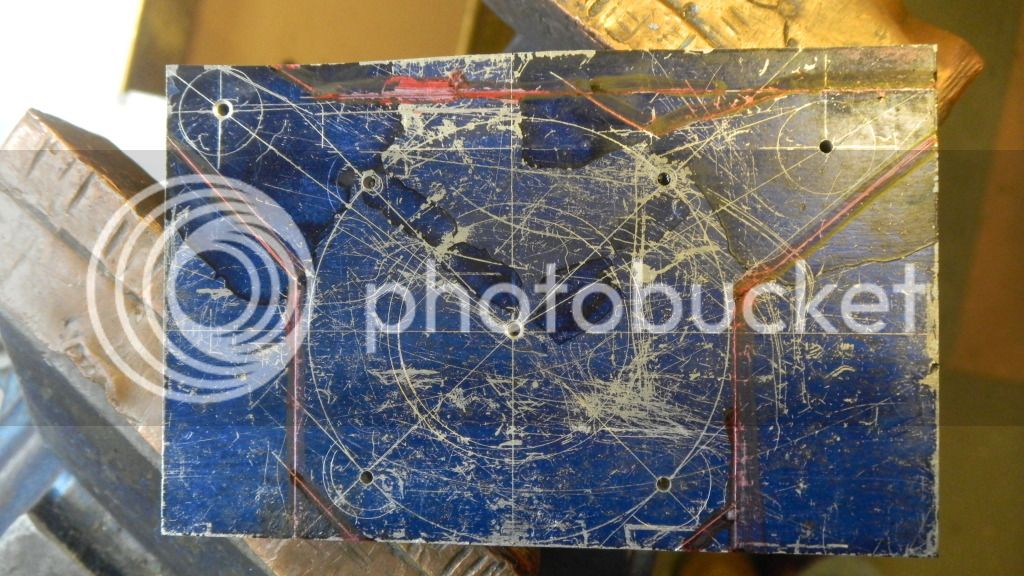
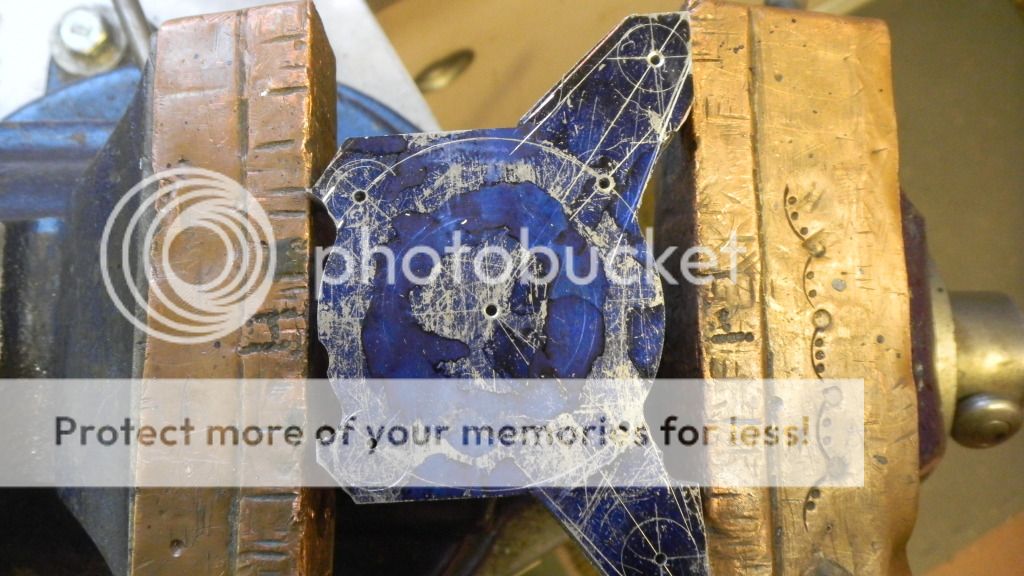
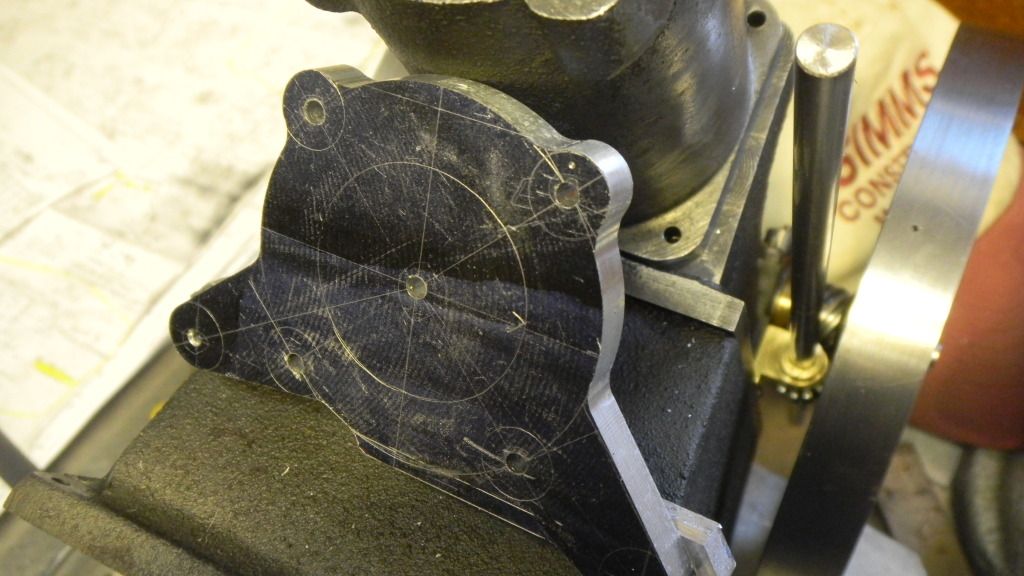
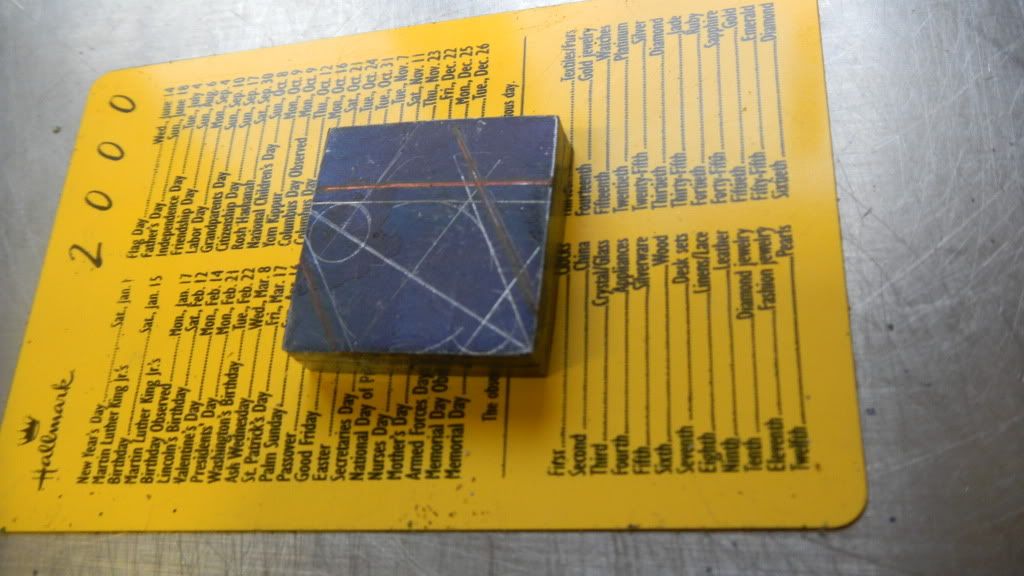
I made the layout on the work piece as planned, the marked then bandsaw rough cuts and highlighted with a red marker. The Dykem layout was getting more scratched up as I made the layout and is now at a point where I am having some trouble discerning lines from scratches, I’ll have to be careful.

DSCN2186.jpg


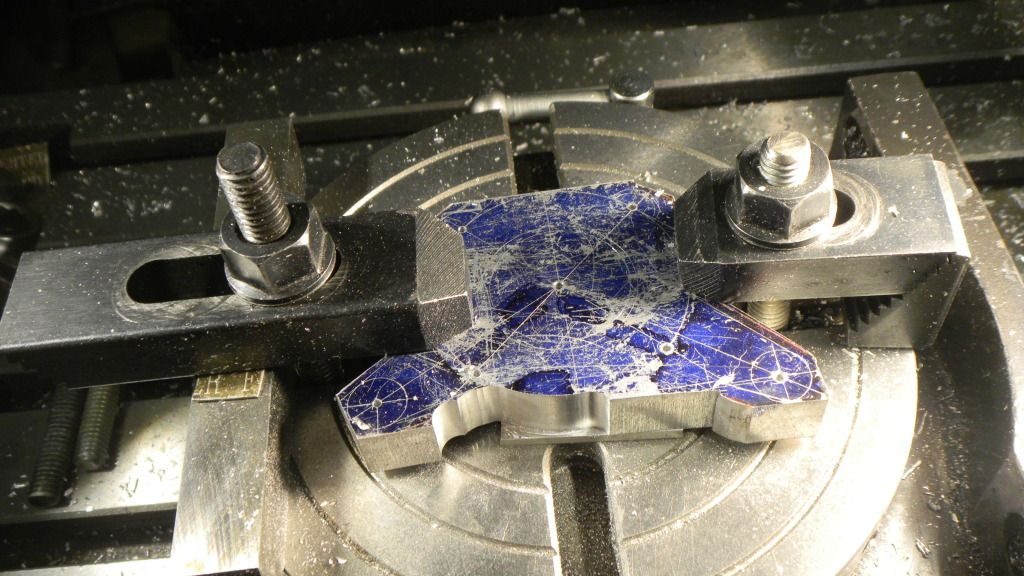
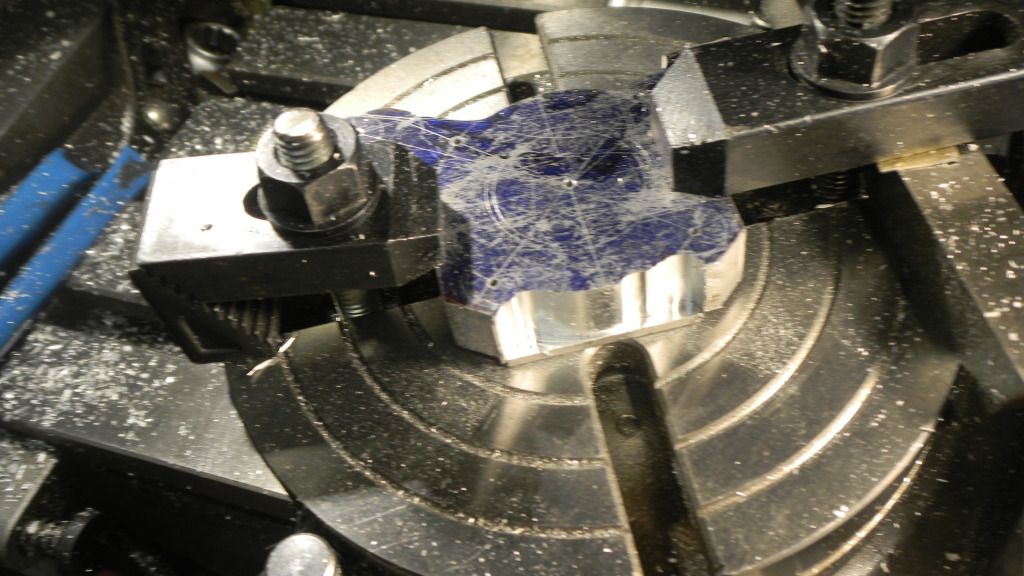
Centered and clamped on the rotary table I started cutting at the left side and carefully worked toward the basic head diameter of 2".
It’s a bit difficult to make out, but there is a horizontal line just above the saw cut where I’m going to cut next
That line is important!


DSCN2188.jpg
 
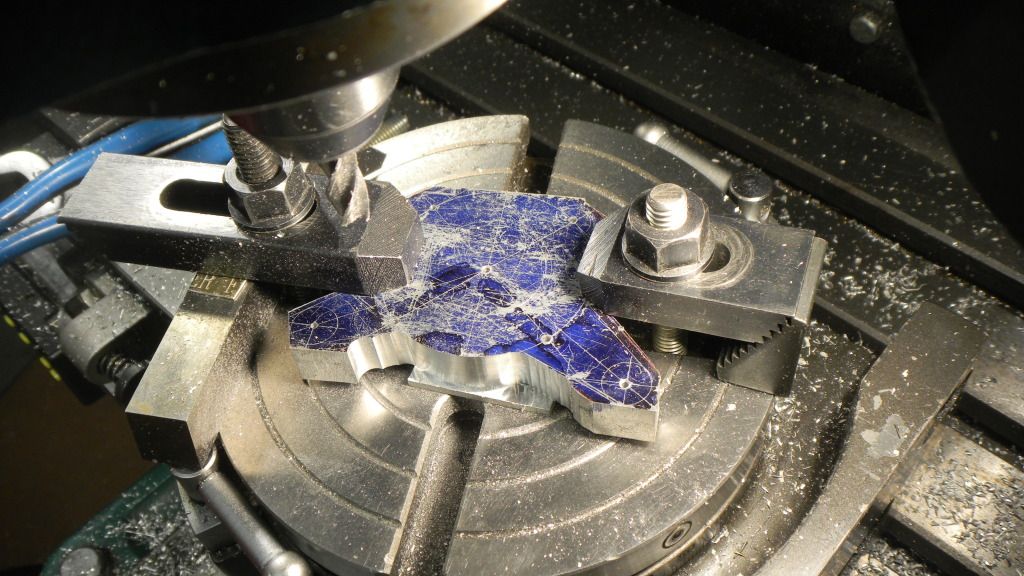
I proceeded working my way around the head diameter. Have you noticed anything, I haven’t yet.

DSCN2189.jpg


“This is going great”, I thought, and proceeded cutting on the opposite side.
Almost at my diameter, I decided to climb cut the last couple thou. working to the left. I've read taht this will produce a smoother finish.

Ka-chunk! The backlash on this rotary table is terrible and when I started backing it up the cutter grabbed, put a divot in my cut and knocked the work piece out of center.

DSCN2191.jpg


Probably ruined, I wondered if I could somehow work my way around this issue.
And I finally noticed I cut off the sideshaft bracket mount.:wall:

DSCN2192.jpg


“Gloom, despair and agony on me”!

This piece is now definetly riuned.
Half a days work and 50 cents worth of scrap aluminum, about a buck total, is what it amounts to.

Round one to the Dragon

Note: The Wyvern, name a mythical two legged, winged dragon, seems to be the adapted to this engine possibly because of the dual fuel carb. Also the name of a WWII single engine fighter plane that had two props.
 
Not to be beaten, when the Round 2 bell rang I started milling down the next opponent.
The first ruined piece was ¾” flea market stock and now what I have left is a drawerful of 1’ flea market stock. I’ll have to hire out some kid to manage the swarf.


That was yesterday after noon.

This morning I’m typing up this post as we enjoy the calm before the storm.
Hurricane Sandy is at our doorstep and already wreaking havoc on the south east coastline.
The center is expected to pass about 50 miles southeast of my home here in NE PA.
Not as much a rain event as a wind event and the experts are predicting widespread power outages throughout the area.

I’m prepared for that and I have a number of generators and enough fuel.
It seems the brunt of the storm damage will be along the coast and in the heavy rain areas some south of us.

Thank you Rake for wishing us safe passage. I second that.

I will spend today in my shop working on another attempted cylinder head and keeping an eye on the storm.
GUS
 
Hi Gus

The Wyvern is coming along nicely and you are making great progress.

WRT. the backlash in your rotary table; most rotary tables have a prevision to adjust this. The worm gear is usually mounted on an eccentric and the mesh between the gears can be adjusted. I showed this to my friend on his import table which he had use for years and didn't realize it was there. If your table has this feature you should be able to completely disengage the worm and freely turn the table if you wanted or snug up and remove most if not all the backlash.

Just a thought.
Dave
 
Hi Dave, thanks for the advice, I’ll check it out.

I’ve been waiting out the, now epic, hurricane Sandy. So, somewhat fortunately, I haven’t put the new piece back on the rotary table.

Although we, in our area, were fortunate to only suffer a small amount of the predicted wind damage. Mostly downed trees and a widespread power outage (2 days in my case).
I had power by generator, but the cable and computer were out.
We could mostly just guess at what damage was being wrought.
When the TV came back we got look at the horrible mess.

My heart goes out to those who suffered tragic loss from the storm.


I managed to get some work done before the lights went out. I did the new layout for the ruined base piece and again, band sawed the rough shape.
I didn’t bother getting out a bigger generator yet that could run my machinery, so I spent my time ,mostly watching sideways rain and misc. things being blown around, from the relative comfort of my shop.
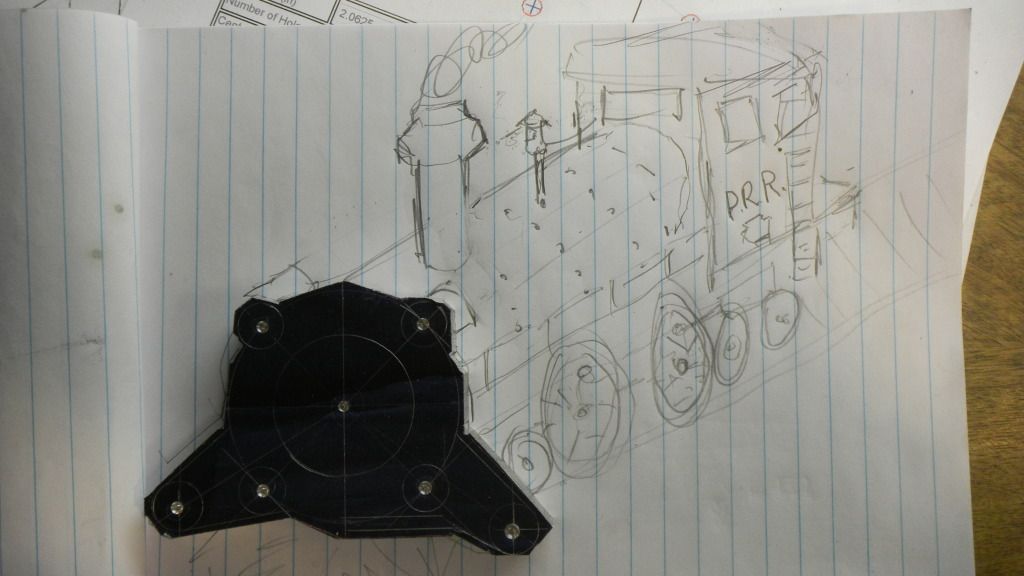
During that time I, starting to suffer boredom, I noticed the base piece kind of looked like the front of a locomotive.

DSCN2200.jpg


Hmmm! :rolleyes:

I decided I had to do something constructive so I chose a piece of alum for the actual head, and laid out the basic square, mounting and center holes.
When the power came back, later yesterday afternoon, I band sawed it then squared it up and drilled the the holes. Also, I finally drilled and tapped the mounting holes on the cylinder.
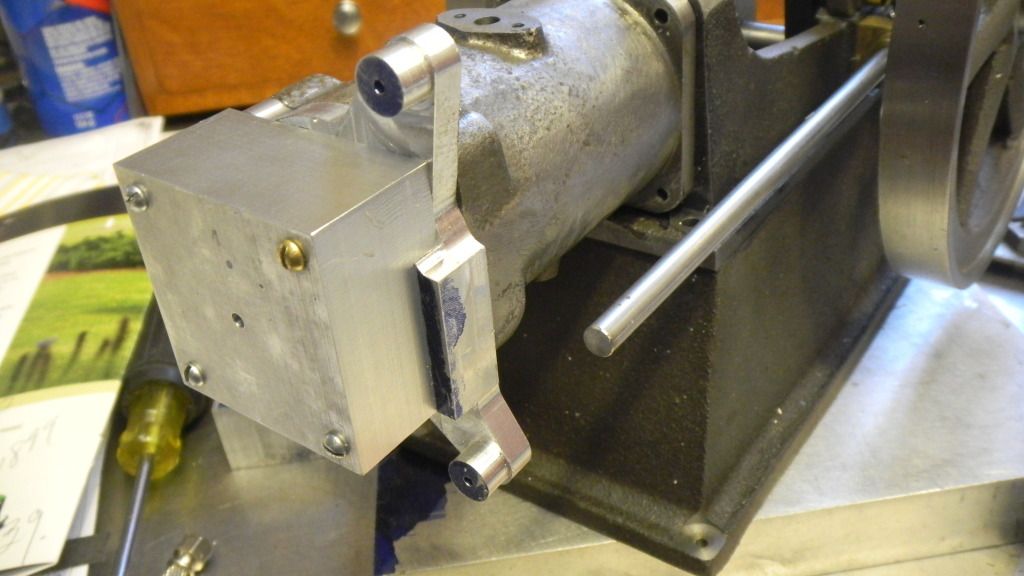
Just to check fit I attached the new parts to the head and got a better picture of what I was trying to build.

DSCN2211.jpg


I did the layouts on the back end of both pieces, thinking I would have less chance of having problems with the holes lining up due to runout while drilling.
I didn’t have 4 screws long enough to go thru both pieces, but there are shorter screws with the heads cutoff in the other two holes.
 
Now I’m back to the same place I was before I ruined the first piece.
Back to the mill.
Not wanting to lose my layout, I sand blasted and wiped the part with solvent before painting the Dykem. I got much better results.
Also I went about the milling procedure a bit differently. I milled away most of the excess thickness on the front of the base piece. Leaving the rocker and sideshaft mounts full thickness.

 
DSCN2232.jpg


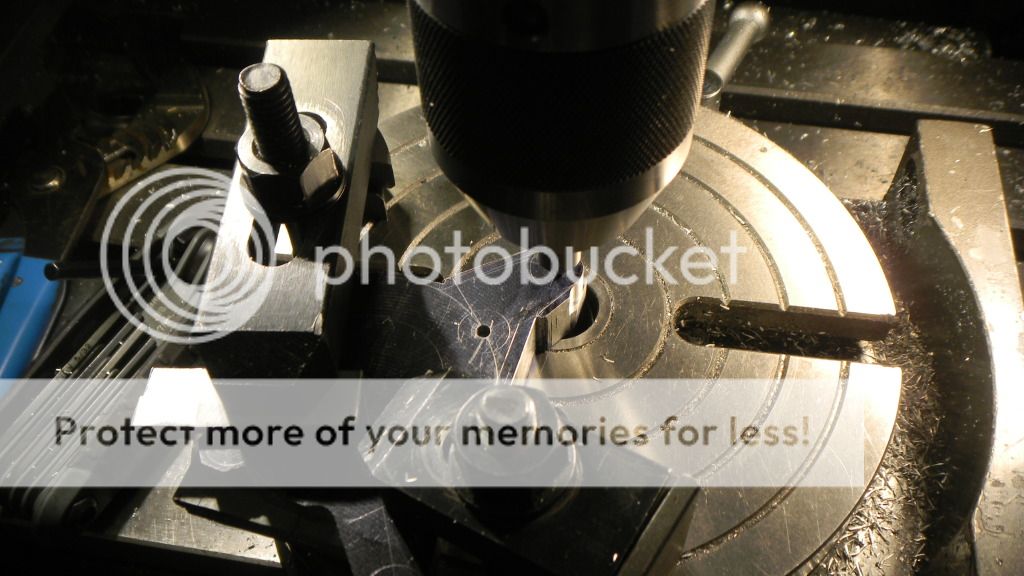
Then, set it up on the RT.
(Dave, figured out the backlash thing, my table has those provisions, but the translated instructions lose something. Thanks)
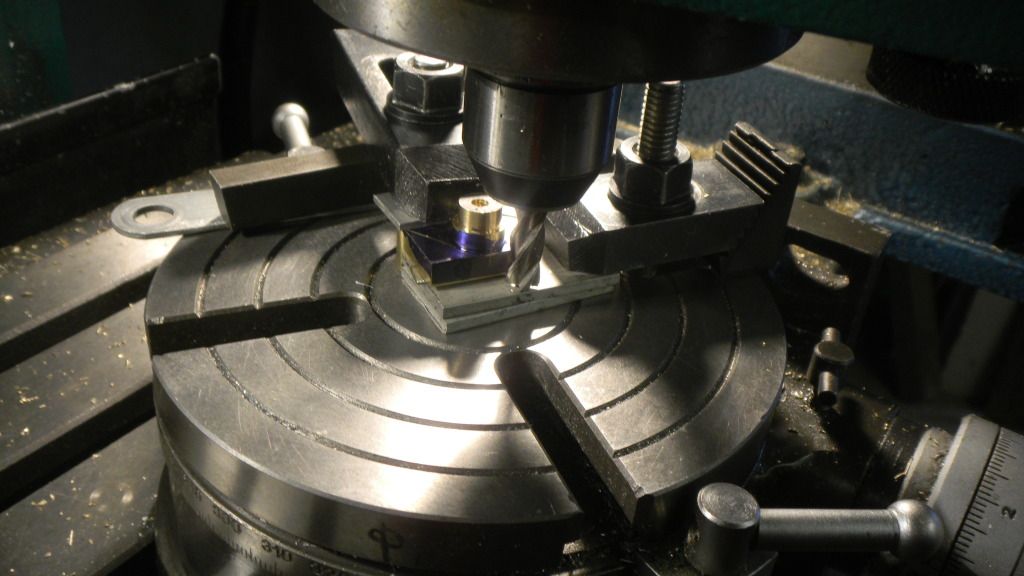
Using a center in the chuck to center on the first rocker mount and the cut the radius.
Repeating this prorocess on the other rocker mount and then the two bolt holes that need to be radiused.

DSCN2229.jpg


Thinking back I should have cut the flats on each rocker mount while I had them centered, so I wouldn’t have to go back and reset. I could have proceeded directly to the flat cut and saved a few steps.
My reasoning for doing the radius and flat cuts first was that I layed those circles out with a circle template. Not very accurate. I fealt that if I cut the cylinder radius first , which I layed out with a compass, I might not have met the intersections smoothly.
Don’t know if I explained that right but all those cuts came out nice.

DSCN2231.jpg


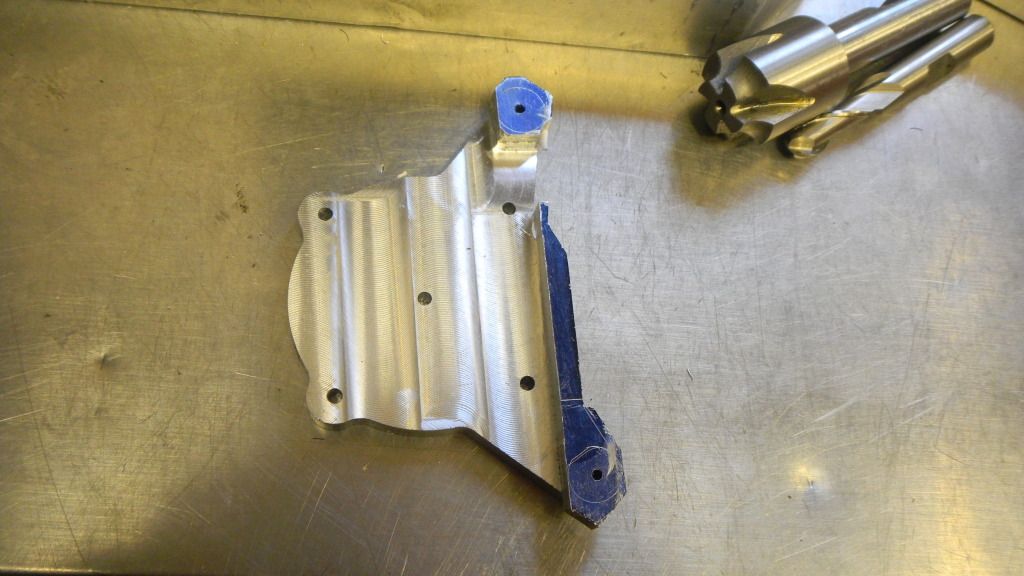
I then turned the piece over on the RT and finshed the rocker mount circles and cleaned up around the sideshaft mount.
Machining on that, the most complicated piece I’ve ever taken on, came out looking and fitting like I wanted. (Big sigh of relief)

DSCN2234.jpg
 
PICS
DSCN2235.jpg
2235
DSCN2236.jpg

 
Now I can turn my attention back to the cylinder head proper.
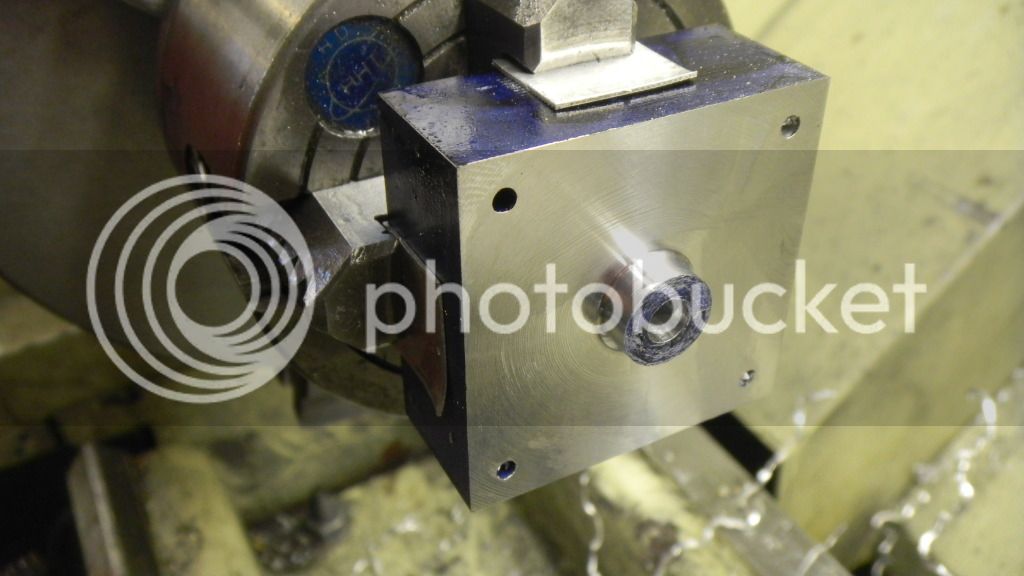
Going to the lathe and mounted in the little for 4 jaw, I faced the thickness down 3/16, leaving the spark plug boss, then drilled for the ¼-32 tap that is the thread size of the sparkplug.

DSCN2241.jpg


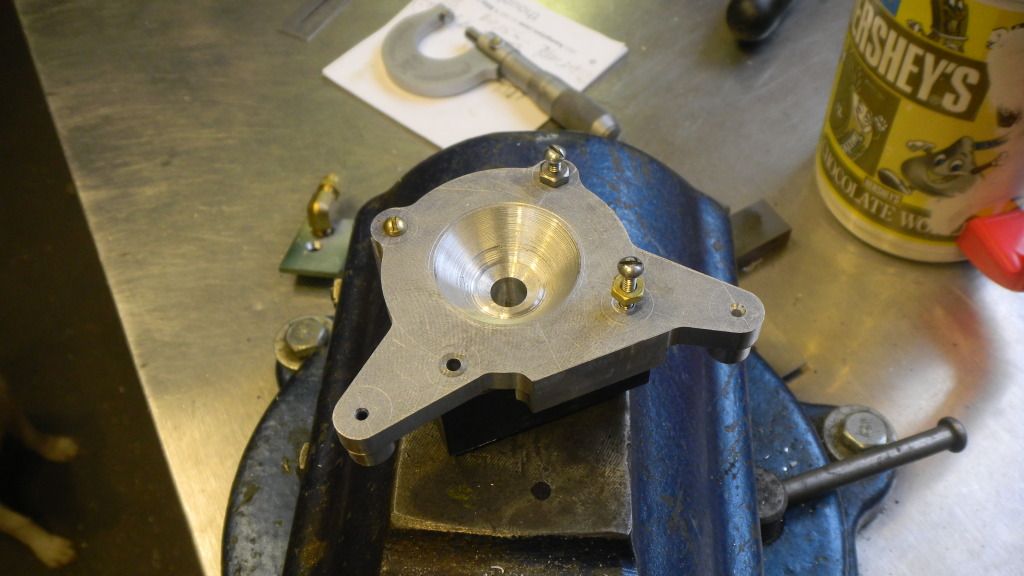
Then removed it from the chuck and mounted the base to it and put the assembly back in.
This time boring the hole and then tapering in to form the clestory combustion chamber.

DSCN2242.jpg
 
Last edited:
At that point I couldn’t resist tapping the plug hole and reassembling the unfinished head back on the cylinder.
Still lots of maching left, but looking good at this point.

Before and after
DSCN2179.jpg

DSCN2244.jpg


More adventures to follow.
GUS
 
Keep your adventure rolling in Gus please as I have followed from the beginning and want to stay 'till the end

Kind regards,

Ron.
 
Ron, thanks for the encouragement. It has been and still is an adventure.

Yesterday’s work on the cylinder head has put it near completion.
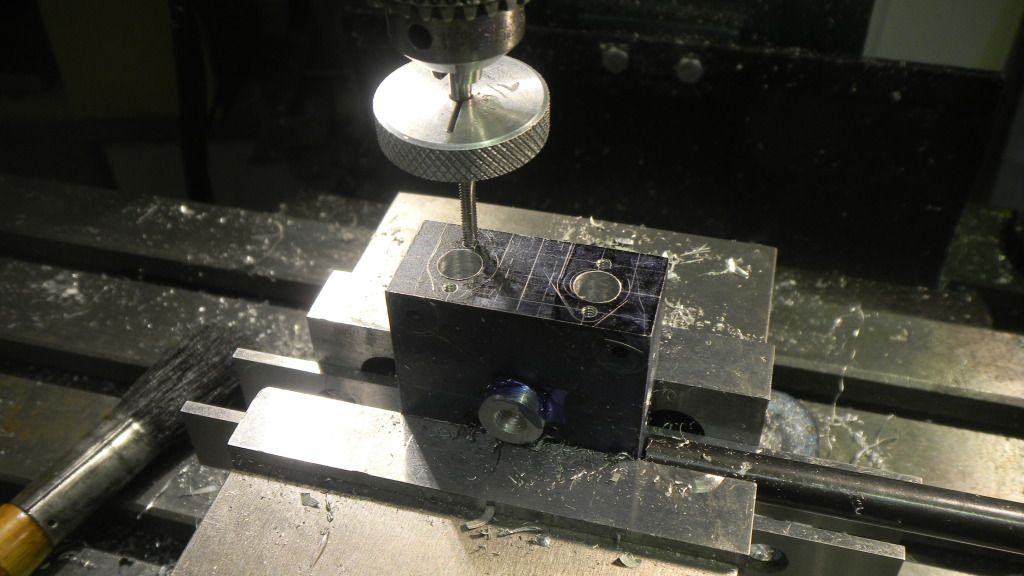
One surface at a time I drilled the holes for intake and exhaust valve cages and the intake and exhaust ports. Also drilling and tapping the 4-40 mounting holes as I went.

DSCN2248.jpg


The fasteners Westbury calls for have me wondering a bit. In places where I would assume there should be larger screws for more strength he calls for # 4 screws and in other places not so needy, in my opinion, he specs # 6. In most cases there seems to be barely enough room for the # 4.
So far I’ve made them all #4.
Another item is the valve cage. He uses a valve cage for the intake but not the exhaust.
I’m not sure that the alum will make a good seating surface for the valve and, as there is enough room, I’m going to use a valve cage for both.
Other builders of this model have made that change also.


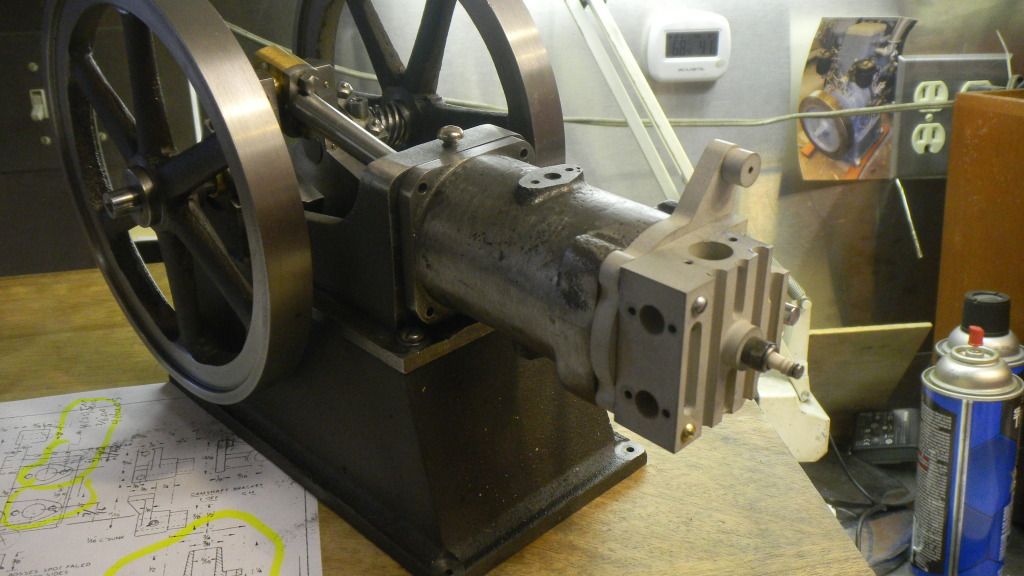
The final chore for the day was milling some cooling fins.

DSCN2254.jpg


DSCN2256.jpg


They came out pretty good but there are a couple oopsies.:(
First was a math error caused by a simple mistake in addition when I was figuring out the spacing. A little hard to see on the pictures, the first slot on the right top, I started the cut and noticed it was too close to the adjoing slot.
I usually back up my figures with a calculator, this wasn’t one of the usuallies.
The other boo-boo was that I uncovered two of the exhaust flange screw holes on the far left.
There seems to be a fairly large discrepancy between the drawings and the actual castings.
I was wanting to borrow the head casting from my pals dad, but he is in NJ about a hundred miles from here, but it may have helped me avoid one of the mistakes.
At this point I’m going to carry on with the rest of the machining on the head and try to ignore what I know is going to be glaring at me. If it gets too bad I might take another crack at it.

I will also add that in the case of the head assembly I machined, I think the cast head would have made for a less cad drawing like appearance.
Maybe it will look better when I get some of the radiuses cut.
 
I only made a little progress the past few days.
After a lot of what-ifing I decided what I wanted to radius on the head.
Now to do it. But first I had to do a bunch of trial cuts with the radius cutter.
My track record cutting with those tools usually ends up with overcutting and leaving a line.
After practising a while, I was coming up with a nice radius with no overcutting so I proceeded on the head.

DSCN2261.jpg


I decided to radius only three corners. I wanted to do some more but I think I would have been getting dangerously close to interference with the valve cages and intake /exhaust mounting flanges.
I did go ahead in break most of the sharp edges a bit. I think it softened the the look some. I’m also going to fill in my mistake with JB and make the groove again but not as deep.
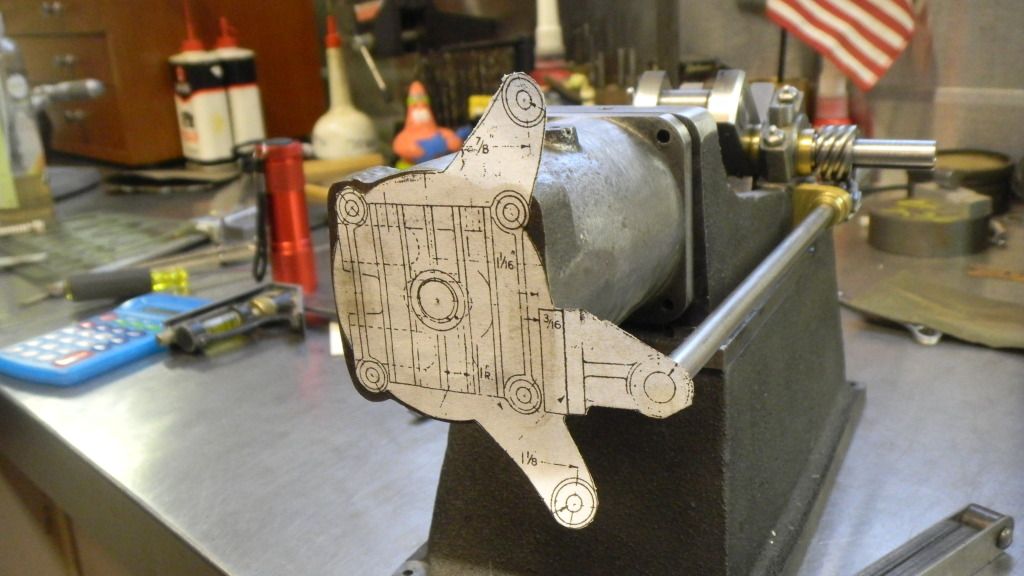
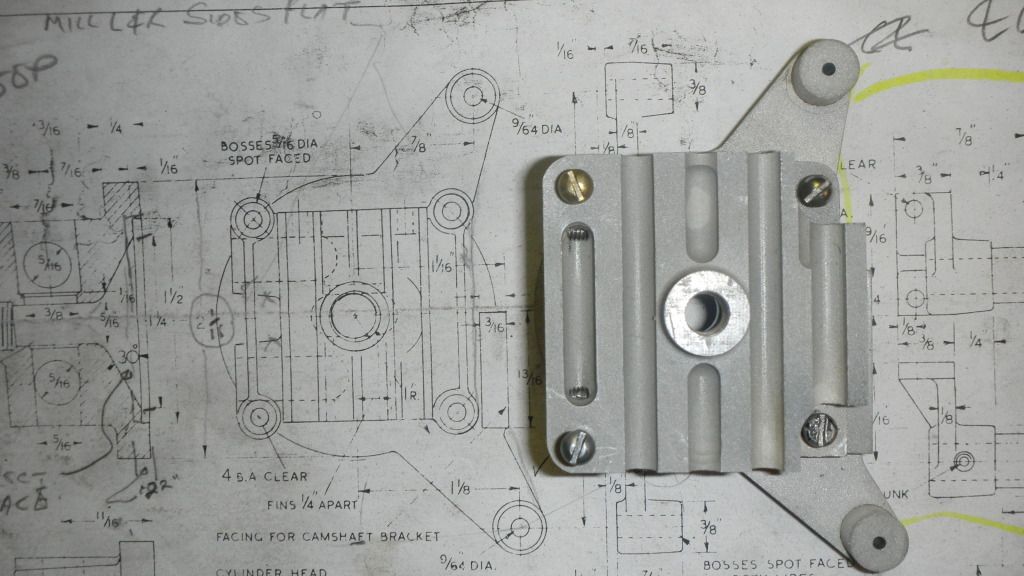
Now to take a look at the remaining sideshaft bracket. Using a cutout copy of the part to give myself some prospective and check for possible problems.

DSCN2270.jpg


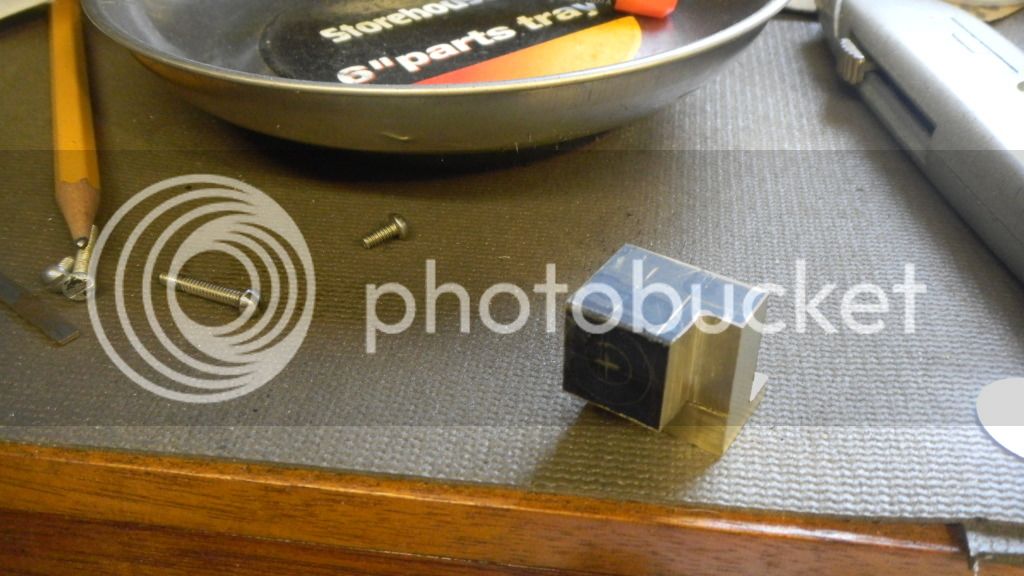
Using the same piece of brass bar I made the other bracket from, I laid it out and then cut away some of the waste with the bandsaw.
 
DSCN2281.jpg


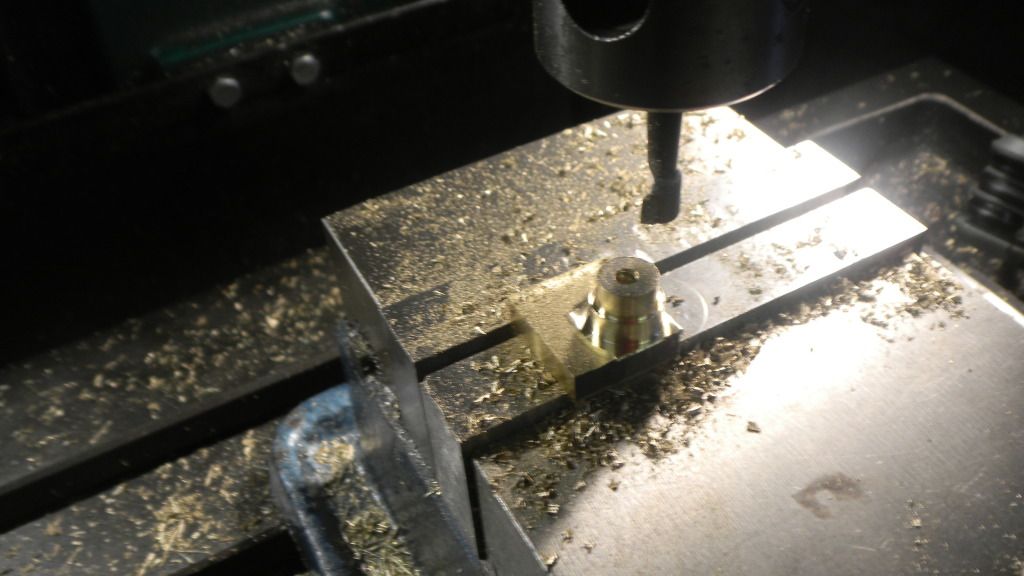
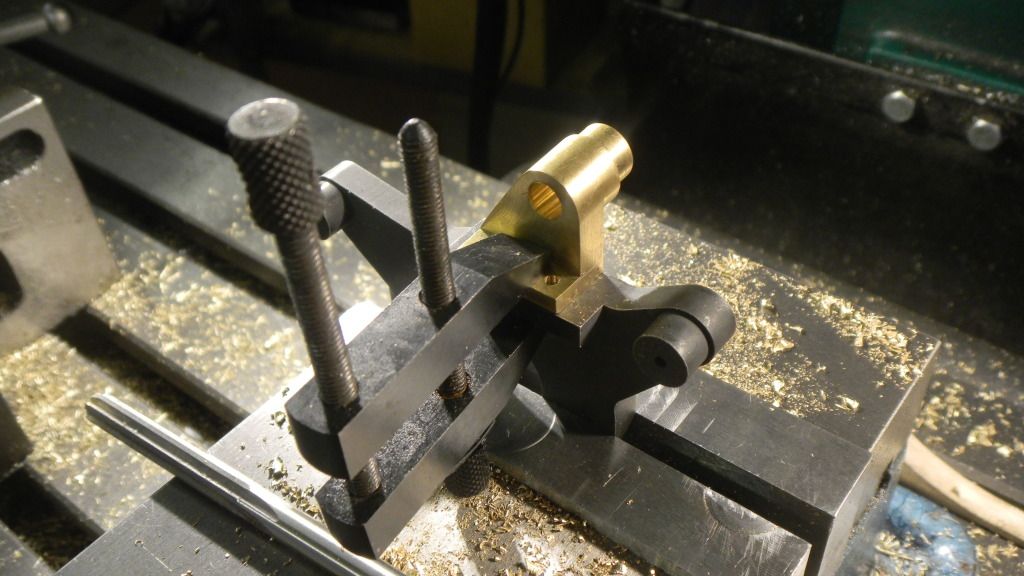
Then in the mill vise making most of the required cuts.

DSCN2282.jpg
 
And then finishing up on the RT

DSCN2285.jpg


I’m really starting to enjoy the RT using it now that I've got it tamed down.
The mounting holes in the bracket were drilled to the tap size so that they could serve as the drill bushings for the holes in the base piece
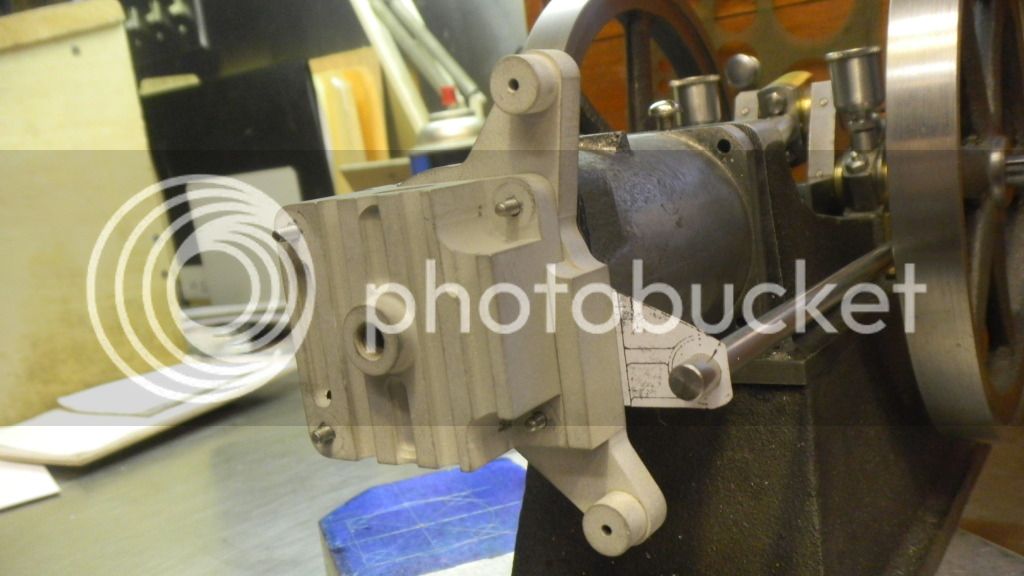
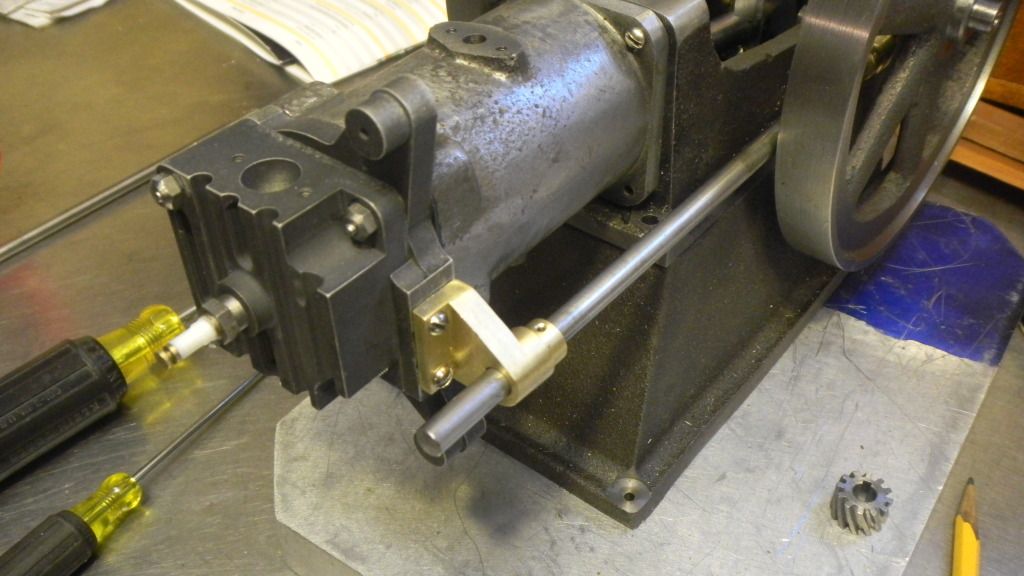
Then with the new piece clamped to the flat on the head base piece and on the engine I adjusted to get the sideshaft to turn freely.
.
Then the base piece tapped and the mount itself drilled for the 4-40 screws.

DSCN2286.jpg


DSCN2287.jpg


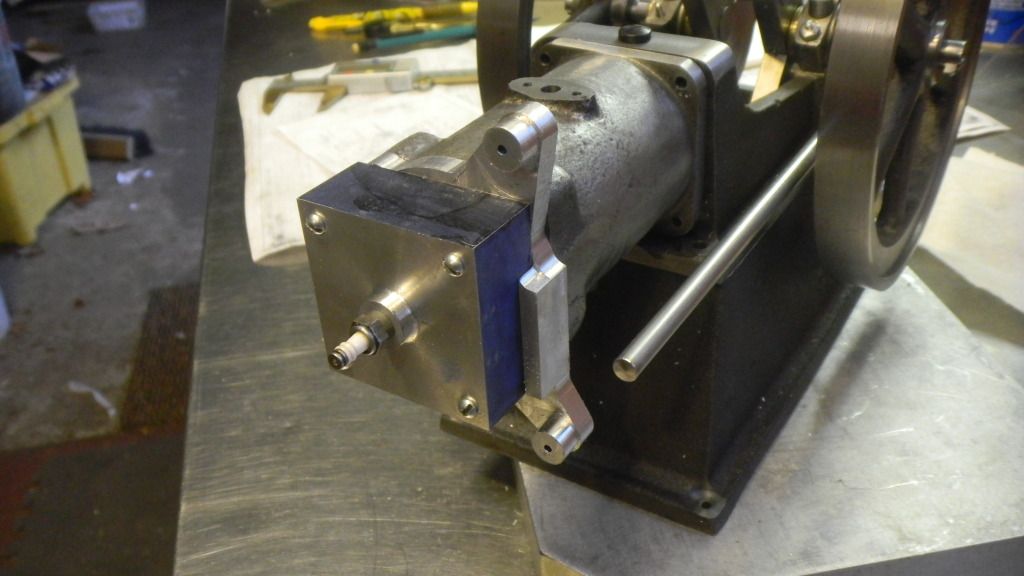
Reassembled to the engine I had to shim the bracket a few thou. to get the shaft to turn without binding.
I also primered the head. I think it helps ease the sore thumb look.

DSCN2288.jpg


With the cylinder head and sideshaft bracket, I've machined half of the 16 missing castings and it's starting to look more like and engine and I haven't departed much from the original design.

Still a long way to go.

GUS
 
Progress on the Wyvern for the last few weeks has been kind of spotty.
In between some real work and a pile of “around the house” chores and some pondering which direction I wanted to go with The Wyvern, I decided to start making the valve cages.
As usual I decided to make the cages some different than the drawings.
I would make the mounting flange a separate piece from the valve cage body and loctite it in place.
For the flanges, I chose a 1” square SS bar that I acquired with a lot of other 303 SS stock from a guy at a flea market.
I started to question the alloy when the blade on my HF bandsaw came up lame, but maybe it was just time for a new blade. So I went to the “old faithful” Marvel Drawcut and sawed off a couple of some oversize pieces. No problem.
Then at the mill to machine the pieces to the 1/8” finish thickness.

DSCN2297.jpg


That operation came out OK, but it wasn’t cutting like 303 and I decided it was just a harder alloy. I like SS in lieu of brass and use it when I have the stock I need, but my experience with harder materials has not been good and this seemed put a hex on continuing.
But, I continued to make a layout on one of the pieces.

DSCN2298.jpg


My plan was to glue the slabs together, machine them and then separate, but I wanted to saw off some of the excess material first.
I can’t cut trust the big hacksaw to make the cuts, so my options were to do it by hand with a hacksaw, machine the extra away or try the HF bandsaw again.
Knowing the blade was dull and not having a spare on hand, I decided to try the bandsaw anyway.
After torturing the saw and myself for some time I managed to get that done, the burnt fingers would heal, but I really should get some new blades.
I glued the pieces together, waited and appropriate time and went back to the mill. I would start by drilling the holes and then cutting the general shape on the RT, my new favorite tool.
Not sure why, because I usually don’t, I decided to center punch the middle hole and pick up the center from that. The punch I chose looked a little dull so I sharpened it up on the grinder and punched the center mark. What I didn’t realize at the time was the newly sharpened tip on the punch broke off in the piece, I guess I put too sharp an angle on it.

The center finder seemed to pick up the center OK, but as I started to drill the hole the bit immediately tried to wander off. :(
Since this was just a small pilot hole I went to a bigger, stiffer screw machine bit, figuring it might get back to the center alright.
The new bit didn’t want to dig in so I pushed a little harder, it resisted but then began to cut. I didn’t realize what was messing things up.
The hole came out a tad off center, I would have pick up the new center and drill the other two holes, there should be enough material left to make up for the bad hole and I didn’t realize until much later that the broken tip was messing things up.

Because I did the the layout from one of the flats on the flange, figuring I would save not having to mill that flat, the mounting holes were on an angle so when I drilled the remaing holes I would simply go to the bolt hole calcualtor on the Internet, get the coordinates and finish drilling the holes.
It was almost lunch time already and I was messing around here all morning, and I just wanted to get that part of this relatively simple piece done.
I got the numbers and when I dialed them in they were not lining up with the layout marks, so Iwent back to the computer and rechecked, thinking I probably just wrote a bad number down, but the X, Y was just as I had copied it. :confused:
Maybe it was the hex working and I was hungry anyway so I went ahead and drilled the holes.

If your thinking I shouldn’t have done that, you are correct. The holes were not where they should be and I was really puzzled . The flanges might be usable somewhere else, but not on this engine. Maybe I should just bury them in the back yard.

After lunch and still muttering to myself I went back to the computer, there must be a reason, and there was. It was still on the screen. I made a typo on the angle, and made it 39 instead of 30 degrees. The hex was too stong. I should have stopped on the first cut.

I shut the lights off and went outside and did some much needed leaf raking for the rest of the afternoon.
 
Next morning, I ordered a piece of 1x1/8 303 SS flat, as well as a few more pieces of metal for the valves and valve cages.
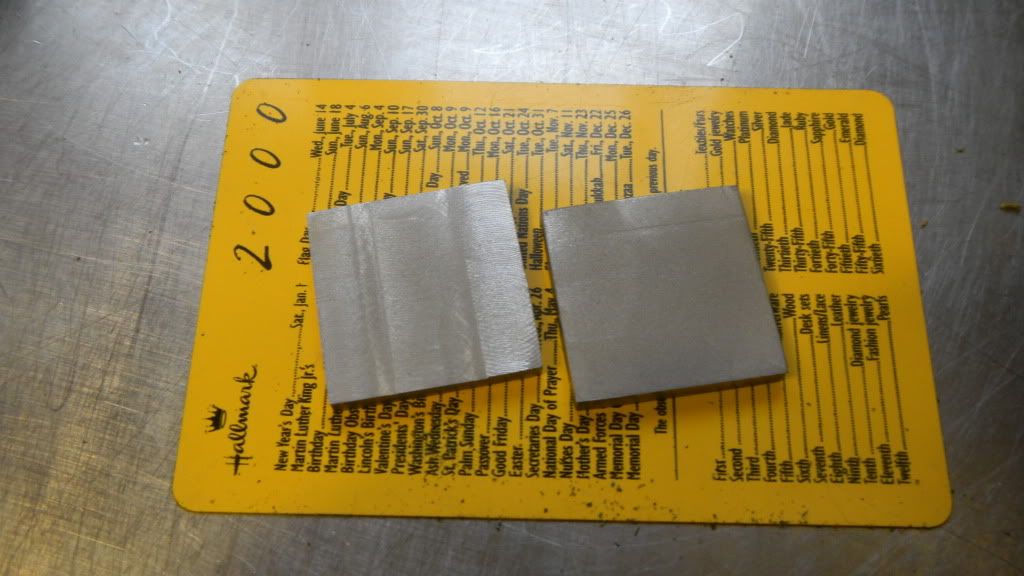
While waiting for the order I finally put a short 1/16” of keyway in the sideshaft for the driven skew gear also made the key. Sorry, no pics, but now I can see the shaft turn. Not a big thing but important.

I haven’t decided where to put the pickup for the CDI ignition yet, so, for now, I’m leaving the gear end of the shaft long enough to accomdate a magnet disc.

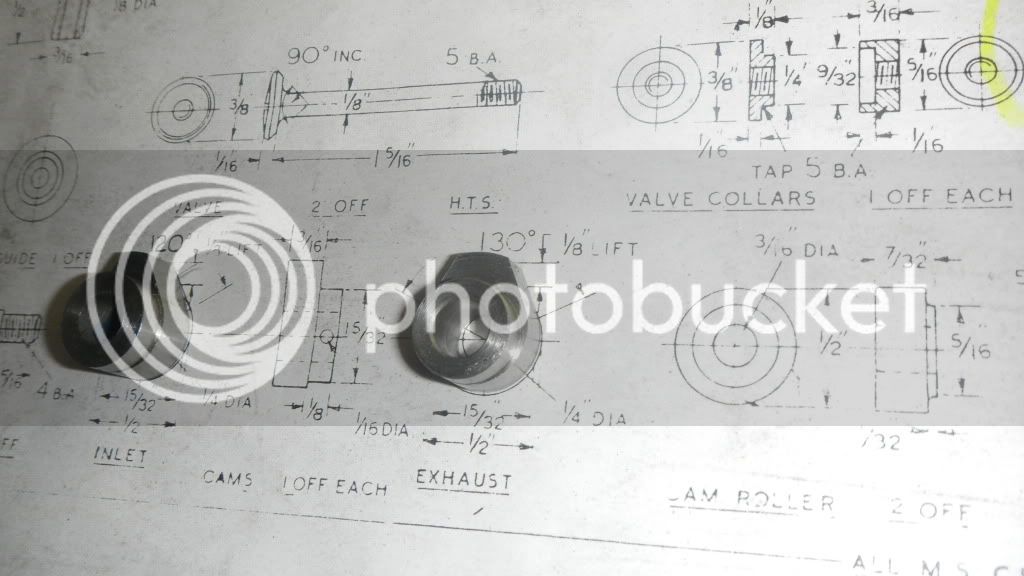
I decided the cams where another item I could take care of while waiting for the order.
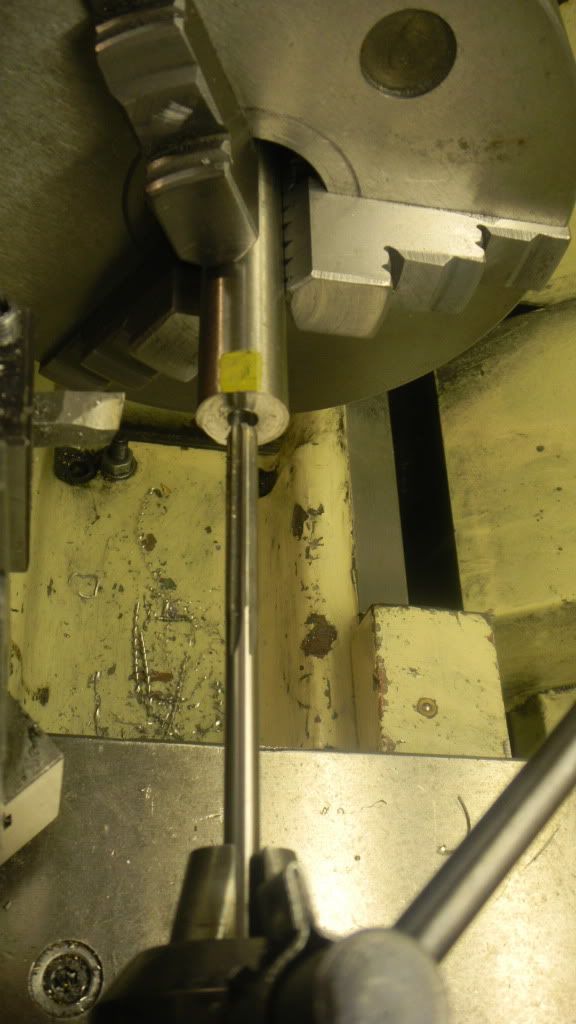
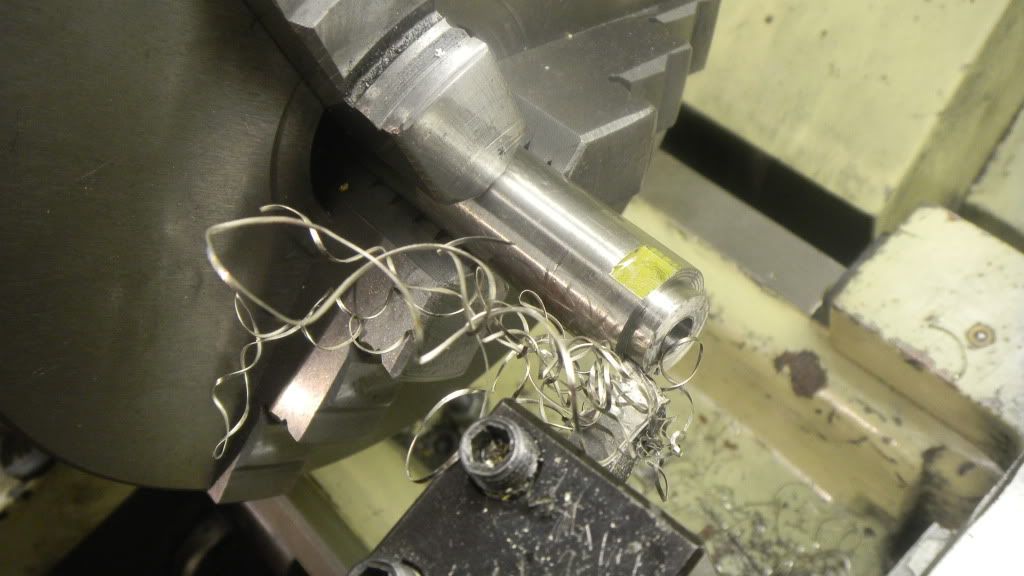
Starting in the lathe with piece of 1” SS shaft I had on hand, drilled and reamed the hole, the machined the collar.

The yellow flat on the bar is evidenly there for a set screw on whatever this shaft was used for and will soon be in my swarf bucket. The yellow is an ID mark I put on all of my SS stock for ID.
DSCN2310.jpg


DSCN2311.jpg


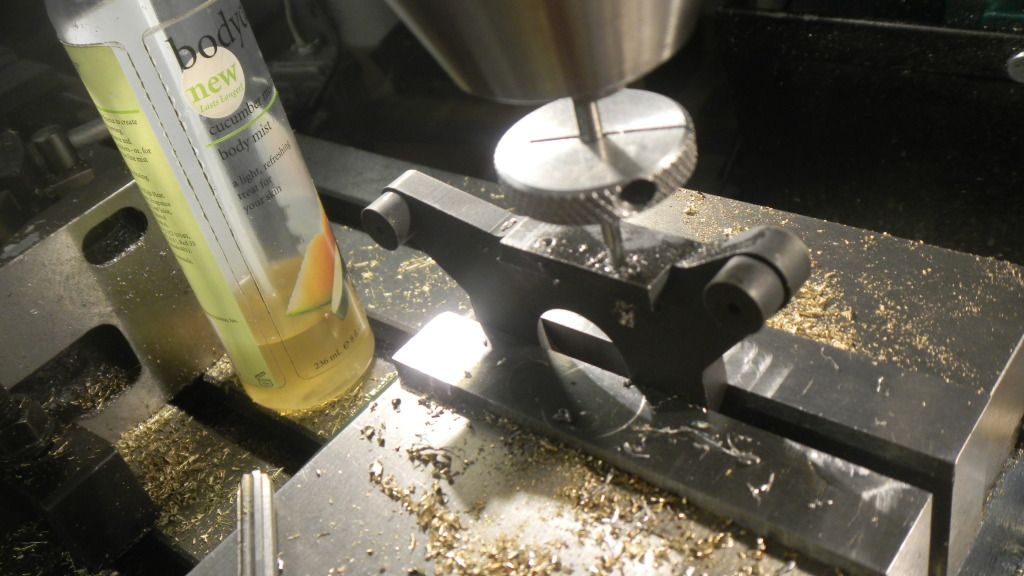
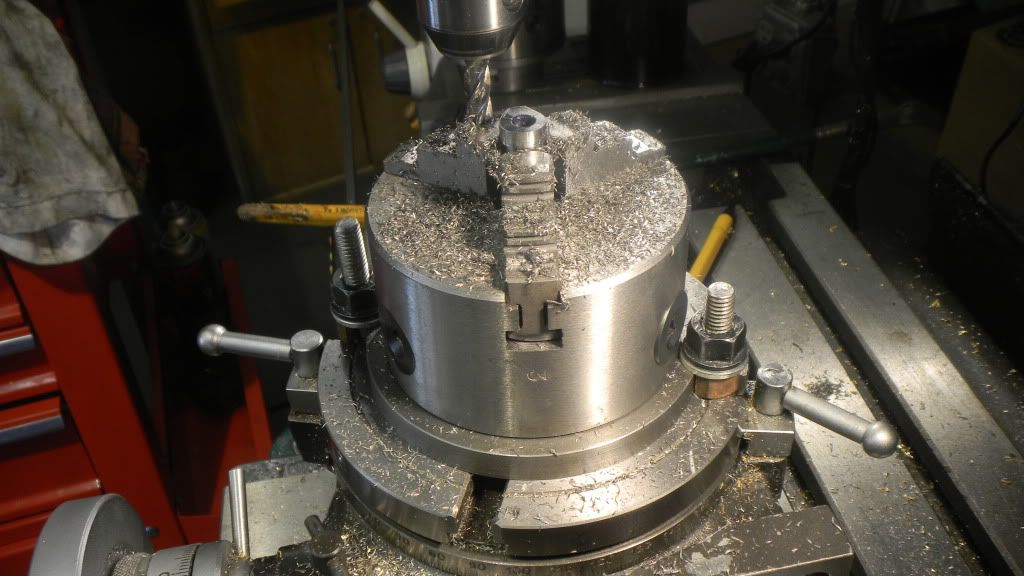
Then to the mill to prifile the cam shape using the 3 jaw mounted on the RT.

DSCN2315.jpg


They came out looking like the cams I needed except that I decided to hand file the top radius.

DSCN2319.jpg


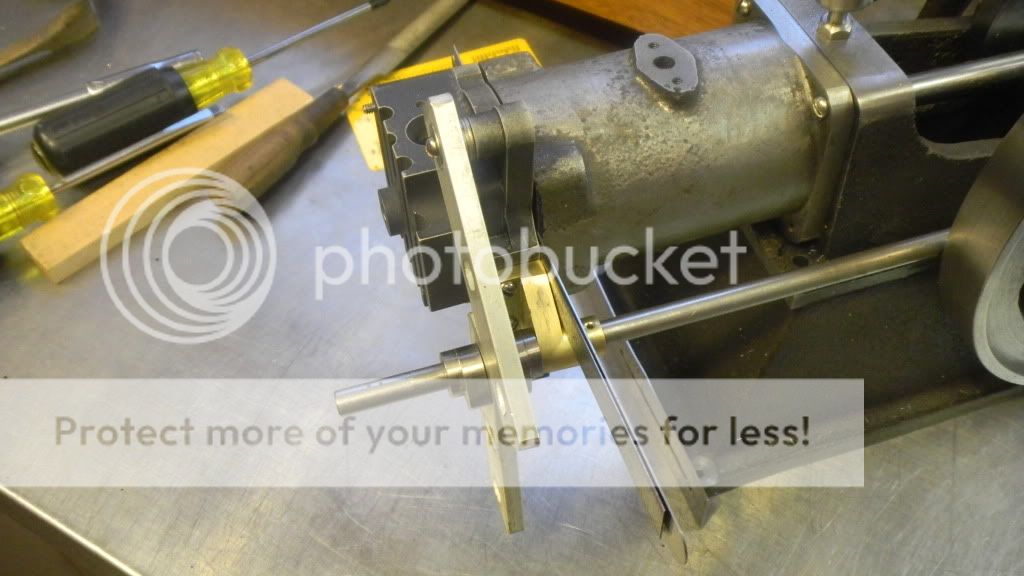
Another moc fit up to check alignment with the valve holes, with a couple of alum. bars replicating the rockers. Looks like things are on track.

DSCN2322.jpg


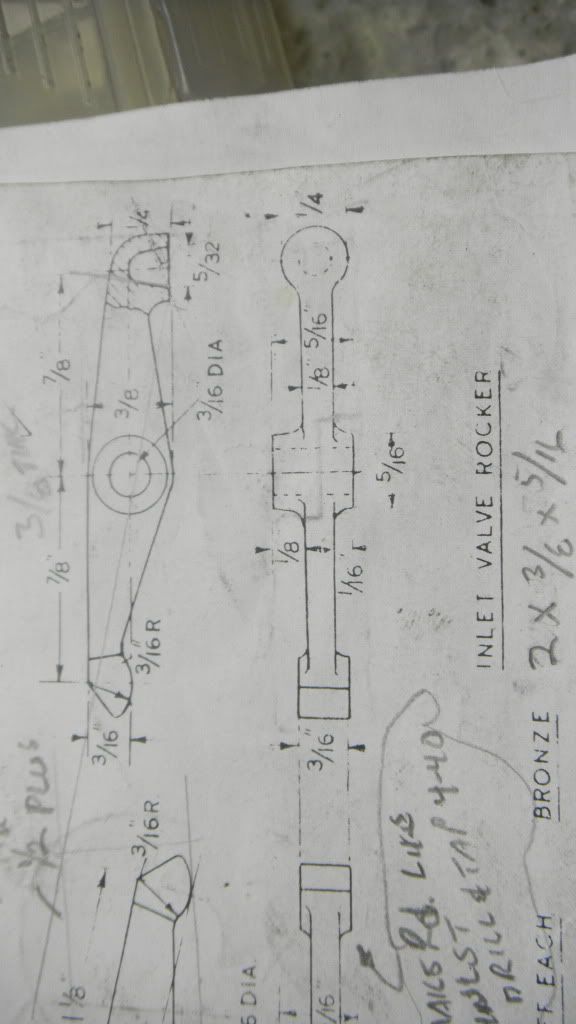
While I was thinking along those lines I took another look at the rockers. This looks like another “experience”.

DSCN2323.jpg


Not sure why Photbucket does this. Every now and then it rotates one of my pictures.
At any rate I’m open to suggestions as to how to go about making the tapered seat (hole) for the push rod on this intake rocker.
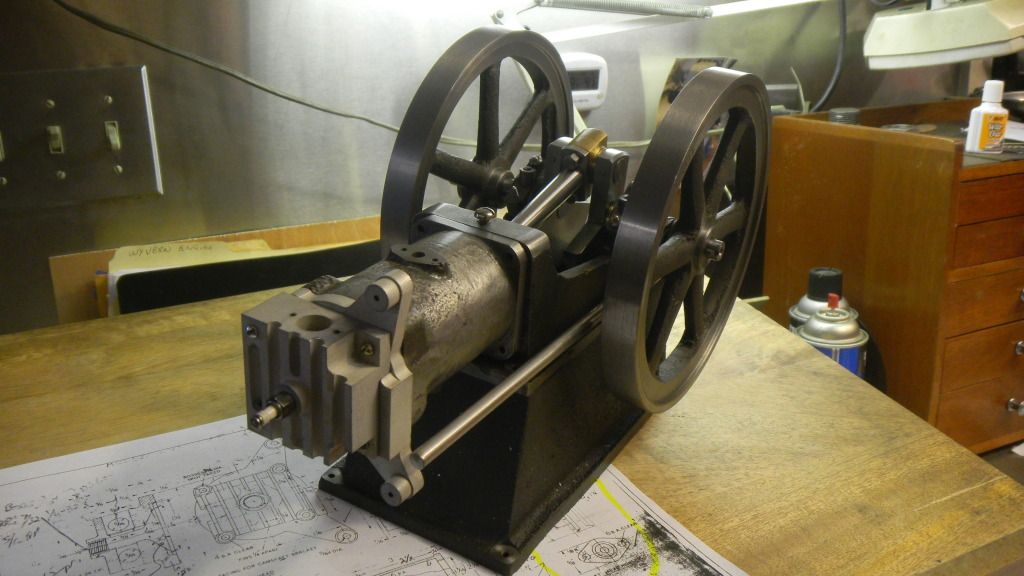


I wrote this post at least two weeks ago and didn't get around to posting it. I was waiting for some material I ordered for the valves and valve cages and in the dry spell I decided to make it. I'm still trying to decide if I like what I came up with.


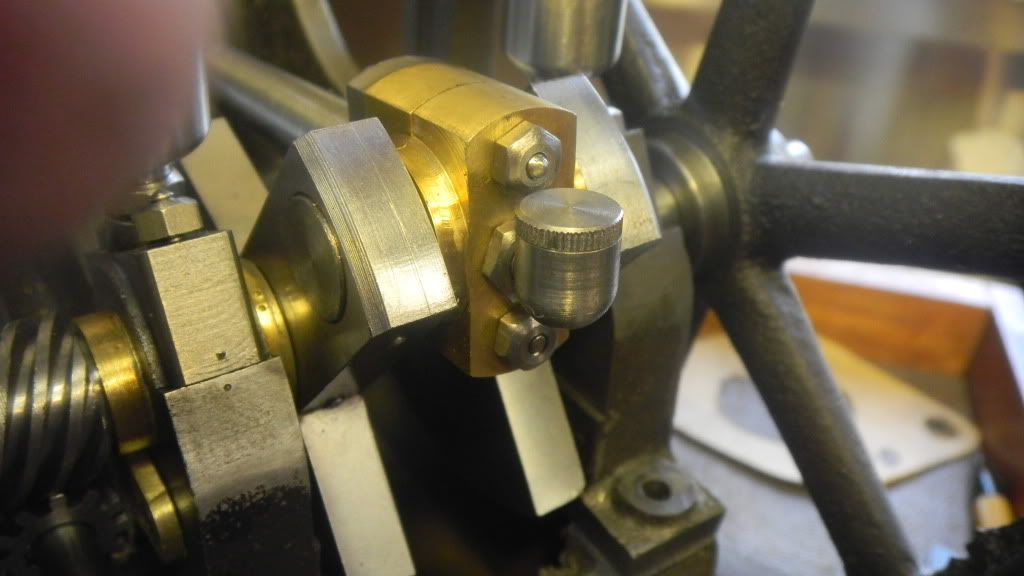
Another small item is the oil cup for the big end bearing. I made the other oil cups some time ago, but held off on this one as I was not real sure how I wanted to build it.
Starting with a ½” SS round bar I used a rounding milling cutter to put a radius on it.

DSCN2327-1.jpg


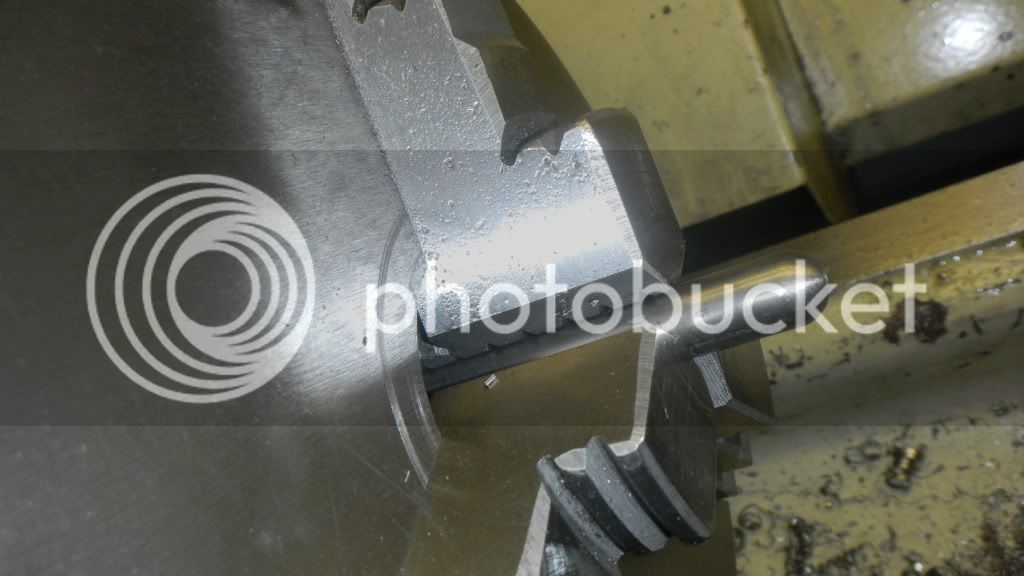
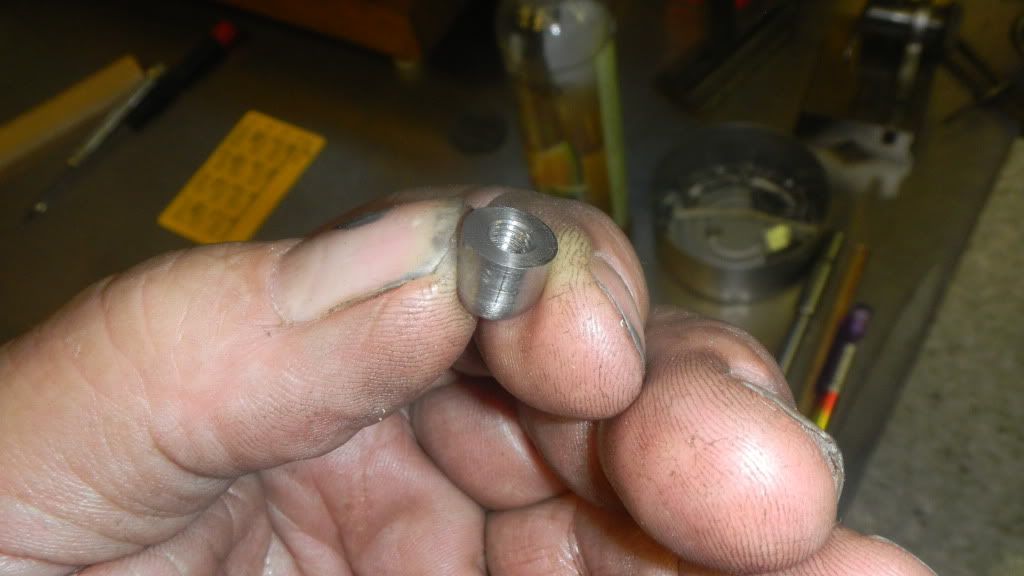
Parted off I drilled and tapped a 10-32 hole for the cap.

DSCN2328-1.jpg


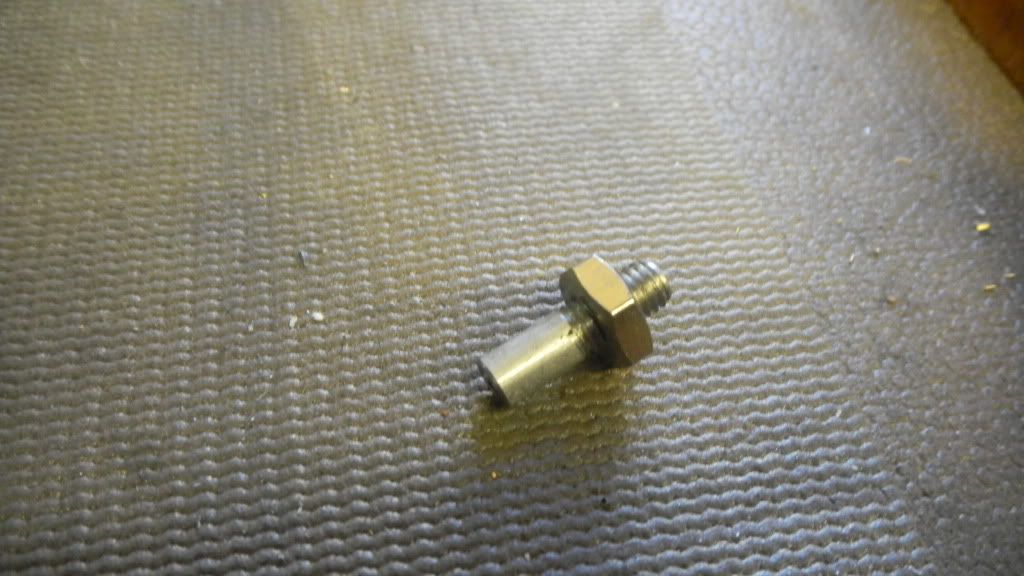
Then, again in the lathe, drilled, tapped and parted off this little 3/16” stem that would later be glued in a hole milled into the side of the body.

DSCN2324-1.jpg


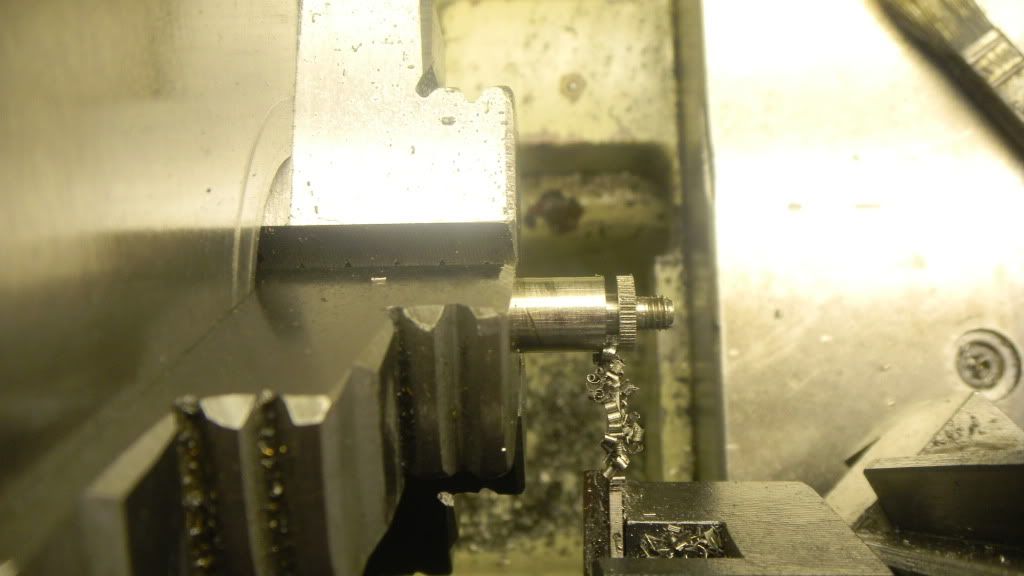
Then the cap is whittled out of the same ½” bar I cut the body out of.

DSCN2332-1.jpg


Made a little SS locking nut to hold it in position on the bearing, and small project complete.
DSCN2336-1.jpg
 
Now with the ordered material on hand I could start making the valve cages, but I remembered that I would need to seal both ends. For a while I’ve been thinking they would only need a gasket under the flange.

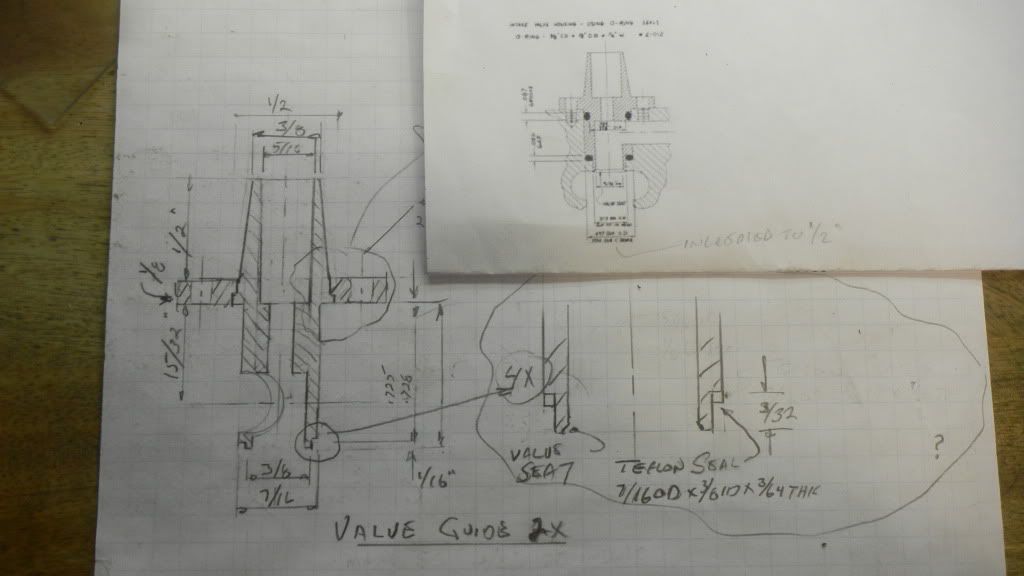
When I first got the castings identified, someone set me on to an article by Brad Smith in the 1989 issue of Gas Engine Magazine, about a Wyvern he built. Brad used an o-ring at the bottom instead of the metal to metal seal at the bottom that Mr. Westbury chose. Also Brad used an o-ring in a groove to seal the valve cage body under the flange

Wondering where he got 1/32 cross section o-rings (assuming he made the cages as dimensioned on the drawings) I did a quick search and didn’t find any, 1/16 was the smallest listed.
Although the dimensions in the tiny drawing in the article where unreadable, I compared drawings and figured out he increased the dia. of the lower part of the body to accommodate a 1/16 o-ring.

DSCN2359.jpg


Not at all wanting to go back and rebore the cylinder head, I thought maybe Teflon would make a good seal. Back when I built the Little Brother, I made some seals from a Teflon rod for a fuel line compression fitting.
I substituted the Teflon seal for the ferrule. A little difficult to disassemble, but they sealed the fitting perfectly. Maybe Teflon would make a good seal in this application.


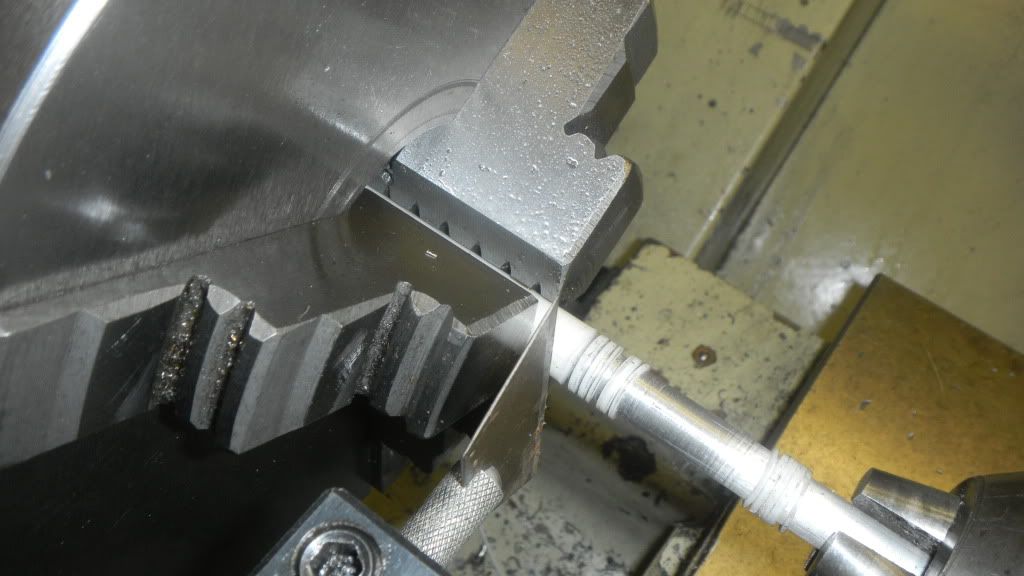
Not having a proper diameter rod on hand, I used a smaller 3/8” dia, Teflon I had used before, figuring that I would make some practice cuts. When I made the compression fitting seals I had trouble parting the little rings from the drilled out rod.
With an ID size rod in the tailstock and inside the hole I drilled in the rod for support , this is what I finally used, although it was quite apt to wandering off while starting a cut.
Pretty much accidental gettting two seals the same width.

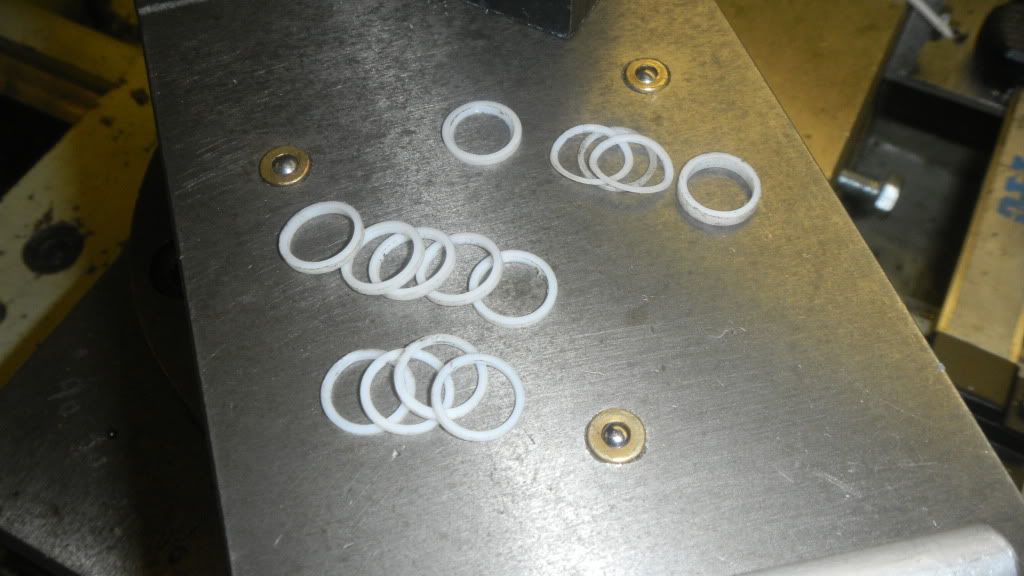
DSCN2341-1.jpg


I would need to stiffen up the blade. After trying several things, I’m still having problems with the cut wandering off, but, I did manage to get some trial seals within a few thou :rolleyes: of the right size.

DSCN2342.jpg


Being quite flexible I stretched the 5/16” ID seal to 3/8” quite easily by pushing it up the tapered shank of a center punch.

But, being it stretched that easily, would it crush a lot or simply extrude through the fairly tight area when the flange was bolted down? Also will it hold up to the heat? The specs say 350-500 degrees, some better than the 392 max for Viton o-rings.

I intend to find out. I will get on with building the valves and valve bodies. I will use Teflon at the bottom and an o-ring at the top.
 
Hi. I have just finished my Wyvern, and looking through your threads I had some of the problems that you have had with your build, I used 1mm section viton O rings for sealing the valve cages, another problem I had was the spark plug fouling the valves, so I had to bore out the cast in spark plug boss and press in a longer boss so the plug electrode cleared valves. Mike

Wyvern A.jpg
 
Hi. I have just finished my Wyvern, and looking through your threads I had some of the problems that you have had with your build, I used 1mm section viton O rings for sealing the valve cages, another problem I had was the spark plug fouling the valves, so I had to bore out the cast in spark plug boss and press in a longer boss so the plug electrode cleared valves. Mike


Mike, Thanks for the info, I never thought to check metric sizes.

Sorry to say I'm a bit confused about the "longer boss". Can you expand on that?

Very nice job on the Wyvern.
 
Hi.

" Longer Boss" by this I mean the part on the cylinder head casting that is bored out and threaded for the spark plug, I bored and threaded this to size as the drawing, but when the sparkplug (CM-6) was fitted the valve head hit the electrode on opening.

In my case the plug needed a 3/16" packing washer to get the required clearance, so not liking that idea I bored out the plug hole and made a new boss to the extra length needed, bored and threaded for the plug and pressed into the cylinder head.
A better description of this item would be " Bush " hope this helps.

Mike.
 
Mike, thanks for clearing that up.
That, also, never crossed my mind. I'm using a home made 1/4-32 spark plug and I will have to make it a long reach to get the electrode closer to the action.
GUS
 

Latest posts

Back
Top