Vertical I.C. Rupnow Engine

Home Model Engine Machinist Forum

Help Support Home Model Engine Machinist Forum:

This site may earn a commission from merchant affiliate links, including eBay, Amazon, and others.
No progress for me to report unfortunately. I'm stalled out halfway through building the carb and it's doubtful I'll get even a day in the shed for the next 8 weeks or so, then it'll hopefully be full steam ahead until I get it finished.
 
Hi Brian. Im having a bit of trouble with the cylinder mount plate. The cam gear slot appears as 1.57" from the end on the top dwg and 1.25" on the bottom dwg. Just wondering if the 1.57" is for the .625 c'bore hole.
I am a bit new at this so perhaps I'm just reading the plan wrong.
 
Hi Brian. Im having a bit of trouble with the cylinder mount plate. The cam gear slot appears as 1.57" from the end on the top dwg and 1.25" on the bottom dwg. Just wondering if the 1.57" is for the .625 c'bore hole.
I am a bit new at this so perhaps I'm just reading the plan wrong.

Herbie--On my drawing, it shows 1.57" to the centerline of the counterbore for the pushrod guide in the top picture, and 1.25" to the center of the gear clearance slot in both the top picture and the bottom picture. As a general "rule" the numeric value of a dimension line will be found above the dimension line, or to the right or left side of the dimension lines, or between the dimension lines if the dimension arrows are "flipped" to the outside of the extension lines as is the case with the 1.570" dimension, but never below the dimension line.---Brian
 
Oops. My mistake. :(. Thanks for clearing that up Brian. Living " down under" we got to read all the plans upside down. Rof}Rof}
With a bit of luck i shall post the finished product by the end of the day.
 
  • Like
Reactions: gus
Herbie---It gets very confusing, doesn't it. Earlier this summer, I drew up 40 or 50 drawings of a shaper for a gentleman in Australia, who came originally from England. He provided me with all the finished sketches to work from. Only problem was that all of his sketches were first angle projection, as he had been trained in England. I have always worked with 3rd angle projection. I found that although his sketches were very well done, I had a terrible time reading his drawings, for to me, all of his projected views were "backwards". This caused me more than a few puzzled moments when I was trying to redo his work in cad.---Brian
 
  • Like
Reactions: gus
So far i have been able to follow your plans without too much trouble at all. Im learning as i go along. The big test will be this weekend when i tackle the block of ali for the frame. Having a great time building this engine and sure appreciate all the time and effort you have put into this project.
 
Herbie---It gets very confusing, doesn't it. Earlier this summer, I drew up 40 or 50 drawings of a shaper for a gentleman in Australia, who came originally from England. He provided me with all the finished sketches to work from. Only problem was that all of his sketches were first angle projection, as he had been trained in England. I have always worked with 3rd angle projection. I found that although his sketches were very well done, I had a terrible time reading his drawings, for to me, all of his projected views were "backwards". This caused me more than a few puzzled moments when I was trying to redo his work in cad.---Brian

Hi Brian,
Gus was trained by British Lecturers drafting and later working 32 years with Ingersoll-Rand,had no trouble to read/work with US Prints. I must be the odd engineer. Fortunately I somehow built your H&M Engine with no problem. But with the V-2 engine ,I fumbled with the mirror image Carbs.Made two right hand carbs and had a tough time making the left hand carb. Now about to head home after a great time in Thailand.
Have great plans to get V-2 to spin.
 

Todays effort was carving the little block of ali. Tomorrow I'll make a start on the big block.
 
Herbie--that looks great. Do you have a source for the gears? Gus--I wish you luck with your Howell V2--Gordon seems to be having problems similar to yours with his build. I suggested that he get in touch with you and compare notes.---That "mirror image" and "opposite hand" stuff has fooled a lot of people over the years. The place where I did my apprenticeship built a lot of conveyors and aggregate processing plants. Many of the discharge chutes were right and left hand. We used to draw the "right hand" chute, and add a note to the drawing which said "Make one chute as shown, make one chute opposite hand". There were so many screw ups in the fab shop that eventually we had to fully draw and dimension the right hand chute, and then also draw and dimension the left hand chute. It took twice as long to do this in the engineering office (and yes folks, we are talking olden days, pencil and paper work) but it saved a great deal more by preventing screwed up chute-work in the fabrication shop. Another "shortcut" we used to take was to draw half a chute (which could be very complex when you had bolted in liner plates) and put a note on the centerline which said "symmetrical about centerline". After a few of our outside vendors built half chutes for us, we were no longer allowed to do that in the drafting office. We had to draw and dimension the whole chute.--- Brian
 
Not sure about thr gears Brian. I shall probably buy them from the link you suggested. Even with the high cost of postage, it will still be cheaper than buyin them here in Oz
 
Thanks David. I might give them a try. But shipping from the UK to Oz could still be a bit pricey. Meanwhile I thought I would make a start on the cylinder.
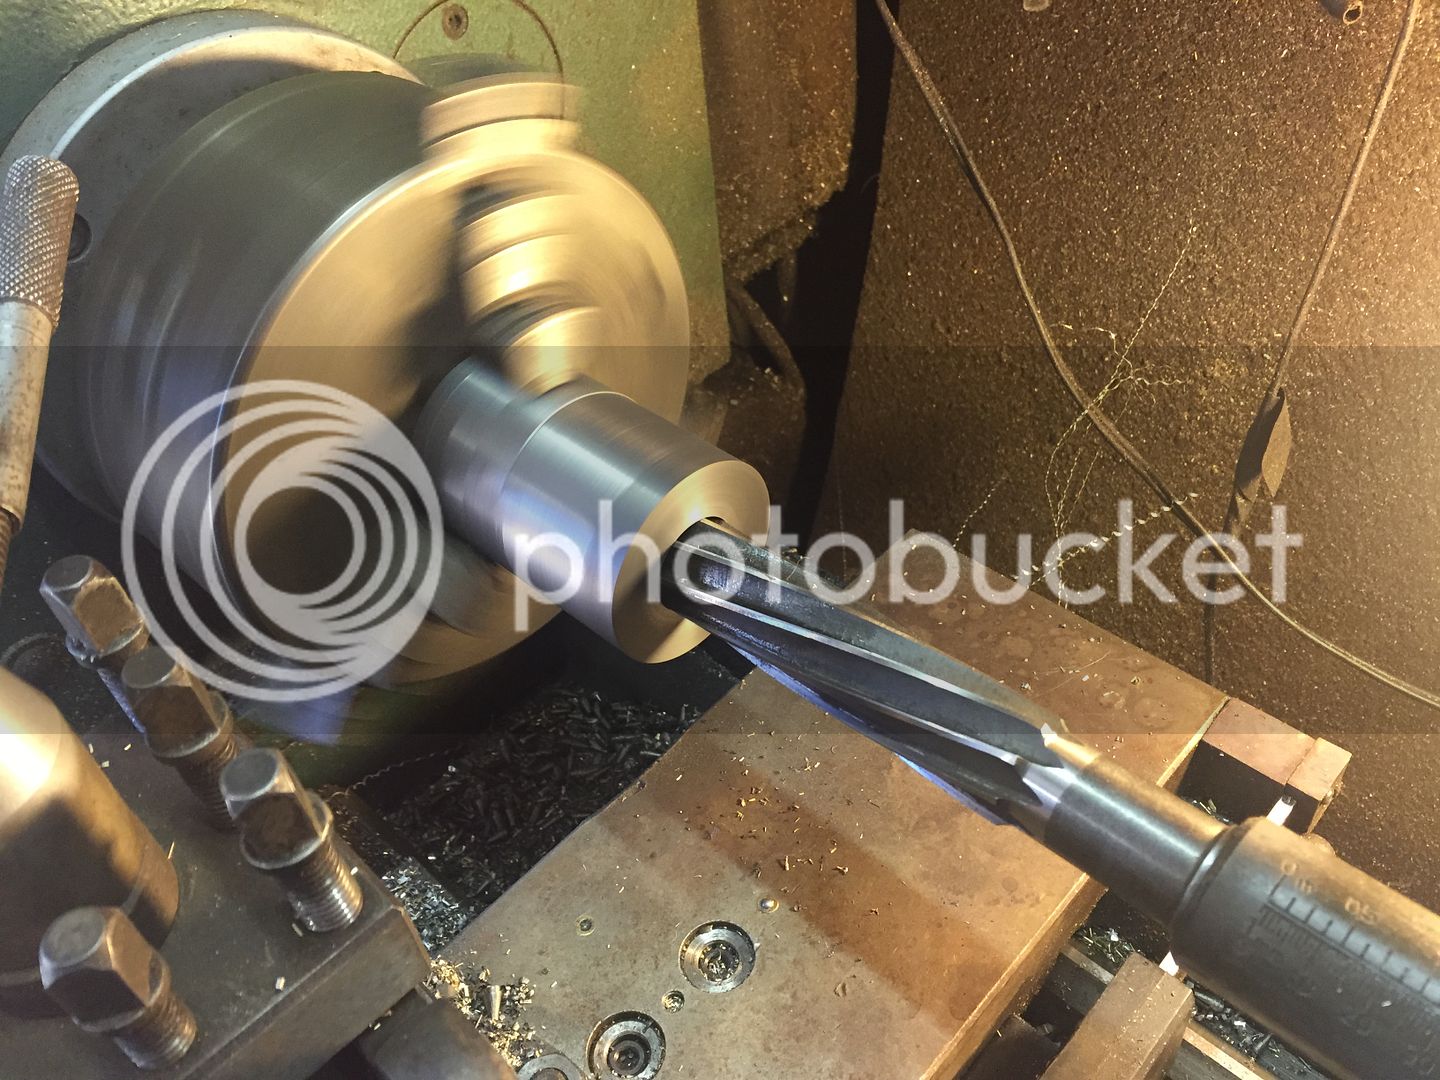
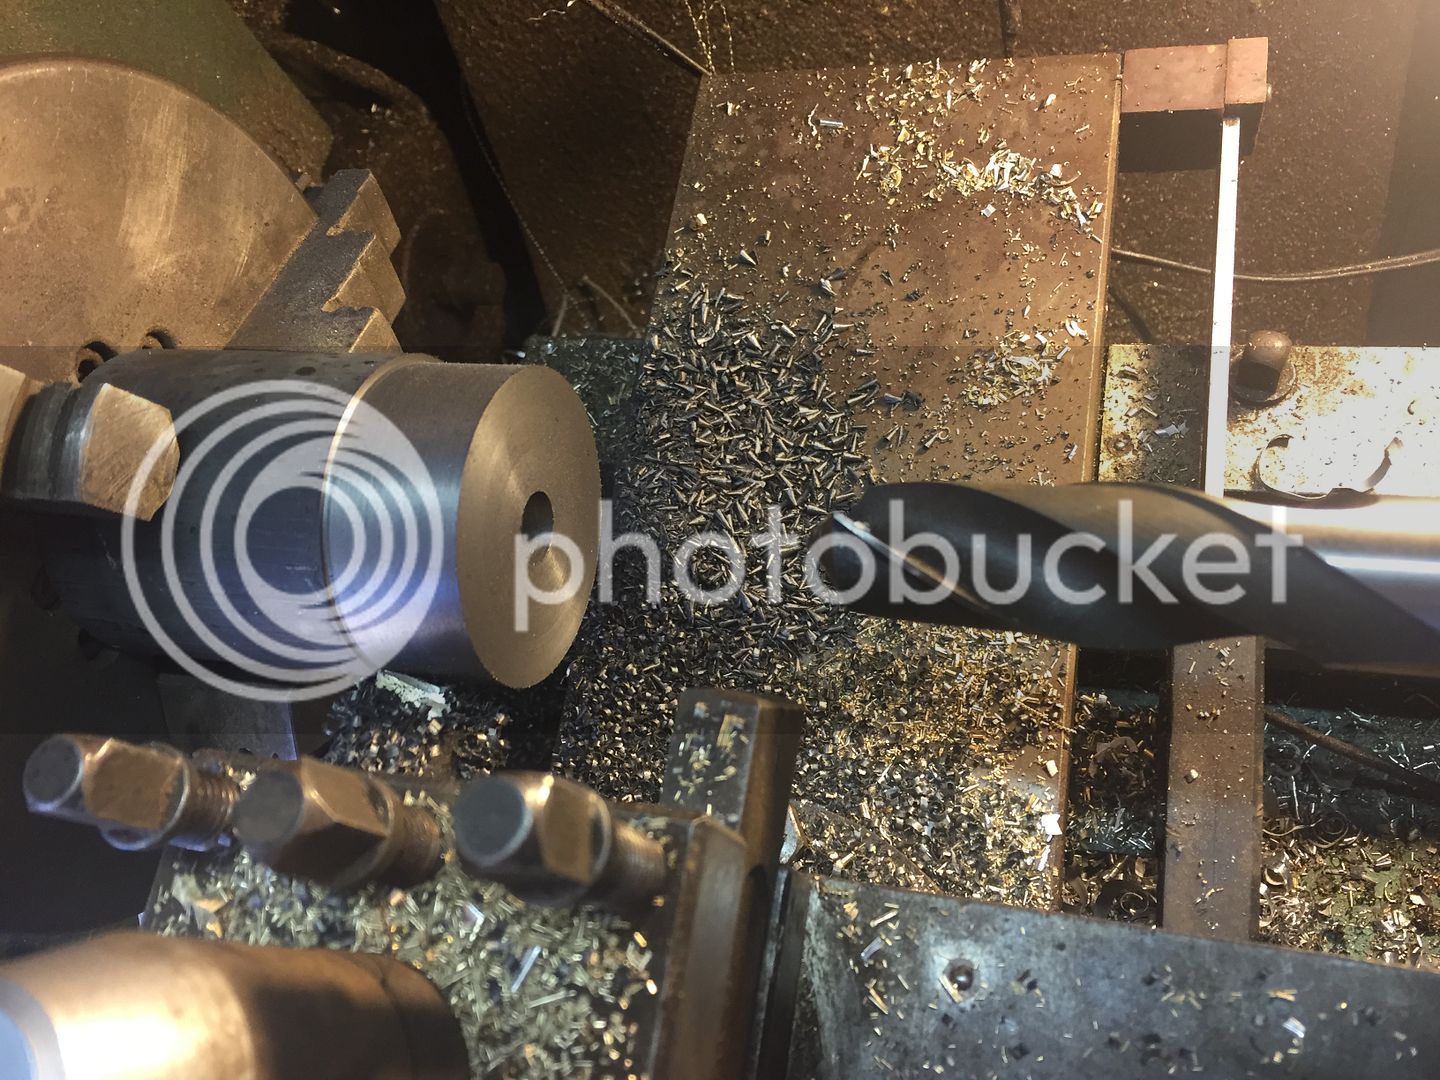
First i faced then drilled with a 25 millimetre drill. 25 mm drill.

Next went through with a 1" reamer
Oops. Pics came out in the wrong order but you get the idea
 
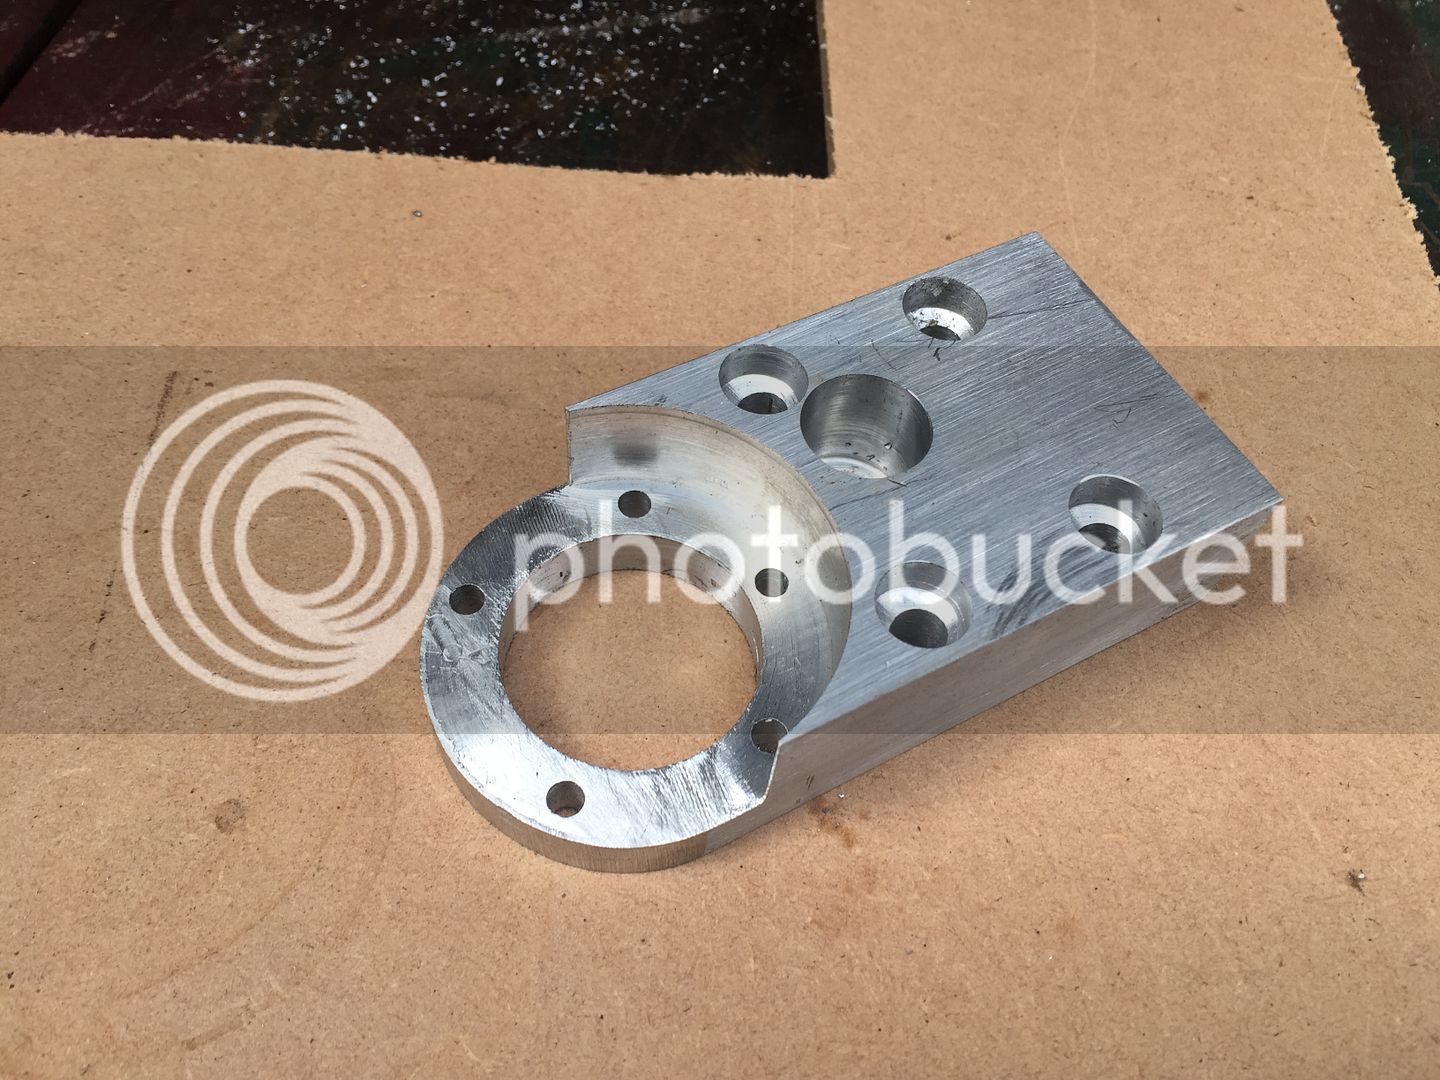
Herbiev, I was just looking at the cylinder mount plate and wondering if you made the same little mistake I made on my first attempt. On one side the cap screw holes seem closer to the edge then the other - perhaps an optical illusion. On my first attempt I mis-entered 1.440 distance between hole centers when moving from one side to the other - I had entered 1.400 instead. I alluded to a mistake in my build thread but was too embarrassed to state it outright :mad: Course I had already made the frame so I was kind of had to make a new cylinder mount plate. If its not just an illusion then at least you have a recovery point by drilling the holes to match in the frame.

At the rate your going your gonna be done months ahead of me.
 
Not sure what happened here Mjonkman. The holes are in the right position bu the countersinks are off. I suspect an incorrectly sharpened countersink bit :confused:
 
Herbie--that shouldn't happen. Doesn't your counterbore tool have a pilot on the end of it to keep it centered in the hole?
 
Hey David Lloyd--Can we please have a progress update? Based on the speed which you were building, you must be almost finished.---Brian
 
Hi Brian. Unfortunately i just used a normal drill for counter boring. I can now see why conter boring tools were invented. They are now on my shopping list for next pension day :wall:
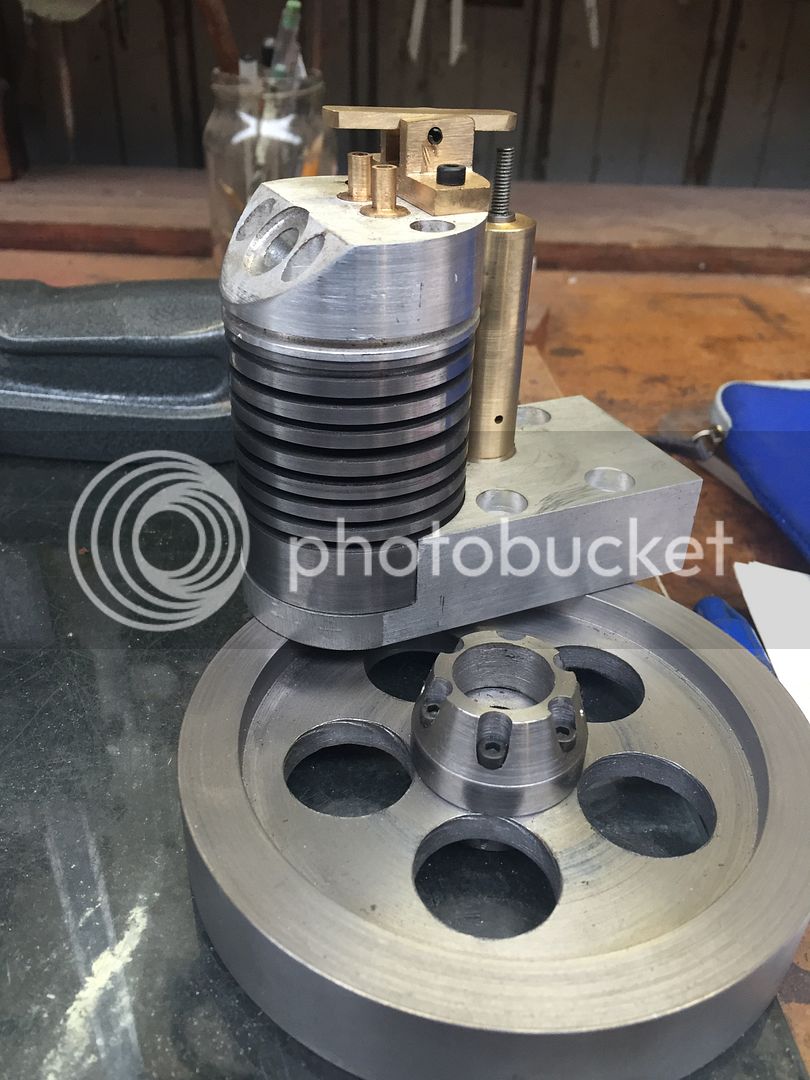
Meanwhile i just finished the cylinder and although the grooves seem uneven in the picture, its just an illusion by the camera. Although one groove is just slightly wider than the rest.

Today i shall make a start on the frame. With rain forecast for most of the day it will be a good day to spend in the workshop.
 
Herbie---Looking really good!! The problem with using drills as a counterbore tool (other than the one you've found already) is that they don't leave a flat bottom in the counterbored hole. This means that the underside of a socket head capscrew will only have a "line contact" with the bottom of the hole. Although that doesn't matter a whole lot with these small engines, on larger items if you do that and then torque the bolt down hard, the aluminum will eventually "cold flow" and the bolt will loosen up, which could cause a disaster. By the way--holes which have parallel sides like the ones you have put in to bury the head of a socket head capscrew are called counterbores. Holes which have sloping sides, either 82 degrees or 90 degrees to bury the heads of flat head capscrews are called "countersinks".
 
Herbie--that is FAR too much money. Let me see what I would have to pay in Canada. Okay--Here is a set from Travers tools that sells a seven piece set for $234 Canadian funds. At the current exchange rate that would be $237.50 Australian. You can buy the seven piece set, or you can buy them individually, but probably the set will be cheaper overall.
http://www.traverscanada.com/7-piece-3-flute-solid-cap-screw-counterbore-sets/p/92464/
 

Latest posts

Back
Top