Upshur's opposed twin engine

Home Model Engine Machinist Forum

Help Support Home Model Engine Machinist Forum:

This site may earn a commission from merchant affiliate links, including eBay, Amazon, and others.
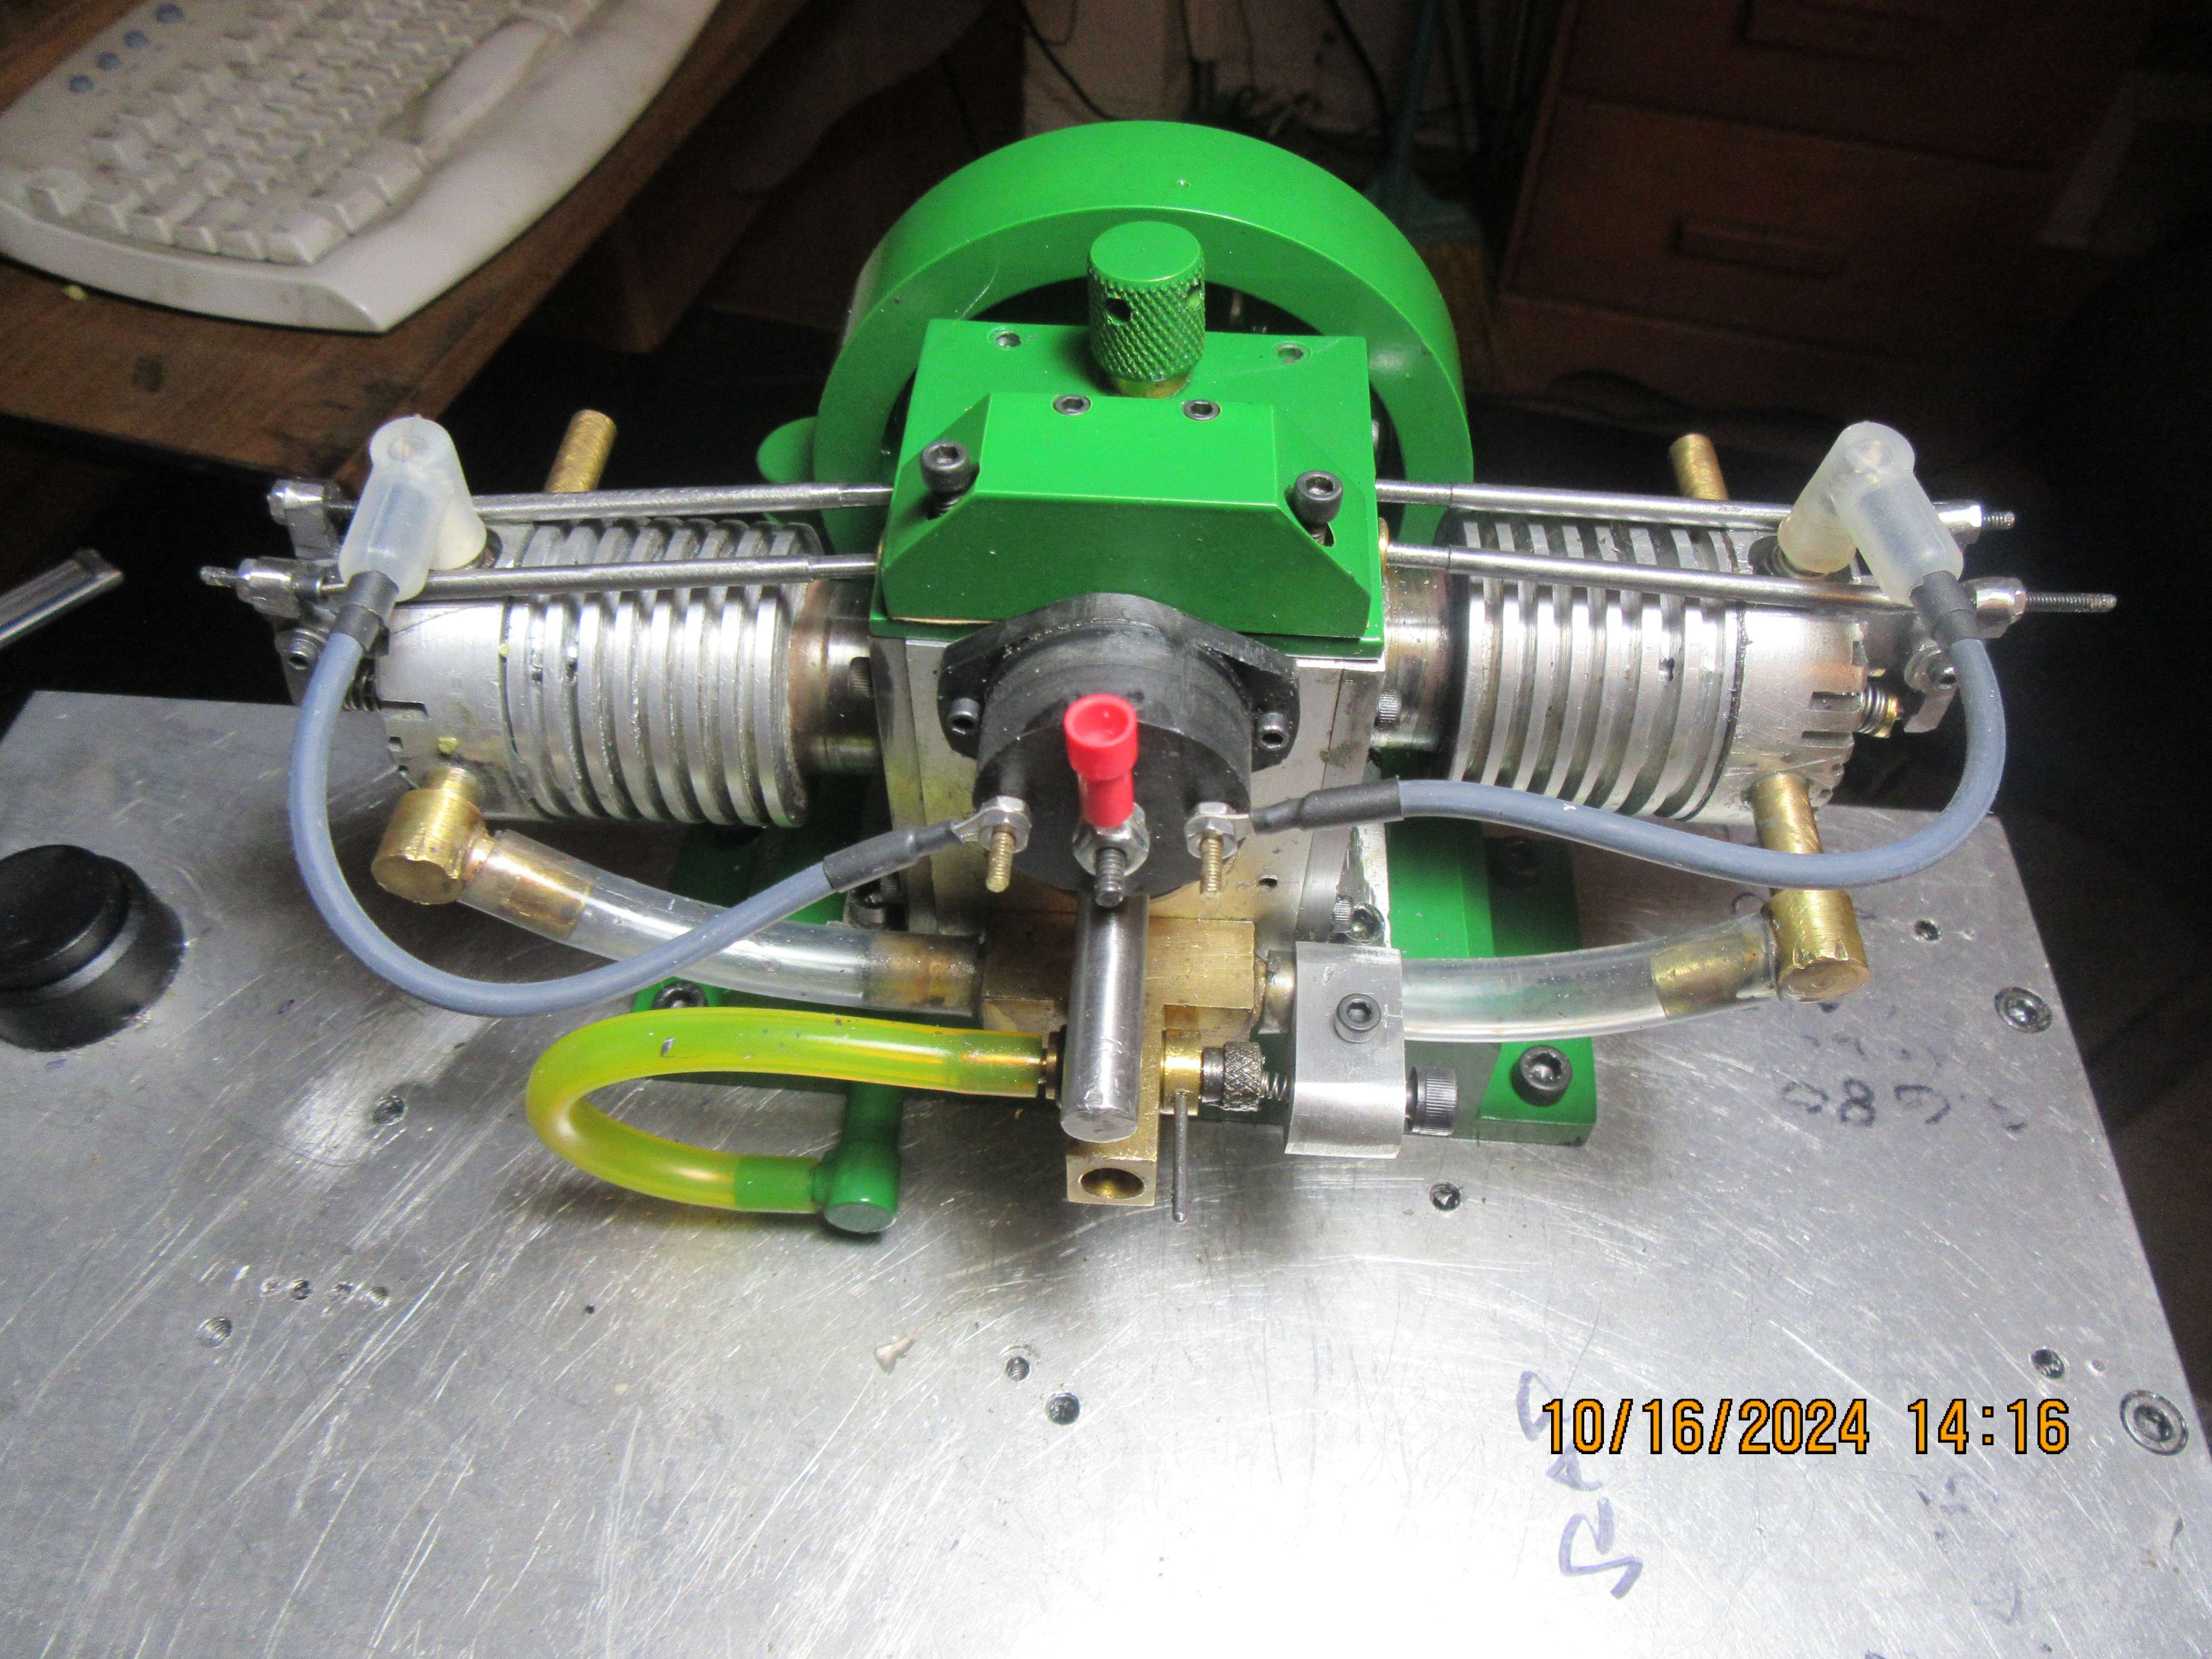
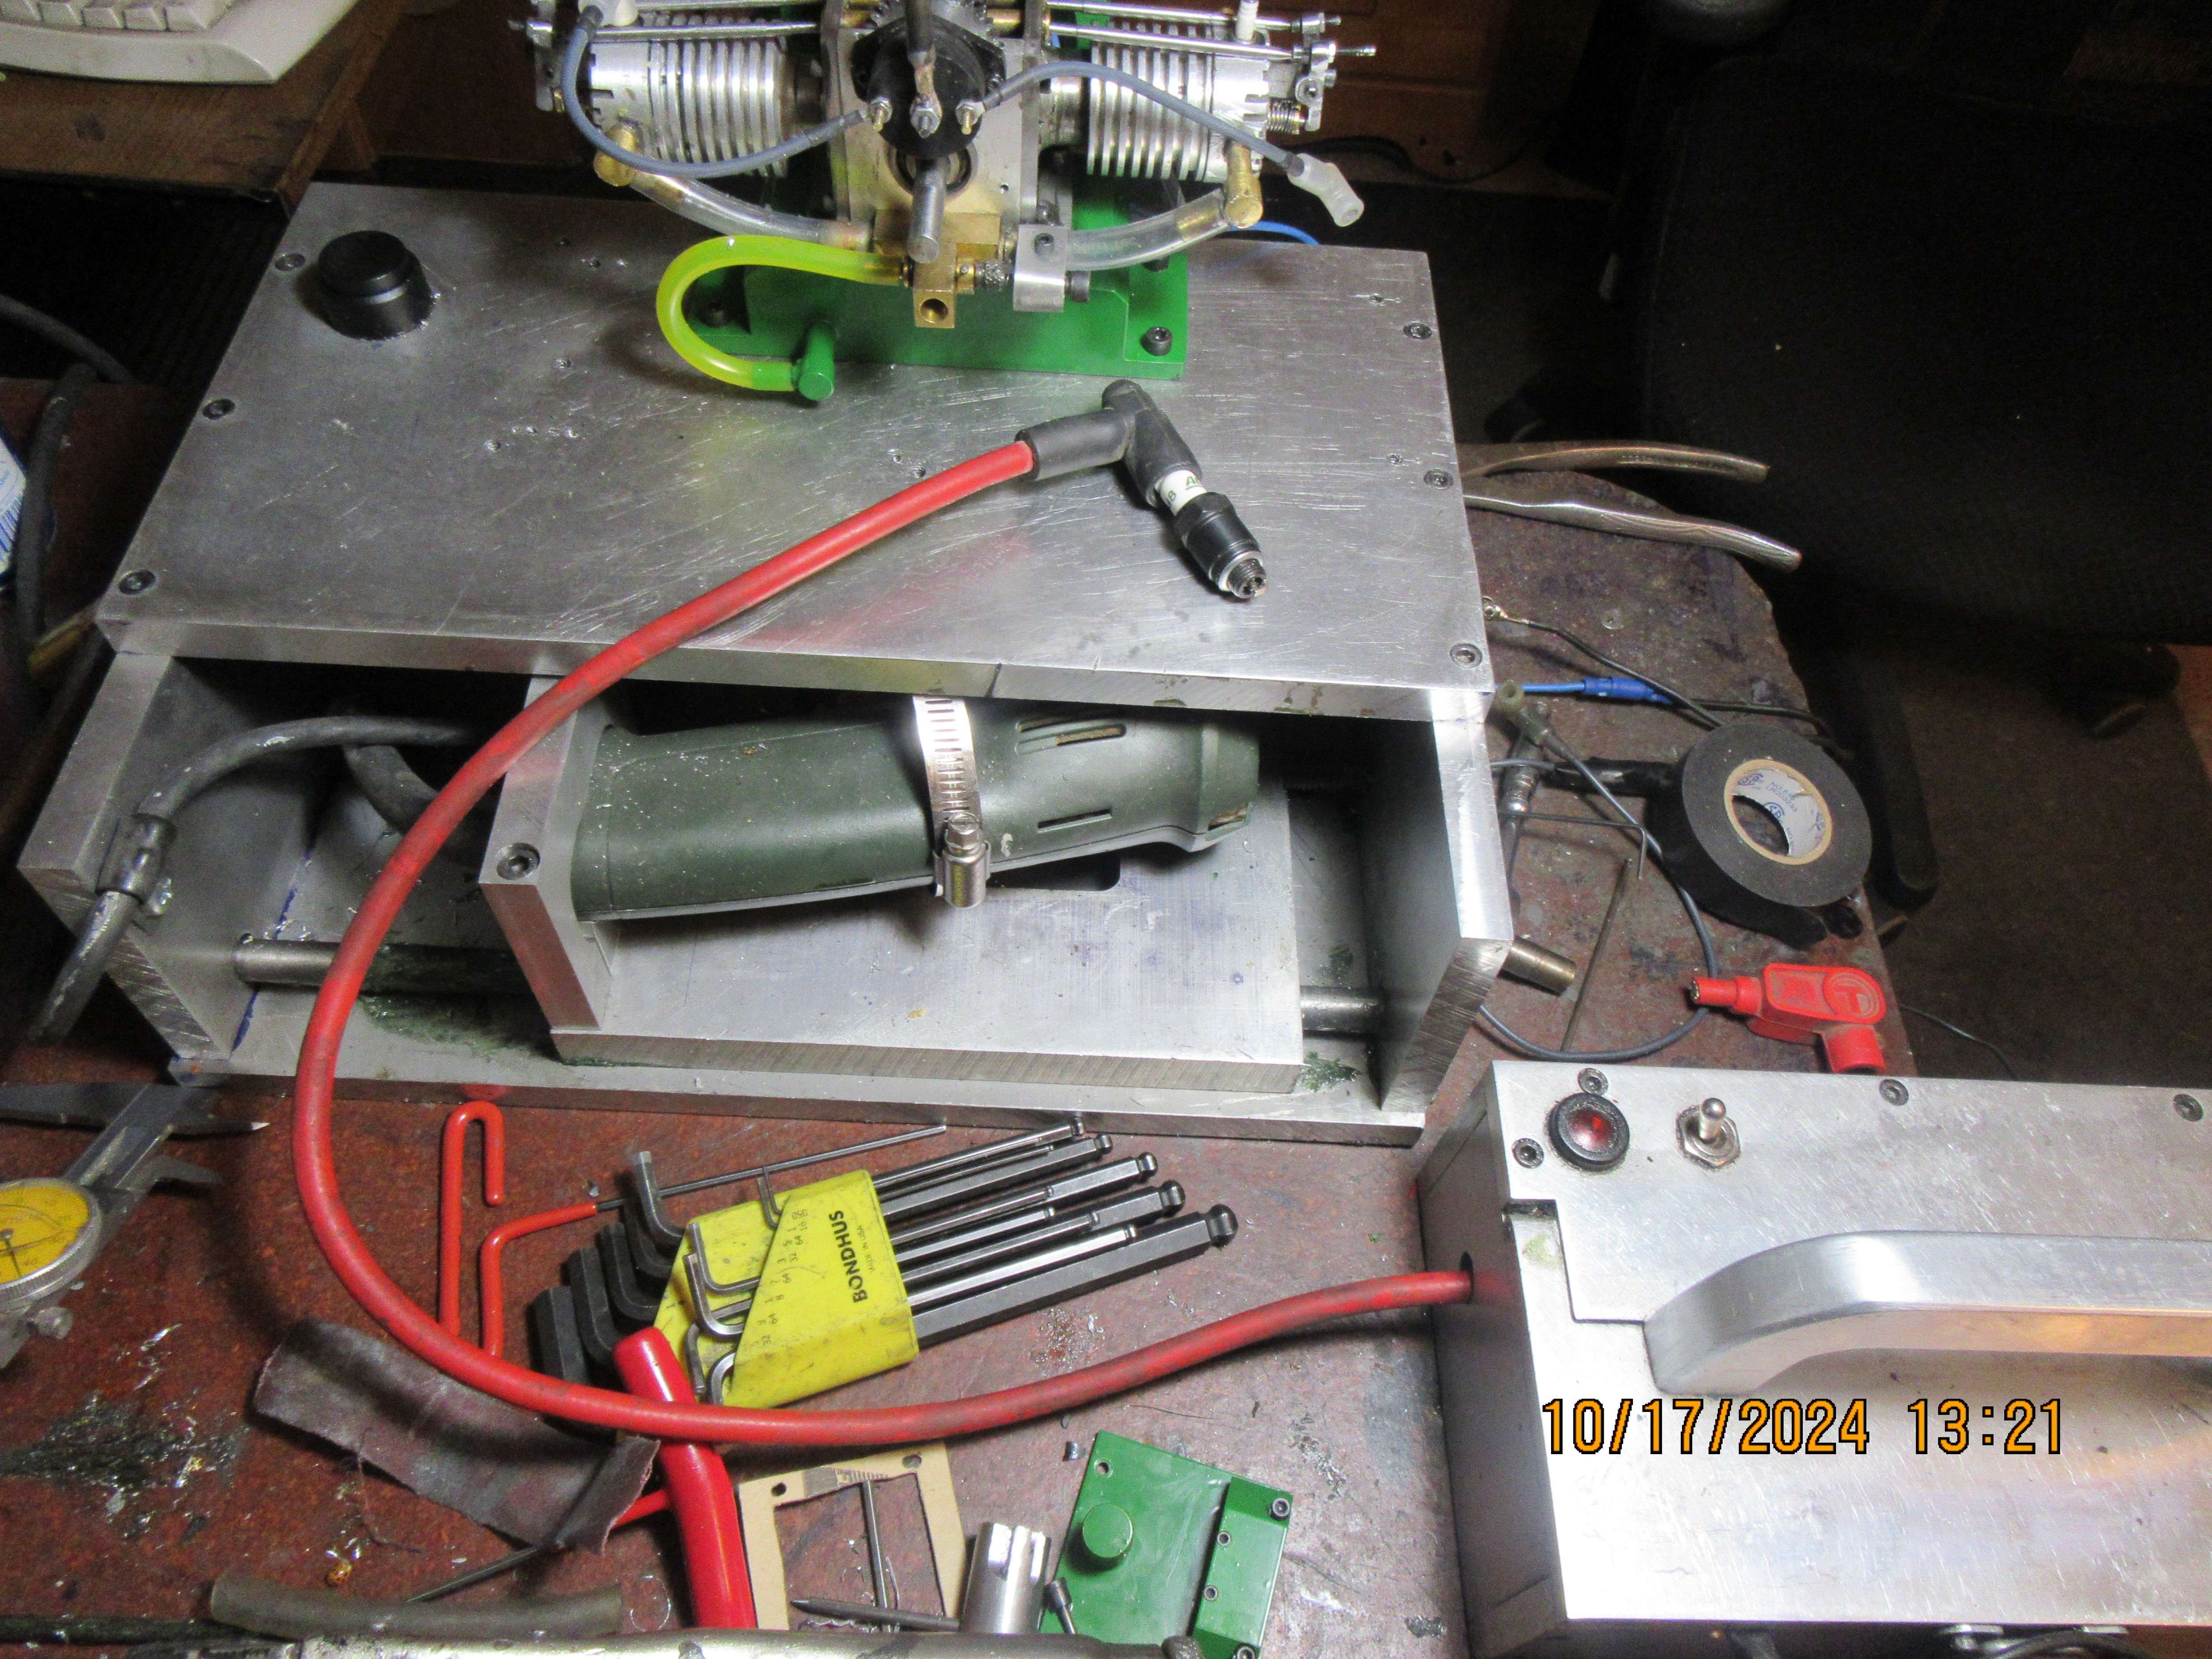
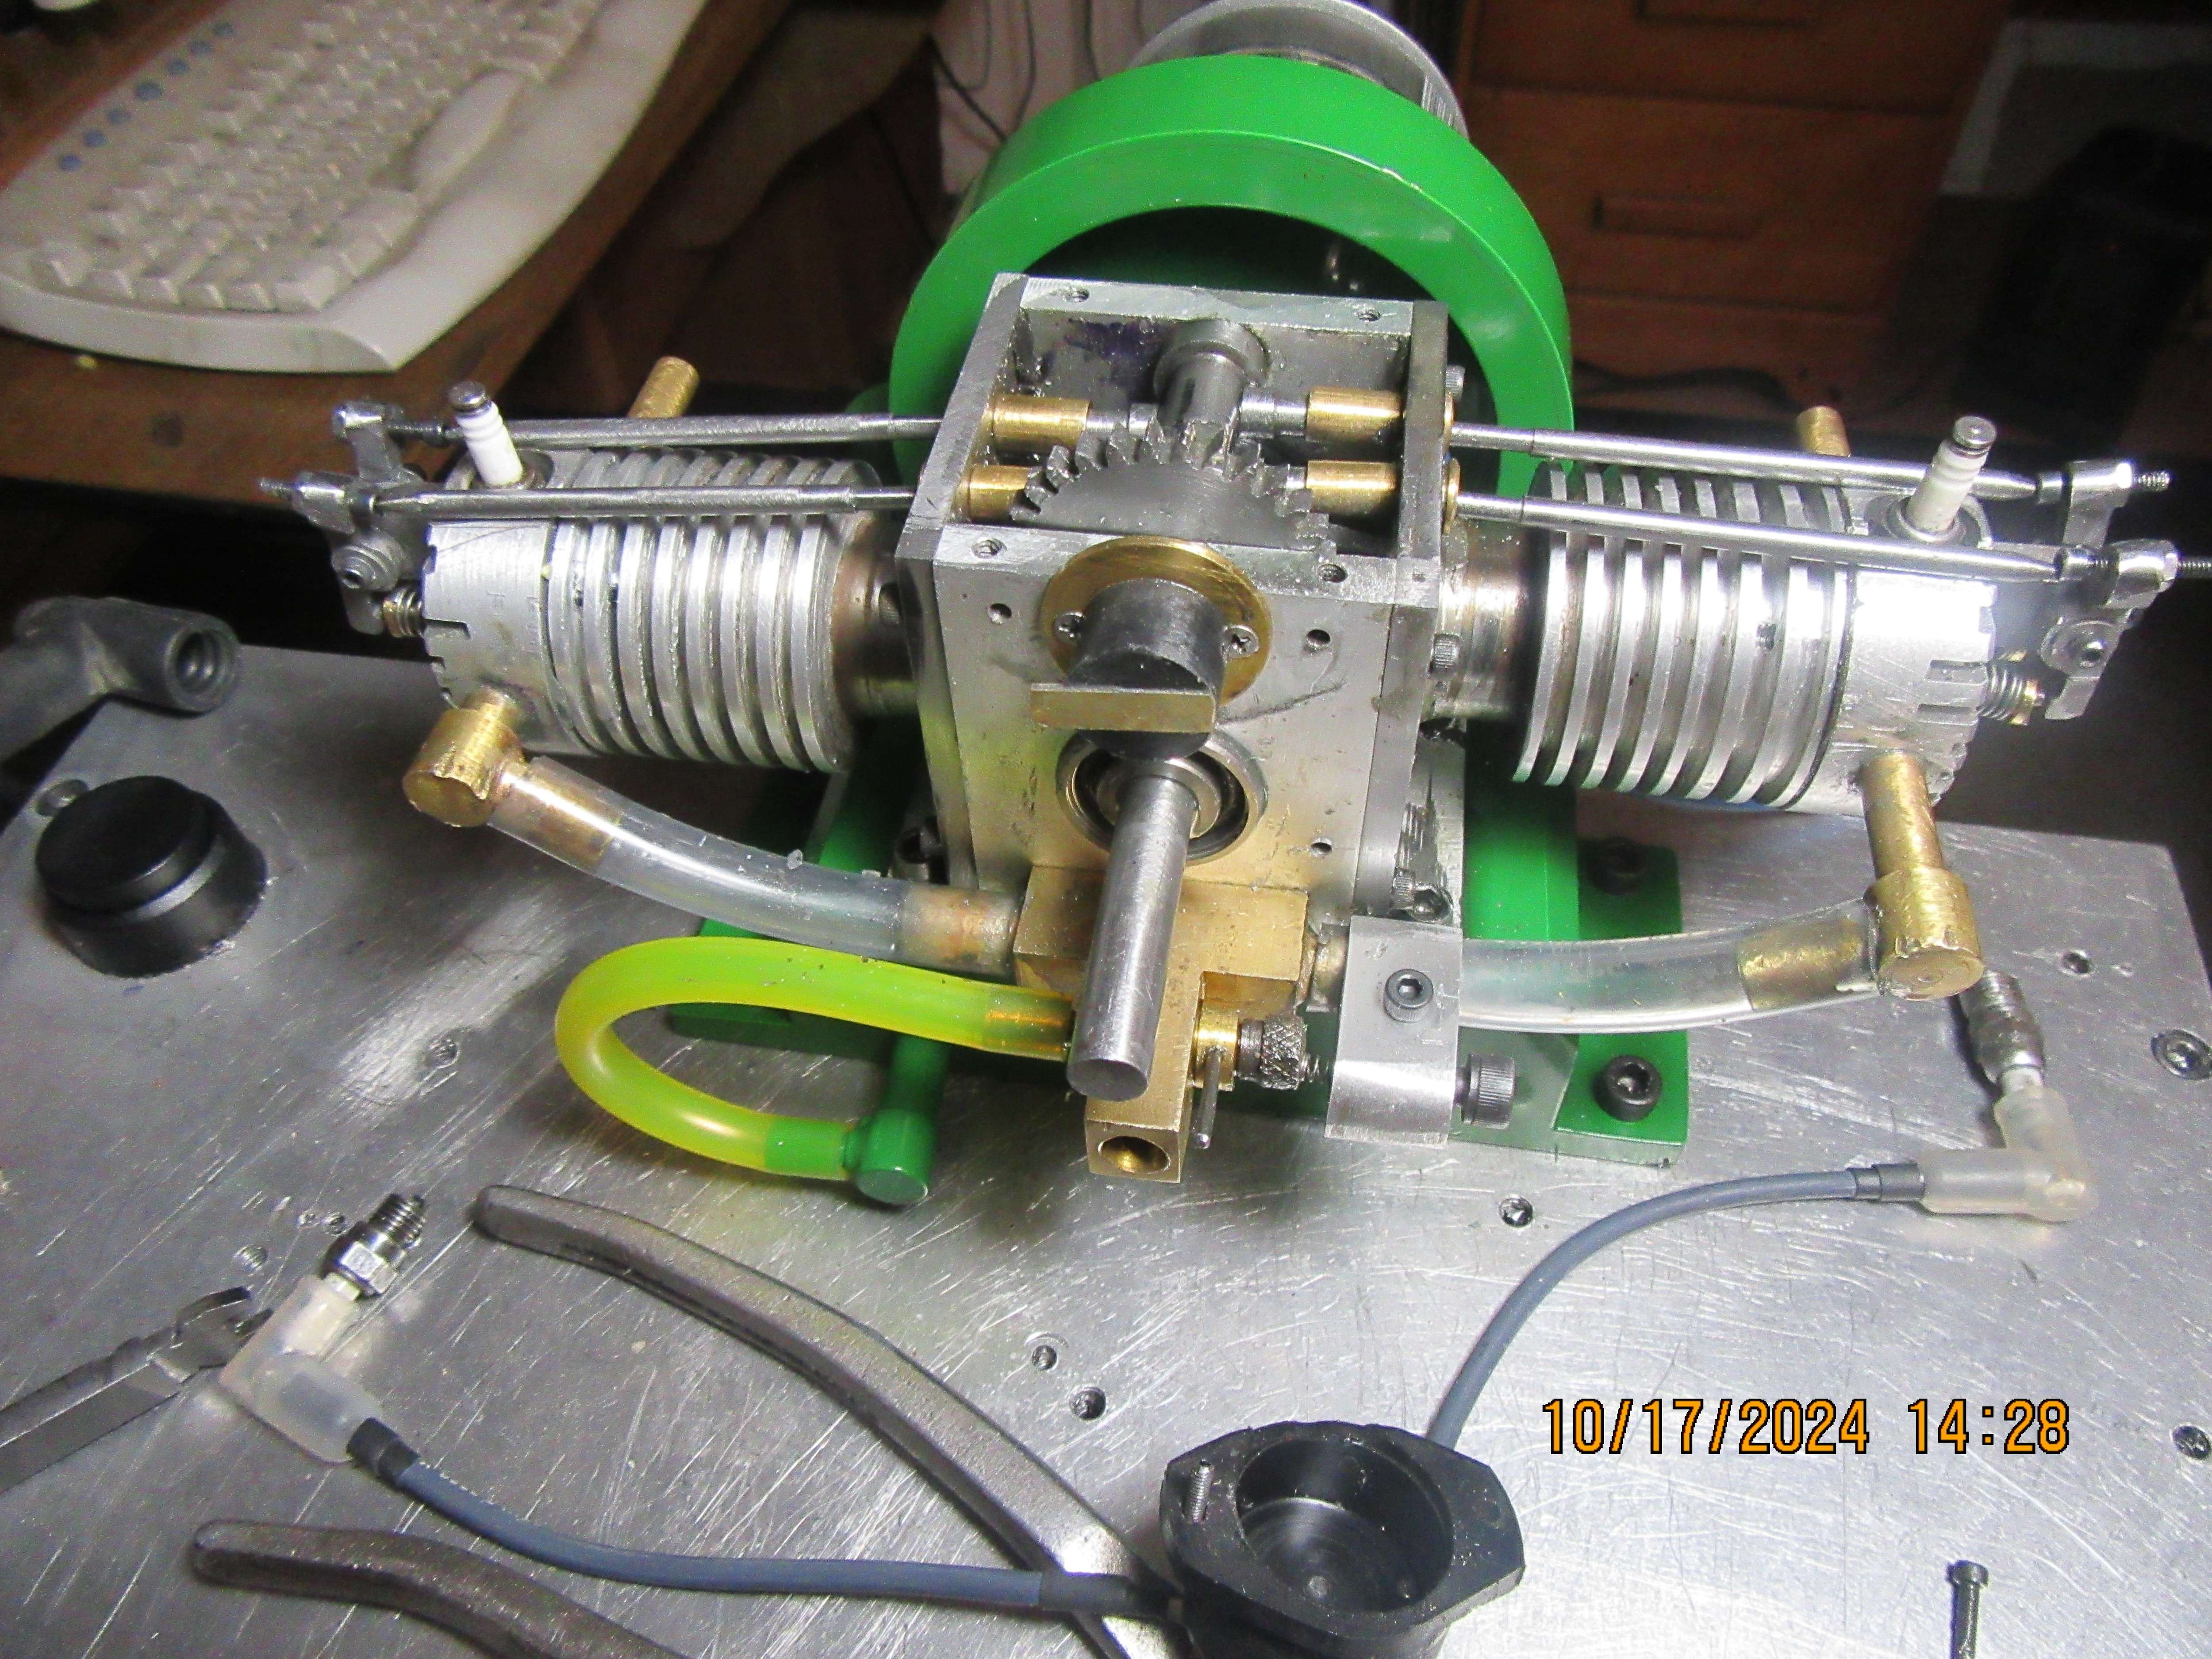
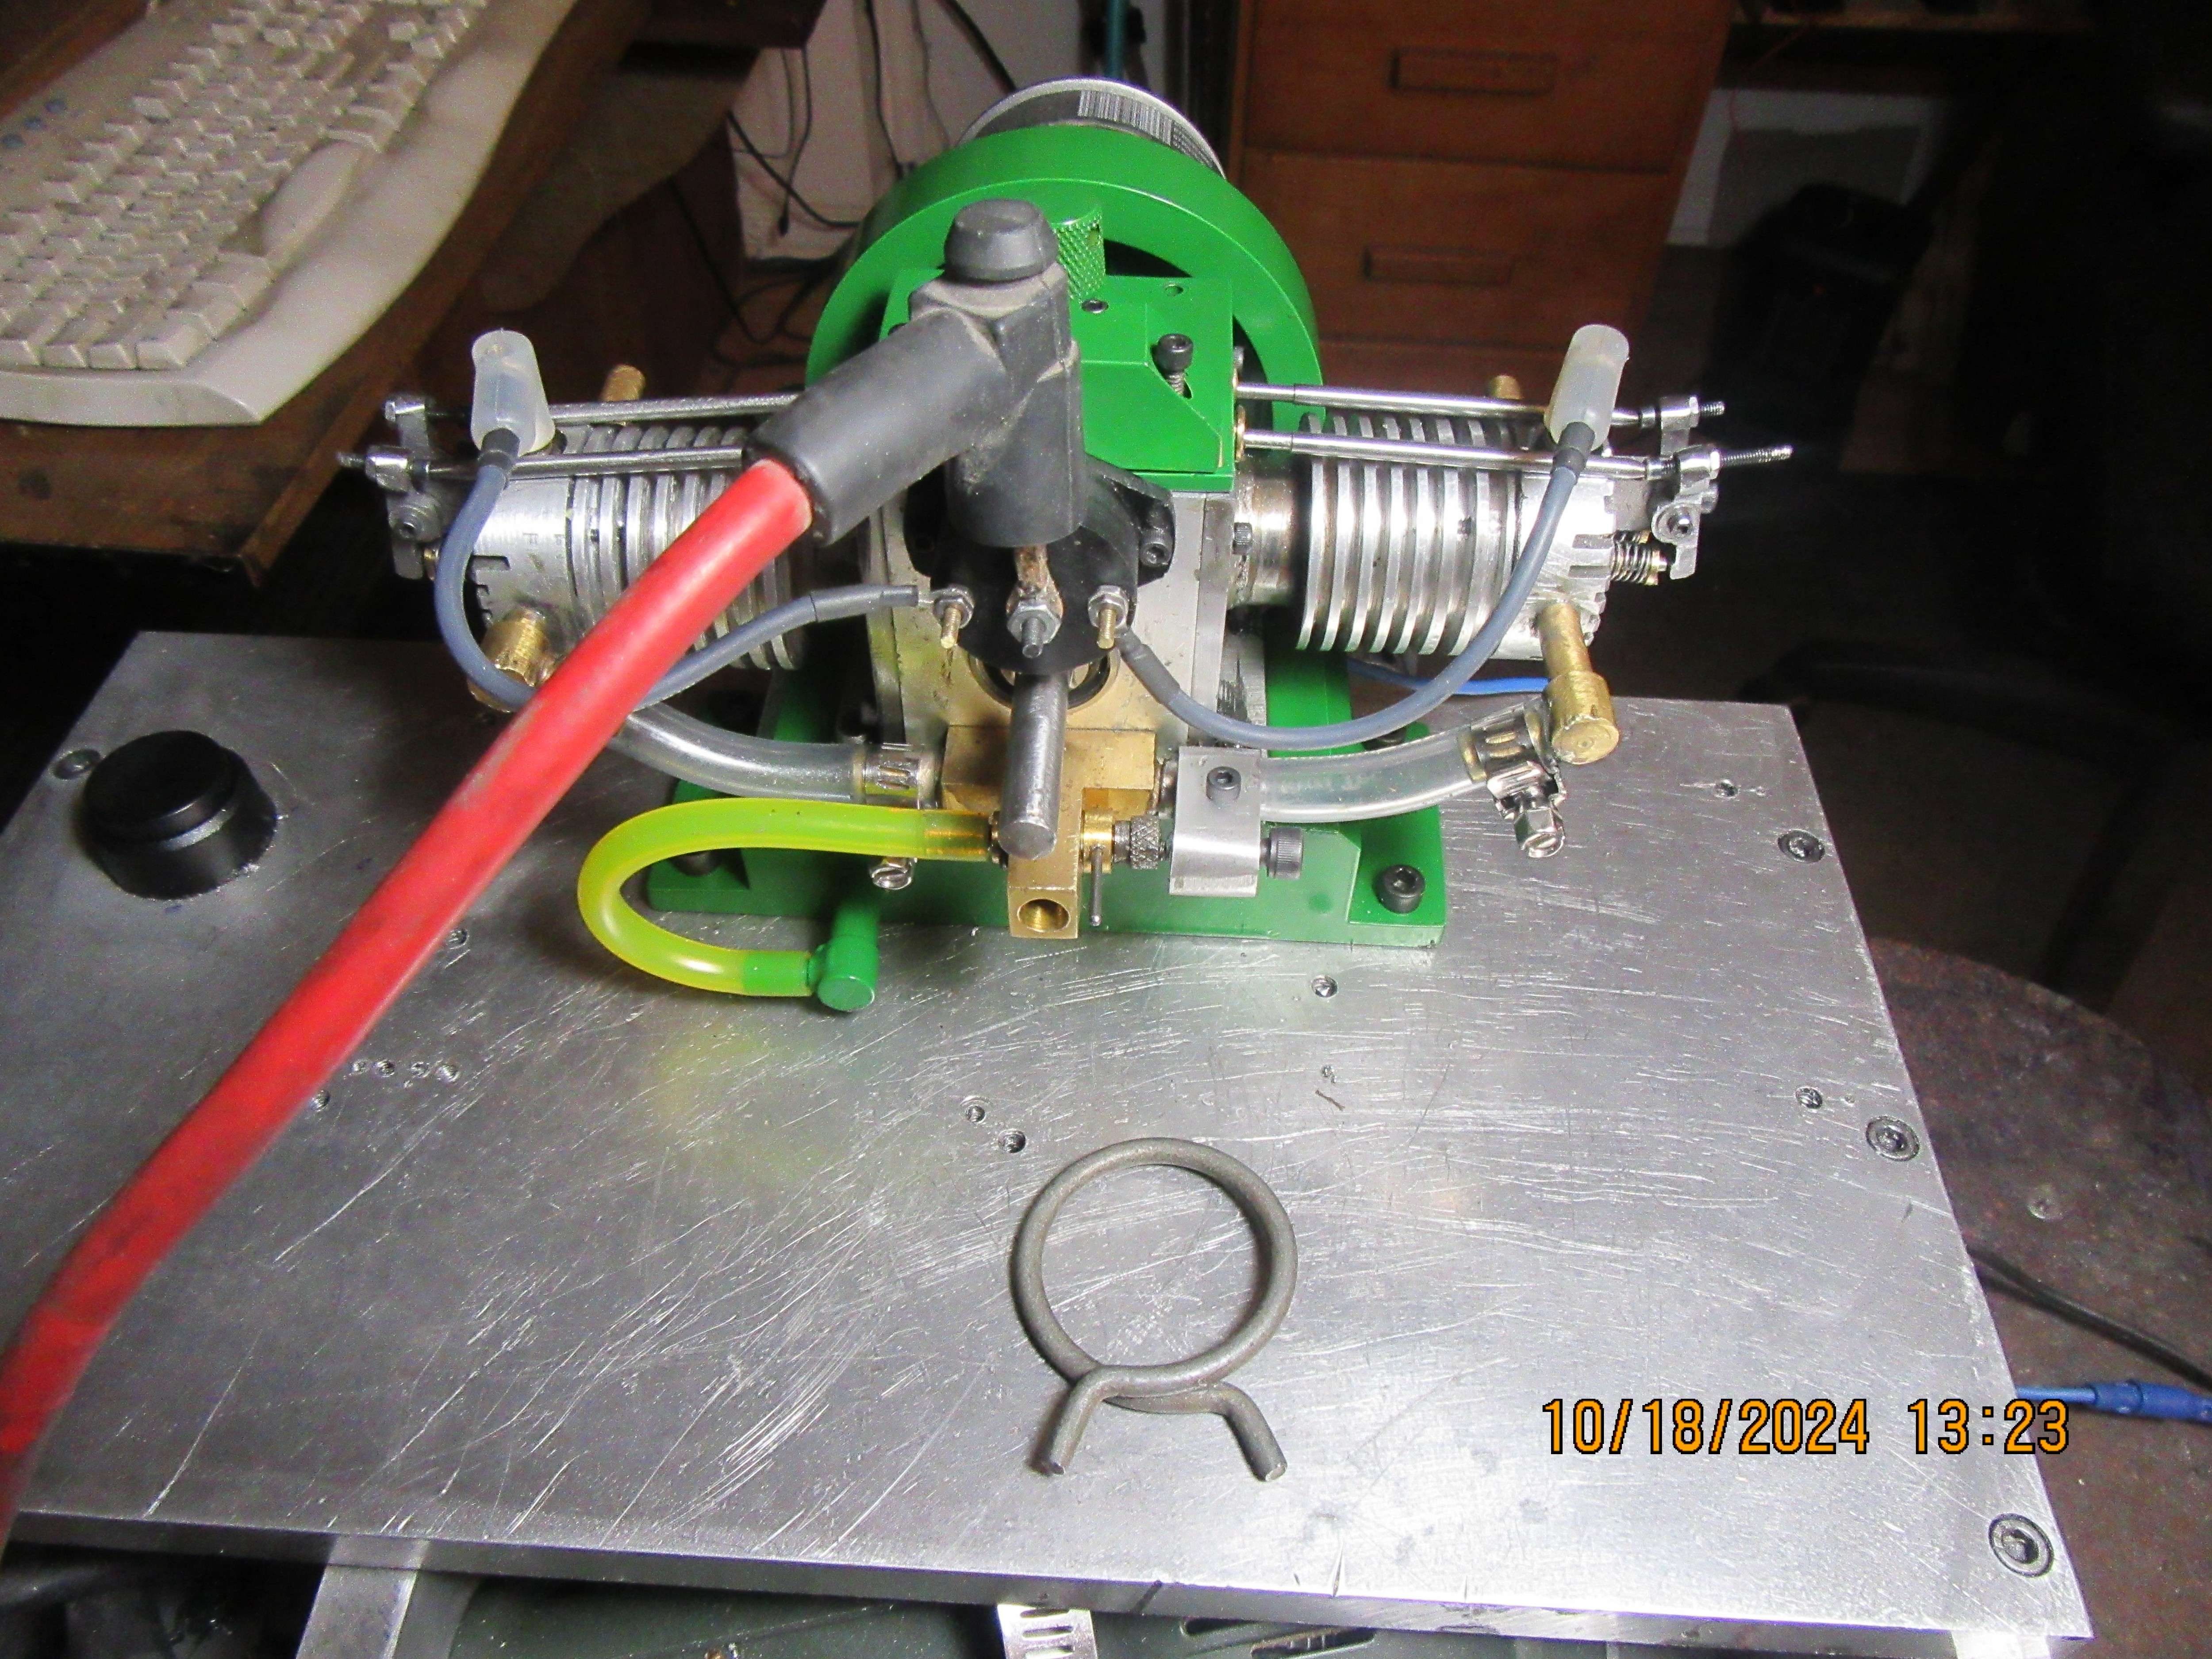
Mechanically, my engine is finished. It's taken a long time, because I stopped part way thru the build to build/buy/assemble my powder paint set up and my sandblaster set-up. Today I hooked up the electrics to the engine, and all I can say at this point is that the points are opening and I'm getting spark. I have a spare pair of sparkplugs with the leads attached to them laying out on the drivebase to watch for sparks. Now is the time that stresses my soul.---------I will be back to tell you more when I know more myself.----Brian
 
This morning my sparkplug wire assemblies came in from Roy Sholl. Every time I build an engine I swear that I'm going to make up a die set and cast my own sparkplug boots---and every time I end up ordering a set from Roy.
ATElOO.jpg

At the Indiana show Roy asked me if I could deliver the package to you. I'm not as close to you as he thought. Apparently (he said) that he did not charge you for the boots etc. because the shipping alone was $15US - ish. It's getting hard to build anything these days when everything includes shipping.
 
Wonder if a guy could 3d print some spark plug boots using something like the TPU flexible filament? I got the printer but none of that filament to give it a try.
 
First test today--I had to go down to the auto wreckers and buy a longer coil wire. With the ignition switch "on", and a test sparkplug laying out on the starter table I turned the engine over using my starting table and yes, I had lots of spark at the plug. Next step will be routing the spark thru the distributor cap to either the right hand or left hand plug wire.
AXkFpL.jpg
 
Second test has been performed with all sparkplug and coil leads going to the correct terminals. Getting lots of spark on the right hand plug, none on the left hand plug. Next step will be to pull the distributor cap off and see whats happening in there.
 
Rotor is not turning because camshaft gear set screws have come loose. Camshaft gear is turning but not camshaft.---Poop!!! Now to re-set the cam timing and tighten up the cam gear set screws.
 
Not your problem presently but that rotor square ends should be radiused similar to the way a cars rotor is. The square end will cause other problems (timing jumping around) later once you get by the no spark on one cylinder problem.
 
Brian, you might want to slightly dome the ends of the two bits of threaded rod too so that the rotor arm slides smoothly over them, if it is catching on an edge that may be what is stopping rotation and causing the gear to slip on the shaft
 
I've done something right!!! Now I am getting spark from both plugs. Jason, this is very much the "fiddly bits" of building an engine. Every time I have that distributor rotor off and then back on, I turn the engine over by hand until I know things are going to clear okay. It is a very close fit between the rotor and the posts in the distributor cap, and of course once it's all buttoned up, the only way you can tell if there is an interferance is to turn things over by hand.
 
The dimensions inside the distributor cap are critical! Meaning rotor height, electrode length, rotor square to mounting shaft. It sounds like your rotor is hitting one or both of the electrodes which in turn is causing the cam gear to come loose from the camshaft. I have never been a fan of using set screws to hold gears, flywheels and the like. Put a piece of stock across the open end of the cap and measure down to the electrodes. Now measure from the cap mounting face to the top of the rotor. You should have no more than .005 clearance. When you get the camshaft and gear back in time scratch a mark on both the n remove the gear and file, grind or mill a small flat on the shaft. Even if you're a degree or two off it won't affect the cam timing and it will prevent the gear from spinning on the shaft. Solve one problem at a time.
 
Brian, you posted a response while I was writing so read my response and measure things. Assembling the cap and rotor and 'hoping for the best ' is not sound engineering practice. When you design components for your customers do you just keep your fingers crossed or do you double check the dimensions?
 
George---I always double check my dimensions. The rotor didn't hit anything and come loose. The set screw in the rotor may never have been tightened. It's easy to check my dimensions. It's harder to check my memory of whether I remembered to tighten a screw or not.
 
I don't like gear clamps!! On something big like a car radiator hose they are fine. On something as small as a model engine, not so much. I had hoped to get a smaller version of the spring clamp laying in the foreground, but couldn't find any in Barrie. I have just put the smallest gear clamps I could buy in town on the intake manifold tubes. Kind of ugly, but they will do for now.
Vs6m9O.jpg
 

Latest posts

Back
Top