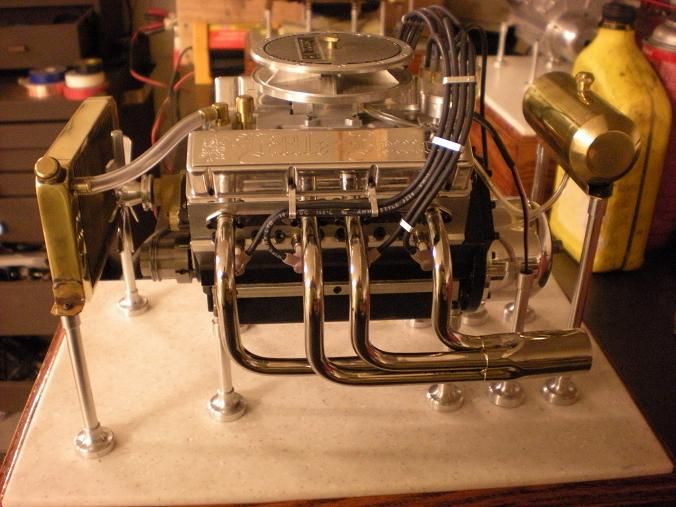
Small V8

Home Model Engine Machinist Forum

Help Support Home Model Engine Machinist Forum:

This site may earn a commission from merchant affiliate links, including eBay, Amazon, and others.
Hi Steve. Way back when you made your piston rings, you mentioned 500F for coating stage, then 4 hrs @1100F for the heat set stage. May I ask what kind of oven system you use/recommend for jobs like this? Do you also use this for heat treating self made tool steel type applications as well?
 
petertha said:
Hi Steve. Way back when you made your piston rings, you mentioned 500F for coating stage, then 4 hrs @1100F for the heat set stage. May I ask what kind of oven system you use/recommend for jobs like this? Do you also use this for heat treating self made tool steel type applications as well?


This is what I use. Got it on sale online and it's made in the usa.

http://www.paragonweb.com/XPRESS-Q-11A.cfm
 
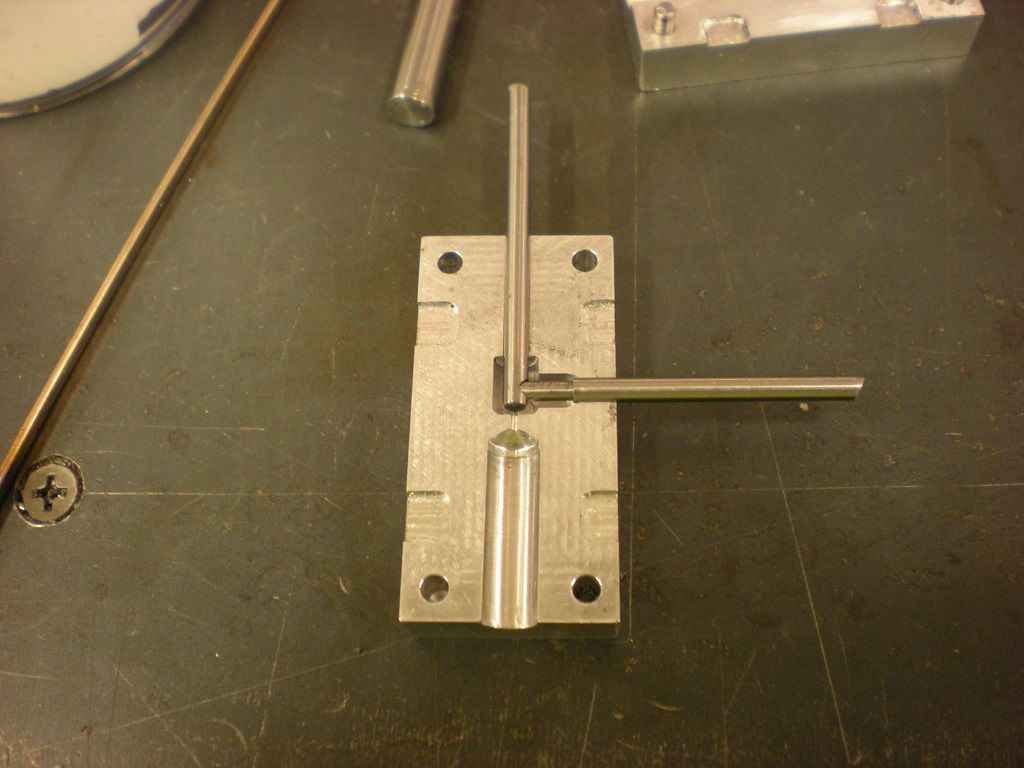
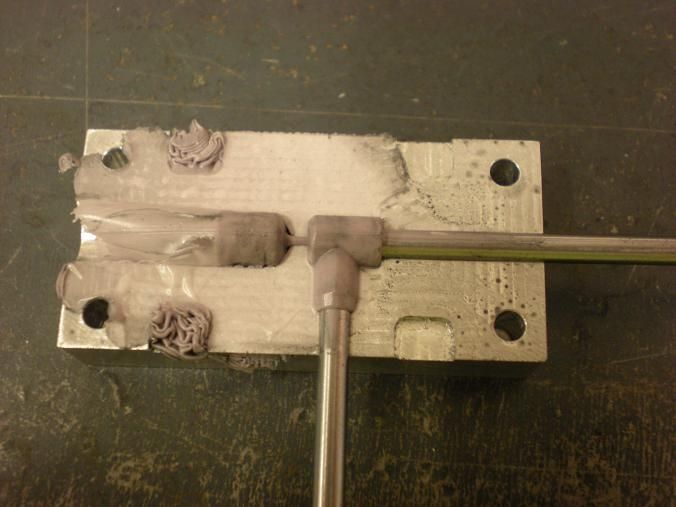
Yesterday I made the second half of the boot mold. After being sent home from work because of a small fire and power failure in the refinery, I made the core pins and made a test run.

DSCN2133s.jpg


I followed the Gail Graham method from his thread. I could have mixed the material better. The color is not good. I think I pressed a little harder than I should have also. The result was great. I have made 5 boots now and they look better. I tried to color one with black pigment but after 1/2 hour in the mold it was still soft. Grey will look just fine.


DSCN2128s.jpg


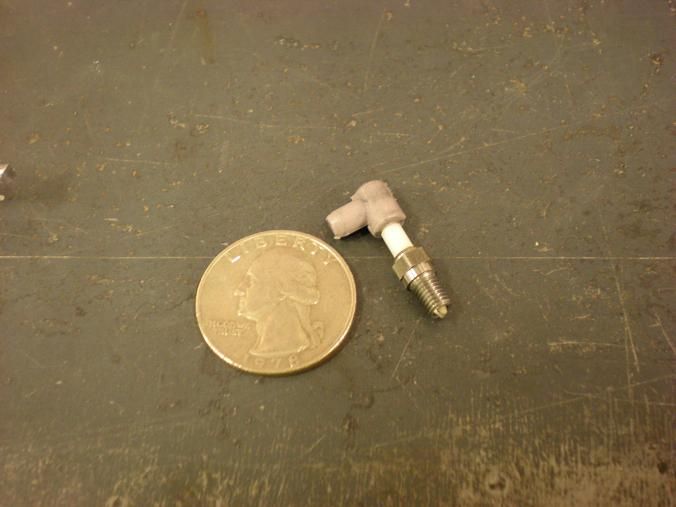
They look a little big but so do the plugs so it is something i will learn to accept. I don't think I want to go any smaller.

DSCN2130s.jpg
 
They will look great once installed, Steve :bow: :bow:
you must be starting to think about kicking her over soon ?
Pete
 
Looking better all the time, Steve.
Glad the mold bit worked out for you, but sorry about the colorant did not work. If you tell me what colorant you tried that did not work I will edit the mold thread to include that information. In this hobby knowing what does not work is often times as important as knowing what does work.
Gail in NM


metalmad said:
you must be starting to think about kicking her over soon ?


Soon. I dont want to do that too early. I want everything to be set so I dont burn a wire or something. Cant just pop one out and pop one in. If i screw one up its a few hours to repair it. Get in a hurry and it might take longer.
 
GailInNM said:
Looking better all the time, Steve.
Glad the mold bit worked out for you, but sorry about the colorant did not work. If you tell me what colorant you tried that did not work I will edit the mold thread to include that information. In this hobby knowing what does not work is often times as important as knowing what does work.
Gail in NM

I used the black dye you spec'ed in your post.
 
Thanks Steve and sorry about that. I will edit that part out.

Silicon can be a bit fussy but most pigments don't have much resin in the carrier compound so will work if they work OK with epoxy and polyester.

I know you are not worried about it now, but if you want to do black boots later I can send you some of what I use from the "no name bottle". I figure that I have enough to last my lifetime plus 30 or 40 years.

Gail in NM
 
GailInNM said:
Thanks Steve and sorry about that. I will edit that part out.

Silicon can be a bit fussy but most pigments don't have much resin in the carrier compound so will work if they work OK with epoxy and polyester.

I know you are not worried about it now, but if you want to do black boots later I can send you some of what I use from the "no name bottle". I figure that I have enough to last my lifetime plus 30 or 40 years.

Gail in NM


Not worried about it. The boots are also made in light gray (MSD) so the color is correct. I'm going to work on getting the wires complete and go from there.
Thanks again for the thread on making boots. HUGE help!!

 
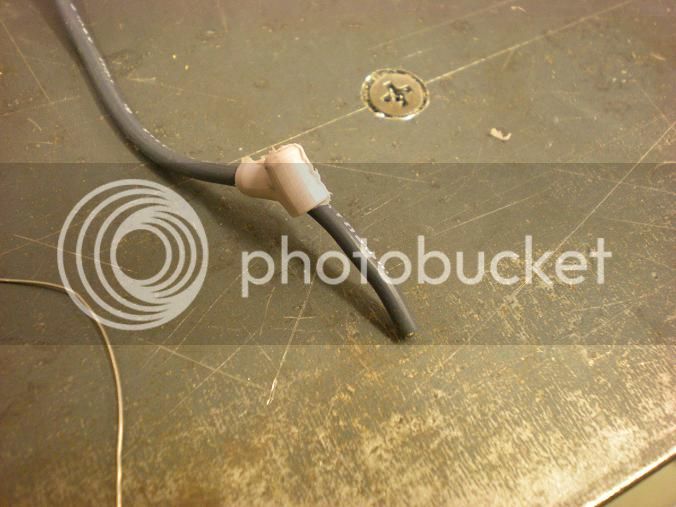
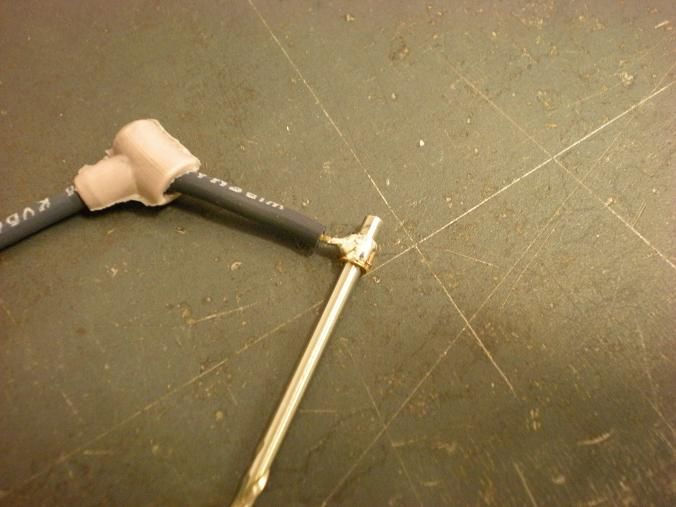
I had planned to make some kind of brass cap like the peewee project. I was searching the scrap box for some 1/8 inch brass and there was a piece of tubing in the box. I tried the id on a plug and it was a pretty good fit so i parted off 8 of them. I slipped the boot over the wire (harder than it sounds) and stripped the wire and tinned the end.

DSCN2135s.jpg


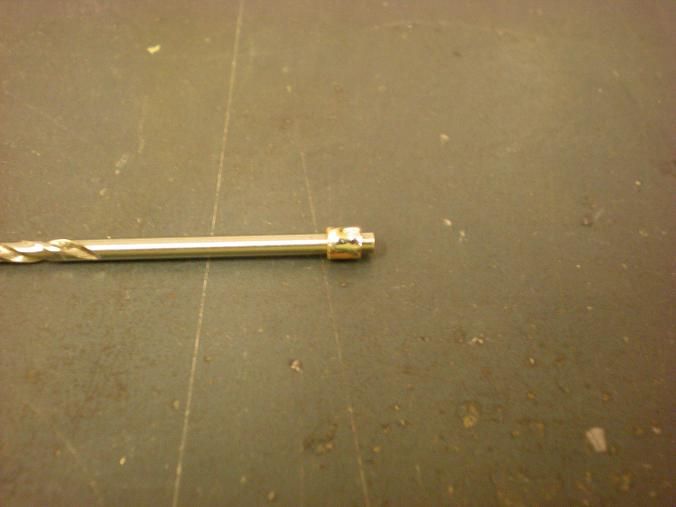
Then I tinned the piece of tubing. The drill bit was necessary to keep the tubing from sticking to the tip of the soldering iron.

DSCN2137s-2.jpg


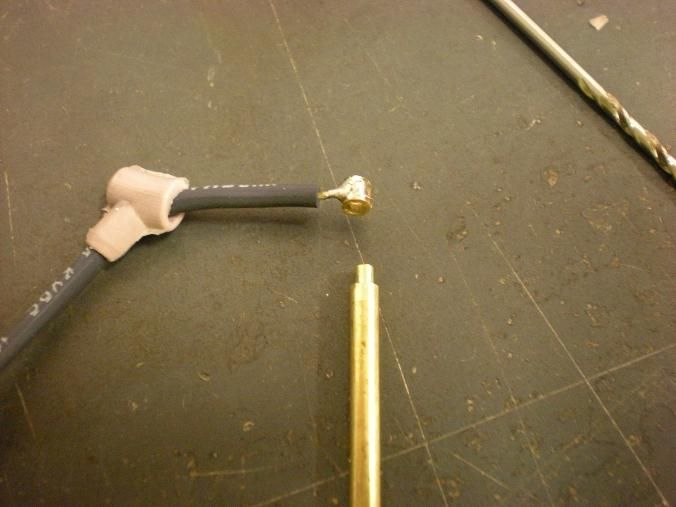
Then the wire was soldered to the tubing as close to center as I could eyeball.

DSCN2138s-2.jpg


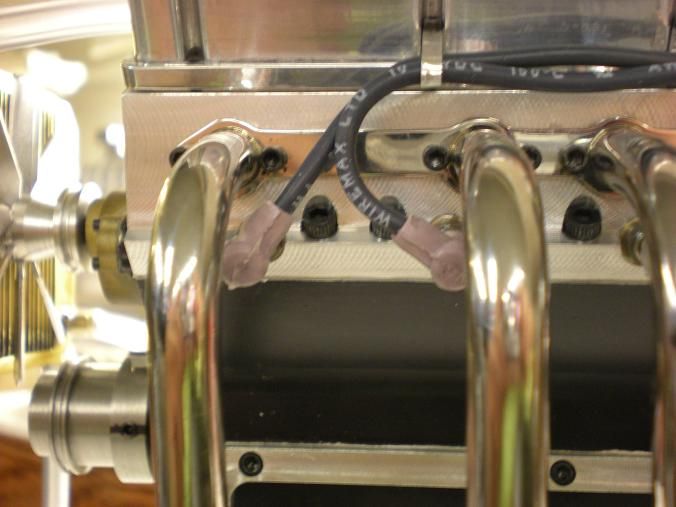
Then I made a small tool to insert into the tubing to help coax the end into the boot as the boot was pushed back to the end of the wire.

DSCN2140s.jpg


DSCN2142s.jpg


DSCN2145s.jpg


DSCN2150s-2.jpg


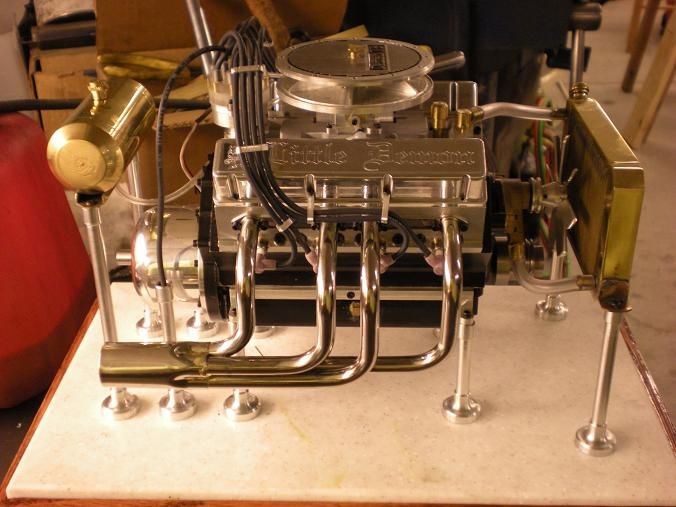
Tomorrow I am going to make a high speed run to radio shack for some supplies to install the ignition electronics.
 
Looking GREAT Steve, I like everyone else, am awaiting the start-up, drooling the entire time, and wishing it was mine.

John
 
awJCKDup said:
Looking GREAT Steve, I like everyone else, am awaiting the start-up, drooling the entire time, and wishing it was mine.

John

Thanks John. I will get there soon but I am doing everything i can do not to rush and cause more problems. It's been almost 15 months, a few more days seem like nothing!

Thanks for checking in.
 
stevehuckss396 said:
I know Steamer, so do I. I'm getting there! When there is a big Vroom you guy's will be the first to know, I promise!!

I know Steve...but I've already used the "Damn Bubba" line.. ;D ...Do what you gotta do buddy.

Dave
 
You got it Bubba!.......I say Damn Bubba!....I can't wait to hear that baby purr!


....hows that?

;D
 
Back
Top