Rob Roy

Home Model Engine Machinist Forum

Help Support Home Model Engine Machinist Forum:

This site may earn a commission from merchant affiliate links, including eBay, Amazon, and others.
John/Ron/Arnold/Dean

Thanks again for your support; another days progress to report.

I installed all the steam fittings as planned and pressure tested them. Safety valves are my nemesis and one of them leaked, probably to be expected after so long. I cleaned the seat with brasso whacked the ball and replaced it and it seemed to fix it so I mounted the boiler on the frames.

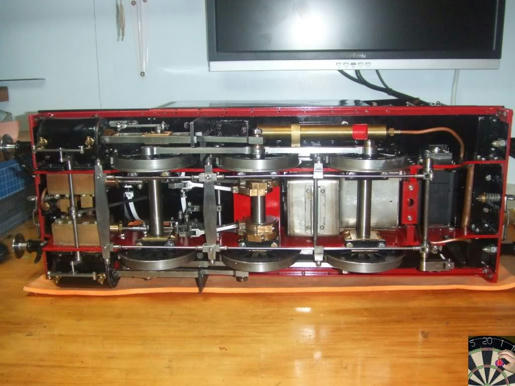
First up was a last photo of the underside with the valve gear, brakes and blowdown valves installed
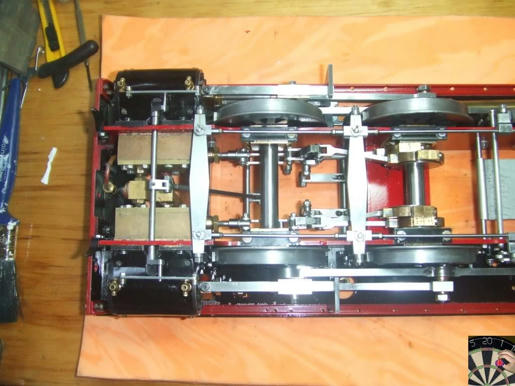
xrdpu5w43jnwdo84g.jpg


Boiler installed

is9xiews8id1dck4g.jpg


After the leak test it was time to try the burner. Filled the boiler and fired it up. The picture isn't that good as you can't see the burner alight with the flash
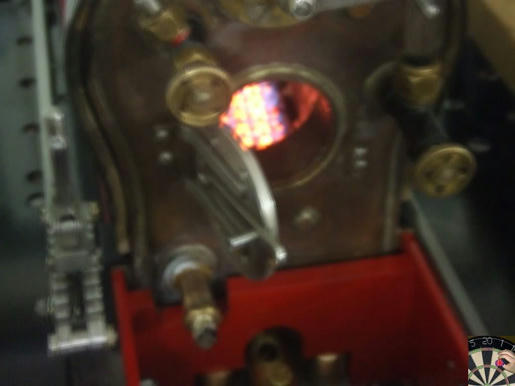
3p7gf37ubgcmldk4g.jpg


Then we had steam

[ame]http://www.youtube.com/watch?v=omqa6wT_DjQ[/ame]

First run I didn't get any pressure and the second run I could only manage 20 psi. Something is leaking somewhere. I started to systematically remove steam fittings and insert blanking plugs to work out which was causing the problem. Anyway I wasn't to un-pleased by this momentous stage until I realized I'd installed the the boiler without the boiler bands. Time to remove it again and fit them, so leak tracking can wait until another day.

By way of consolation I decided to fit the tanks and loose fit the cab
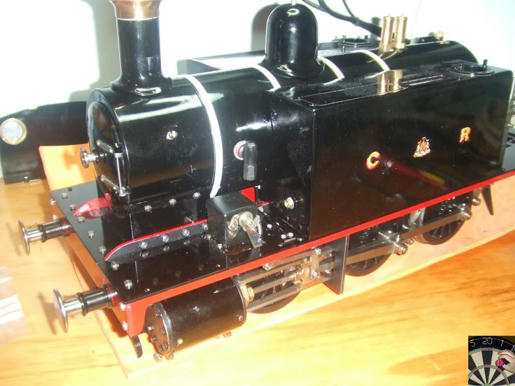
ifh47cl64trfnnz4g.jpg


4d4qp9enmqqjkqk4g.jpg


I'll give the leak tracking a go one evening in the week. You never know I may get it running next weekend.

Pete
 
Awesome Awesome Awesome.
I'm with Arnold...green with envy.
Thanks for the pics of some originals!
No doubt you'll soon find that leak and wheels will be turning.
 
Missed this thread, somehow. Sure is some nice work! Looks time intensive...

Chuck
 
Carl and Chuck

I don't know about being envious with Arnold, its giving me a few moments right now.

I stripped it back to just the boiler in the frames removed all the fittings I suspected and blanked off the ports on the others. Safety valves removed and replaced with blanking plugs. Still no pressure, then I realized what was leaking. It was the pump. You know I advised the use of those MTB shock pumps well I've found the weakness. The pressure relief button is held closed by a small conical spring. Well it is until the spring goes rusty, the button isn't held in place, and the pump leaks. I found something suitable in the junk box and was on my way again (wheel tappers cracked hammer comes to mind)

I got it to hold 50-60 psi, more than enough to get it to run. I systematically replaced the fittings one by one, pressure testing each time. Once I'd got the safety's and pressure gauge in time for another steam up but I can't get it past about 20psi.

So next thoughts are the burner, How much to crank it up, (I had a few flash overs which were interesting), whether to have the fire door open or closed and whether or not to try the blower, all to get more heat. I'll do a separate post in Q&A as I know some use gas burners on their locos, Shred for one I think.

That's it for today

Pete
 
Pete,
What a fabulous restoration. The once plain engine has been transformed into an elegant piece of equipment. Well done!!!
gbritnell
 
Pete, great work it's looking spot on. Can't help with the burner, I'd say using the blower might be worth a try though, I've seen the smokebox door open a few times with a coal burner and the flames come right down the tubes. When you've got the draft from the exhaust when running that is going to draw the fire, the burner would have to be turned well up to replicate the heat from a built up coal fire I'd say, if you've ever fired one on the run, the fires absolutely roar with the blast from the exhaust.

Nick
 
George

Thanks for the compliments. As I've mentioned before I had been reluctant to start this in case I mess up may dads efforts. But it is turning out better than I had dreamed, the professional paint job was well worth it.

Nick

The gas burner issue has been resolved on another post thanks. Its going back to coal..... tonight.

Pete
 
That is now one very handsome loco, Pete! Getting excited to see it run.

Dean
 
Thanks Dean

Unfortunately running is going to be a bit later than planned. I had hoped the ceramic burner would have enough oomph to get it going on blocks. It doesn't appear that is possible.

So the revised plan is to finish putting it all together. Take it to the club to show the guys (which will be next Wednesday). I can use their experience to show me how to fire it up on coal and get the accumulator test done, which should be one Sunday next month. Once it gets that part of the certification done I'll then be able run it on the track.

Tonight I took the boiler off (again), removed the ceramic burner, refitted the fixings for the ash pan, refitted the boiler (again) fitted the tanks (again) and started the cab fitting. I then found that wouldn't work because to fit it properly the cab needs to be pushed forward over the boiler to fit the manifold. Which means the tanks will have to come off (again). No pics because its not noticeably different to previous pics.

I'll get there and be able to take it apart and re-assemble in the dark by the time I'm done.

Pete
 
Pete, the disassembly / reassembly is always the same the way I remember it!!!

It's a shame the burner isn't up to it, I've no doubt it would have been much cleaner / easier to run with the gas burner but in my opinion it would have sort of taken some of the fun out of it, so a bit selfishly, I'm sort of glad it's going back to being coal fired!

Great work.

Nick
 
Pete,

Your engine looks wonderful and I'll bet that you will get it sorted and steaming down the track.

Keep up the good work.

Regards,

SAM
 
Nick/Sam thanks; its amazing the benefit of putting the job down walking away and coming back later. I set about this tonight expecting another strip down. Five mins later I had it worked out and managed to get the cab completed.

hryznr7g9o7qog44g.jpg


z9xcnd93v2ixg934g.jpg


Underside with gas burner removed and ash pan installed

qkcz45gm48dw1q84g.jpg


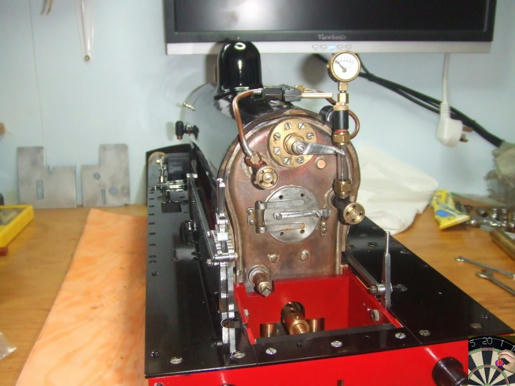
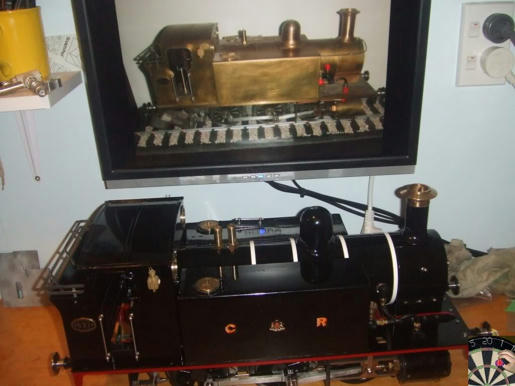
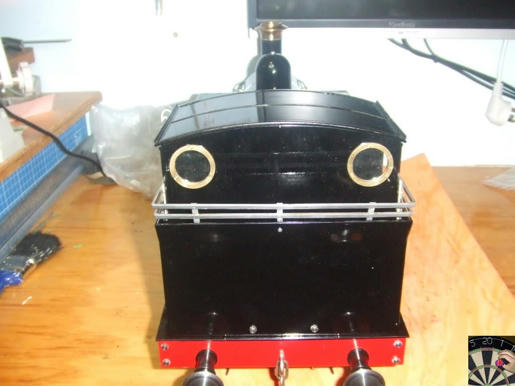
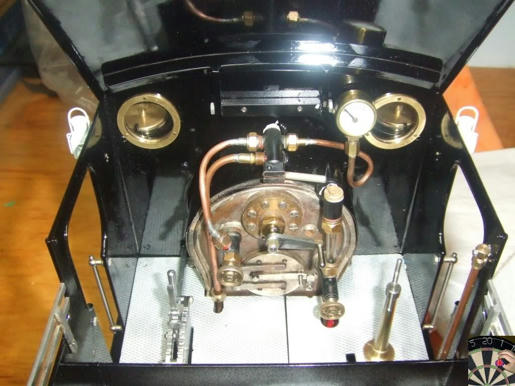
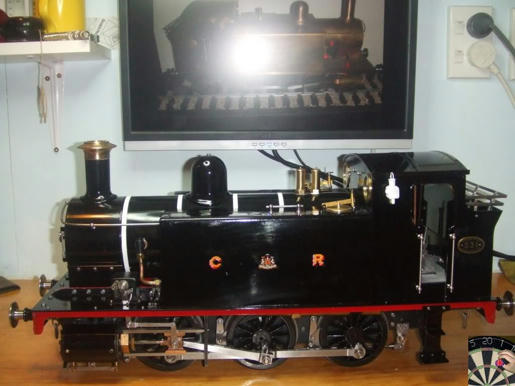
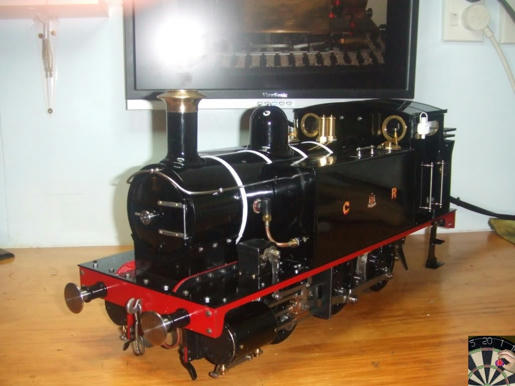
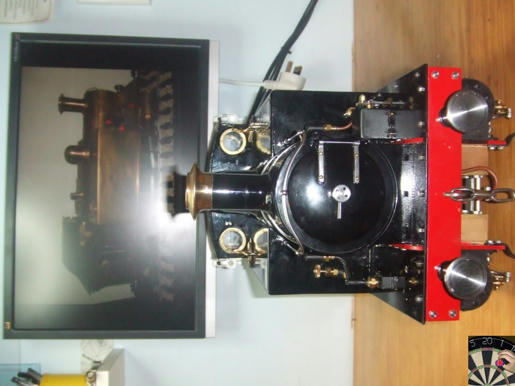
In fact I got more than the cab completed I got the rest of the parts installed

xfd5whlz04q6wea4g.jpg


3ppactwdvkm6ld84g.jpg


o58j5ufe173i4pv4g.jpg


e5sb14gp77njrrw4g.jpg


qlfcyp8gupjq9as4g.jpg


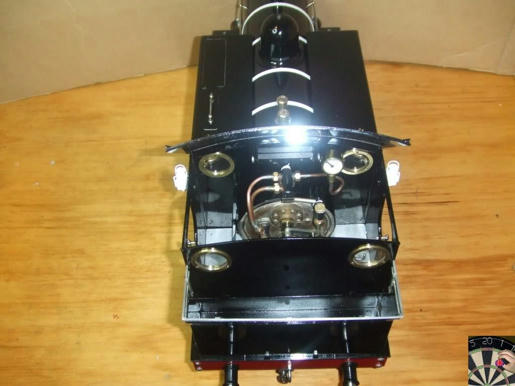
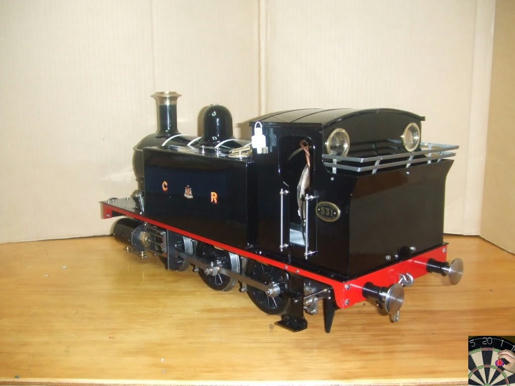
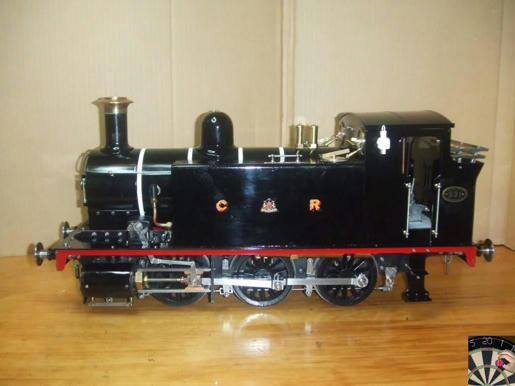
So that's about it, job done for now when I get it properly steamed up I'll post a video. Thanks for your support on the way everybody

(I may do some more pics tomorrow without the glare from the flash)

Pete
 
Awesome looking engine Pete. Beautiful work. Inspiring too.
I love that shot into the cab!
You must be proud!

Looking forward to the video!


Excellent Pete. Thm: Thm: Thm:
Job well done. I only hope my Simplex looks half as good when its done.

Ron
 
Carl, I'm very happy with it thanks. I'll be happier when I have run but I'm conscious it will never look the same again. That said its meant to be used.

Ron - I'm sure your Simplex will look great and hopefully my efforts will help in some way, if only to spur you on. The recommendation of the sand blaster was the best I had. Using an etch primer and the two pack spray job just made it.

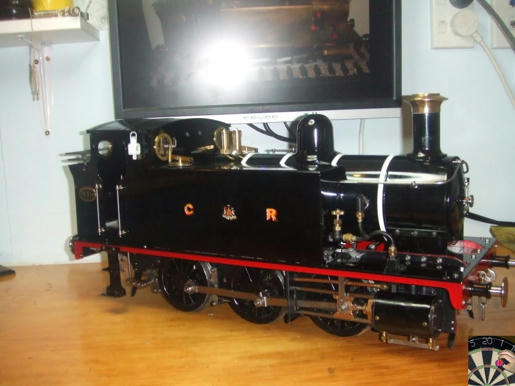
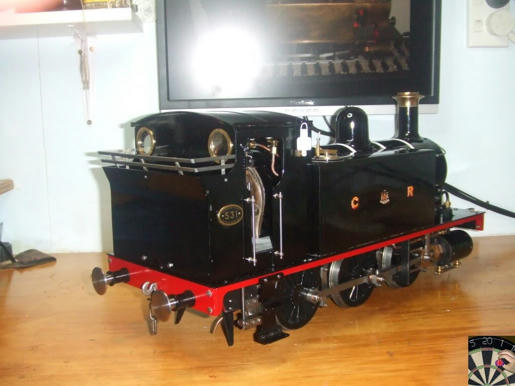
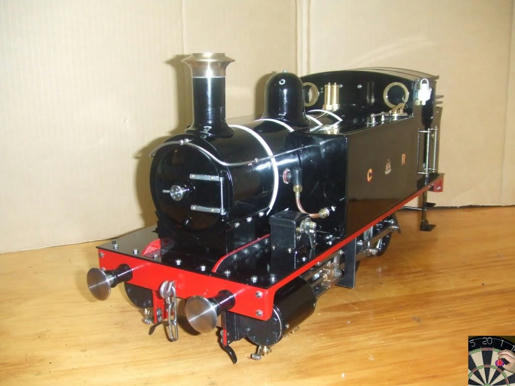
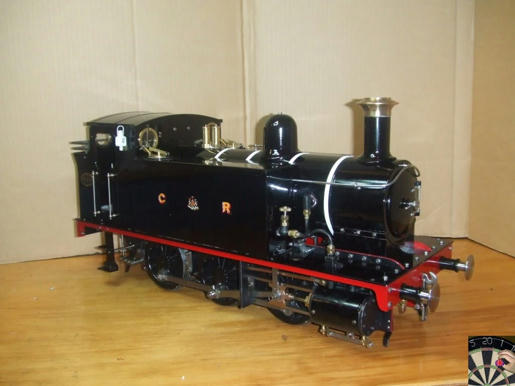
I promised final pics so here they are

hlbq680zc4gq18r4g.jpg


685vo5e0pa37c4s4g.jpg


7o43zw10e38795z4g.jpg


kj1tq53j1b1jksb4g.jpg


t5dzc9zg67b0sf54g.jpg


Pete
 
Well done Pete and thanks
Don
 
Pete, it looks superb :bow: it seems your Dad paid a lot more attention to detail than some Rob Roy builders, so many I have seen the builders have cut corners to make it easier but yours looks like the real thing.

Nick
 
Thanks Don and Nick

Dad's emphasis was on making it and not necessarily making a loco to run, if you follow what I mean. So from what I can tell he made everything in the Martin Evans book even the 'optional' parts like the brakes. Which Martin Evans acknowledges are purely cosmetic and aren't going to do much to stop the engine let alone a truck and a 80kg driver.

Interestingly I don't have the plans so I asked him if he'd had a set and he told me he'd just built it from the book.

Pete
 
Beautiful job, Harry & Pete! Pictures like this give me a kick in the bum to get my Super Simplex progressing ;D

Gordon
 
Gordon

Apologies for the delay, I've been away during the Google episode. Thanks for you comments and hopefully my efforts will spur you on.

Pete
 

Latest posts

Back
Top