PMR 5bi

Home Model Engine Machinist Forum

Help Support Home Model Engine Machinist Forum:

This site may earn a commission from merchant affiliate links, including eBay, Amazon, and others.
Great progress Paul and you are kind to stop work mid-stream and take a picture for us. I agree - casting kit engines are major planning events. I recently finished one and it went sort of like this. Plan, make a fixture, plan, stop. Go into the shop, spend 5 minutes machining. Sweep us swarf with toothbrush. Go back to drawing board and plan next step.

Watch out for the evil beaver, anyway. ;D

Cheers,
Phil
 
Hello

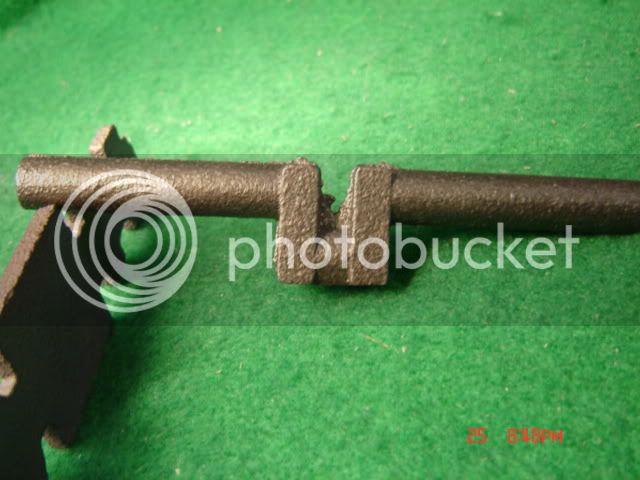
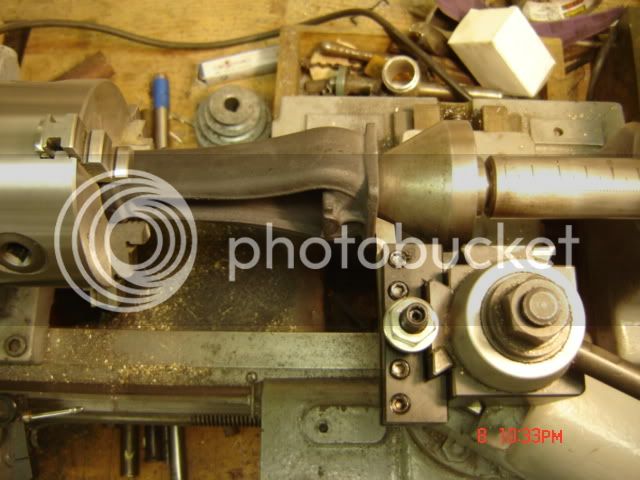
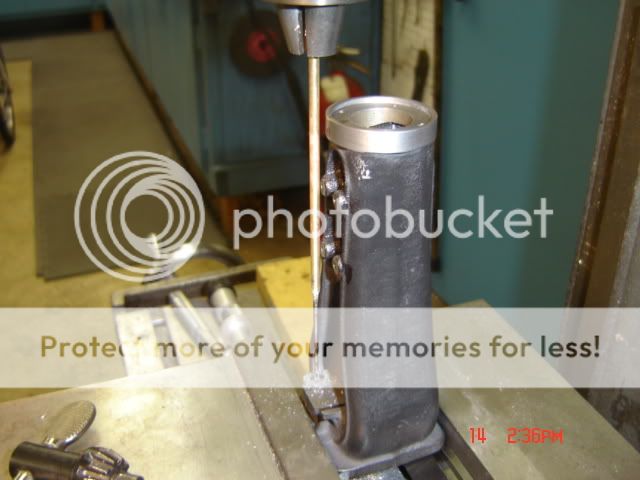
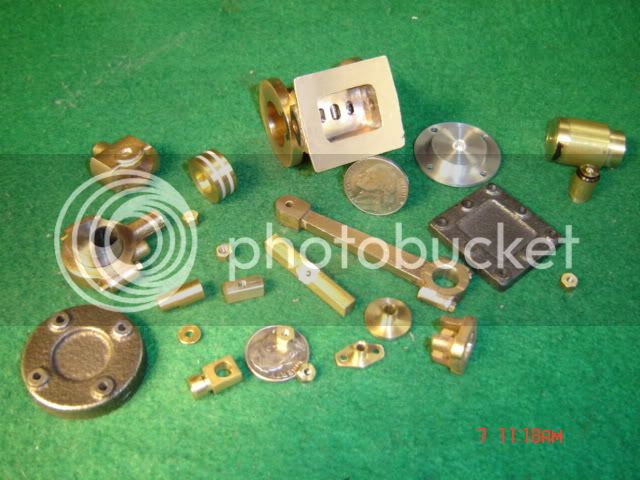
Crank Shaft: When I received this kit, I almost sent it back. The crank was badly warped, IMO. I started with the intension of turning between centers, drilled the centers, mounted it, didn’t look good, measured it. I felt that I would not have enough material to cleanly get the connecting rod journal fully into good metal, without offsetting the axel centers to start with. Now, the Crank, like other parts is shorter than finish dimensions called out, so cutting off the ends & starting over is out ??? My decision was to shim one jaw on the 3J chuck .040 and skim cut the free end to good metal, well it worked. On my crank the factory, caster, ground the sprue down to far on the throw, if I had turned CC the rod journal would have been interrupted .007, Just something to look for.

DSC02733.jpg


DSC02811-1.jpg

Overhang ? taking .002 each pass, took hours!

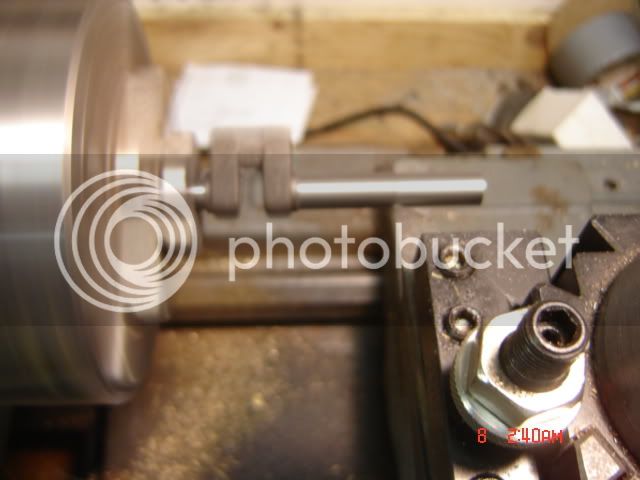
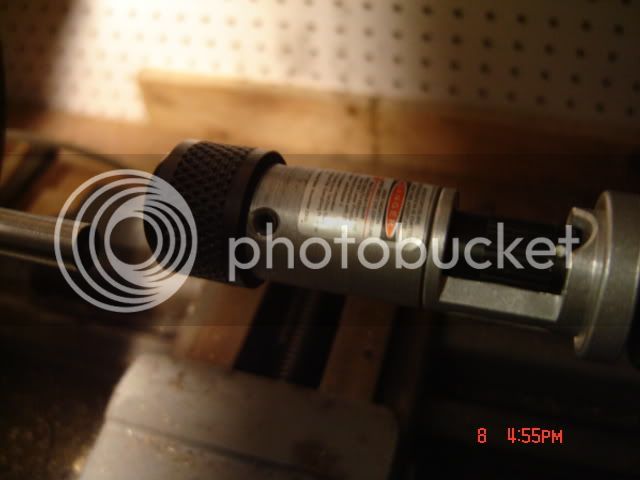
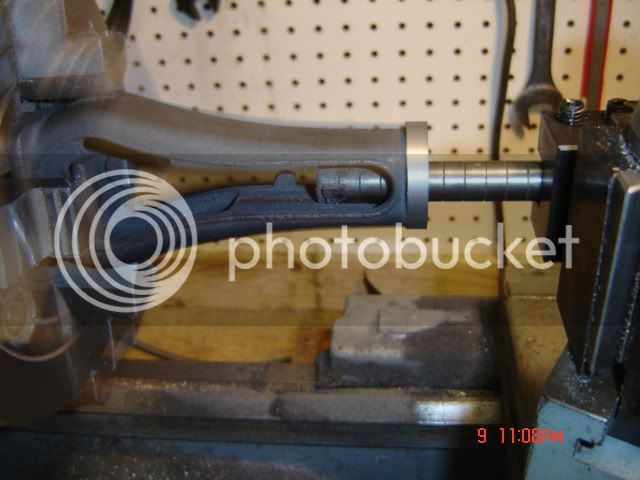
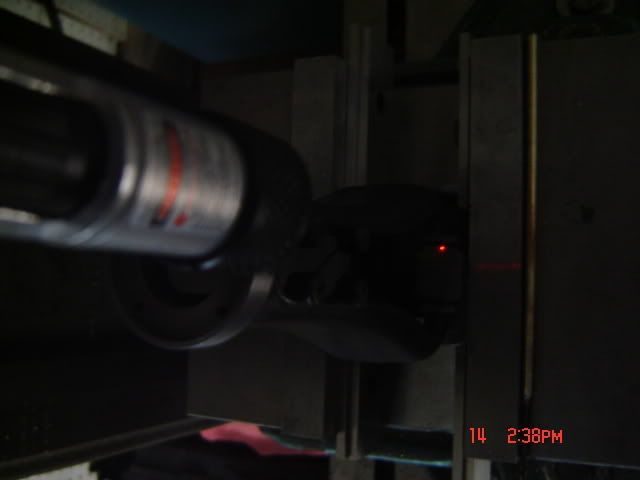
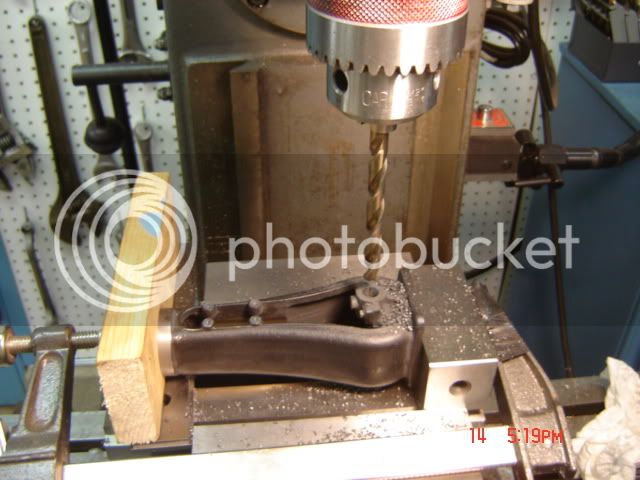
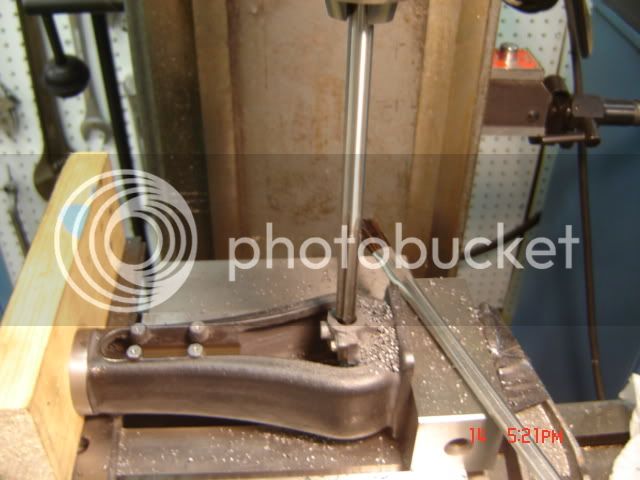
Connecting Rod Throw: I had already made the Eccentric Hub, not bad, turned the diameters and pushed it over with two chuck wrenches, one on each side, .100, trued face with DTI, tap it in with small soft face hammer, drill & bore. I laid out the throw center with the height gauge, checked it three times, all ok. Clamp in 4Jaw work it over .437, according to my indicator setup, true it every way I can think of. One last check, put the laser in the tailstock & see what it says, hmmm, about .011 short. Decisions, decisions, more torque or RPM, getting old, went with torque. I moved it out, and realigned it. I like the Laser, I have read good & bad about them. Once dialed in it works well for me.

DSC02813.jpg


DSC02817.jpg

I took the lens off the laser so you can see the dot, the dot can be as fine as frogs hair.

Paul
 
Nice progress Paul.
I appreciated the detail you gave on lapping. I don't much about it so I'm always looking for information.
 
Hello Zee,

I searched HMEM and others, a lot of opinions, basically just used what I had. The one thing I can tell you, don't make the lap to snug to start with. I tend to rush everything, run it a little bit & look it over. Time to do your Loco cylinders?

Paul
 
Hello All

Crank Shaft Throw & Thrown:

After getting the crank offset dialed in it was time to cut the con rod clearances. The only thing that would get that close to chuck, that I had, was an old lantern style parting tool of Dad’s from years ago, with a short blade. I hate parting tools !!! I had ordered some but my buddy the UPS man wasn’t scheduled to bring it that day. I love this guy, he shows up here about, two – three times a week. A couple week ago the UPS guy says, “that Beaver is really doing a number on your trees” ya, can never see him … UPSG, “I saw him yesterday when I pulled in, walking across the yard”… No Joke .. I live here, cant see him, this guy pulls in, what, 8 … 12 times a month for two minutes & eye ball’s the darn critter??? By the way, while I am goofing off at your expense, my girlfriend, hates you people, I blame all of the tool buying on you, she will ask, what’s that? … new in the crate, “10” rotary table” I reply, gf? What’s that, it looks the same … “6” rotary table”
… Well why do you need two? “I cant lift the big one”, she really hates you. Just kidding, back to work.

I pulled the QC tool post and installed the lantern W/parting tool. Remember these castings have a very hard skin, I manage to get in the side next to the chuck, start in the other side, I am running in back gear @ 42 RPM, slowest power cross feed setting, when the bit hit the flashing, Wham… Crank is gone!!! Shut it down, at first I thought it must have snapped in half, nothing in the chuck. Looked all over, no pieces, no crank… After fifteen minutes I finally found it, back under the headstock, fished it out with a piece wire, another five minutes. Two small dents, filed off the high spots, still straight. I got lucky, not hurt, machine & part okay.

Paul
 
Hello

Valve Slide Bearings:

I faced & milled the 45’s, as a unit
DSC02862.jpg


Bottle Frame:

I faced the faced the bottom, then turned the top and bored crosshead ways.
DSC02820.jpg


DSC02839.jpg


DSC02845.jpg


Milled bearing pedestals, made a long reach #50 drill (1/8” rod w/drill soldered in). Mounted caps, drilled & reamed.

DSC02870.jpg


DSC02873.jpg


DSC02872.jpg


DSC02880.jpg


DSC02883.jpg


Some of the parts
DSC02805.jpg


That's it, ready for paint, it's been curing for two days now. I assembled everything this afternoon, turns over hard, but at @ 100psi I should have 30lbs. of push. I have not put air to it yet, as I wanted video the attempt to run or not. I am having problems with the download, upload, whateverload, to Photobucket, stops every time at 60% ? I should have taken more time on some things, overall I really enjoyed this experience. My next project is the PMR Horizontal Boiler Kit. I am going to ask for your help & knowledge....
I hope there is at least one thing in all of this, that is of help to others. PaulG

DSC02939.jpg


DSC02940.jpg


DSC02937.jpg


Paul, as far as I'm concerned you made a silk purse out of a sow's ear. It's tricky enough to work with castings but when they are as rough as some of the ones you got it makes it really frustrating. Excellent work on the crankshaft. I think I would have pitched it and made my own. I'm sure your boiler project will be great with what you've learned from this kit.
George
 
PaulG said:
I hope there is at least one thing in all of this, that is of help to others.

Oh there's more than one thing. Believe me.

Nice looking engine. I hope you get the video going...I'd like to see it.
 
Beautiful build Paul and I will be referring to it I am sure when I get around to starting mine. I look forward to the video too. Well done...thanks for sharing the build.

Bill
 
Paul,
As a new guy let me just say your efforts of documenting your work were worth the effort you made to share them. You displayed lots of machine setups that were new to me. A karma to you for sharing your work while fighting off the mighty beaver! ;D

Cheers,
Phil
 
You came out with a really nice looking engine there, Paul. Very attractive!

Will be great to see the video.

Dean
 
That's magnificent Paul. Thank you for sharing your build. I learn something with every build I follow.

Excellent work! :bow:
 
Everyone !!! I thank you for your very kind comments. I put the engine on the shelf, and I will not try to run it until I get the video thing worked out. This might take me 2 ... 3 weeks, the engine will not be touched, rebuild, replaced, etc. I will ask of you, to watch closely and help me diagnose problems.

Paul
 
Brilliant work there paul, very nice result. Looked a tricky project that one.

Nick
 
very nice workmanship. and excellent photos.
 
Hi Guys

I am new here, I am posting a pic of mine. I really enjoyed building this engine. I am now busy with # 1, then #6 and the Red Wing after that, will surely keep me busy for a loooong time lol

Regards

Albert

IMG_0130.jpg


6BILayout1.jpg
 

Latest posts

Back
Top