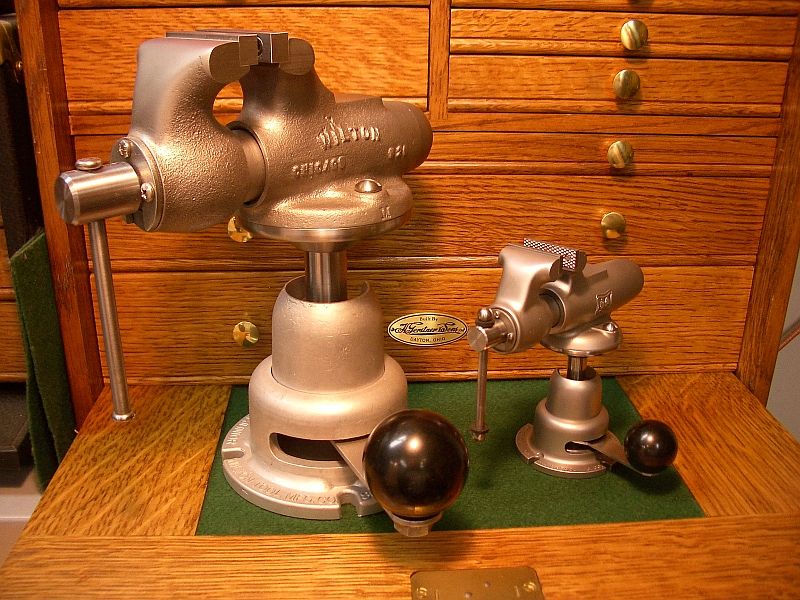
One More; Morrison & Marvin Model Builders Vise

Home Model Engine Machinist Forum

Help Support Home Model Engine Machinist Forum:

This site may earn a commission from merchant affiliate links, including eBay, Amazon, and others.

idahoan

Well-Known Member
Joined
Oct 7, 2008
Messages
594
Reaction score
210
Hi Everyone

I finished my vise late last year and thought about doing a build thread on it; but I didn't get it done. So this will be a condensed version to show the steps and tooling I used to build this wonderful little vise.

I will also show the ½ size Power Arm Jr. swivel base that I scaled from my full sized one.

As Tom has shown in his build thread this is a very complete kit and the lost wax castings are top notch.

2029960160053545466S600x600Q85.jpg
MM_Vise_001.jpg

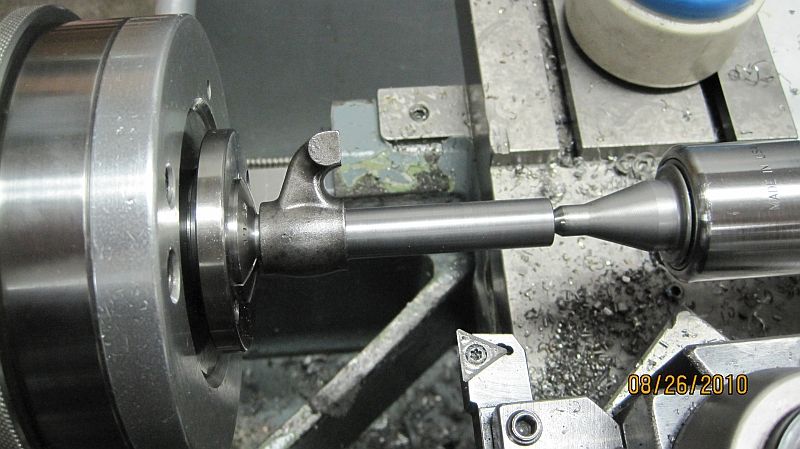
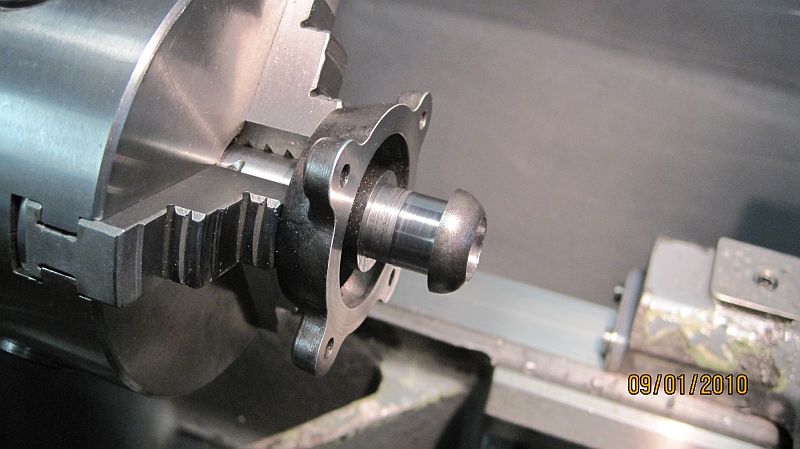
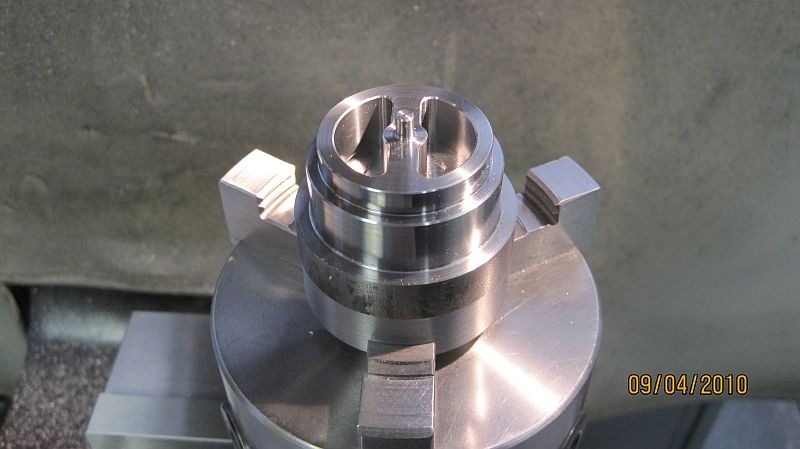
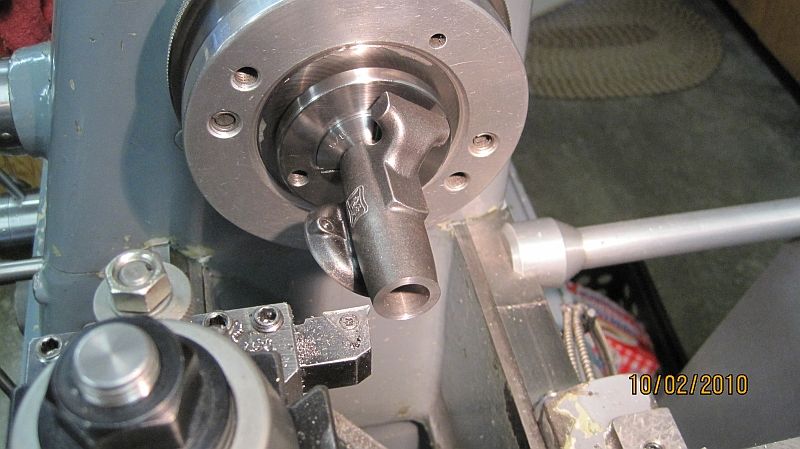
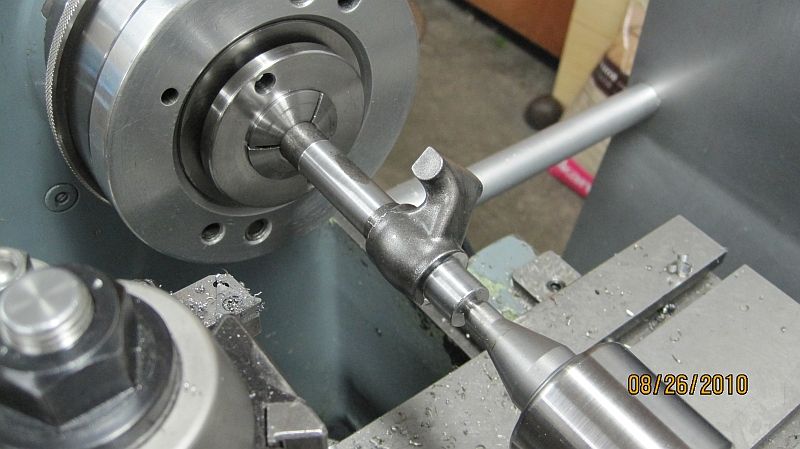
Starting work on the moveable jaw; there was a bit of a shrink and the shaft had a pretty good warp to it. So it took a little fussing to get it running true in the lathe. I believe the foundry mounts these on the wax tree differently now to prevent this from happening.
2576401980053545466S600x600Q85.jpg

MM_Vise_002.jpg

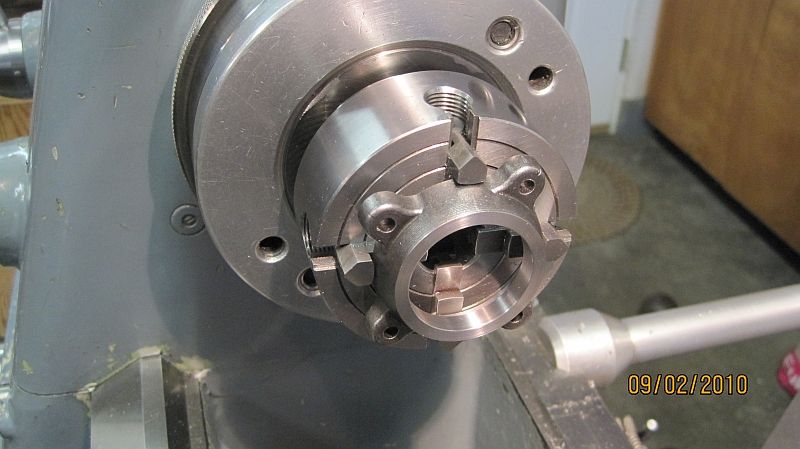
Turned around in the collet and finished to dimension.
2642402310053545466S600x600Q85.jpg

MM_Vise_016.jpg

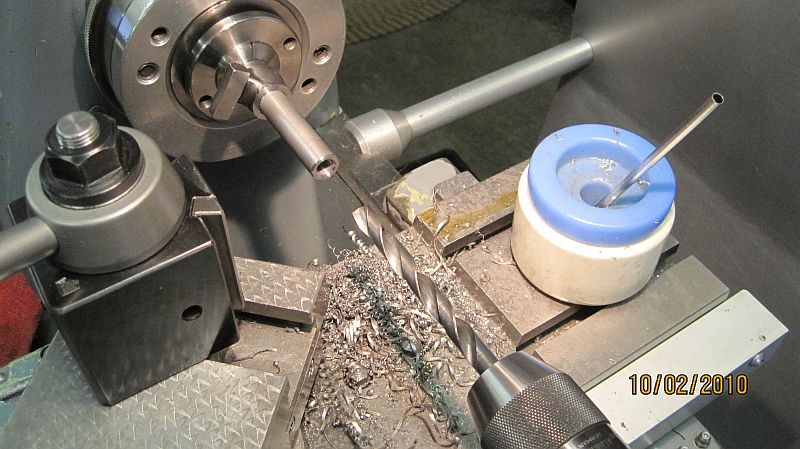
Drilling clearance for the screw.
2658876700053545466S600x600Q85.jpg

MM_Vise_017.jpg

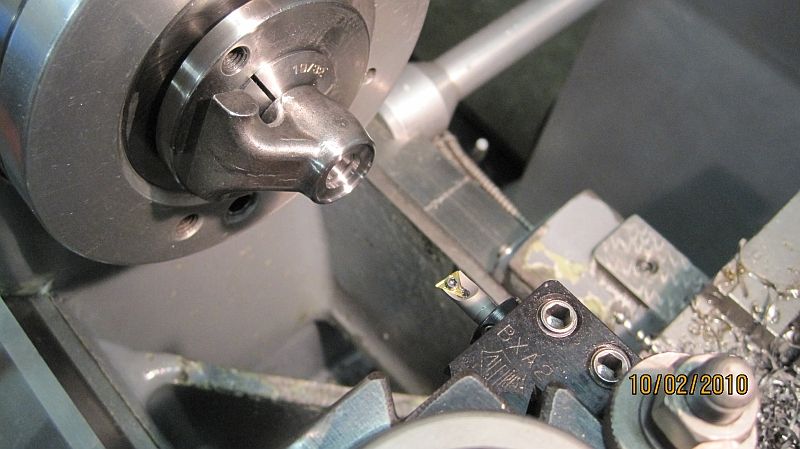
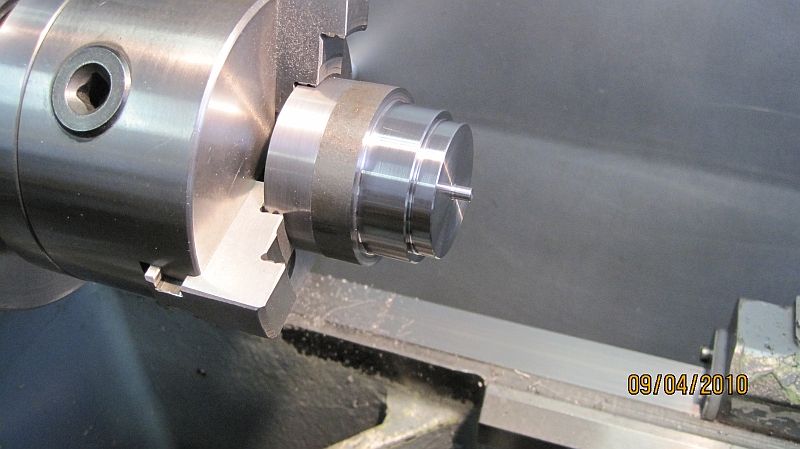
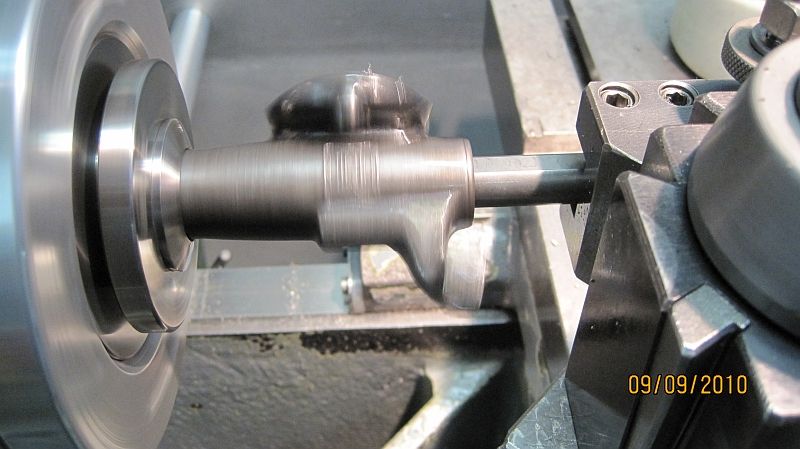
Machining the front end for the screw and lock plate.
2751606590053545466S600x600Q85.jpg

MM_Vise_018.jpg

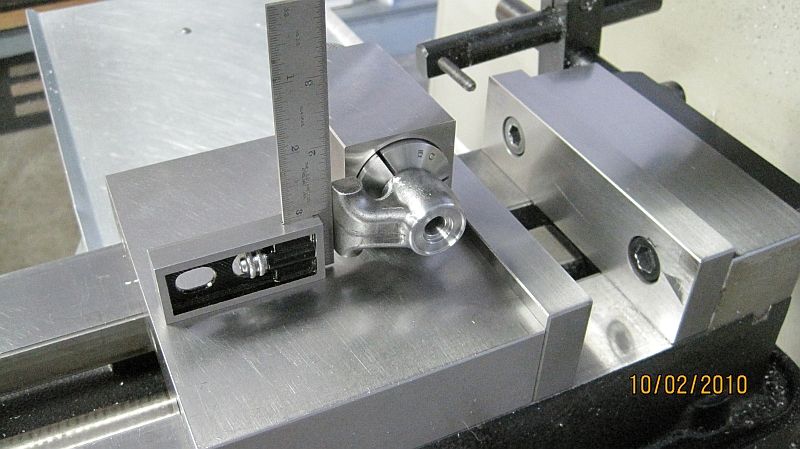
Squaring in the collet block to dill and tap for the lock plate retaining screws.
2288284390053545466S600x600Q85.jpg

MM_Vise_023.jpg

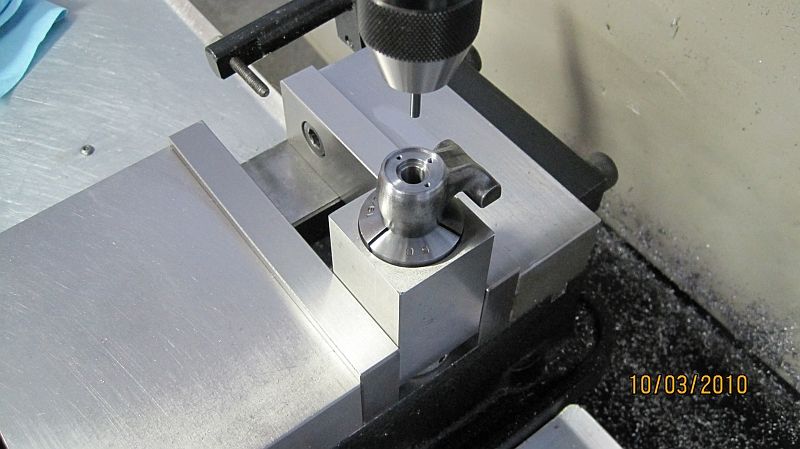
Set up in the mill for drilling and tapping.

More to follow.
 
Last edited:
Hi Everyone
Here are a few more photos of my vise construction.

2431464870053545466S600x600Q85.jpg

MM_Vise_004.jpg

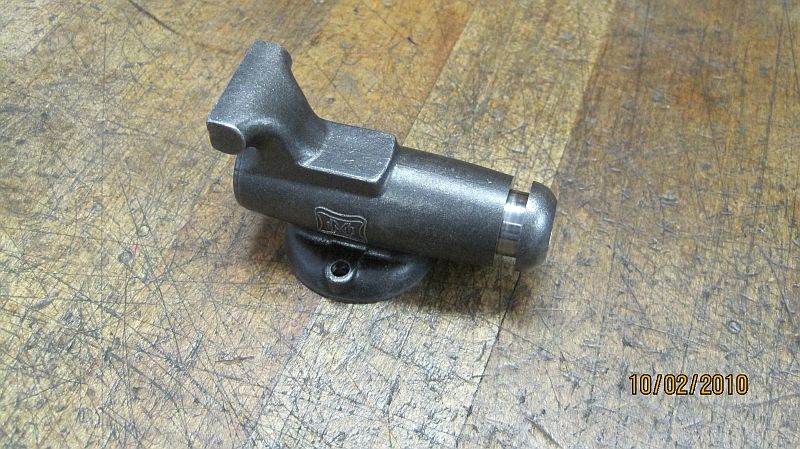
Working on the base and nut retainer; these are cast as one piece so the nut needs to be finished and parted from the base. Otherwise there is not an easy way to hold onto it. All of the castings have chucking lugs which makes setups a little easier.

2402022710053545466S600x600Q85.jpg
MM_Vise_005.jpg

Here is the base is a little farther along.

2517873050053545466S600x600Q85.jpg
MM_Vise_006.jpg

Working on swivel lock plate; it is machined from a piece of 12L14 that I had onhand.

2976346710053545466S600x600Q85.jpg
MM_Vise_007.jpg

Transferred to the mill to cut the pockets.

2511316310053545466S600x600Q85.jpg
MM_Vise_008.jpg

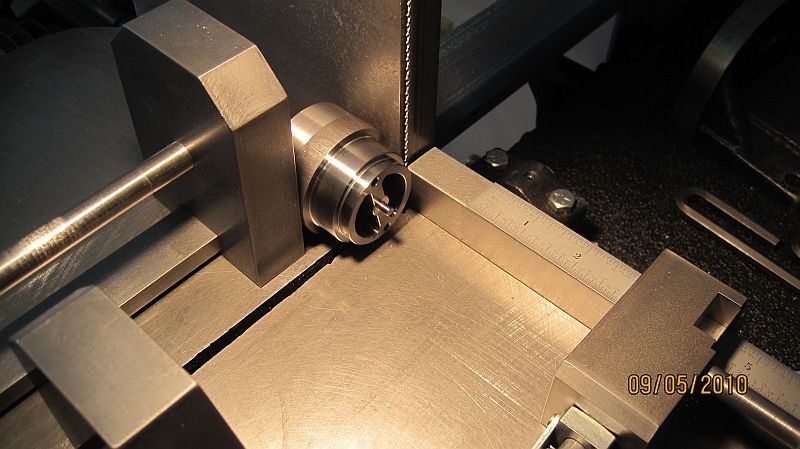
A quick trip to the saw to remove it from the stock.

2276905690053545466S600x600Q85.jpg
MM_Vise_003.jpg

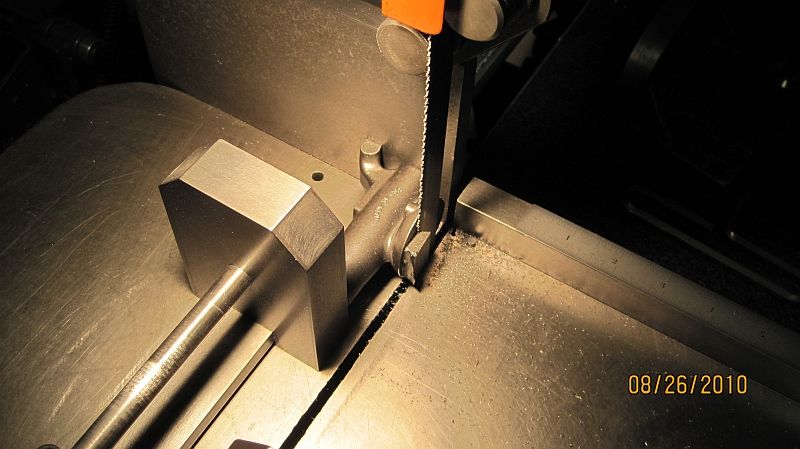
Sawing the excess material from the body casting.

2116381110053545466S600x600Q85.jpg
MM_Vise_011.jpg

Boring the body casting for the movable jaw.

2789305850053545466S600x600Q85.jpg
MM_Vise_020.jpg

The body casting in now installed on a mandrel so the back end can be cut to length.

2311661820053545466S600x600Q85.jpg
MM_Vise_010.jpg

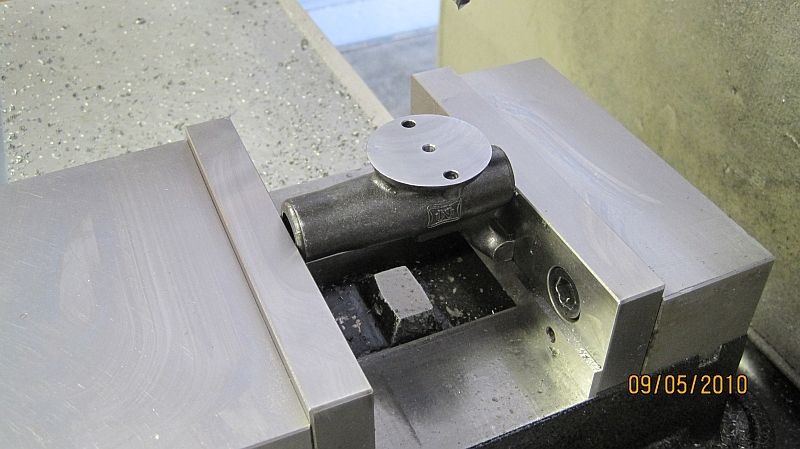
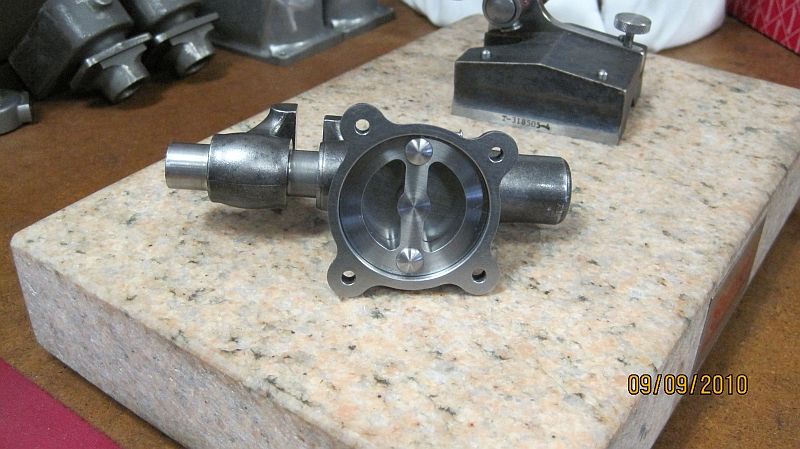
Body casting set up in the mill vise to face the bottom and drill the holes. The top of the jaw is sitting on a parallel for proper alignment.

2176343210053545466S600x600Q85.jpg
MM_Vise_013.jpg

Trial fit of the pieces completed so far.

2929376220053545466S600x600Q85.jpg
MM_Vise_015.jpg

Bottom view with the lock plate and hardware.

2726889220053545466S600x600Q85.jpg
MM_Vise_021.jpg

Ready to press the nut retainer into the body.

2203312690053545466S600x600Q85.jpg
MM_Vise_022.jpg

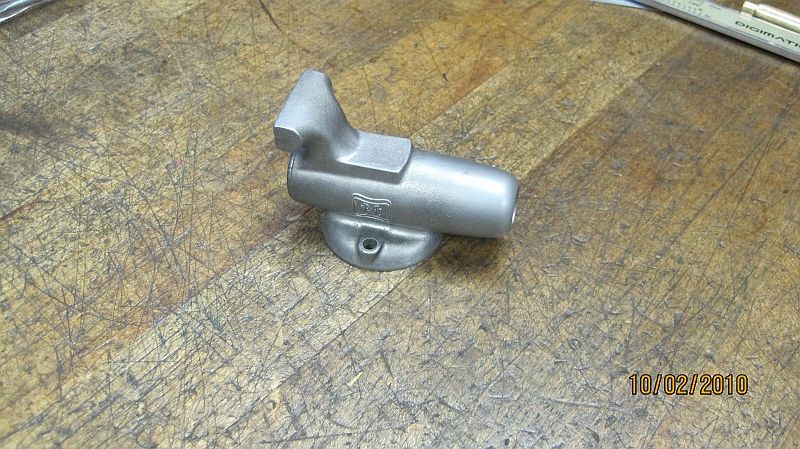
Here it is pressed in, blended and lightly bead blasted.


Thanks for checking in.
More later


Dave
 
Last edited:
These look like interesting projects and the castings do look very nice!

Great work on the vise!
Looking forward to the next set of pictures!

Andrew
 
I would love to find castings for a 3" to 3 1/2" vise like this that I could use as my regular bench vise! Does anyone know if such things exist?
 
Hi everyone,
Thanks for the comments; here is the next group of photos.

2362985900053545466S600x600Q85.jpg

Here are couple more shots with the screw retainer plate and brass nut in place.

MM_Vise_032.jpg


MM_Vise_025.jpg

2228011710053545466S600x600Q85.jpg


2048373810053545466S600x600Q85.jpg
MM_Vise_026.jpg

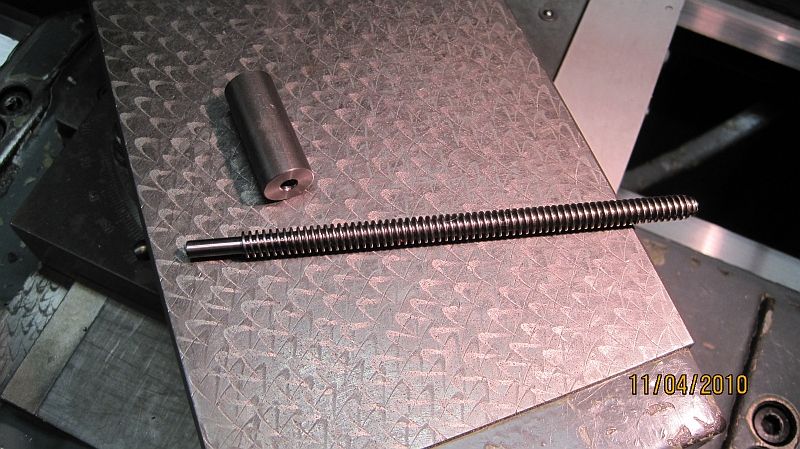
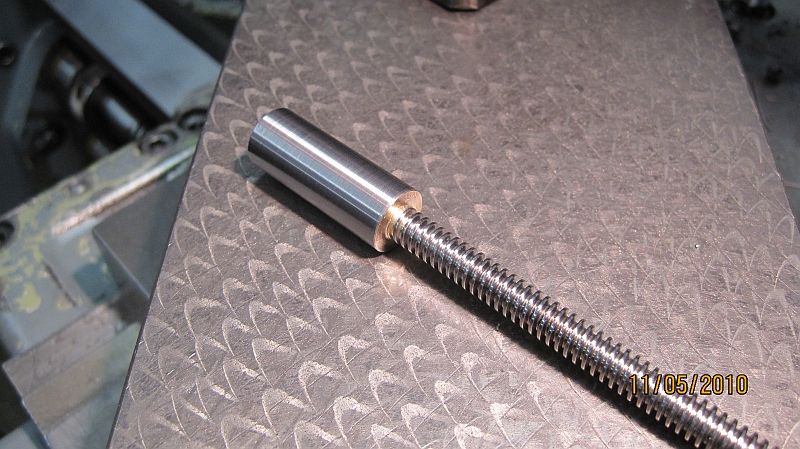
Starting work on the screw; the acme stock has been turned and end is ready to be silver soldered in place.

2249384700053545466S600x600Q85.jpg
MM_Vise_027.jpg

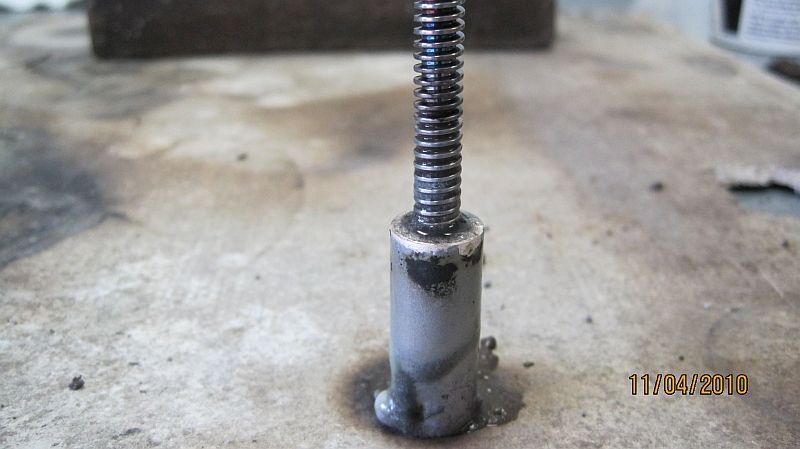
Still to hot to touch.

2613880160053545466S600x600Q85.jpg
MM_Vise_028.jpg

The screw assembly cleaned up and the end has been skimmed so it is true to the screw and can be placed in a collet.

2177850940053545466S600x600Q85.jpg
MM_Vise_030.jpg

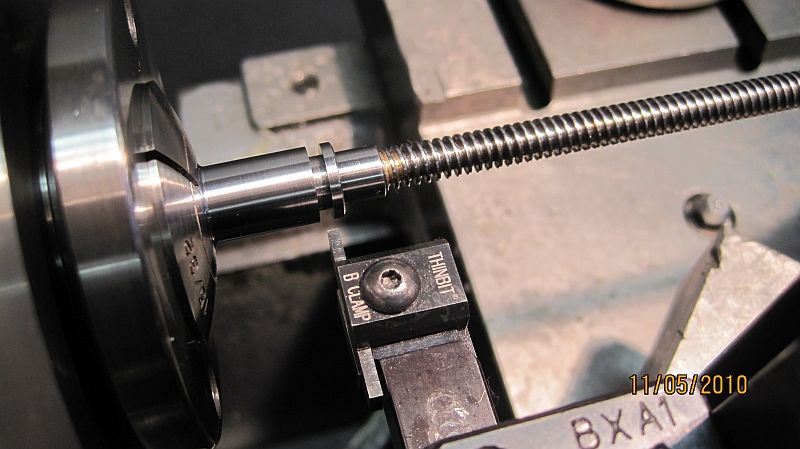
Cutting the groove for the screw retainer.

2128540260053545466S600x600Q85.jpg
MM_Vise_031.jpg

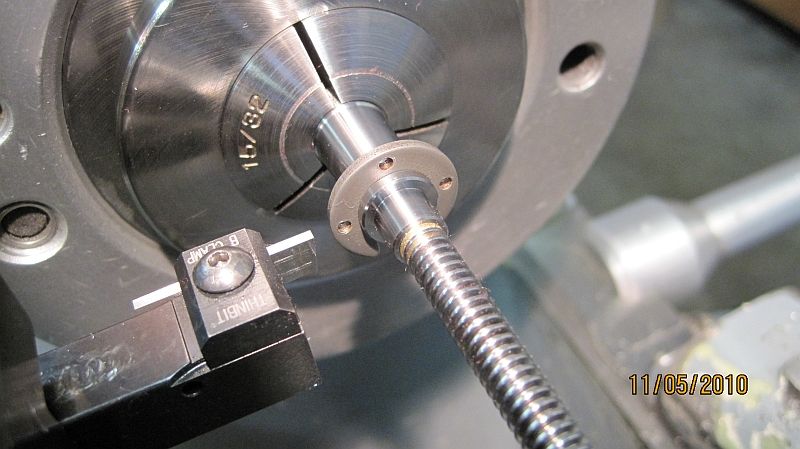
Checking the fit of the retainer plate.

2334679200053545466S600x600Q85.jpg
MM_Vise_032.jpg

Checking the fit in the moveable jaw.

2566607240053545466S600x600Q85.jpg
MM_Vise_034.jpg

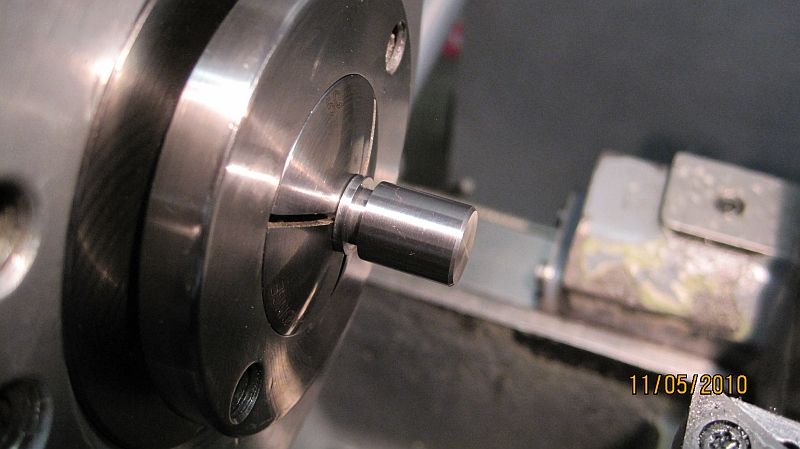
Back in the lathe the end is finished to length and chamfered.

2441859160053545466S600x600Q85.jpg
MM_Vise_035.jpg

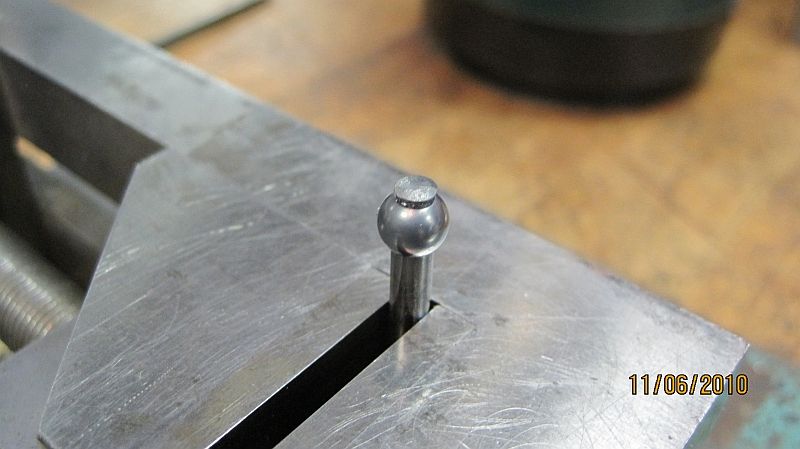
Soft jaws used to hold the steel handle balls for drilling.

2343628880053545466S600x600Q85.jpg
MM_Vise_037.jpg

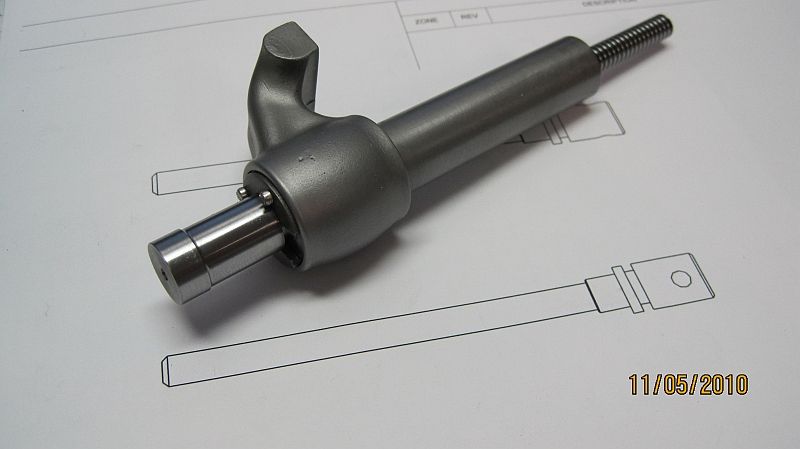
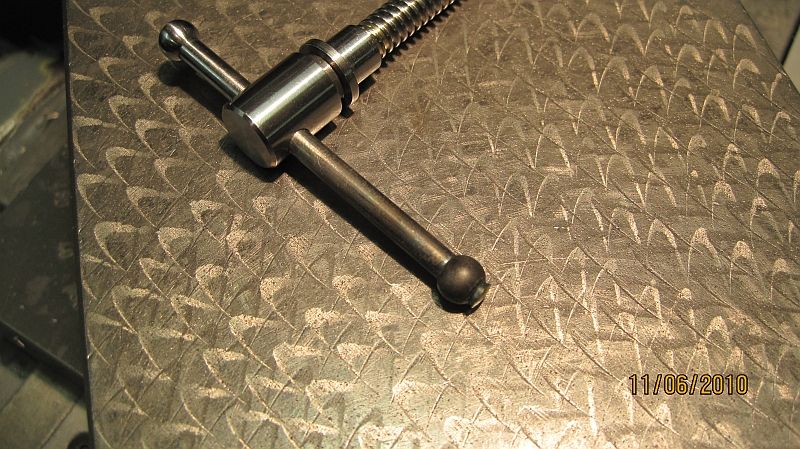
The ball and handle assembly is heated and the protruding metal is peened to lock the ball in place.

2747025400053545466S600x600Q85.jpg
MM_Vise_038.jpg

After dressing and polishing the ball the handle is inserted into the screw and the process in repeated for the other ball.

2572417160053545466S600x600Q85.jpg
MM_Vise_041.jpg

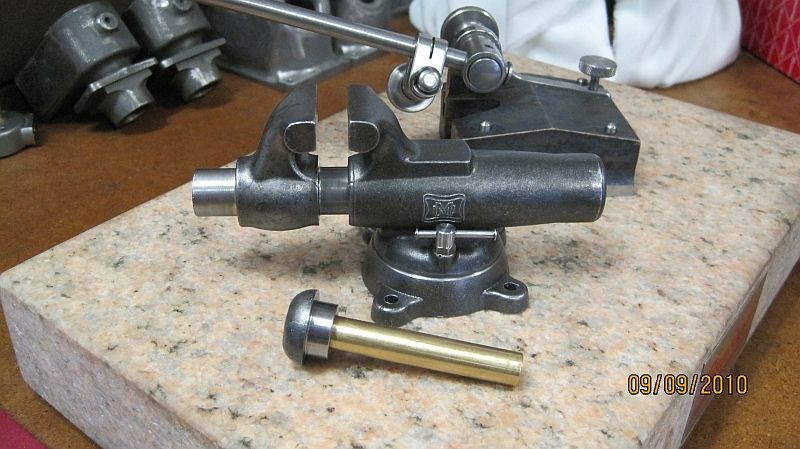
Dressing and polishing the second ball is not as easy as the first one. I made a split bushing that could be placed on the handle and larger than the ball diameter. This was slid into a collet and the screw allowed to dangle while the second ball was finished.

2571284940053545466S600x600Q85.jpg
MM_Vise_040.jpg

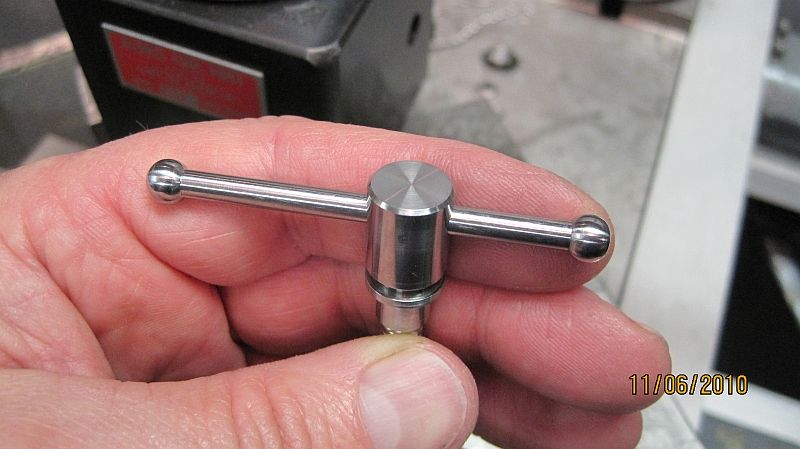
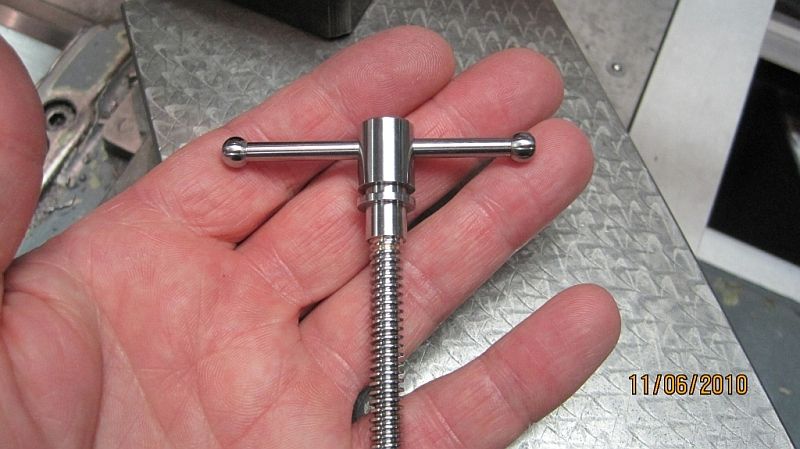
The finished handle assembly.

2958476060053545466S600x600Q85.jpg

More later & thanks for checking in,
Dave
 
Last edited:
Hi Everyone
Here is the next set of build photos.

2667328260053545466S600x600Q85.jpg
MM_Vise_042.jpg

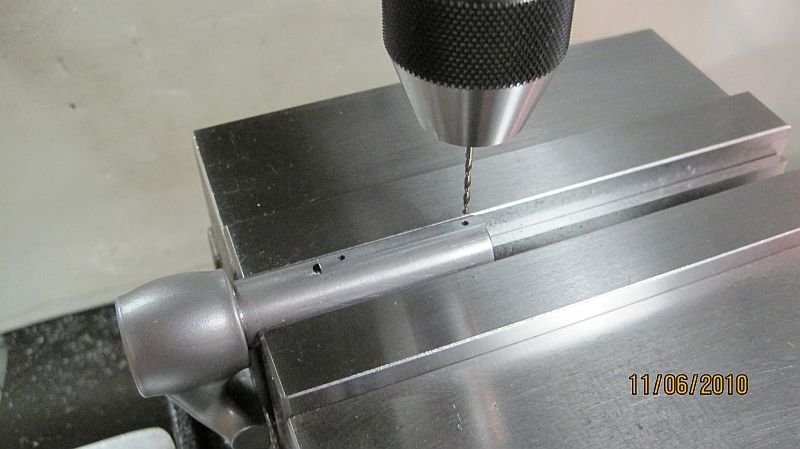
The keyway has been milled and here the retaining pin holes are being drilled.

2927855550053545466S600x600Q85.jpg
MM_Vise_043.jpg

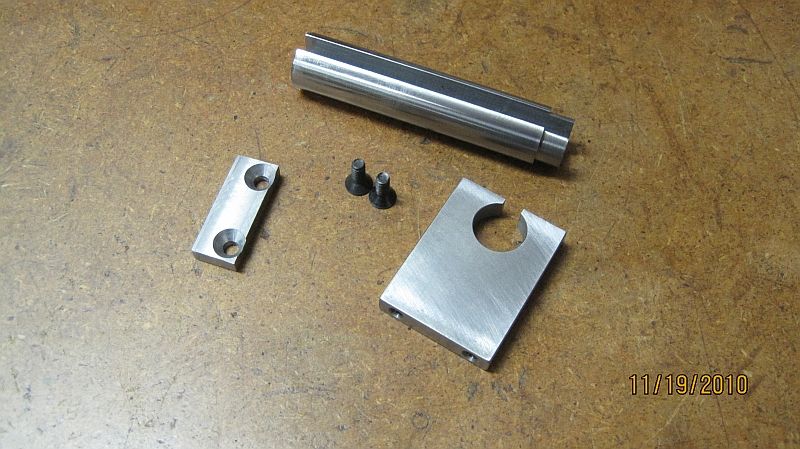
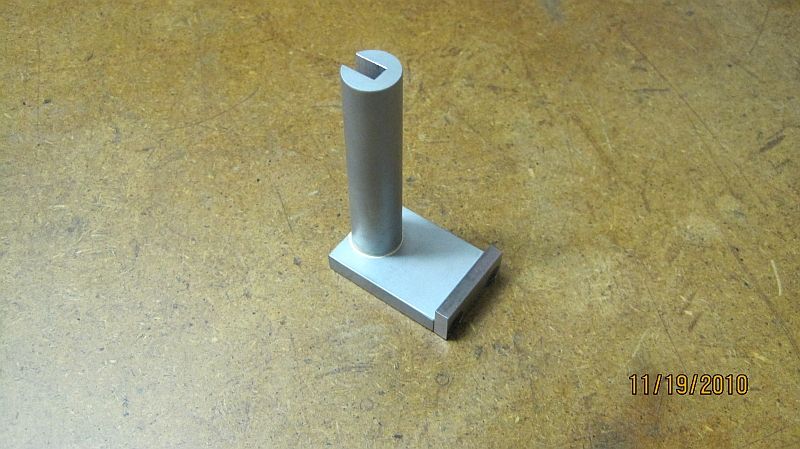
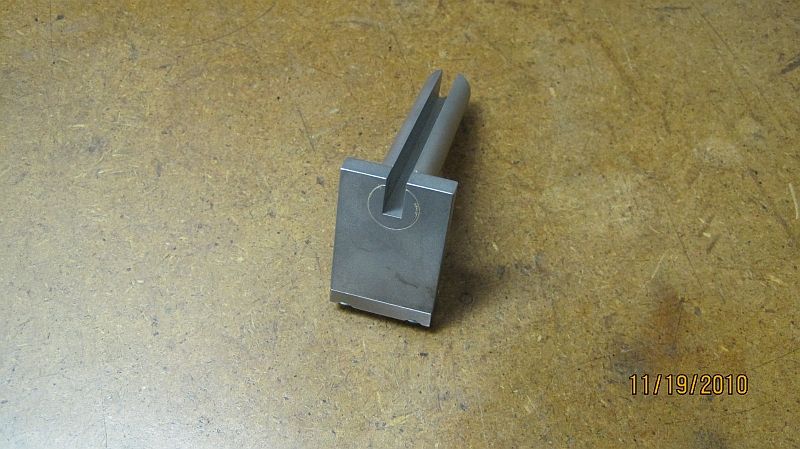
These are the individual parts for the broach bushing/alignment tool.

2891251660053545466S600x600Q85.jpg
MM_Vise_044.jpg

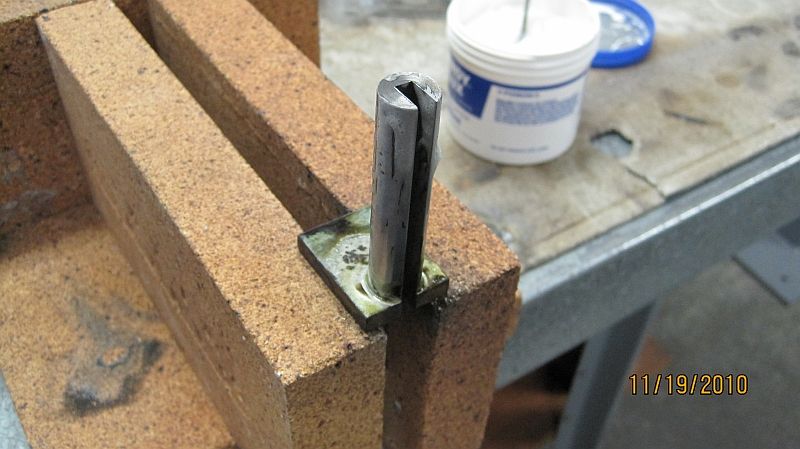
After silver soldering.

2239136670053545466S600x600Q85.jpg
MM_Vise_045.jpg

Cleaned up and ready for use.

2695316300053545466S600x600Q85.jpg
MM_Vise_046.jpg

Another view.

2822513130053545466S600x600Q85.jpg
MM_Vise_047.jpg

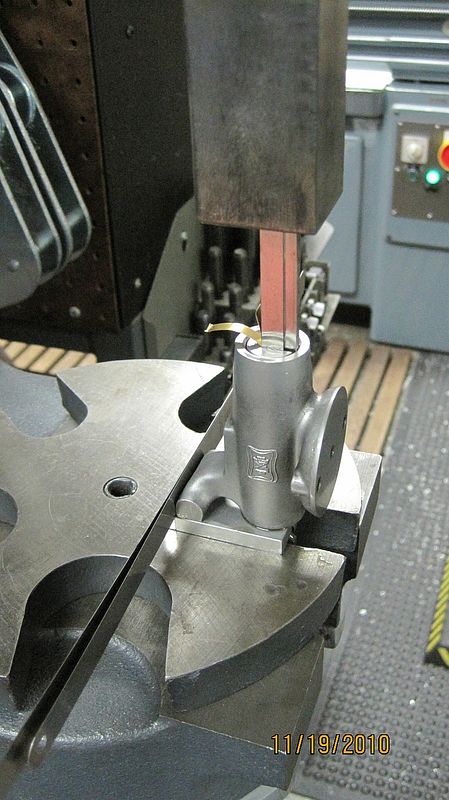
The broaching operation in process; note the top of the jaw has been shimmed to align it with the fixture. After the first pass though with the broach; .005” shims were used on each additional pass; until the final depth was reached.

2469791020053545466S600x600Q85.jpg
MM_Vise_048.jpg

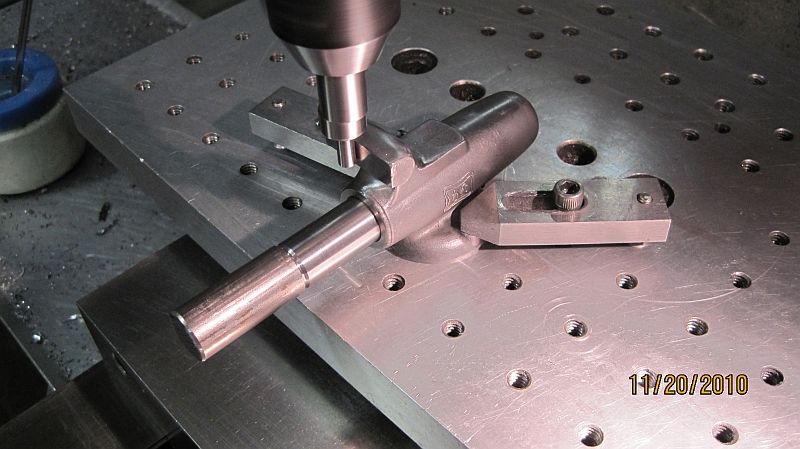
Setting up on the fixture plate to mill the cuts for the jaw inserts. The mandrel which is a light push fit was indicated to the Y axis and the edge finder used to pick up the face of the jaw.

2873601010053545466S600x600Q85.jpg
MM_Vise_049.jpg

The moveable jaw assembly installed and tightened and both jaws are cut in one operation.

2955085340053545466S600x600Q85.jpg
MM_Vise_050.jpg

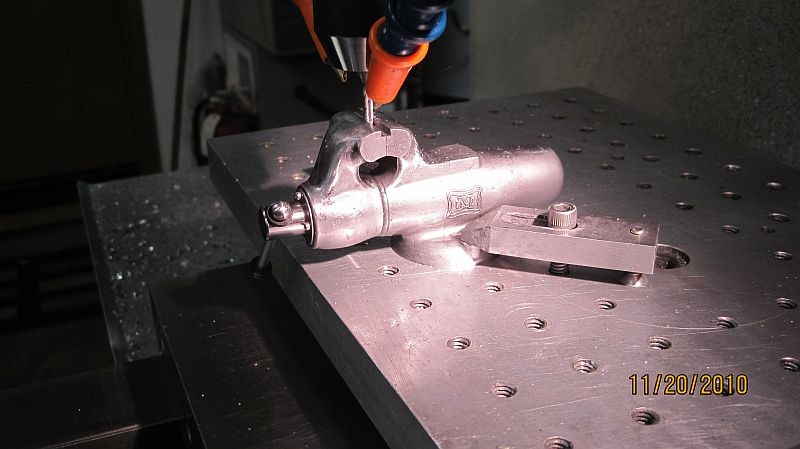
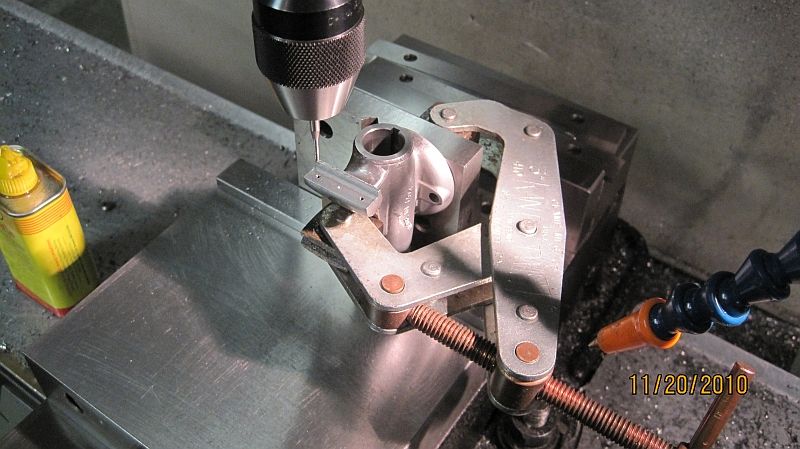
The body casting clamped to an angle plate to drill and tap for the jaw plates.

2386730650053545466S600x600Q85.jpg
MM_Vise_051.jpg

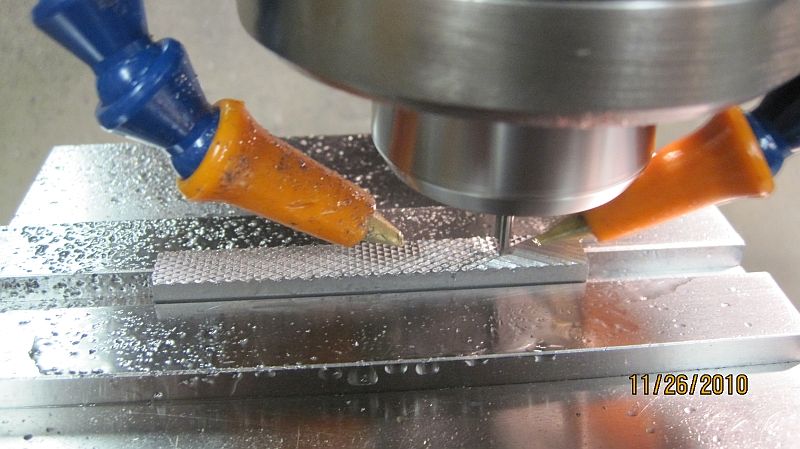
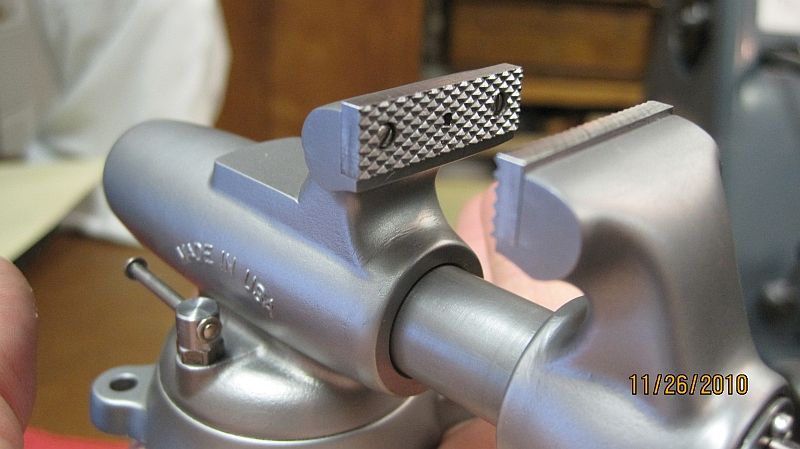
Milling the stock for the serrated jaw plates. The stock was made oversized and long enough for two plates. The serrations were cut with a 45° countersink at a 30° angle to form a nice diamond.

2888835360053545466S600x600Q85.jpg
MM_Vise_053.jpg

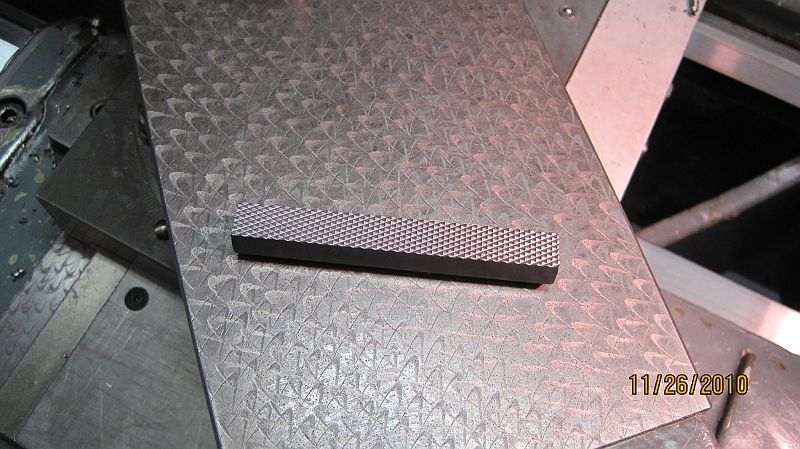
Here the stock has been finished; it is now cut in two and the serrations nested together. The outside profile is carefully milled while the jaw plates are nested. After milling to size the screw and dowel pain holes are put in and the jaw plates casehardened.

2400229940053545466S600x600Q85.jpg

MM_Vise_054.jpg

The finished jaw plates installed one the vise.

More later,
Dave
 
Last edited:
Hello Dave,

Beautiful work on your vise. Thanks for showing us the photos of your machining ops, they are most informative.

What type of broach did you use for your keyway? Was it a 'B' Series broach and what was its length? Did you also end up using a pusher to complete the keyway? I still haven't done the keyway in mine yet, I am worried about using a pusher on my broach. I asked Tom who just recently documented the vises that he built and he used a 'B' Series broach with a pusher. I guess that I am taking a survey.

Can't wait to see the rest of your photos, especially the ones of your 1/2 scale Powerarm Jr. What a great idea.

Thanks again.

Regards,
Mike
 
Mike

Thanks for the kind words. The broach is a standard Dumont 1/8” B size broach 6.750 long; and I did use a pusher to get it the rest of the way through the bushing.

The fixture and tip about using the .005 shims are not my ideas; they come from a friend in Bozeman Mt. who is also a vise builder and master machinist.

I don’t have step by step pictures of the Powrarm; but I will post some of the finished product.

Dave
 
Dave, nice job. I'm also building this vice,need to,finish the jaw inserts. Yours really look great, what depth of cut and spacing did you use? I have also built a power arm for mine, scaled from my 2 1/2" Wilton vise with factory power arm. I'll try to post some Picts of the power arm later this week.
Thanks,
Karl
 
Beautiful little vise and the photos are excellent. Good work!
 
Mike & Rockytime thanks for the complements,

Mike the spacing on the serrations is .025” and they are at a 30° angle. The depth is about .020”. I would love to see pictures of your Powrarm please do post them.

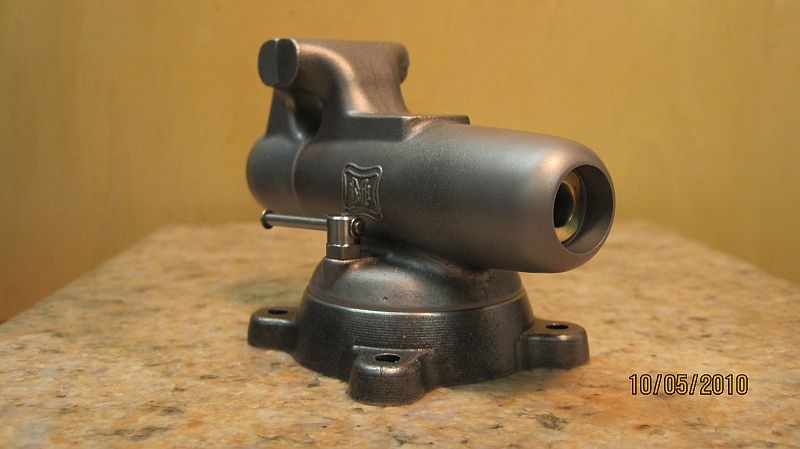
Well I’m out of build photos for the vise so here are some of the finished vise with the Powrarm to follow shortly.

2499769350053545466S600x600Q85.jpg


2394678350053545466S600x600Q85.jpg


2183737620053545466S600x600Q85.jpg


2877366490053545466S600x600Q85.jpg


Dave, you are in a league of your own! Workmanship such as yours is something we can aspire to, but never hope to equal.

Members of this forum, you can go to the Oregon GEARS in September and see what I mean.

Keep up the good work, Dave. Your projects are a delight for the eyes.

Best regards,
Orrin
 
Great work and great photos. The finished product is a joy to behold. It would be a pity to get it dirty.

Jim
 
Dave, Wow. NICE. Thanks for the heads up on your build. I've been way too busy and haven't kept upon the builds. I turned 64 today and it's like a birthday present. Your work is impecable and I might add that your hands are very clean, also. Did you get a manicure or did you use laquer thinner? ;D
All kidding aside, it's nice to see that I have so much to learn, it should be fun. Also, very nice quality pics.

GUS
 
Guys

Thanks you so much for your very kind words; this has been a fun little project and it makes it all worthwhile when folks enjoy the progress and finished project.

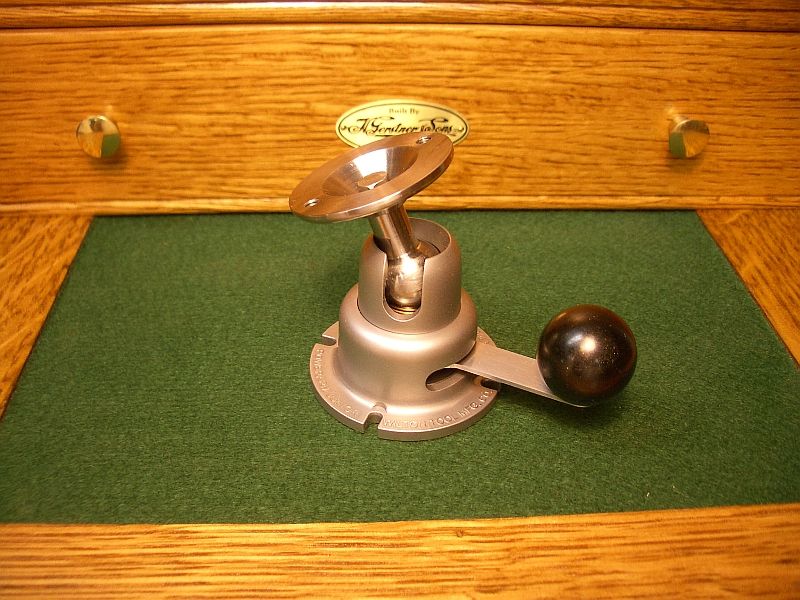
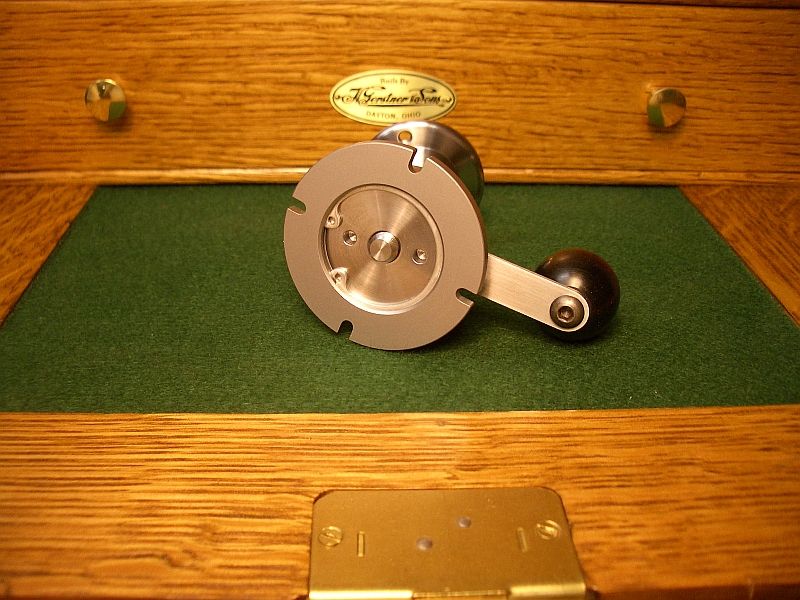
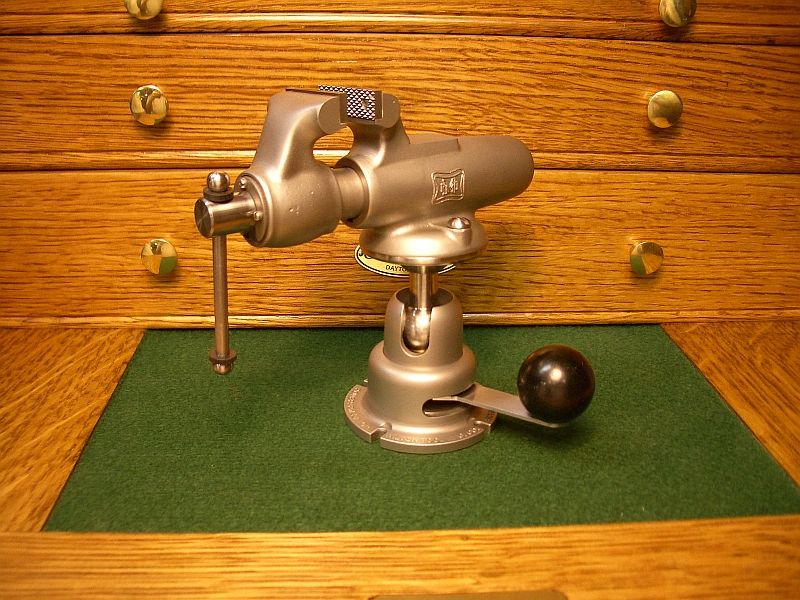
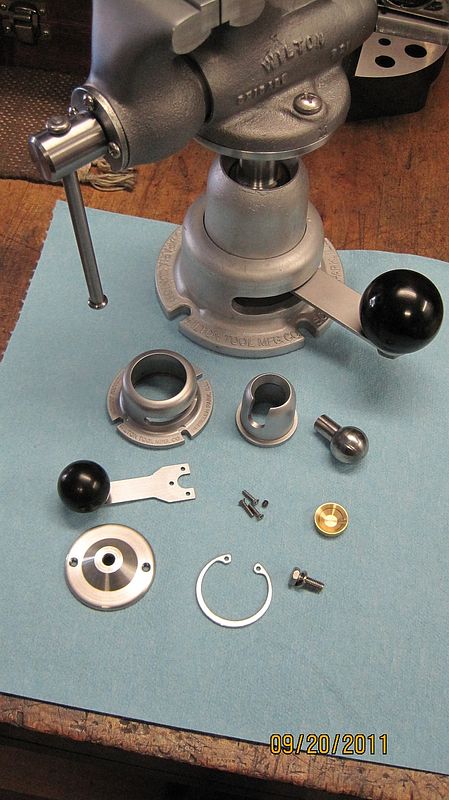
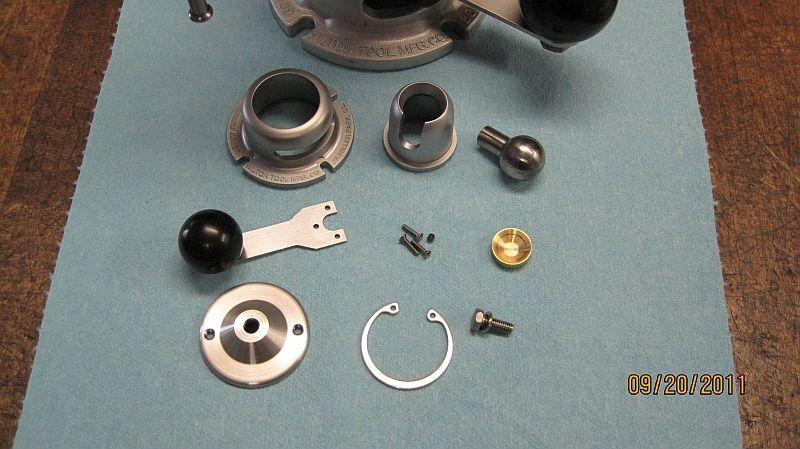
Here are the photos of my baby Powerarm; it is ½ size of the Wilton Powerarm Jr. and fits the little vise just right. I purchased the 2” Wilton vise and Powerarm Jr. on eBay for use in my shop; while cleaning up the base I thought to myself that it wouldn’t be to hard to scale and build. So here is what I came up with.

2712545990053545466S600x600Q85.jpg
Powarm_001.jpg

Finished Powerarm.

2985914880053545466S600x600Q85.jpg
Powarm_002.jpg

Bottom view; showing the lock adjustment plate.

2237738310053545466S600x600Q85.jpg
Powarm_011.jpg

Powerarm with the vise mounted.

2791212770053545466S600x600Q85.jpg
Powarm_003.jpg

All the finished parts next to its big brother.

2343674930053545466S600x600Q85.jpg
Powarm_004.jpg

Closer shot.

2699562240053545466S600x600Q85.jpg
Powarm_005.jpg

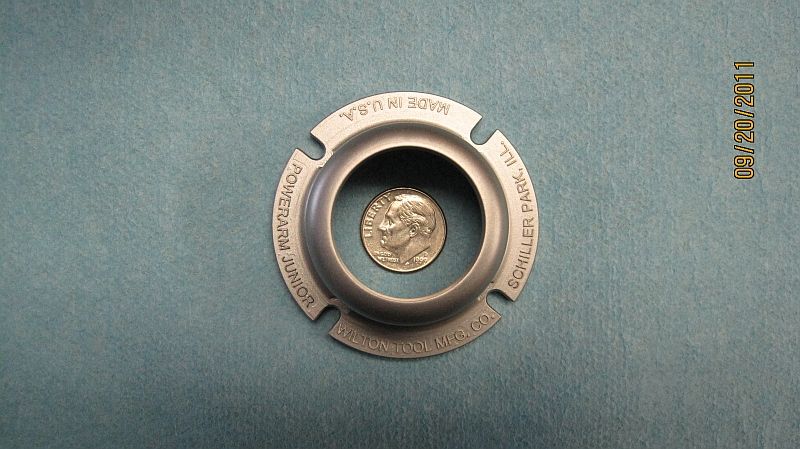
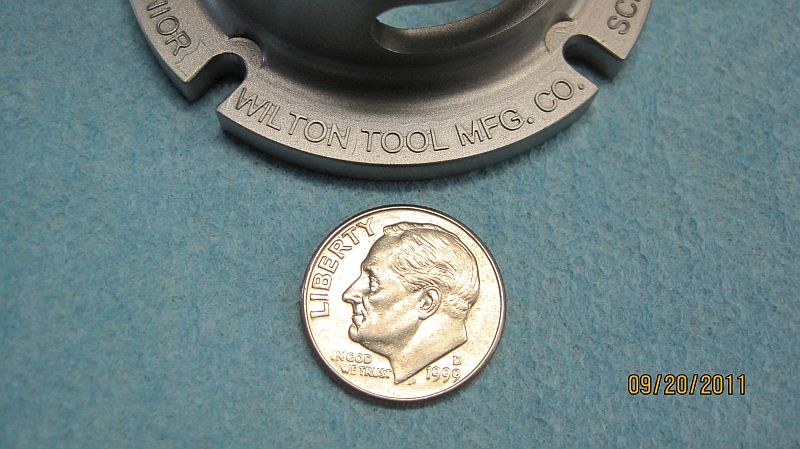
The base showing the little tiny lettering.

2303651190053545466S600x600Q85.jpg
Powarm_007.jpg

I cut the letters on my CNC at work; they are .02” tall and took most of the day to carve out.

2144820690053545466S600x600Q85.jpg
Powarm_009.jpg

Group shot!

Well that’s about it; thanks for following along and THANKS again for all your kind words; I really appreciated it.

Dave
 
Last edited:
Very clever. I'm guessing that the base is from a mold???
 
CMS

The base was machined from a chunk of 12L14 leaded steel. It was all done on manual machines except for the lettering and screw slots. I did the screw slots at the same time as the letters so I didn't have to deal with getting it dialed in With regards to the slots. Just a light bead blast to give it a matte finish.

Thanks,
Dave
 

Latest posts

Back
Top