I stole a lathe!!!

Home Model Engine Machinist Forum

Help Support Home Model Engine Machinist Forum:

This site may earn a commission from merchant affiliate links, including eBay, Amazon, and others.
Holt, I like your idea, but don't make it a press fit. To make loctite work, you need some clearance between the shaft and the hole. .002 inches (0.05 mm) on diameter is fine.

If your worried about location, lightly knurl the new shaft for a slip fit. That will leave enough room for the loctite.

I would also use the bolt that your sketched. It will put the remaining part of the shaft in compression and it will be less likely to break there again. I would use a Grade 8 bolt but torqued to Grade 5 specifications. That way you get the strength of the High Tensile steel, but not strip out the CI from over-torqueing.

Make sure the part is VERY clean, I have had good luck with Lighter fluid (Naptha). I would recommend the primer that Loctite sells.

You won't have much time to get the joint together...with primer maybe 1 minute or less....so be prepared to go!

I'll promise you this, if you follow directions, it won't come apart without a large hammer or a blow torch!.....maybe both!

Dave
 
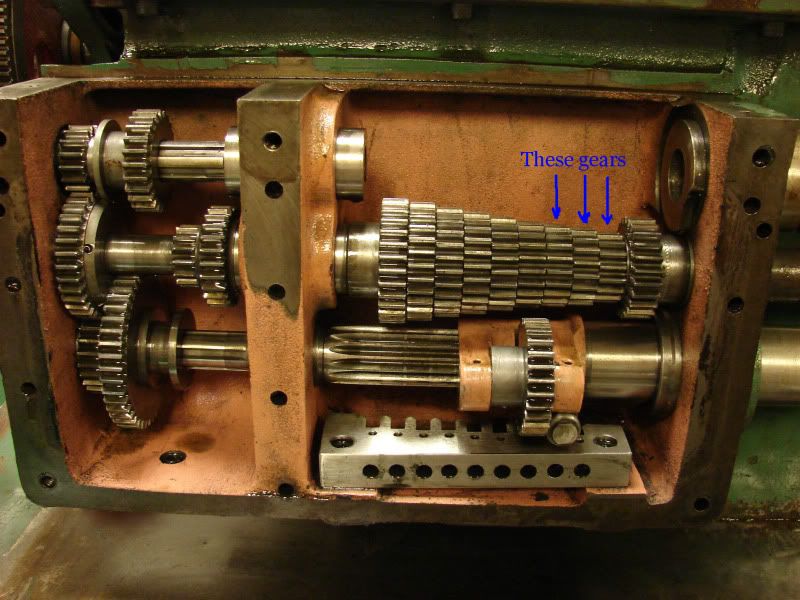
I had to open the norton box because i couldn't engage the 3 gears to the right, and some of the other was difficult to use

DSC03026copy.jpg


once i opened it, i realiced that i wasn't the first to be there. Guess what was interfering with the gears

DSC03028.jpg


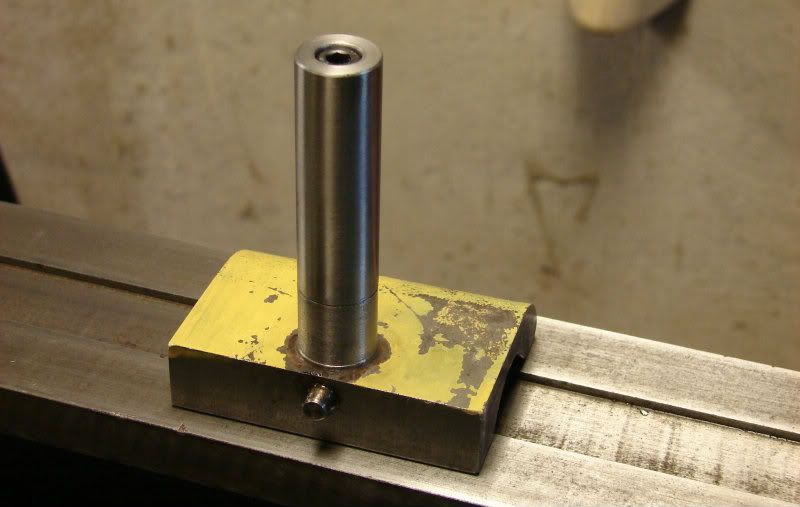
A centerpunch was partly blocking the "come" making it impossible to engage some gears.
I didn't know the lathe came with a hide and seek toolkit! ;D

Holt
 
Lucky for you it was a punch and not torn up gears.
 
Buy now! and we'll throw in this fine precision punch kit for free! But wait ! there's more! :big:


Glad it didn't tear up the gearbox instead of just being an annoyance

Dave
 
That punch is a hoot. When I was re furbishing my 1950's vintage Hardinge lathe, I had detached the steel way plate from the base casting, to find the casting voids PACKED with fine swarf. Inside the chips I found 3 or 4 nice taps, a die, and several small lathe bits. It was odd that these old tools not only got mixed up with swarf, they also somehow made their way into the casting void areas.
 
The halfnut is repaired

DSC03030.jpg


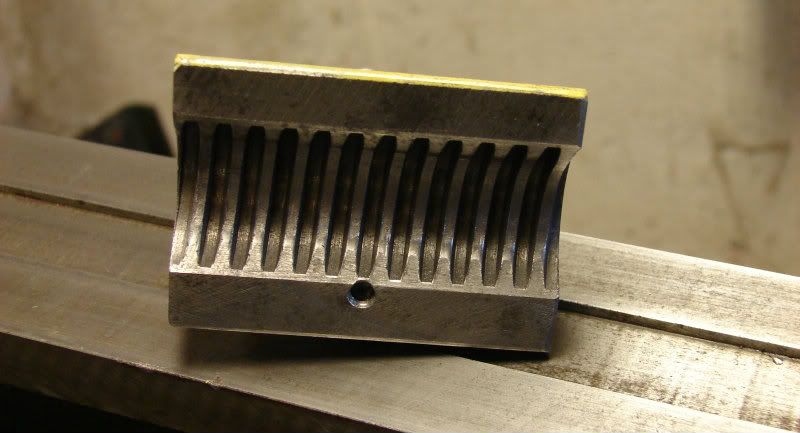
There wasn't room for the M6 bolthead at the bottom, so i reversed it, and made the treads in the halfnut, perfect fit!

DSC03031.jpg


I only had Loctite 603, but i think it is an advantage because it don't require total cleanness, which can be difficult to obtain in old Ci, that have always been soaked in oil. I used Loctite accelerator
 
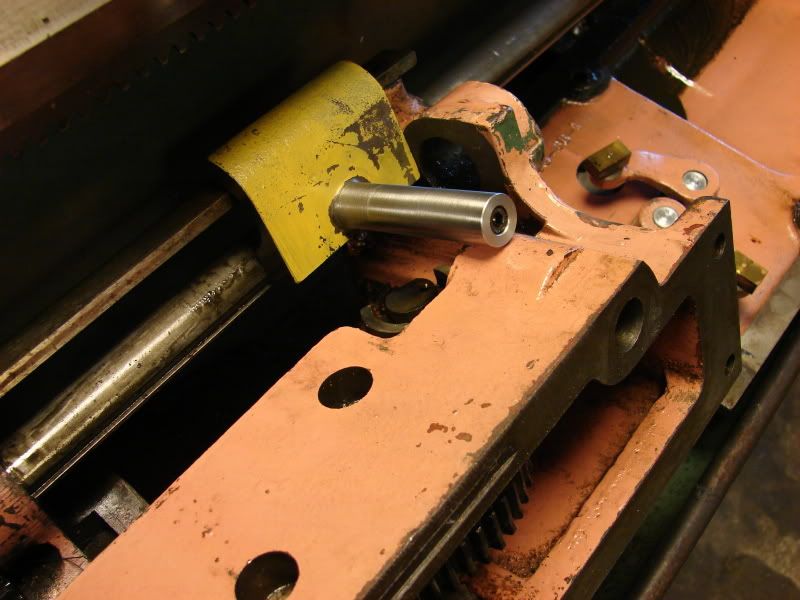
With the halfnut repaired a new obstruction occurred, the halfnut couldn't be mounted because of the feedshaft being in the way! :mad:

DSC03033.jpg


So the next thing to do was remove the feedshaft, mount the halfnut, and assemble it all. sorry no pics of that.
Just a hint to other doing the same repair: The handle and cam disc for the halfnut must be removed, and first mounted when the halfnut are in place, the cam disc slides right under the halfnut

Holt
 
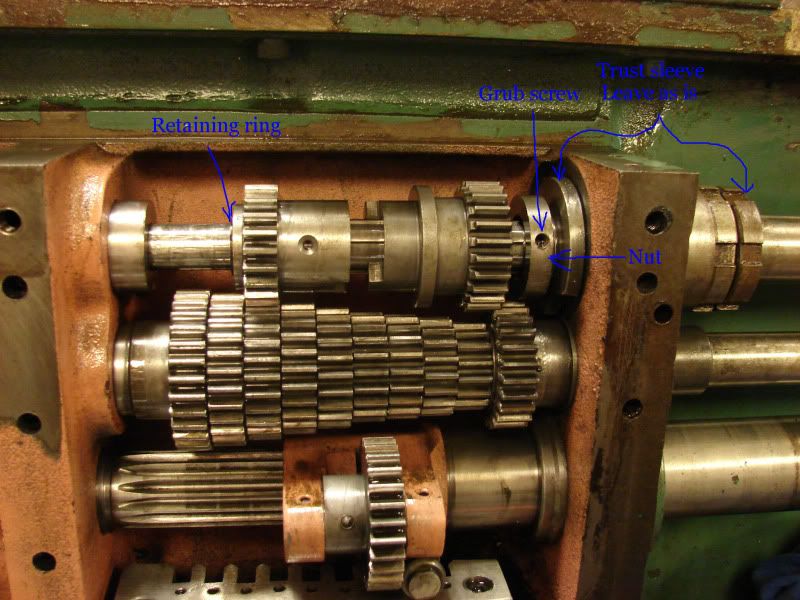
As promised a pic of how to remove the leadscrew from a roundhead Colchester, it looks to be the same principle on them all (at least triumph and student).
It isn't necessary to remove the front of the Norton box, but it makes access easier.Mark the nut in some way, so you can see which side is against the trust sleeve
Start by sliding the retaining ring to the left. Remove the grub screw,and turn the nut loose (right hand treads). Carefully slide the leadscrew to the right, securing the retaining ring, the shim besides it, the two gears and the nut.

DSC03038copy.jpg


Holt
 
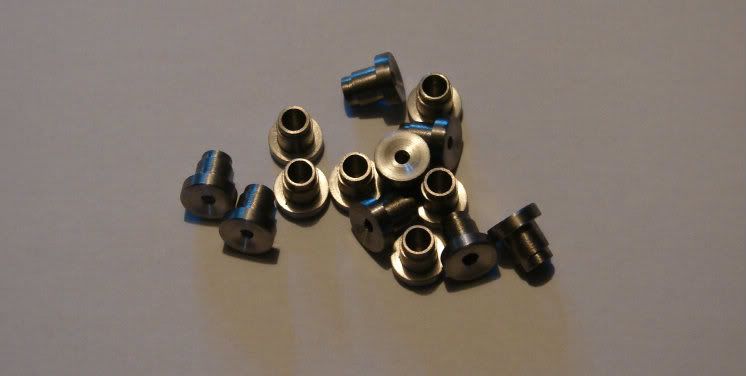
Yesterday afternoon once again i drove my son to sax practice, and once again i had 1½ hour to kill, so off to work i went, and turned some more oilers.

DSC03040.jpg


And here they are, 14 more, making a total of 23 which should be enough for the whole lathe. now i just have to harvest the springs of all the ball pens in the family :D
 
Nice repair Holt! Must give you satisfaction when things are coming together.

Like your oilers too.

Regards Jeroen
 
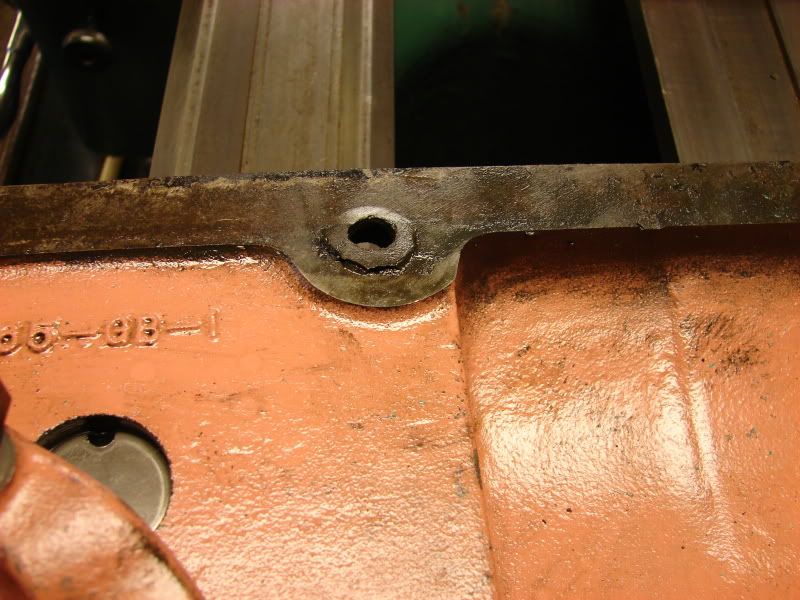
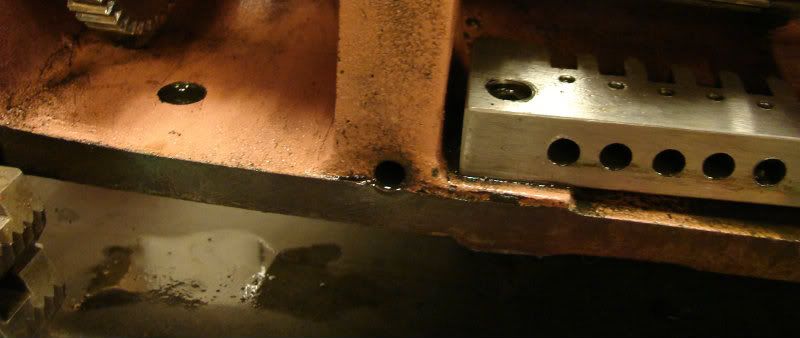
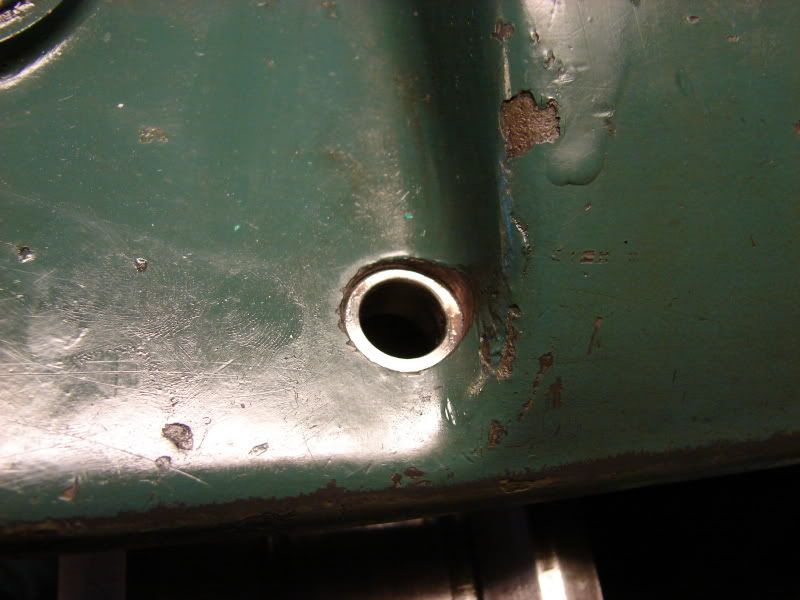
Well, there is always something isn't there :mad: this time it was the front cover of the Norton gearbox.
Someone, probably many years ago, overtightened the bolts and cracked the area around the bottom of one of the countersunk holes.

DSC03041.jpg


In this area, there isn't support all the way around the threaded hole, making it easy to crack the cover.

DSC03043.jpg


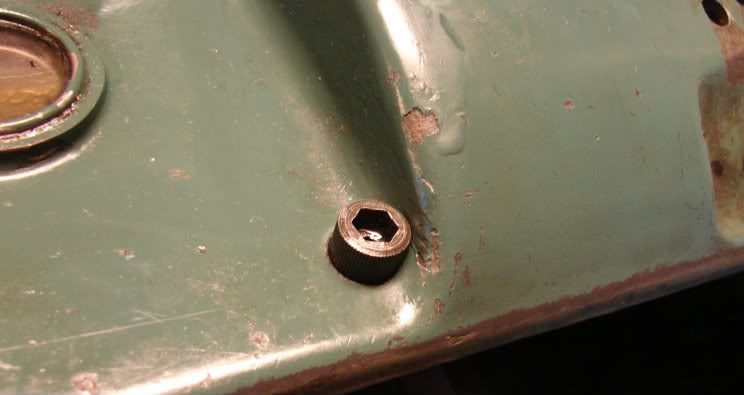
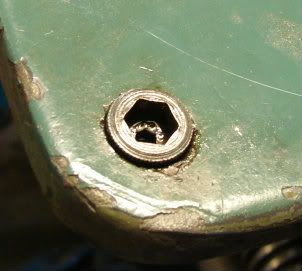
I whacked the broken part off with a bolt and a hammer, leaving me with a clean 14mm hole, just the right size for M16. I threaded the hole, and made a plug from some threaded rod, drilled 10.3mm as original. i glued the plug into the hole with Loctite 549


DSC03049.jpg


The bolthead will be sitting higher than the other, but it won't be in the way.

DSC03050.jpg


DSC03051.jpg


Holt
 
Nice fix Holt! :bow:

You end up having to get creative with these old lathes .....

Dave
 
Coming along nice Holt. Mine only got enough TLC to get it working. Would sure appreciate a sketch of those oilers, they turned out nice and mine needs them.
Thanks
Greg
 
Thanks for the comments.
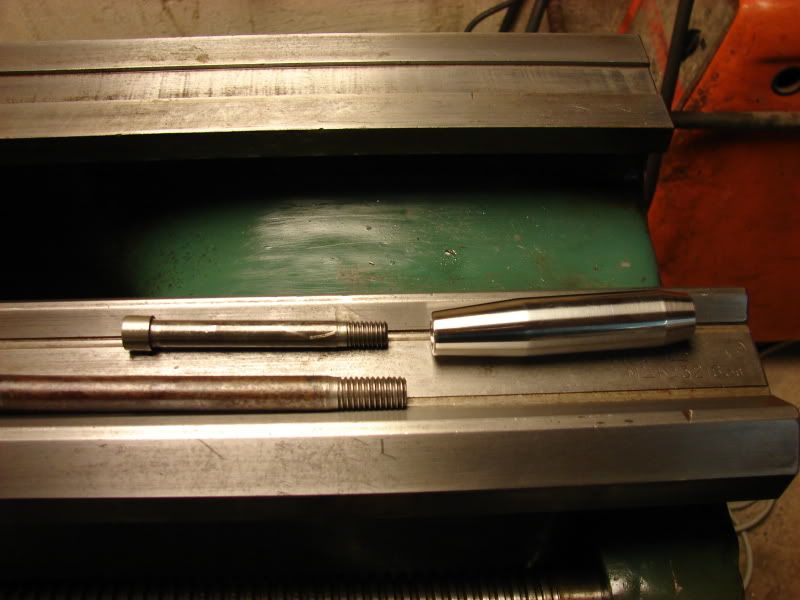
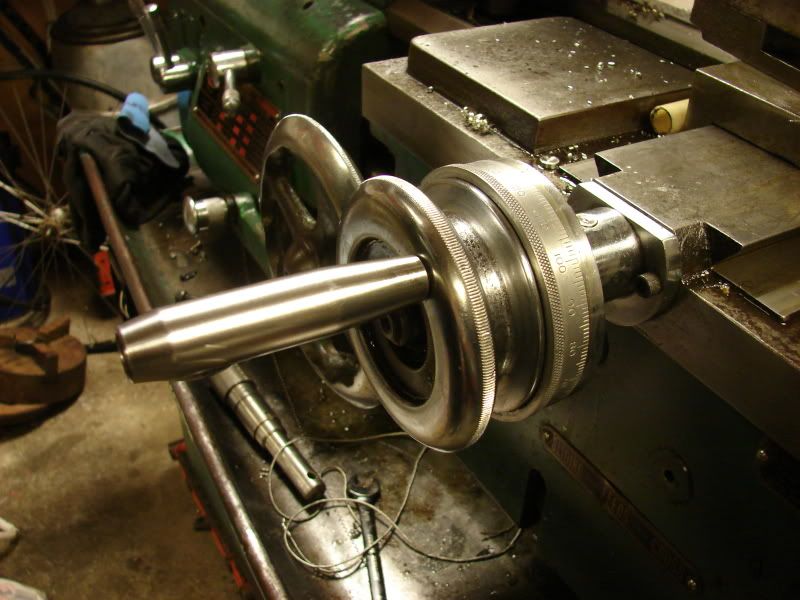
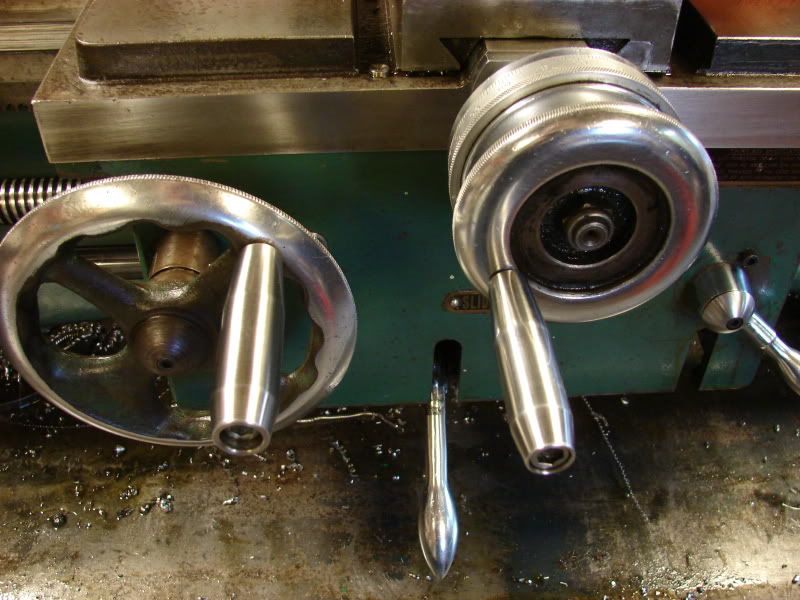
I made chips today!!! The hand crank (is it called that?) on the cross slide was broken when i got the lathe. Only a piece of treated brass was left in the handle for me to drill out. Well naturally the treads was imperial, and here imperial bolts are as rare as unicorns, so i decided my first project was a new hand crank. I started with cutting 3/8" treads on the end of a 10mm Allen head bolt and 7/16" treads on a 12mm bolt (i want to upgrade the main handle as well) I got a piece of stock delivered with the lathe, it turned up to be stainless, and in the right size for the handle.

DSC03055.jpg


The handle might be a little too long, but it feels just right to use, and it rotates on the bolt, which the original didn't, and that's the reason for upgrading the main

DSC03054.jpg


Holt
 
I just finished the hand crank for the main slide, i have shortened the one on the cross slide to make it a little more appropriate

DSC03058.jpg


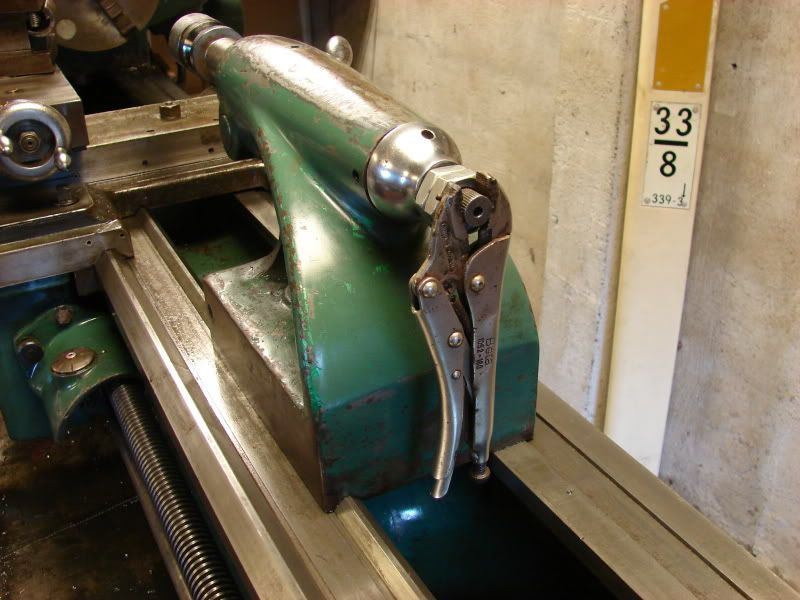
The next thing will be the tailstock handle, the one i am using now just don't look right although it works allright ;D

DSC03061.jpg


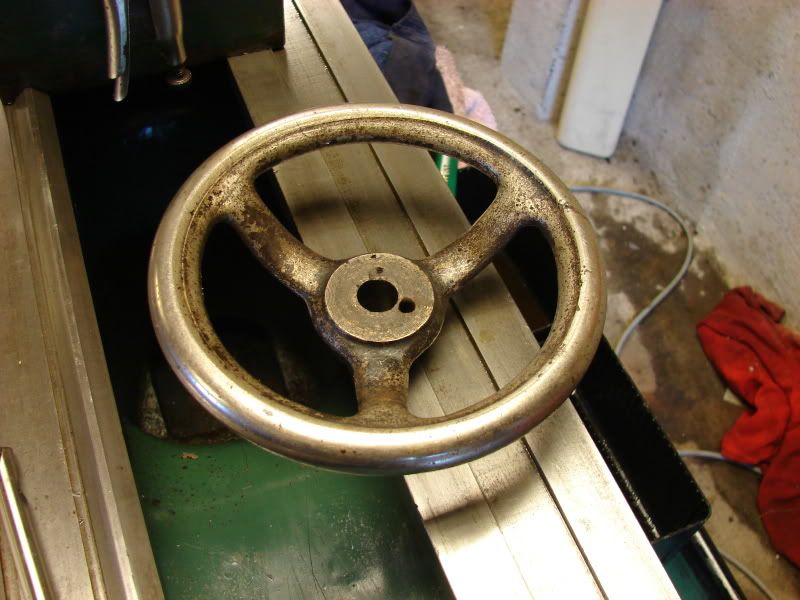
I got one with the lathe, i don't think it's the original, but it will do the job, just need a bush,and perhaps a hand crank

DSC03062.jpg
 
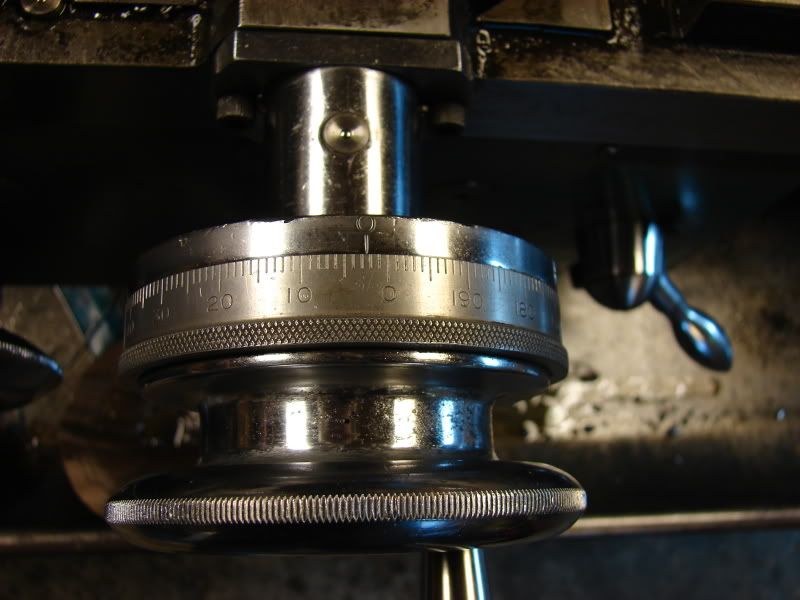
Can anyone tell me the meaning with this scale on the cross slide, every ten divisions (from 0 to 10 etc) moves the cross slide 0.25 mm, reducing the diameter with 0,5 mm

DSC03063.jpg


It's the same on the compound, maybe i just have to mount the DRO in a hurry

Holt
 
Hey Holt,

Sounds like it's an imperial machine maybe?...... 0.010 inches x 25.4 mm/inch = .254mm...?

Dave
 
Hello Dave

I vas thinking that at first, but then i mounted my dial indicator, one full turn = 5.00 mm

Holt
 

Latest posts

Back
Top