Engine transportation and display box

Home Model Engine Machinist Forum

Help Support Home Model Engine Machinist Forum:

This site may earn a commission from merchant affiliate links, including eBay, Amazon, and others.
it looks good but I was under the impression that your cover was clear Acrylic or Lexan
I would use thinner only because it's very volatile and wont leave any
color change to your wood
 
Brian
Your case looks great. Well done with the brown stuff.
Burnishing veneer at the corners with a piece of drill rod "rolls" the veneers into each other and virtually makes the joint disappear. Old cabinetmakers trick. The interesting thing is that a piece of drill rod with handles at each end is sold by some veneer suppliers as a "corner seam roller" for about $60. Something like "ground and polished steel burnisher with ergonomic handles"
 
it looks good but I was under the impression that your cover was clear Acrylic or Lexan
I would use thinner only because it's very volatile and wont leave any
color change to your wood
The cost of heavy enough lexan to support the base and engine would be more than I would want to pay. This thing is going to end up with a handle on the top of it, to be carried like a suitcase. I tried the laquer thinner after I made my last post, and while it does indeed soften the wood glue a bit, it certainly doesn't remove it in what I consider a reasonable manner.
 
Brian
Your case looks great. Well done with the brown stuff.
Burnishing veneer at the corners with a piece of drill rod "rolls" the veneers into each other and virtually makes the joint disappear. Old cabinetmakers trick. The interesting thing is that a piece of drill rod with handles at each end is sold by some veneer suppliers as a "corner seam roller" for about $60. Something like "ground and polished steel burnisher with ergonomic handles"
Thanks for the info Stan.---Brian
 
. I tried the laquer thinner after I made my last post, and while it does indeed soften the wood glue a bit, it certainly doesn't remove it in what I consider a reasonable manner.

Glue is a third agent if wont vanish, you soften it up and then remove
it in only one direction
 
Orbital sander. Much better than hand, and not dangerous to the wood like a belt sander.

coarse, medium, then fine grit and the glue will be gone. When that is finished dampen the wood with a sponge and when dry re-sand the wood with a fine grit, following the grain. Do this sanding lightly by hand. Using the orbital on that final sanding will leave marks going across the grain and that looks bad when finish is applied.

I'm a fan of veneer. I've heard it takes practice before it becomes 'easy'. I've tried it a few times and it ain't easy yet. :)
 
Lord, I'd forgotten how much work hand sanding is. Especially enough hand sanding to remove all traces of wood glue. I have been using a piece of 2" square spruce about 8" long for a sanding block. First I sanded everything with 100 grit paper, sanding "with the grain". Then I went over it all again with 150 grit paper. Then one more time with 180 grit. I'm dirty, sweaty, and covered in sawdust. The box is looking good, but I may change my name to "Sandy", or better yet "Dusty".--Hah---Sounds like somebody off the old Roy Rogers TV show!!!
 
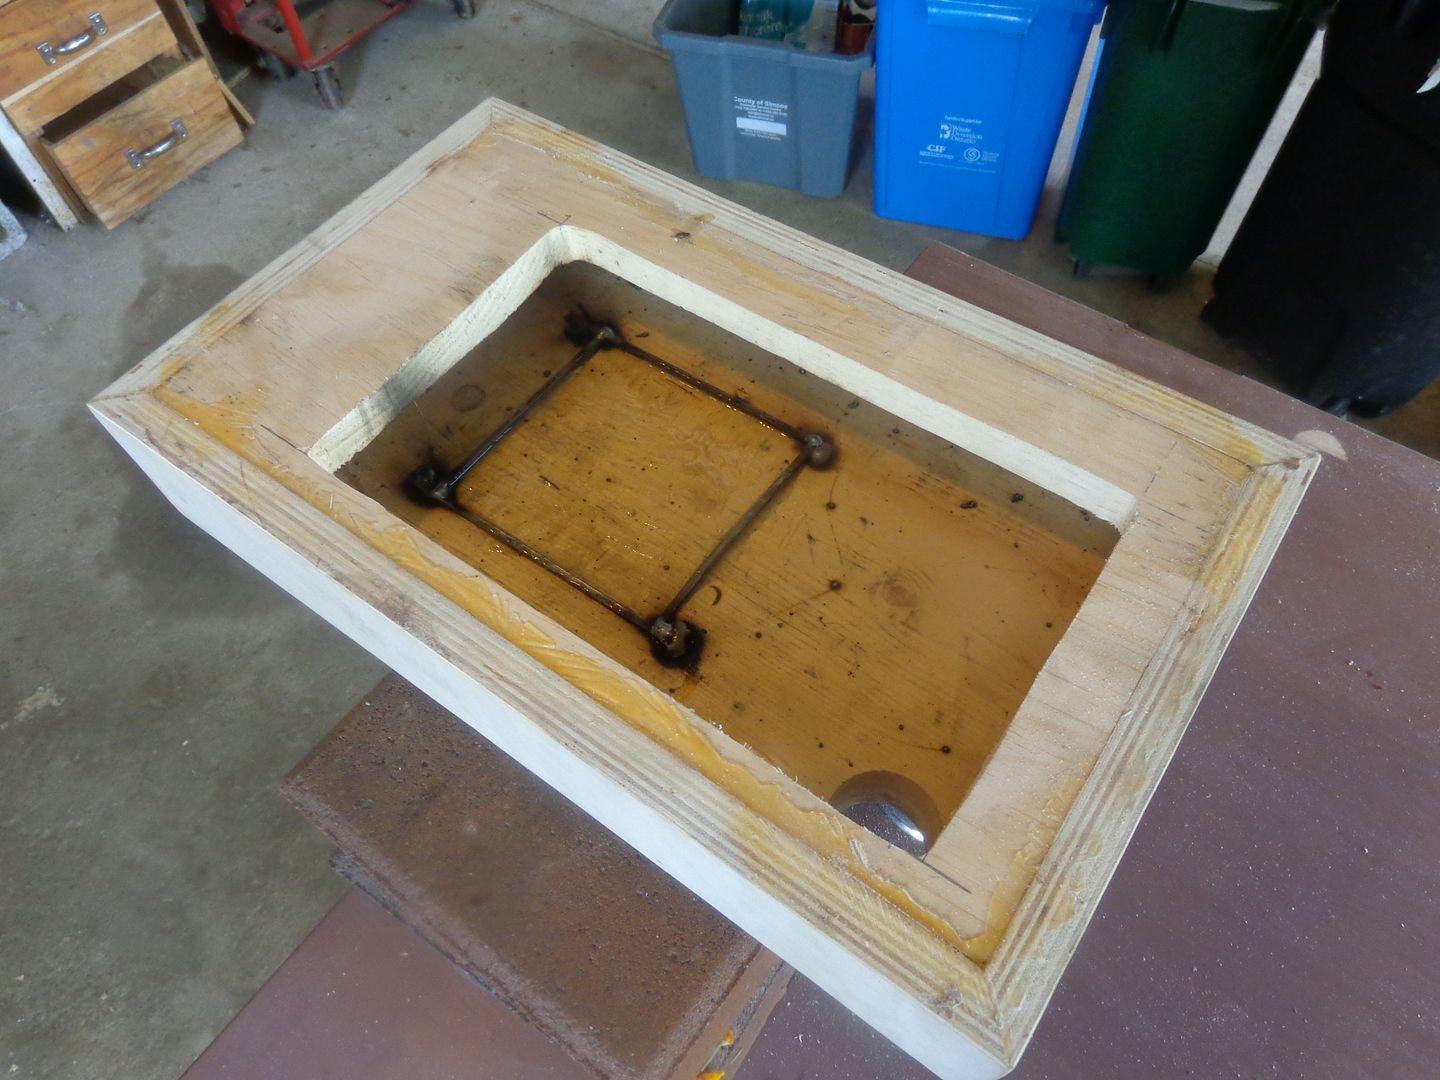
This is a picture of the engine box base, setting upside down, propped on some bricks. The engine is on the far side, hanging upside down like a bat!!! You can see that I have cut away the underside of the box (An access door which fits flush with the underside of the base will fill that big hole). What I am attempting to show is my treatment of the 4 bolts which hold the engine to the base. The heads of the #10-24 x 2 1/4" long shcs are on the side you are looking at, and the threaded ends extend about 3/16" past the engine baseplate, enough for me to put domed stainless "acorn" nuts on them. To keep the bolts in place and prevent them form turning, I mig welded 1/8" square keystock between all of the bolt heads and then epoxied the keystock to the board. You can also see the 1 9/16 diameter hole (Yeah, I know--weird dimension) in the baseplate that my switch tube will extend up through.
 
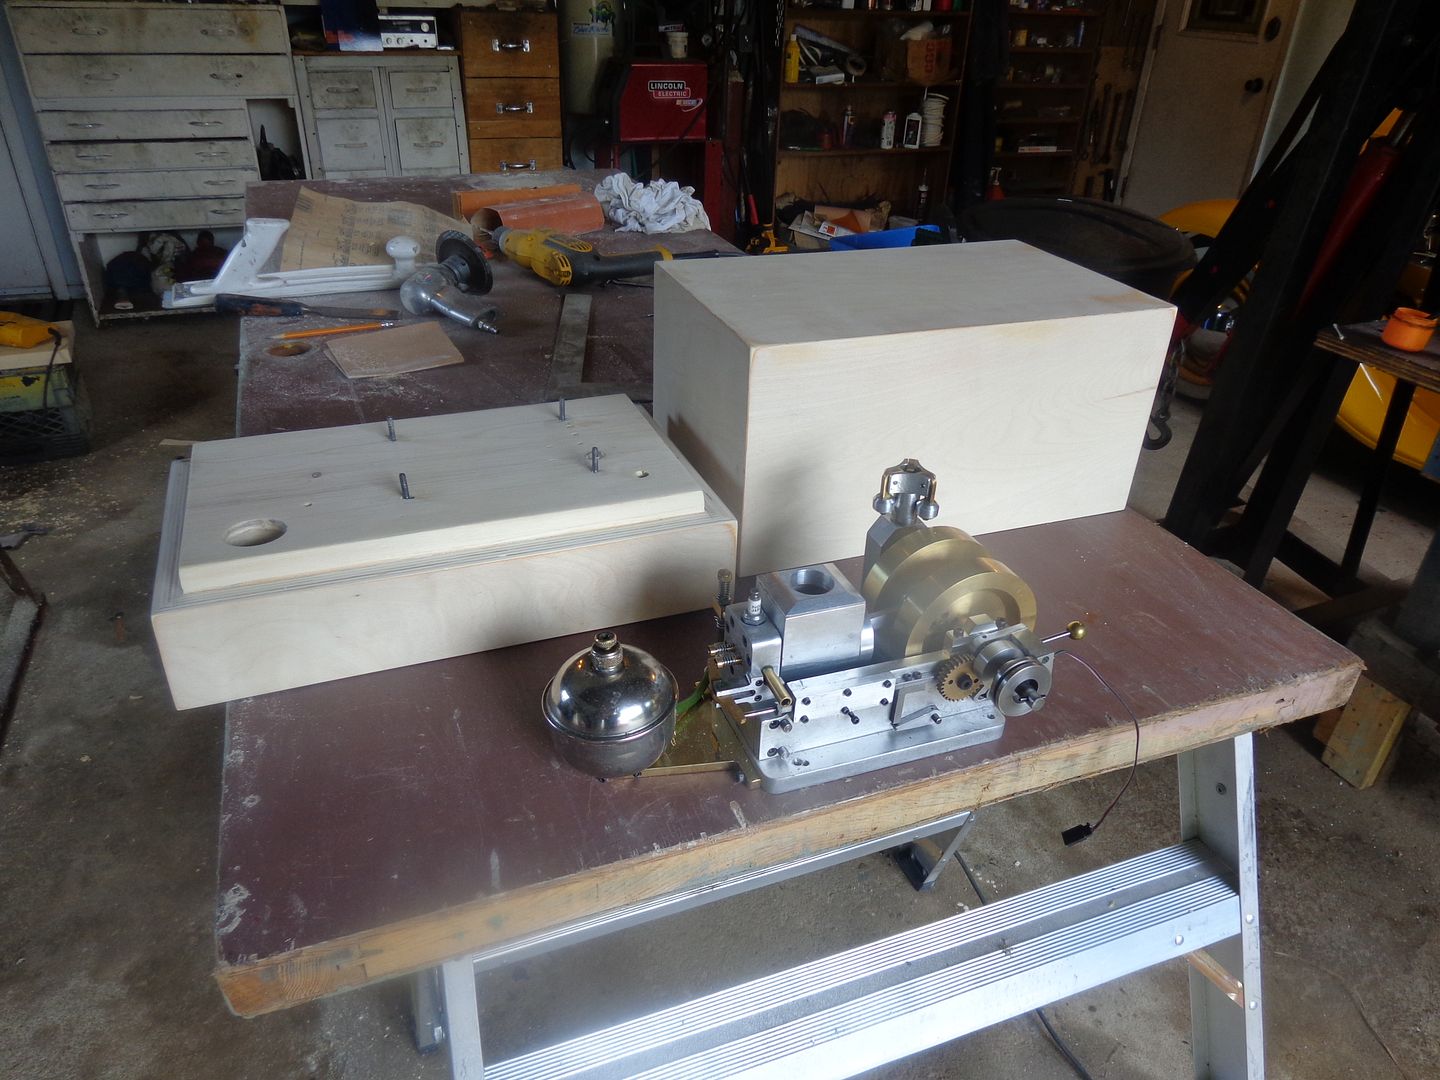
Well, I think that's about as good as I can get it. I'd like to rush ahead and stain everything tonight, but I just know that as soon as I do, I'll think of something that absolutely had to be done before the stain is put on. I will leave the staining for tomorrow. That way I can unwind a bit and think of what I may have missed. This "stain and varathane" procedure takes about 3 or 4 days, waiting between coats for 24 hours and sanding between coats of varathane. In the top of the base you can see the 4 bolts which hold the engine on, the hole for the on/off switch tube, the hole for the coil wire, and the hole for the hall effect wires to go down into the compartment underneath. There will be a carrying handle on top of the upper case, and I am still undecided on just exactly how I am going to attach the top of the case to the bottom of the case.--I will probably fabricate something from brass, that is "failsafe" and can't accidently come undone.

http://s307.photobucket.com/user/BrianRupnow/media/BrianRupnow004/enginebox6001_zpsc0c21d4e.jpg.html
 
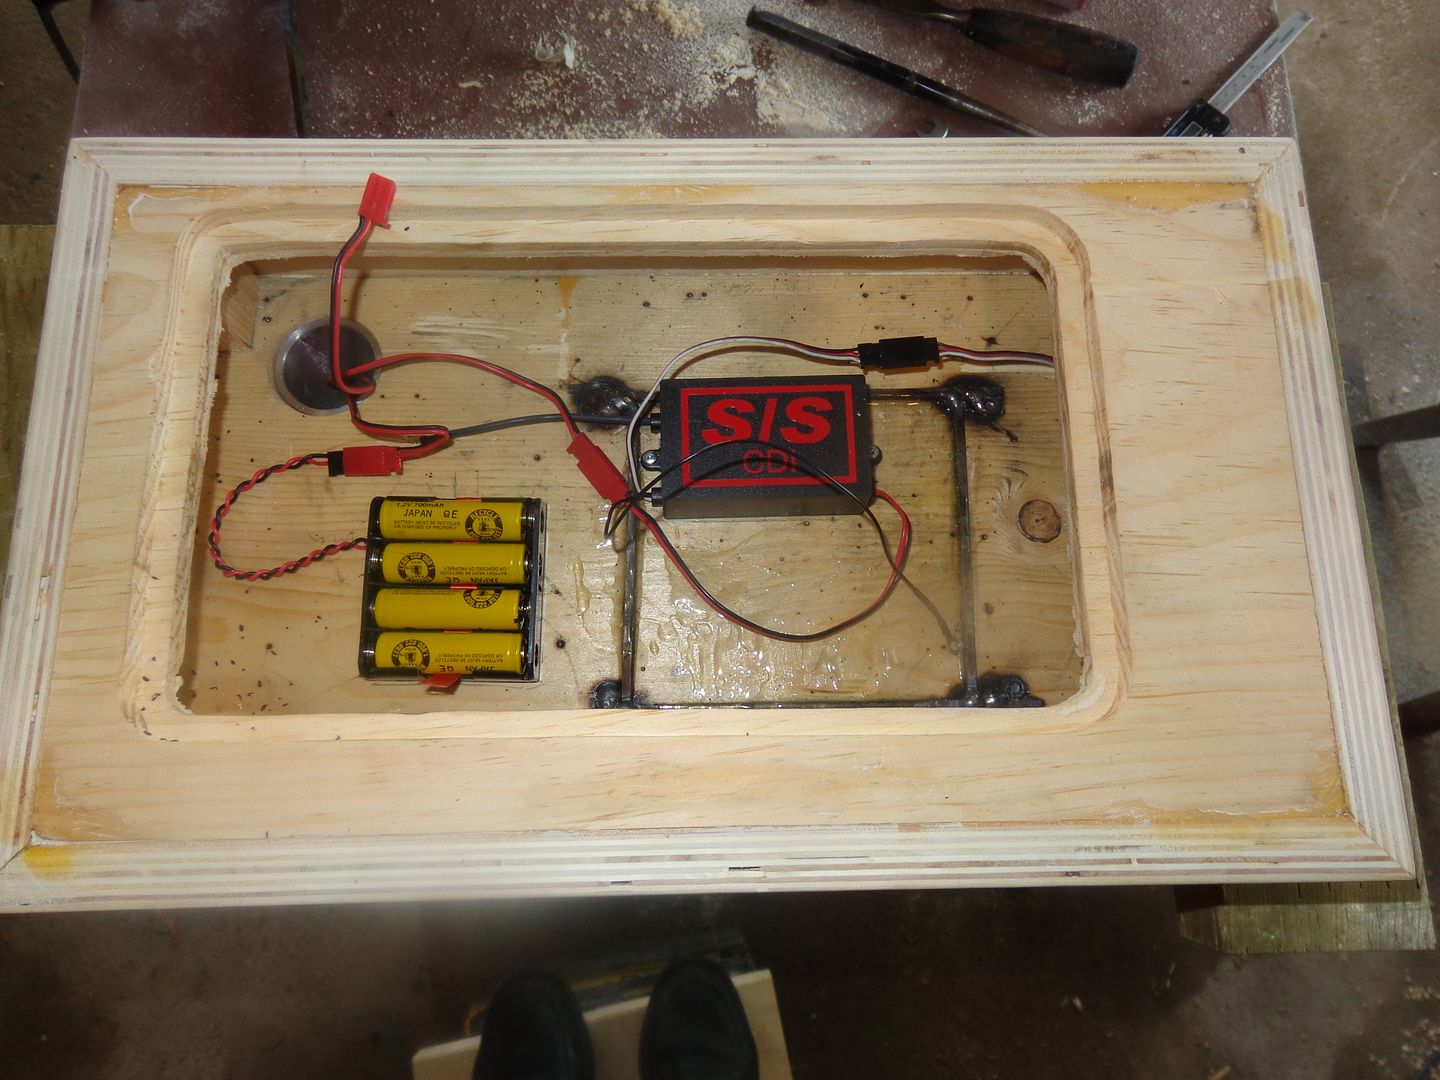
This is an "almost finished" view of the underside of the engine box base. As you can see, I have routed out a "ledge" around the hole cut in the base, which will be filled by a removable 3/8" plywood access door. the CDI box is located and attached with two woodscrews, as is the battery box. The boot has been removed from the sparkplug lead and the lead passes from the cdi box up through the base to the engine side. Likewise, at the other end the wires from the Hall effect switch have been routed down through the 1 1/2" thick engine support board and hooked up to the lead from the CDI. I still have to mig weld a #5 bolt to the engine bolt locating frame to serve as a ground lug for the cdi box. The switch tube and switch are in place, but not yet epoxied into place. I have one remaining lead (the one hanging out over the ledge) and I am torn about what to do with it. That lead is the one the battery charger hooks up to, and I'm very tempted to just leave it loose inside the box base. This would mean that whenever I go to charge the batteries, I would have to remove the access door to get at it and hook it up to the battery charger. This probably isn't a real big deal, as the only fluids in the engine are the cooling water and the fuel, which will both be drained anyways when the engine is stored, so there wouldn't be any chance of fluids leaking out when I flip the engine upside down to access the removable base. The other option is to bring that lead out through the side of the box, which looks rather ugly, is somewhat fragile, and kind of does away with the "wash down" capability which I am ultimately aiming for.
 
Last edited:
Looking Good Brian ... You appear to have thought of everything.

Cheers,

Tom
 
Wagnmkr--I hope so. With something like this you never know until the whole thing is done--and then if you think of something, its generally too late!!! I'm concerned with what the final finish will look like. I have done the best I could to remove all of the excess glue, but I'm not sure how successful I was, and I won't know until the stain goes on.--Hope I don't end up having to paint everything,
 
Hey Brian box looking good looks like a pro built it. Why not put a jack in the side of your box to plug the charger in like you would your phone
 
Hey Brian box looking good looks like a pro built it. Why not put a jack in the side of your box to plug the charger in like you would your phone

Love your idea a simple Jack mono phone will do the job.
I've been using this on my 3 motorcycle with battery tender
 
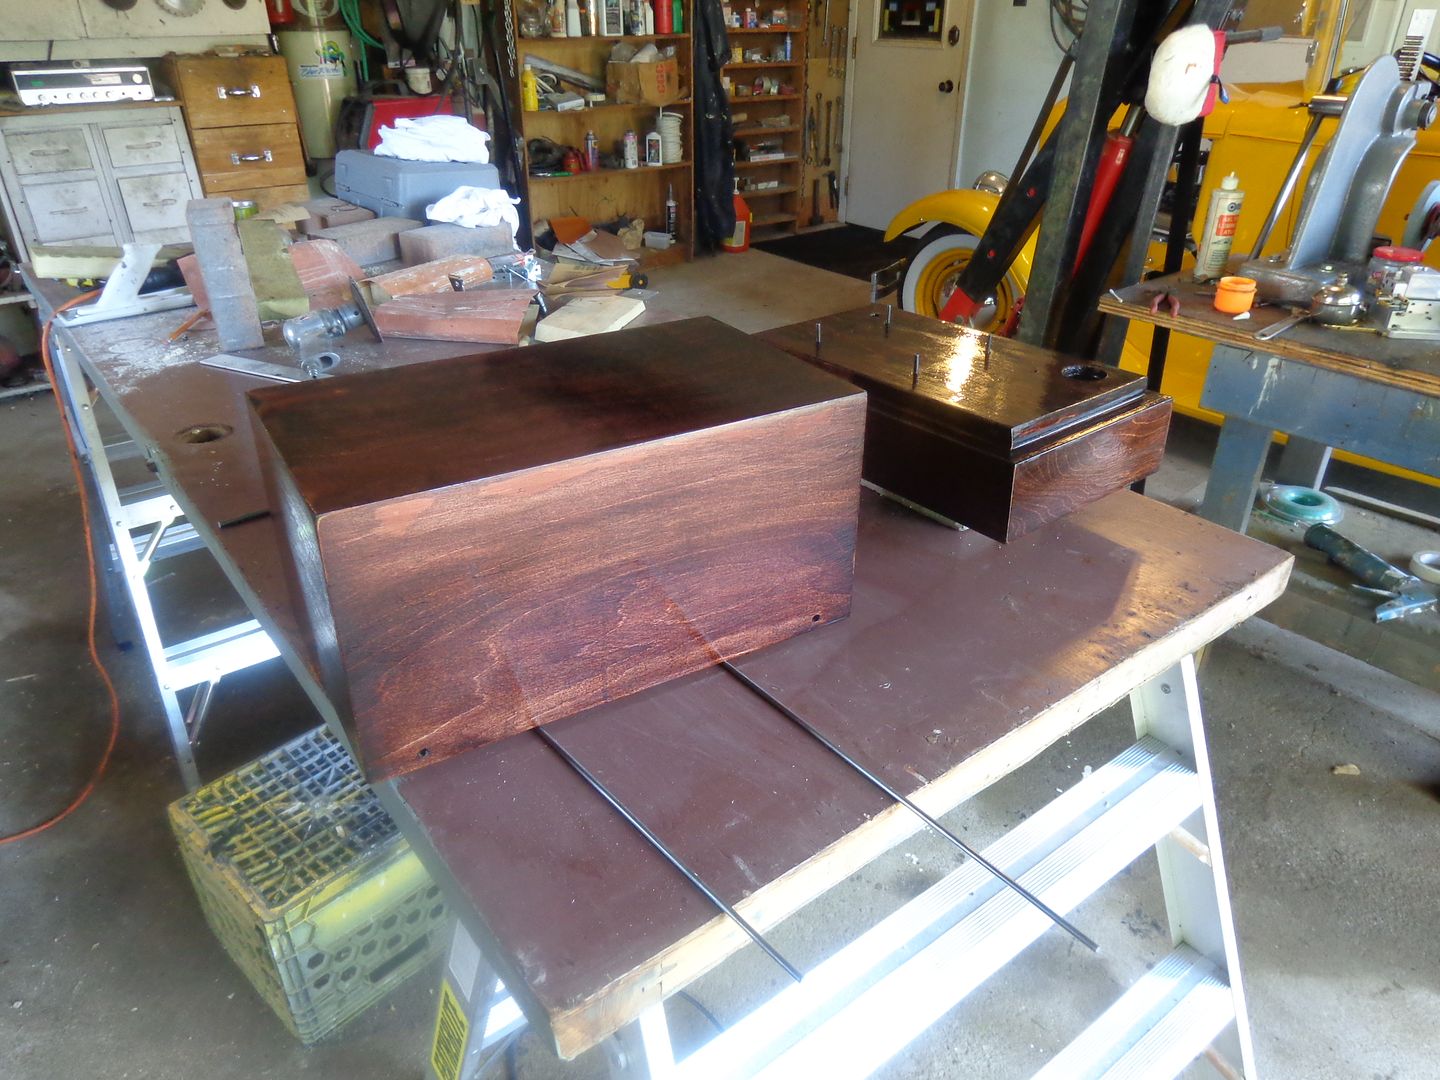
At this point in the game, I can say with certainty that I am neither amazed nor impressed by my wood finishing ability!!! It may not be "disgustingly ugly", but its a long way from anything I would want in my living room. It seems that my fears of not removing every trace of excess glue were well founded. There is one coat of "pre stain wood conditioner" and three coats of stain on there (wiped between coats with a clean dry cloth, as recommended.). The areas where glue had soaked into the wood definitely don't take the stain like the raw wood does. Hopefully in the morning, when everything has dried, it will look better. Hopefully 3 or 4 coats of satin Varathane will make things look a great deal better. Failing all that, I may end up being the only kid in town with a painted engine box!!!
 
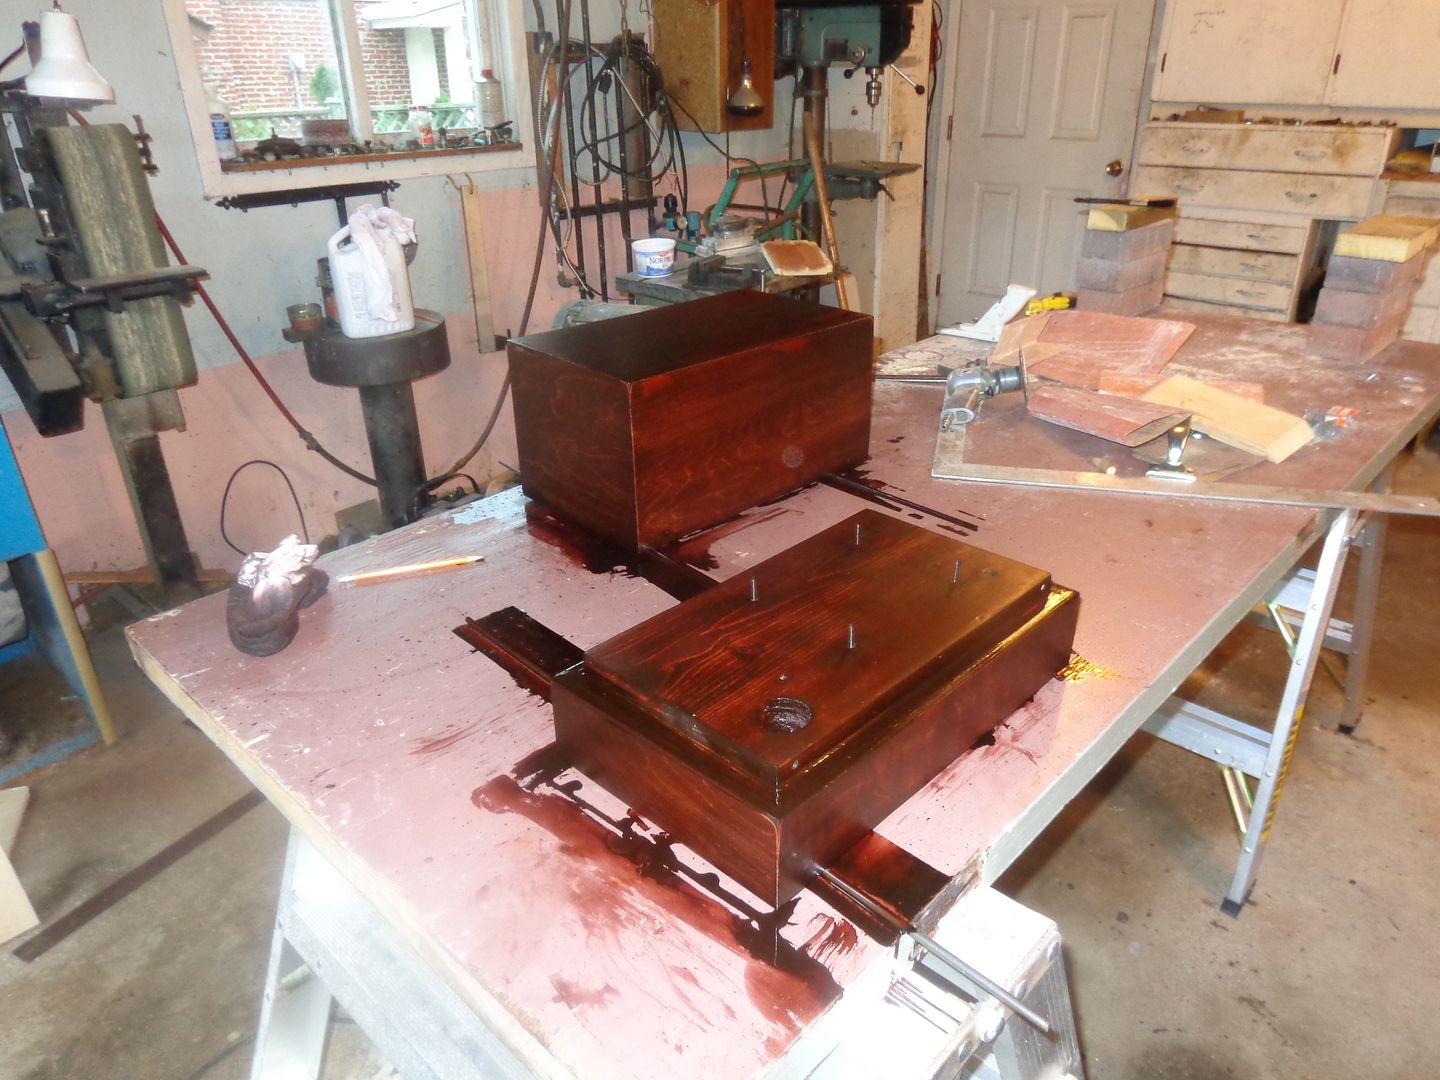
So here we are about 5 minutes after the second coat of clear polyurethane.--I'm starting to feel better about it---It will get two more coats tomorrow, before I'm finished.
 
Hi Brian--- This looks good but,,,,
My 2cents what's s the use of building a nice motor and hide it
in a wooden box.
The box doesn't look that big I'm sure you can get Lexan or acrylic
very cheap even if it's to have small side windows on the side to look at it

I probably have some of that in stock
cut a nice square or oval shat use a router and install it
let me know
 
Luc--The top half of the box is only for transporting the engine around from my place to shows and demonstrations. This is the only "transportation" box I have ever made, because all my other engines need a great big 12 volt battery that I can barely lift, so they are not readily portable. My God, Luc--You should see my office. I have 14 different steam engines and things to run with them, and either 5 or 6 i.c. engines. Every shelf, cupboard, and bookcase are covered with engines. I don't even know where I am going to put the "Rupnow Engine" when I get everything finished!!! The "Transportation and Display" box is a one time thing, because just about everybody I know wants me to bring an engine and demonstrate it for them, so I thought I would try and do it with a bit of style.---Brian
 
Last edited:
Hopefully 3 or 4 coats of satin Varathane will make things look a great deal better.

Nice box. One thing I'd recommend is to replicate your finish topcoat to a scrap piece of plywood. Use that coupon to test how it withstands fuel & oil drips & avoid any unexpected, unhappy warts & blisters on your show piece box.

I dont know if is a case of modern, earth friendly paint formulas (water based urethane?) but seems like woodworking finishes these days are fine for coffee tables, but are practically useless when it comes to chemical resistance like the old school solvent based paints. At least thats been my experience. I recently did a wood flight caddy for my RC stuff, after full cure the paint got sticky if methanol/oil residue got on it. Gasoline might be even more aggressive.

Of course the best finish is probably catalysed 2-part paint like what's on your car. But thats another level, odour, isocyanates, respirator... Some guys claim that 'outdoor' top coats are better or some recommend catalysed lacquer (also used in woodworking). My rule of thumb is: the nastier it smells out of the can, the tougher the finish! :)
 
Back
Top