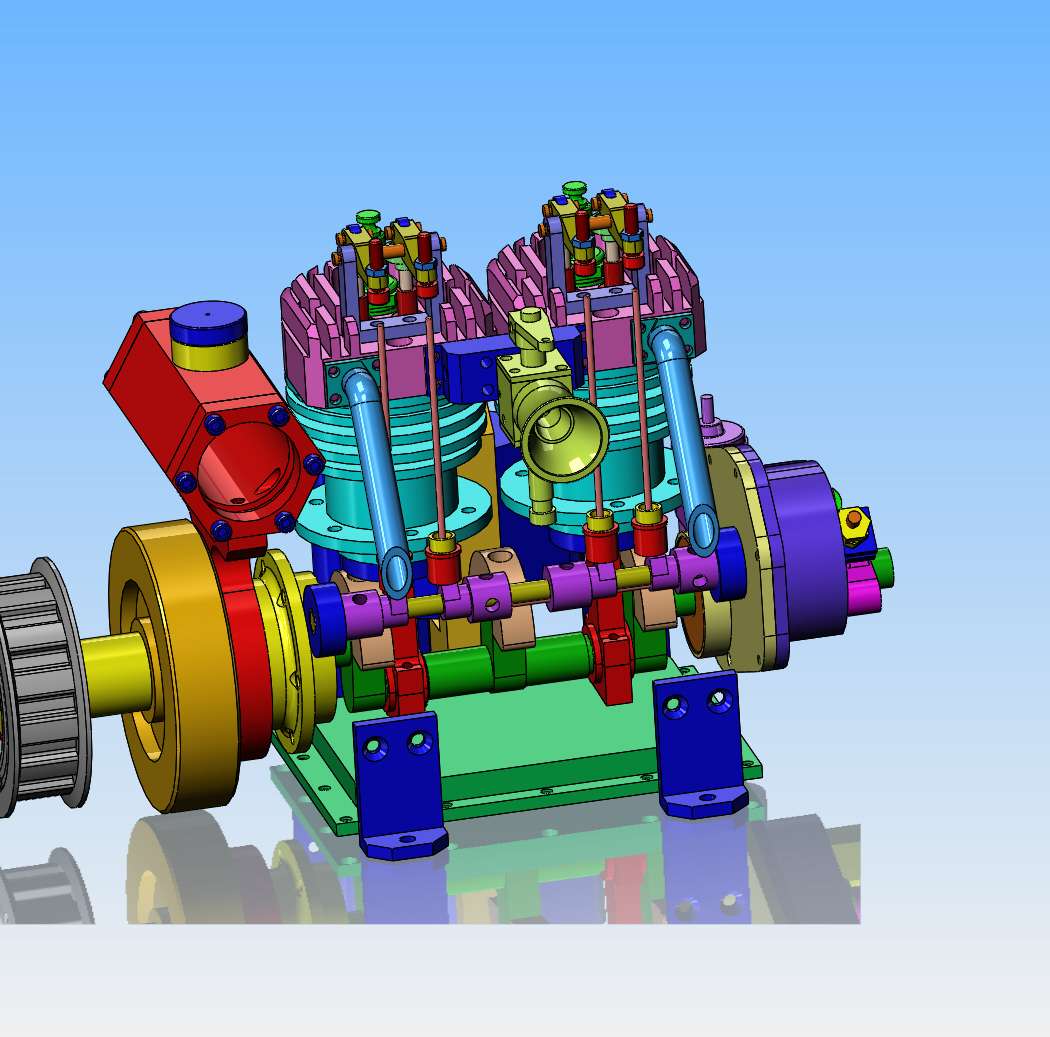
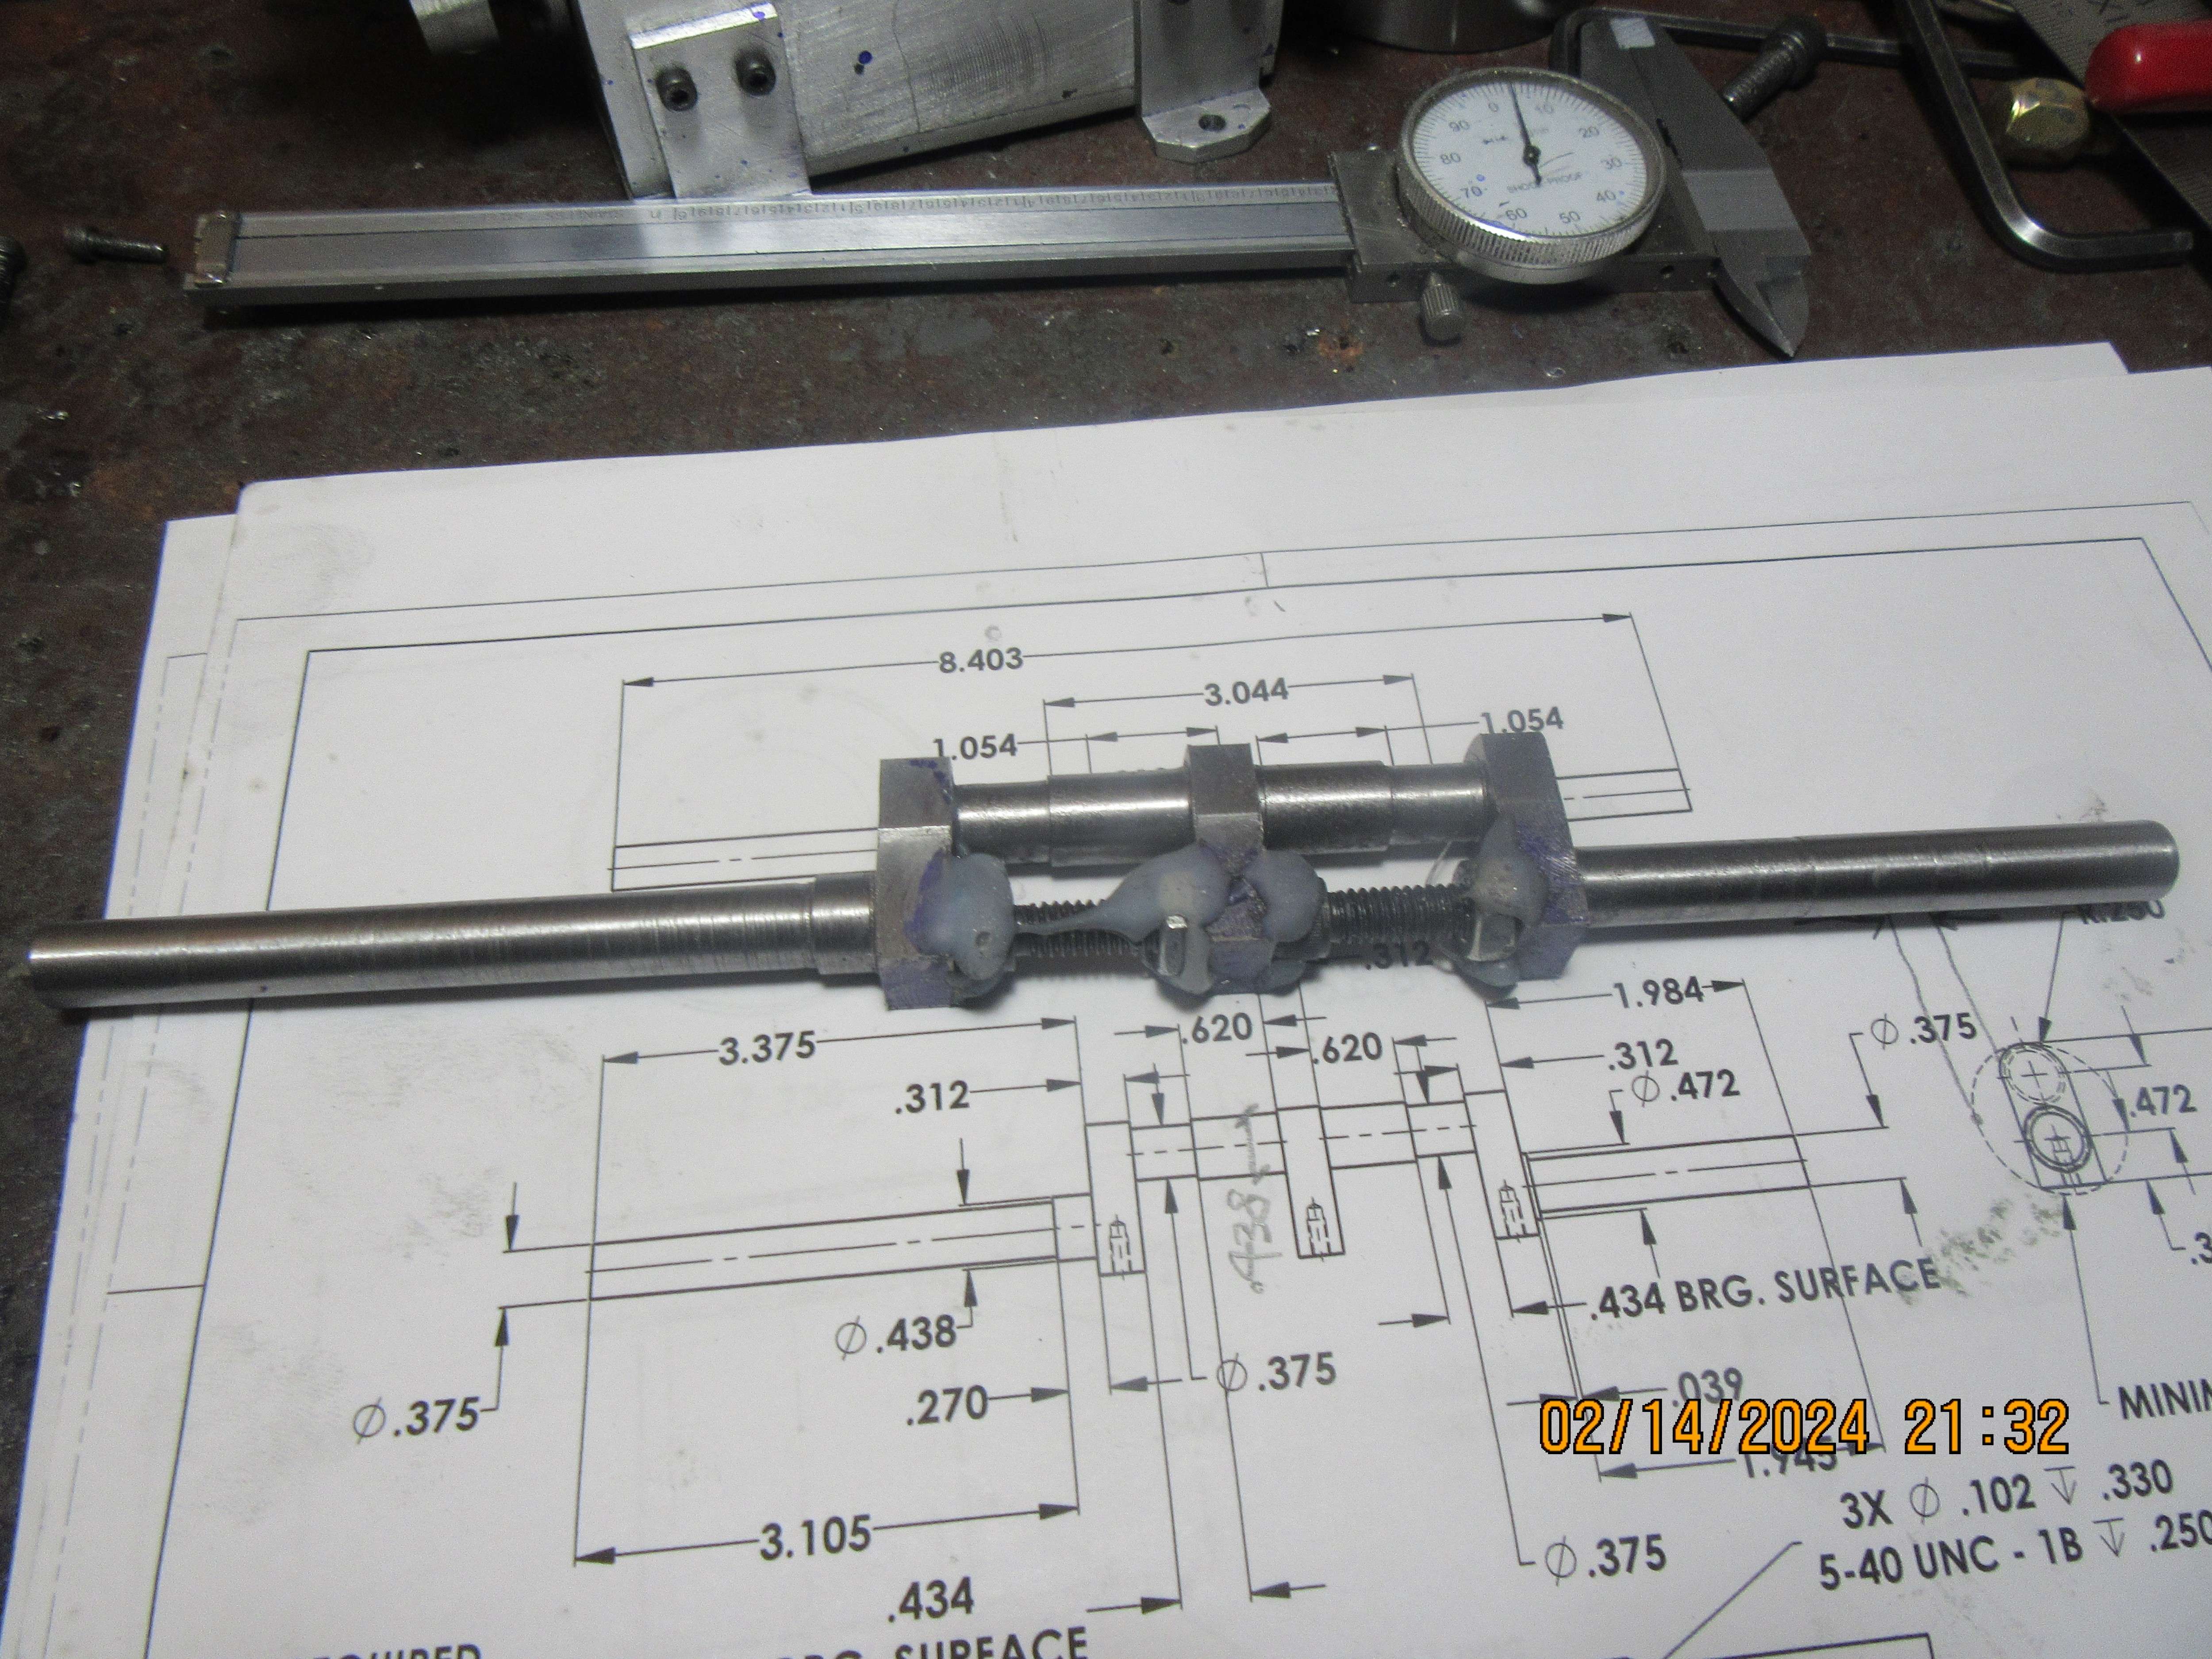
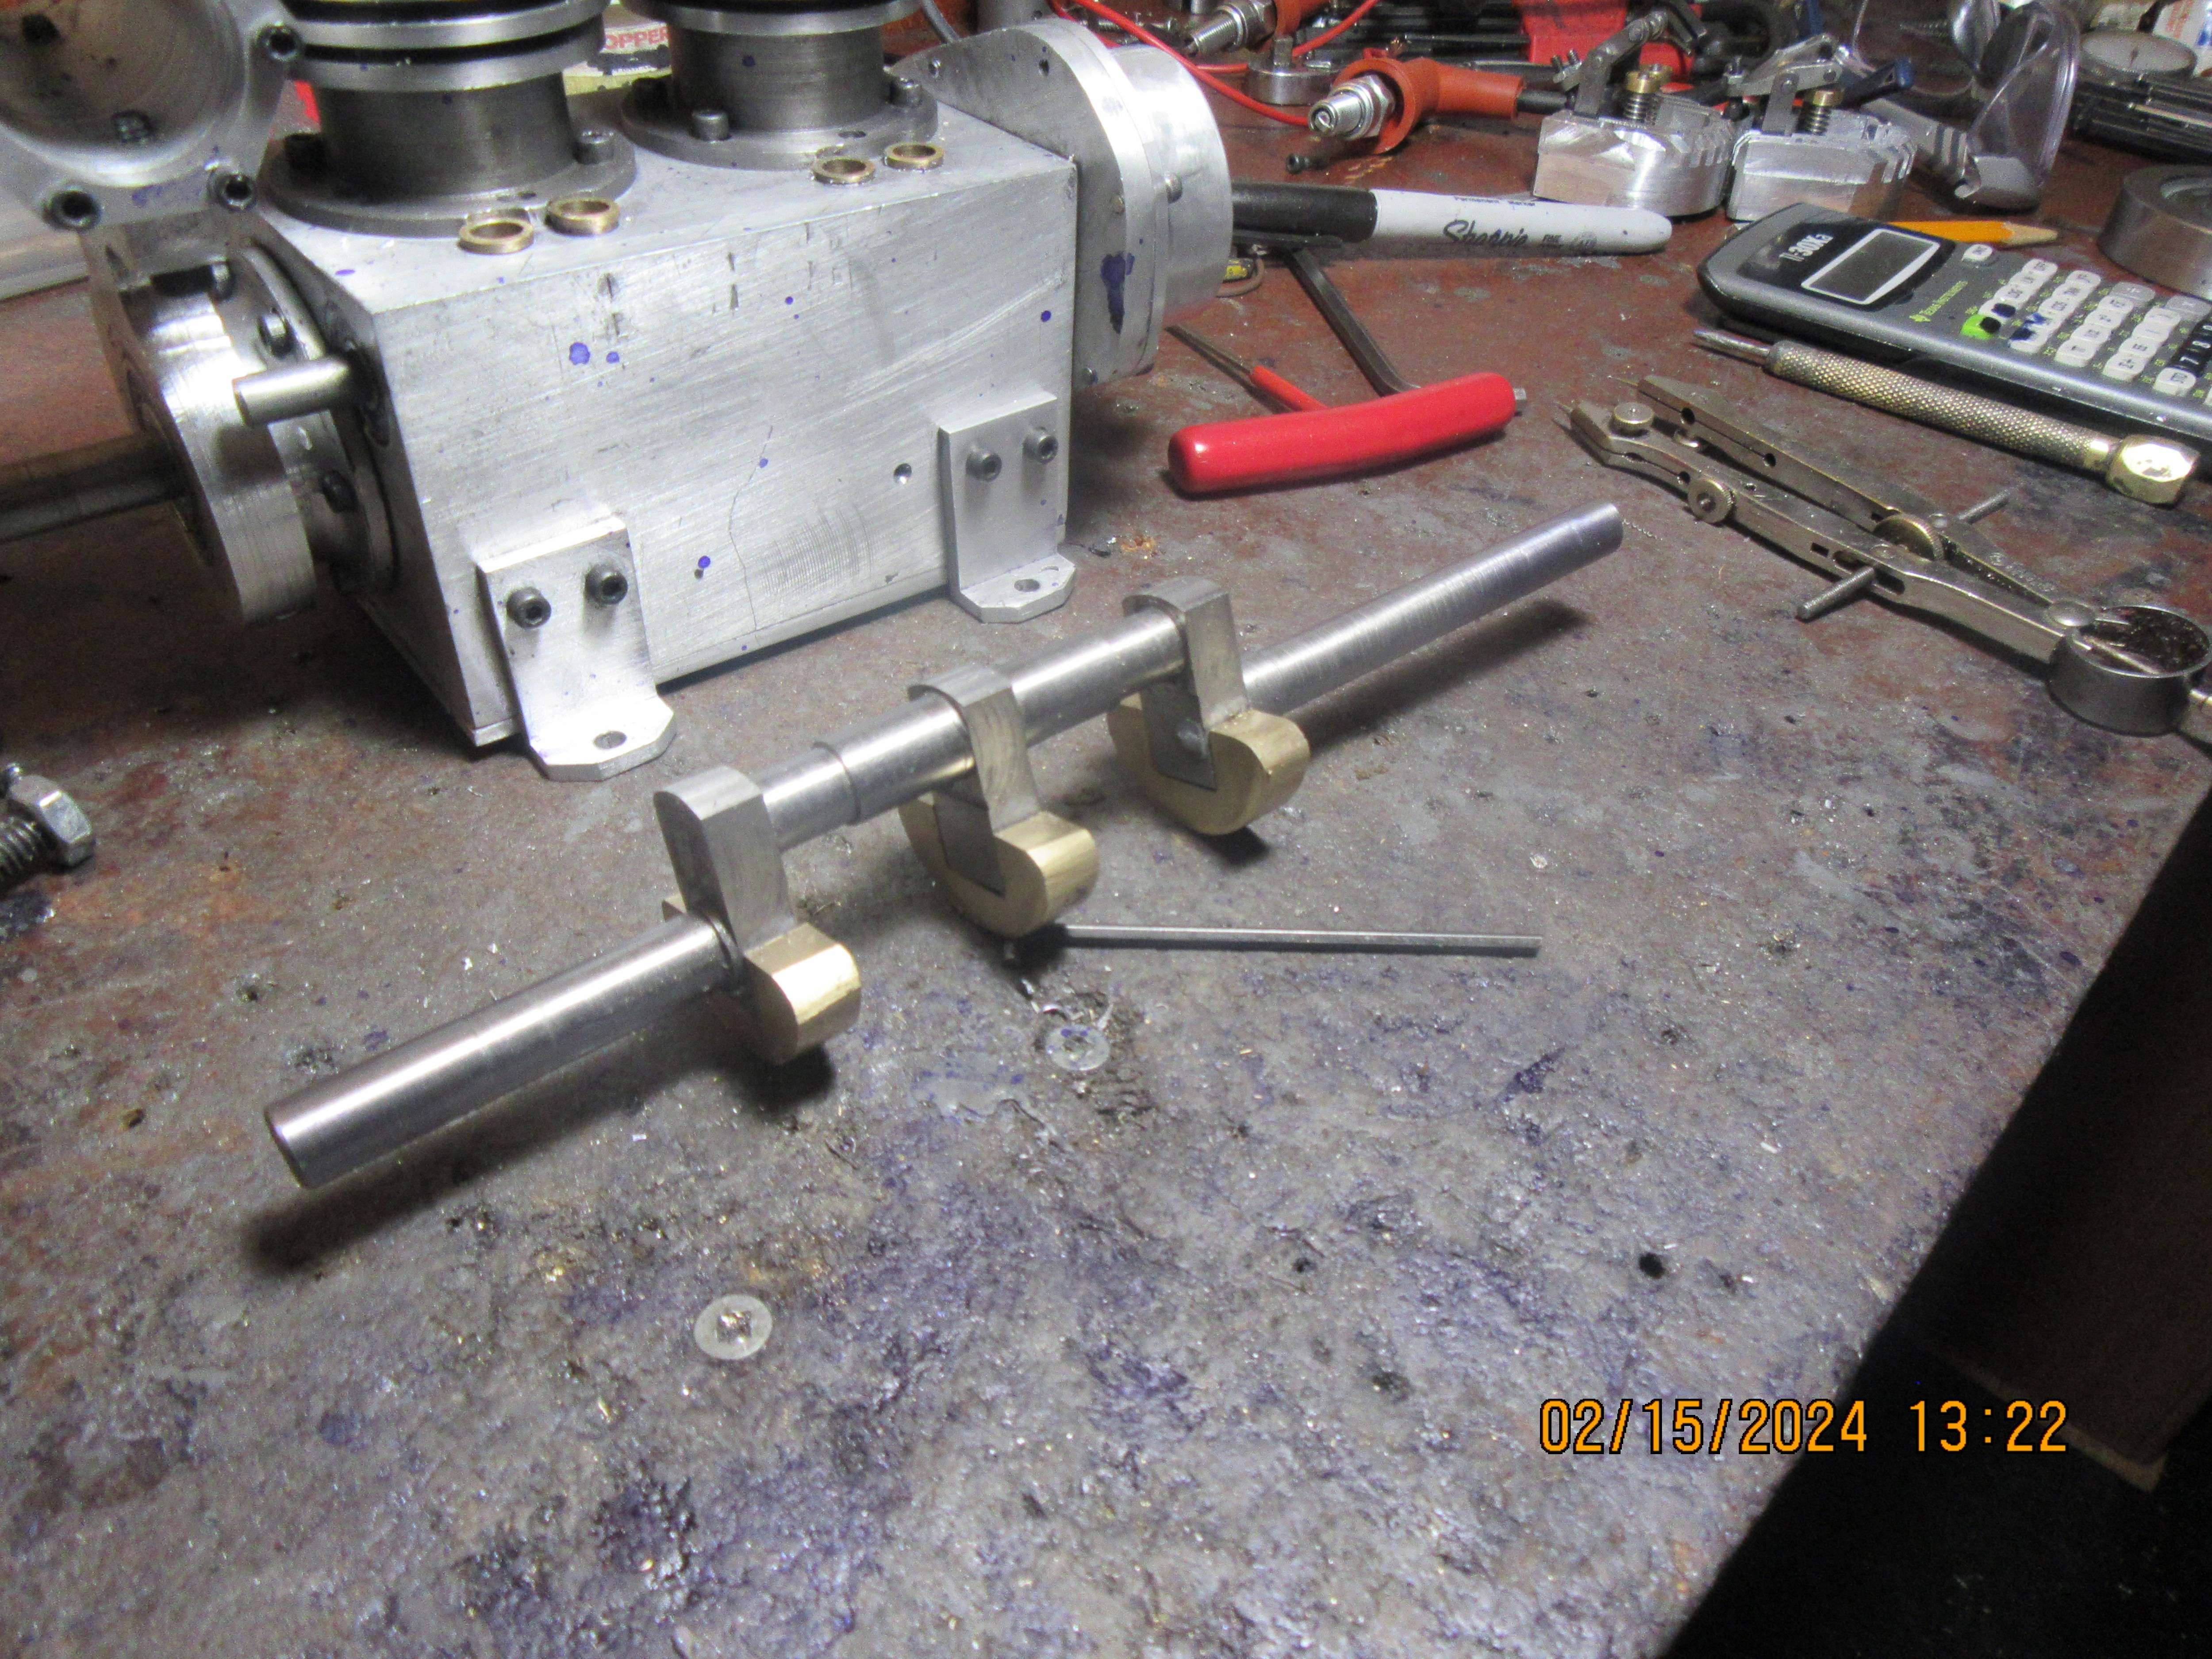
Now we get to the scary part---What can be cut away with the milling machine and what has to stay because it's part of the crankshaft. This always makes me check about four times to make sure I'm not milling away part of the crankshaft.
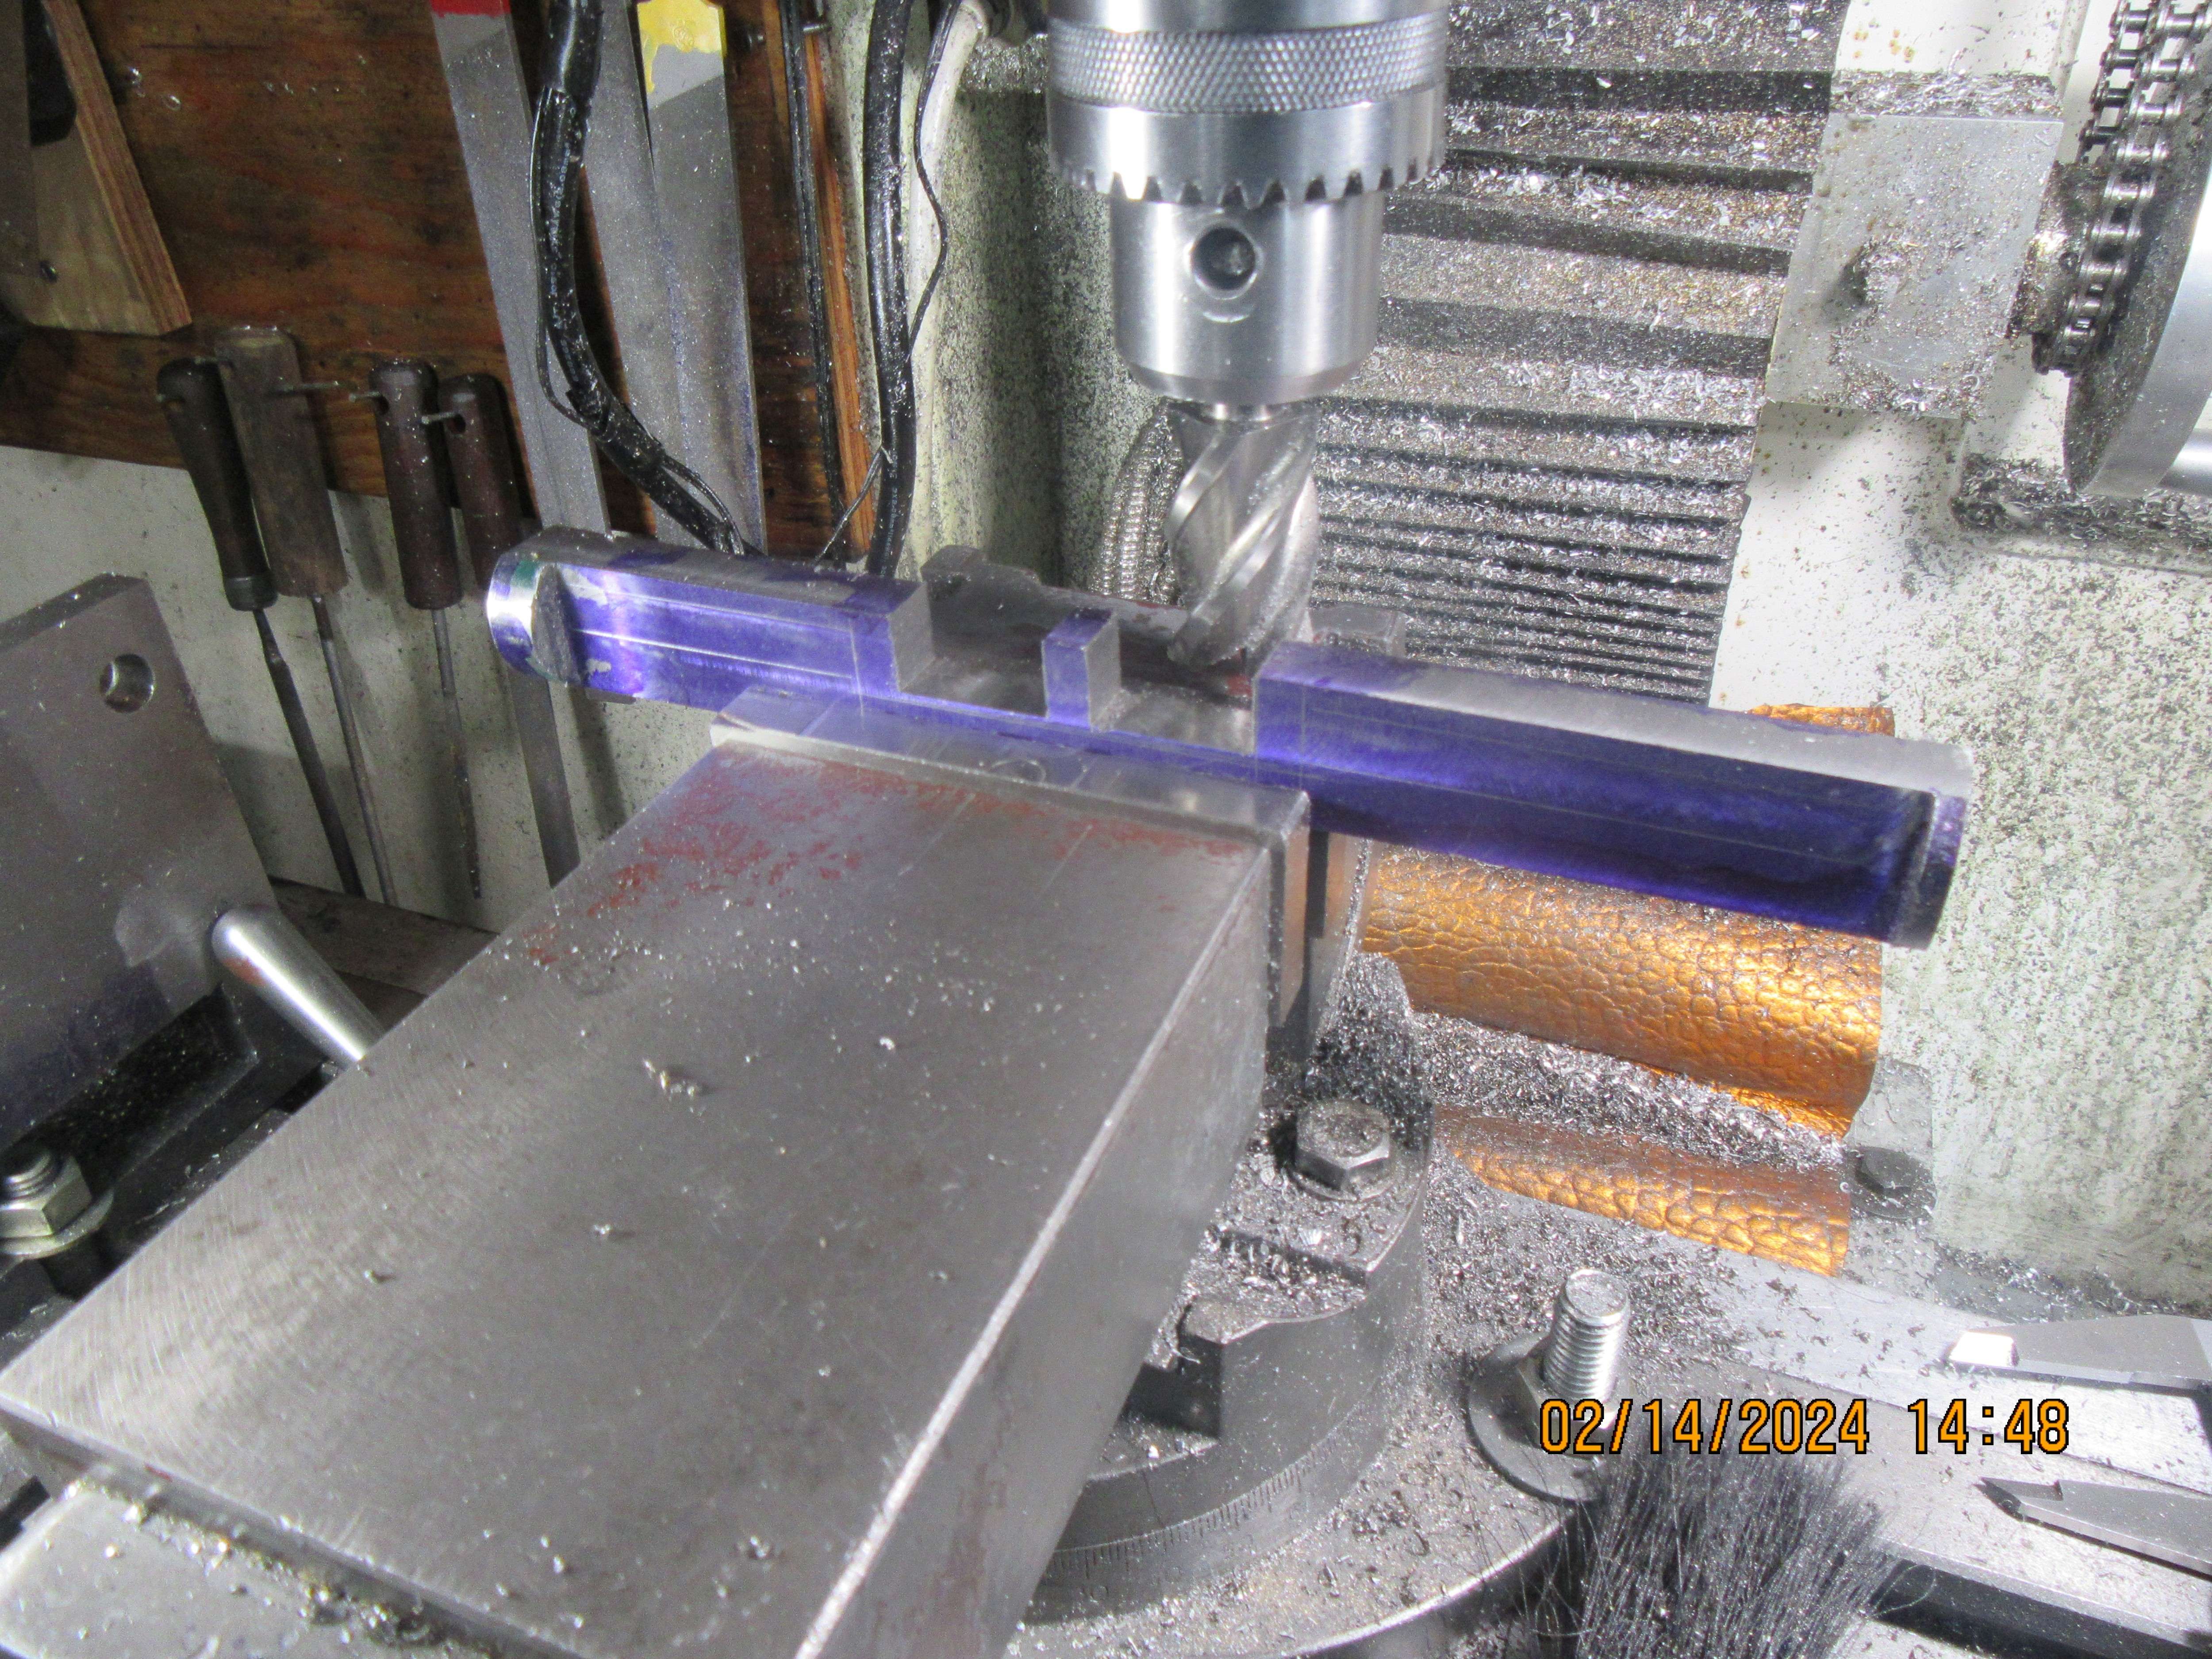


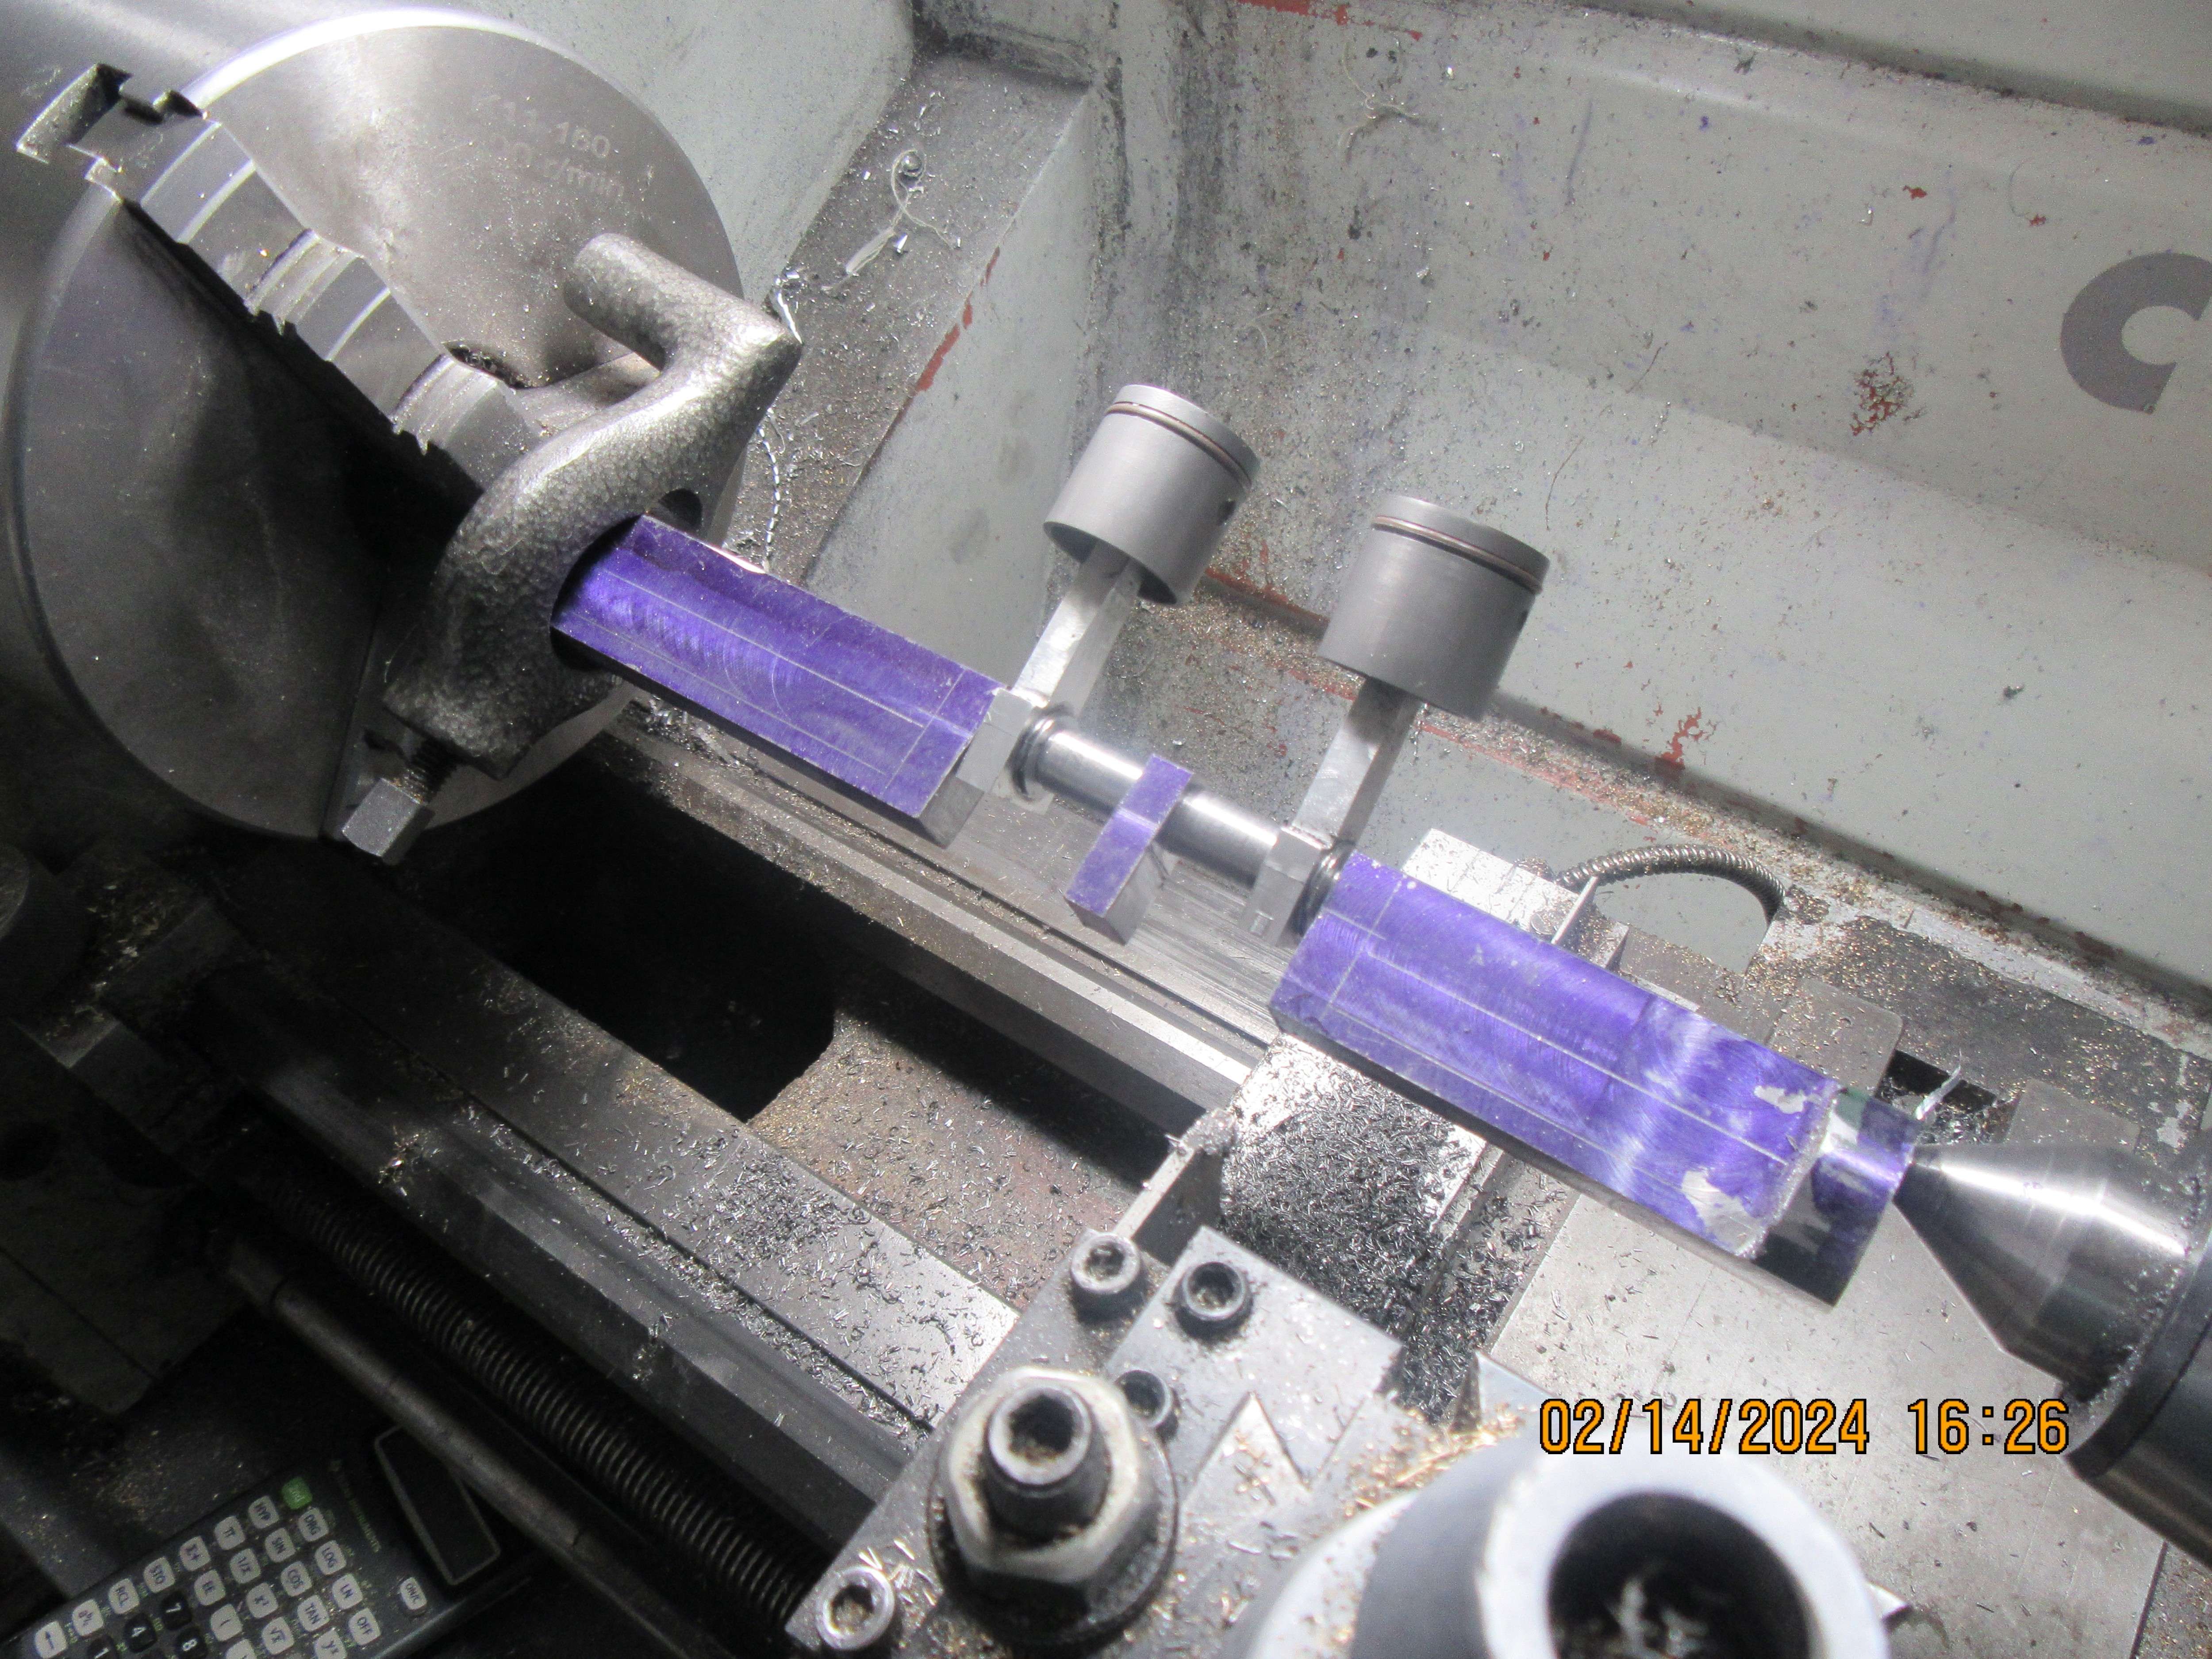
Going another direction, ther we’re sever model plane in line twins years remember right they had a knuckle joint in the crank forvthe cylinders I think there was a pressed in pin for rods these were two stroke glow engines . I can’t even remember the brand O.S I think was one they are very rare todayThanks Brian. I haven't done such a machining operation. So interesting to note your set-up. I should have clamped centrally with narrow clamps, then milled either side... Bowing would have become progressively worse as the material became thinner in the middle. So I guess you have a better set-up? But I do not know how much thicker it would be in the middle than the end under bowing from the tool pressure, doing it "my way"? As the finished crank is machined for main bearings and big-end bearings, I guess that maybe a couple of thou of thicker-in-the-middle isn't a big issue here, but could be on other components? (Unlike the extra 6 inches of thickness in the middle of my body, for example!). I just like to machine as much as possible in a single set-up. Milling the sides in a single set-up should enable the geometry of the machine to give parallel sides?
More than one way to kill a pig, but some are better than others... I am glad to learn from you....
Thanks!
K2




![DreamPlan Home Design and Landscaping Software Free for Windows [PC Download]](https://m.media-amazon.com/images/I/51kvZH2dVLL._SL500_.jpg)


As an alternative suggestion, maybe you could try using a diamond tipped hole saw to cut the circles? The main thing to watch out for in that case would be that you need constant flood cooling (both to keep things cool and carry away the glass dust) and you should cut only part way through from one side, before finishing the hole from the other- this stops the glass from 'spalling' as the drill breaks through.Brian i will start my own thread about this but i got an early start and so far bad results. glass scores just fine with the diamond drag bit but just wont break the way i want it to. in fact it breaks all over the place. ill keep trying because id like to be able to do this for my self but just wont post in this thread. also the crank looks awesome
first photo is the glass before it broke into a million pieces
second photo is of one shard that i used a carbide scribe to see if it would help it break properly. no luck that way either. even boiling water to ice bath didnt work.
View attachment 153999
View attachment 154000

Make the score lines tangental not radial.
Here's a good video, it doesn't require any special tools apart from a glass cutter, and the diamond should work. The applicable part is at around 8 minutes into the video.With small sizes it is impossible.
Have 2 way :
1/ Cut along the diameter, then use the end of the knife - it's like a round hammer, (most glass cutting knives have one) and tap the spot where you just made the cut, until you see it has a crack, and tap Continue from the crack to the end of the circle, then use pliers to break each part
2 / Cut along the diameter,, and use pliers to break each small part - from the outside in
- Wear eye protection !
---- Then grind the edge
**** Only suitable for glass from 2 to 5 mm thick
