Building a Bonzer Bonzer

Home Model Engine Machinist Forum

Help Support Home Model Engine Machinist Forum:

This site may earn a commission from merchant affiliate links, including eBay, Amazon, and others.
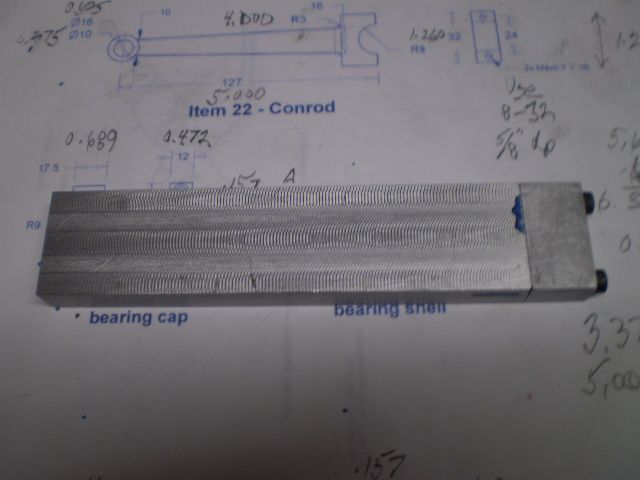
[FONT=&quot]I have some series 7000 T6 aluminum that I’ll be using for the con rod. It’s great stuff, and machines really well. I also bought some of this aluminum in round stock to make a piston for this engine but more on that later.[/FONT]

[FONT=&quot]The con rod is two parts of course, with the end cap attached to the rod with 8 – 32 screws.[/FONT]

[FONT=&quot] [/FONT]

[FONT=&quot]Then the two critical holes are reamed 10 mm (small end) and drilled/bored 18 mm (big end). For the small end I used a 0.375” reamer but bored the big end as specified in the plans.
[/FONT]
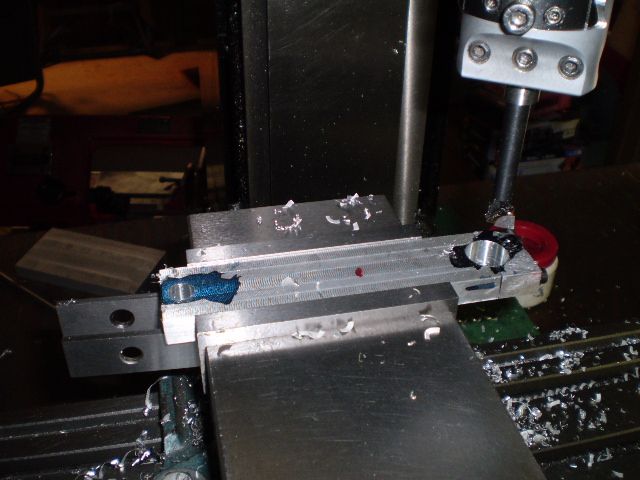


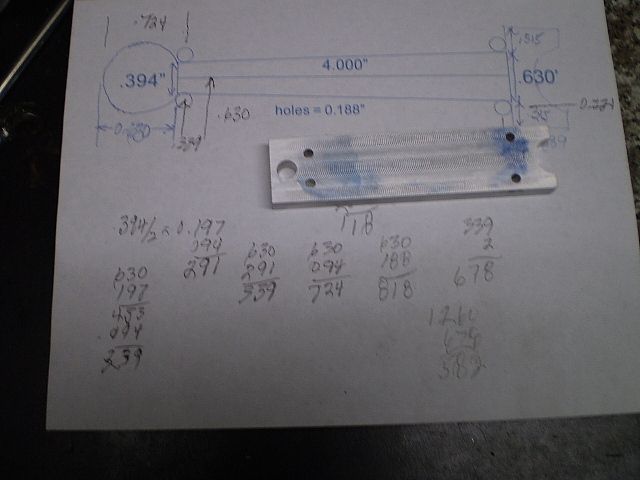
[FONT=&quot]I did some calculations to locate the limit holes for radiusing and milling operations. [/FONT]

[FONT=&quot] [/FONT]

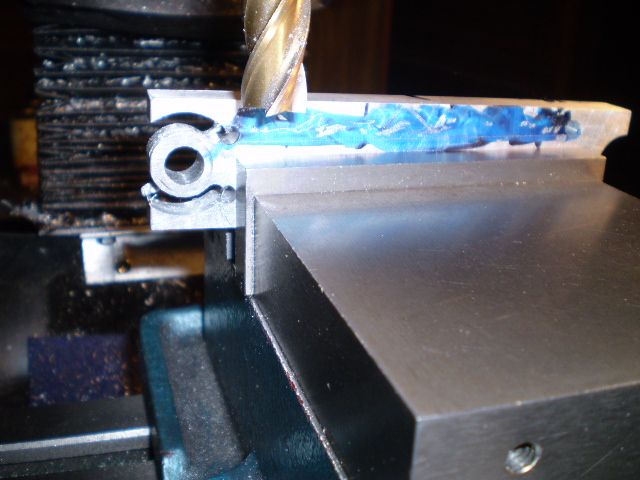
[FONT=&quot]The rotary table is used to form the small end. The angle of the con rod is between 1 and 2 degrees and I don’t have an angle block in fractional sizes so I decided to scribe a reference line between the limit holes and mill to that line.[/FONT]

[FONT=&quot] [/FONT]

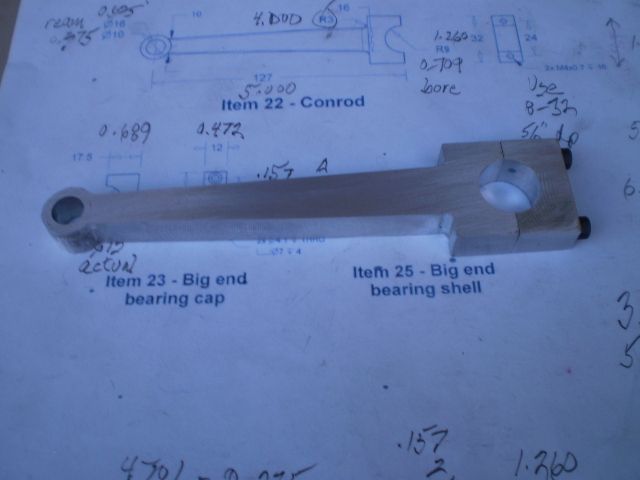
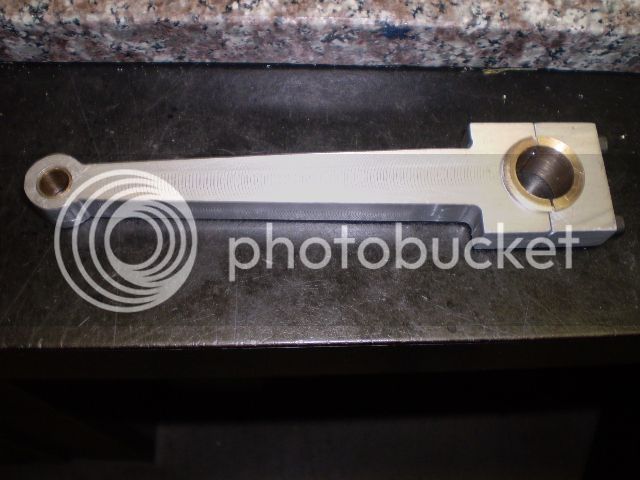
[FONT=&quot]The finished product is shown and is complete except for the bushings on either end:[/FONT]

[FONT=&quot] [/FONT]

[FONT=&quot]I’ll work on the bushings this weekend.[/FONT]

[FONT=&quot]Thanks for looking in[/FONT]

[FONT=&quot]Cheers,[/FONT]
[FONT=&quot]Phil[/FONT]
 
That's a fine looking conrod Phil. This is going to be one really good engine. I think I'll have to hide mine.

Jim
 
Decided to have a nice quiet day in the shop making the bushings for the con rod. It didn’t turn out that way.:wall:

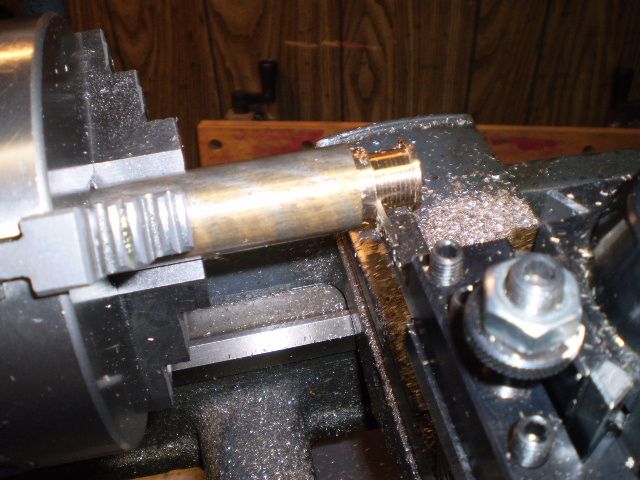
I started with a piece of 1” bronze and turned the major OD to 0.866”. Drilled and bored to 0.625” to fit the crankshaft journal. I turned the minor diameter to 0.710” using an indexable HSS grooving toolbit. I usually don't like to have that much overhang on the lathe but I really didn't want to shorten that nice piece of bronze. Light cuts were taken accordingly.


I checked it for fit on the lathe using the end cap and it was nice and snug.

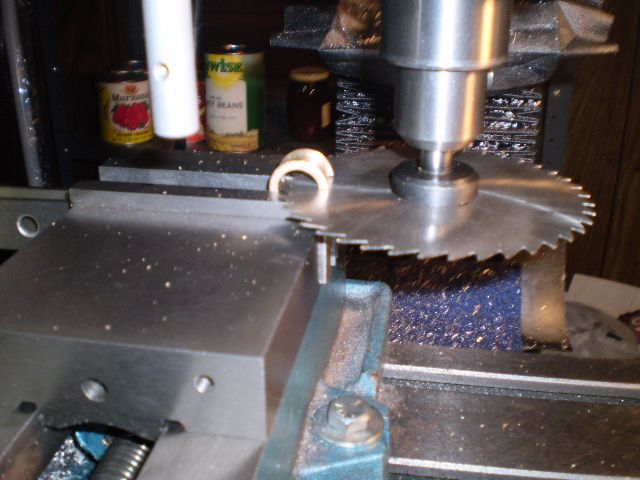
Then I split the bushing using my thinnest (0.032”) slitting saw.


Everything was going nicely up to the point just before the bushing separated into 2 pieces. Normally, just before separation takes place I slow the spindle speed down so that the separated piece doesn’t fly off into the darkest corners of the shop.

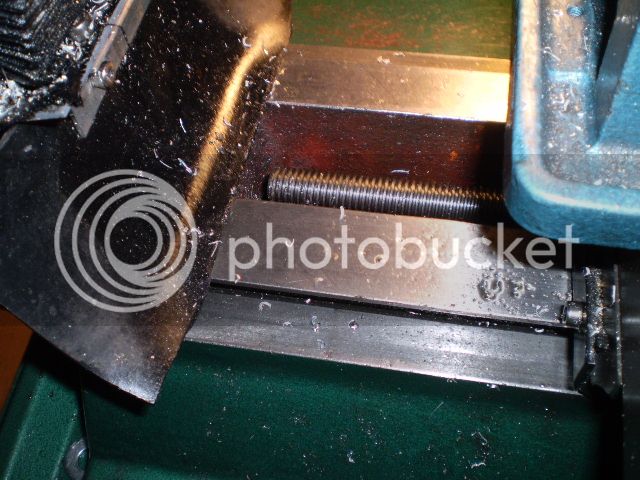
Unfortunately, it just rolled off the mill vise and landed on the y axis leadscrew because the chip shield (blue mat) had slipped off the ways. I tried fishing it out but it immediately became buried in 3 years accumulation of chips. Here is where the sun hasn't shone for years


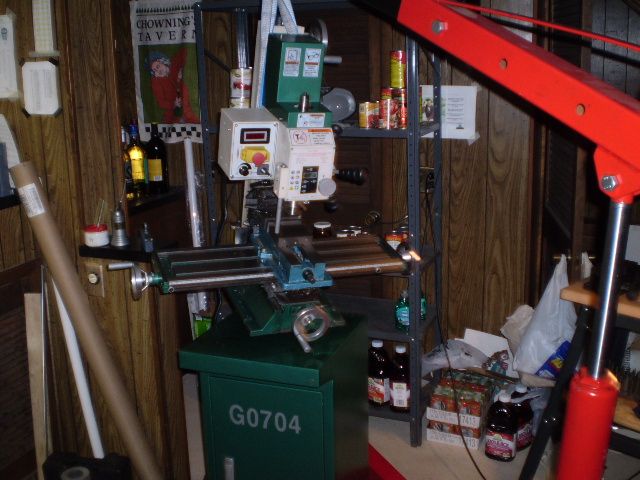
Now decision time….an hour to make a new part or assemble the shop crane and lift the mill to retrieve the part. Since I knew I could never make that part that well again and I had accomplished all the careful, precise work for the day, this is what I did:


There was the part (not visible in this picture), in the farthest reaches of the underside of the mill base which was apparently engineered to trap bushing parts.

Choice words were said! In fact, a cloud of obscenities is likely to hang over southeastern Pennsylvania for quite a while.

But in the end, all was well. Here’s the con rod with bushings installed. The end cap is not tightened in this picture and closes up completely, while the bushing does not.


The sequence I followed produces the saw kerf gap. It seems like a good trick to have those bearing halves come together but you’d need to do the slitting operation before the boring step. How do most folks make a split bushing and does it really matter if the bushing doesn’t close completely?

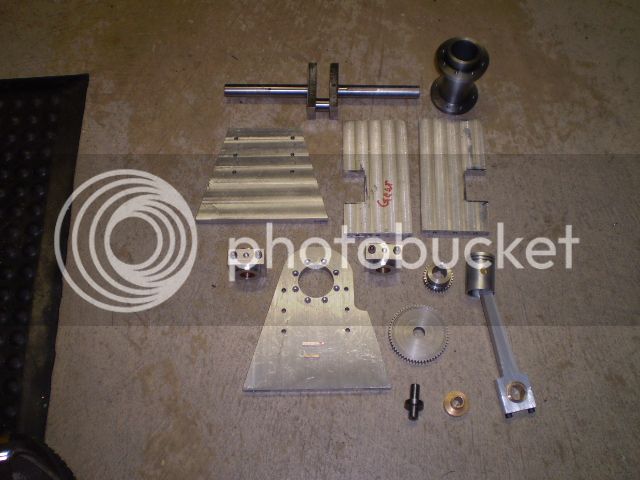
OK, some progress has been made (the mill was cleaned of accumulated swarf) and three parts are added to the completed list.

Cheers,
Phil
 
Some people (the ones who do a better job than me) slit the bronze bar, soft solder the pieces together, turn and bore the bearing and then melt the solder to separate the halves. But this means slitting a longer length of bronze bar than one needs and I am too mean to waste any of it.

So I put up with a gap in the bearing.

I find it very difficult to turn the outside to a neat fit in the conrod and the inside to a neat fit on the crankshaft. I am not above slipping a piece of paper between the bearing and the conrod.

And congratulation on a a nice clean milling machine.

Jim
 
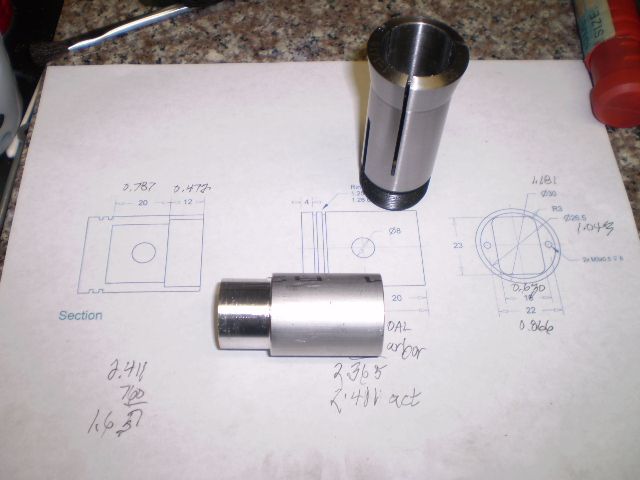
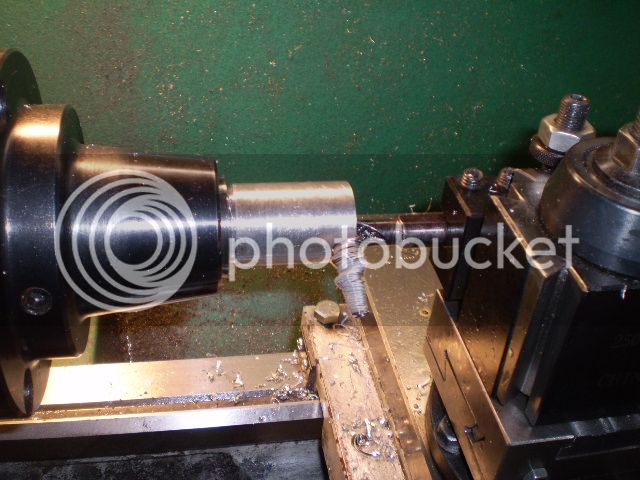
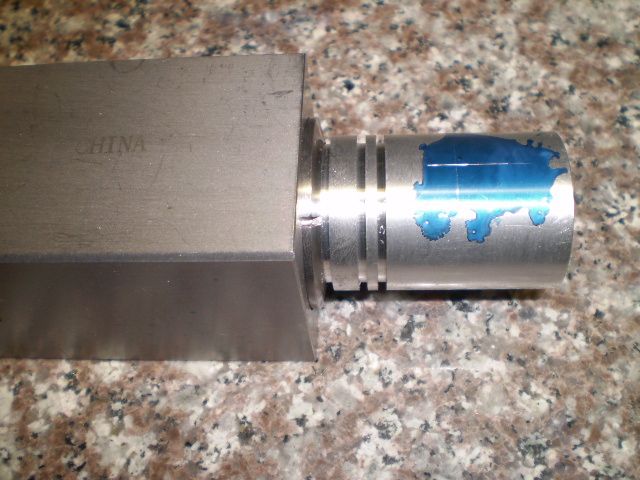
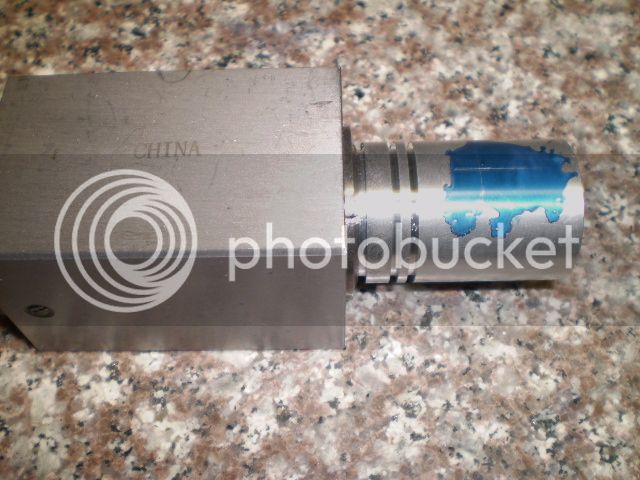
I started turning the piston today. I began with some 1.25" series 7000 aluminum and turned a 1.062" spigot on the end to fit a 5C collet.


I turned the piston to 30 mm, or 1.183" (actual) which was a good clearance fit in the cylinder. For a steam engine this fit would have been the best I ever had. But then I thought maybe with aluminum in cast iron I'd have an expansion problem with the engine at operating temperature.

I didn't want to remove the workpiece from the lathe before I talked to AussieJim for his advice. So after a quick Skype session we decided to go with this fit.

Next, I drilled and bored out the internal section of the piston.


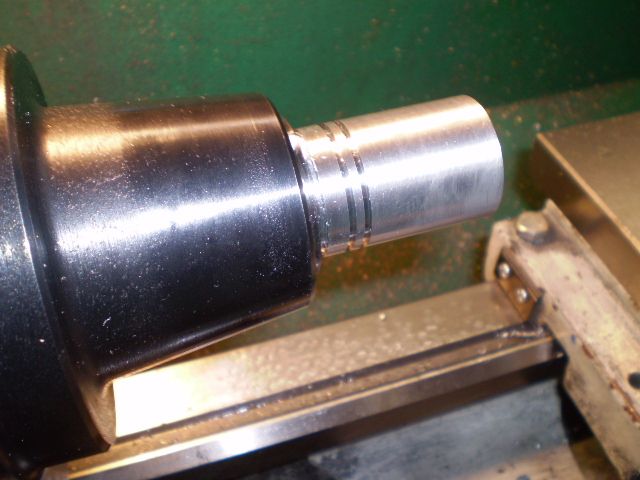
The piston skirt is about 0.060" thick and the head end of the piston is a rectangle with the short axis being about 5/8" so I drilled that diameter to depth on the lathe and made a flat bottom hole with a 5/8" center cutting end mill. The picture above was taken after I removed the work from the collet chuck. But before I removed it I cut the piston ring grooves.


With all lathe work accomplished I removed the work and collet from the lathe and put it in a 5C collet block, then marked the location for the gudgeon pin:


That's all the progress for today. Thanks for looking in

Cheers,
Phil
 
Last edited:
Help me out here.--30mm is 1.1811". Your "actual" piston measurement is 1.183" which is .0002 oversize from 30mm nominal. I didn't see anywhere in the post what the bore of your cylinder is but you make reference to "A good clearance fit". When I make an i.c. cylinder, I hone the bore, then lap with a 0.999 dia. lap and 600 grit lapping paste.. Then I turn the piston to .001 under the cylinder bore, and lap the o.d. of the piston into the bore of the cylinder with #600 honing paste. What are you doing?
 
Brian,
The nominal bore is 30 mm or 1.181". I made a dowel of that size to test the bore for taper and didn't detect any. This dowel seemed to have the same amount of clearance at either end of the cylinder.

When I was turning this piston I set a target for 1.183" to see if it would fit the bore. I always creep up on the bore that way. It just barely fit, so I stopped there. I don't have an accurate bore gauge so this is the approach I take to "estimate" bore size. When the piston is finished I'll see how it goes all the way through the cylinder.

Phil
 
[FONT=&quot]After turning the piston to its diameter I reamed the hole for the gudgeon pin 5/16”. Next, I milled out a rectangle in the piston to lighten it and for piston rod clearance. This was a tricky operation because the end mill was mostly out of sight so I had to trust my handwheel settings and listen to the end mill cutting. I had a close call when the 5C collet block slipped in the mill vise. This happened because the grub screw seen in this photo (left facing) is about 0.002” proud of the collet block and it was facing the mill vise jaw. I turned the collet block 90 degrees and finished the milling OK.[/FONT]


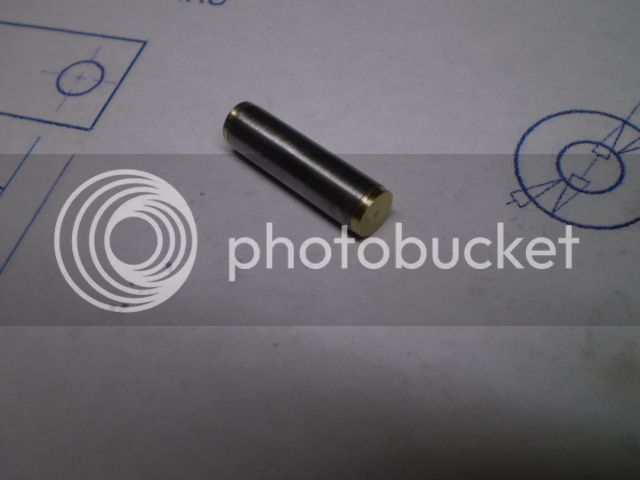
[FONT=&quot]Following the plans, the only work left for the piston is to tap two holes 5-40 for grub screws to hold the gudgeon pin in place. However, I came across a neat alternative in Malcolm Stride’s book. The gudgeon pin is drilled through for to reduce its weight. Then brass caps are made and inserted in the ends to prevent the pin from scoring the cylinder walls.[/FONT]

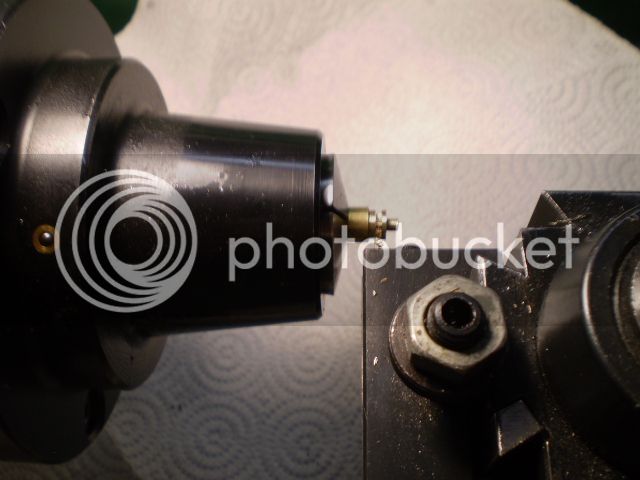
[FONT=&quot]Here I’m parting off one of the caps. Because of my recent experience of having parts fly off into the bowels of my machinery, a paper towel under the spindle was used to catch the workpiece. [/FONT]

[FONT=&quot]
[/FONT]


[FONT=&quot]This photo shows the caps installed, loctited in place[/FONT]

[FONT=&quot]
[/FONT]


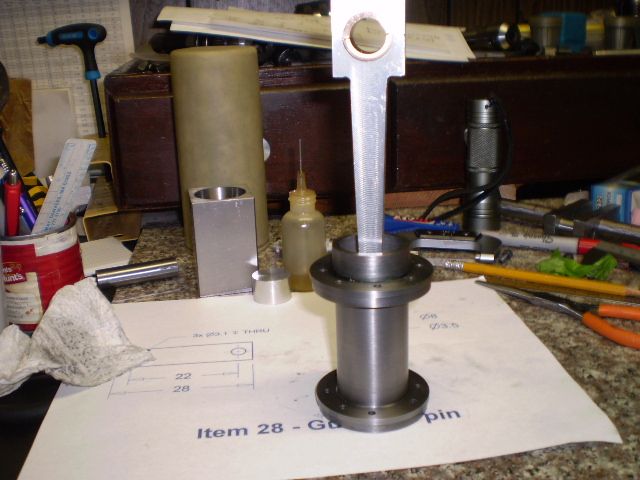
[FONT=&quot]With the piston and con rod assembled, I wanted to check the piston fit in the cylinder. With a bit of 10 wt oil for lubrication I worked the piston in the bore, cleaned it all up and performed this test which I’ve done in the past when making steam engines. The weight of the piston and con rod is being supported by a column of air and the friction between the piston and cylinder wall. A slight nudge and the piston slowly descends with the air leaking past.[/FONT]

[FONT=&quot]
[/FONT]


[FONT=&quot]I’ve known for some time that I didn’t cut the key way in the crankshaft long enough for the valve gear, so I extended it using a 1/8” end mill.[/FONT]

[FONT=&quot]I’ve used keyways for flywheels in some of the steam engines I’ve built. I’ve learned that in the trial assembly process it helps to use undersized keys that are easily removed. So I made some undersized key stock out of brass for the valve gear and flywheels.[/FONT]

[FONT=&quot]I’ve now made quite a few parts for this engine. But as Cogsy pointed out in his build of Brian Rupnow’s IC engine, the parts have to mate properly. So this is a good time to assemble all the parts I’ve made so far and make sure I’m on my way to a working engine. When that’s happened I’ll report back in.[/FONT]


[FONT=&quot]Thanks for looking in[/FONT]

[FONT=&quot]Cheers,[/FONT]
[FONT=&quot]Phil[/FONT]
 
Thanks Brian, but you know what they say about looks, especially with my low resolution digital pics. When I get all these parts assembled and can turn the crankshaft with gears over I'll feel a lot better.

Phil
 
A gudgeon pin with little brass inserts? You are really taking this engine seriously aren't you Phil?

But it is looking good and the piston fits really well. I will pinch your idea of turning a spigot for the new piston I need for the current engine.

Jim
 
Jim,
After all the pain and suffering of making the piston I had 2 choices. Tap some threads to hold the gudgeon pin, or make those little brass caps. I haven't broken a tap in a long time, but the easy way out was to "engineer" the gudgeon pin. Plus, it looks kind of sharp, don't you think?

Cylinder head and valve cages are next so I'm really going to have to be a bit more serious.:p

Cheers,
Phil
 
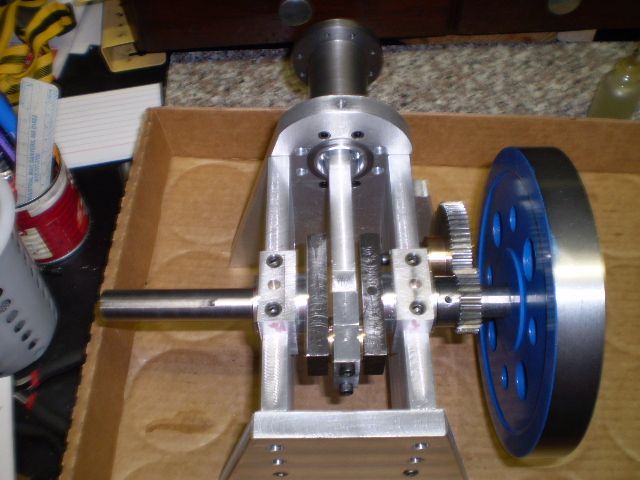
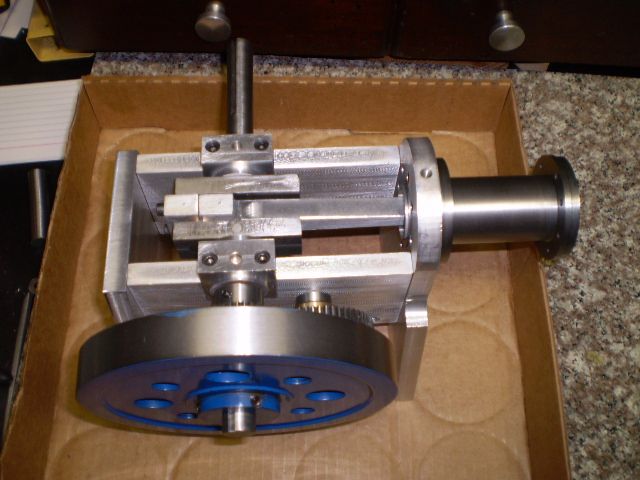
I assembled all the parts I've made so far, including the gears. I attached one of the spare flywheels I had on hand to make it easier to turn over the crankshaft.


Then, with my trusty assistant (SWMBO) filming, I checked my work to date:

[ame]http://www.youtube.com/watch?v=Oy582vZb7u4[/ame]

Very happy with the progress.


My backup post "Fell off unicycle, dislocated shoulder, will be out of the shop for 3 - 6 months" will not be needed (yet):p


Will be starting the cylinder head next.


Cheers,
Phil
 
My backup post "Fell off unicycle, dislocated shoulder, will be out of the shop for 3 - 6 months" will not be needed (yet):p

Cheers,
Phil

No Phil, you wont need the backup post but maybe some of us will. Perhaps we should start a thread for backup posts to see who can come up with the most imaginative excuse (dog ate my milling cutter etc).

It's looking good.

Jim
 
Brian,
It sure does feel good, almost like when an engine is finished, but in this case, that's still far away.

Jim,
I've got a whole list of excuses ready just in case. I'm studying the cylinder head and thinking about the valve cages now. A guy named Darren from OZ gave me a good idea for the valve cages.

I think it will be a while before I can report further progress.

Cheers,
Phil
 
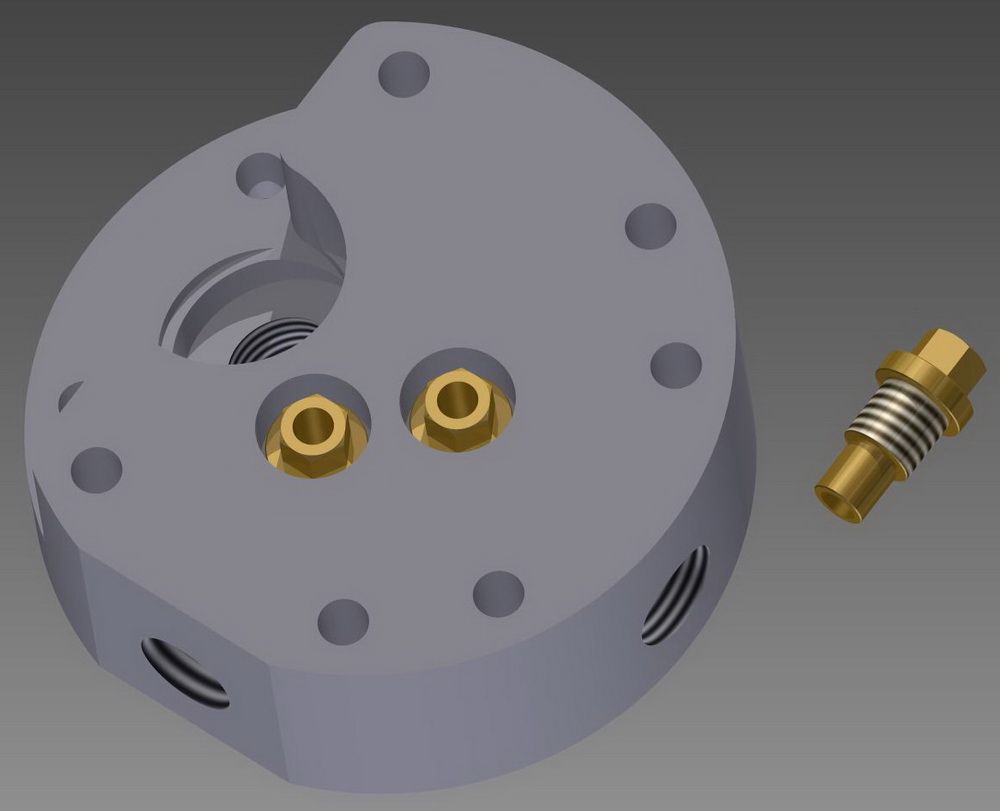
I'm planning the cylinder head now while waiting for the stock to arrive. Ausdier, a member of HMEM, kindly provided me with a drawing of a design he had thought to use for the original Bonza. It's shown here:


I'm planning to make 1 piece valve guides and seats from bronze that screw into the cylinder head. So I'll extend the guides shown in this figure and cut the valve seat into them all in one set up. I haven't sketched this out yet, but if there's insufficient room to thread them in, I'll just press fit them in. Also I'm planning to use a side mounted spark plug.

Cheers,
Phil
 
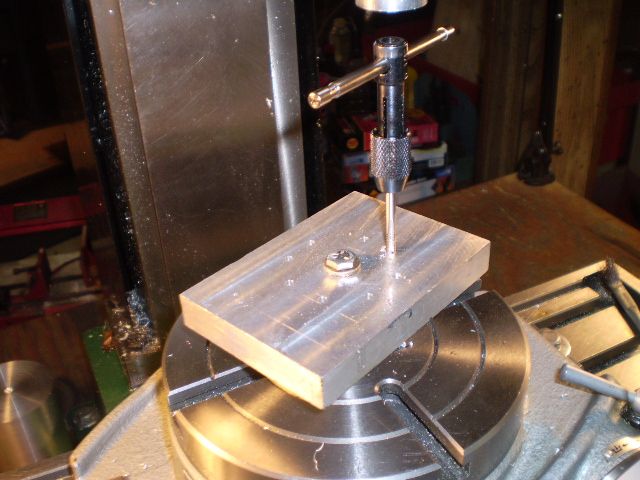
I finished making a fixture plate for the cylinder head by tapping eight 8-32 holes on a 1.850" bolt circle.


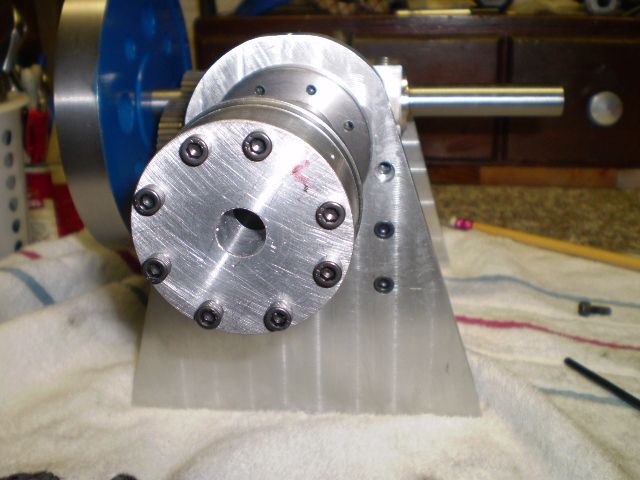
Then I took a scrap piece of aluminum that I'll be using to test some future machining steps for the cylinder head and drilled 8 clearance holes for the #8 screws. I attached it to the cylinder to check it for fit which is good


The faint red letter "S" at 2 o'clock is where the spark plug will go.

The actual stock for the cylinder head arrived today so I should be getting started on it soon.

Thanks for looking in.

Cheers,
Phil
 

Latest posts

Back
Top