- Joined
- Jul 16, 2007
- Messages
- 3,069
- Reaction score
- 1,209
Brian,
The trick to cutting a valve is to not cut the entire stem length in one finish pass. Let me explain. I don't mean that the whole stem would be cut in one pass knowing that it would take several to accomplish this, what I mean is rather than cut the whole length of the stem in successive passes getting smaller and smaller until reaching the desired diameter which you found out will cause the stem to spring just cut say 1/3 of the length to size in successive passes. Record your finish dial reading. Now cut another 1/3 to size and finally cut the remaining 1/3. You can even leave a small amount on the diameter if you wish .0005. Then lightly file and polish the stem to size. When cutting a small diameter there is no way to keep the spring out of the part.
An alternative machining method would be to center drill your stock with a small center drill, just enough to seat a live center. Now move the stock out from the chuck so you have working room, tighten the chuck and set the live center. Now you can turn the entire length of the stem to size without any spring. Just leave a big enough diameter at the center end to maintain support. When you are finished turning just cut the excess material with the center hole off.
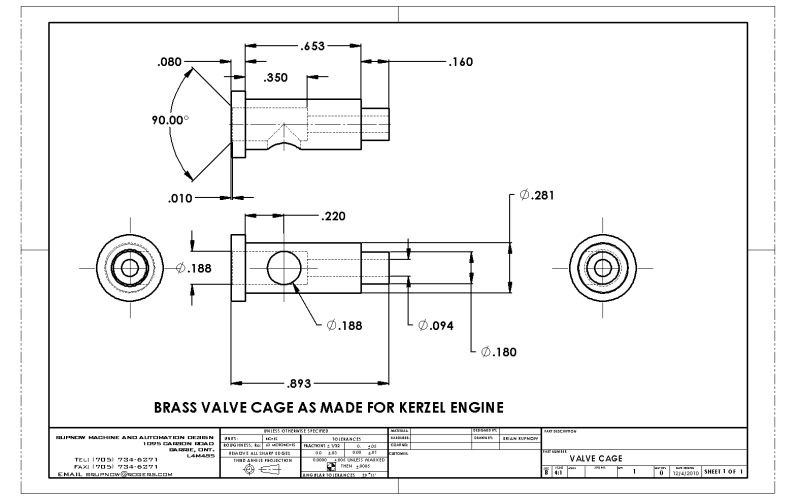
As far as how to cut valve seats or any part for that matter everyone has their own ideas. If the finished part works then that person's idea is good. The problem with using a 'twist drill' is that it can drill off center. Yeah I know you said you center drilled the hole first so it will drill right on center. Maybe it will and maybe it won't. There is a reason why so many fellows are having problems with this process, just ask Steve Huck how many valve cages he has made. When you machine this very nice looking valve cage how is it going to be installed in the head, a light press fit? Might it distort a little when you do this? Maybe it will and maybe it won't.
I have presented my machining processes because they have worked better for me than other ways that I have tried. Does that mean my way is the only way to do something, absolutely and categorically not!!!
In the process of building an engine of any complexity the builder generally ends up with more than a few mounting or chucking fixtures and special tools, it's just part of the building process. Like I said, if you can do something without making a special tool and have it work by all means go for it but certainly don't avoid making a tool because it takes time and skill. Doesn't it take skill to build an engine? Wasn't there new machining methods learned when going from a steam/air engine to an internal combustion engine?
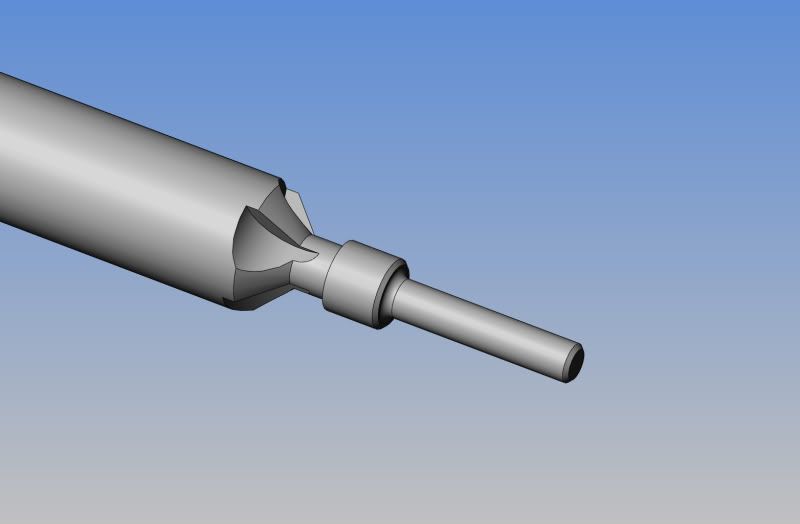
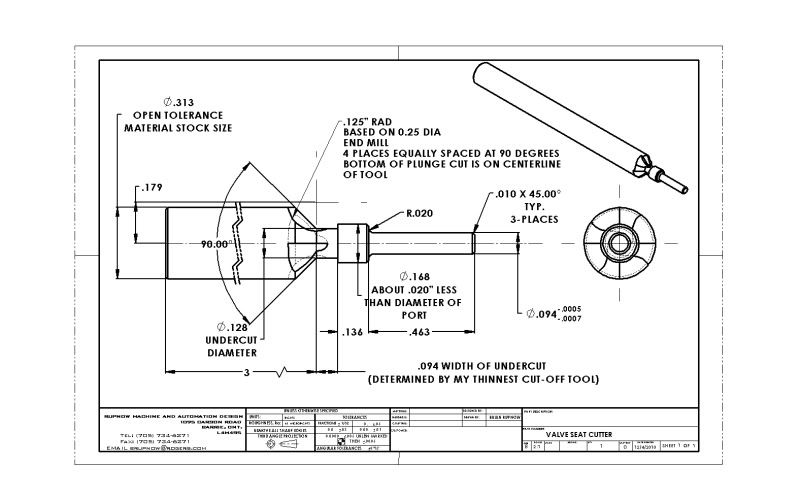
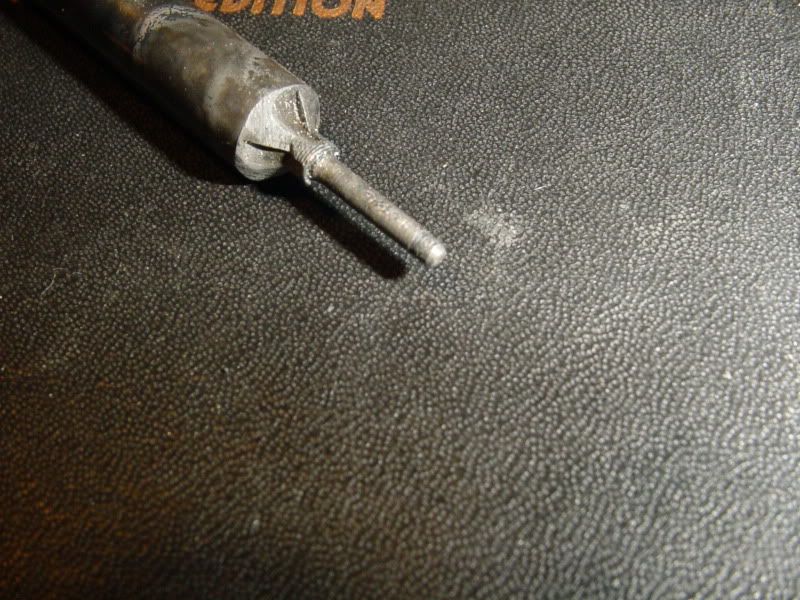
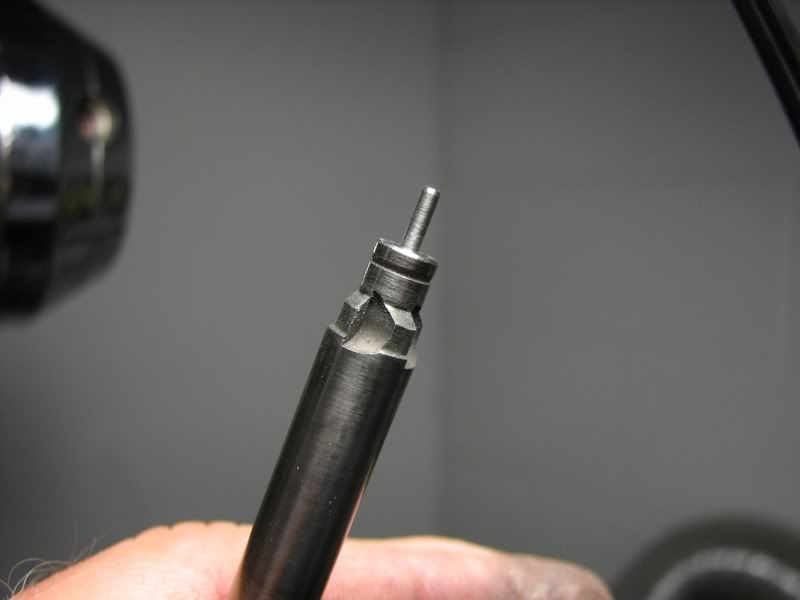
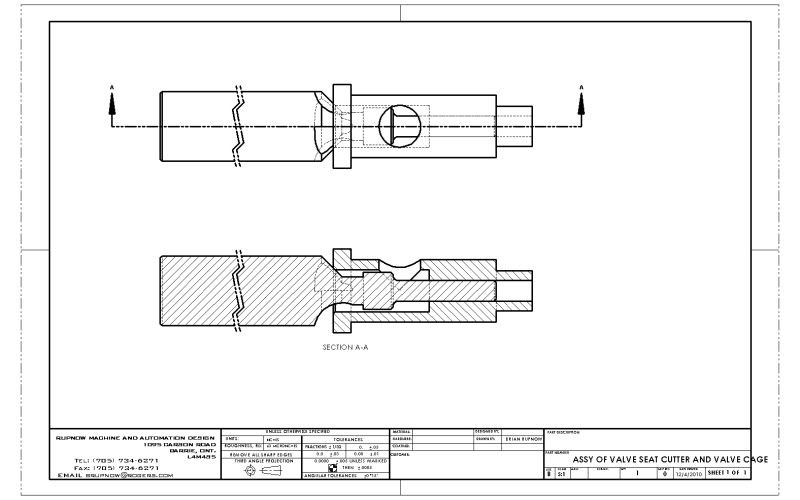
The reason for the pilot on the tool is to allow people with shaky hands to accomplish the job. The pilot keeps the tool aligned and tight in the guide hole.
As an aside to this reply, when they machine symmetrical holes on full sized engines the operation is done with one tool. The tool is a specially manufactured tool with a pilot, possibly several counterbores and possibly a chamber. The reason for this is because they realize that by changing tools you can add dimensional error to
an operation.
George



![MeshMagic 3D Free 3D Modeling Software [Download]](https://m.media-amazon.com/images/I/B1U+p8ewjGS._SL500_.png)
![DreamPlan Home Design and Landscaping Software Free for Windows [PC Download]](https://m.media-amazon.com/images/I/51kvZH2dVLL._SL500_.jpg)


