Hi Guys,
Despite our site problems, which I know our admins are working night and day to try and fix it,
the show must go on.
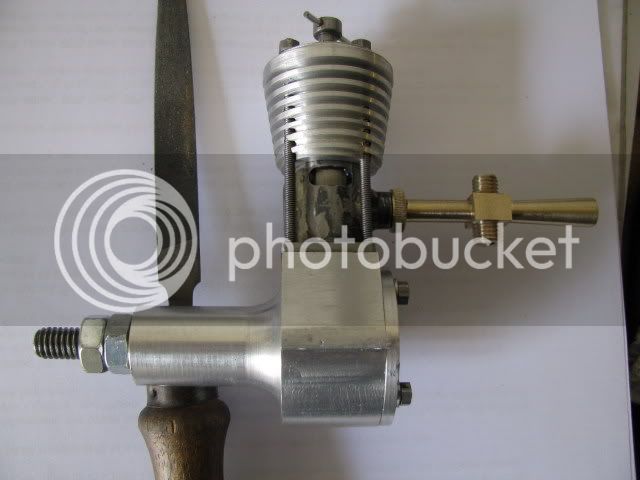
Disaster with the fuel pipe, ah well, "Life was not meant to be easy," (quote by one of our more observant Prime Ministers).
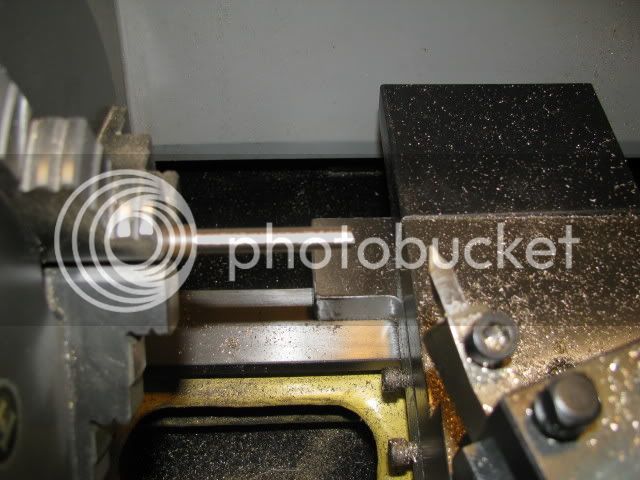
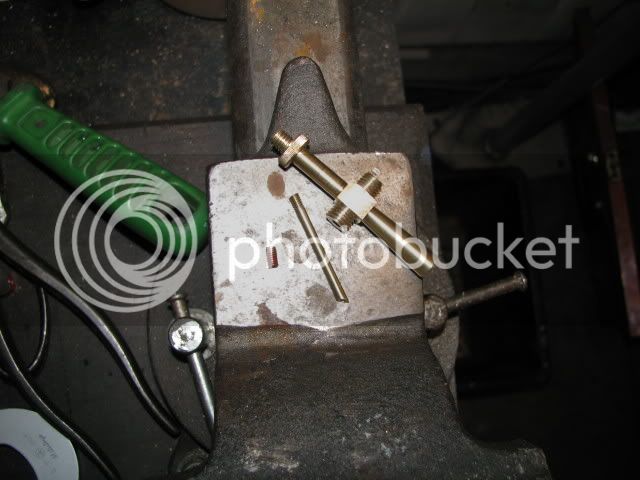
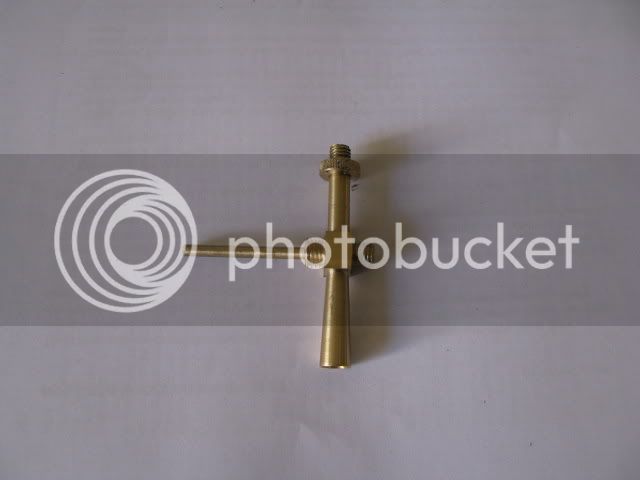
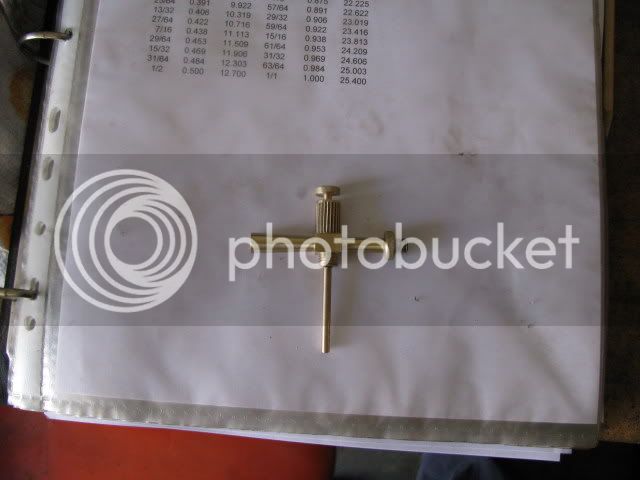
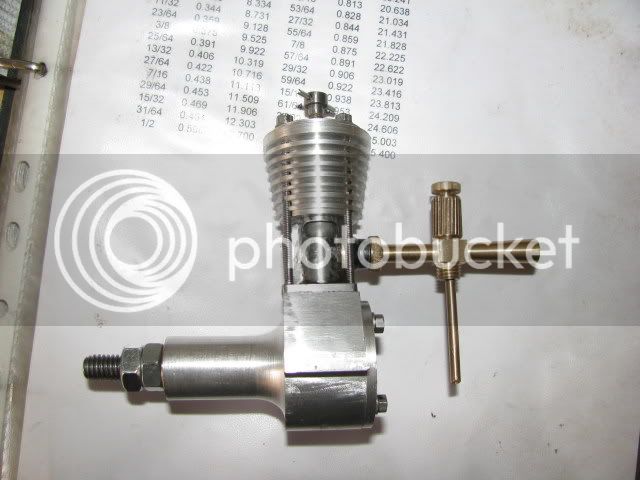
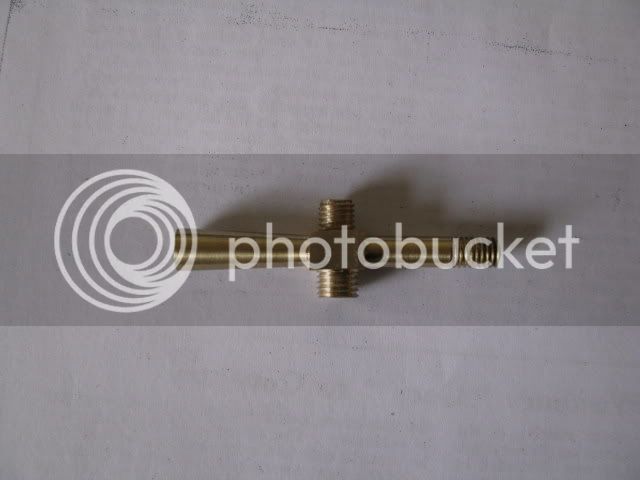
Brass for the fuel pipe and valve seat
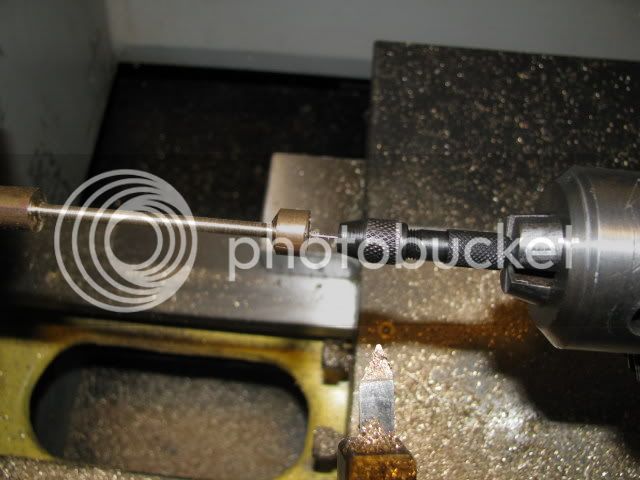
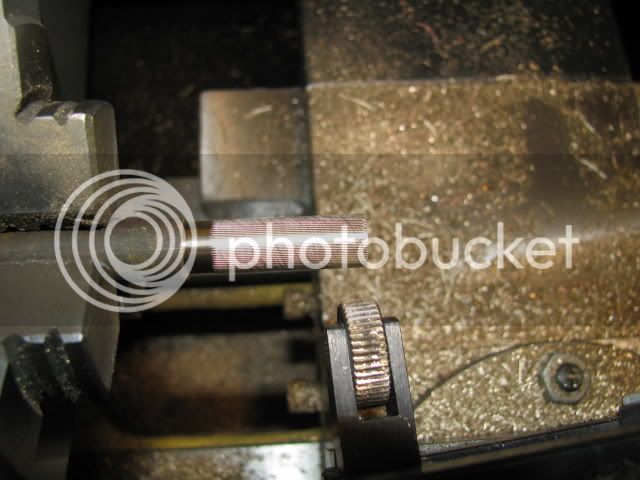
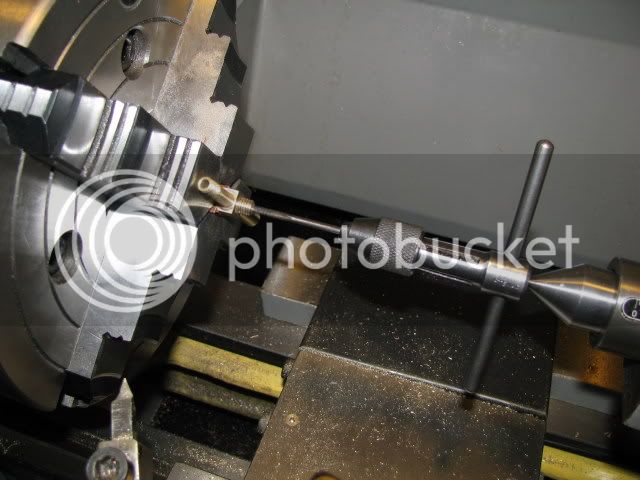
Threading the fuel pipe.
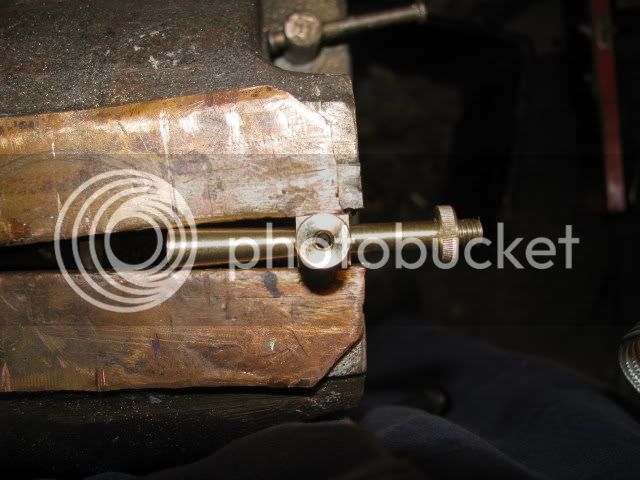
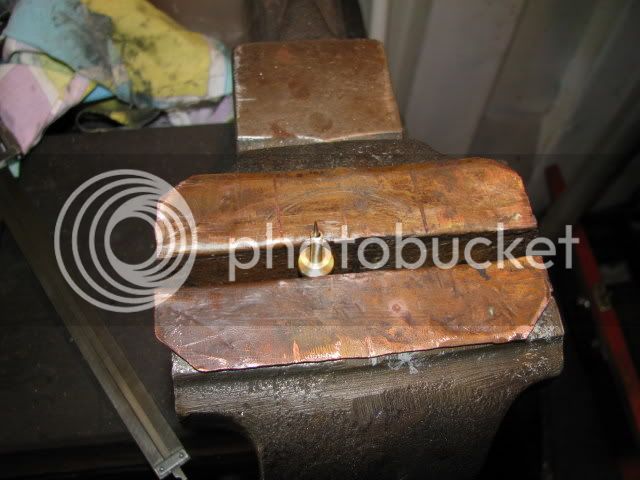
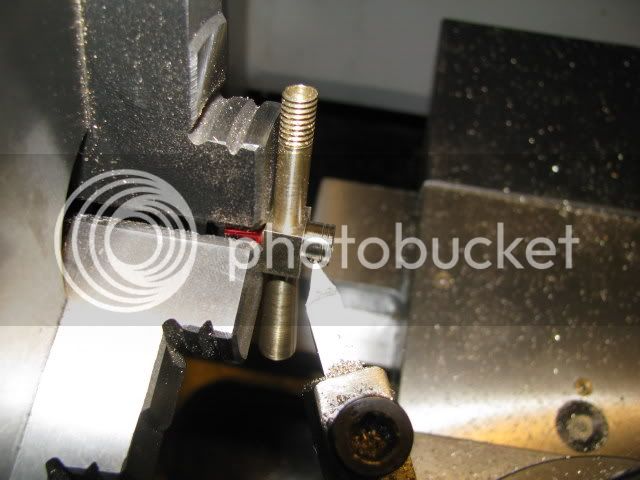
Test fit to carby body
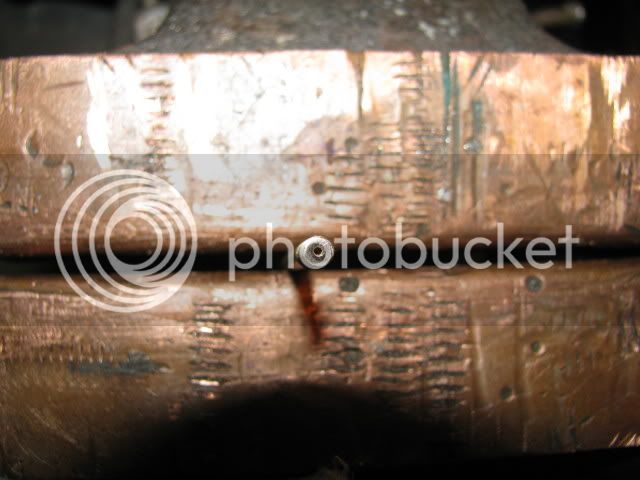
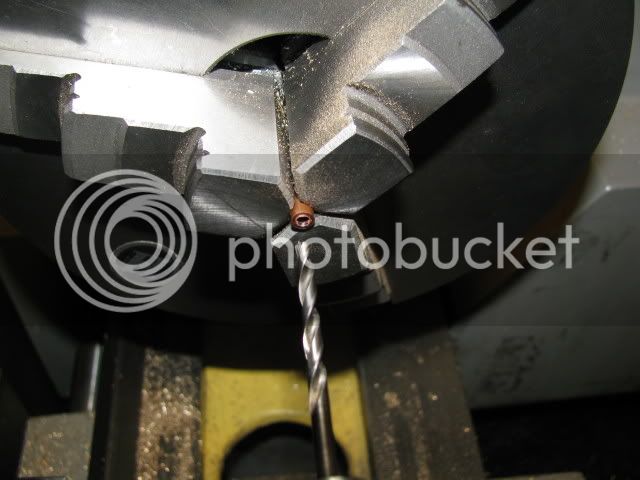
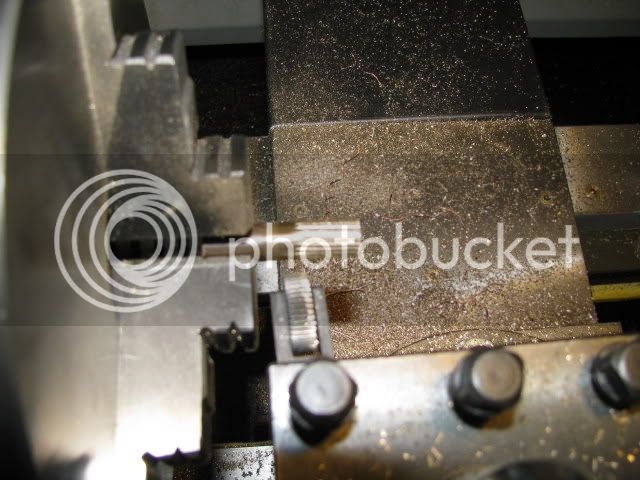
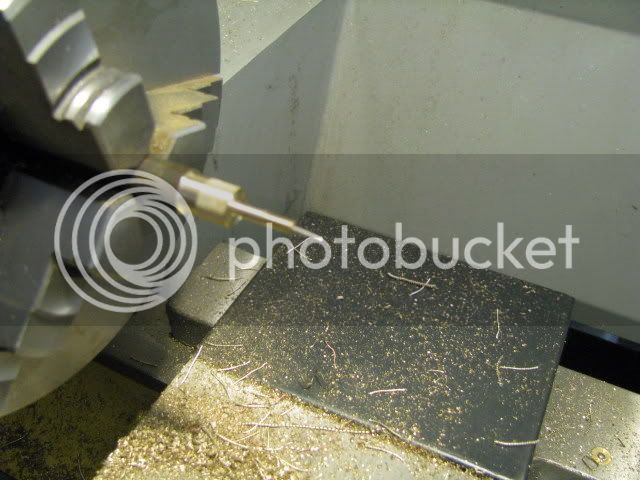
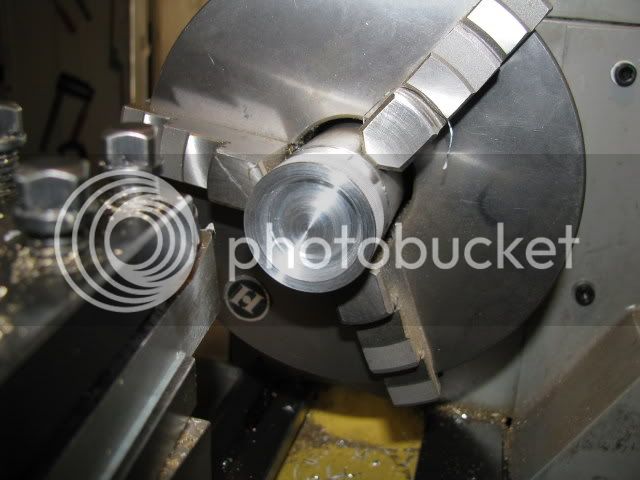
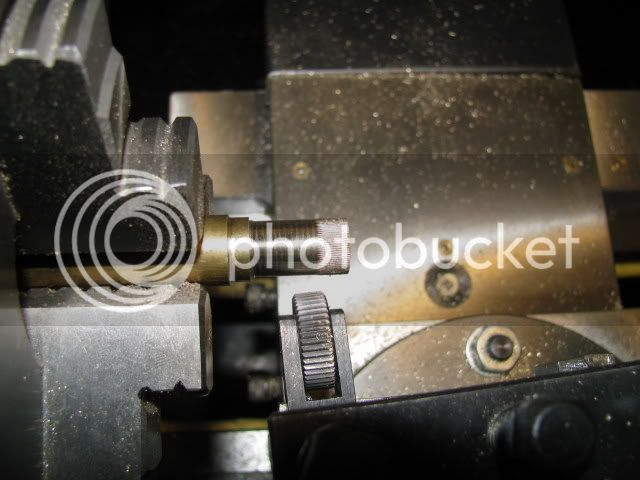
Drilling the valve seat.
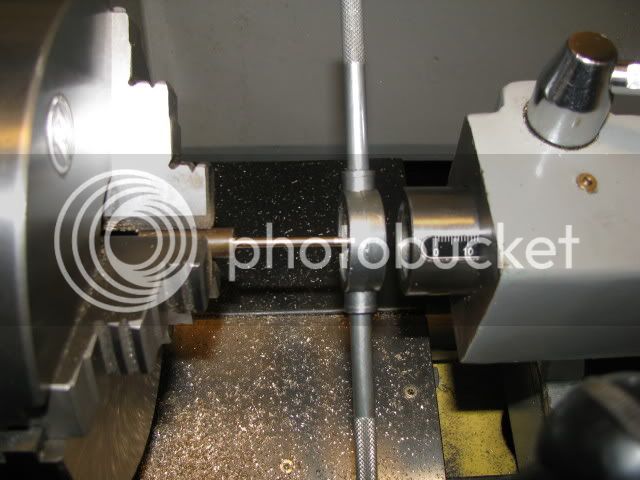
The valve seat
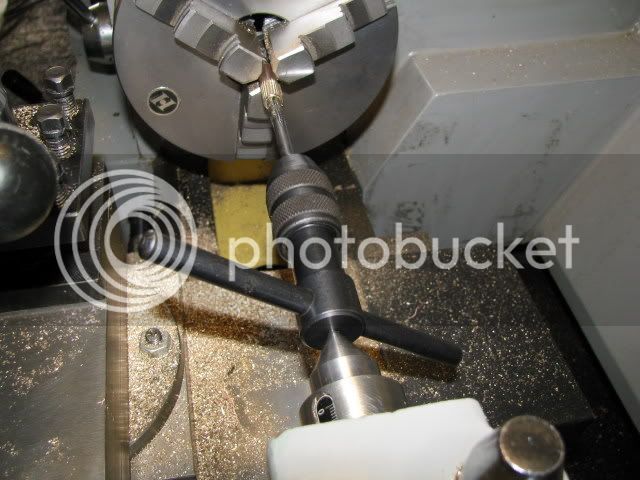
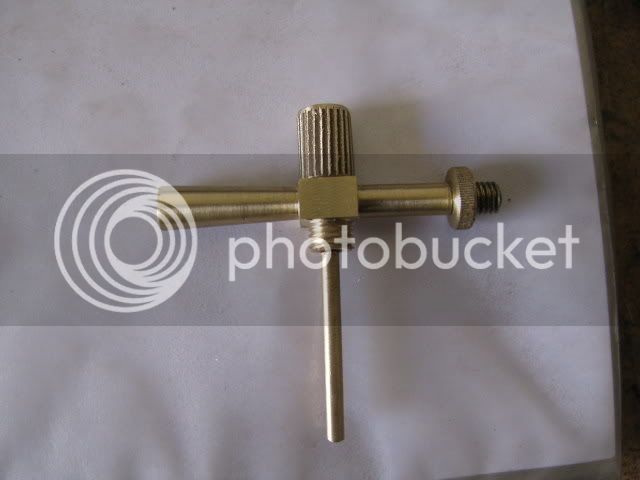
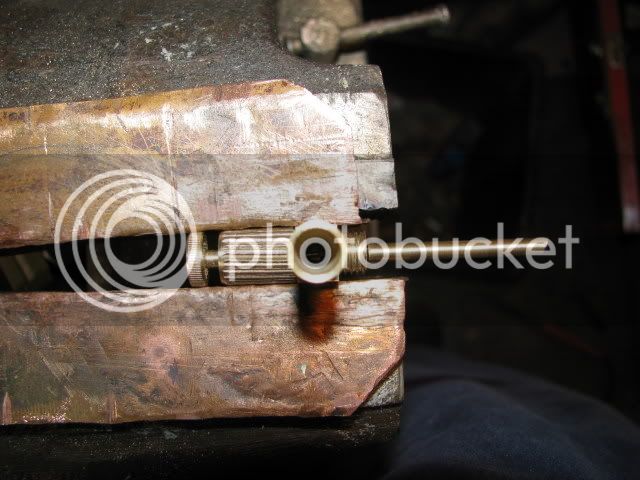
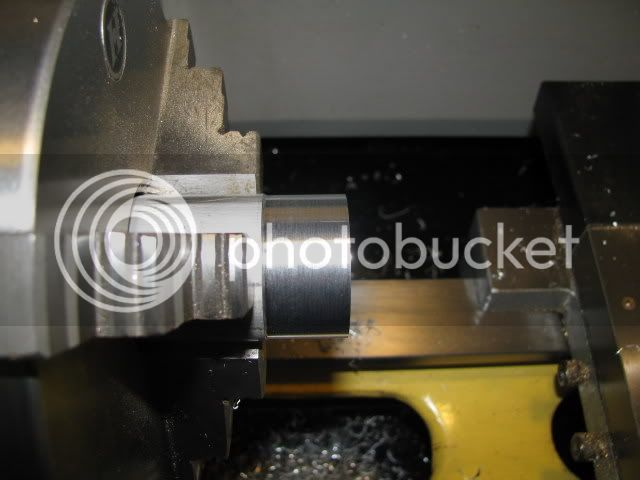
A poor mans collet for the fuel pipe
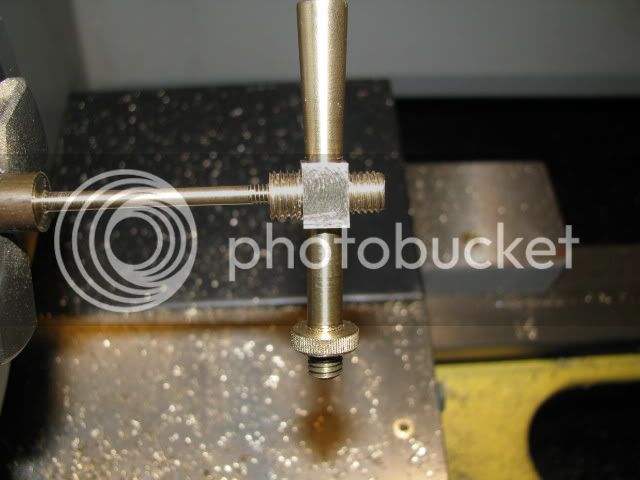
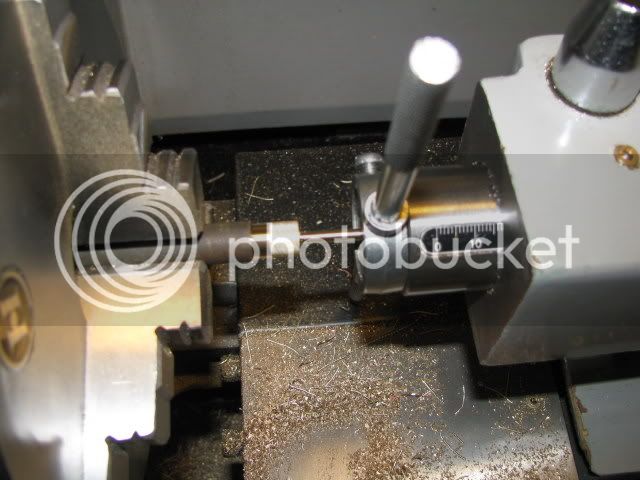
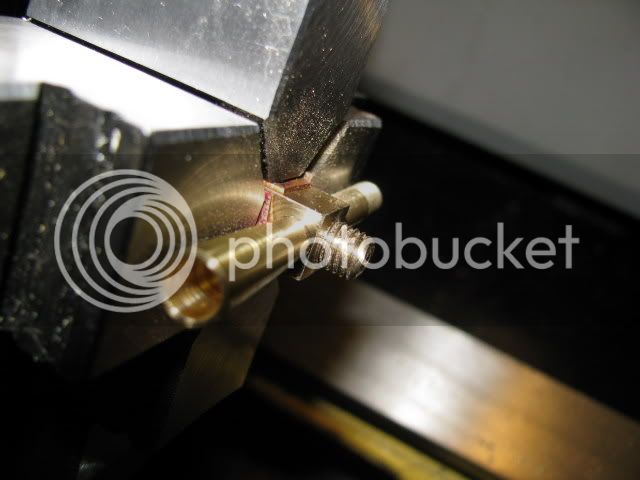
Disaster the fuel pipe snapped

- What did I learn ??? ??? The fuel pipe 1/16" hole must not extend up into the threaded section of the pipe.
I made the collet too long straining the pipe when I removed it
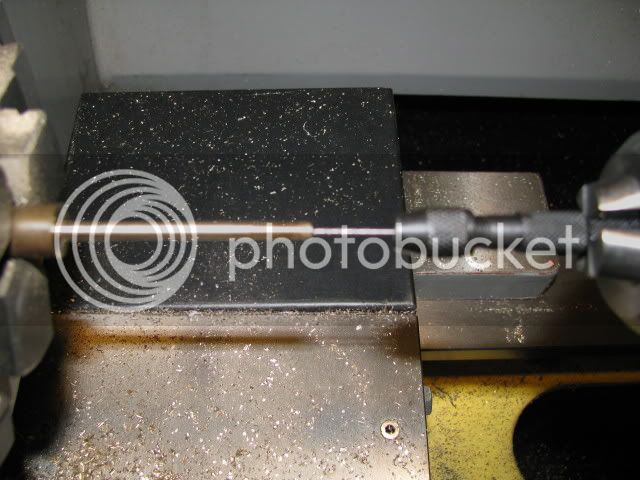
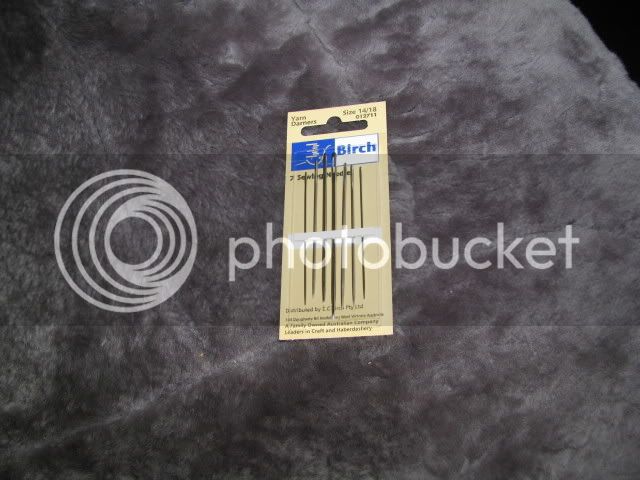
Gave up at this point and took me and my micrometer to the ladies sewing shop. Received some very odd looks when I miked the darning needles.
Ah well tomorrow is another day and another fuel pipe. :
:


![MeshMagic 3D Free 3D Modeling Software [Download]](https://m.media-amazon.com/images/I/B1U+p8ewjGS._SL500_.png)


![DreamPlan Home Design and Landscaping Software Free for Windows [PC Download]](https://m.media-amazon.com/images/I/51kvZH2dVLL._SL500_.jpg)