- Joined
- Jun 4, 2008
- Messages
- 3,291
- Reaction score
- 636
At Cabin Fever last year I bought the 5 issues of Digital Machinist where this clock's plans were published. Other than drawing some of the parts in CAD, I didn't do anything until this week, when I decided I needed another project. I spent the day making the first two parts, the main and secondary frames to which other parts are attached. I had bought a good-sized sheet of 3/8" 6061 aluminum, so cut out two pieces for the two parts.
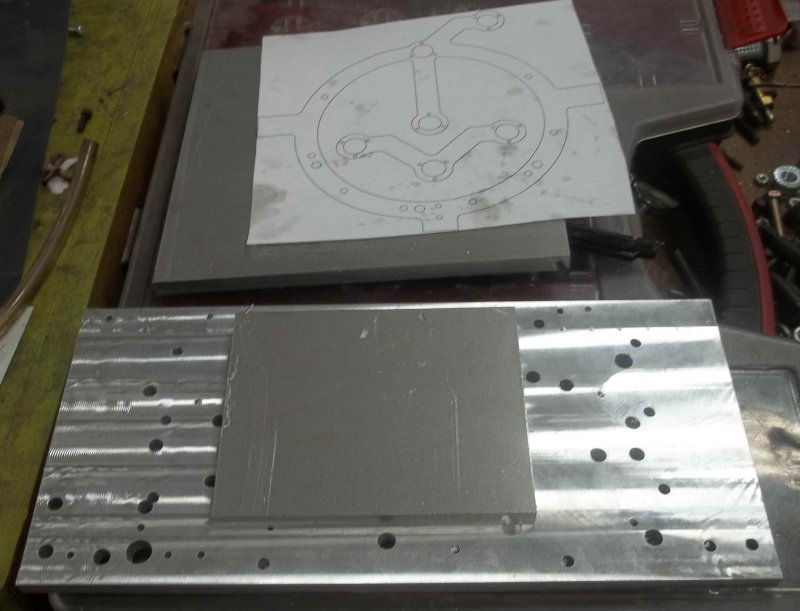
The stock for the main frame is 7.5" square and too big for the vise, so I planned to mount it on a well-used fixture plate. Most of the parts will be either milled CNC or turned manually. Here's a brief summary of how I'm doing the frame.
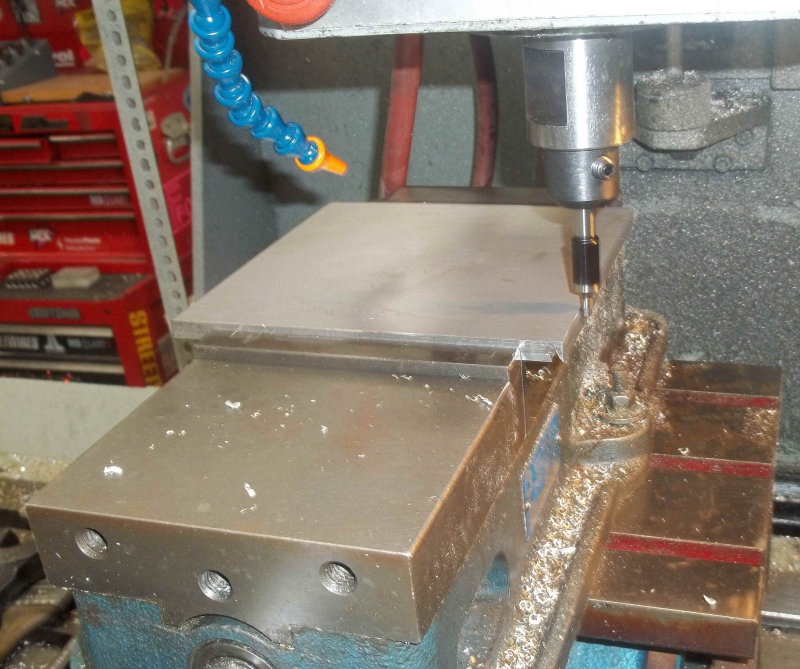
First find the center of the stock. Since this is a 1-off part, setting XY zero at the center is pretty easy.
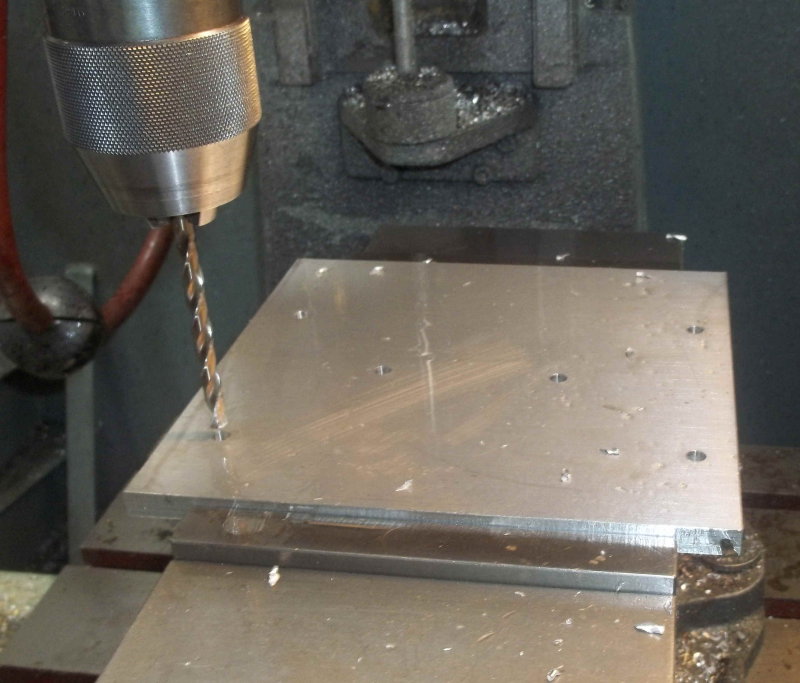
Next use the same CNC program to drill 1/4" holes in both the stock and the fixture plate.
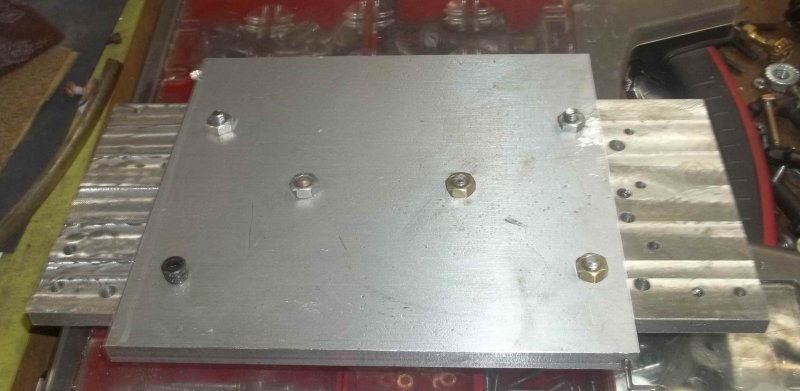
The stock securely mounted to the fixture plate ready for milling and drilling.
Using a gauge block as a height setter:
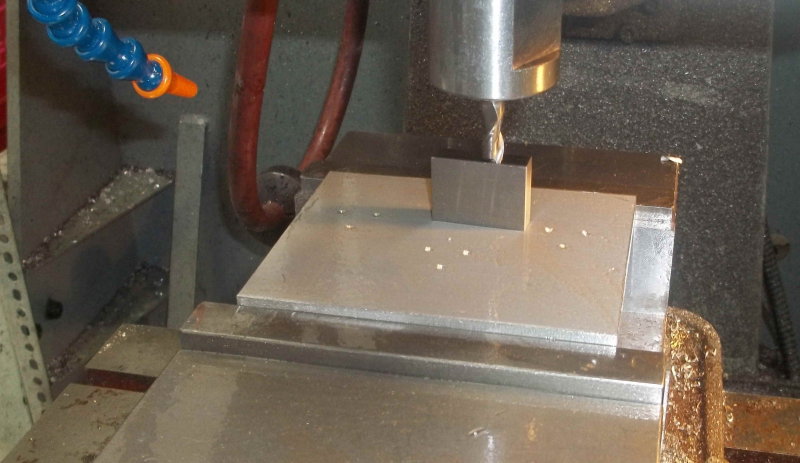
The subframe is milled from a 5x3" piece and needs no fixture. The CAM program provides 3 small "tabs" to keep the part from falling through at the end. These will be broken and the stubs filed off.
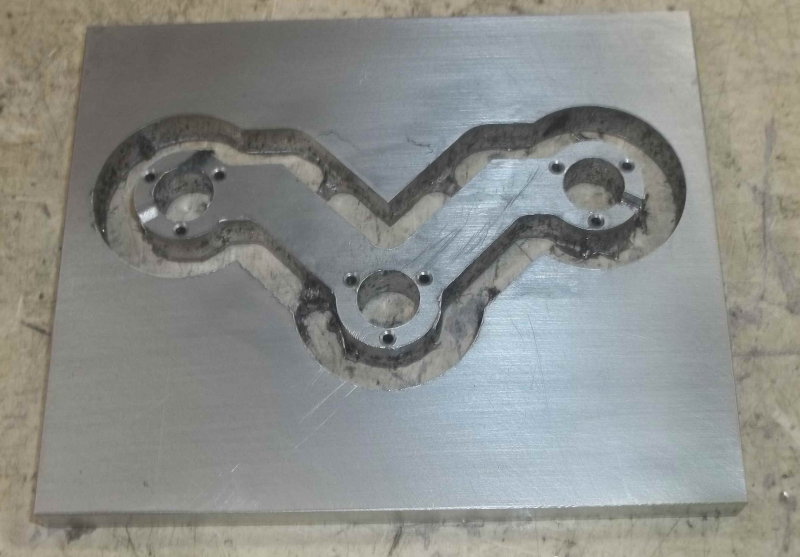
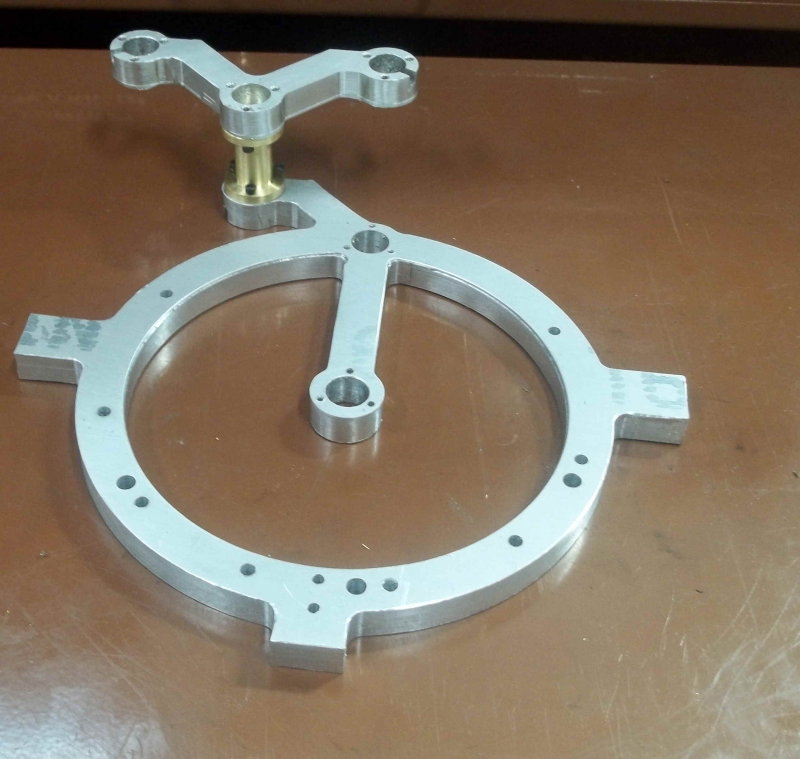
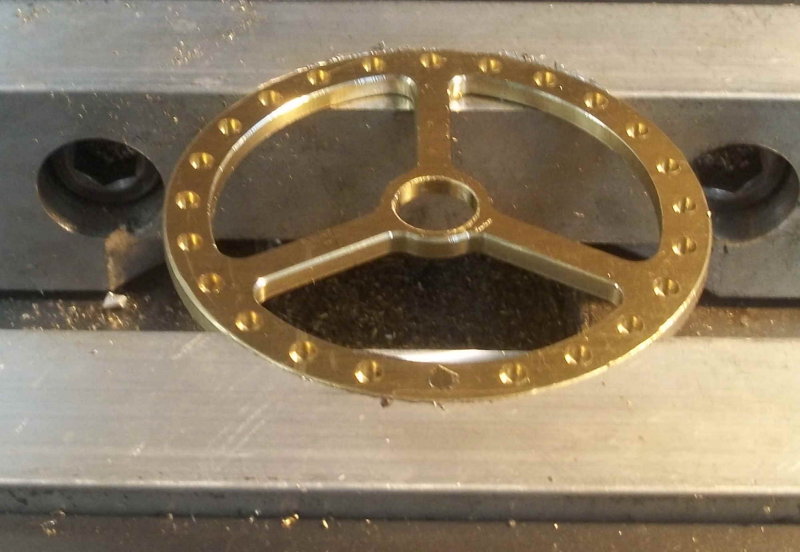
And the two frames at the end of the day's work:
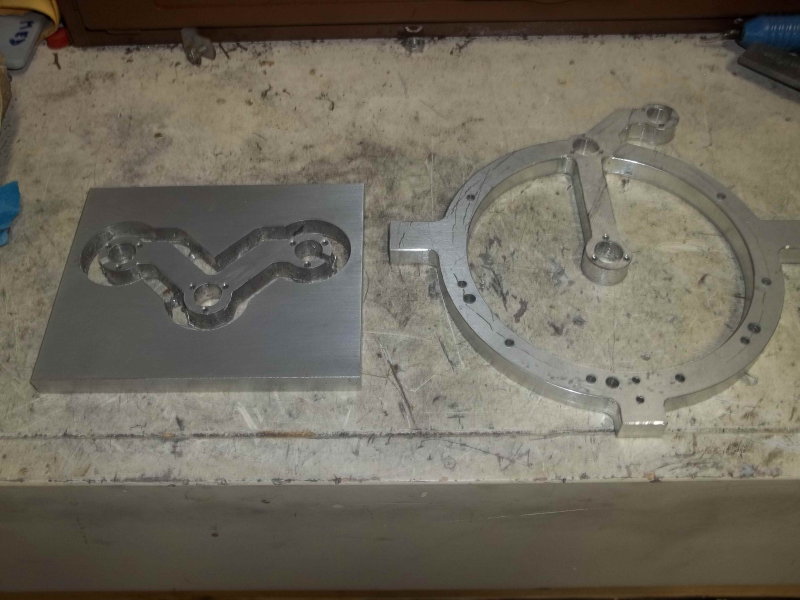
I still need to tap quite a few holes. I also modified the design very slightly. The holes where the shafts and bearings are mounted are drawn as .469" diameter. I plan to use hex-head 2-56 screws which have 1/8" heads. These would interfere slightly with the assembly (Weston used socket heads), so I reduced the bore diameter to .460".

The stock for the main frame is 7.5" square and too big for the vise, so I planned to mount it on a well-used fixture plate. Most of the parts will be either milled CNC or turned manually. Here's a brief summary of how I'm doing the frame.
First find the center of the stock. Since this is a 1-off part, setting XY zero at the center is pretty easy.

Next use the same CNC program to drill 1/4" holes in both the stock and the fixture plate.

The stock securely mounted to the fixture plate ready for milling and drilling.

Using a gauge block as a height setter:

The subframe is milled from a 5x3" piece and needs no fixture. The CAM program provides 3 small "tabs" to keep the part from falling through at the end. These will be broken and the stubs filed off.

And the two frames at the end of the day's work:

I still need to tap quite a few holes. I also modified the design very slightly. The holes where the shafts and bearings are mounted are drawn as .469" diameter. I plan to use hex-head 2-56 screws which have 1/8" heads. These would interfere slightly with the assembly (Weston used socket heads), so I reduced the bore diameter to .460".




![MeshMagic 3D Free 3D Modeling Software [Download]](https://m.media-amazon.com/images/I/B1U+p8ewjGS._SL500_.png)


