V-TWIN---MAYBE V-4

Home Model Engine Machinist Forum

Help Support Home Model Engine Machinist Forum:

This site may earn a commission from merchant affiliate links, including eBay, Amazon, and others.
Engine is looking really good, Brian. I am always impressed with your casual skill in machining what you designed. Probably would have taken me three times as long and several "do-overs" on the way.
 
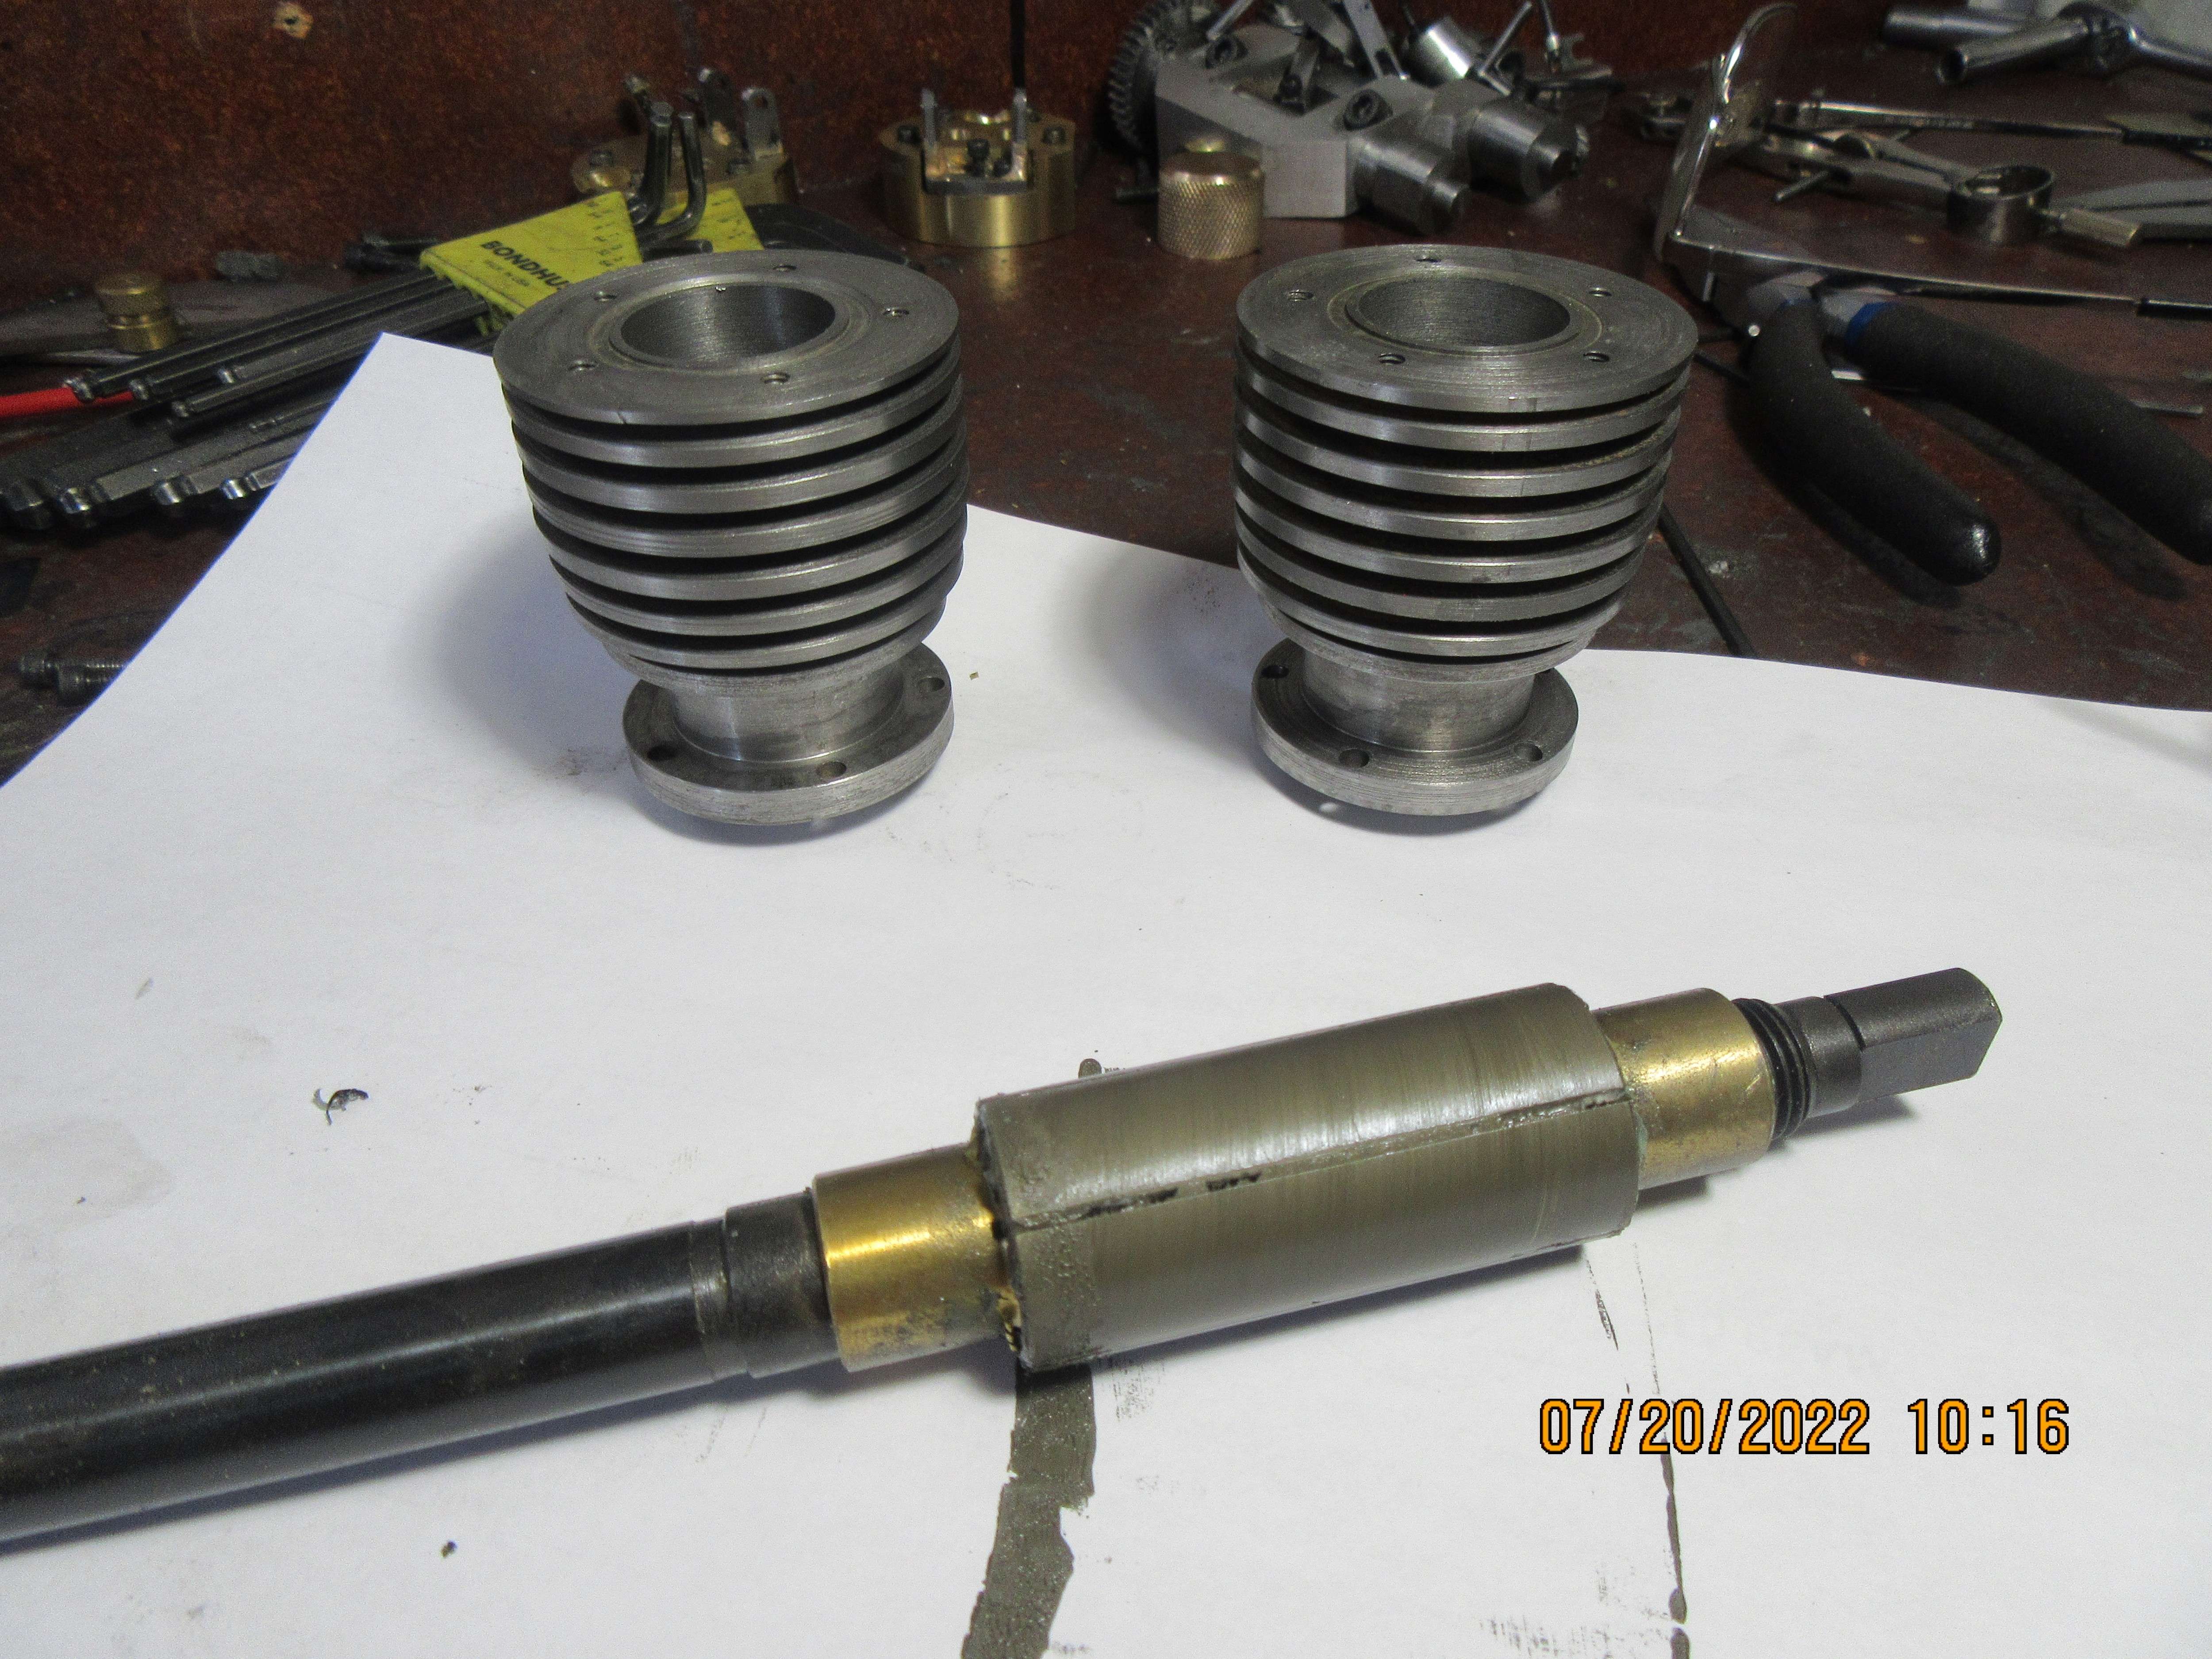
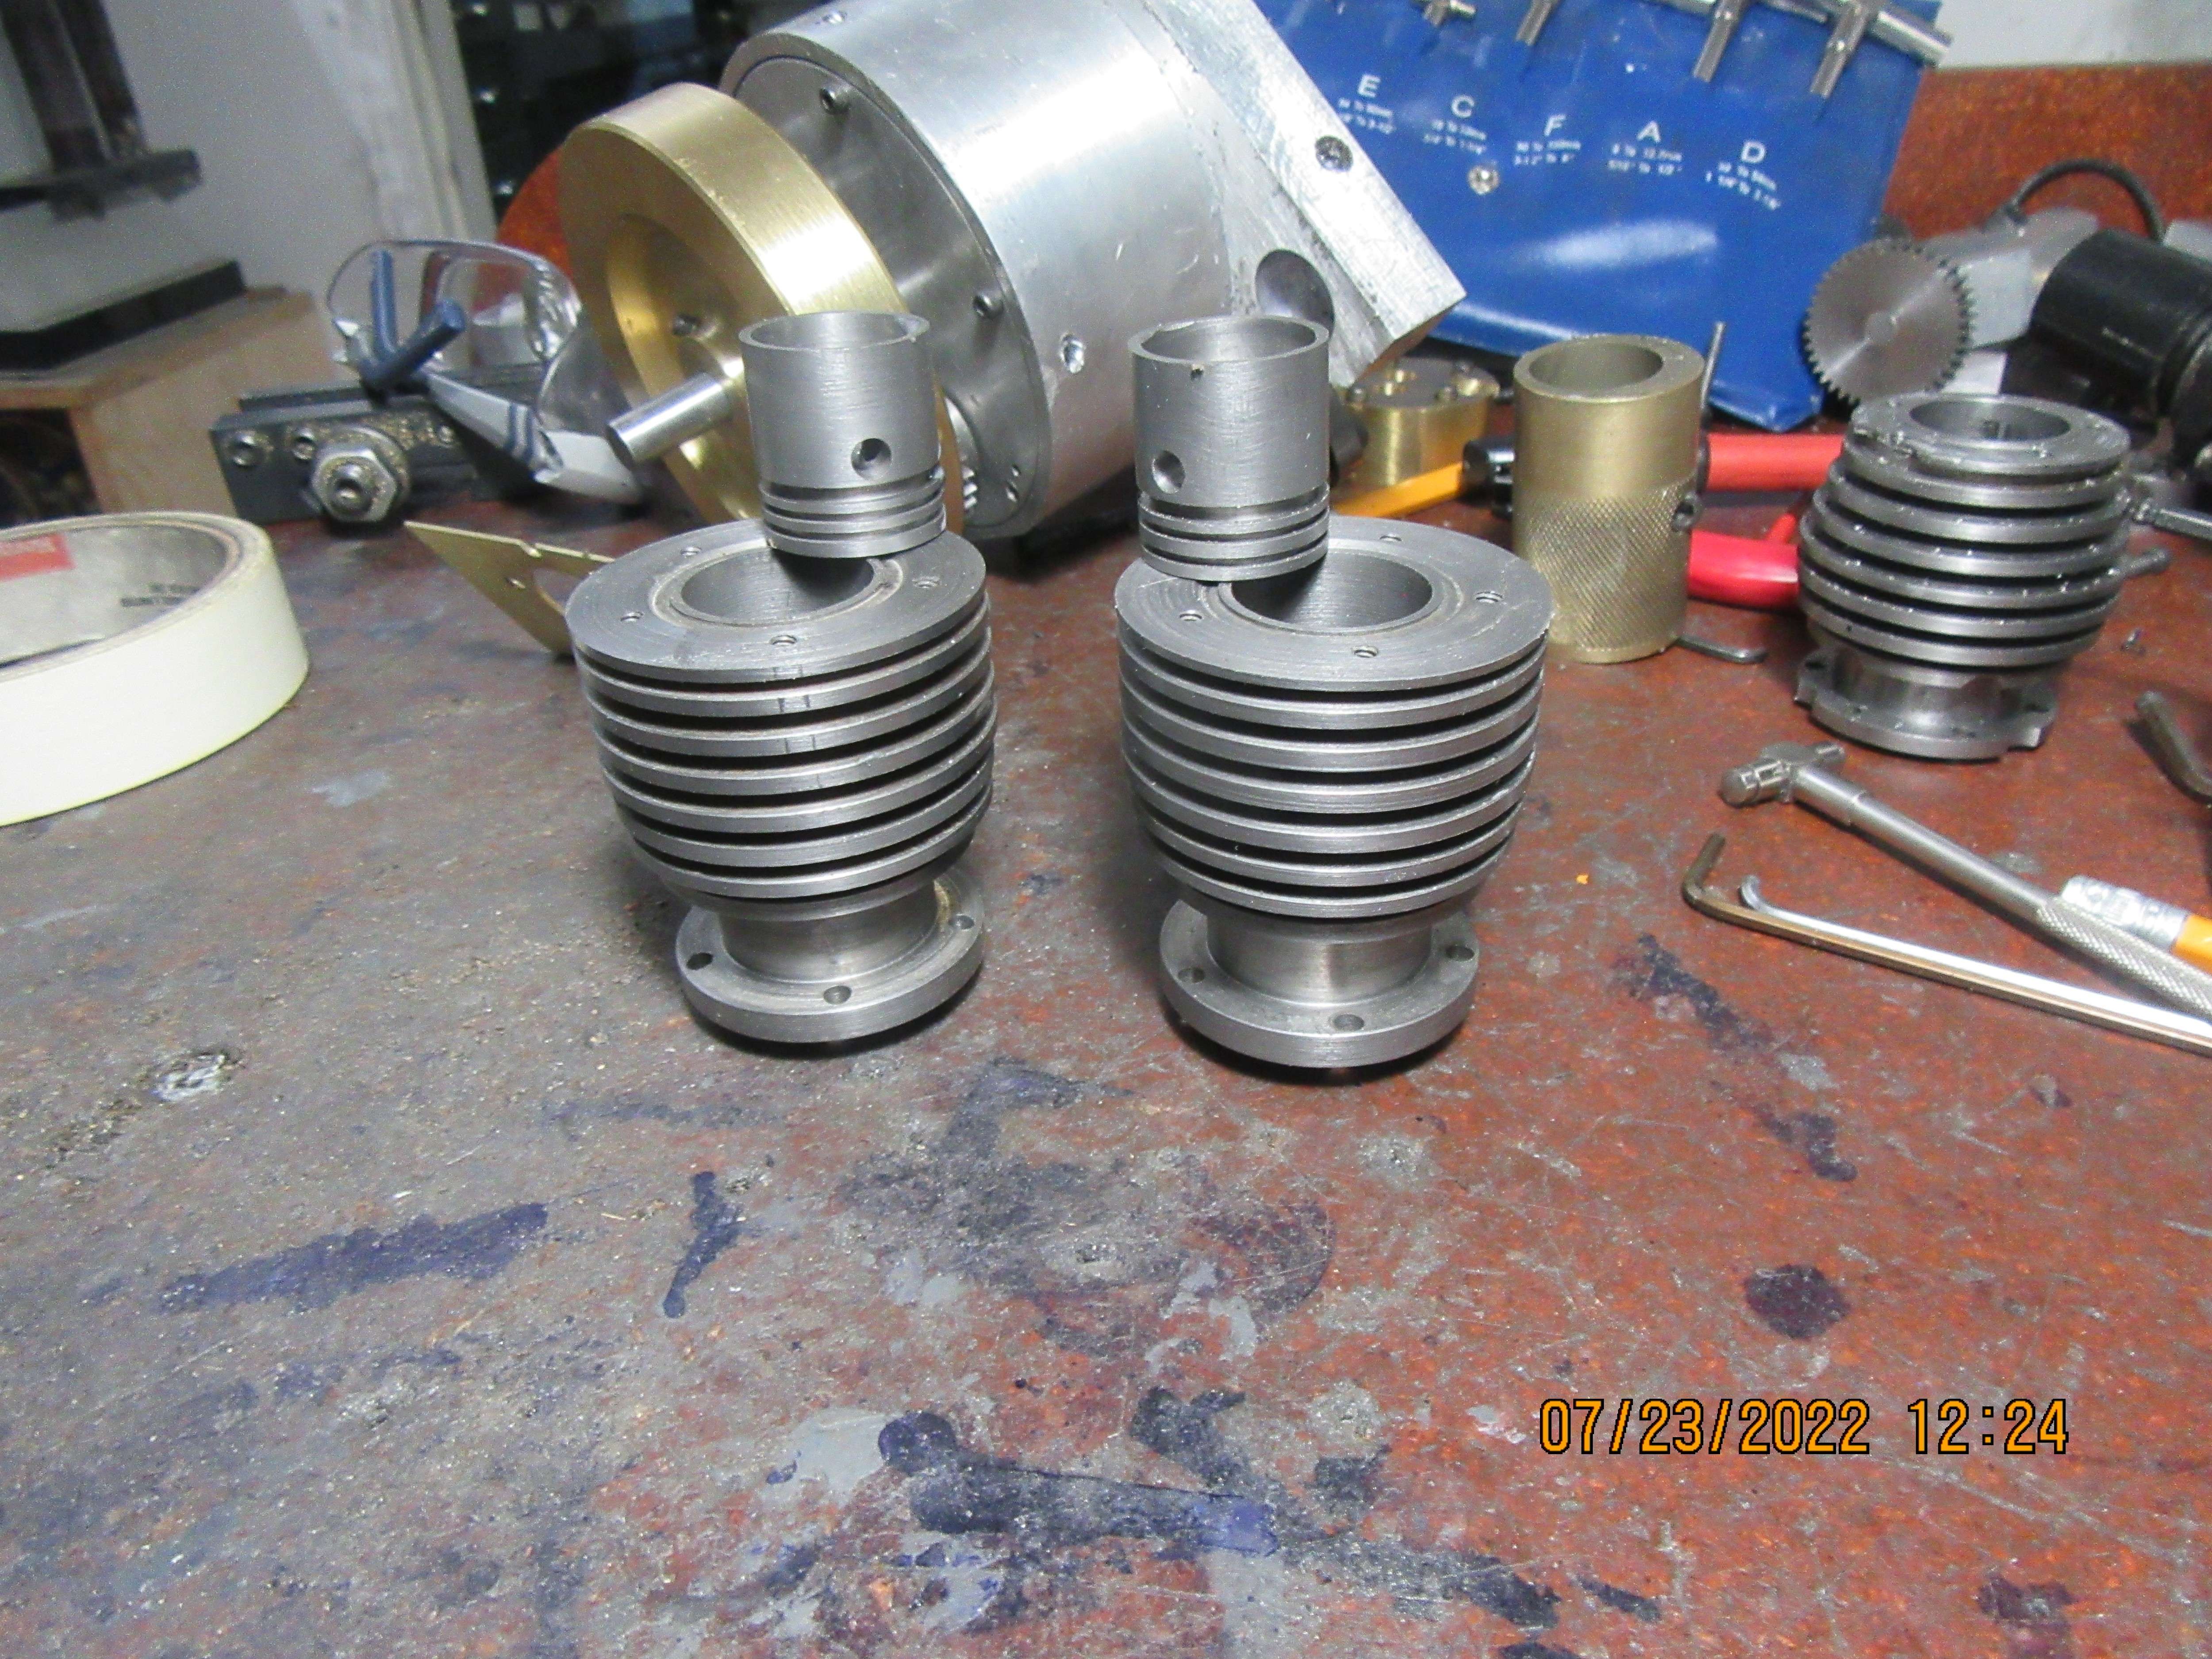
Both cylinders have been removed from the engine and lapped. That is an acro-lap laying in the foreground. It was so difficult to get the bolts out that held the cylinders to the crankcase that I machined 0.200" off the diameter of the bottom cooling fin to give me better wrench access.
ZgU1ew.jpg
 
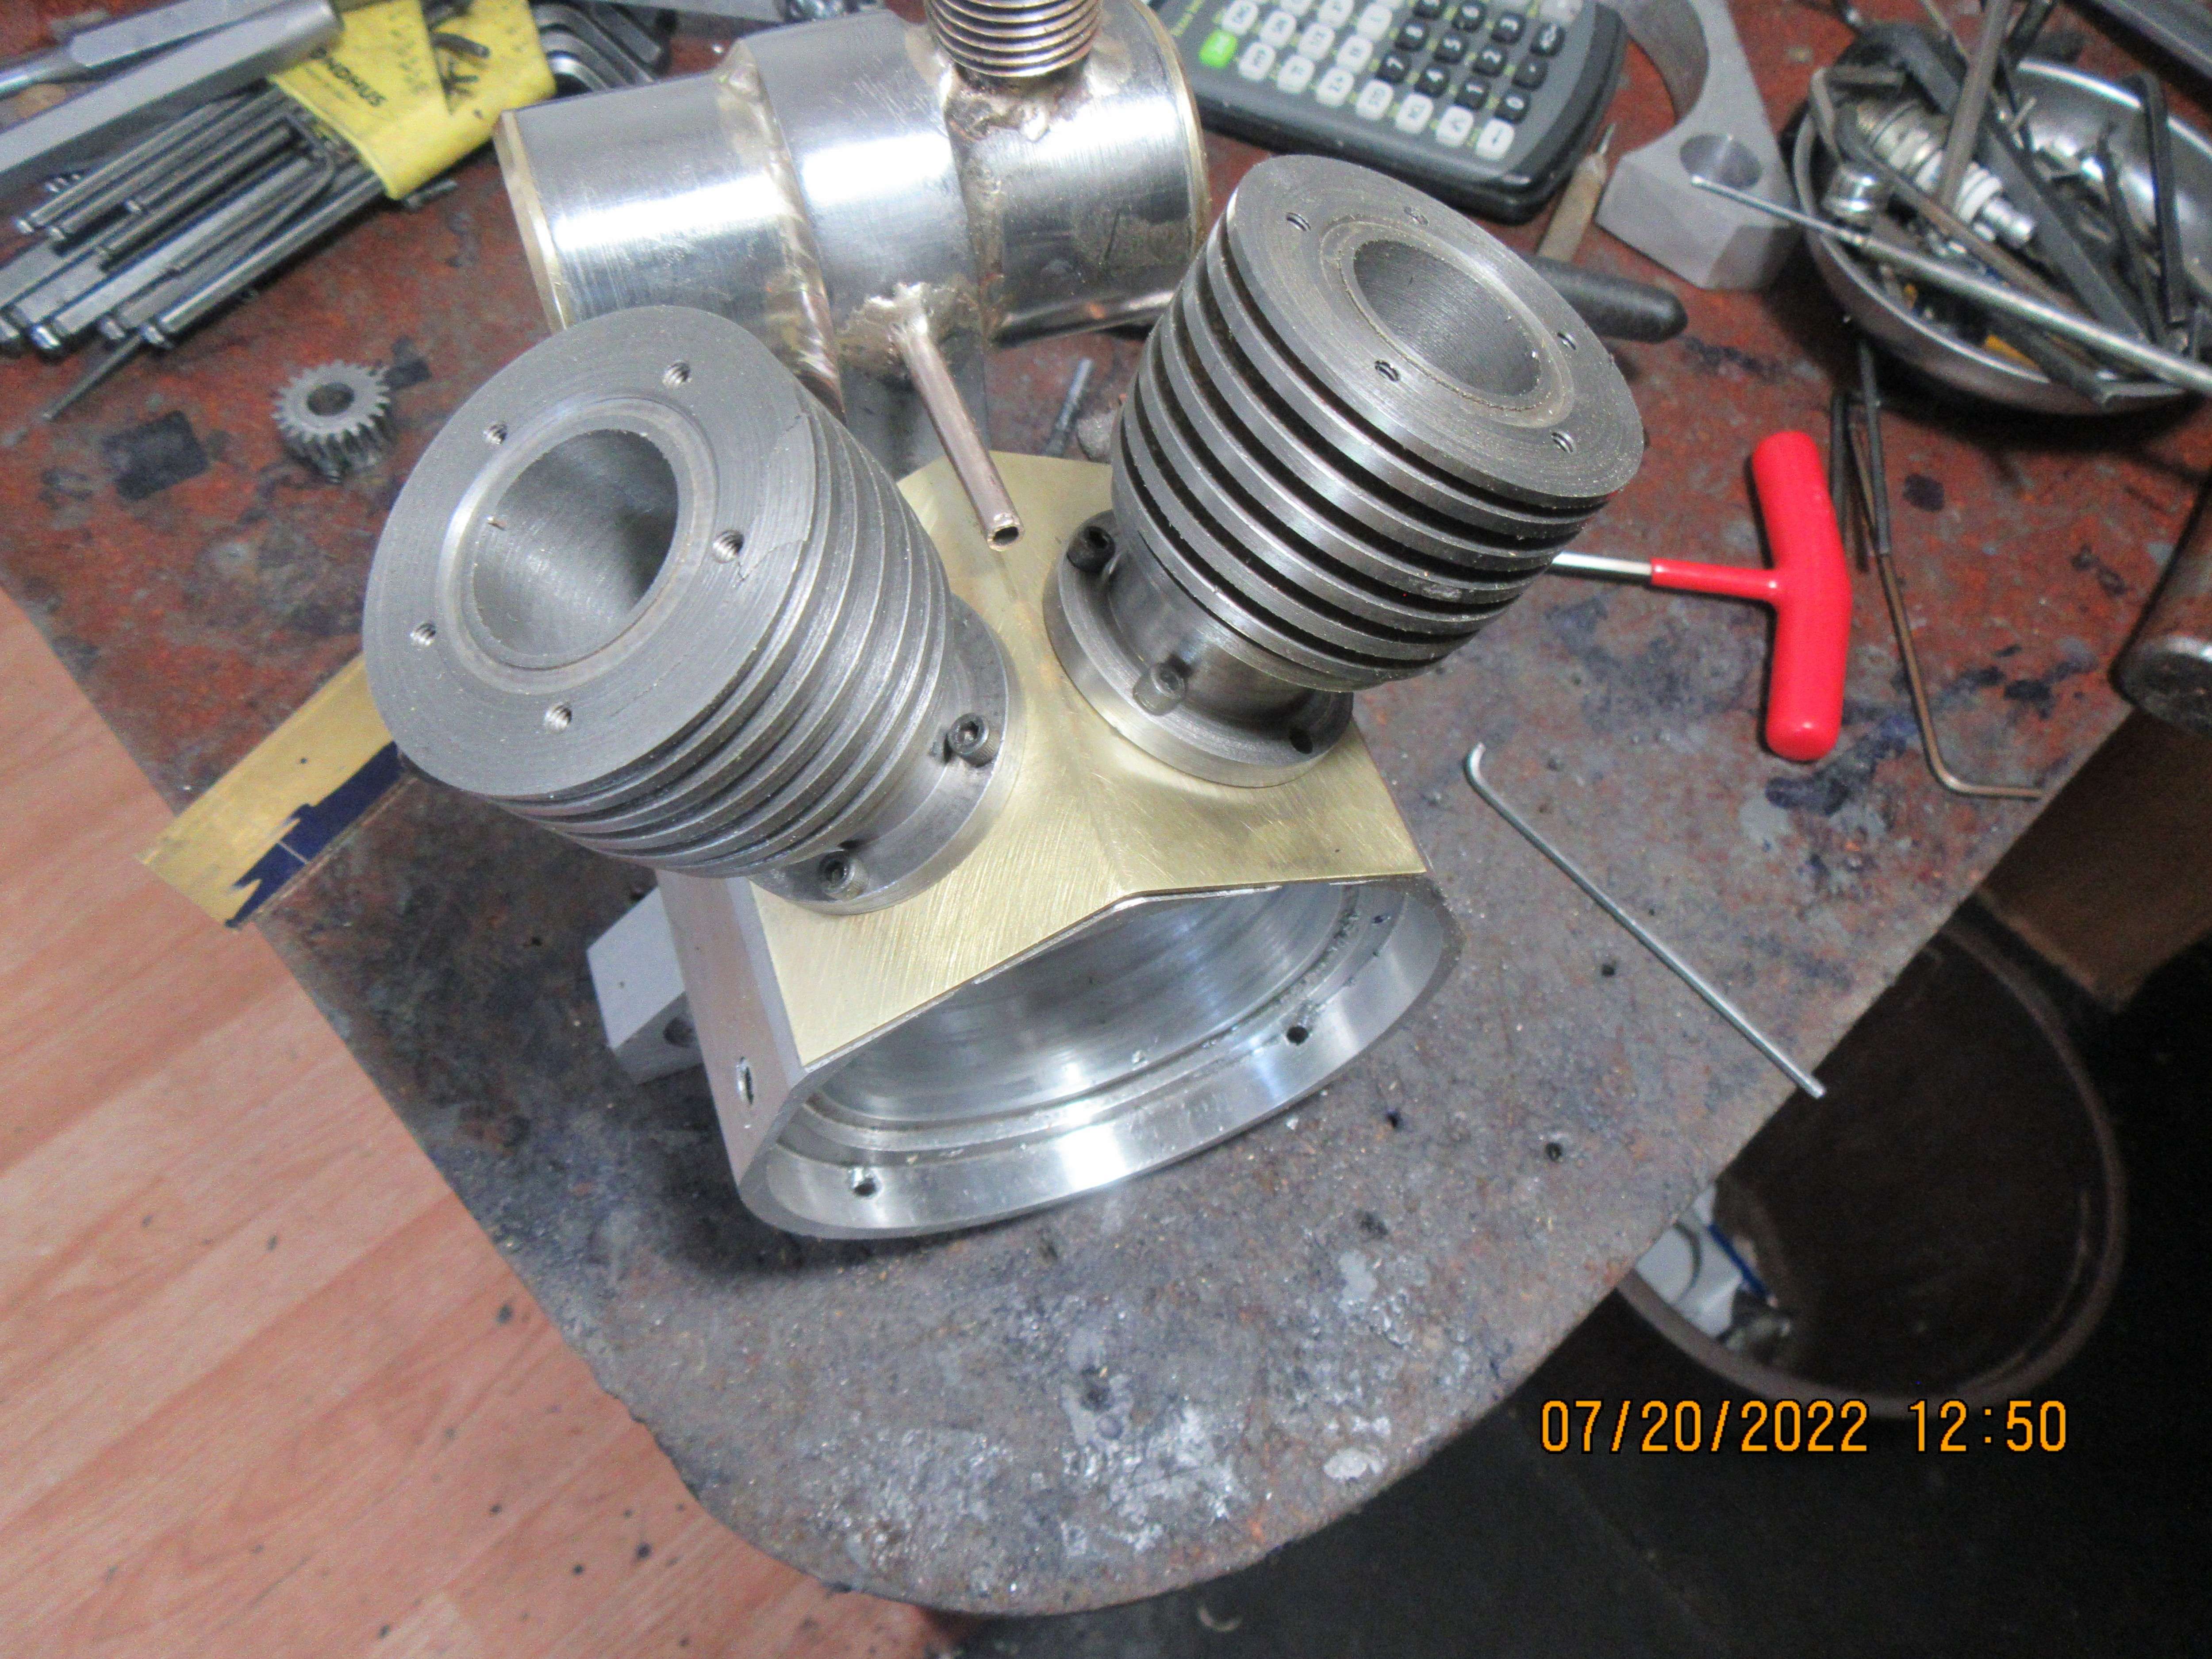
This is the "Big cover Up". When I machined the crankcase, I got a bit too enthusiastic when milling the flat spots that the cylinder sets on, and as a result had some very visible nasties machined down past the counterbore in the sides of the crankcase, right up on top where they would show. Didn't affect how the engine would run, but looked awful. There is a lot of work in that crankcase, so rather than build another one, I scored a piece of 0.040" thick brass, and with a bit of creative cutting and carving, it fits between the base of the cylinders and the top of the crankcase, and hides the uglies.
eF6u0r.jpg
 
Brian,

Just another reason why I like your projects.

Your original designs mean that they can be whatever you want them to be and you don't have to meet anyone else's concept of "correct."

I also admire your long experience as a designer and builder which helps you keep going despite some setbacks.

On this one, a little more brass only adds to the appearance: I like it.

--ShopShoe
 
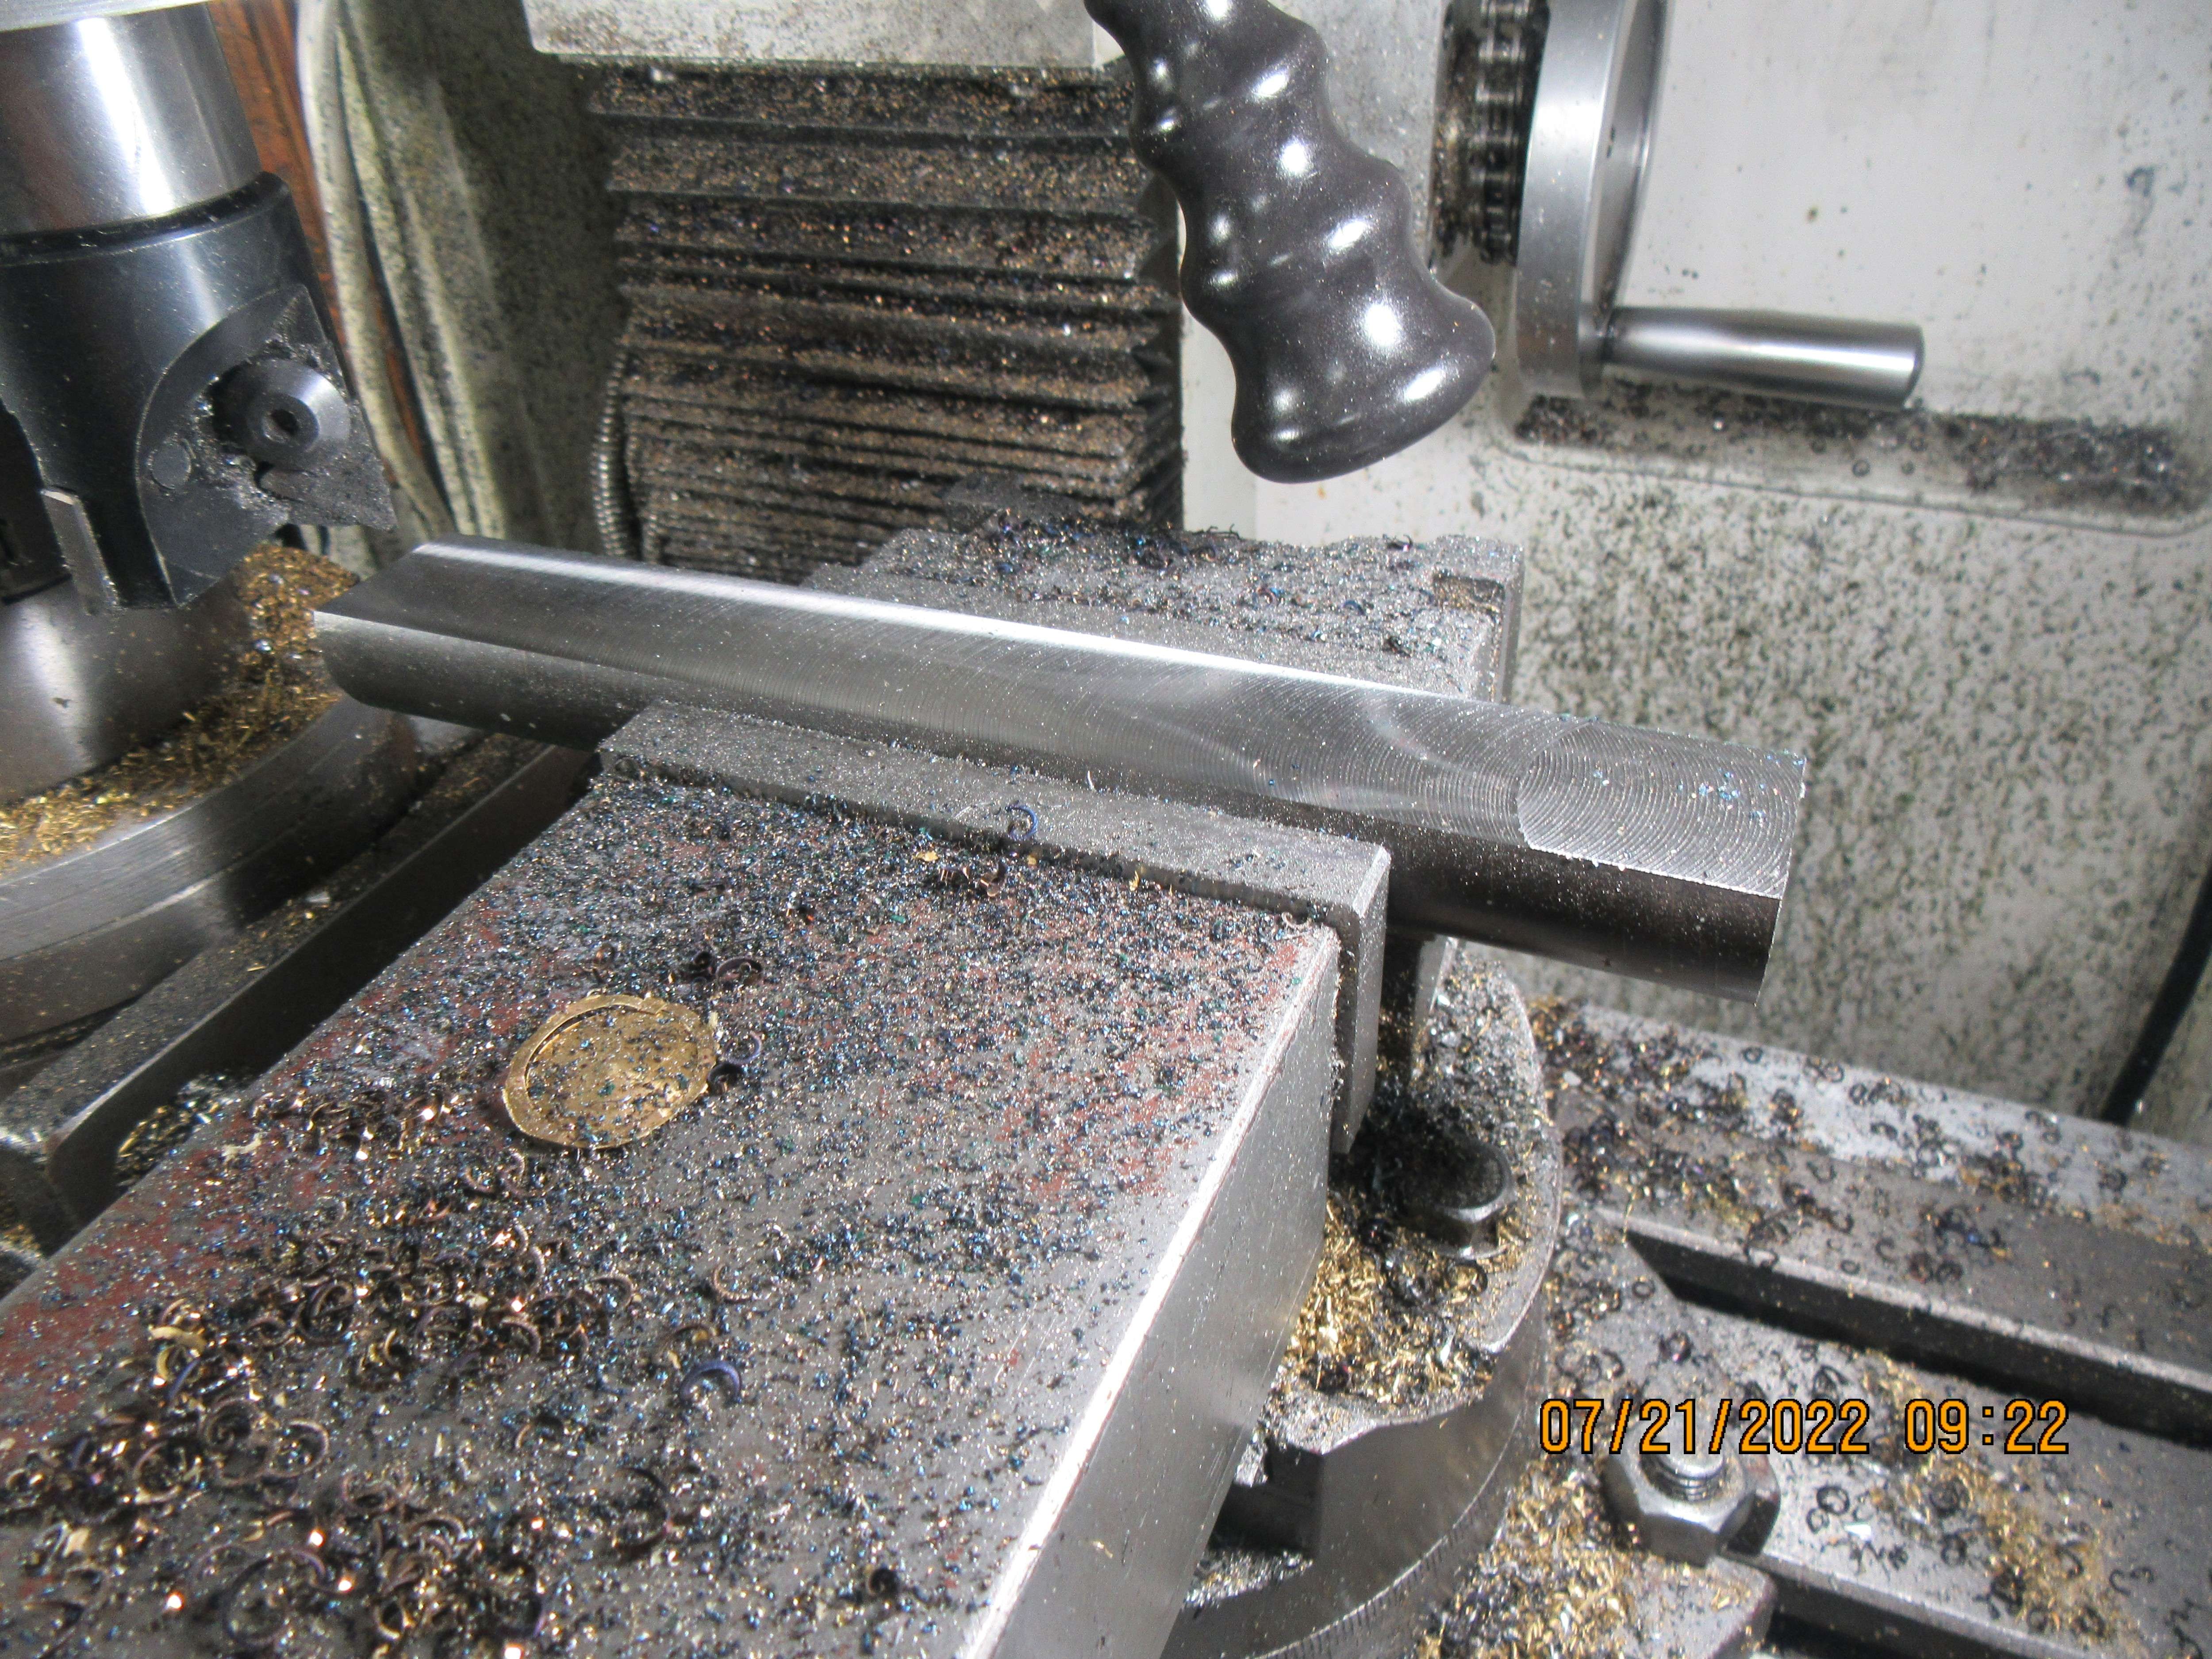
Thanks Shopshoe.--Today I'm building a crankshaft. Stress proof 1144 is only available in rounds, so the first operation is to slab off both sides so that I have a flatbar to start my work on. This first side can be done on the mill or on the bandsaw. I prefer to do it on the mill, so I have a "witness side" to run along the bandsaw fence. It can also be cut on both sides with the bandsaw, but I prefer this method.
LtbZvz.jpg
 
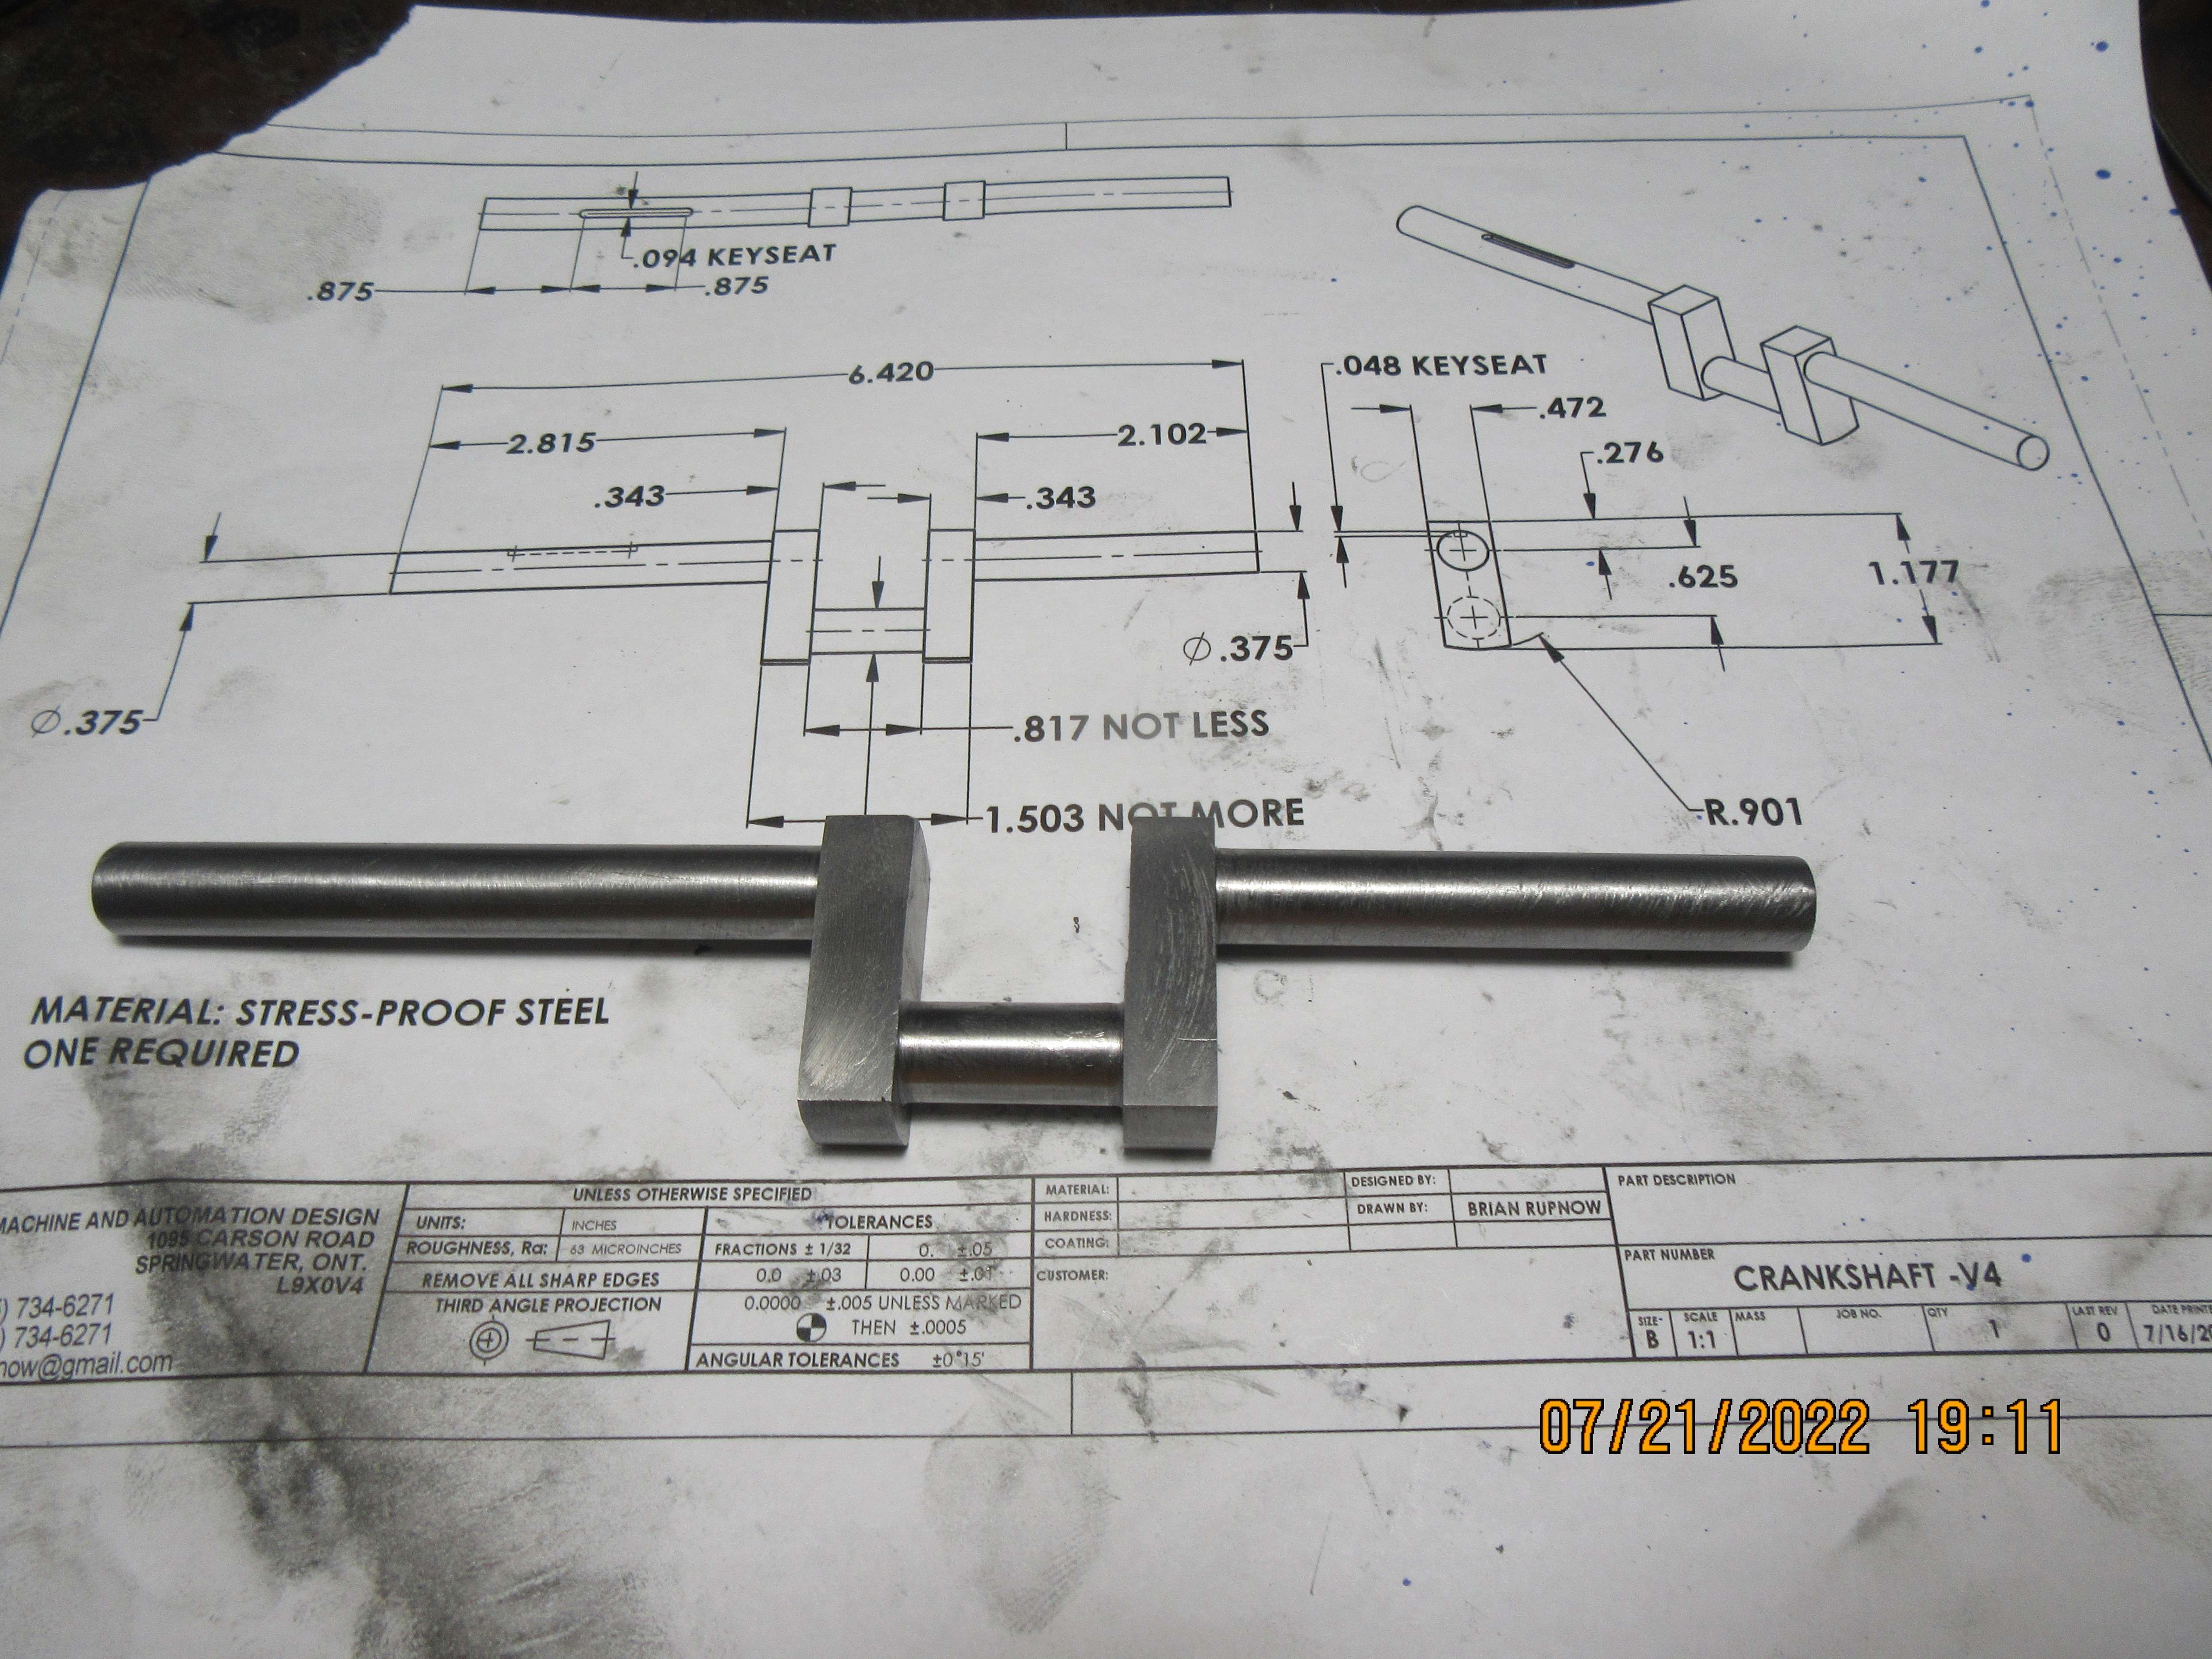
And after what seemed to be an awfully long day, I have a finished one piece crankshaft from 1144 stress proof steel. The day wasn't really THAT long--(I was out and about doing things this morning and had a visiting guest this afternoon.) Crankshaft was turned between centers, has no really measurable run-out. I wish that I was a good enough machinist to turn to a bearing fit. After you've ruined a couple of crankshafts by ending up undersize, I leave my crankshafts about .0015" oversize, then spend what seems like ages with sandpaper strips bringing them down to a perfect bearing fit.
7jYxoE.jpg
 
I am sure others learn a bucket load from your simple comments. I certainly do!
Thanks Brian. Reading your posts has a therapeutic effect on me, knowing there is a "Good man, with Good machines, making Good stuff!" (I like Good!).
K2
 
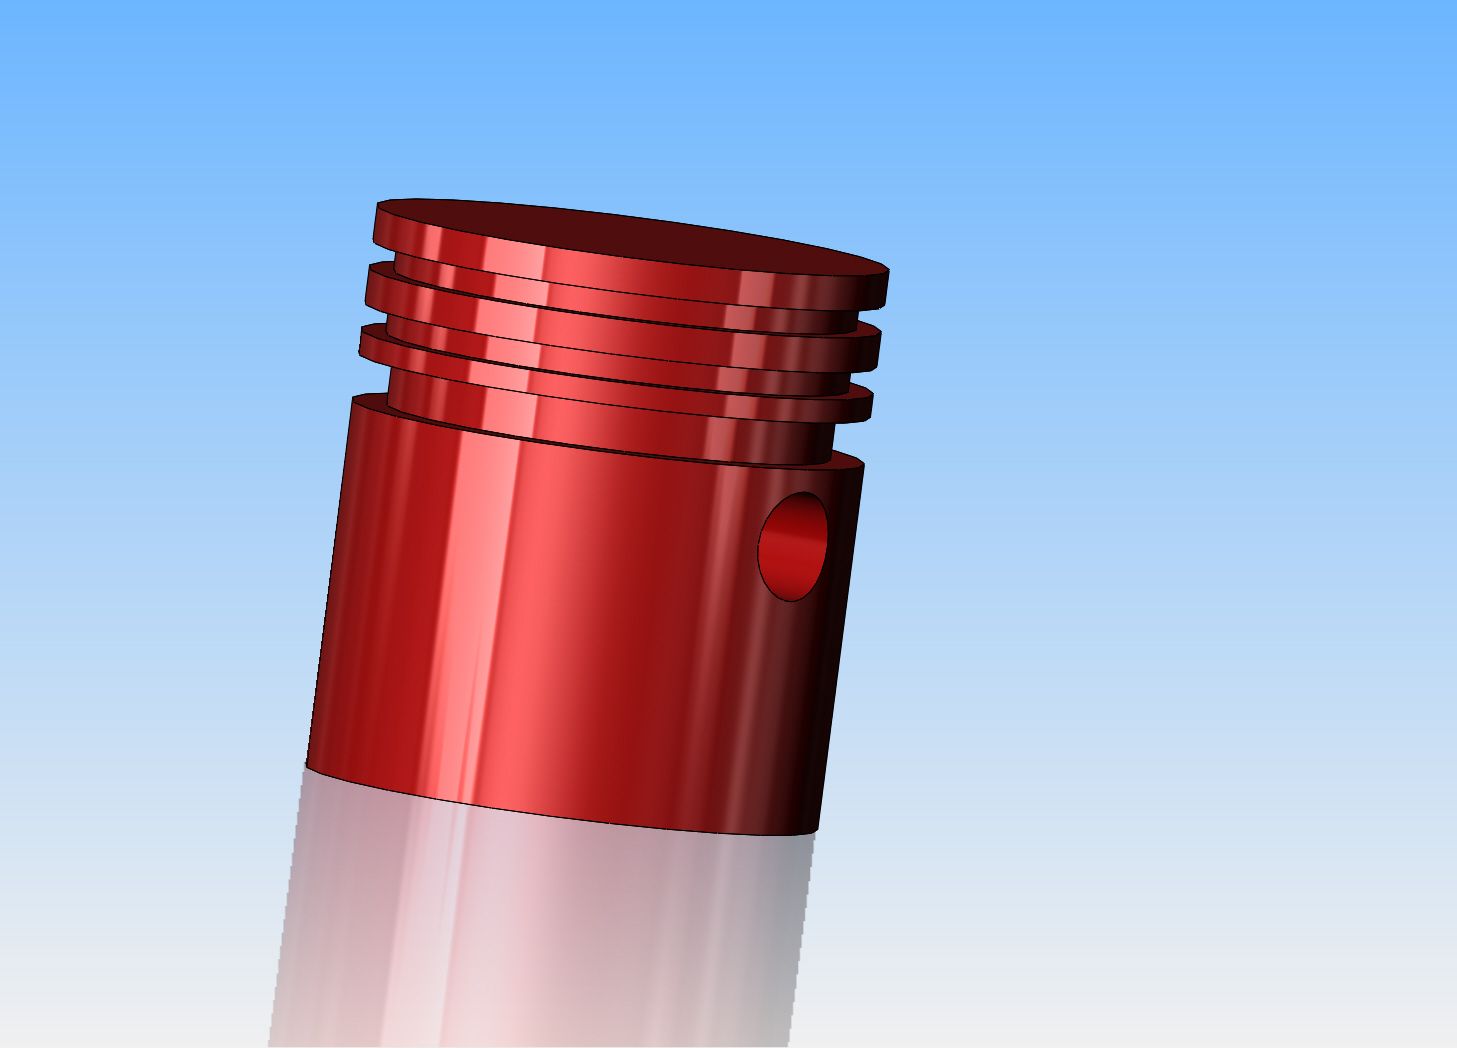
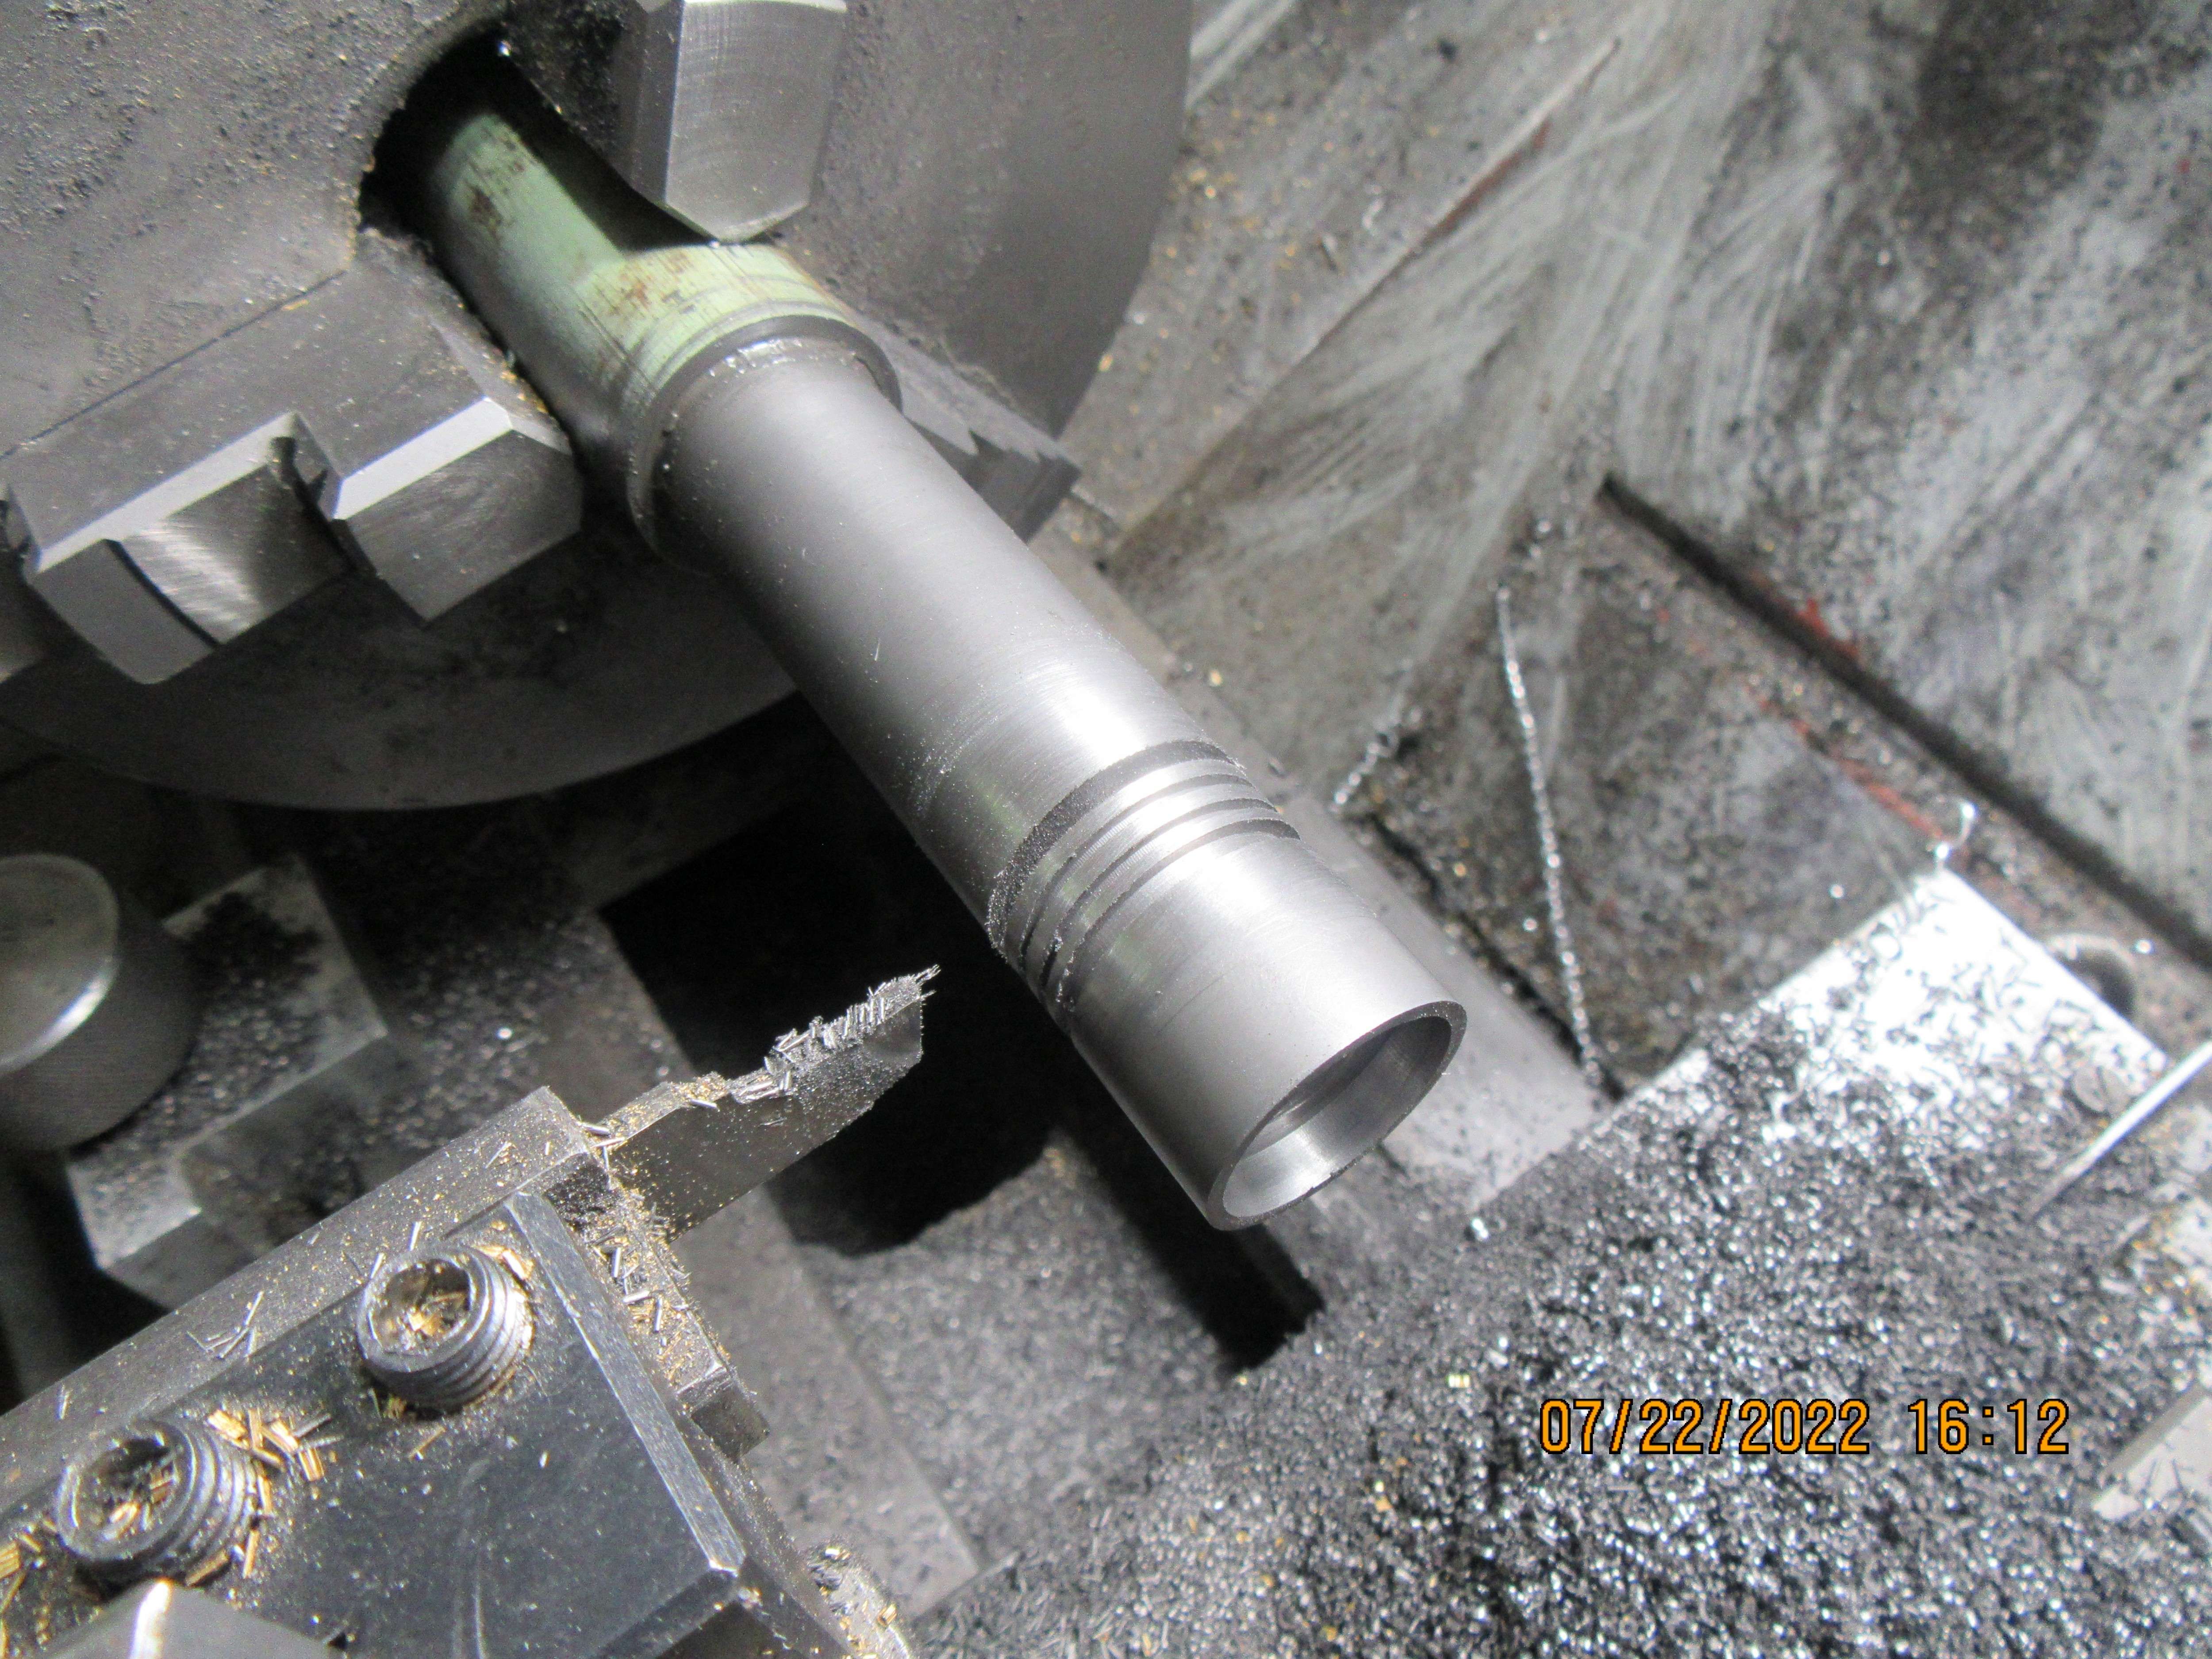
Today is going to be "piston day", and it is going to be a piston with a difference. Whenever I used viton rings (one per piston) I always got immediate compression and my engines started with no muss, no fuss. If instead, I made and used cast iron rings, the problem always seemed to be to get enough initial sealing for the engine to start. Once the engine started, it only took a short time for the rings to "wear in" and provide a good strong compression seal. After giving this some thought, I decided "What if we used both types of rings?--The viton ring would give great initial sealing to get the engine started. Once the engine started and ran for half an hour, the two cast iron rings would "wear in" and provide a good compression seal. After that, the viton seal ring would become redundant, but could stay on the piston, doing no harm. Pistons are relatively easy to make, and I think my idea has merit. So, on the piston, as I have modelled it, the top two rings would be cast iron heat treated conventional rings, and the ring groove just above the wrist pin will be a 1/16" cross section Viton o-ring.
kQzIye.jpg
 
--Viton rings are heat proof, work fine as piston rings, and always seal 100% right from as soon as they are installed. The nominal ring cross section is 1/16" and the o.d of the ring should match the bore of the cylinder. The groove in the piston is 0.094" wide and 0.059" deep, and you only need one ring per piston. Yes, I do make my own cast iron rings, have posted extensively about it on this forum, and bought a heat treat oven to "set" the rings over an expanding fixture. I have indifferent success with my cast iron rings. Sometimes they seal great, other times not so much.---Brian
 
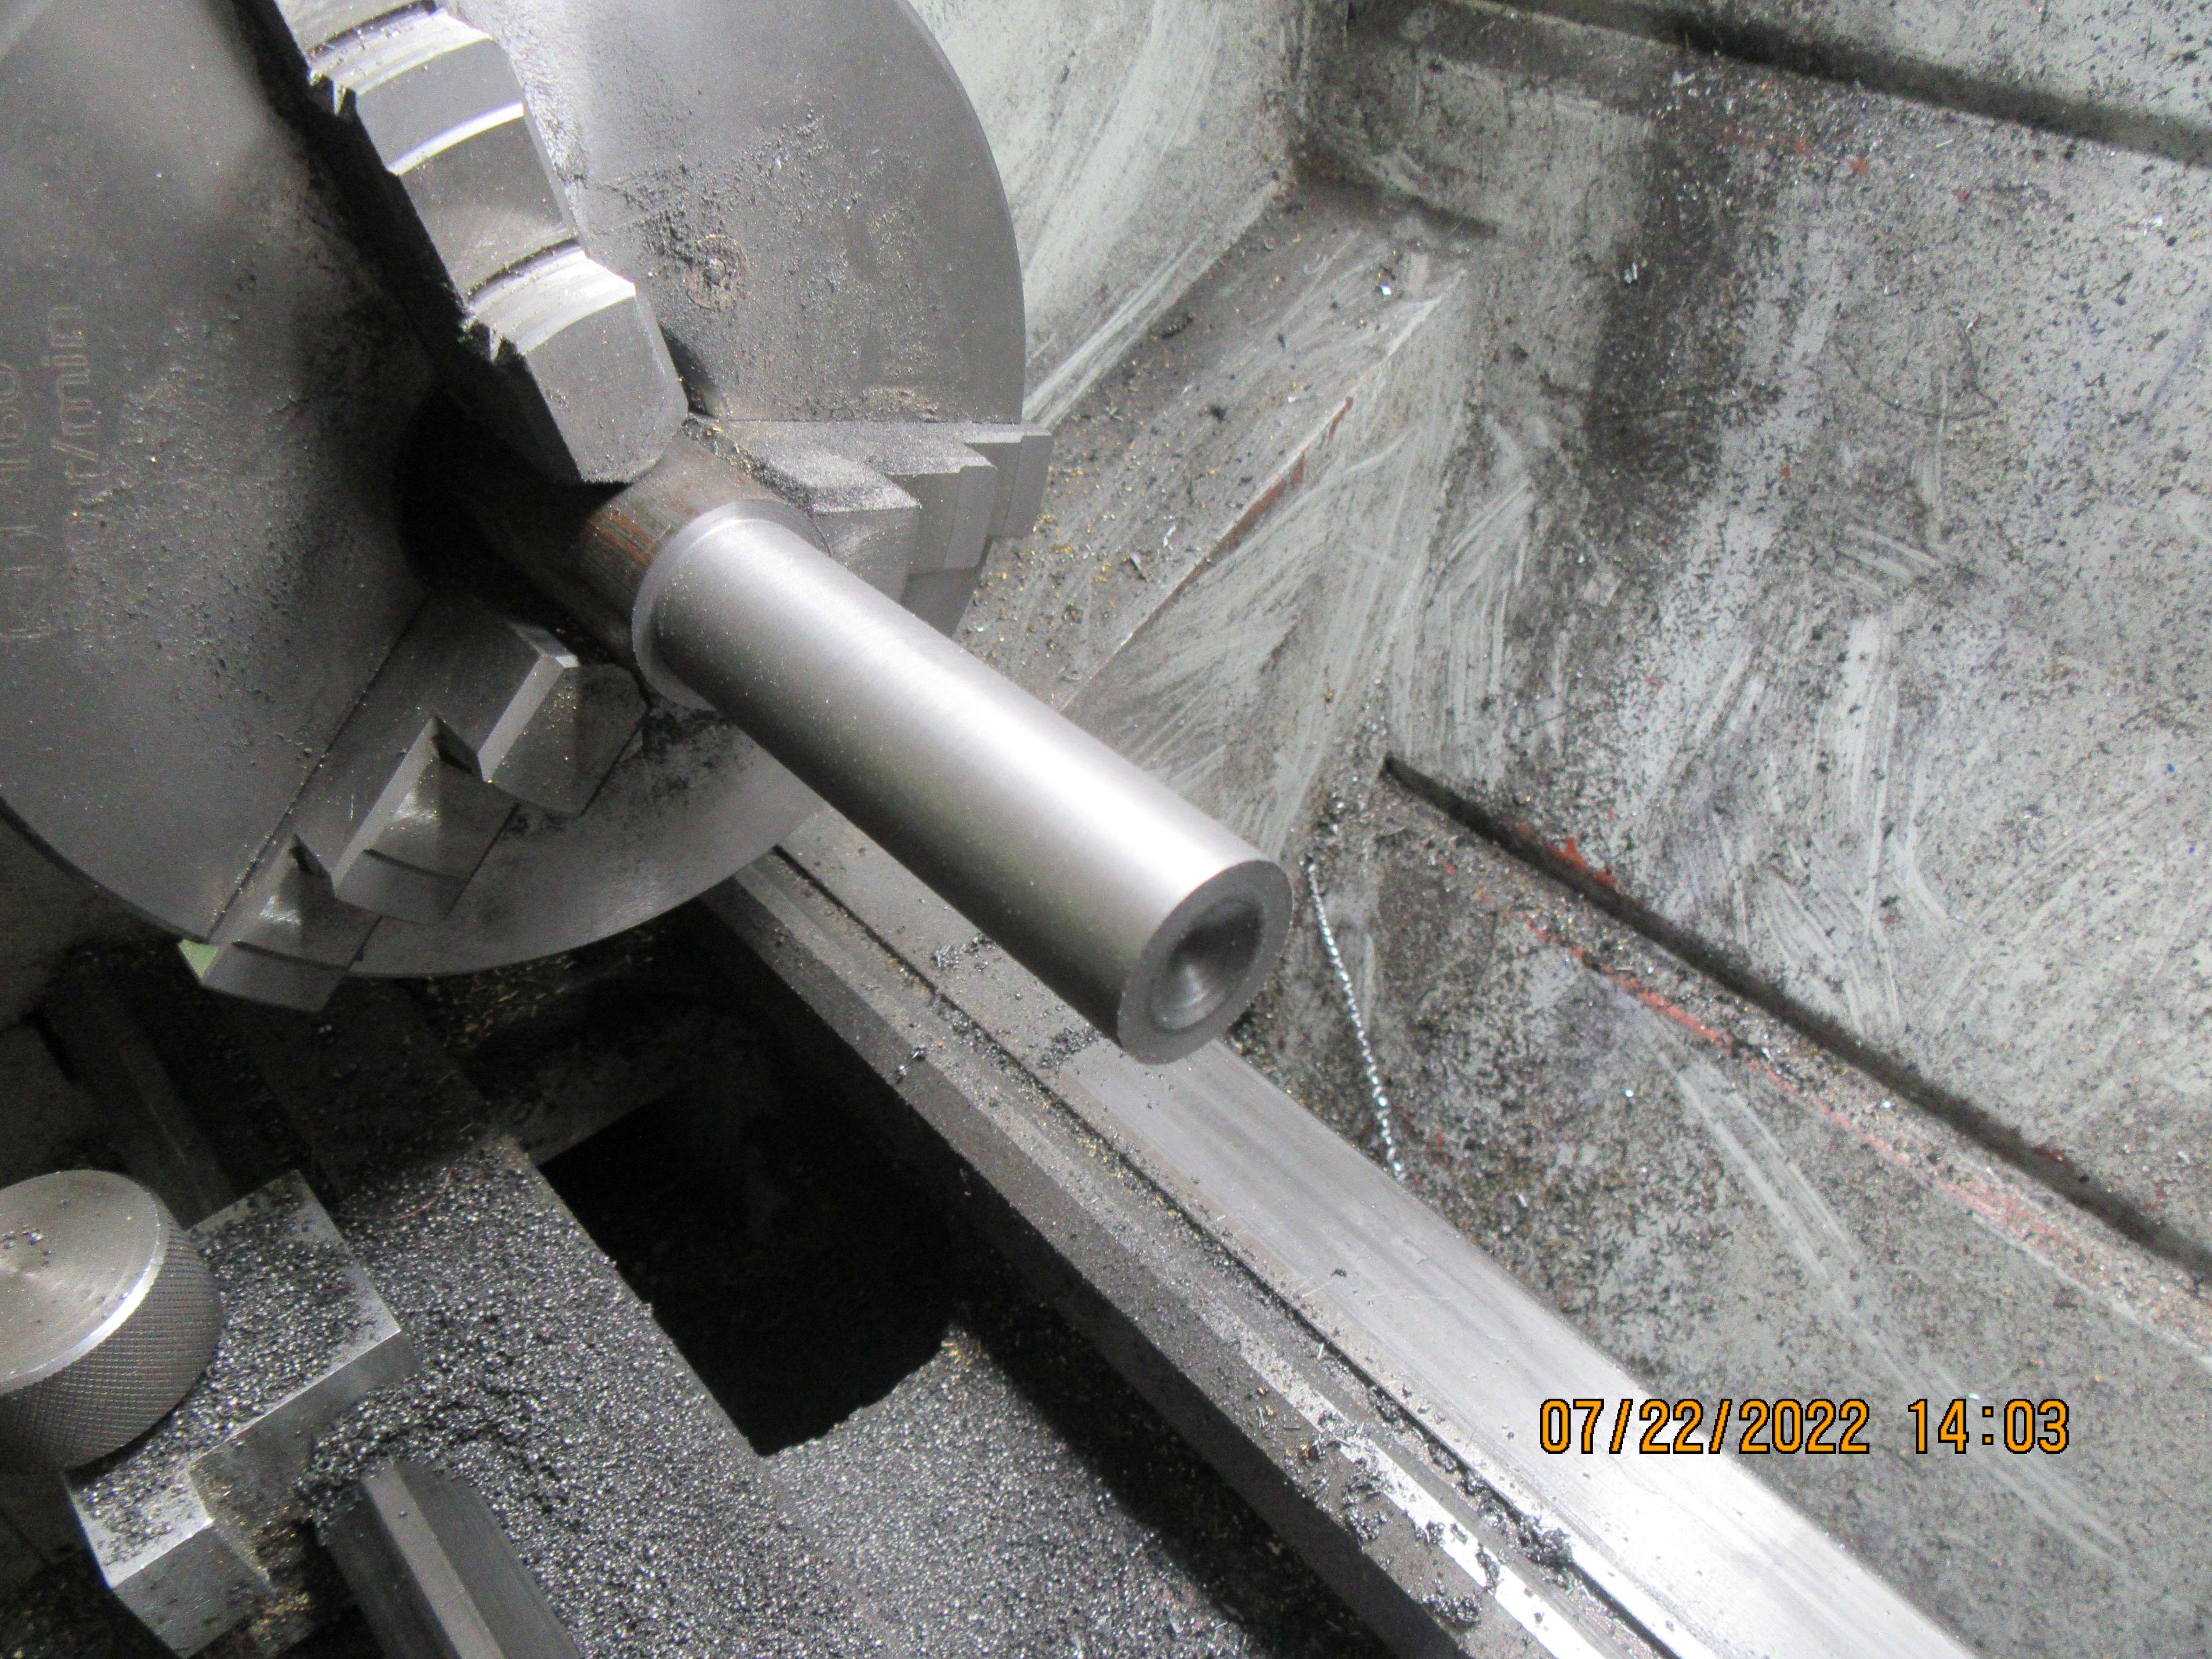
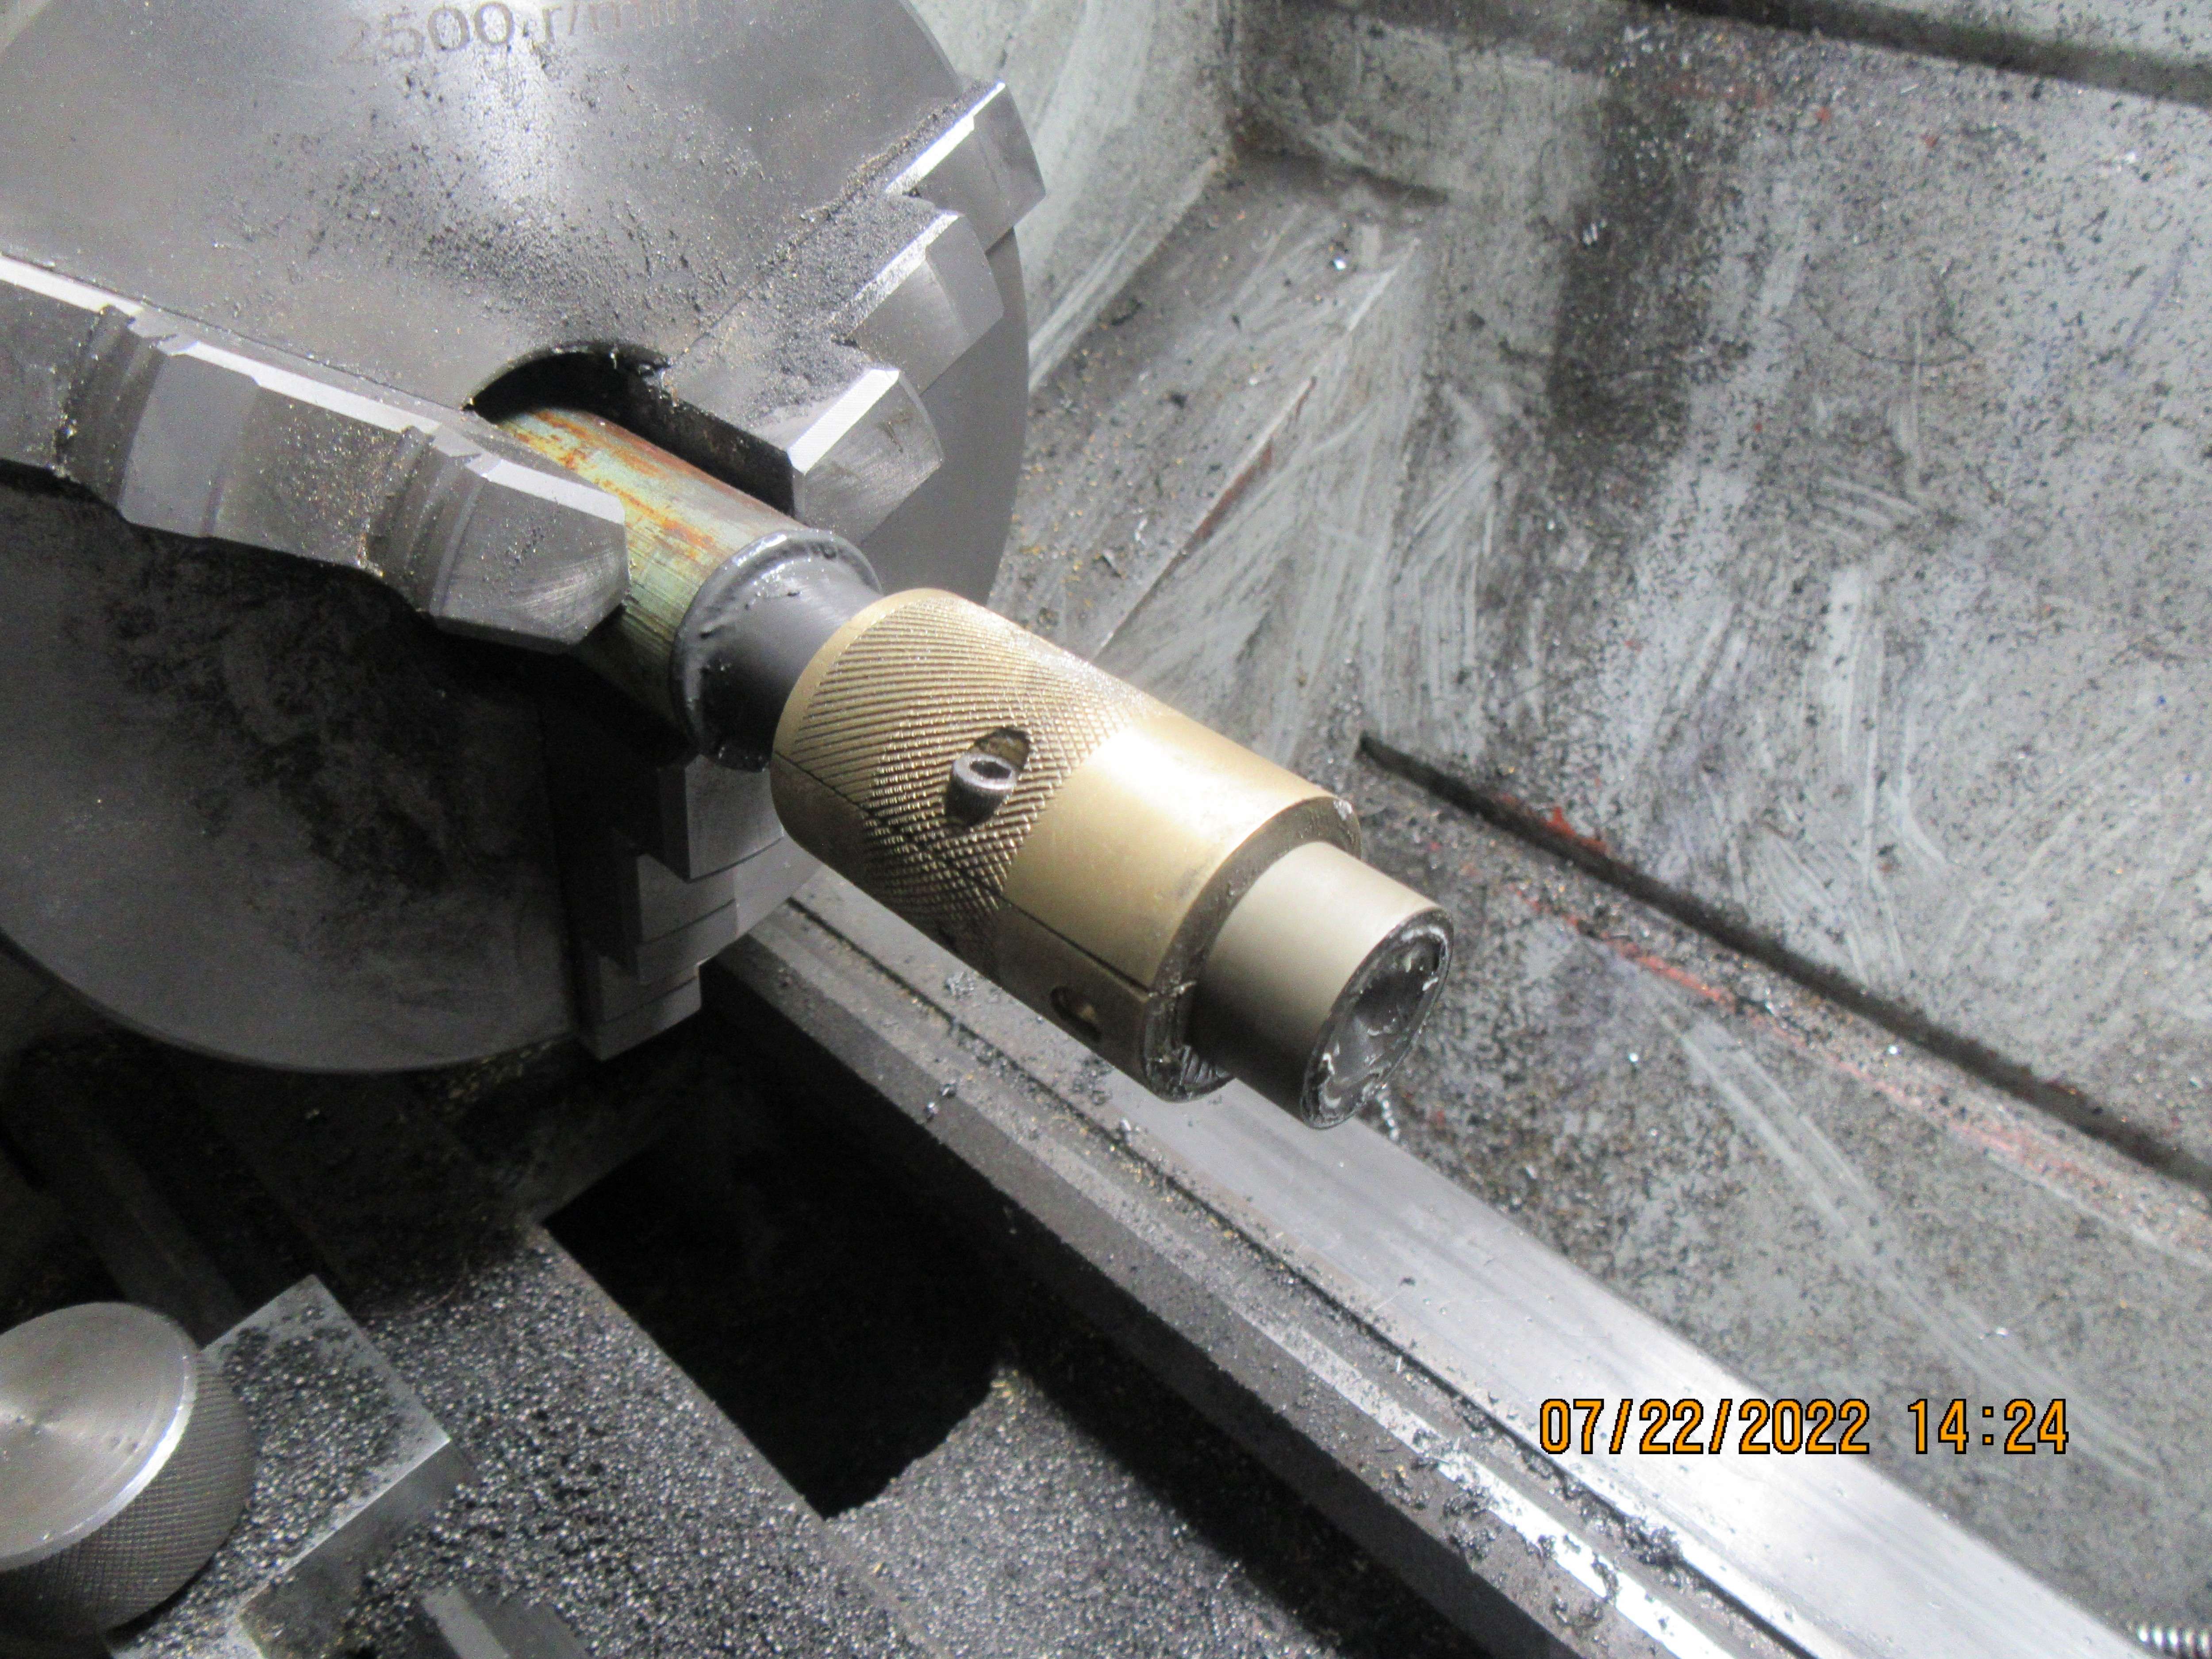
And now---Lapping a piston. The cylinders had been honed with an Acrolap, and measured about 0.8752 inside. I chucked up a piece of 1" cast iron in my lathes 3 jaw chuck, and turned the outer diameter to 0.876", going very slowly and checking often with my micrometer so as not to turn it undersize. I turned the piece of grey iron to about an inch longer than the two 1" pistons would be. Then I coated the iron with 600 grit lapping paste, and with my lathe running at a very low speed I worked an internal split lap which I made from brass back and forth over the full length of turned shaft, progressively tightening the screw, which closed the lap in very small increments, until I had removed enough stock that the iron piston would just begin to slide into the cylinder. At that point I recoated the iron with 600 grit lapping paste and holding the cylinder firmly in my hand I slowly worked it back and forth until the entire machined length of the cast iron round bar would fit all the way through the cylinder. You have to be prepared to let go immediately if the cylinder starts to seize onto the rod, shut the lathe off, and work the cylinder loose, then carefully start again. Once the cast iron rod passes the the cylinder, you are finished the first step.


PnnOGD.jpg

ysGHNw.jpg

oAeFAS.jpg
 
Last edited:
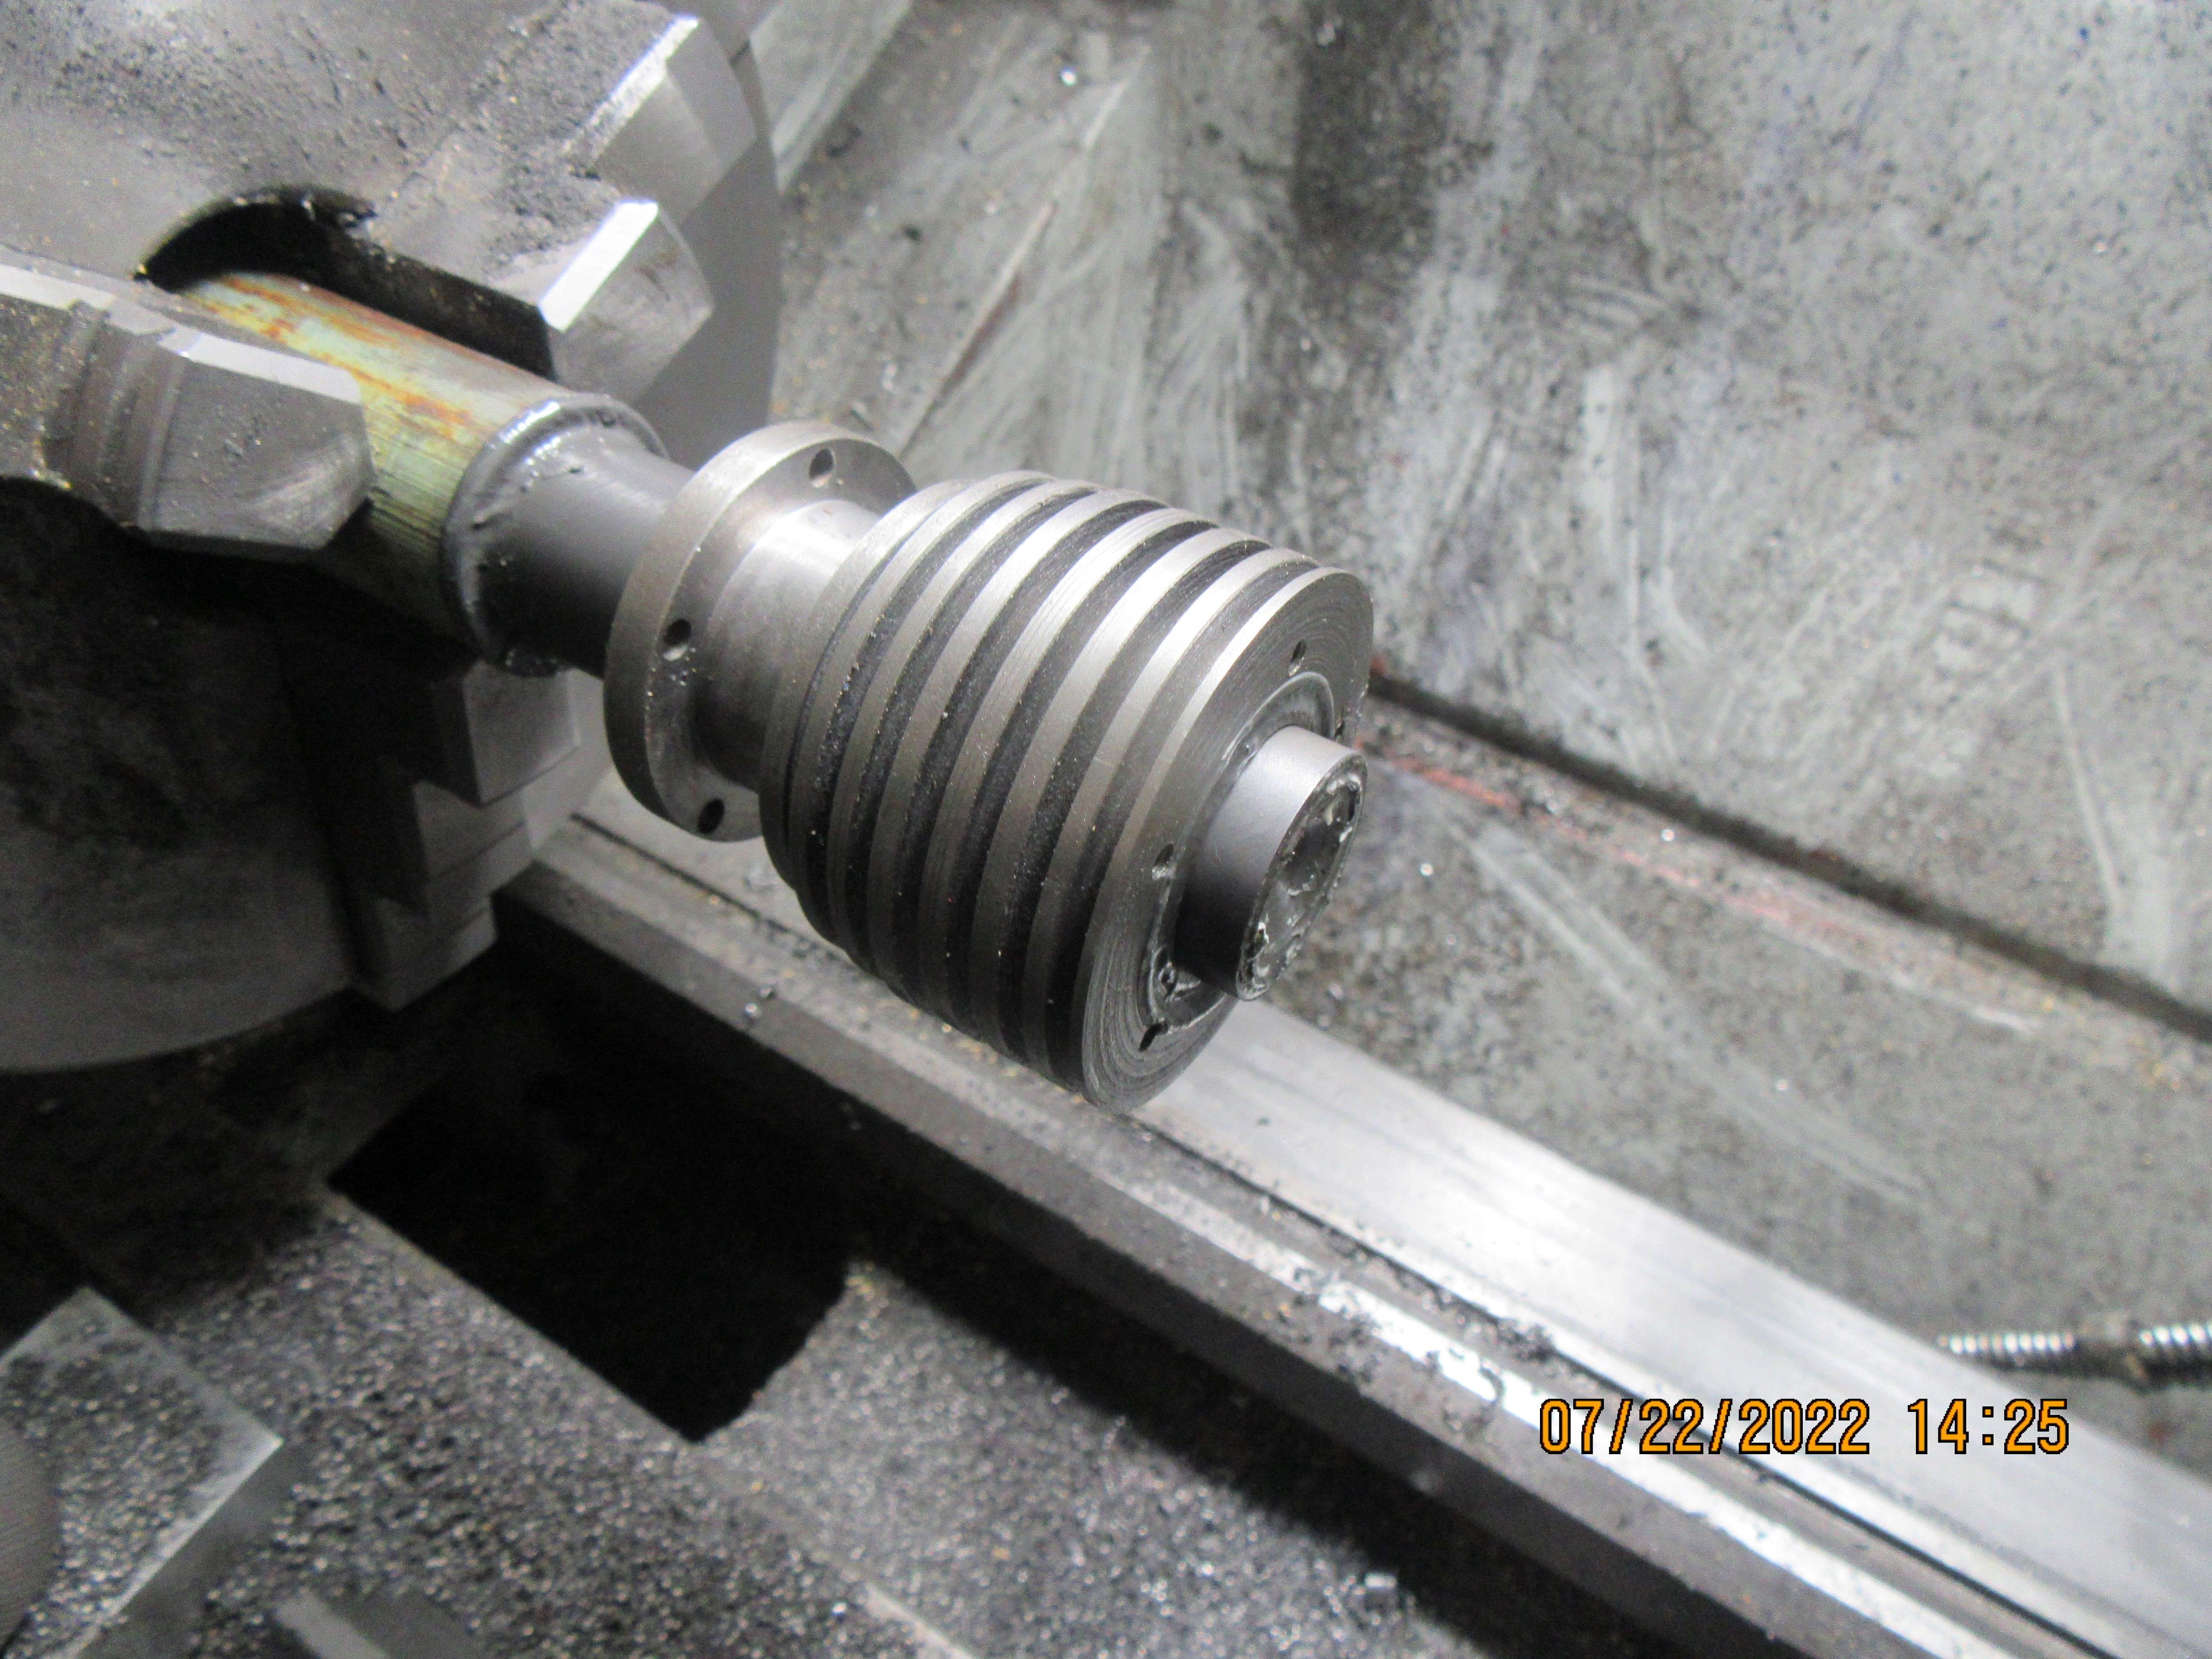
The bottom counterbore has been added to piston #1, and the ring grooves cut. The piston will now be parted off, and tomorrow a deeper slot below the counterbore and the wrist pin hole will be added.
s9DBga.jpg
 
Cast iron has a lot of graphite in it's make up. This makes it self lubricating to a great extent. Aluminum has a much higher heat expansion factor than iron does, which means that you have to leave greater clearance between the cylinder and piston so the piston doesn't heat seize. Aluminum is great for high speed engines because it weighs only 33% of what iron does. I like my engines to run slower, so the heavy pistons don't really matter---in this case.
 
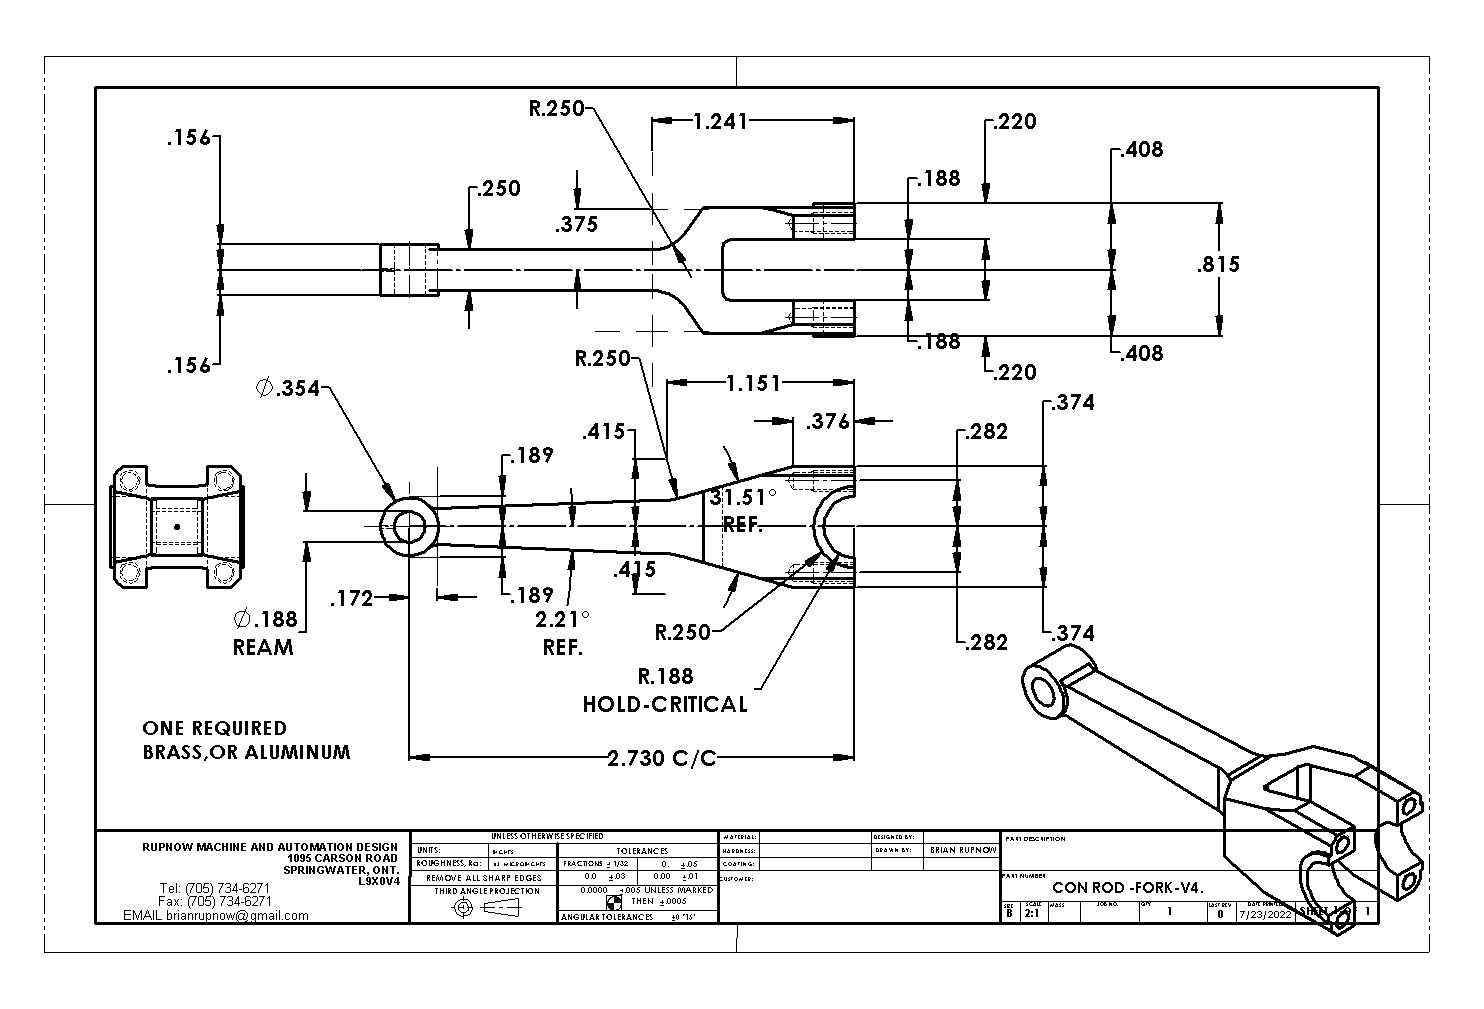
Tomorrow I get to do something exciting. I get to start machining my knife and fork style connecting rods. I have never built knife and fork rods before, and I find the concept to be quite intriguing.
qji0oA.jpg
 
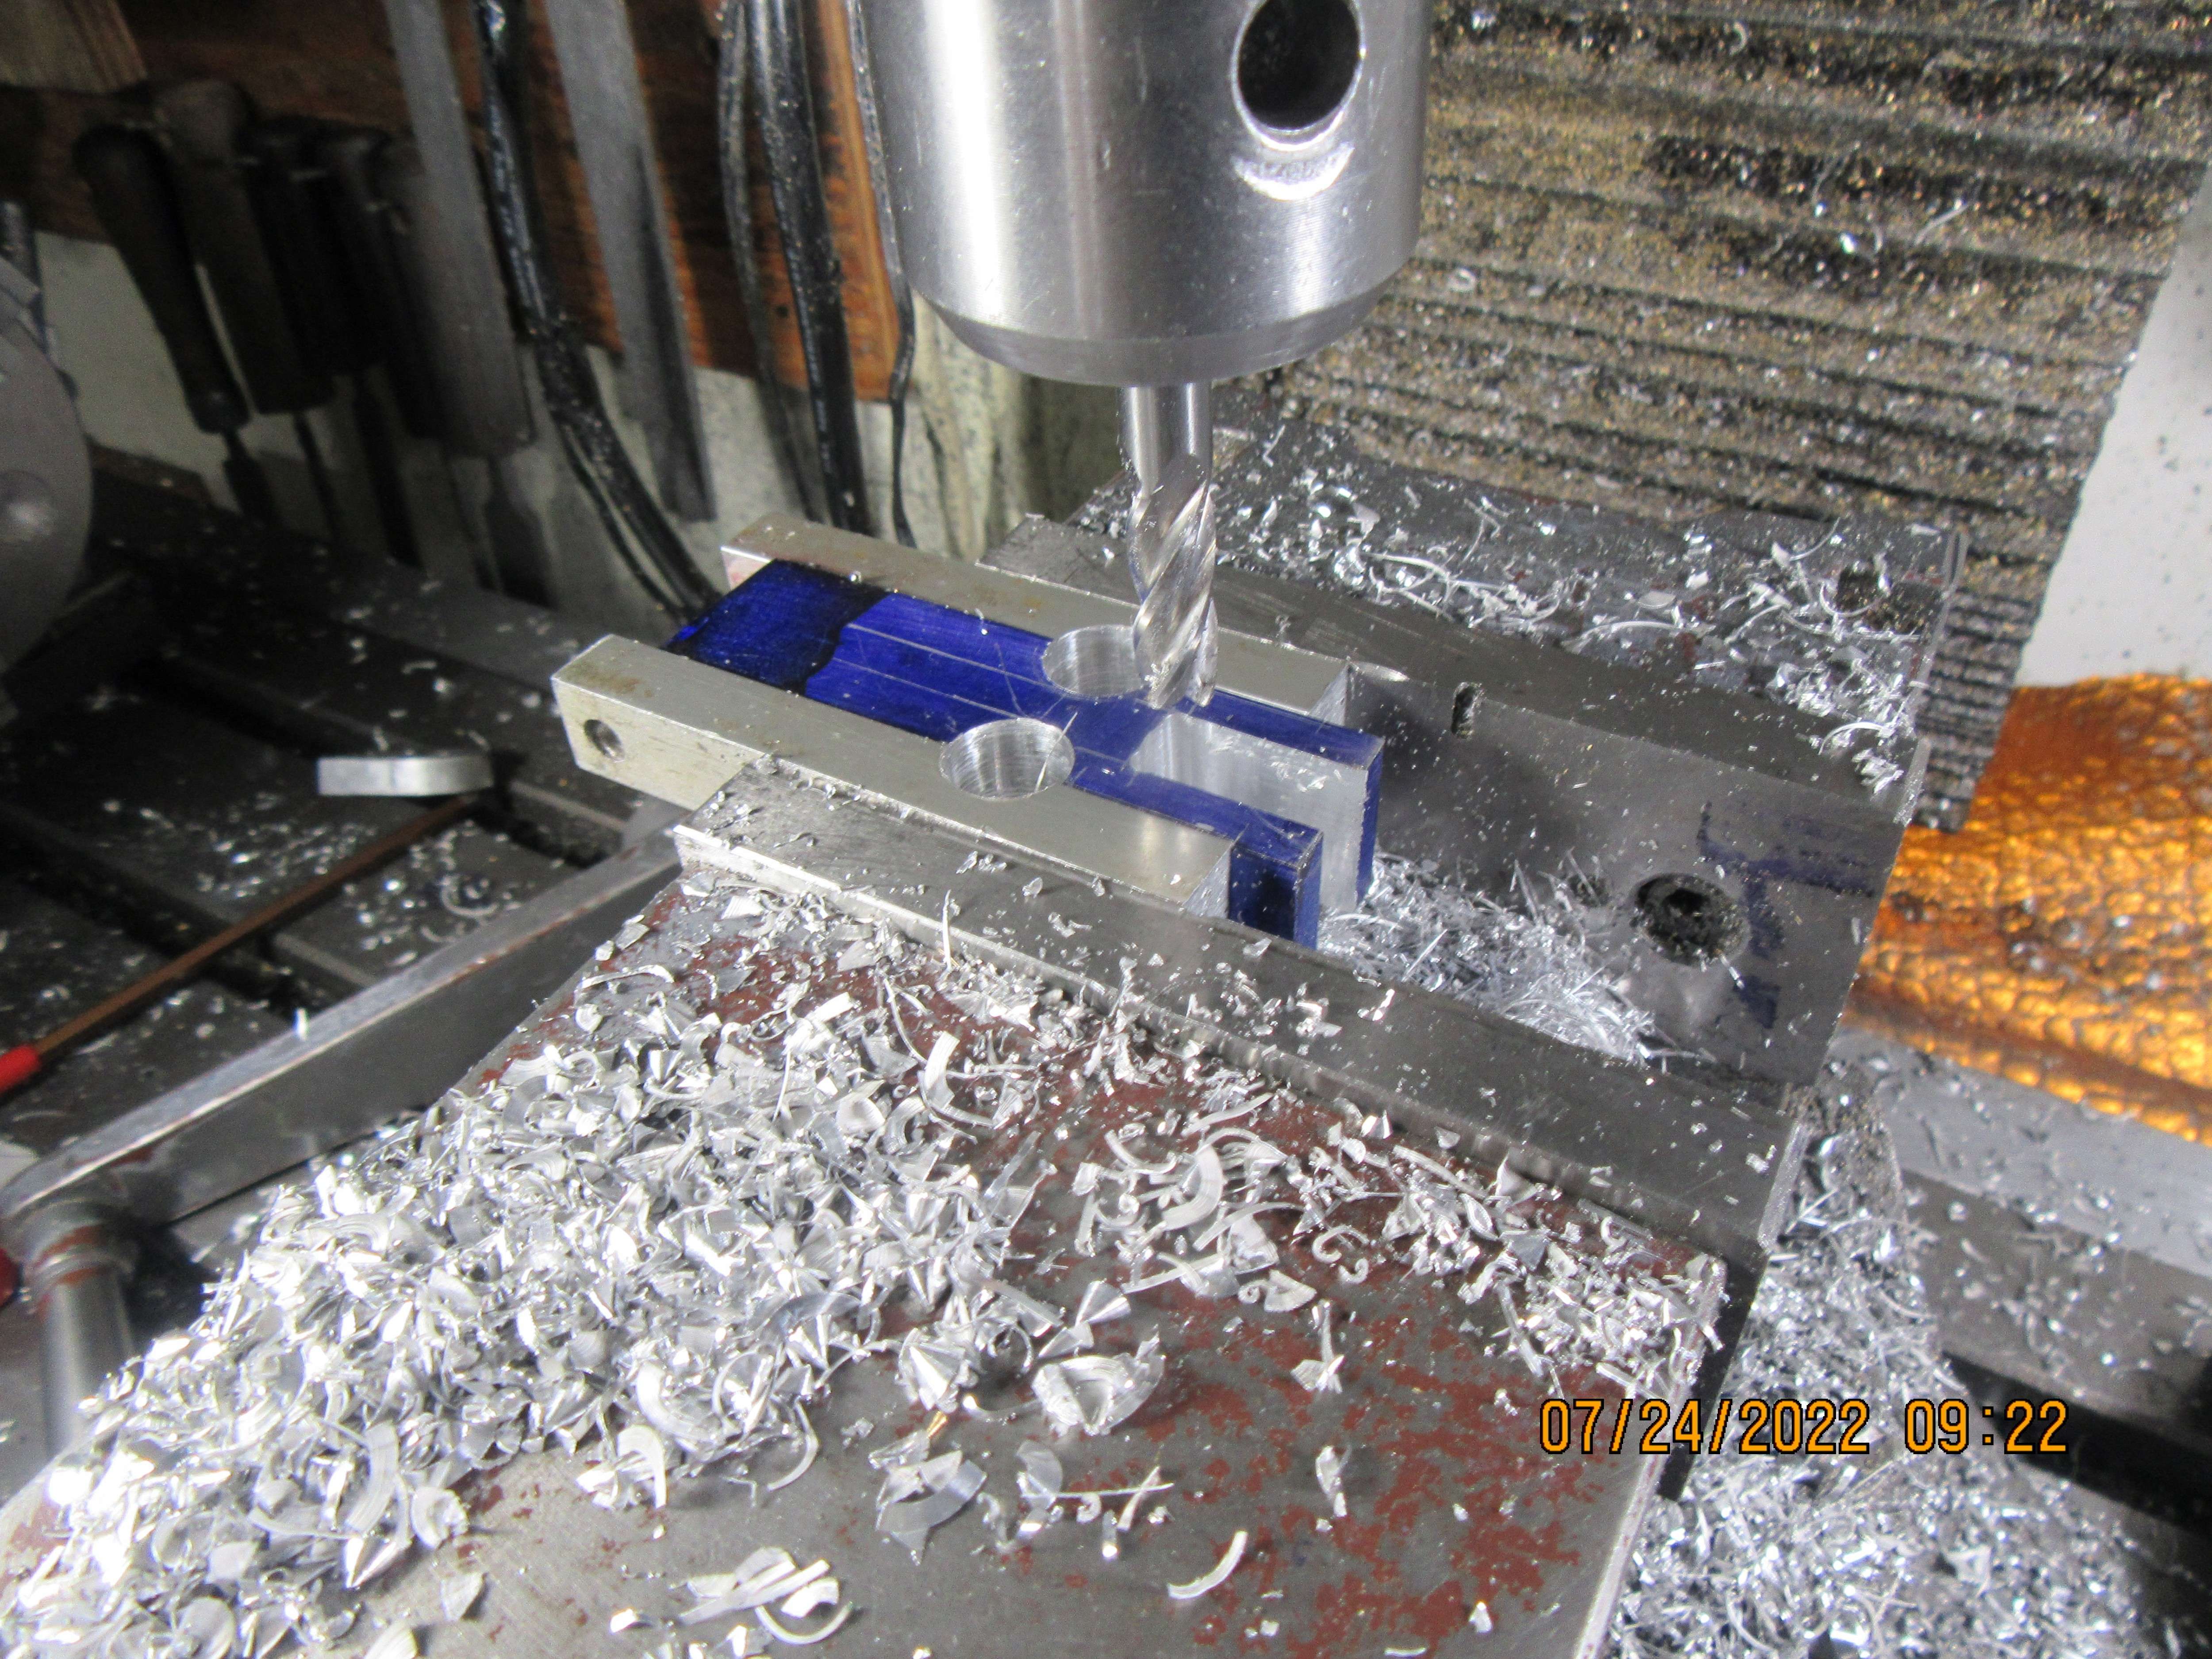
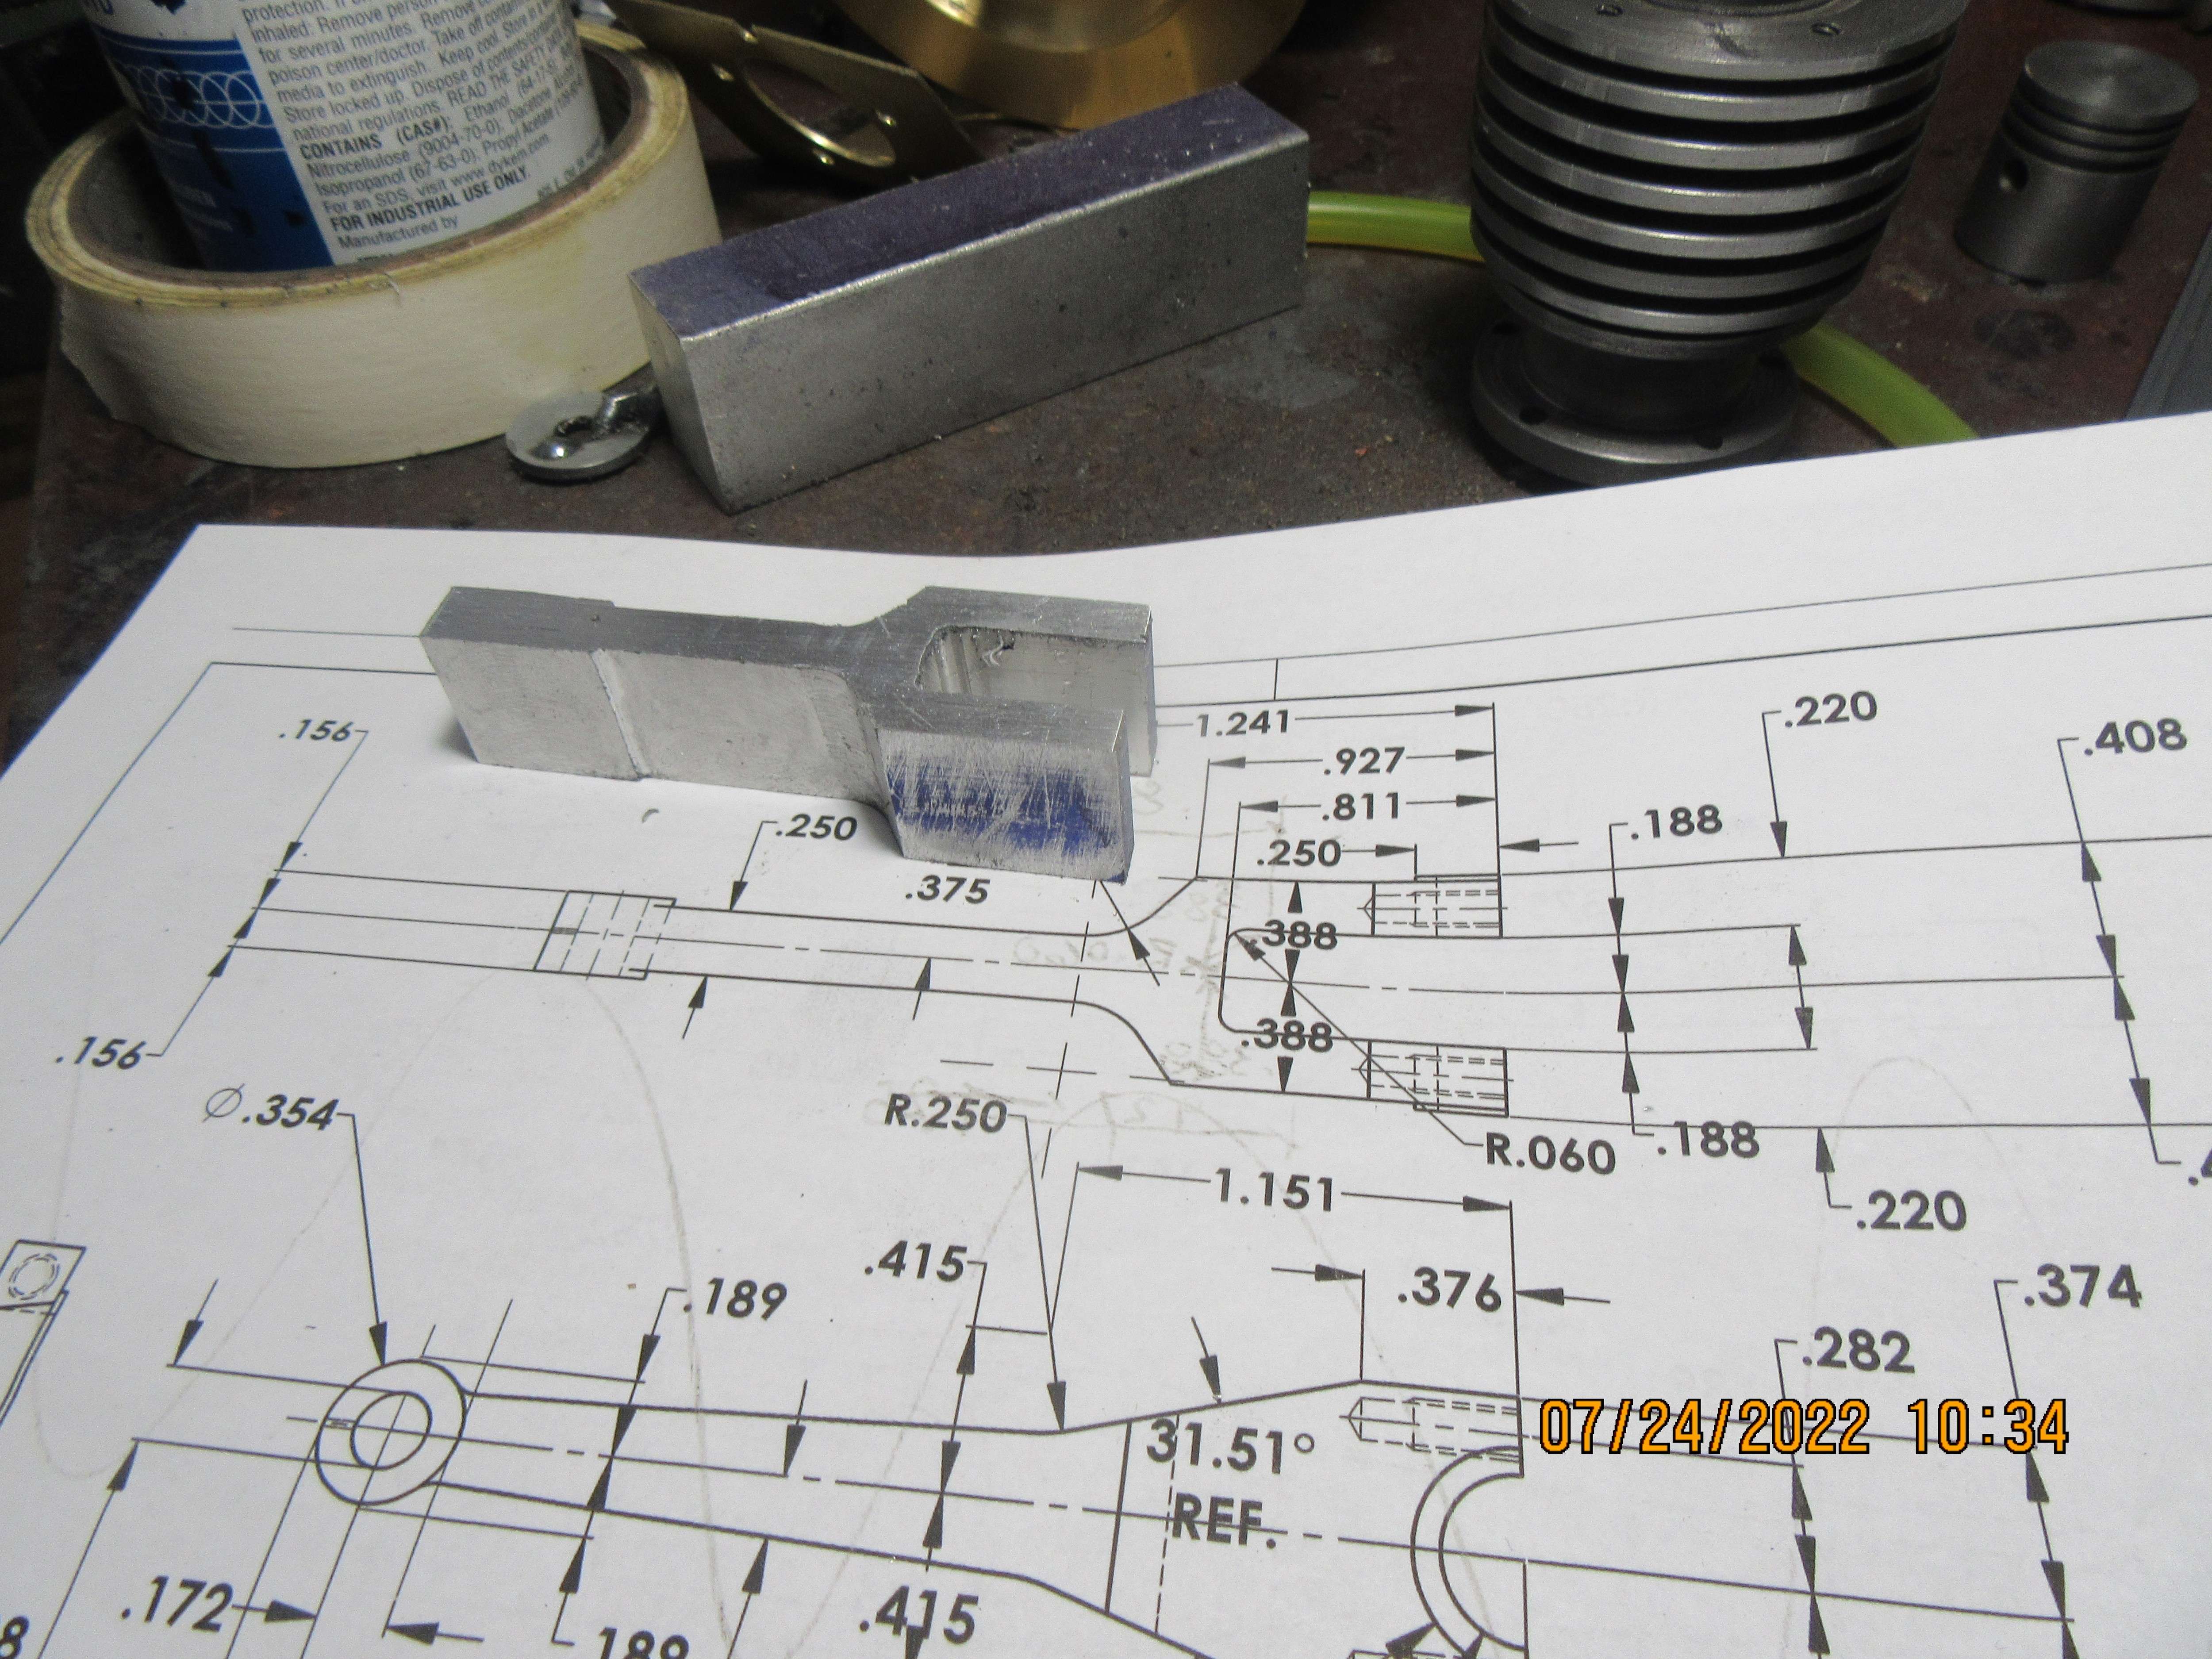
Okay kids, hold on tight, here we go with our first machining step on the fork style con rod. The block of material has been milled to size, and out first step is to put in two holes and to cut the slot that the "knife" style con rod rides in. The 1/4" radius where the con rod narrows will fall partly outside the material. Can't drill half of a hole, so a piece of scrap material has been positioned on each side of the blue block, which lets me drill a thru hole with a 1/2" diameter bit.
7lJKbo.jpg
 
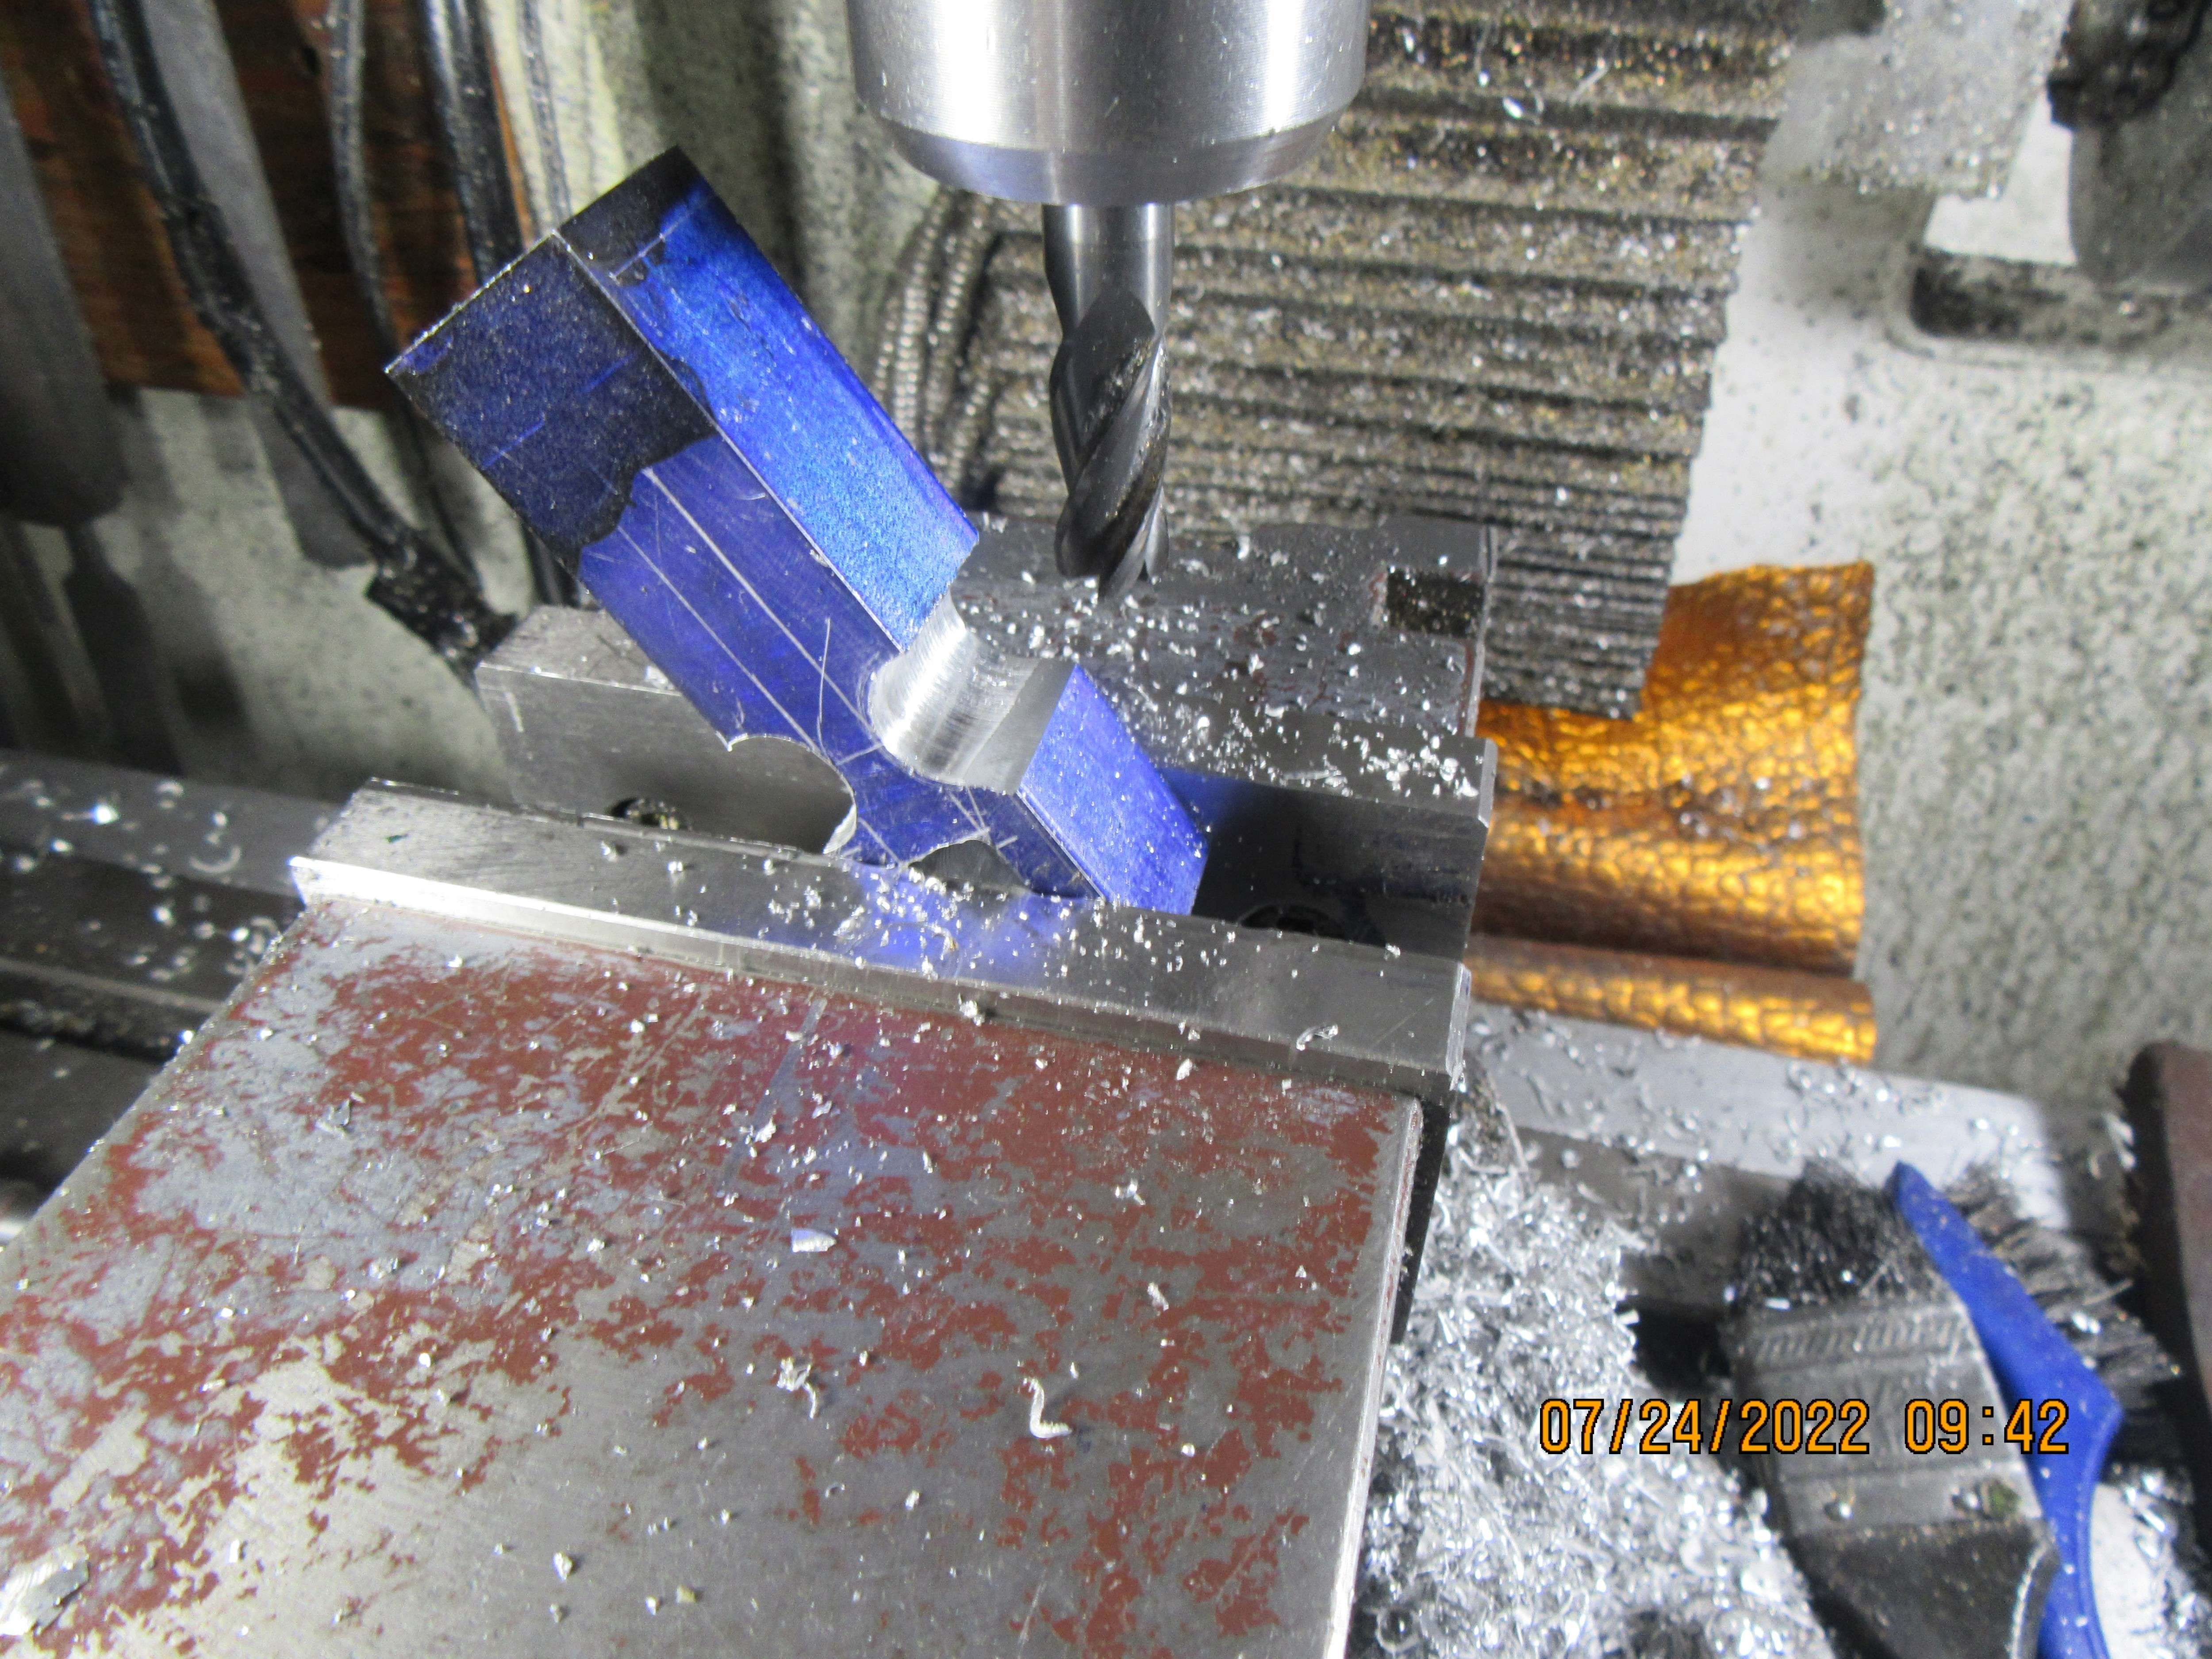
The wide end of the con rod has an angle leading off from the 1/4" radius to the outside of the part. I set the part up in my vice and use my digital angle finder to set it at the correct angle, then come in and machine the corner down until the flat I am creating falls tangent to the 1/4" radius. This is done once on each side of the fork style con rod.
TfnDFL.jpg
 

Latest posts

Back
Top