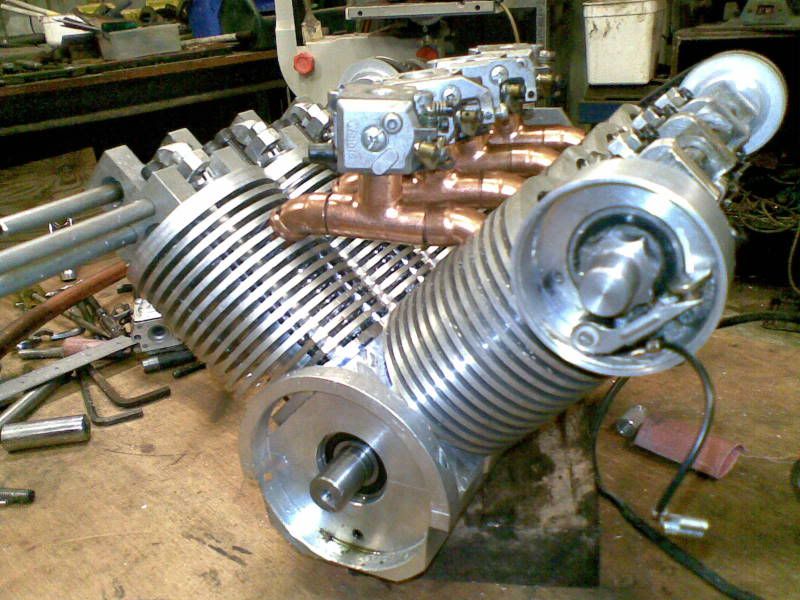
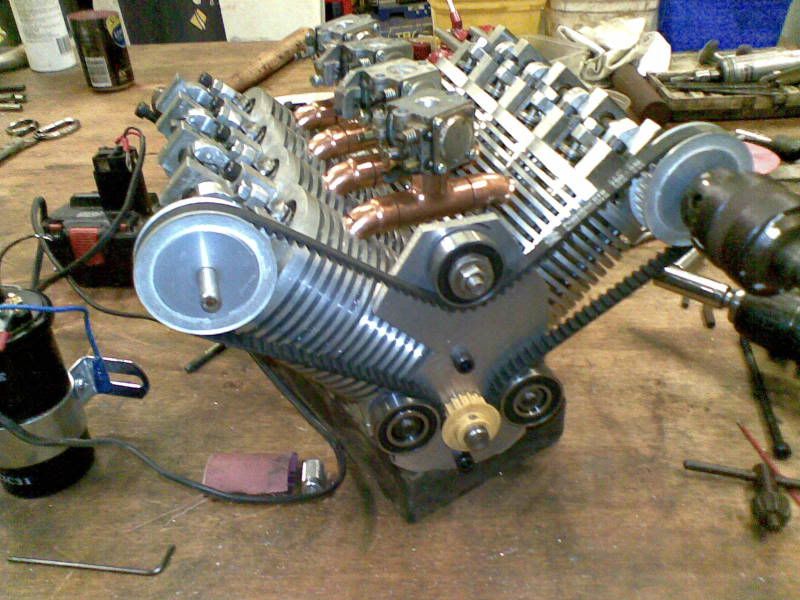
Small model V8 motor built at home scratch built

Home Model Engine Machinist Forum

Help Support Home Model Engine Machinist Forum:

This site may earn a commission from merchant affiliate links, including eBay, Amazon, and others.

Great example of ingenuity, imagination and skill. I'm giving you a karma point
but if I didn't, I bet you could make your own. Looking forward to more.

Regards,
Mike
 
07052011003.jpg

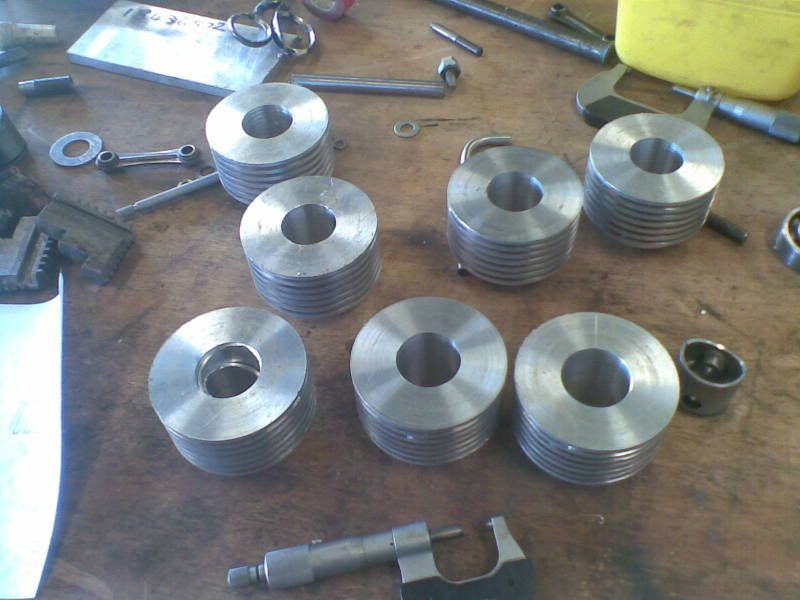
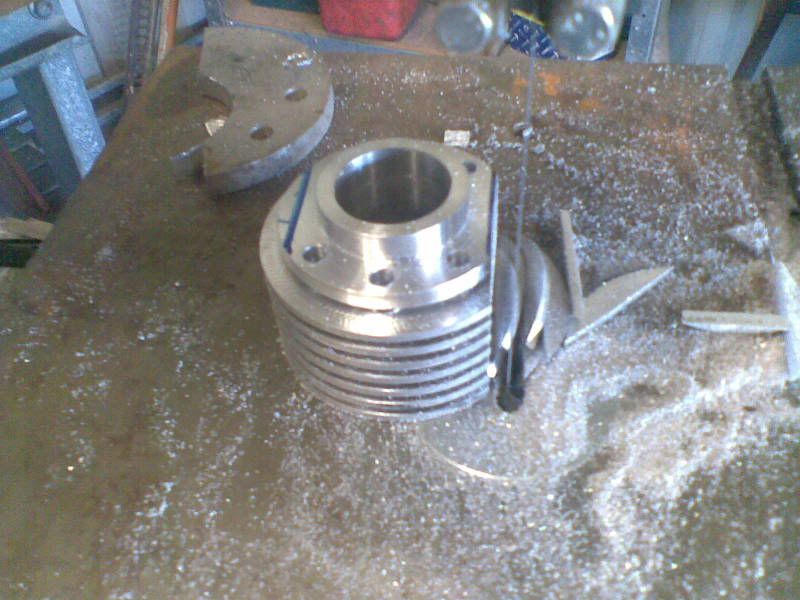
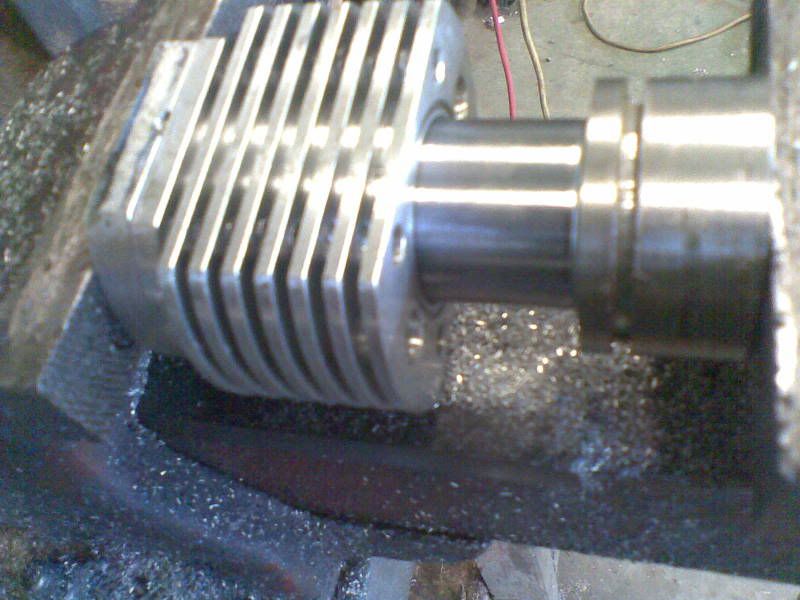
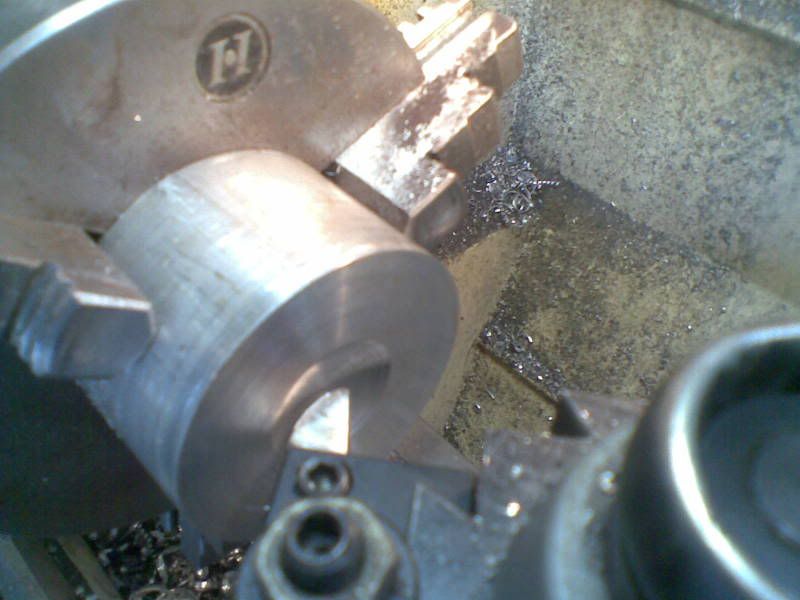
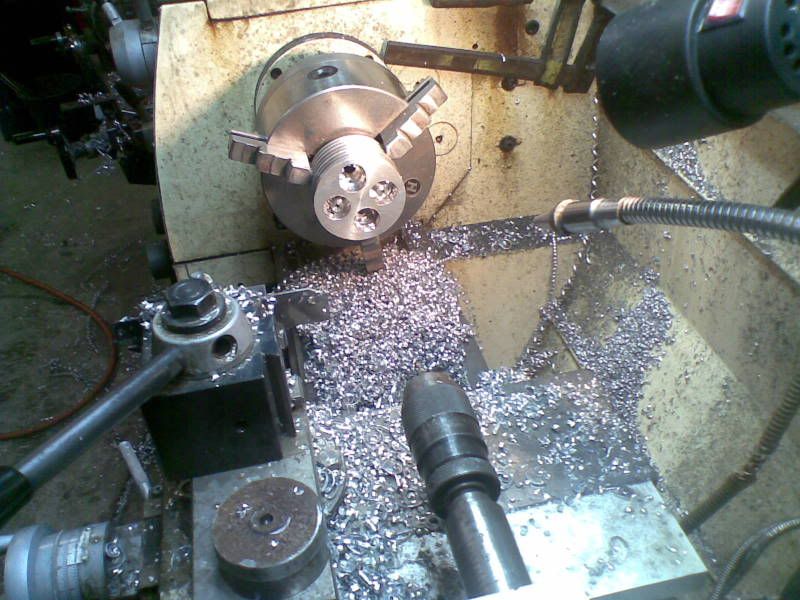
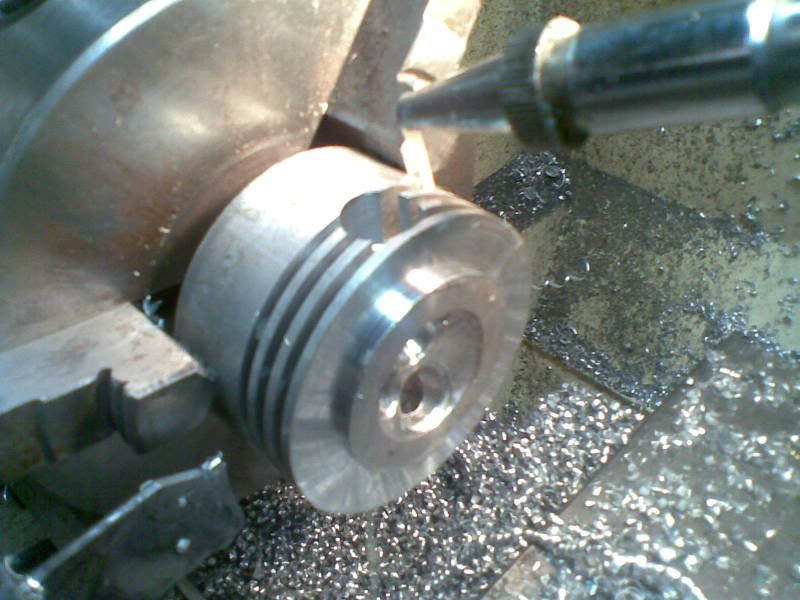
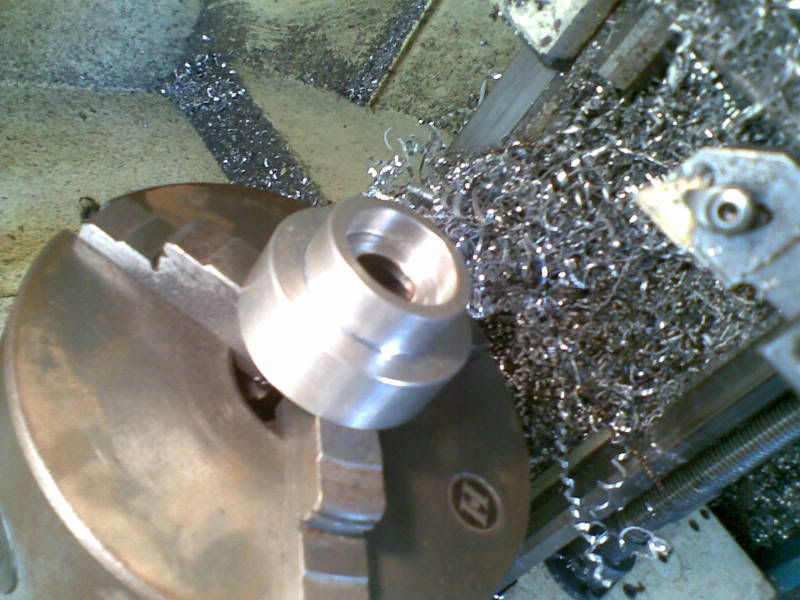
This is the barrels being made. Started with the aluminium 80mm diameter. Cut it into pieces and bored a hole through it and put some cooling fins in with my 3mm parting tool. (my only parting tool) 3mm gap and 3mm fin, pretty simple with the digital readout. the spaces were so accurate the barrel fins meshed into one another.

07052011002.jpg

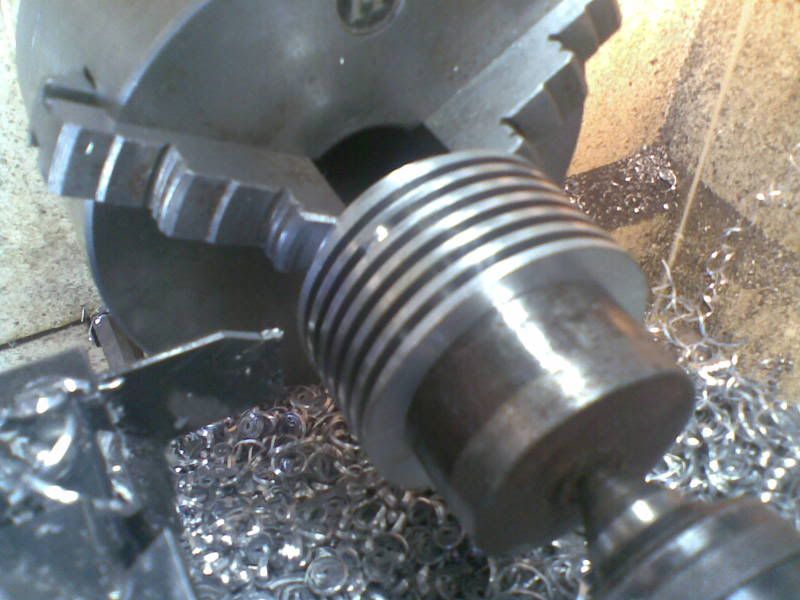
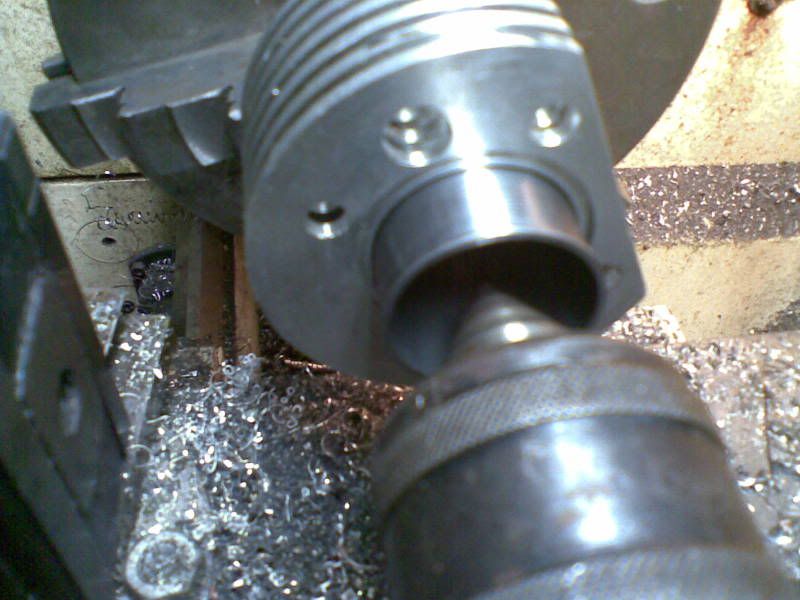
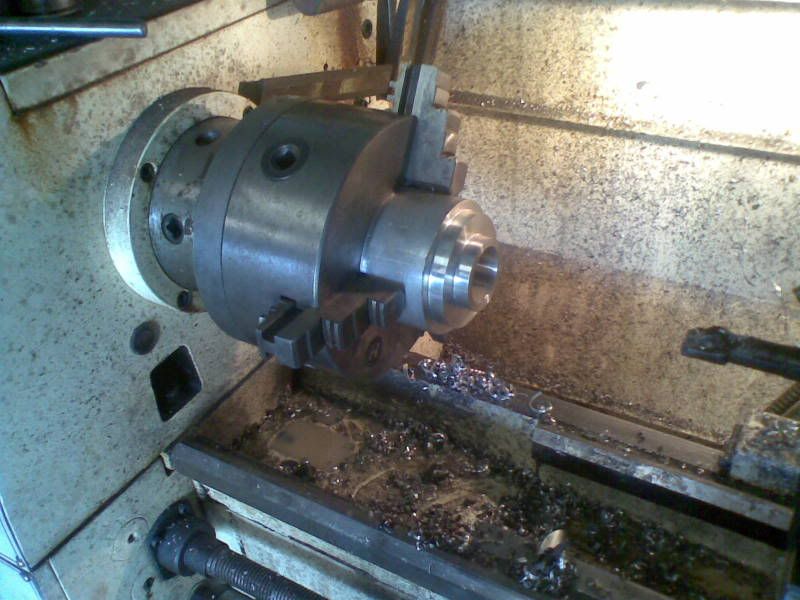
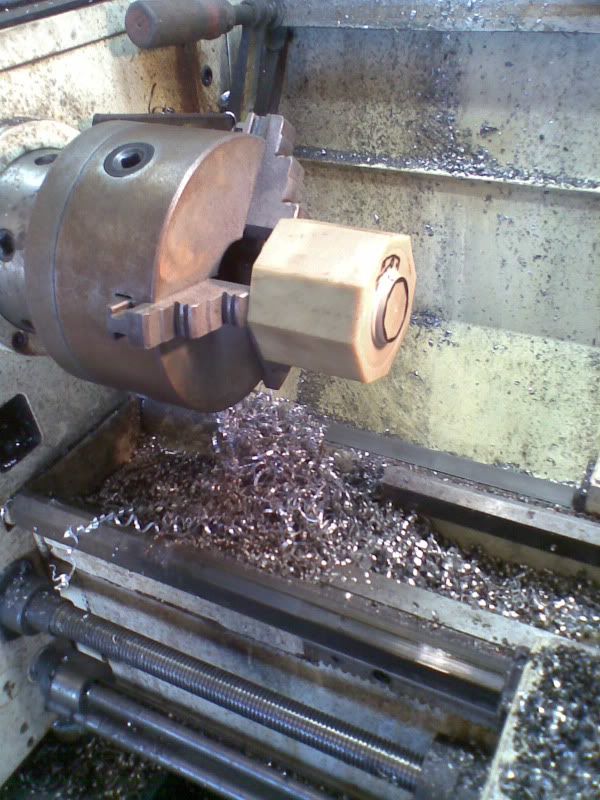
showing a picture of a barrel being pushed into the chuck with a piece of steel for stability, especially when parting things.
12082011.jpg

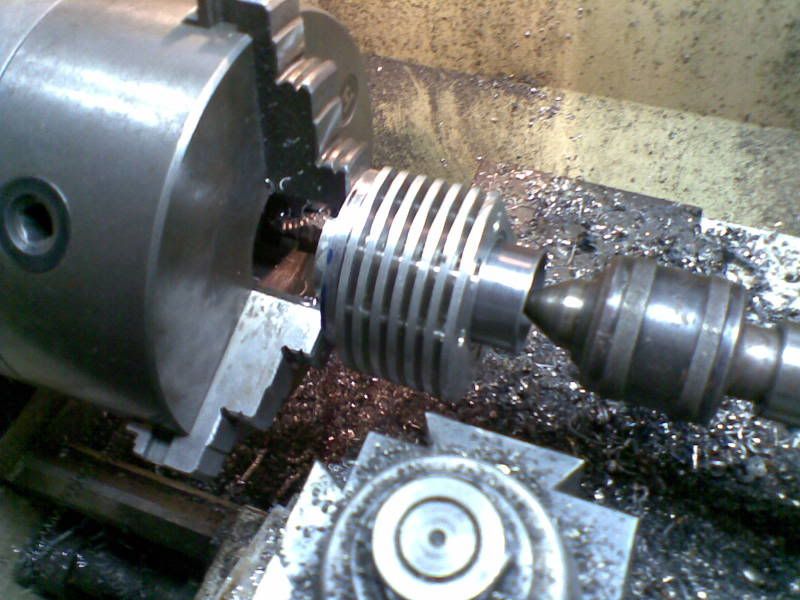
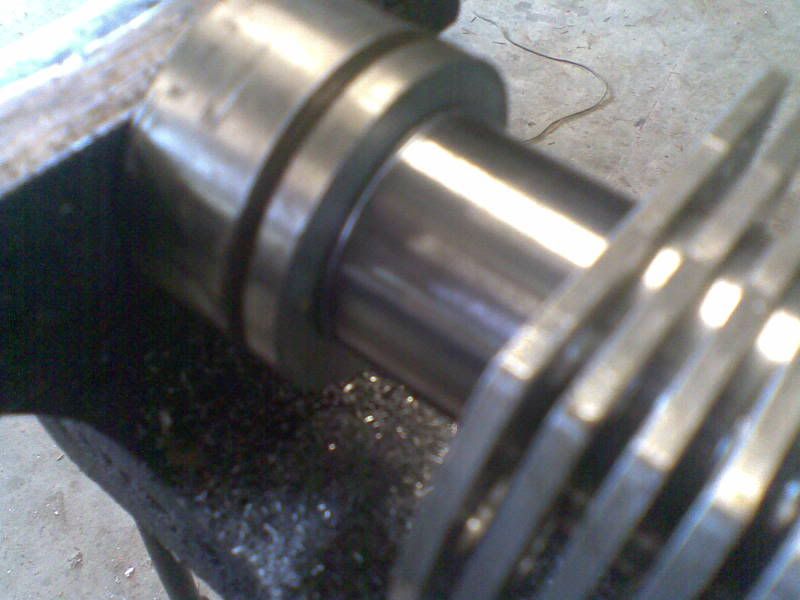
theres a couple of pictures here pushing the cylinder liners into the barrels.
07052011005.jpg


07052011004.jpg

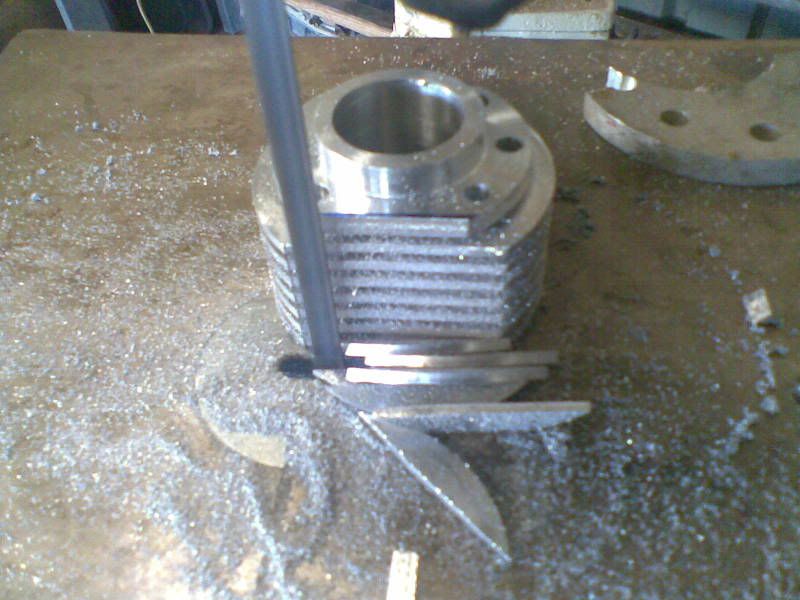
cutting fins off in my band saw. 4 had one side cut off and the other 4 had both sides cut off and then i machined them flat and square
13082011-2.jpg


12082011001.jpg

the liners were made from old shock absorbers, they were nearly done for me . i machined the outside so there was a lip on the top .the inside was the right size ,just needed honing
13082011001.jpg

i pushed the liners in as much as i could with the tailstock until it started slipping, then i used the vice (must be good for a couple of ton :p)
 
I really like your approach to mass producing parts like the cam lobes, valves and the crank parts. Your use of shock absorber bodies for liners is also a great idea. Do you have a rough idea how long it took you to make the engine? Thanks for the inspiration.
 
i started on this project at easter this year . i have been doing a couple of hours on it just about every day. i was happy when the first lot of noise came out of it . that was early sept. originally i put 4 wipper snipper carbys from the dump on it but it ran terrible. thats when i made the single manifold and it ran as you see it in the video . i want to neaten the manifold as it was a test piece but its working and i need a spell. i have videos of it running with the 4 carbies. i will put them up when the kids help me. there would have to be around 400 hrs of time spent on it to this stage. if i played golf or went fishing it would be just as time consuming probably with no end result 12.00 midday aest
 
[ame]http://www.youtube.com/watch?v=TX1ecEVVp8s[/ame]

This is a video I found on my phone recently of the valve springs being made. Notice that they are left hand thread. I wasn't working into the chuck, I was working away from the chuck.
 
13052011.jpg

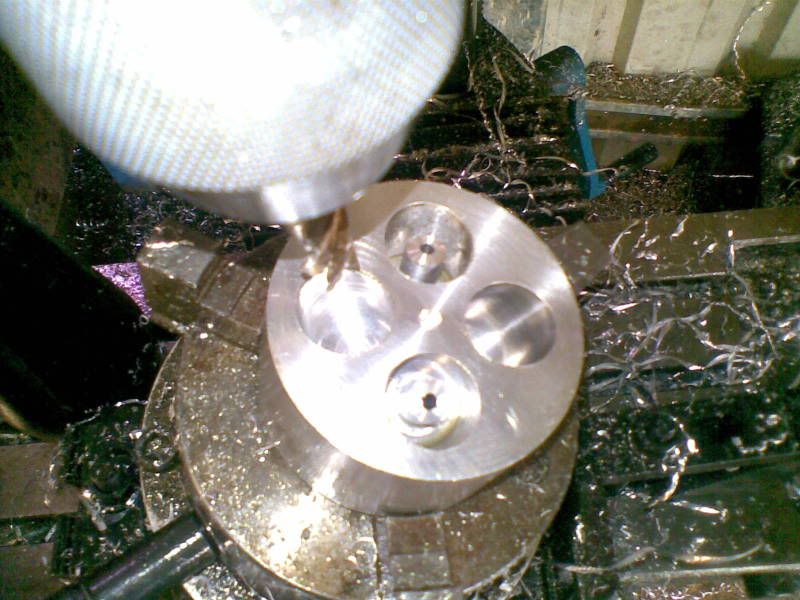
Starting work on the heads with a form tool putting the combustion chamber in.

15052011.jpg

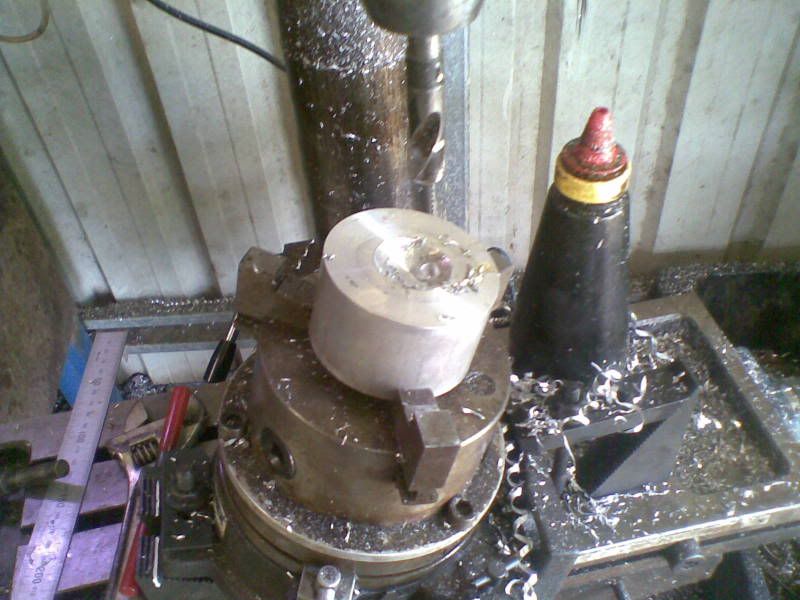
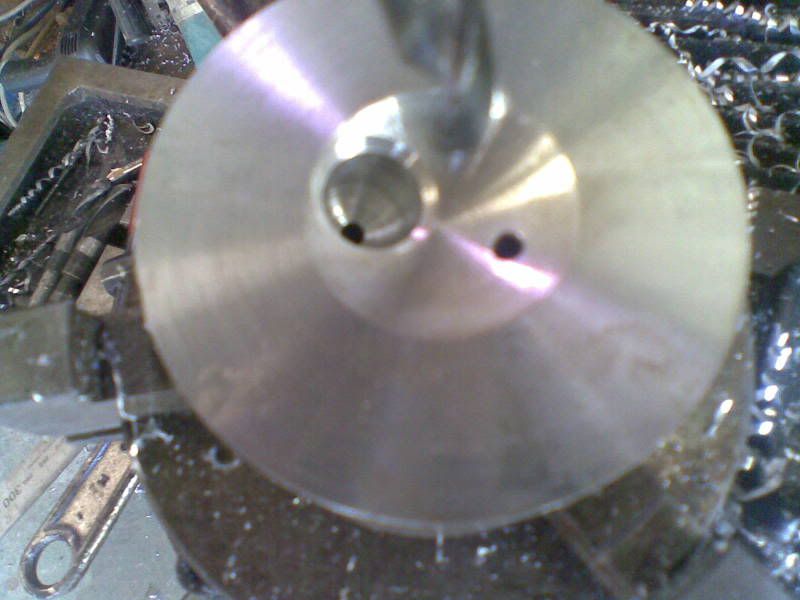
Set up in the drill on an angle to do the valve ports and guides.

15052011001-1.jpg


15052011002.jpg

Then I turned each head over to do the other side of the valve guide also did the spark plug while it was this way. It was done with a slugger bit. They are used in the construction industry on magnetic drills, and do a nice job as they leave the centre intact.

17052011003.jpg

Doing some fins, slow and tedious.

17052011001.jpg

You can see the ports are all done and the fins put in later on.

02052011003.jpg

This is a picture of the start of one of the barrells.
 
[ame]http://www.youtube.com/watch?v=tIYffpqkSIY[/ame]

This is early on. Probably it's first or second run as you will notice with the four carbies, I couldn't get it to run very nice. It runs a hell of a lot better with the one.

[ame]http://www.youtube.com/watch?v=jskLJJafrqw&feature=related[/ame]

Hasn't even got header pipes on it here.

There are a few more videos on youtube if anyone wants to have a look:
[ame]http://www.youtube.com/user/RuffKonduct4x4#p/u[/ame]

I've got some plans that I drew up too that I am going to put up at a later date.

 
Been away folks but im back onto it again :). here is some photos of progress along the way.


27062011003.jpg

Earlier on with the 4 carbies, also you can see the distributor coming together.

27062011002.jpg

Other end of the engine sorting out cam timing. notice the drill chuck for easy turning of the cams. The gear on the crank was not keyed to the shaft at this stage, so it was easy to turn the cam shafts. The plastic gear was replaced with and aluminum one.

23062011.jpg

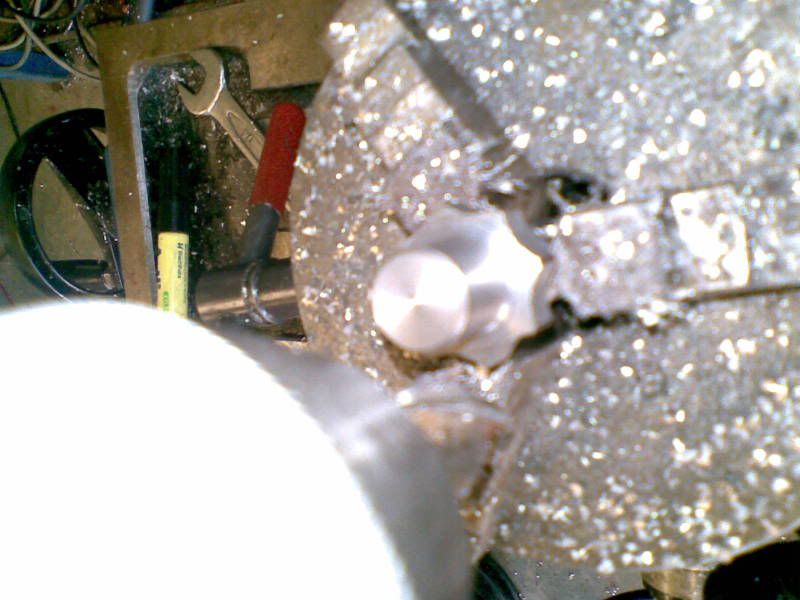
Starting to machine some distributor parts. This is the housing for the points and cam.

23062011005.jpg

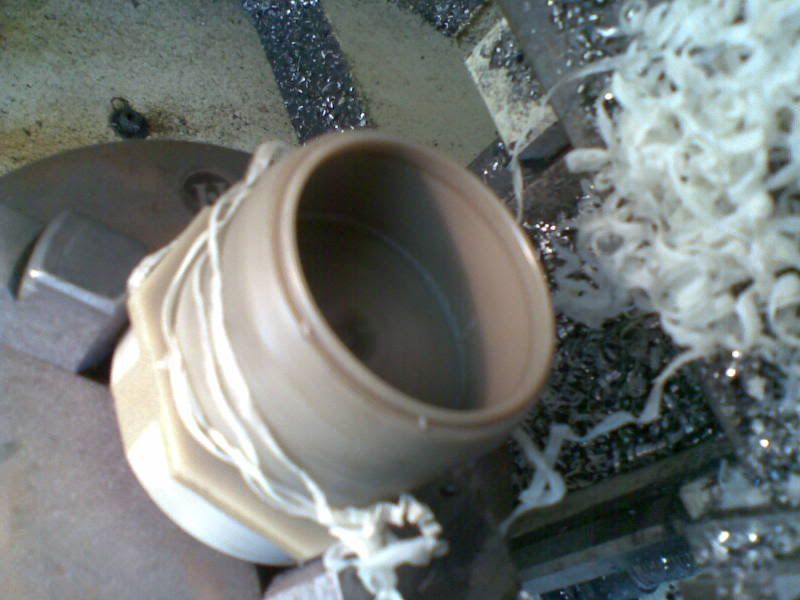
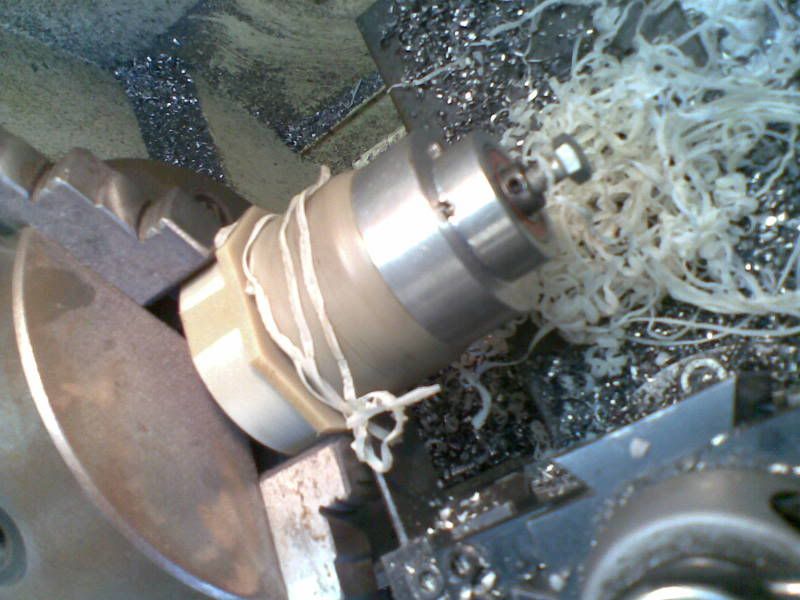
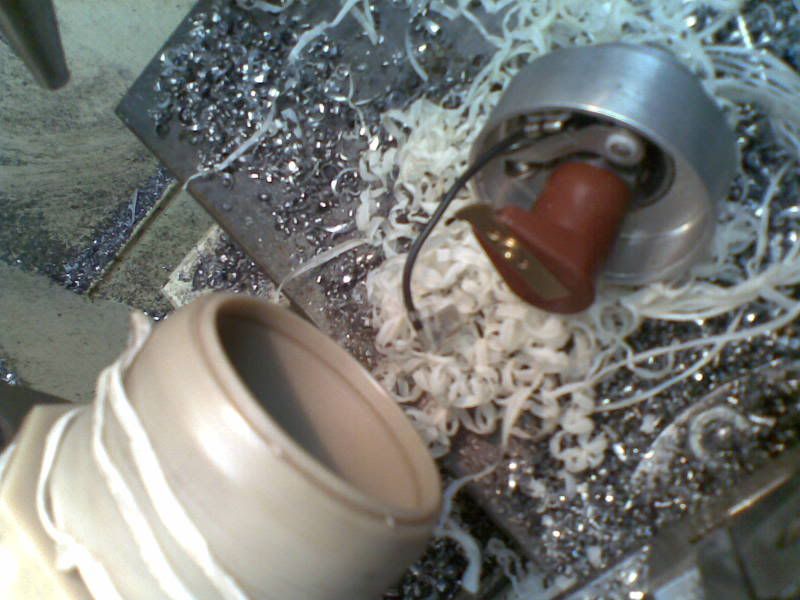
here i have started with a piece of plastic to make the distributor cap.

23062011006.jpg

Its pretty messy stuff if you dont catch the shavings from the start.

23062011008.jpg

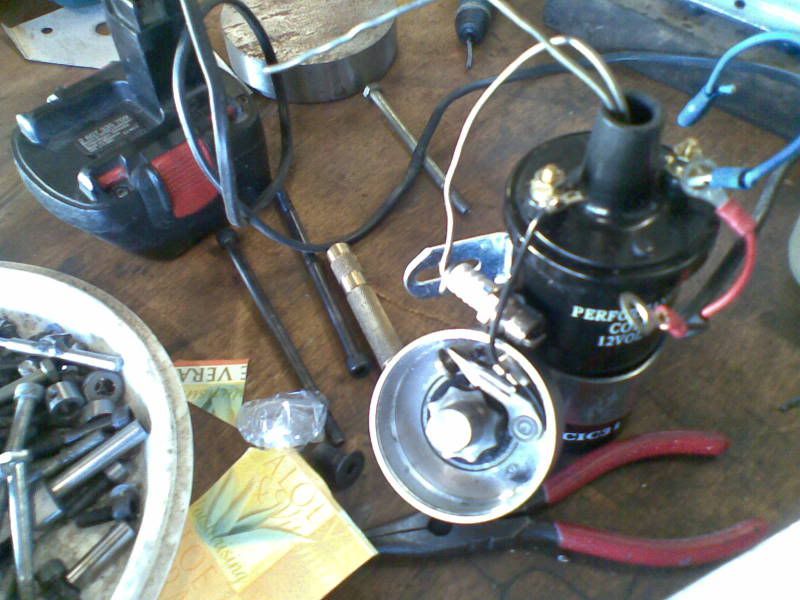
Test fitting the distributor cap to the housing.

23062011009.jpg


23062011010.jpg

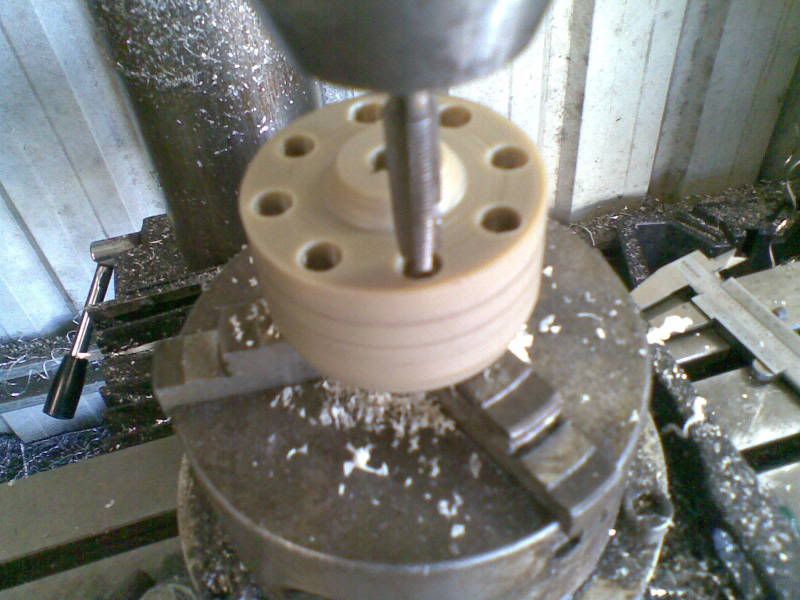
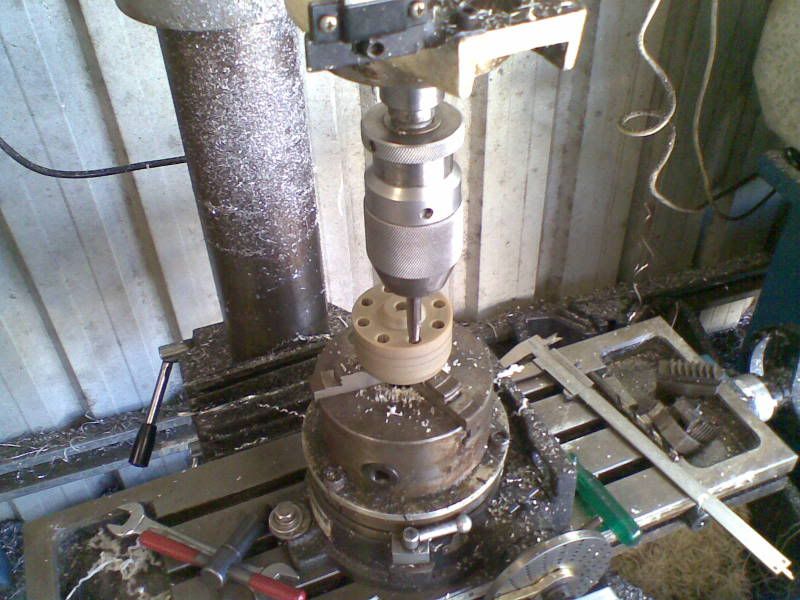
Here i am have divided the cap into 8 equal spaces using my little dividing head drilling and tapping as i go. After they were tapped i screwed some 5/16 unf copper bolts in there as the little spark catchers.

23062011002.jpg

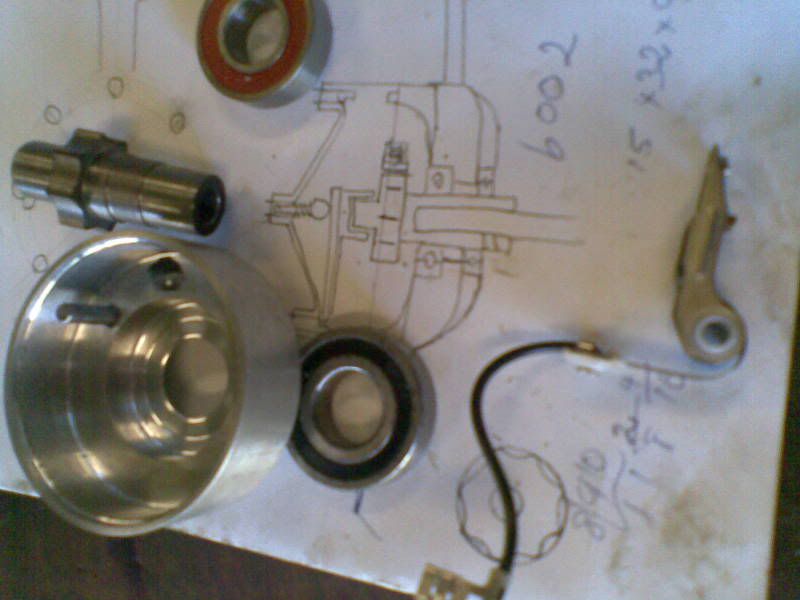
Here i have the drawing i used to build the distributor, the points were purchased from the local hardware store. (early model holden torana, they were the smallest i could find off the shelf) (is that cheating? ???)

23062011001.jpg

The photo is a little bit blury but this is making the cam. machined the blank up in the lathe then into the dividing head were i used a slot drill and made the shape as you can see. (so rather than flats they are scollops)

23062011007.jpg

the rotor button was a bit big, so my distributor cap was made bigger to suit.

23062011011.jpg

Giving it a test run by hand ;D. (notice the flash battery supply :p)

08082011001.jpg

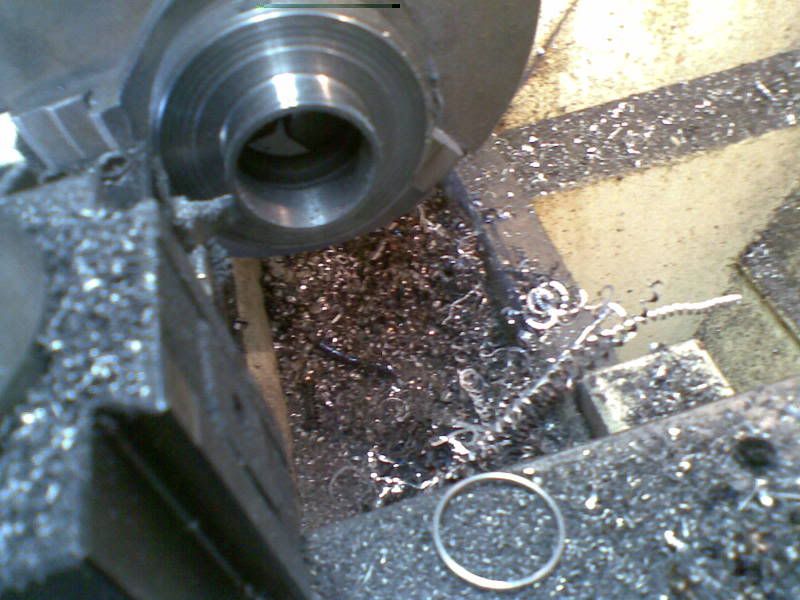
making rings out of an old cast iron hydralic cylinder gland for practice.

08082011002.jpg

here you can just see were i have put a little grove in the ring with a file so they would break nicely for me.

08082011004.jpg


08082011003.jpg

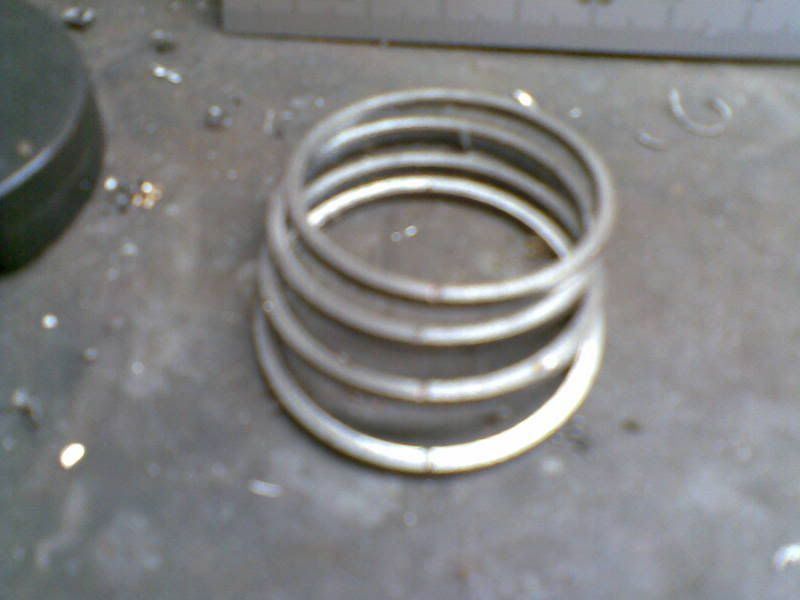
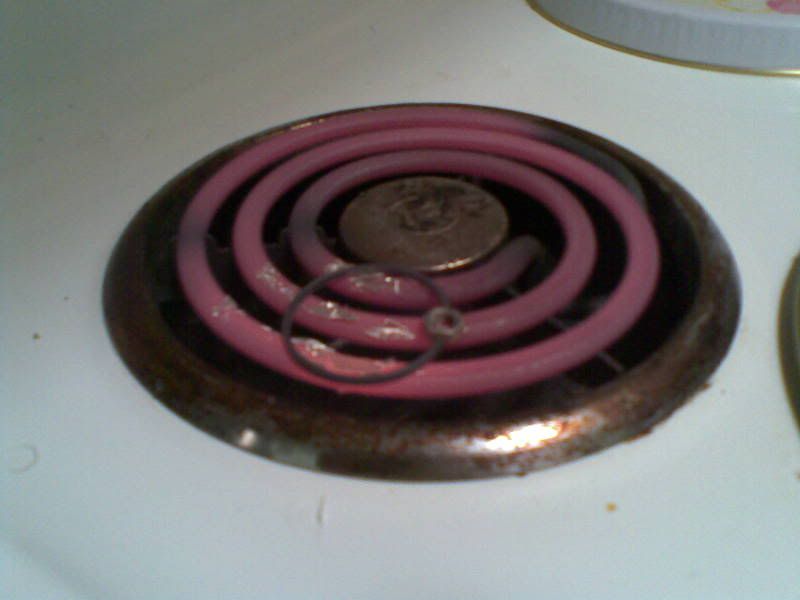
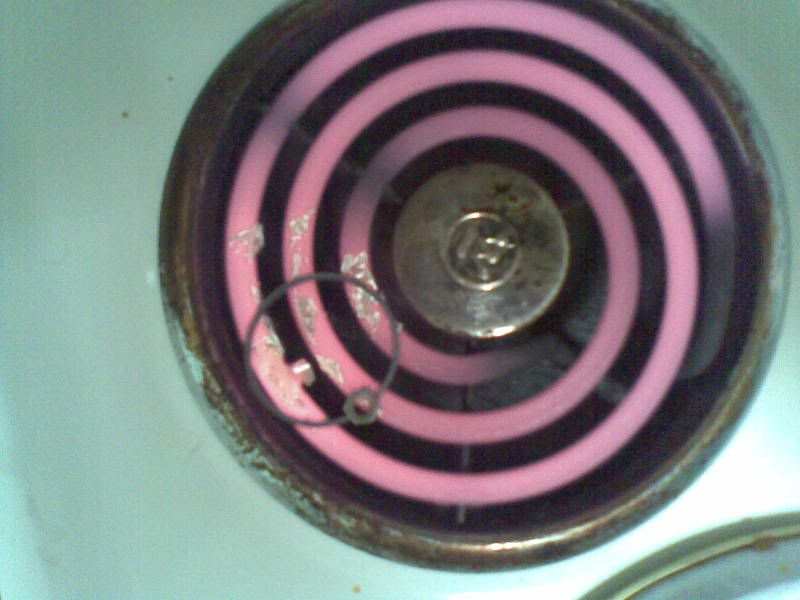
here i opened them up and put a 10mm nut between the ends and sat them on the stove. the stove was not hot enough to do what i wanted them to do, so i went to plan B 8)
 
SCAN0015.jpg


SCAN0011.jpg


SCAN0010.jpg


SCAN0009.jpg


SCAN0008.jpg


SCAN0007.jpg


SCAN0005.jpg


SCAN0004.jpg


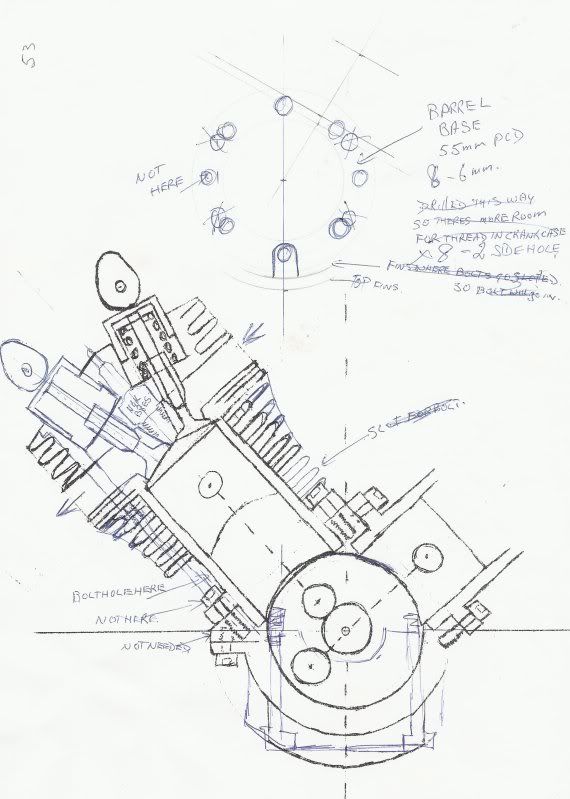
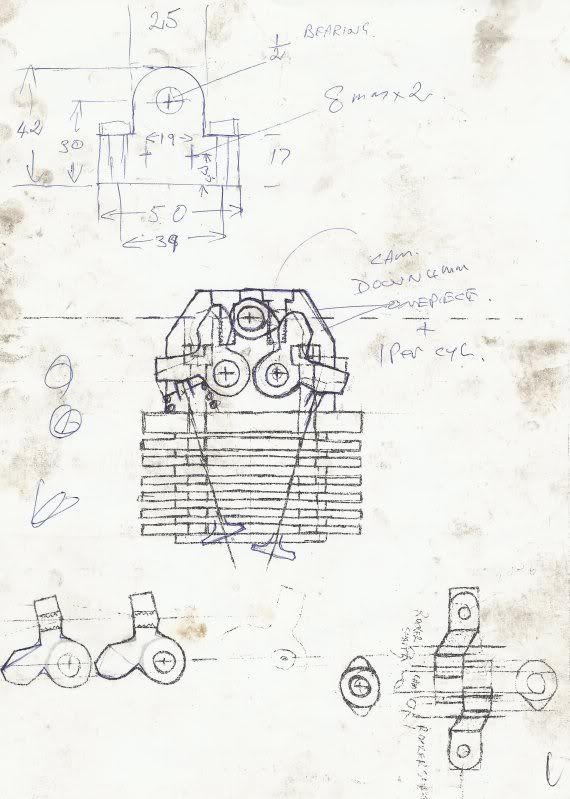
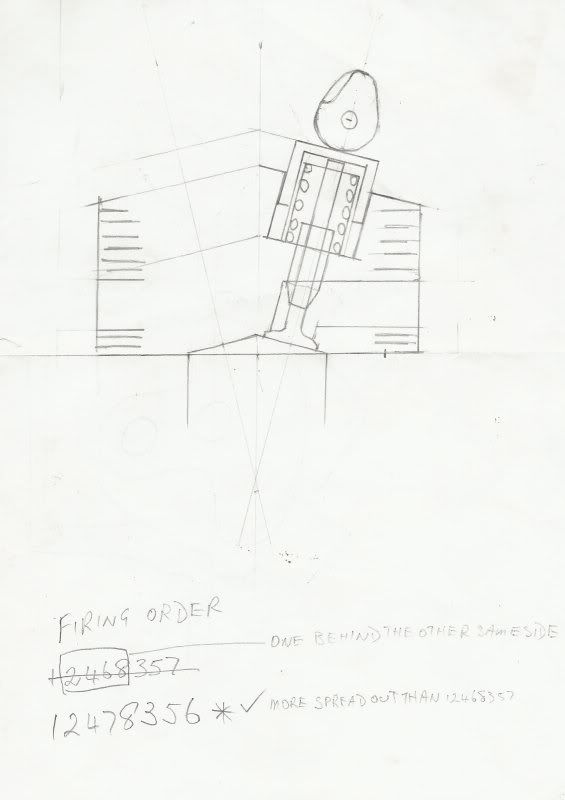
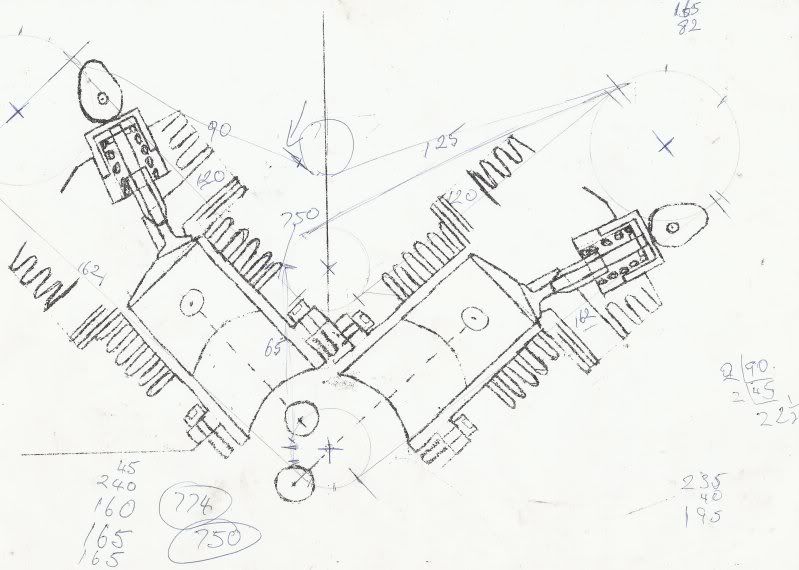
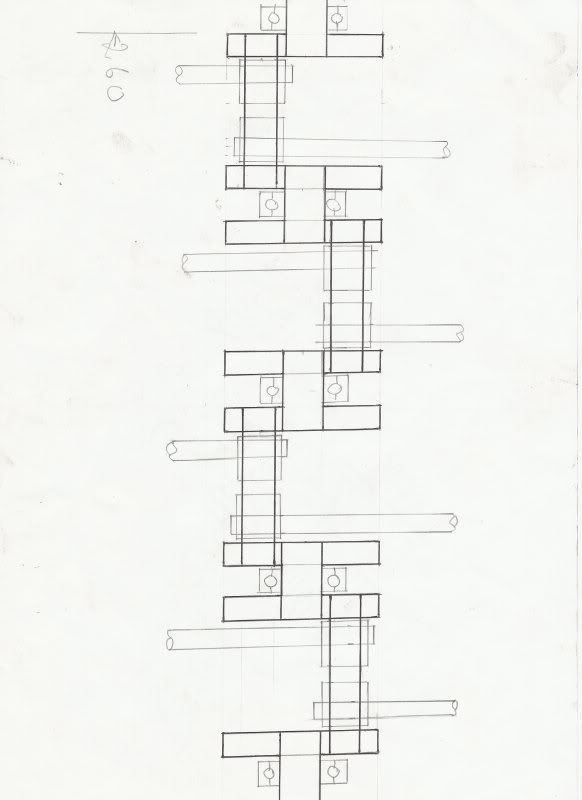
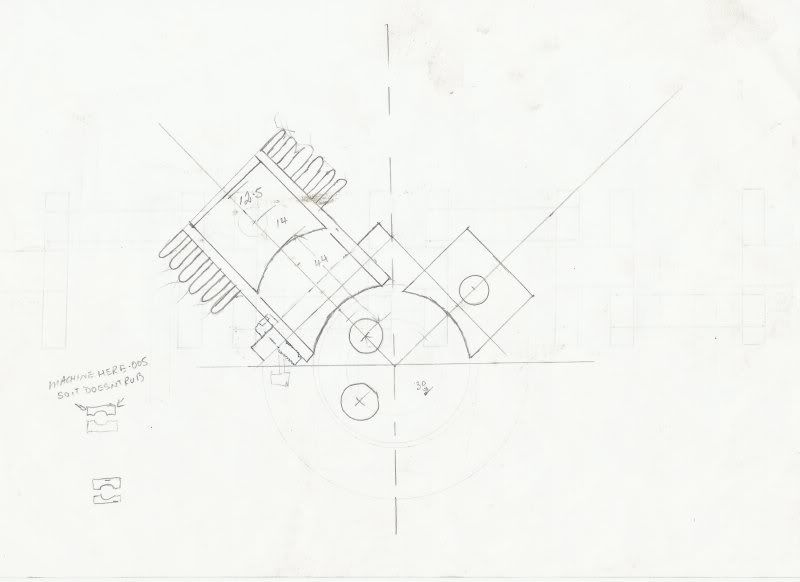
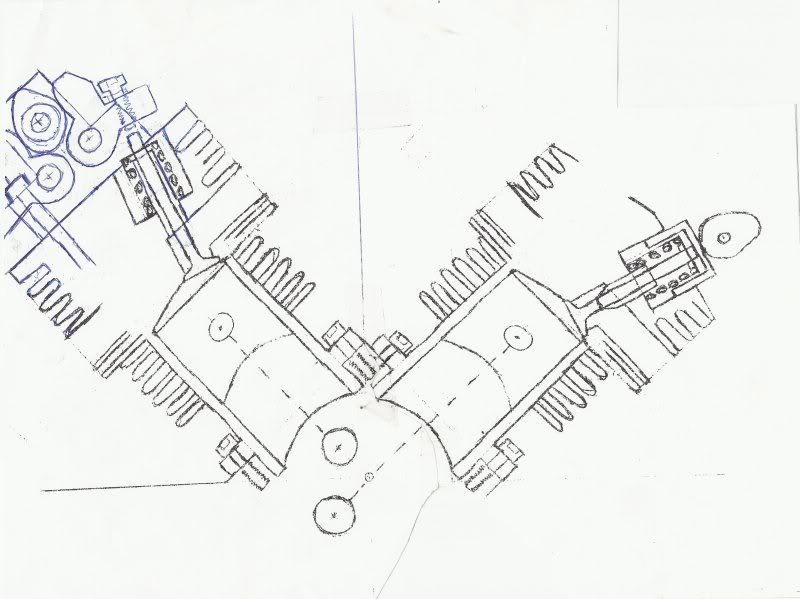
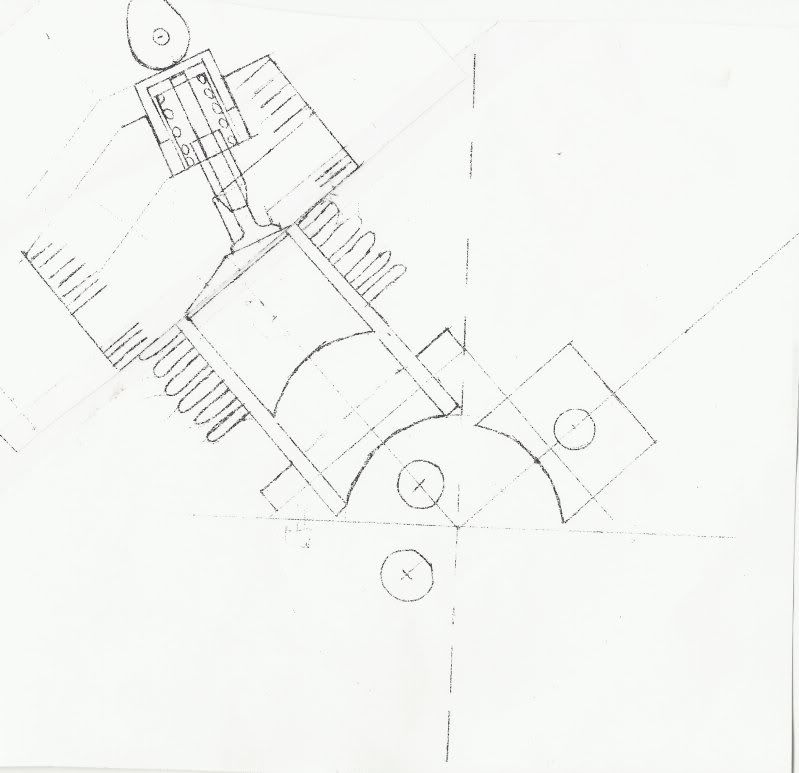
Few photos of drawings right from the start. Double overhead cam one day, single overhead cam the next. It's all on A4 drawn full size, you can scale it down if you want to. This is all I worked with for the whole job, the only drawing that is not here is the one where I made the distributor but it's in a previous lot of photos. Send me a message or reply on here if you have any questions and I'll try my best because it started back in Easter.
 
[ame]http://www.youtube.com/watch?v=_xYS76sGGws[/ame]

another video early on . i dont think i even had rings on it at this stage. it was just to see if everthing went round n round . it sort of did . things rubbed in a few places. the oil was a bit shiney but a bit of die grinding in a few places gave it some clearence .the drill i was spinning it with was good for 2800 rpm and i had it flat out for five minutes or so .it seemed to spin nicely (no vibration at all with no fly wheel either). i did have a problem with crankcase pressure i drilled holes into each pair of cylinders and hooked them all together with plastic hose so as when two pistons were going down they were pushing air into two cylinders whose pistons were going up. (make sense) anyway see what you reckon. that wasnt the only problem
 
Back
Top