You are using an out of date browser. It may not display this or other websites correctly.
You should upgrade or use an alternative browser.
You should upgrade or use an alternative browser.
Small model V8 motor built at home scratch built
- Thread starter dixon
- Start date

Help Support Home Model Engine Machinist Forum:
This site may earn a commission from merchant affiliate
links, including eBay, Amazon, and others.
- Joined
- May 14, 2011
- Messages
- 683
- Reaction score
- 185
Every time I see one of these engine run it just amaziest me ! Great job .Thanks for sharing .Dale

$54.46
Amana Tool - 46280 CNC 2D & 3D Carving 6.2 Deg Tapered Angle Ball Tip x 1/32 Dia x 1/64
Express Tool Supply

$38.26
$49.99
Becker CAD 12 3D - professional CAD software for 2D + 3D design and modelling - for 3 PCs - 100% compatible with AutoCAD
momox Shop
![DreamPlan Home Design and Landscaping Software Free for Windows [PC Download]](https://m.media-amazon.com/images/I/51kvZH2dVLL._SL500_.jpg)
$0.00
DreamPlan Home Design and Landscaping Software Free for Windows [PC Download]
Amazon.com Services LLC

$519.19
$699.00
FoxAlien Masuter Pro CNC Router Machine, Upgraded 3-Axis Engraving All-Metal Milling Machine for Wood Acrylic MDF Nylon Carving Cutting
FoxAlien Official

$39.99
$49.99
Sunnytech Low Temperature Stirling Engine Motor Steam Heat Education Model Toy Kit For mechanical skills (LT001)
stirlingtechonline

$443.98
TM NEXDYNAMI AT29618 Water Pump Compatible With/Replacement For John Deere 1020 1520 2020 300 301 400 401 440 440A 480 AT29618
VIVID MARKET CORPORATION
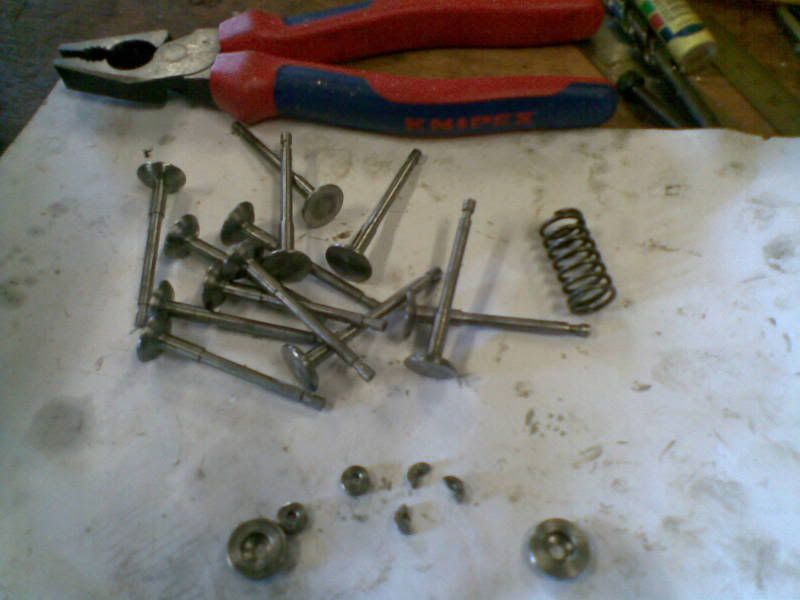
here i have the valves all finished and the collets all ready to go (just need lapping in)
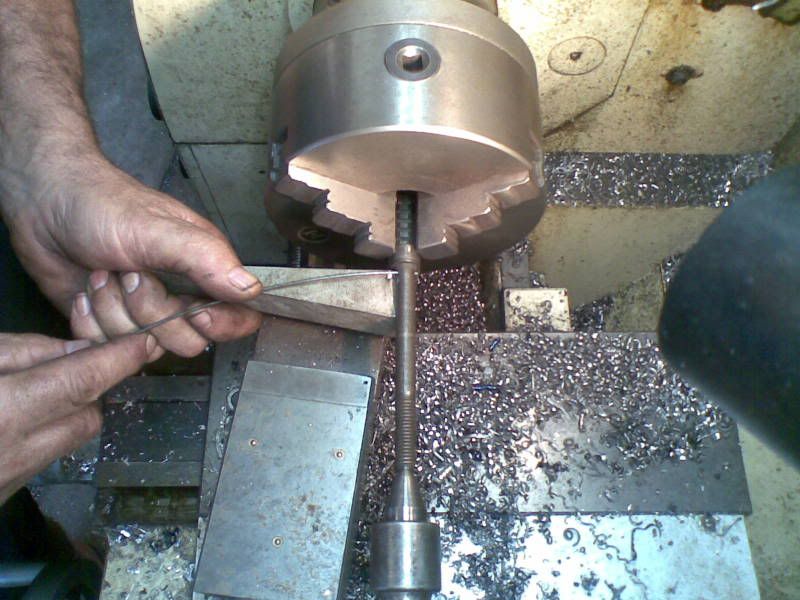
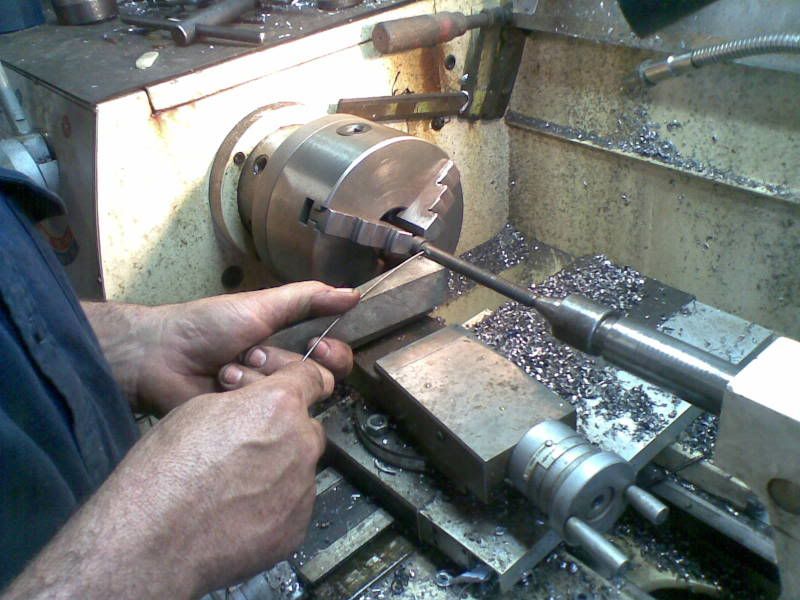
I went to the local spring works and purchased 3 metres of spring steel and as you can see in the picture i have drilled a hole in an old bolt that was a bit smaller in diameter than the id of the finished product and just kept winding it around to the desired length with the lathe set on the right pitch. (they were quite easy to make)
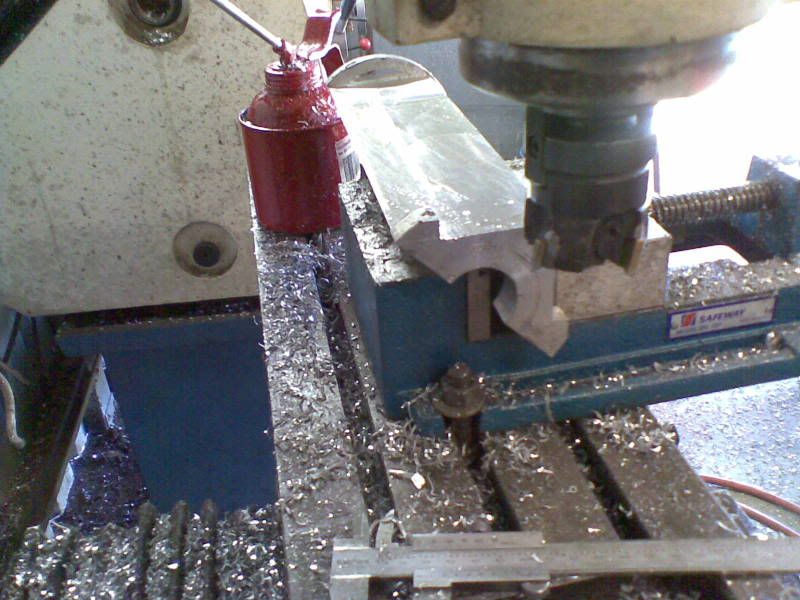
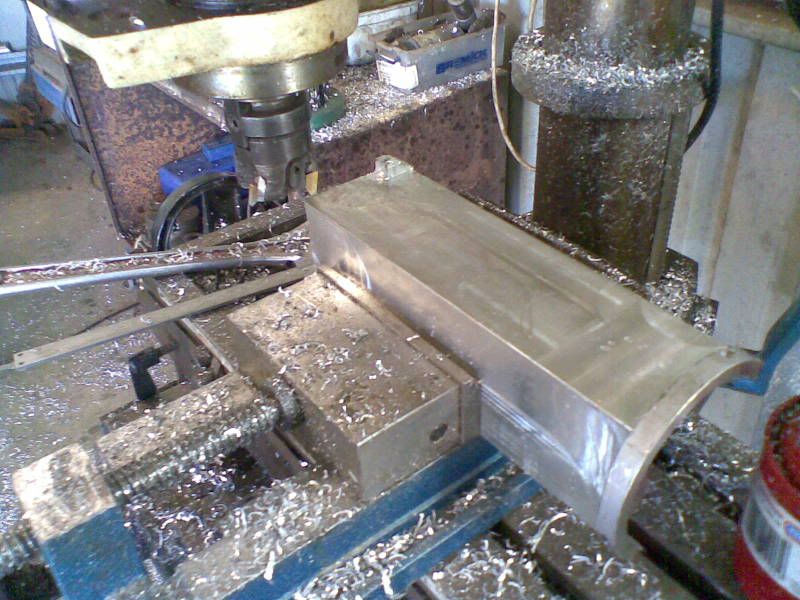
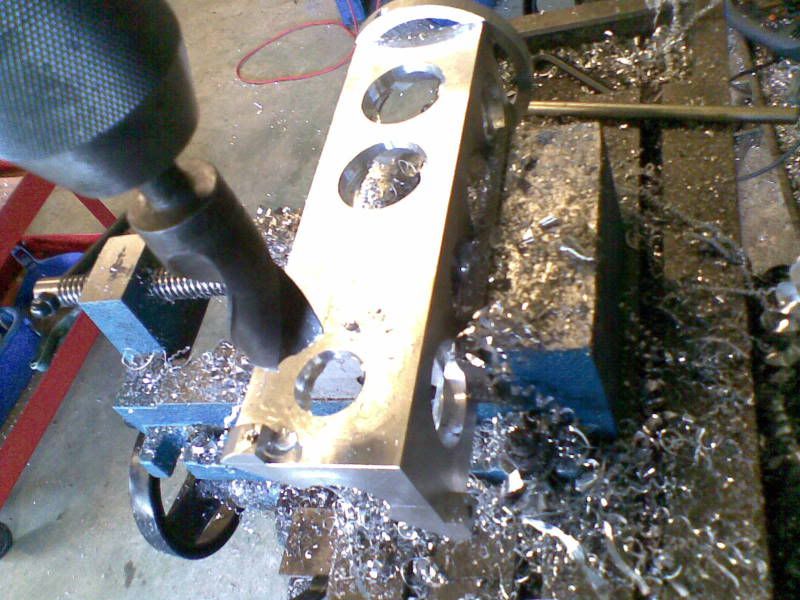
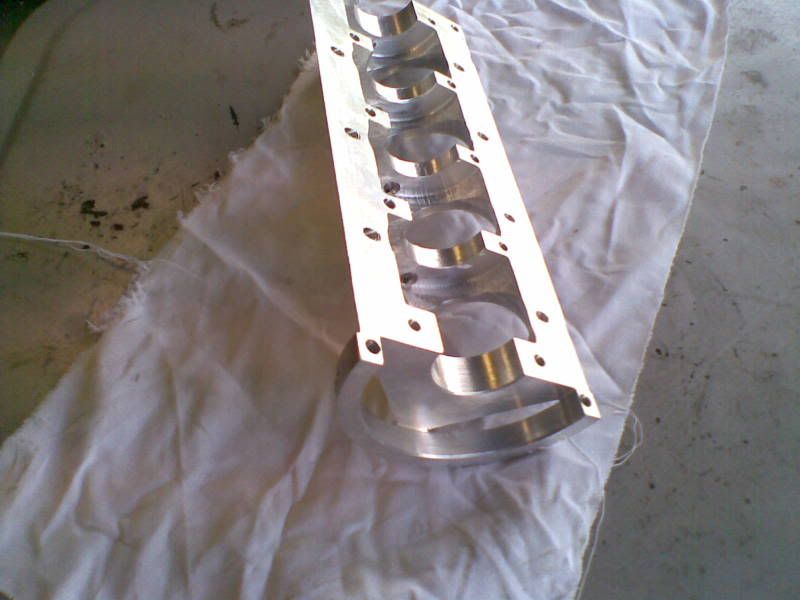
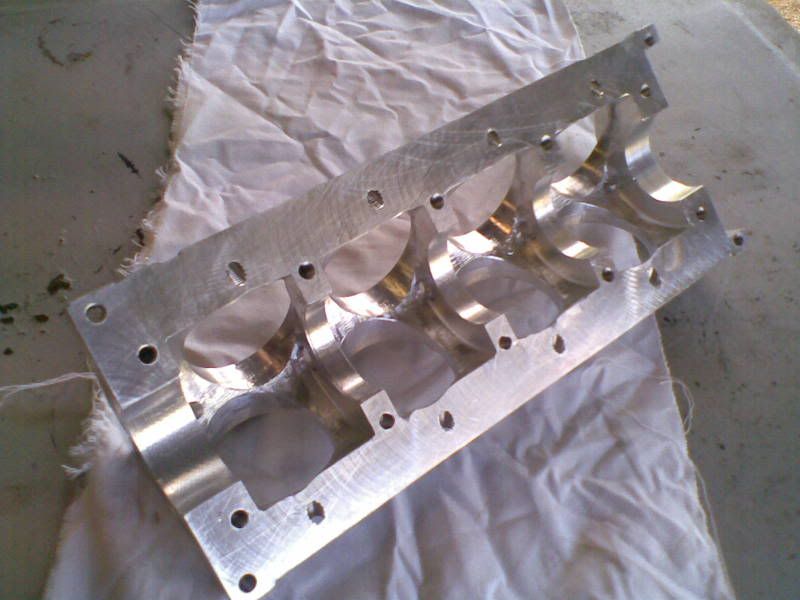
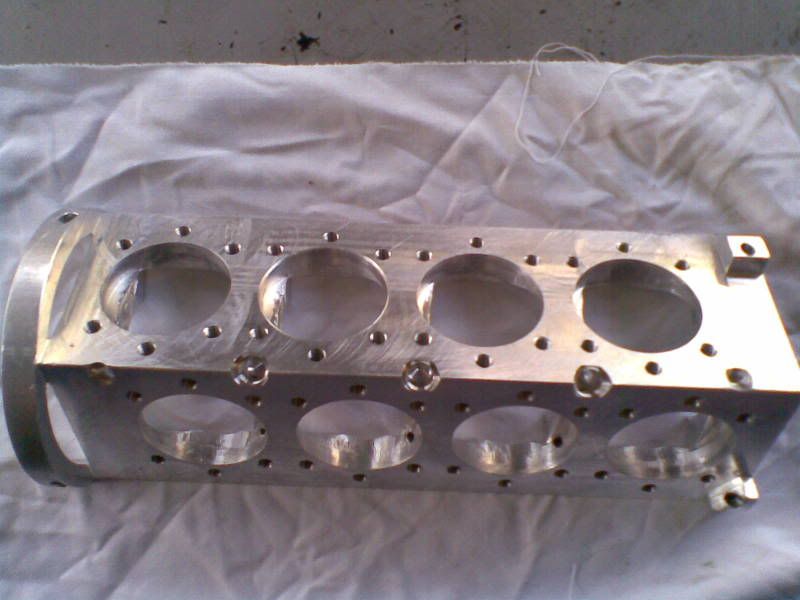
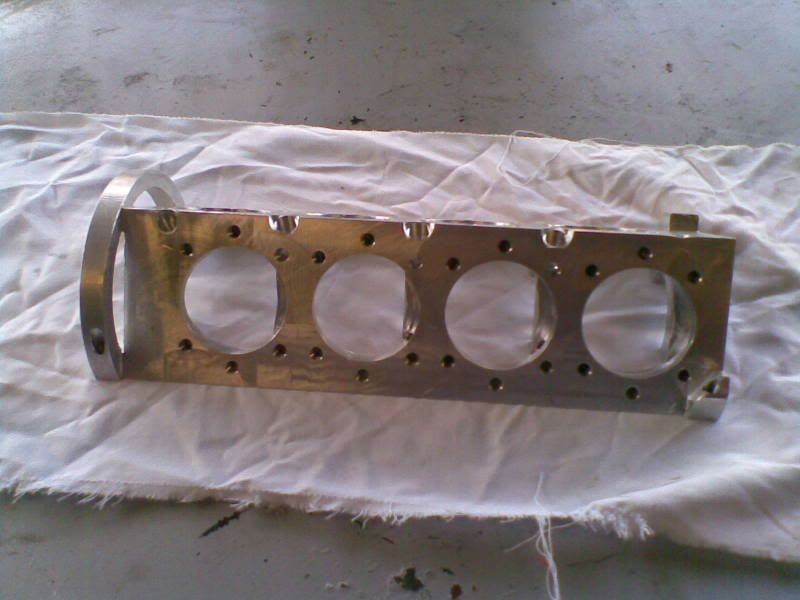
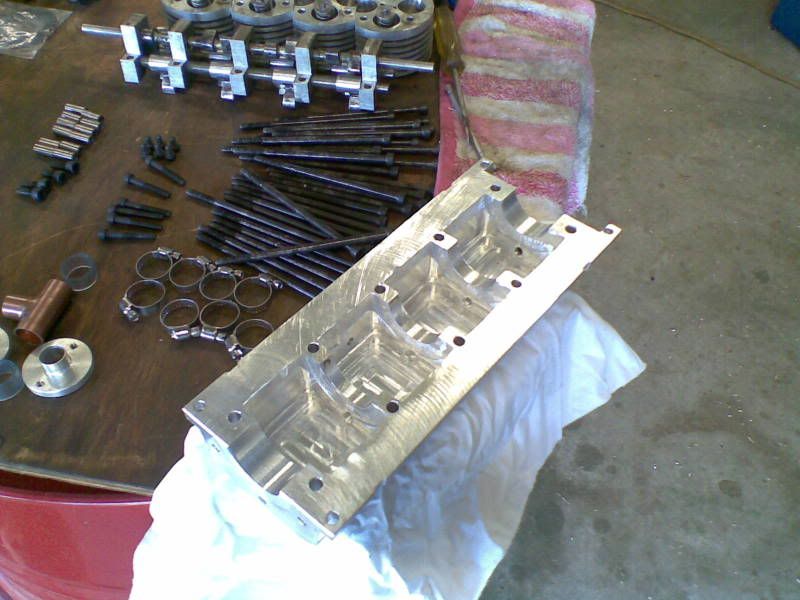
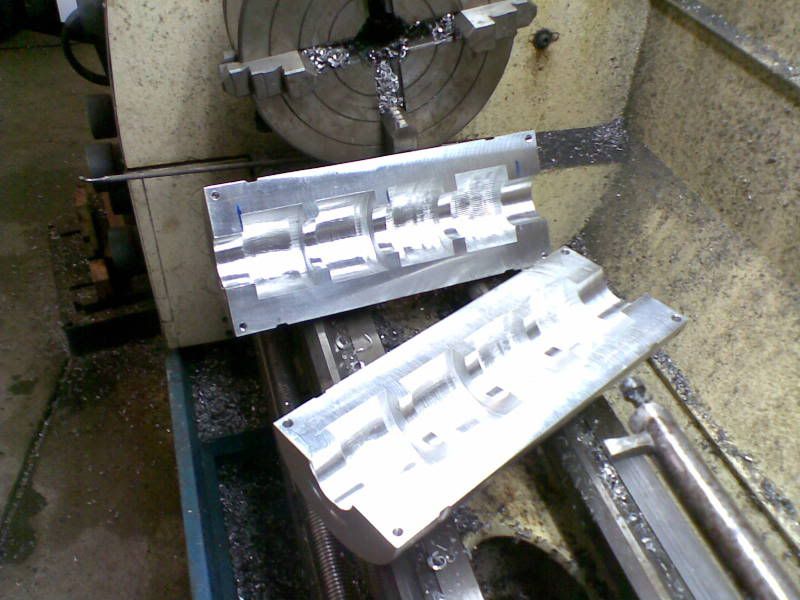
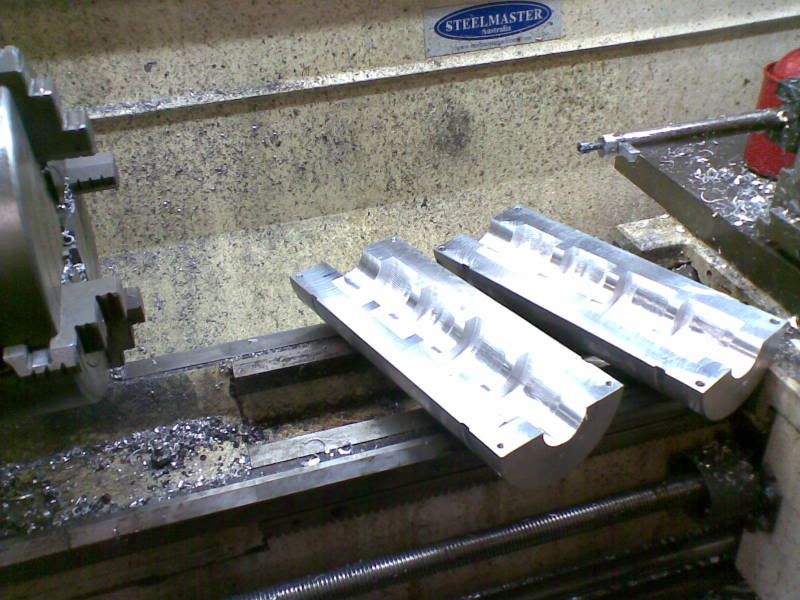
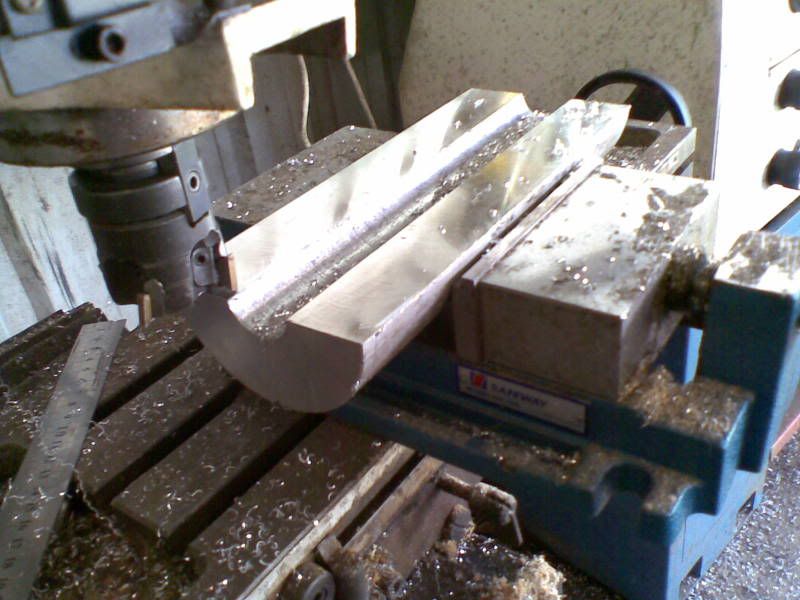
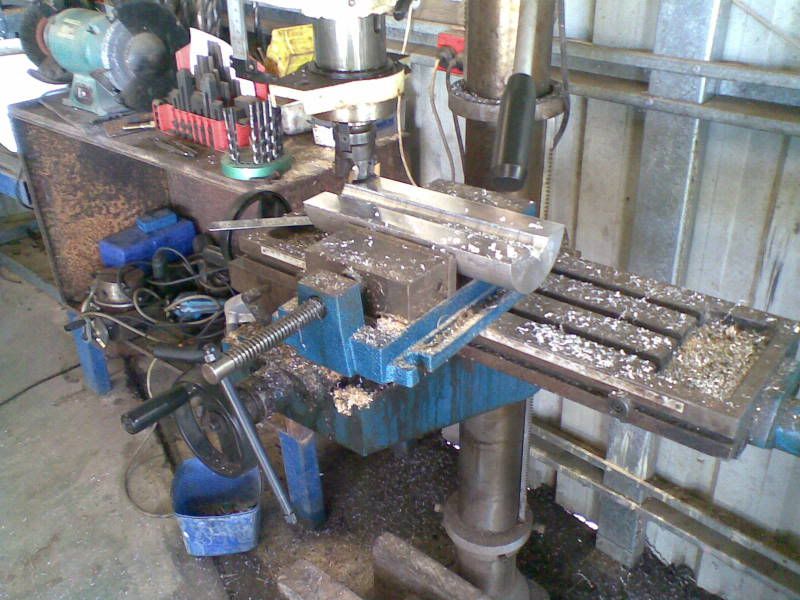
these few pictures show the block being machined, drilled and tapped for the barrels to bolt on, i have milled the bottom half of the block/sump out so as it can hold a bit more oil.
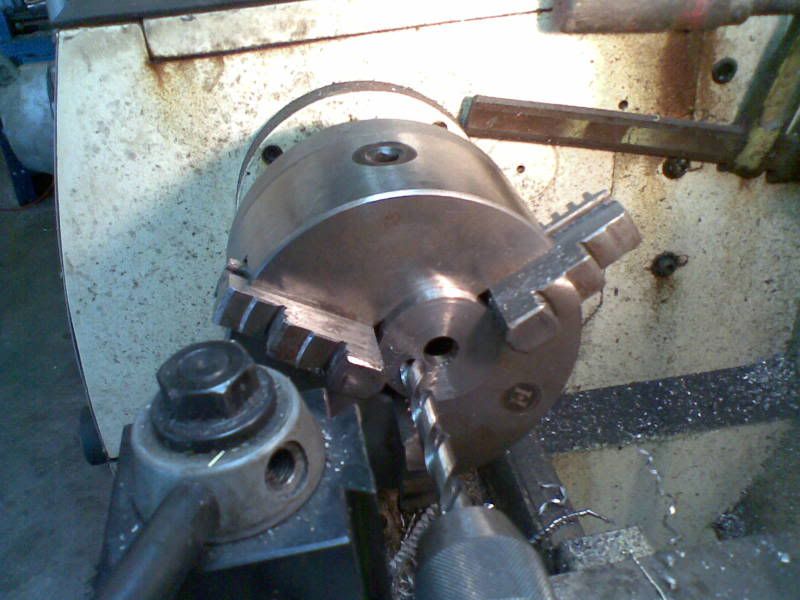
you will notice the jaws are offset in this picture, it was the easiest and quickest way i could mass produce all these pieces. and they are all very close to being the same (nobody is perfect)
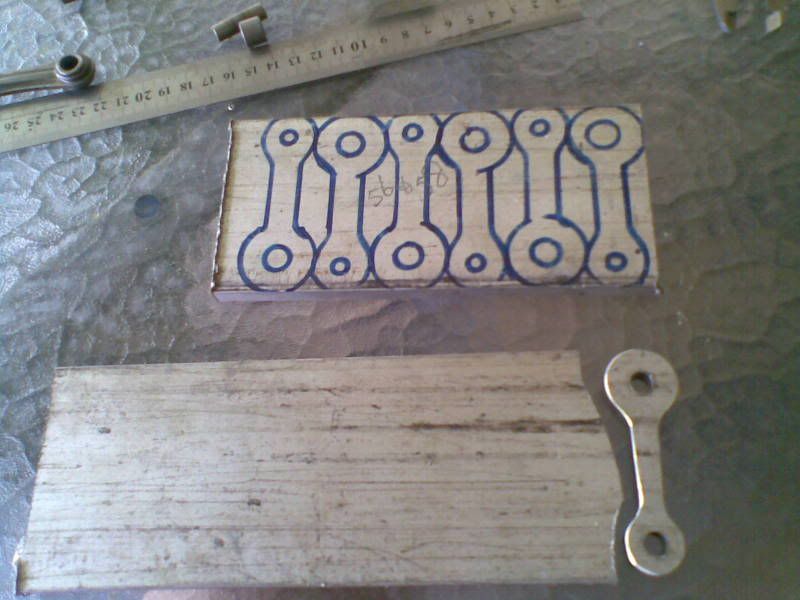
con rods being cut out of 10mm alluminum flat bar, no special tensile strength just off the shelf.
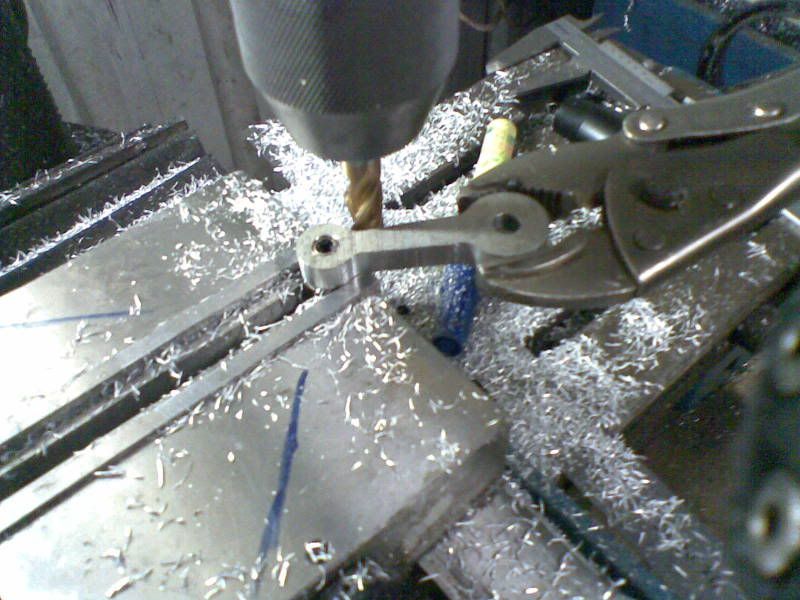
all of these radiuses were done pretty much by hand just like in the picture. the 2 blue lines on the vice were an indicator of where to finish the radius.
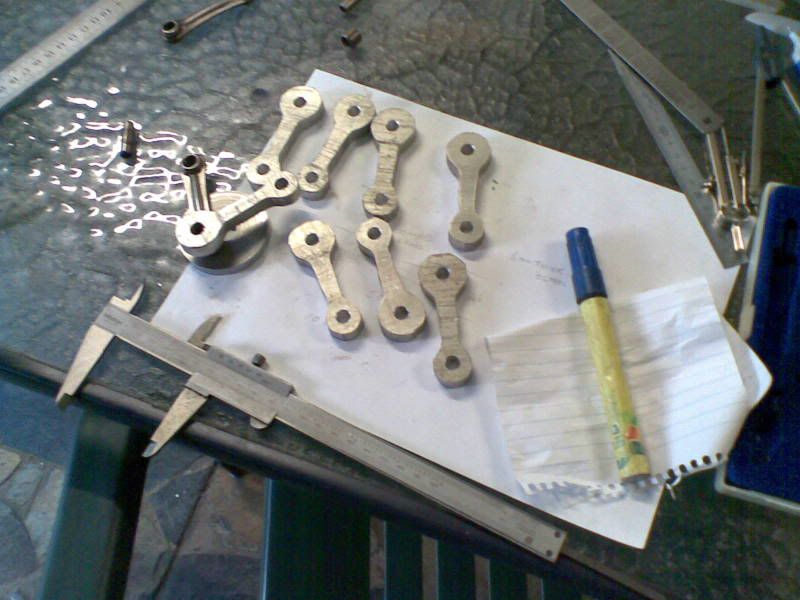
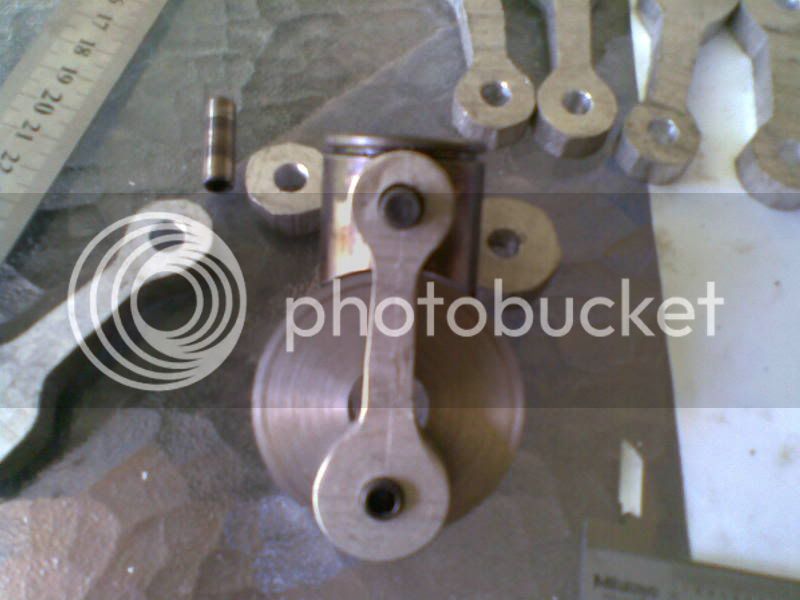
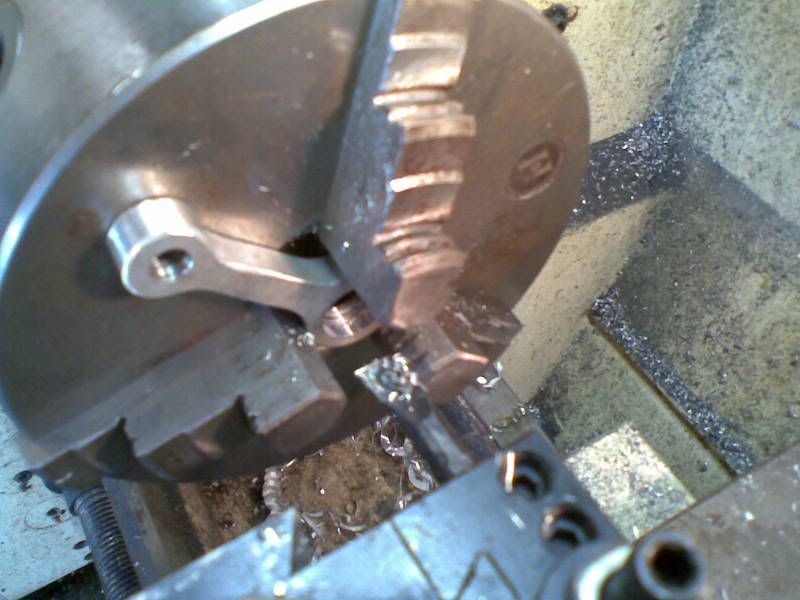
the jaws grabbed the big and little end just nicely (because i went more than 2/3rds of a circle with the mill and vice grips)
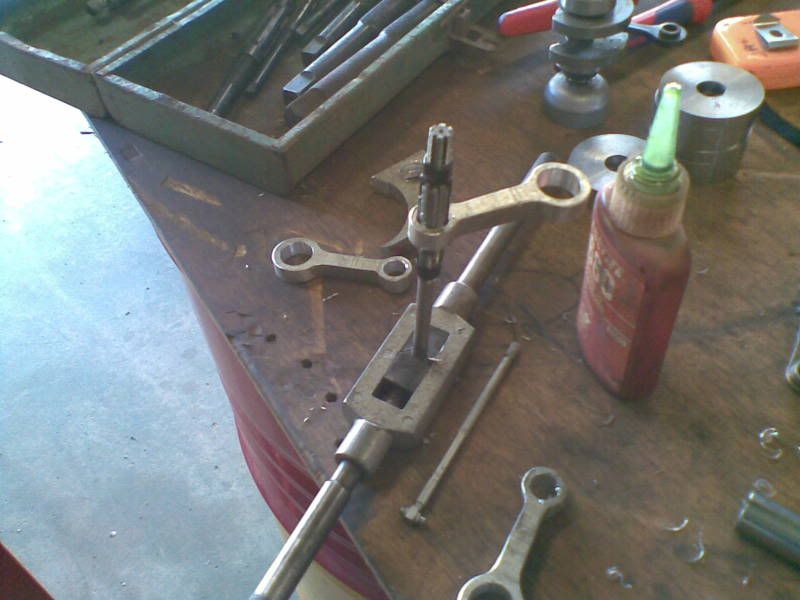
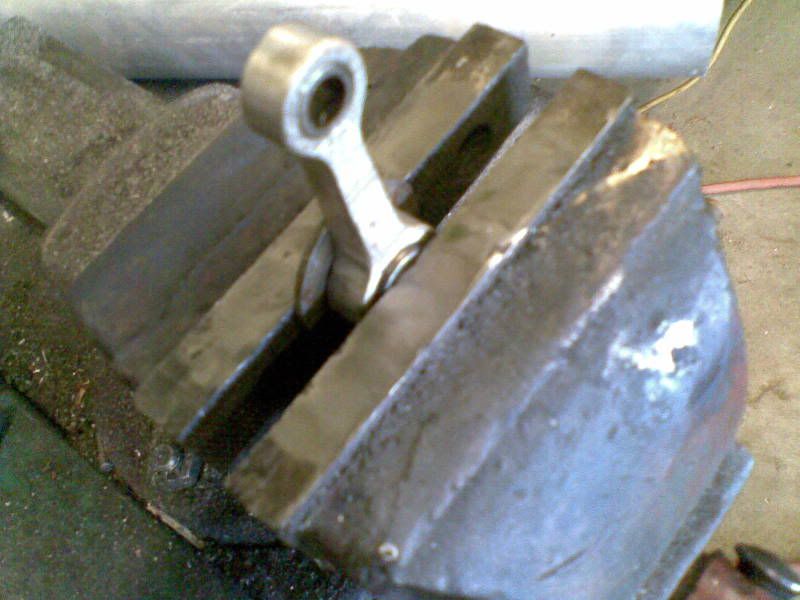
Reaming to size and pushing the bearings in with the vice.
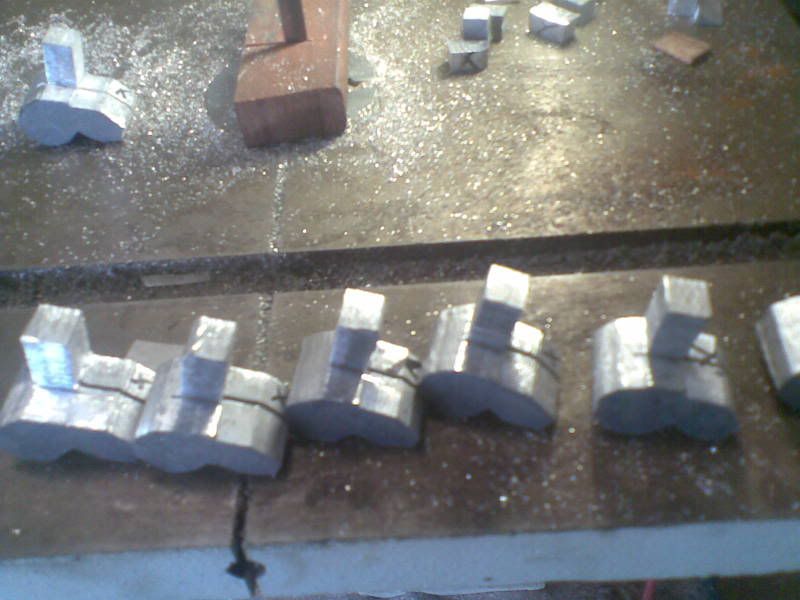
These pieces were cut on the band saw, we will find a use for them later.
That should keep every one interested for a while, there is heaps more to come.
heads, barrels, cams, rockers, distributor, pistons, rings and the crank.
more comments and questions PLEASE i am enjoying this part of it as much as i did building the engine ;D
heads, barrels, cams, rockers, distributor, pistons, rings and the crank.
more comments and questions PLEASE i am enjoying this part of it as much as i did building the engine ;D
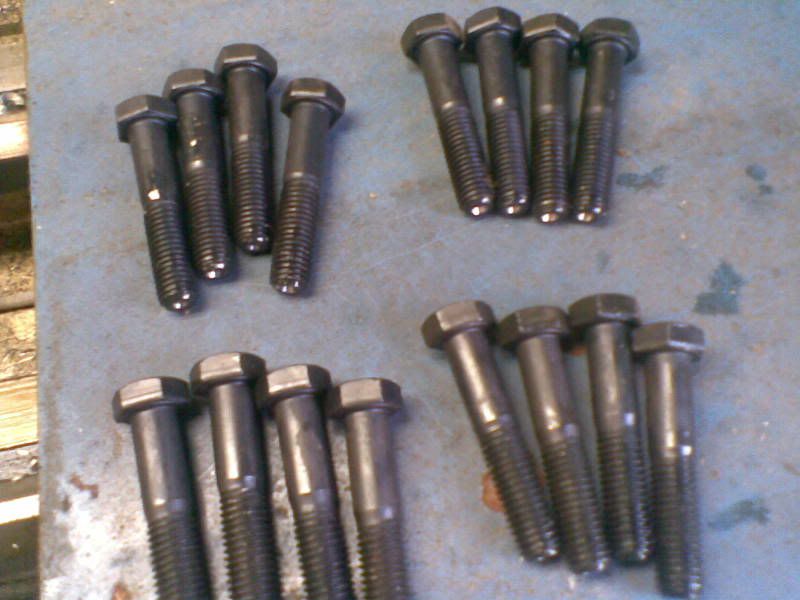
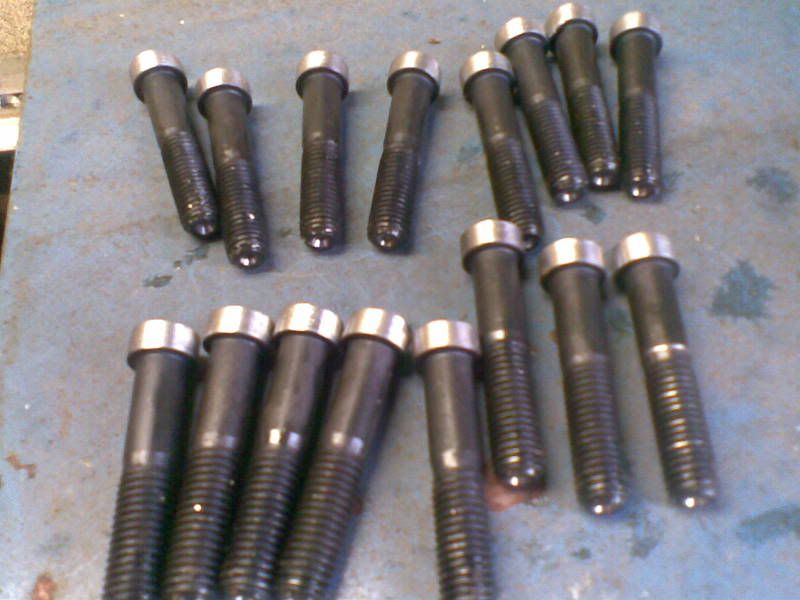
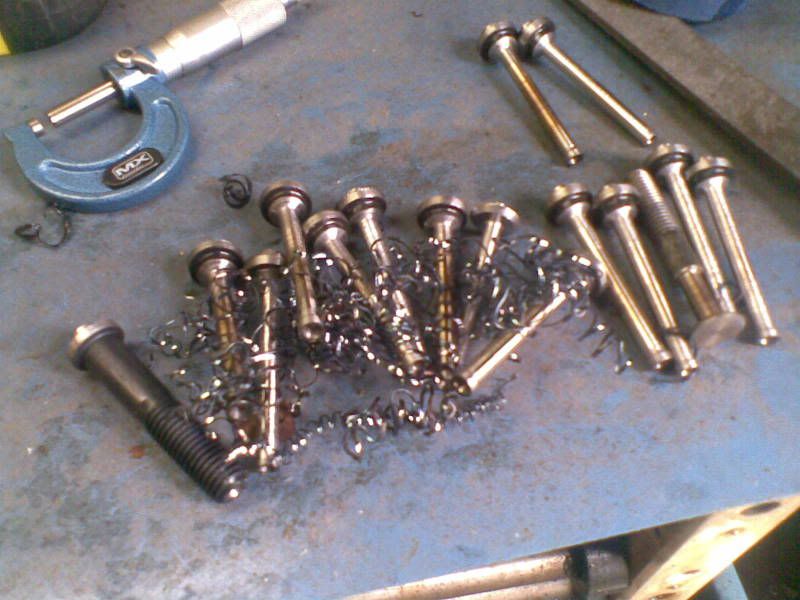
the valves. i machined hex off bolt then end for ended it in chuck and centre drilled. pictures show valve head machined first and along stem for a bit while gripped by the thread end. the head of the valve could then be held in the grooves of the jaws ( for stability ) and machined rest of the way leaving centre drilled end to be parted off last after collet groove was put in. you can see stems starting to change colour (going blue). so i had to be a bit careful. after blue they go red and a bit like licrorice. just have to be patient.
Using cold (hot) headed bolt as stock for a valve - pure genius -
I'm not sure you could do better - definately worth a karma point in my book.
Ken
I'm not sure you could do better - definately worth a karma point in my book.
Ken
Loving it, keep it coming!
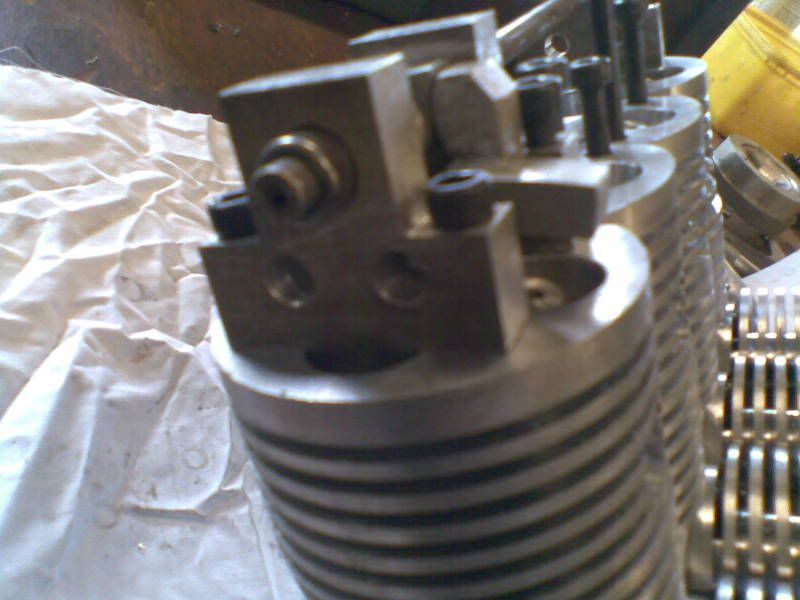
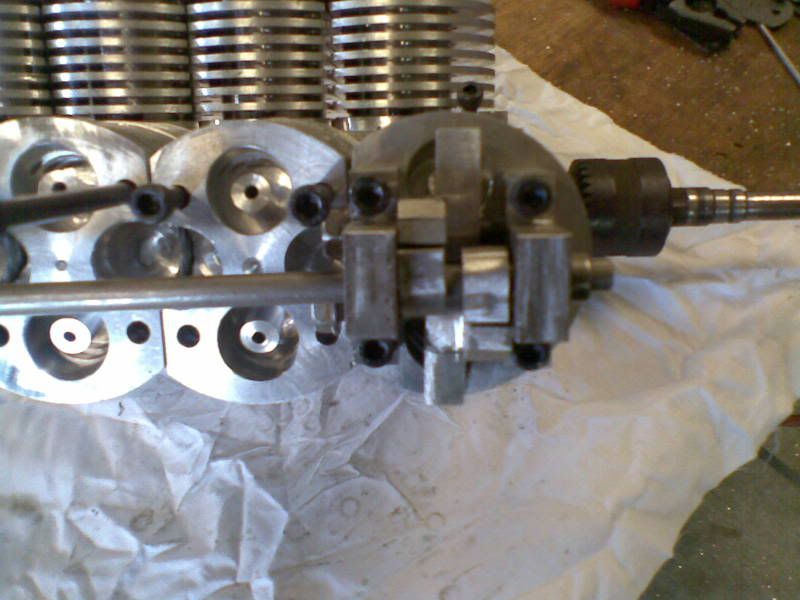
here you can see i am trying to get the rockers and cam to work together. on the left hand bank of cylinders the inlet cam lobes do their work on the top side of the rockers and the exhaust cam lobe pushes the rocker from the bottom. and on the other bank of cylinders the inlet cam lobe pushes the rocker from the bottom and the exhaust side gets pushed open from the top side.
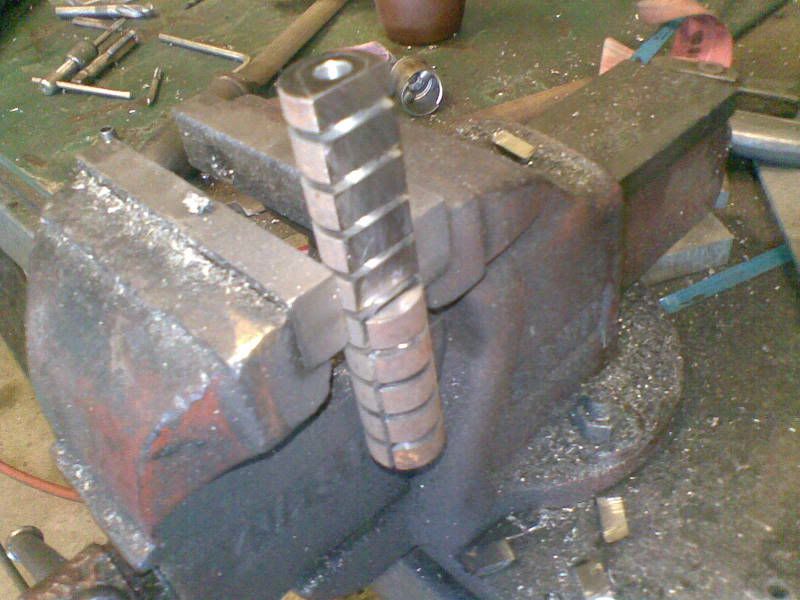
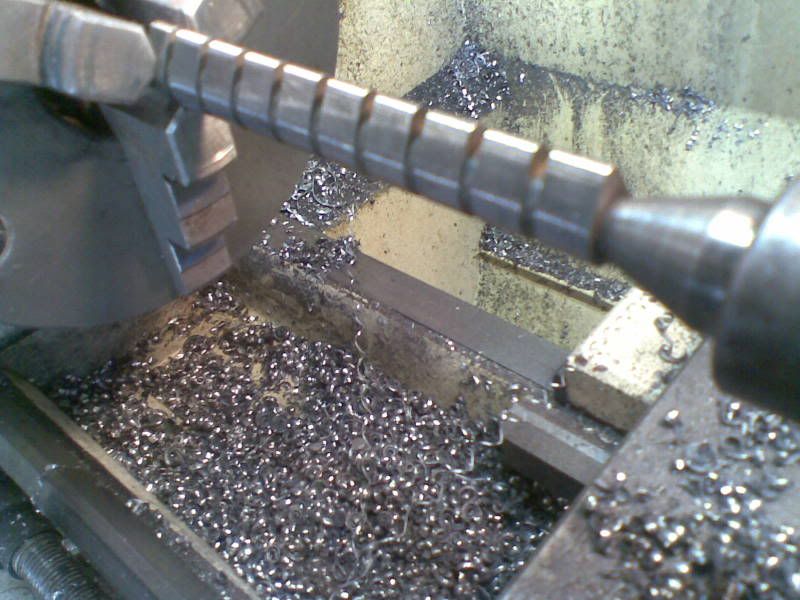
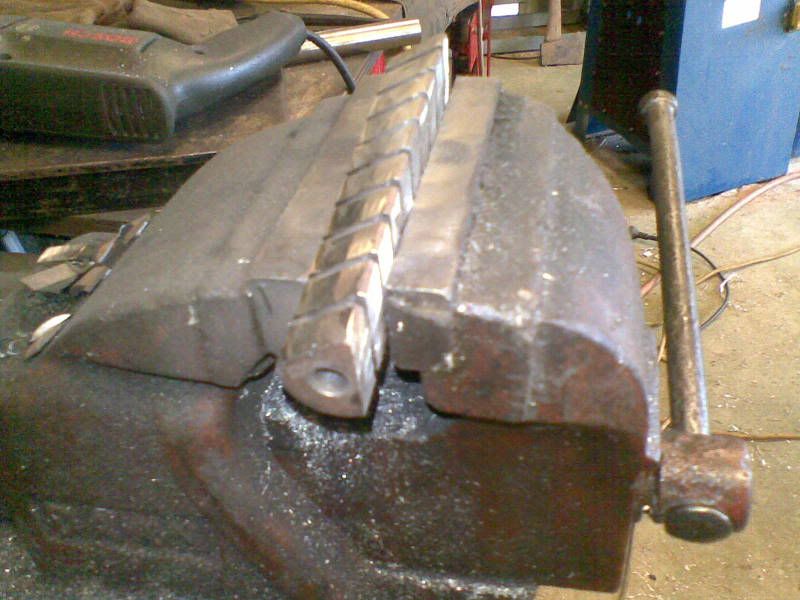
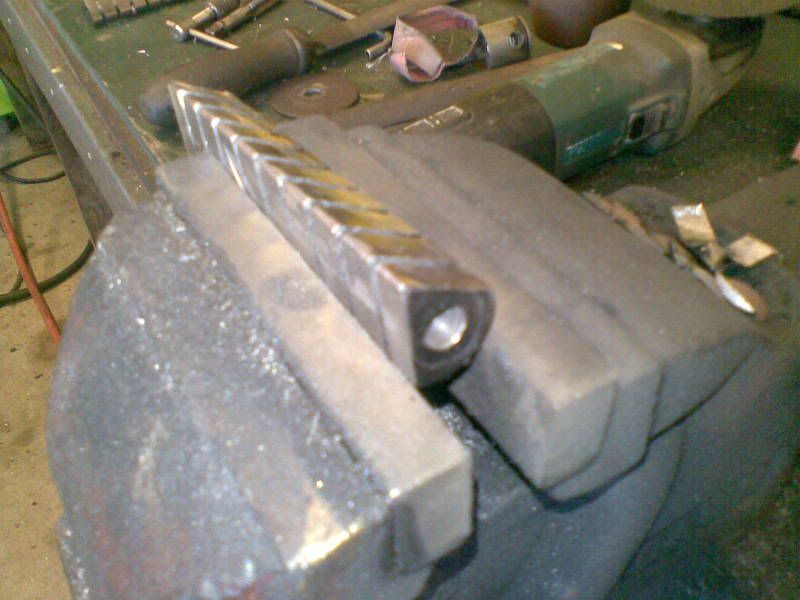
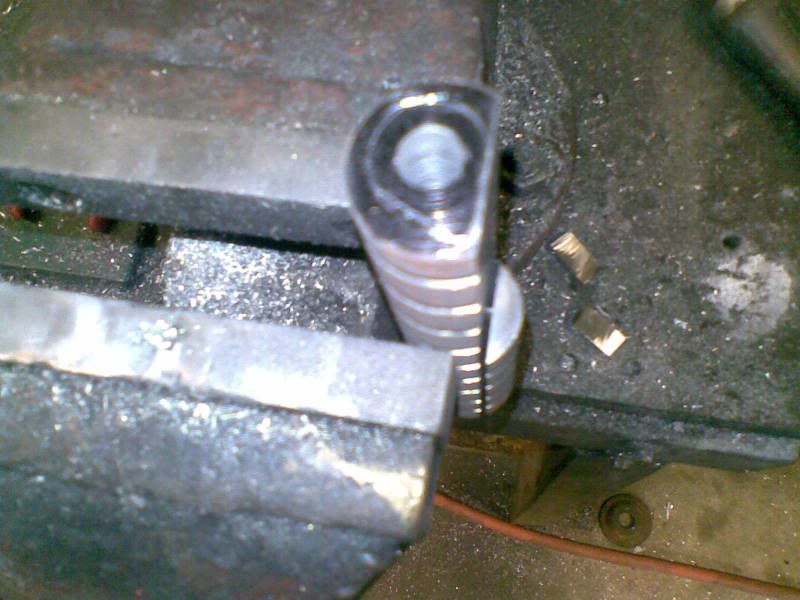
the cam lobes were first roughed out of a piece of high tensile round bar with a skinny cutting disc and grinding wheel on a 5inch grinder (4inch grinders are for boys
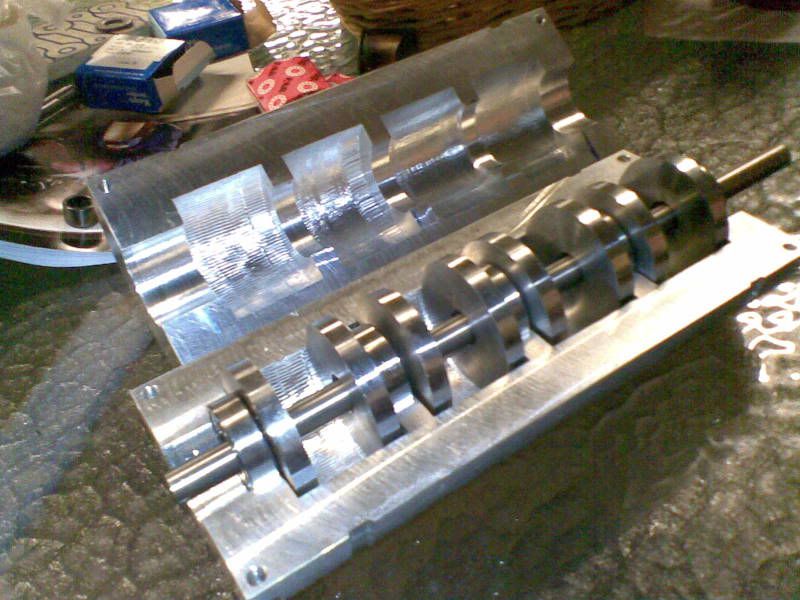
ok folks now we have the crank shaft. as you can see in the photo below, i had to modify my pipe bender to use it as a press, i drilled an extra hole right in the centre above the jack. (were the boring bar is going through) which was used to press the crank shaft together.
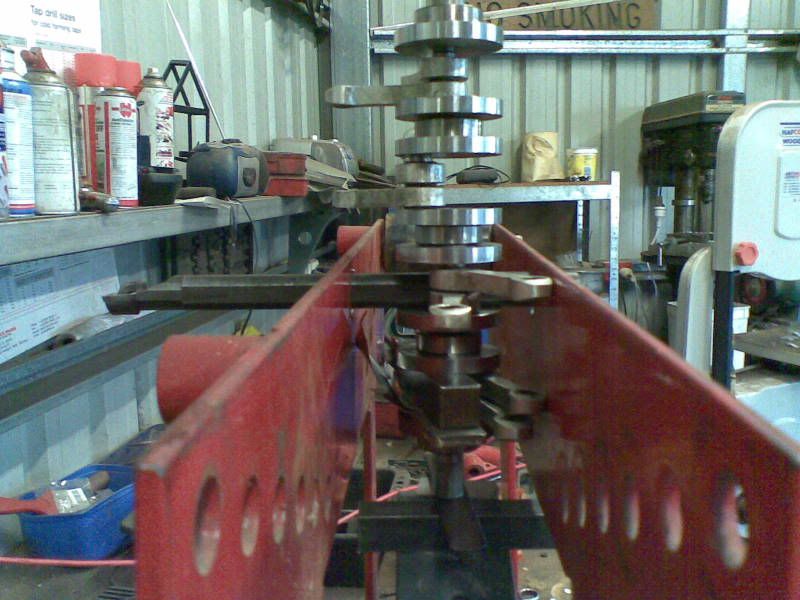
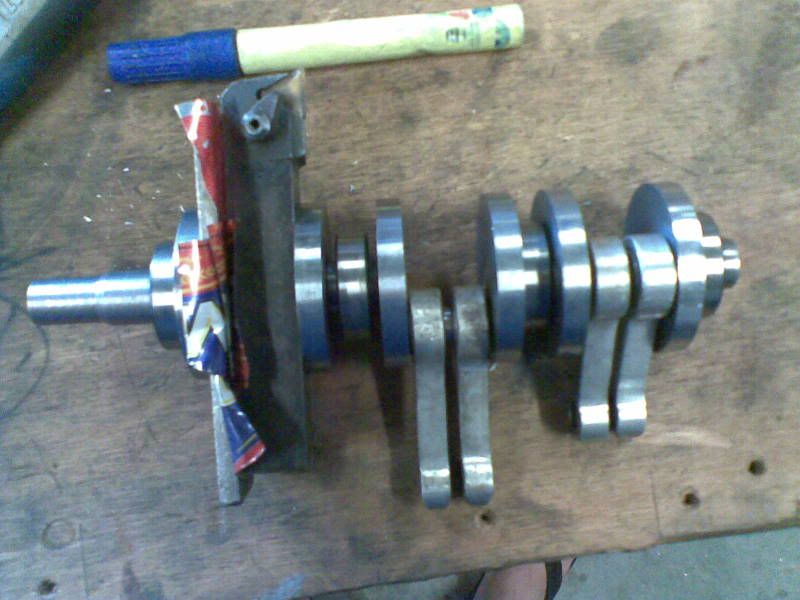
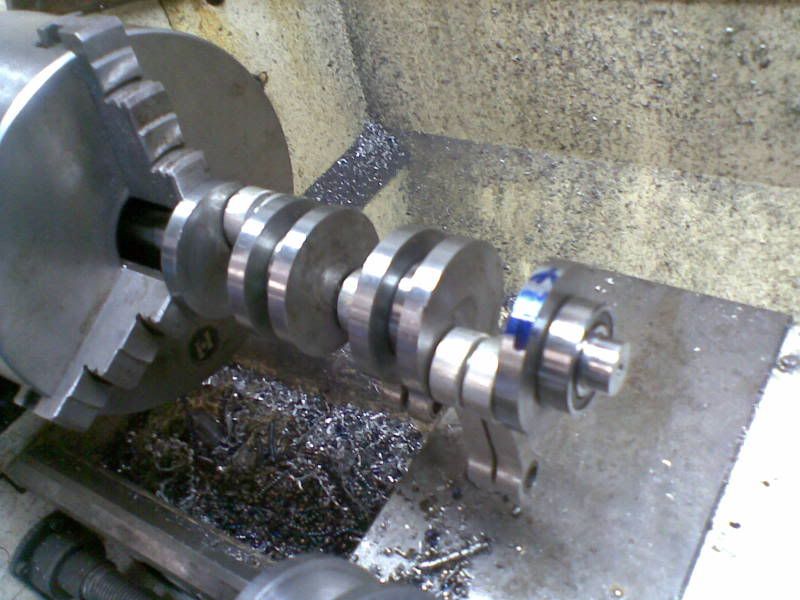
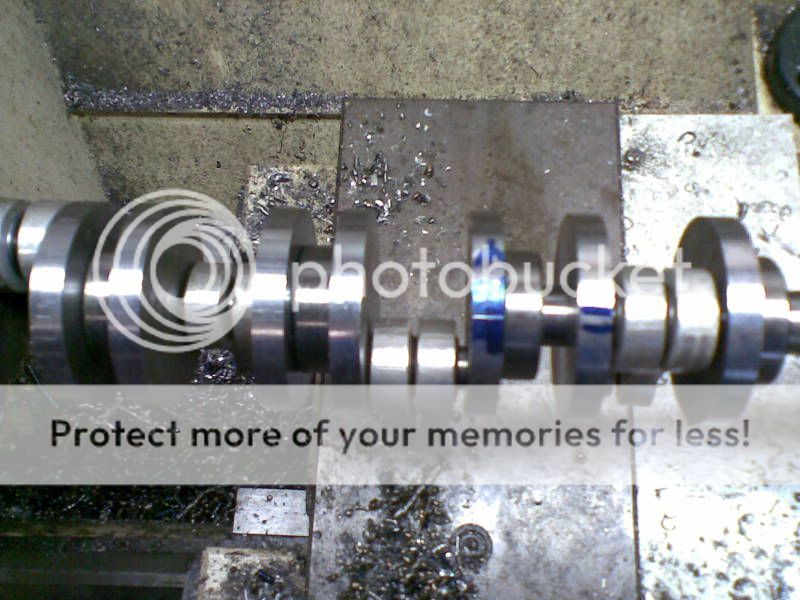
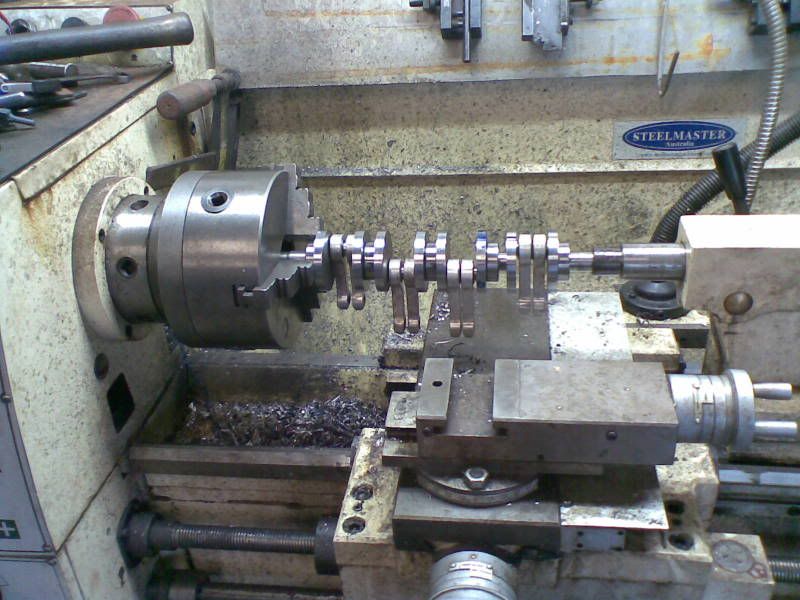
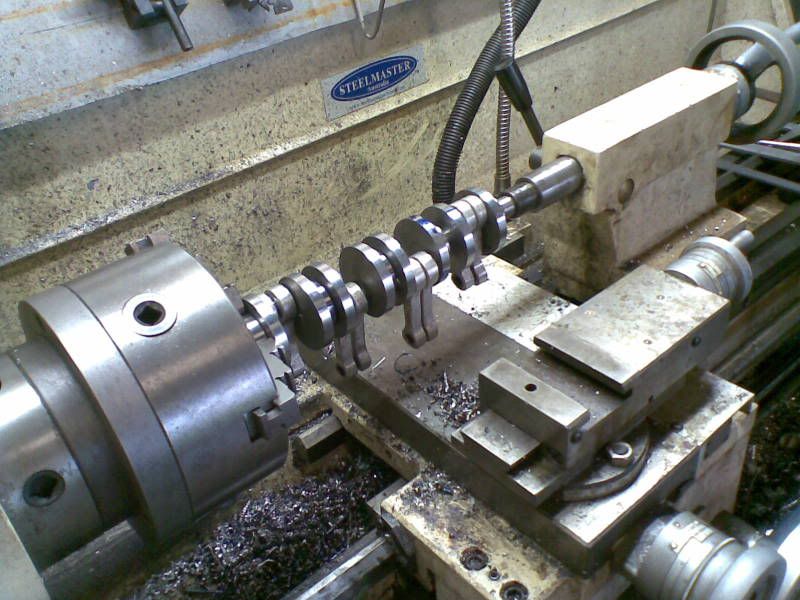
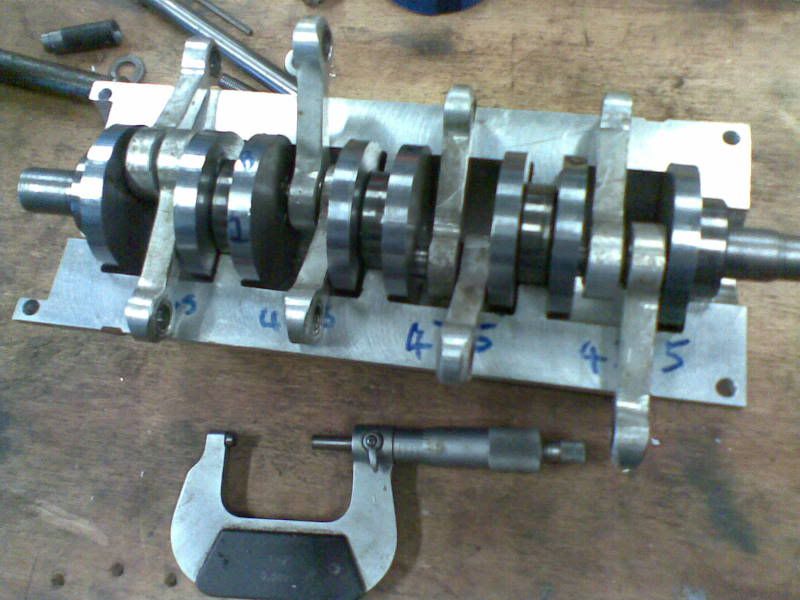
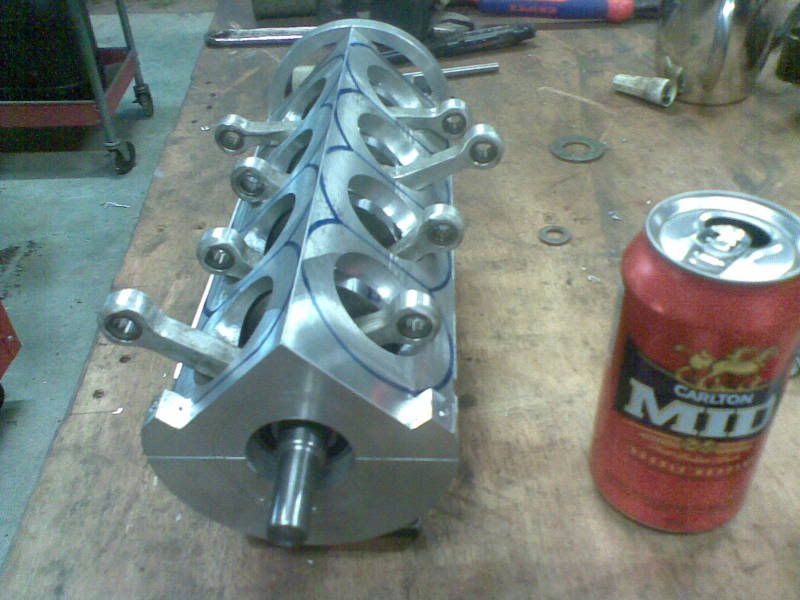
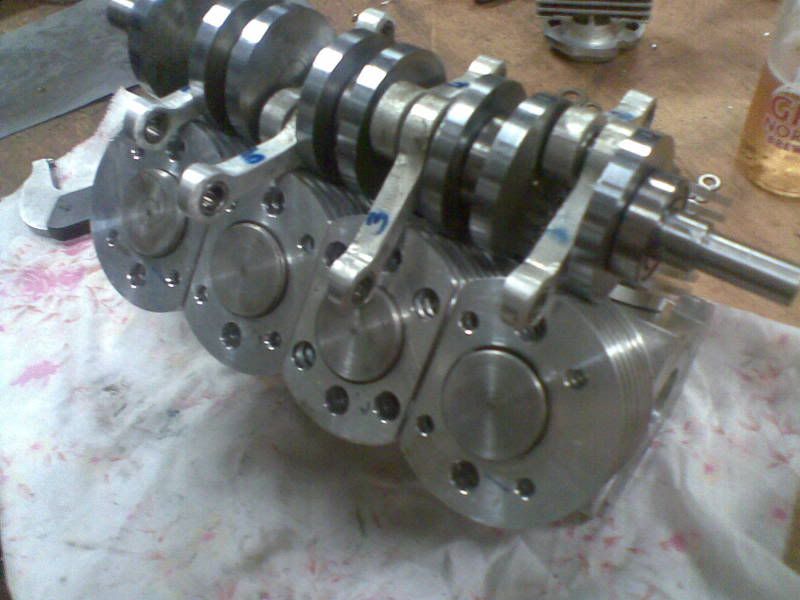
started with a piece of bar 55mm OD, drilled a 12mm hole through it and parted of 8 discs (plus a couple for spares) about 8mm wide. then bored the holes to 15mm in the lathe. after this i swapped 2 of the jaws around to give me the offset for the stroke, then drilled and bored each one to 12mm. all discs are now ready.
now i needed big end and main pins which was 12 and 15mm high tensile round bar cut to the required length, it was a lengthy process of one disc, big end pin 2 rods then another disc. i then put it in the lath to make sure it was running true, then pressed a main bearing pin into the centre hole, then a bearing followed by a disc and so on. making sure it was all running true as i went. (within 2 or 3 thou) As you can see i had the lathe tool and beer tin between the discs so as it didnt bend the big end pin.
Similar threads
- Replies
- 3
- Views
- 431




![MeshMagic 3D Free 3D Modeling Software [Download]](https://m.media-amazon.com/images/I/B1U+p8ewjGS._SL500_.png)


![TurboCAD 2020 Designer [PC Download]](https://m.media-amazon.com/images/I/51UKfAHH1LL._SL500_.jpg)


